Week 10- Assembly Workbench
Week 10- Assembly Workbench
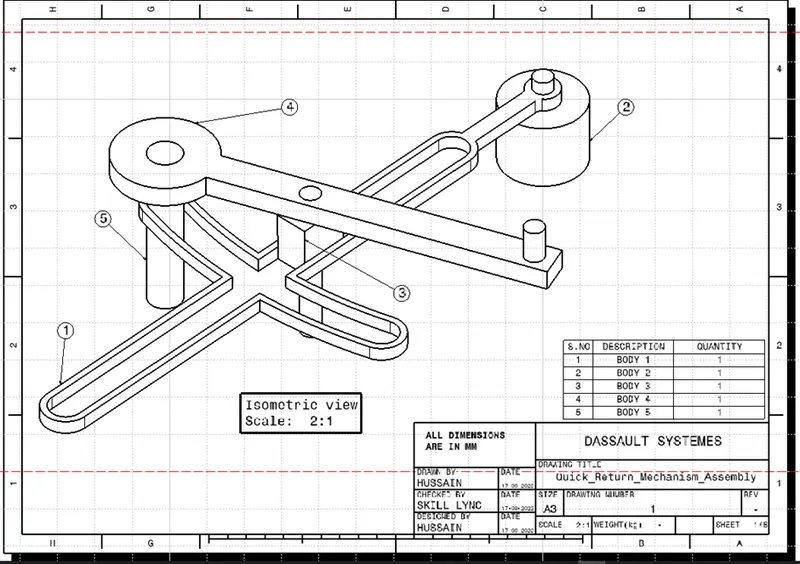
QUICK RETURN MECHANISM
BODY 1
DRAFTING
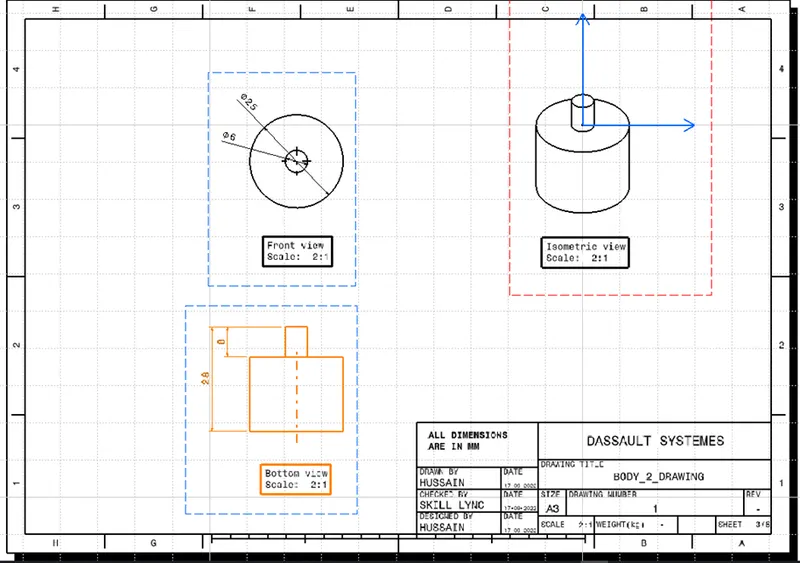
BODY 2
DRAFTING
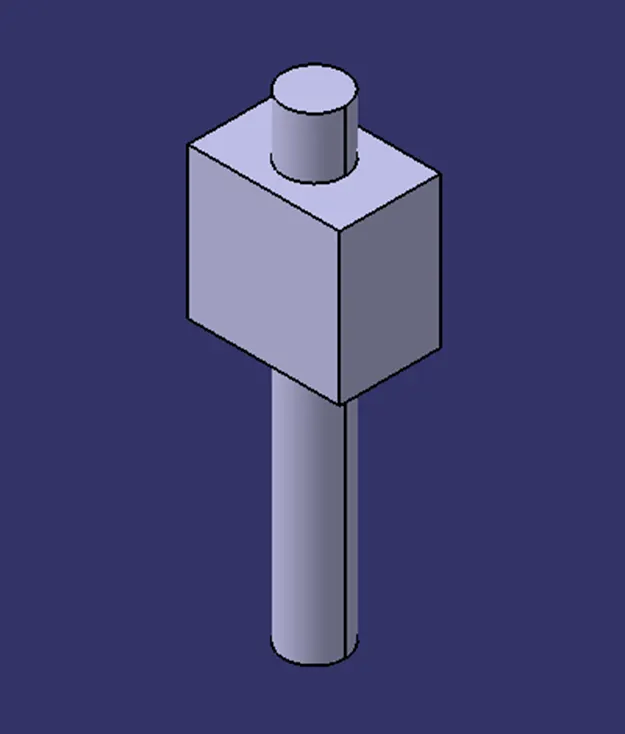
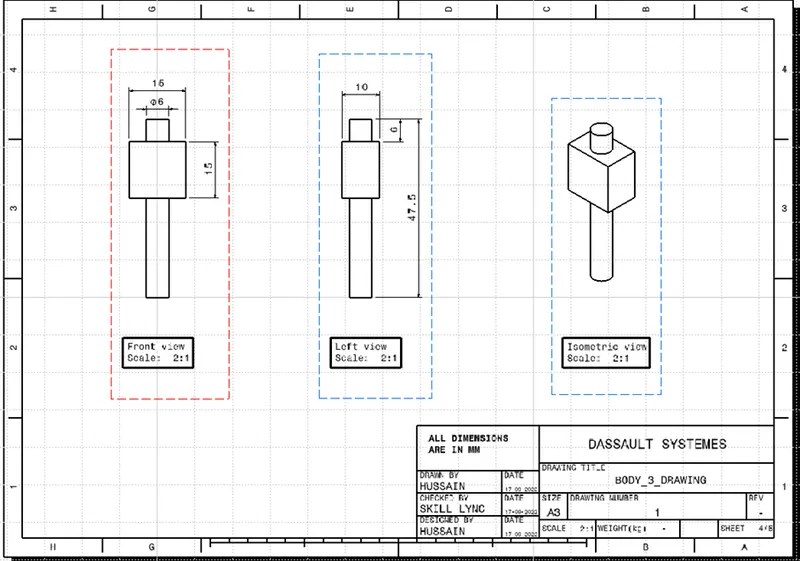
BODY 3
DRAFTING
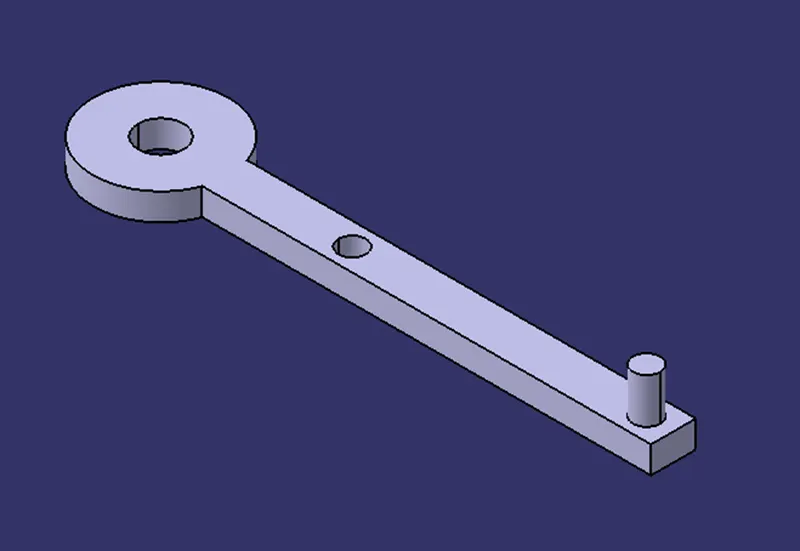
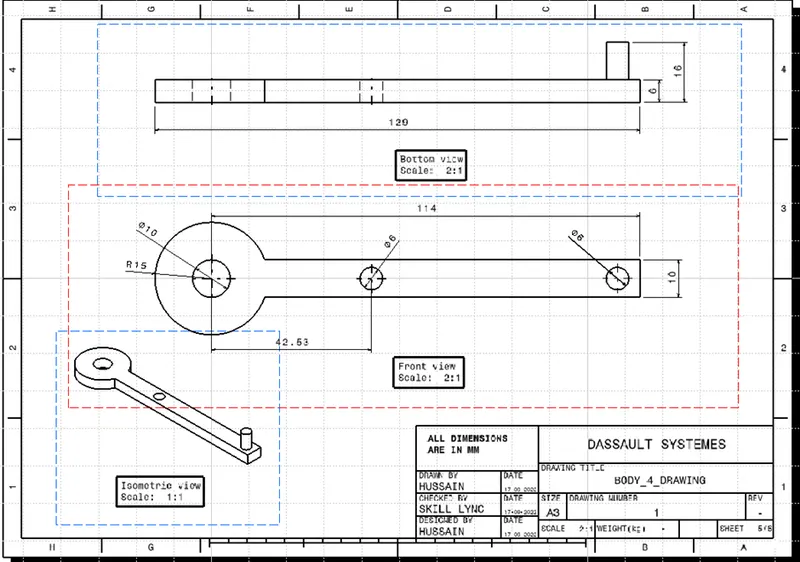
BODY 4
DRAFTING
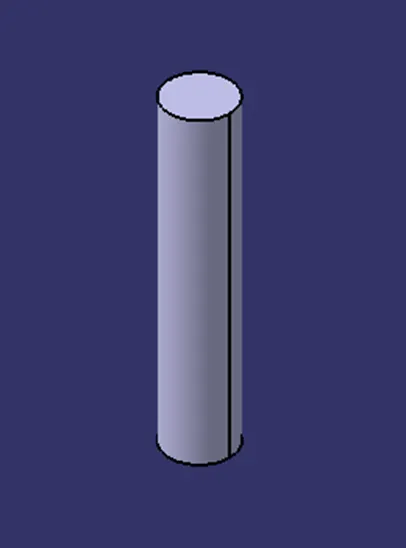
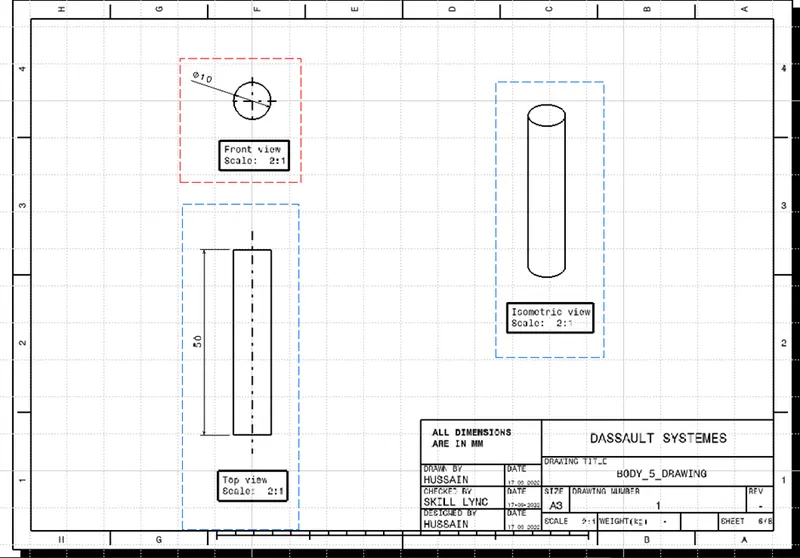
BODY 5
DRAFTING
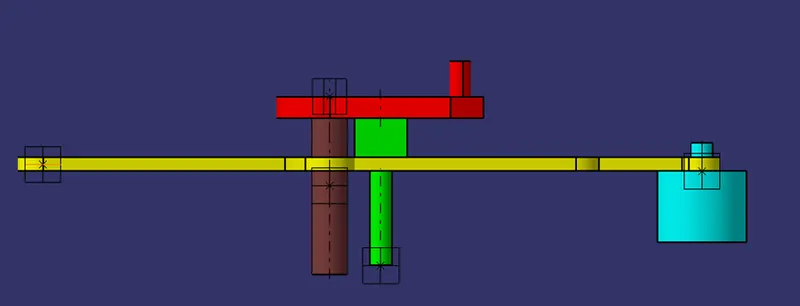
ASSEMBLY OF QUICK RETURN MECHANISM
- The first step in the assembly workbench is to insert the components using the existing components command
- The components are moved away from the origin using manipulation tool in order to get more clarity
- A skeleton is created at the origin of the assembly which will act as a reference for the initial constraints
- The skeleton is fixed in its placed with the fix command ensuring there is no movement
- In order to constraint the bodies effectively, reference axis and planes are created in the body and are published
- Using the coincidence, parallel, and contact constraints all the bodies are constrained as required
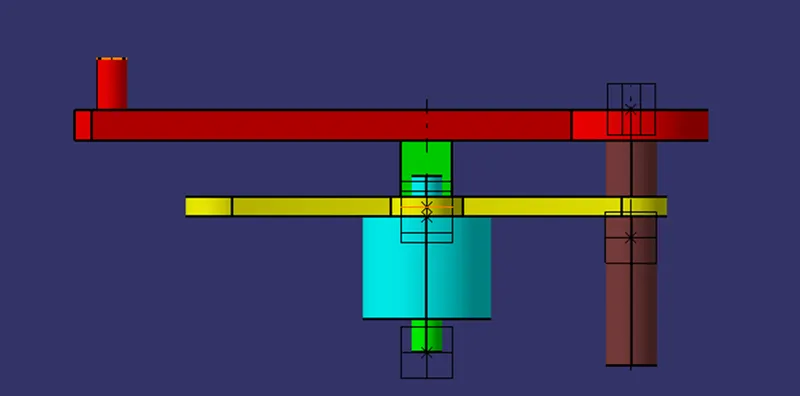
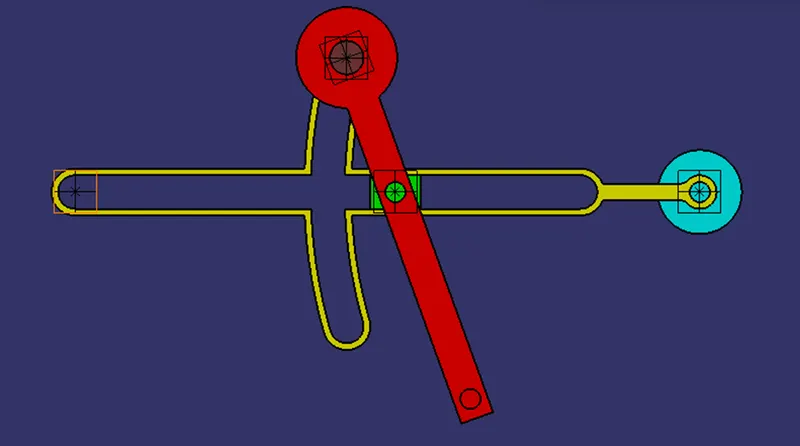
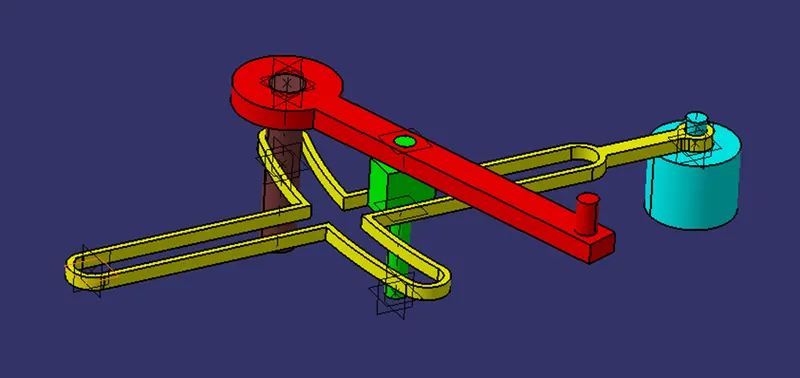
DRAFTING
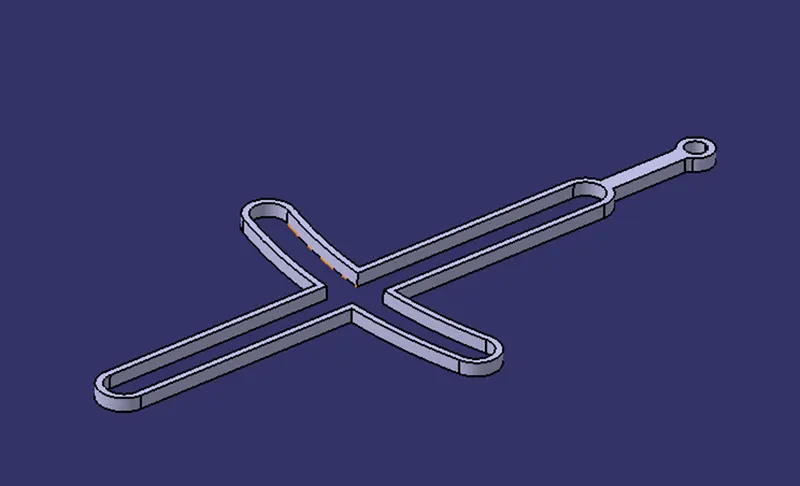
CV JOINT
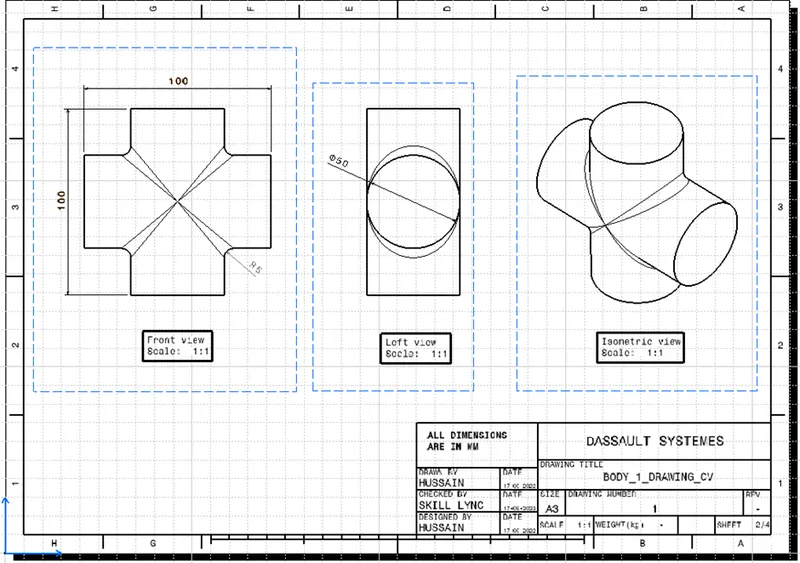
BODY 1
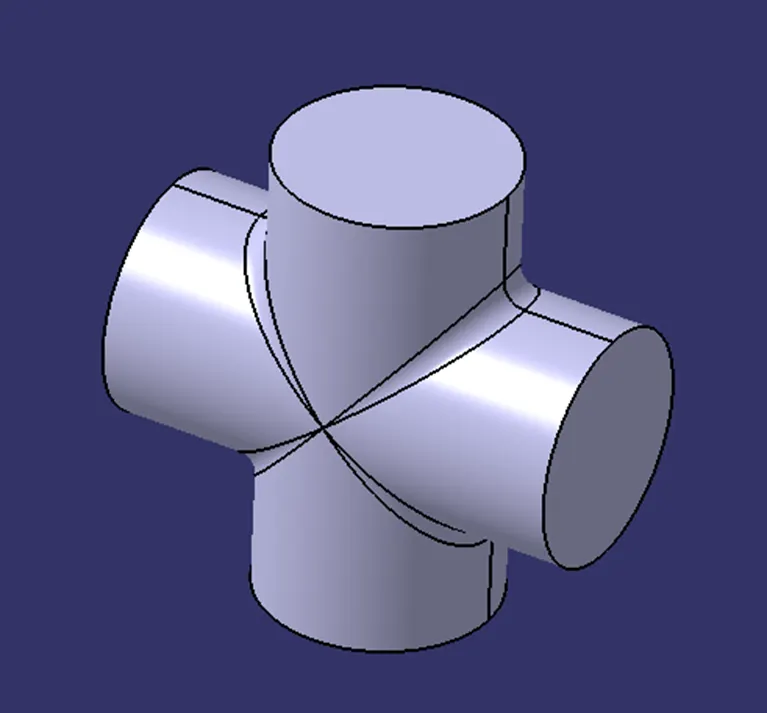
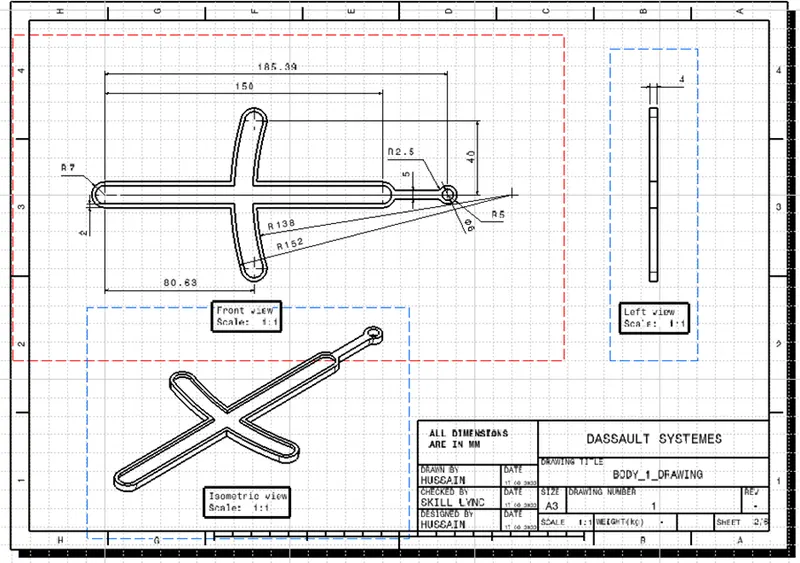
DRAFTING
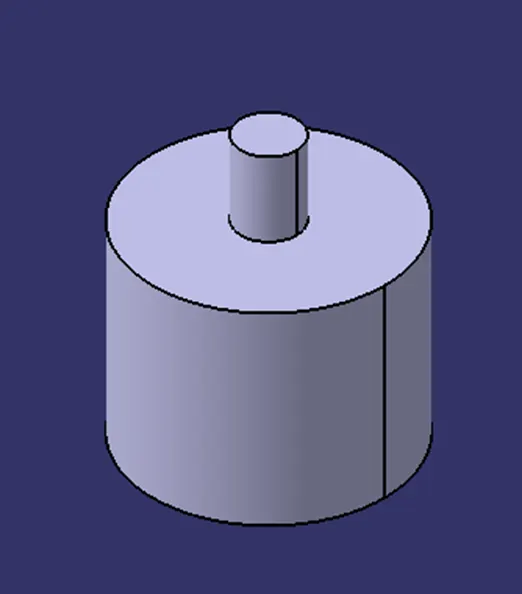
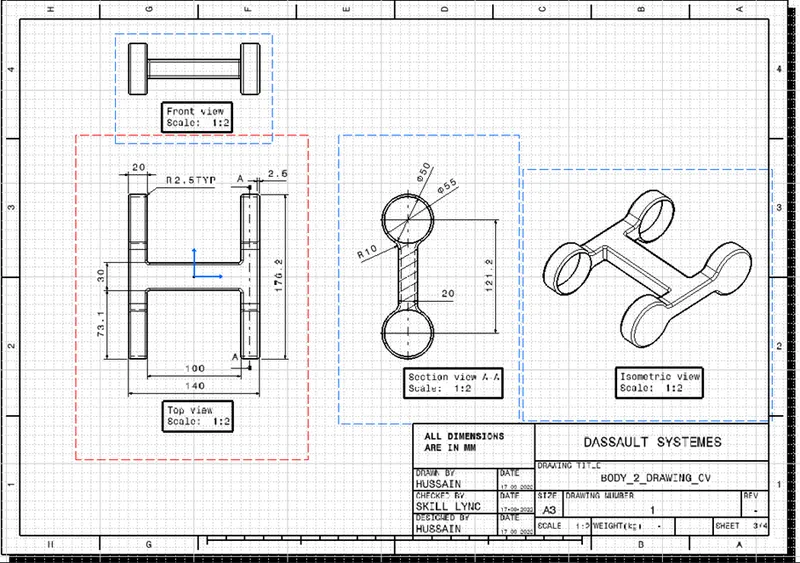
BODY 2
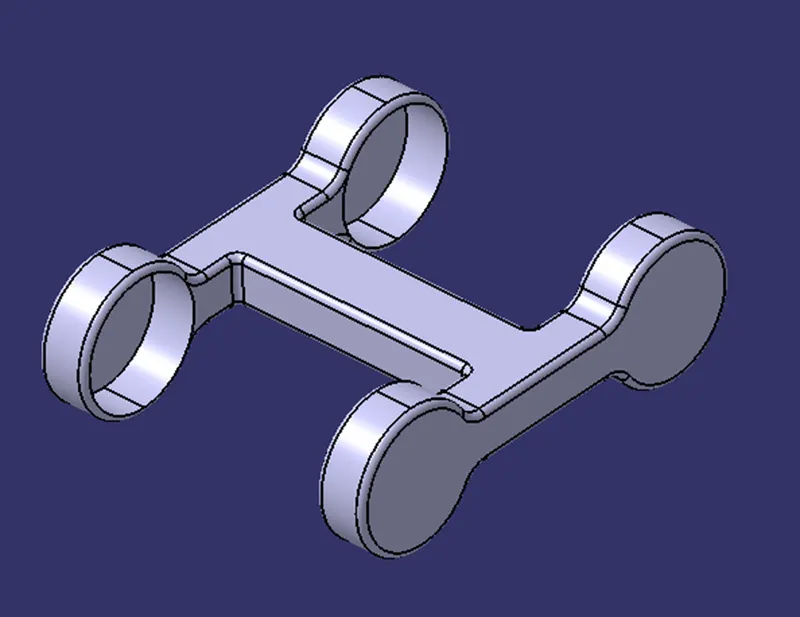
DRAFTING
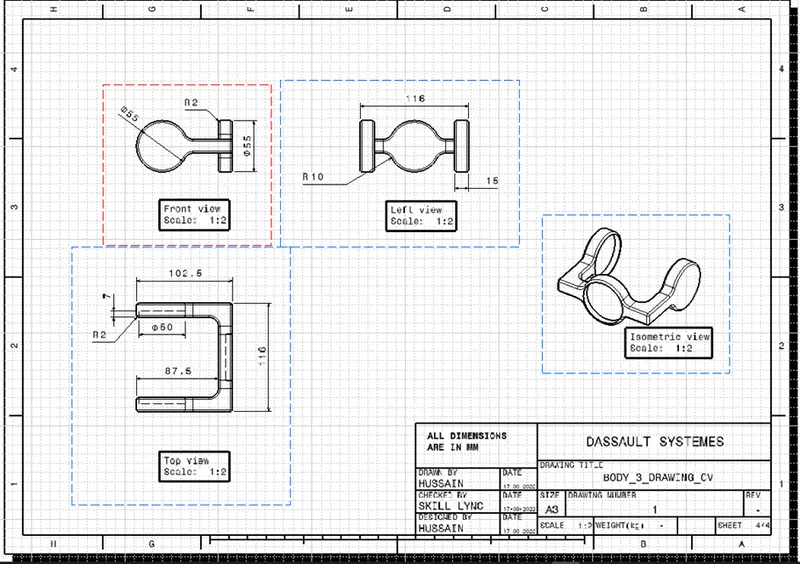
BODY 3
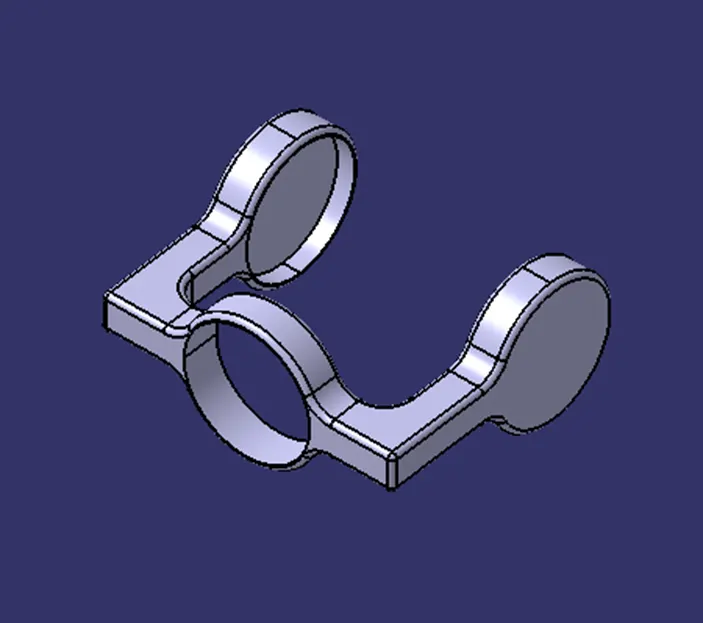
DRAFTING
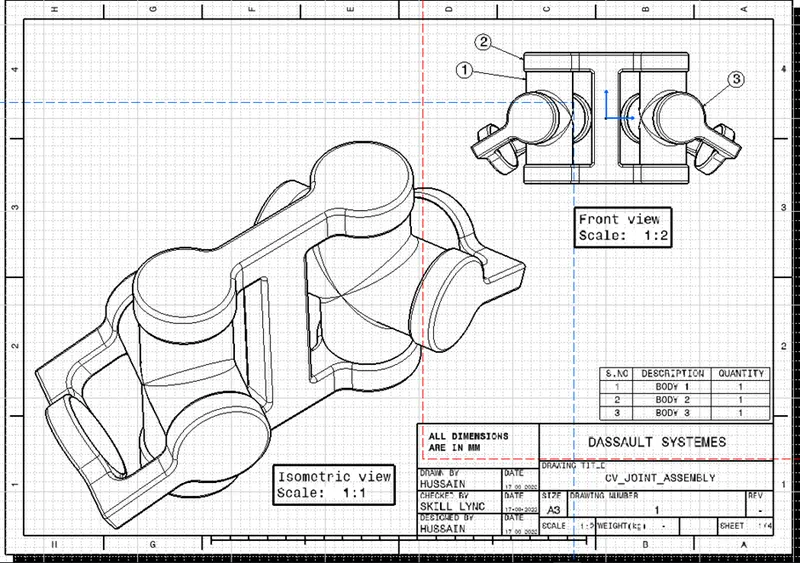
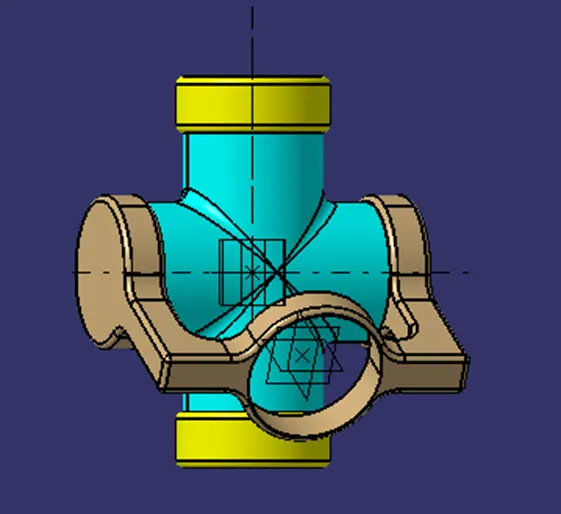
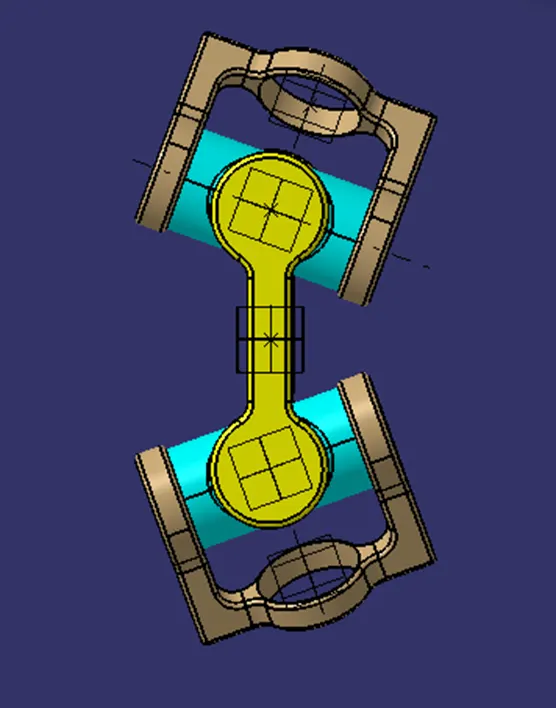
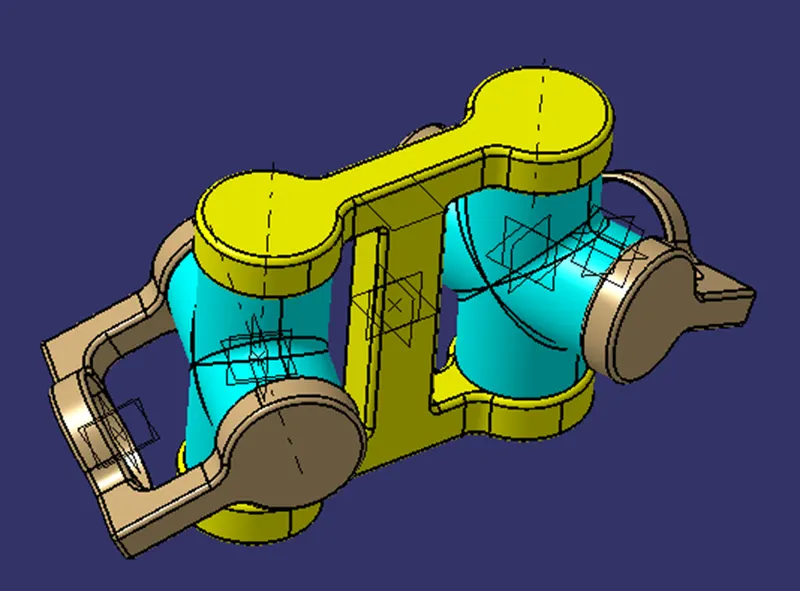
ASSEMBLY OF CV JOINT
- The first step in the assembly workbench is to insert the components using the existing components command
- The components are moved away from the origin using manipulation tool in order to get more clarity
- A skeleton is created at the origin of the assembly which will act as a reference for the initial constraints
- The skeleton is fixed in its placed with the fix command ensuring there is no movement
- In order to constraint the bodies effectively, reference axis and planes are created in the body and are published
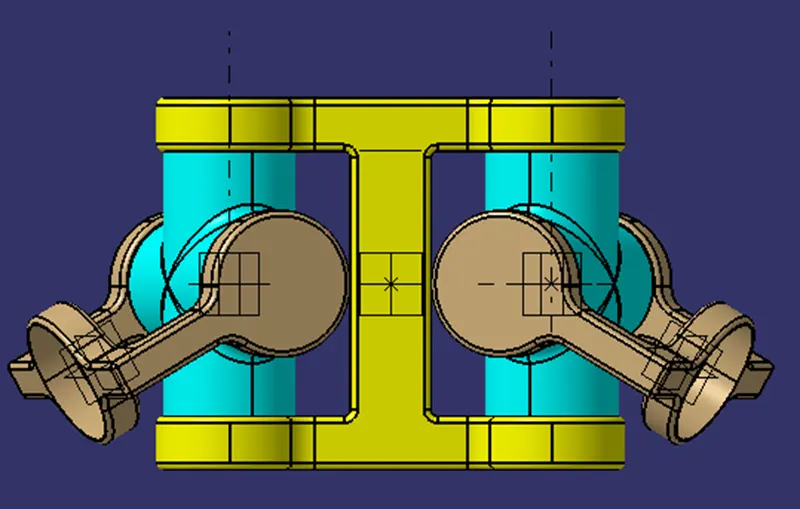
- Using the coincidence, parallel, and angle constraints all the bodies are constrained as required
- The symmetry command is used for bodies 1 and 3 to crete thier mirror version with the centre palne as reference
DRAFTING