Week 10- Assembly Workbench
AIM
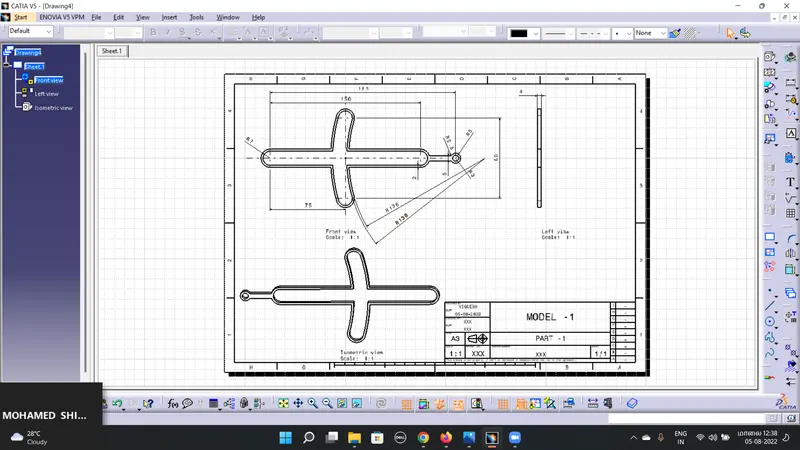
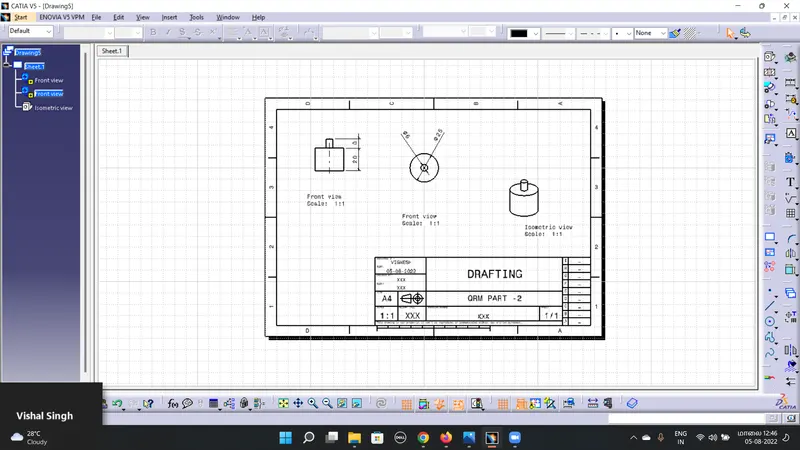
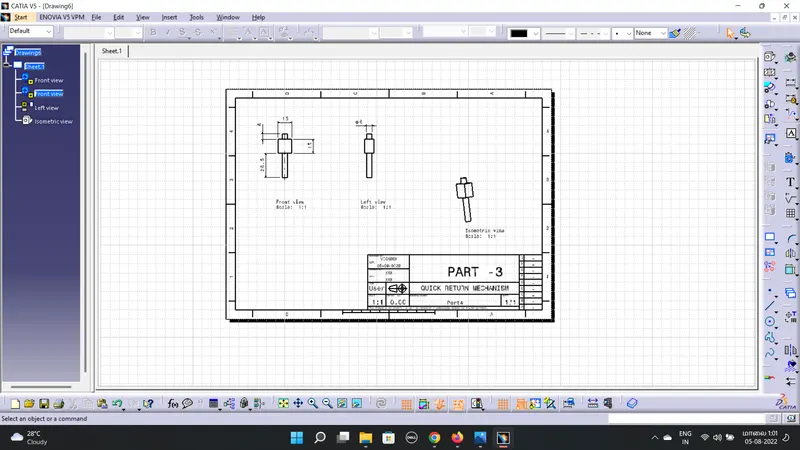
In this week’s assignment, you will have to create 2 assemblies according to the content covered in the course videos. You will be provided with 2D diagrams of the components and you will have to first create the individual part files and then create a complete assembly of those part files in the assembly workbench. After creating the assembly make use of the drafting tools to create a 2D drawing similar to the one given in the assignment folder.
MODEL-1 QUICK CRANK MECHANISM
- In this quick return mechanisms we required 5 parts. First we create a required 5 parts.
- Then open the assembly workbench, insert the required part files.
- Then manupulate the all parts, then fix the any one part use fix tool.
- Then assemble the all parts respect to fixed parts.
- Use constrain tool, fist constrain required part and fixed part ,then update.
- use offset tool then fixed properly, now assemble the first part. Do the same procedure for a rest parts.
FIRST PART
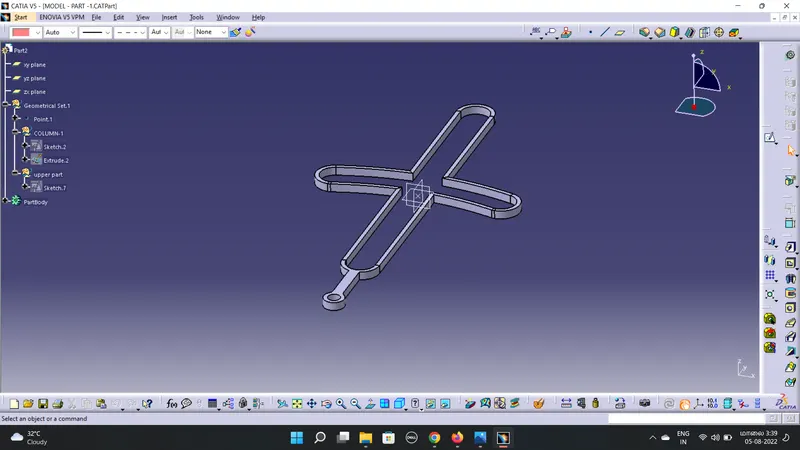
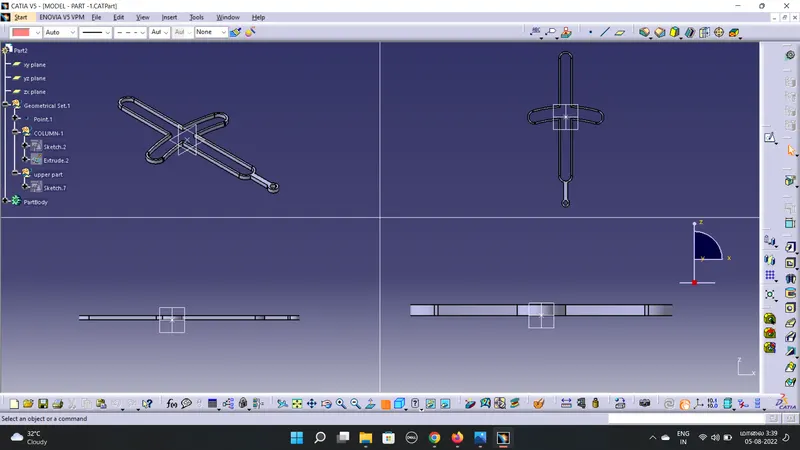
SECOND PART
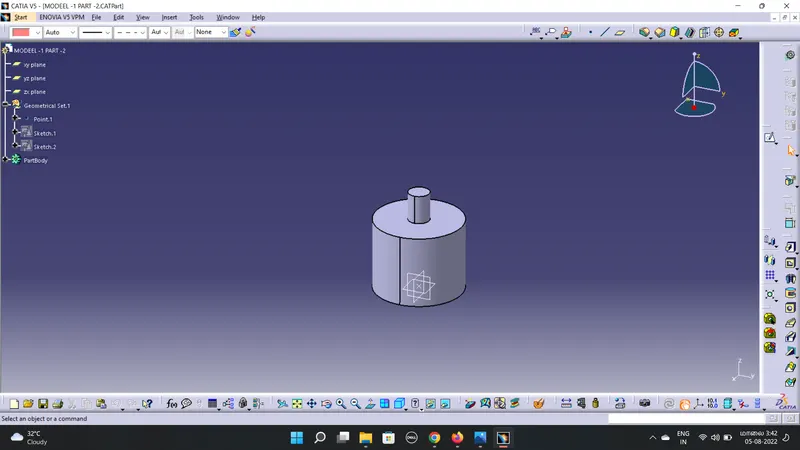
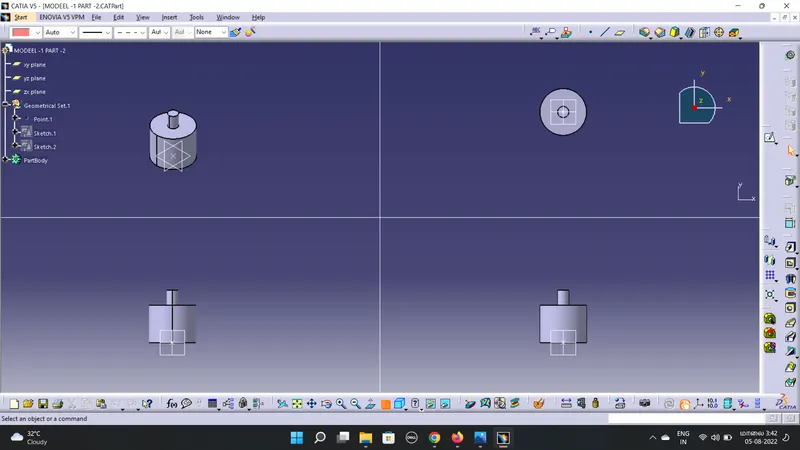
THIRD PART
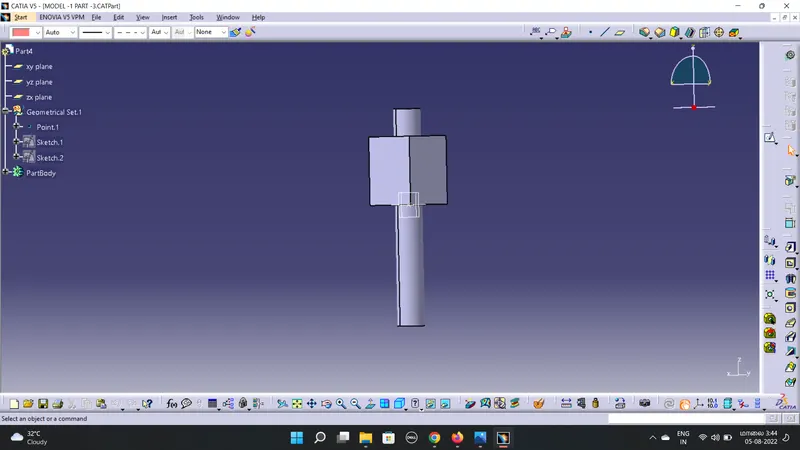
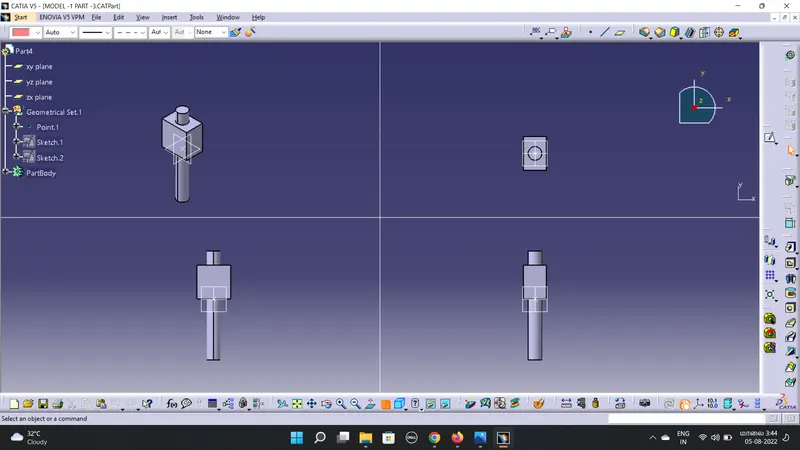
FOURTH PART
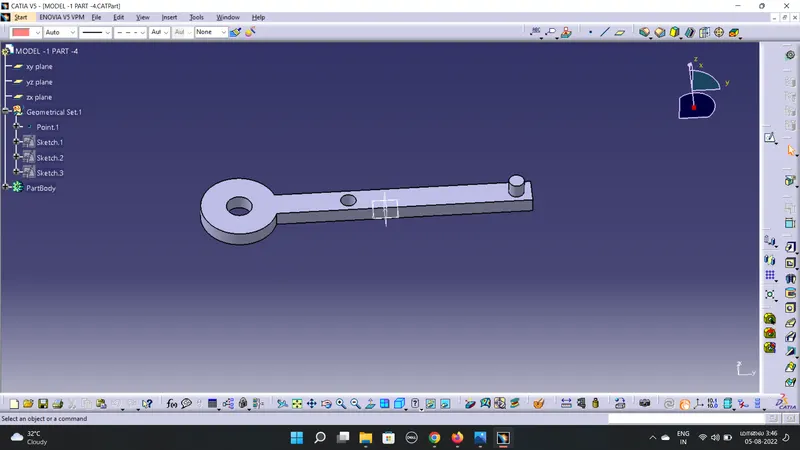
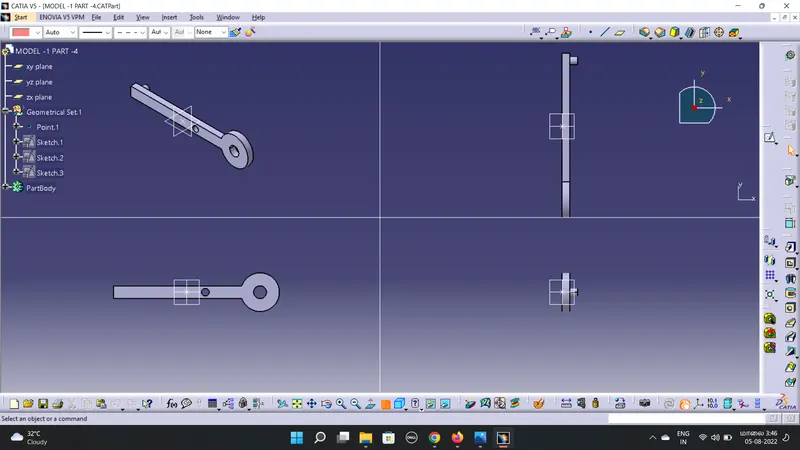
FIFTH PART
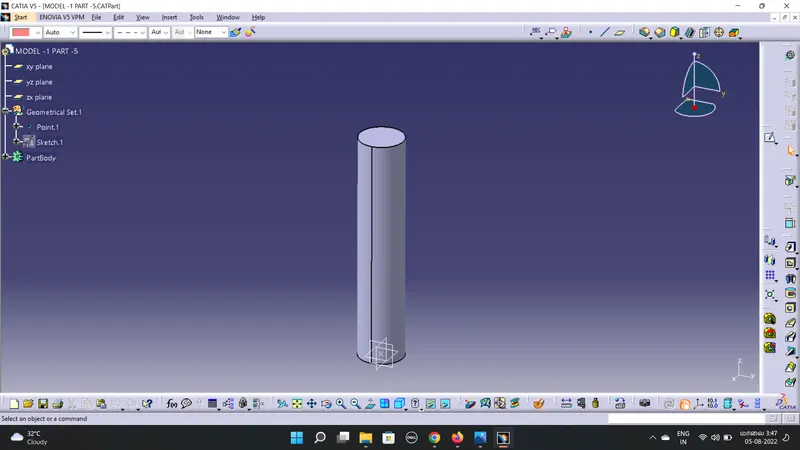
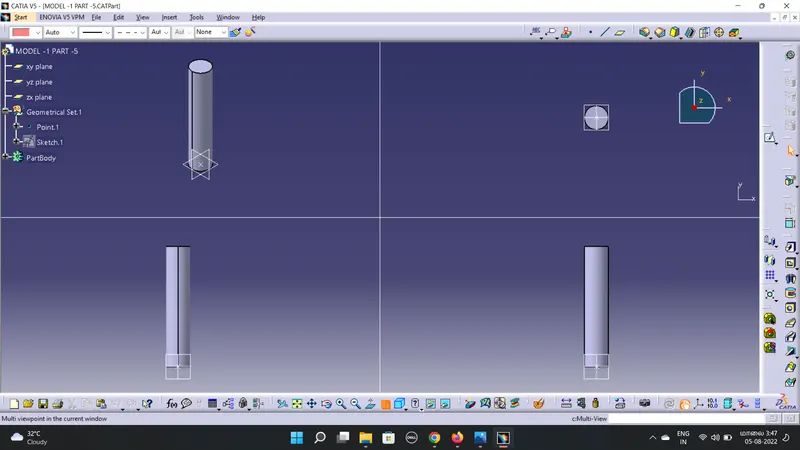
ASSEMBLY PART
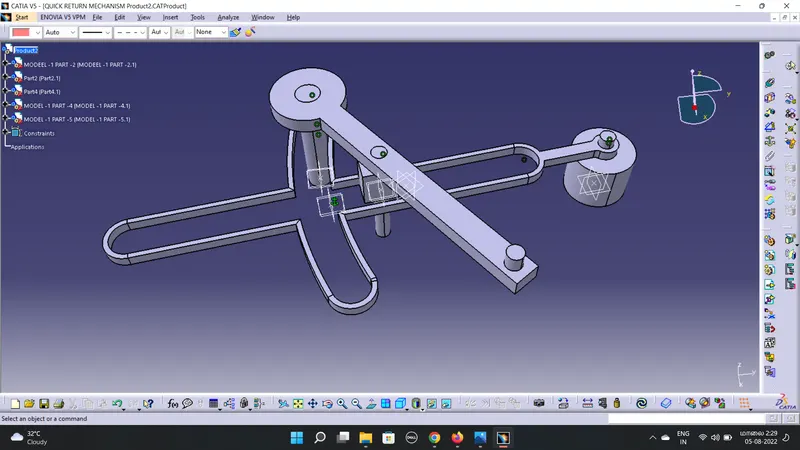
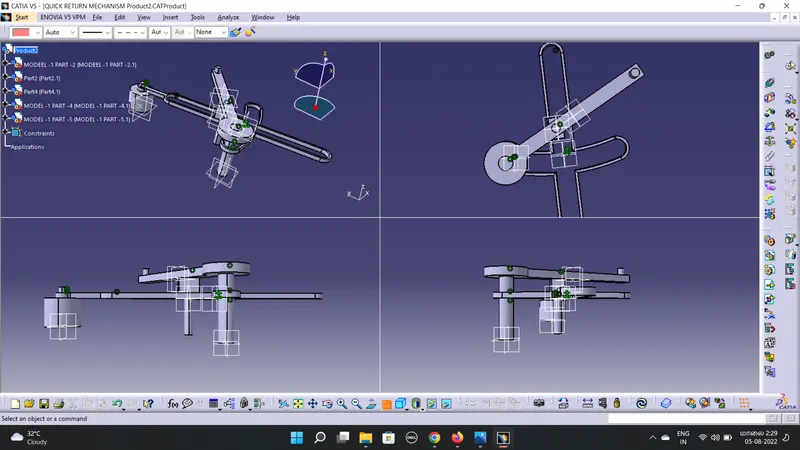
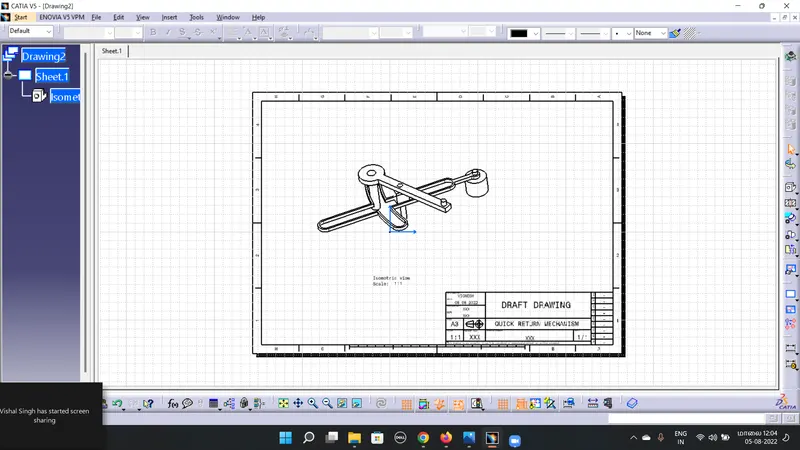
The above image is a final assemble par of the quick return mechanisms.
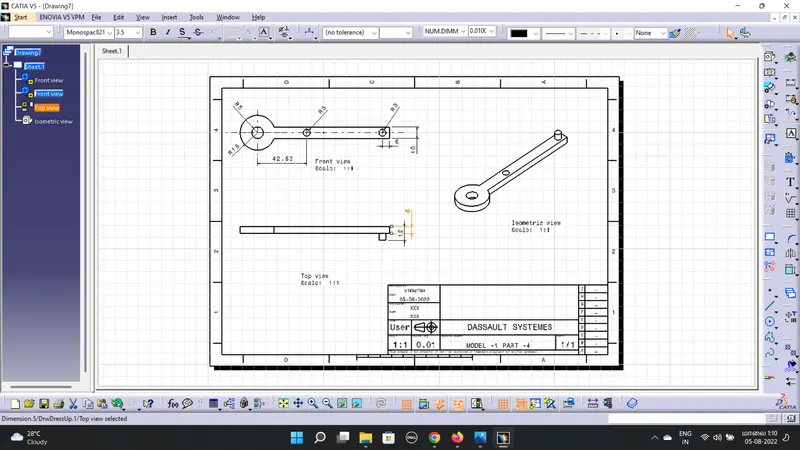
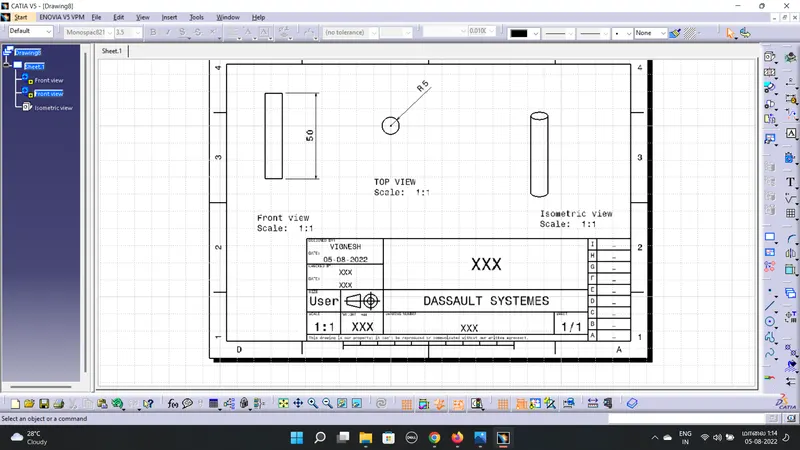
DRAFTING IMAGE
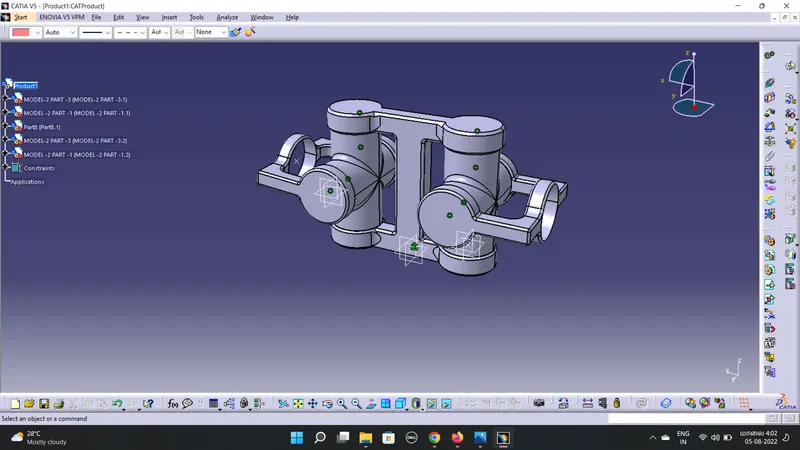
MODEL -2 CV JOINT
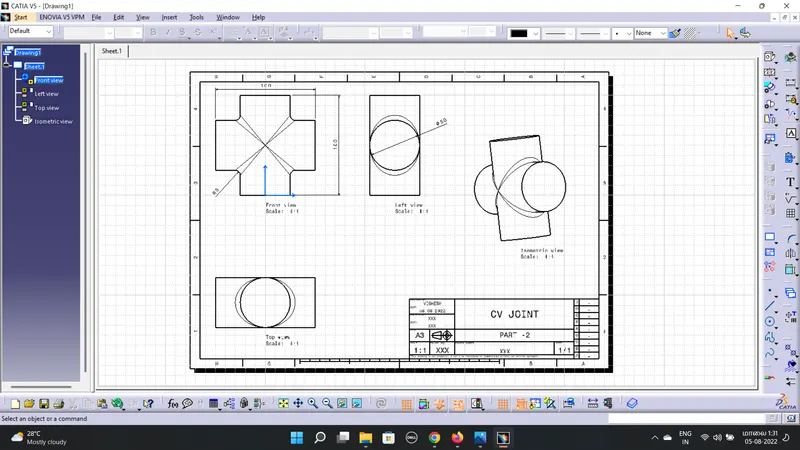
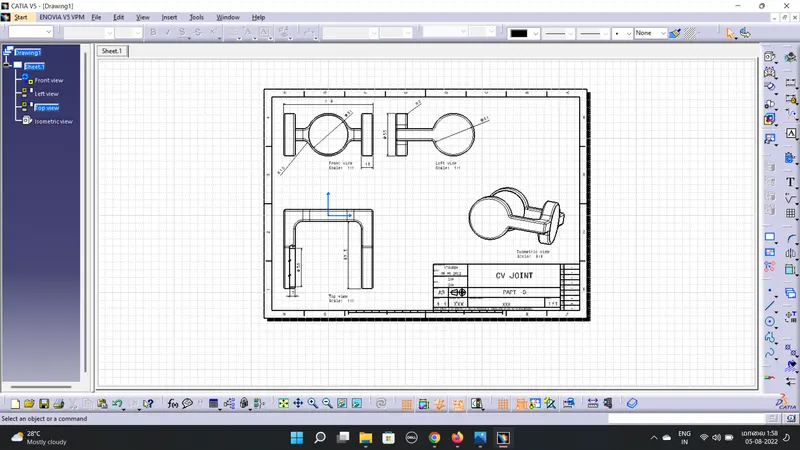
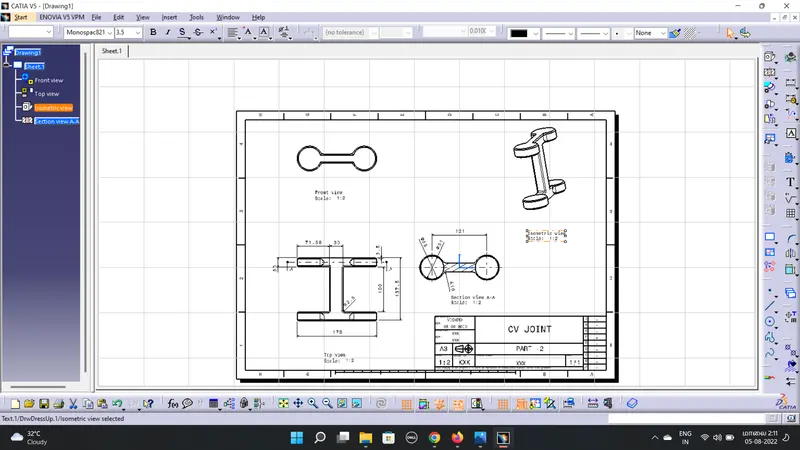
- In this CV joint we required 5 parts. First we create a required 3 parts.
- Then open the assembly workbench, insert the required part files.
- Duplicate the some parts.
- Then manupulate the all parts, then fix the any one part use fix tool.
- Then assemble the all parts respect to fixed parts.
- Use constrain tool, fist constrain required part and fixed part ,then update.
- use offset tool then fixed properly, now assemble the first part. Do the same procedure for a rest parts.
FIRST PART
SECOND PART
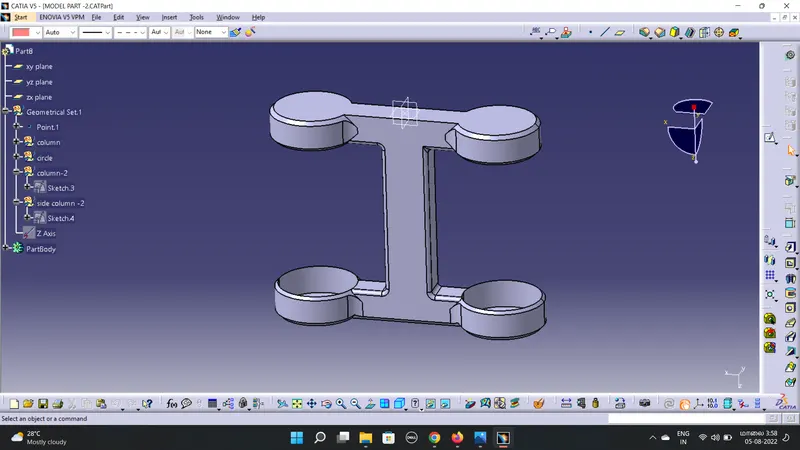
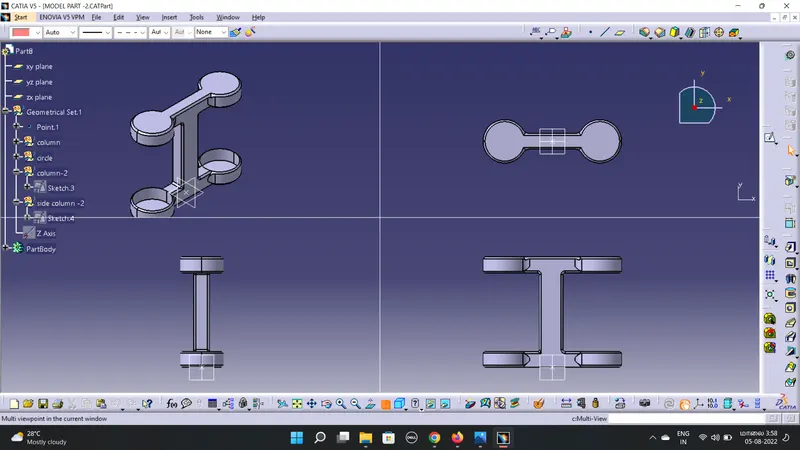
THIRD PART
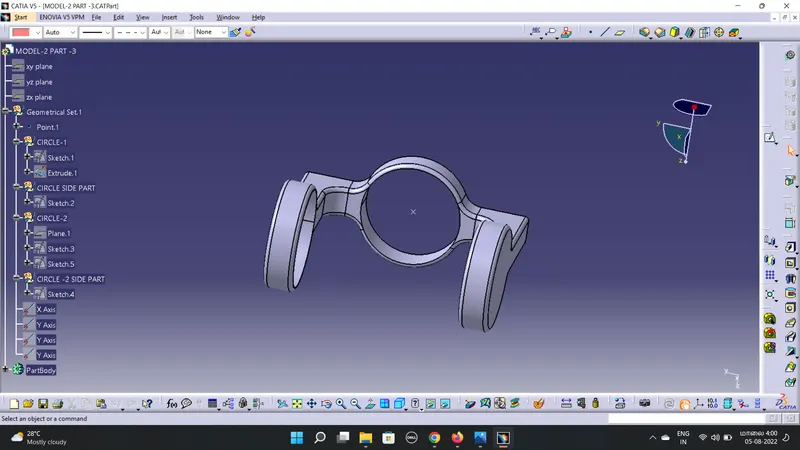
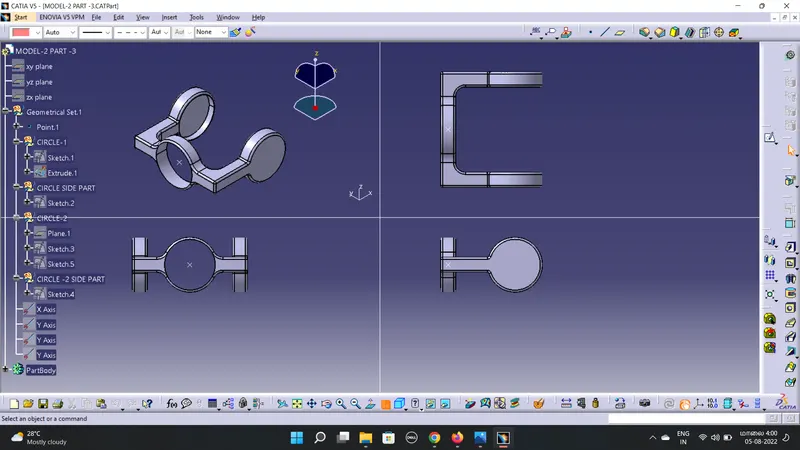
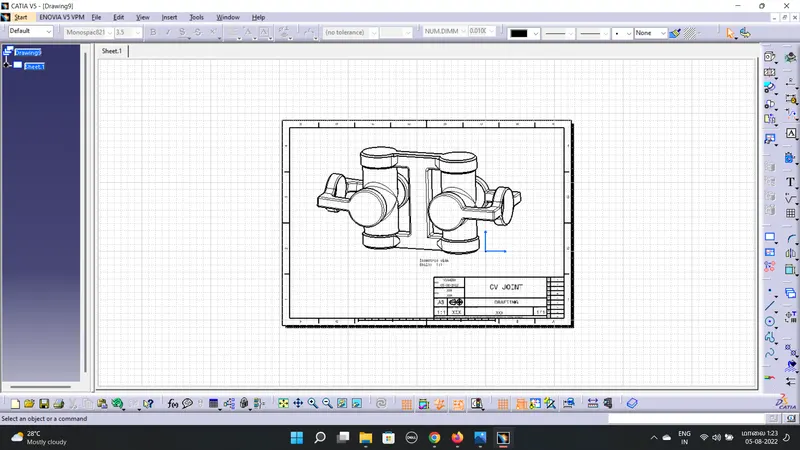
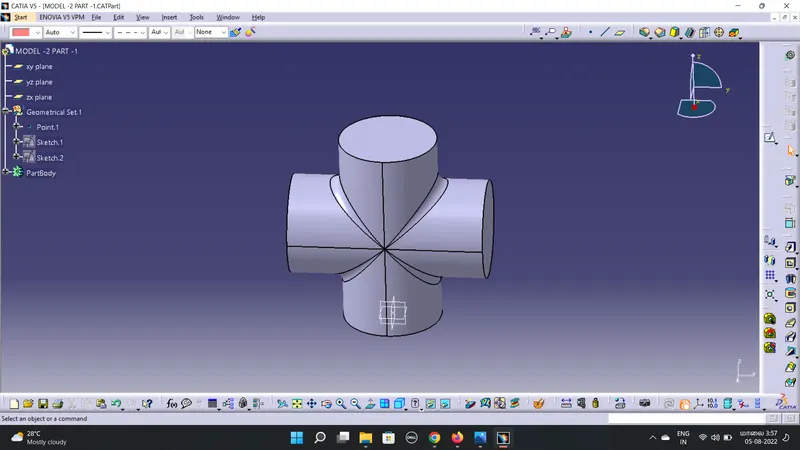
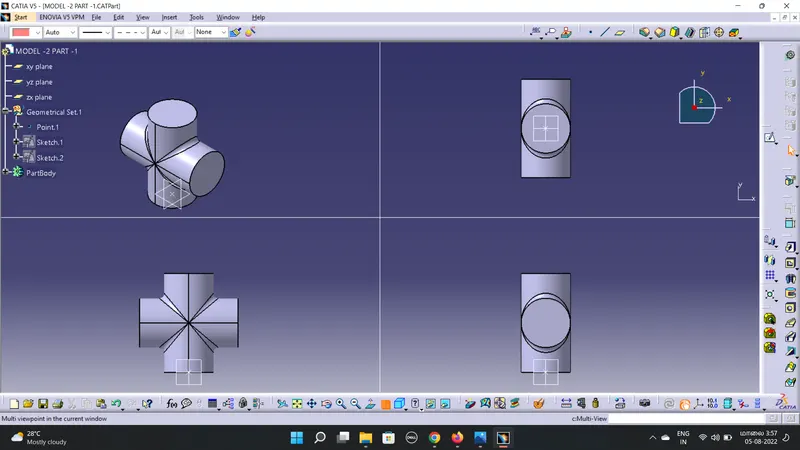
ASSEMBLY PART
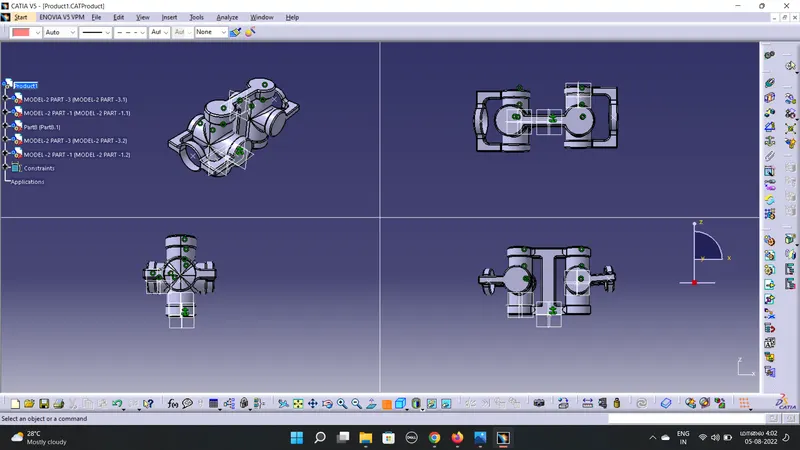
DRAFTING IMAGES