Week 10- Assembly Workbench
MODEL 1
-Firstly, all child parts were created using position sketch.
-Then, the reference axis, reference points and reference planes were created and published for all child parts.
-Then one by one they were assembled in Catia Assembly workbench with proper constraints.
Lastly, all the 2D technical drawings were also made with proper dimensions.
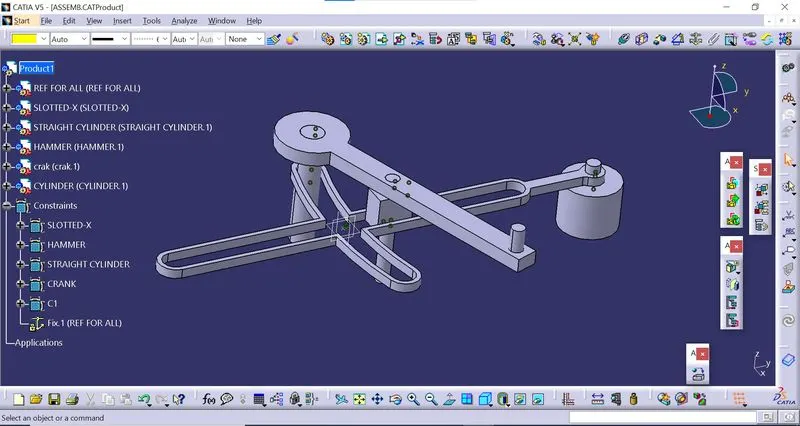
ISOMETRIC VIEW
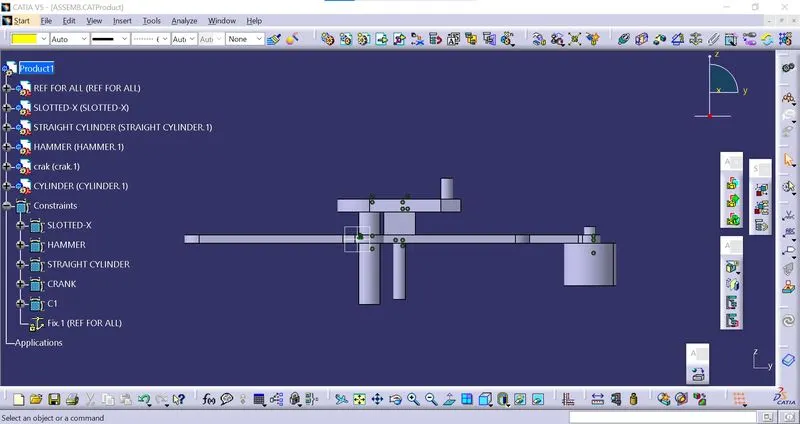
FRONT VIEW
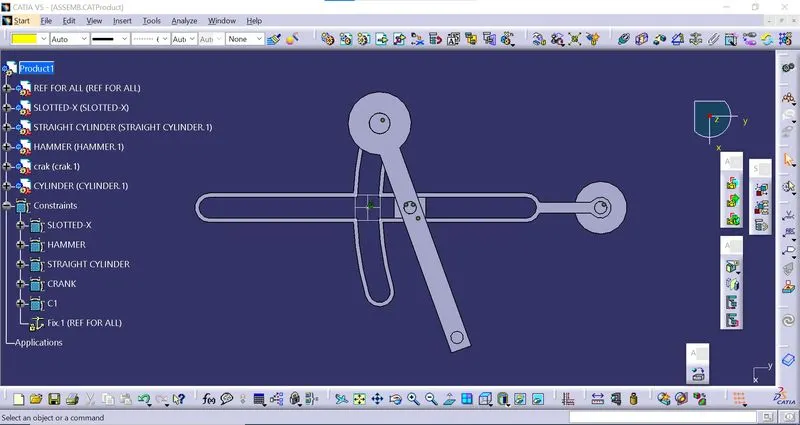
TOP VIEW
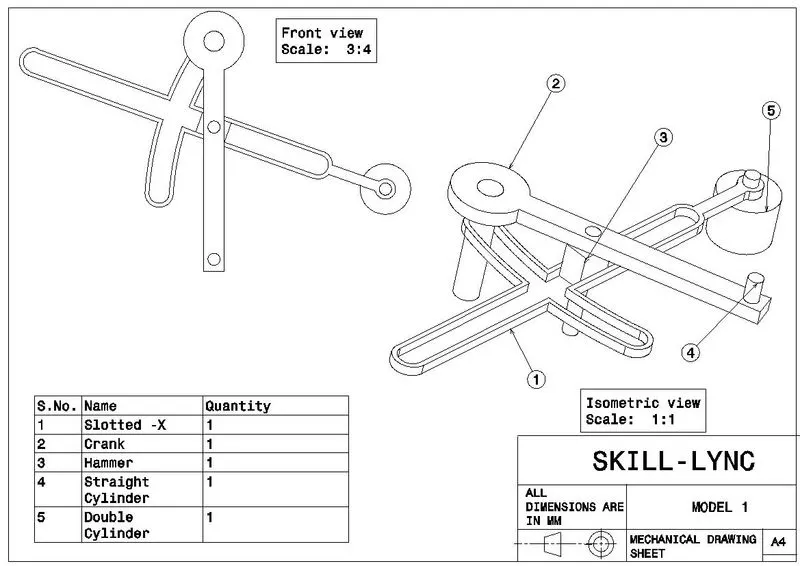
DRAWING 1
MODEL 2
-Firstly, all child parts were created using position sketch.
-Then, the reference axis, reference points and reference planes were created and published for all child parts.
-Then one by one they were assembled in Catia Assembly workbench with proper constraints.
Lastly, all the 2D technical drawings were also made with proper dimensions.
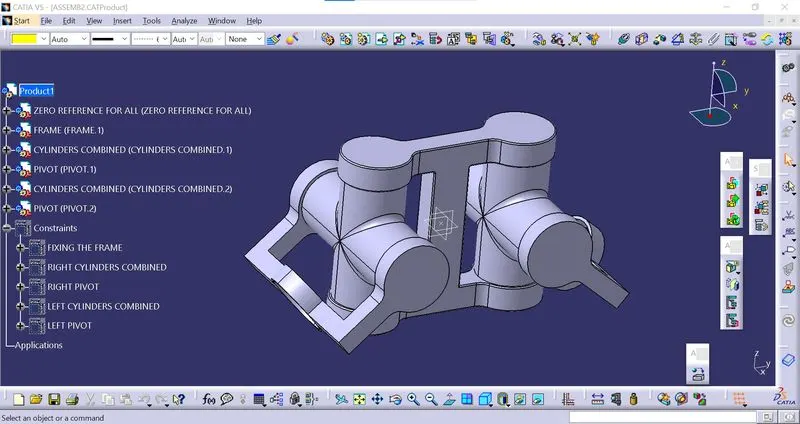
ISOMETRIC VIEW
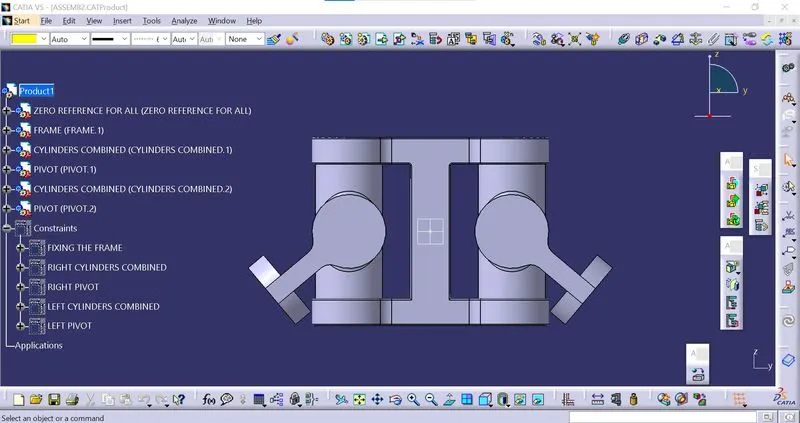
FRONT VIEW
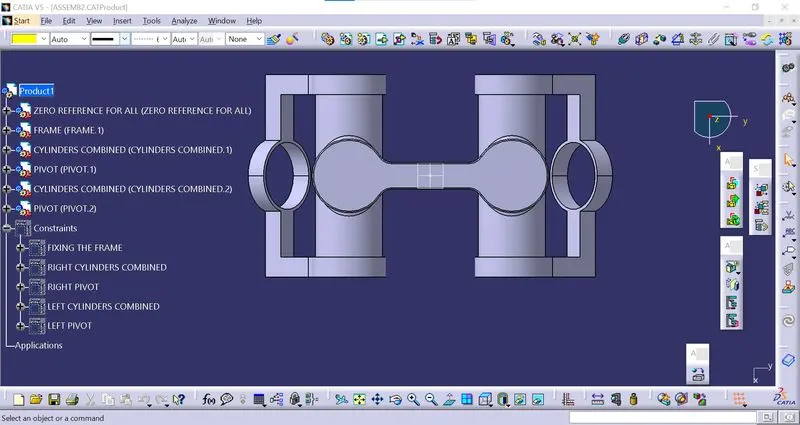
TOP VIEW
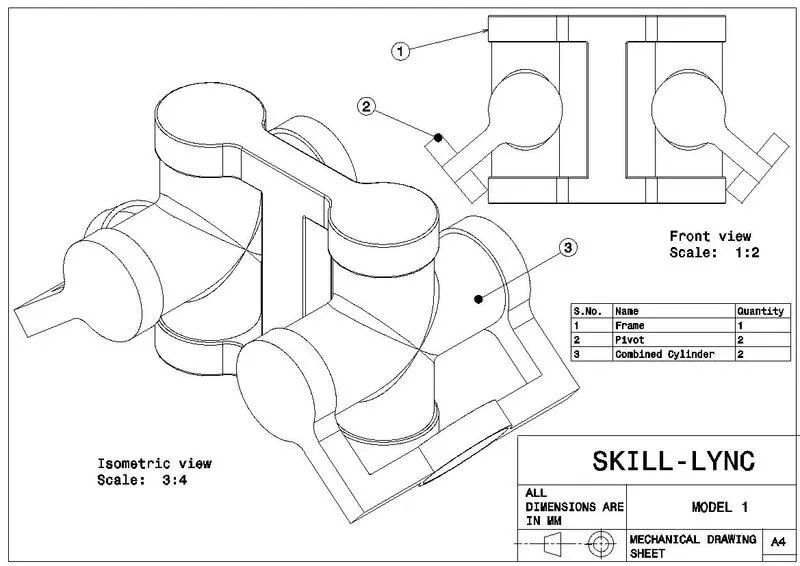
DRAWING 2