Usage of Navigation tool , Timeliner and Clash Detection test using Naviswork
1) Use the Architecture/ Structure Project file developed by you in Week 6 to 8. Export the Revit architecture and structure model to Navisworks Cache file following the export settings discussed in class.
STEPWISE PROCEDURE:
- Before starting the Navisworks software, you need to open your Revit model and convert it into an NWC supported file which is operated in the Navisworks software.
- And for this, open the Revit model you wish to examine through the Navisworks software.
- Go to the files menu, and click on export.
- Then from the list of export options, select the NWC logo which is supported in the Navisworks.
- Choose the location to save the converted file and done your model is ready to be operated via Navisworks.
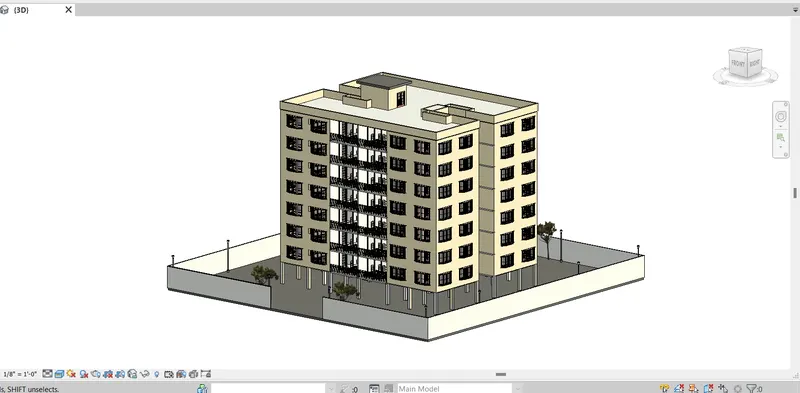
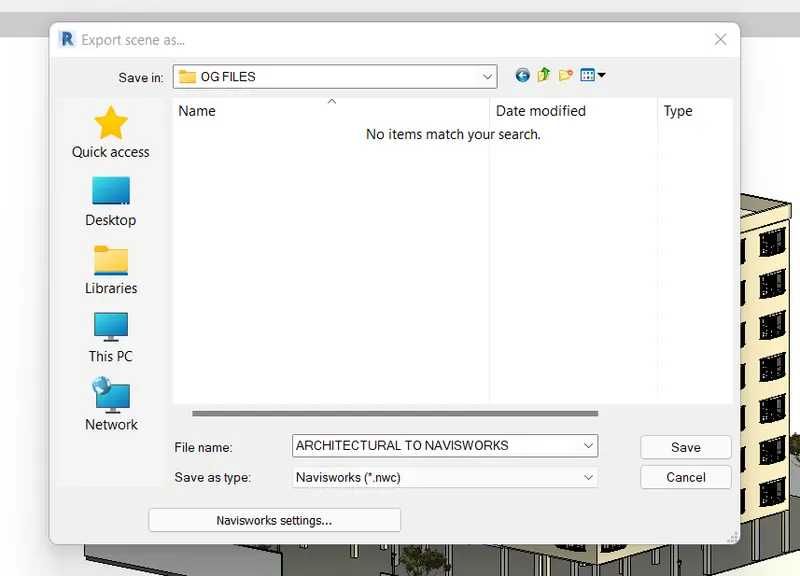
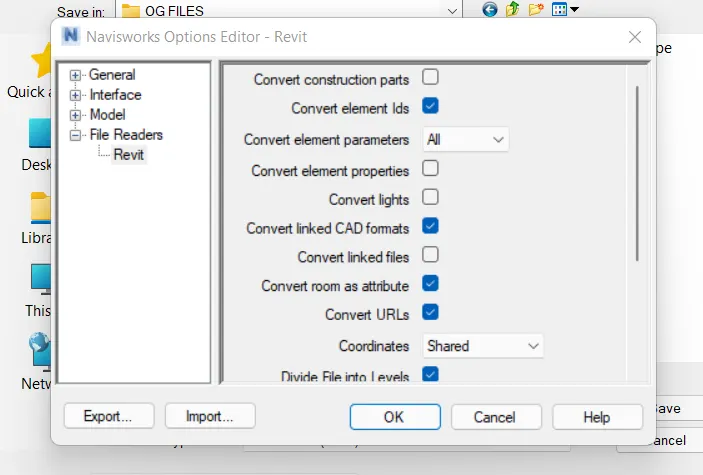
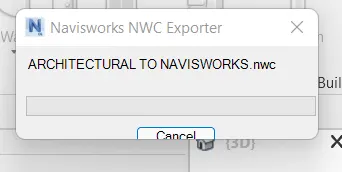
NOTE: The export NWC option won't be available in your Revit if you haven't downloaded the Navisworks utility exporter for your system. So, make sure to first download the relevant exporter utility on your computer before converting the Revit file into a Navisworks file.
2) Use Navigate Tool to walk around the model and walk through the rooms created and record your moving as animation in your Navisworks file.
STEPWISE PROCEDURE:
- Open up your Exported Model in the Navisworks Software
- Start the software from the start menu or desktop shortcut based on your preference.
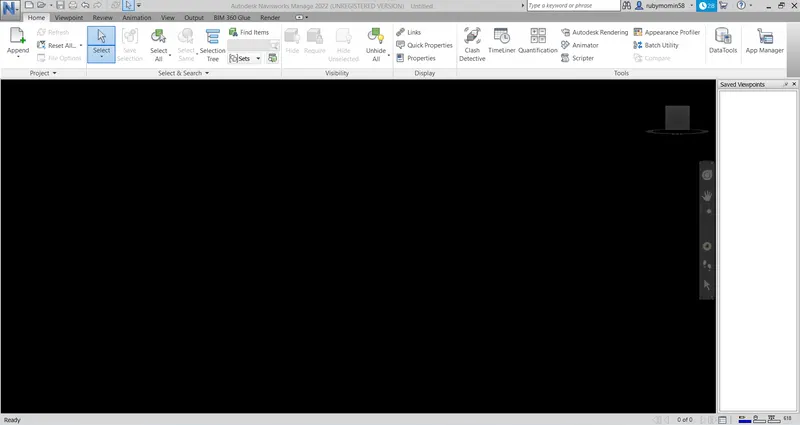
- Let the software load and a blank Navisworks file will be displayed on your computer.
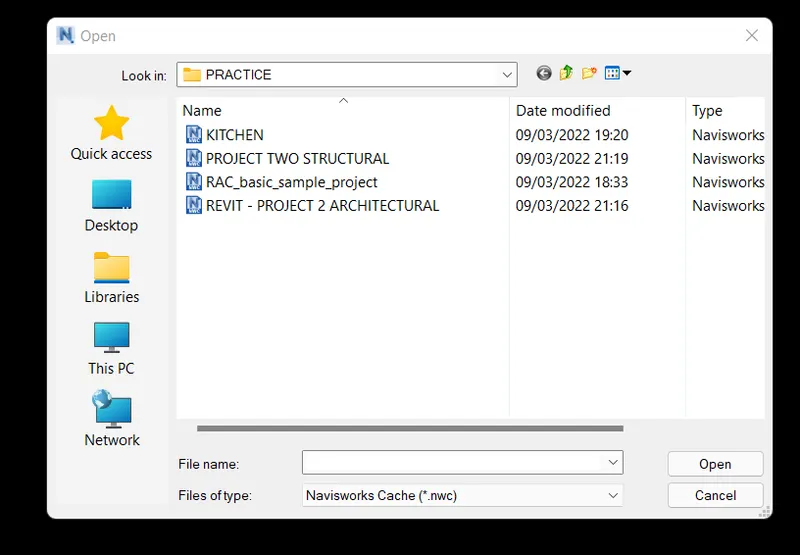
- Then, from the file menu, go to open.
- Browse for the exported file on your system and click open.
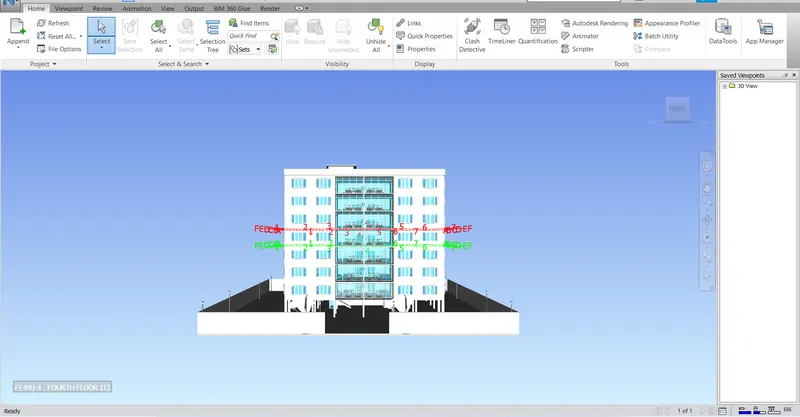
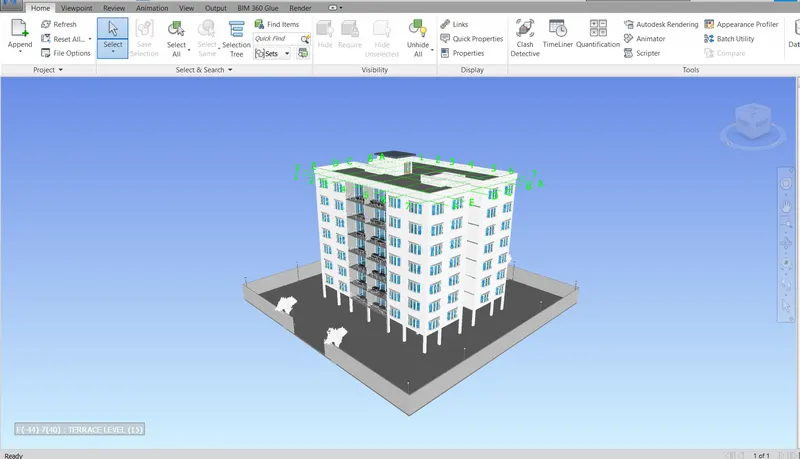
- After this, your NWC file will be loaded in the software and thus you can start to examine the project.
- Go to the Viewpoint
- In order to walk through the model, you need to go to the viewpoint and click on the walk option available within the viewpoint menu.
- There is also a fly option that can be used to inspect the project from a drone point of view.
- But for this project, we are only utilizing the walk option to go through the interiors of our building.

- Open the 3d-view
- Open up one of the 3d views from the view panel available at the Navisworks right-hand side screen.
- You need to create the relevant 3d views in your Revit model that will be reflected in the Navisworks exported file.
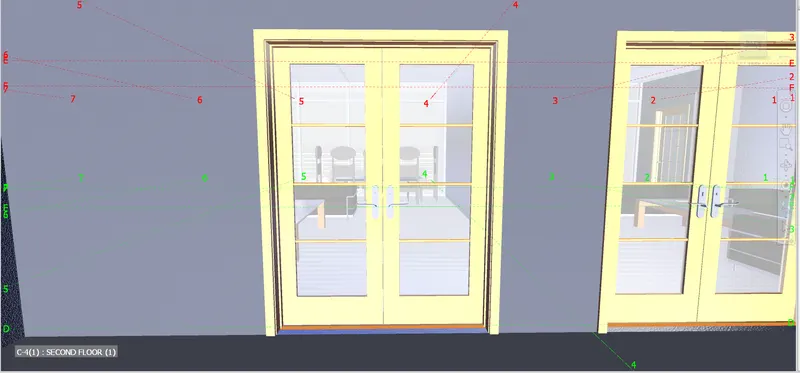
- So, start from the exterior door of the flat then start exploring all the rooms one by one.
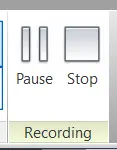
- Start Recording
- Before starting your walk, make sure to start recording in order to create an animated video that you can present to your client.
- So, from the viewpoint option, drop down the save viewpoint option and click on the record option to start recording your walk.
- Explore Each Room one after the other
- Use the left-click and scroll button on your mouse and walk the entire flat to see if there are any changes needed in the model.
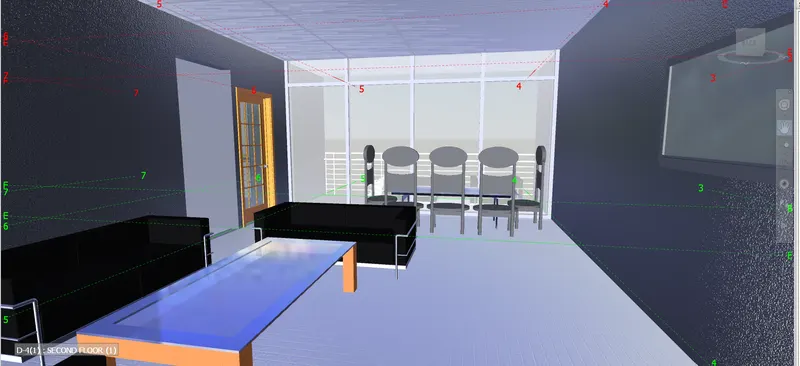
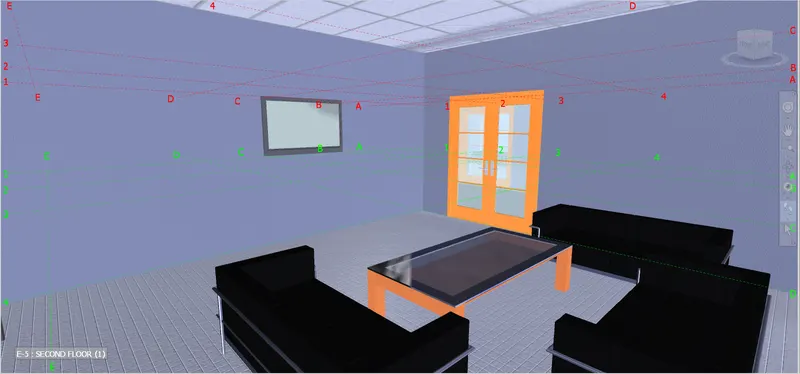
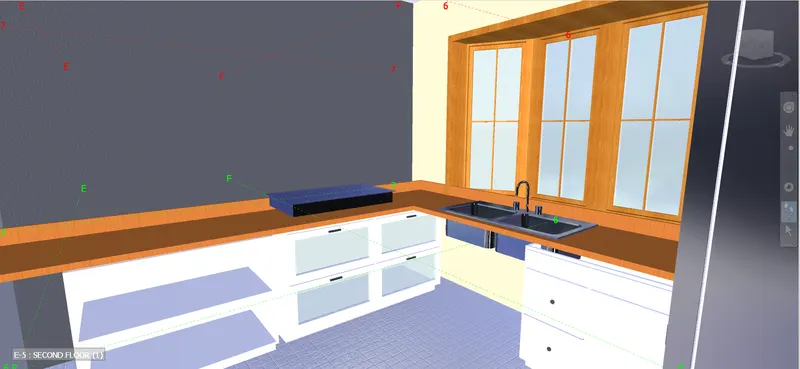
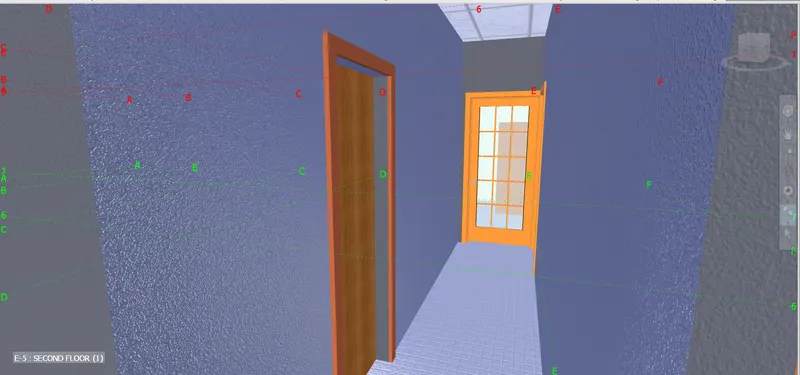
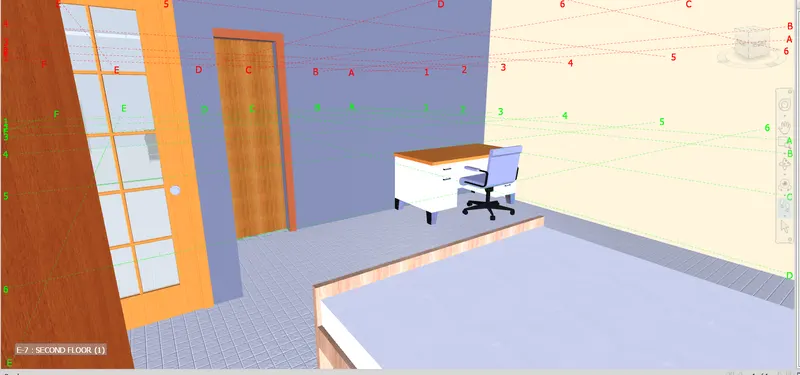
- Thus, we have walked through every room in the flat and all the photos of different rooms are inserted below:
Living Room
Kitchen
Passage
Bedroom
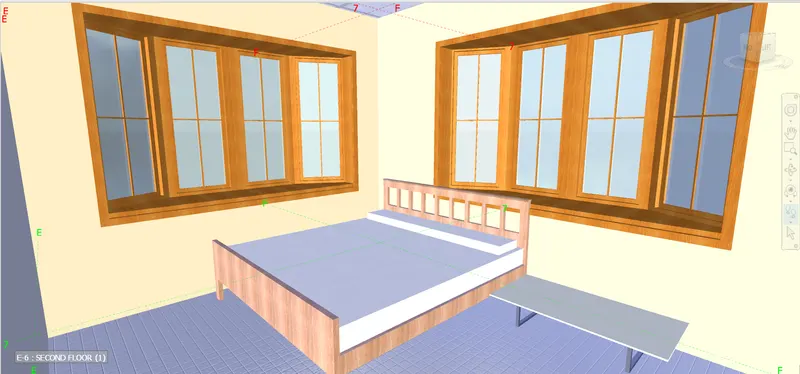
Master Bedroom
Bathroom
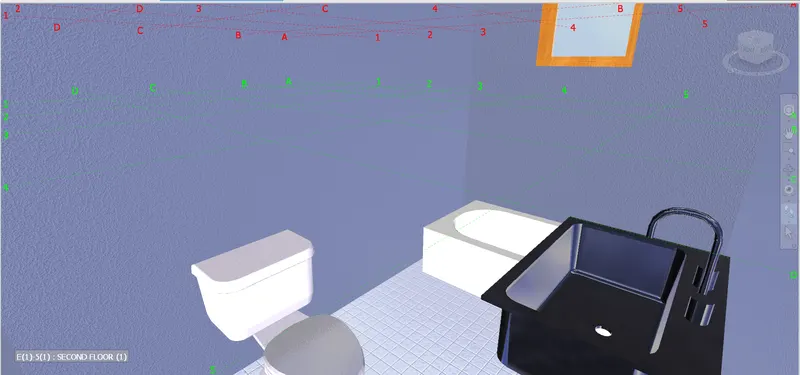
Balcony
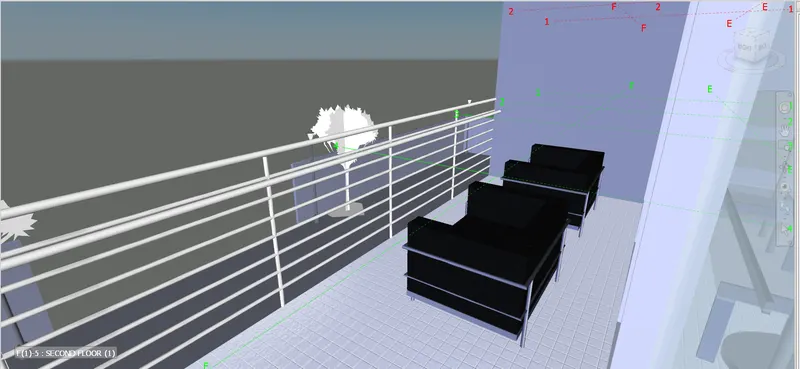
- Stop Recording and Save the File
- After finishing the complete walk, go to the viewpoint and click on the stop recording option.
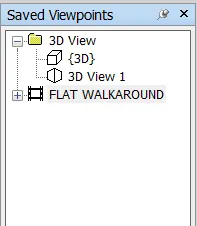
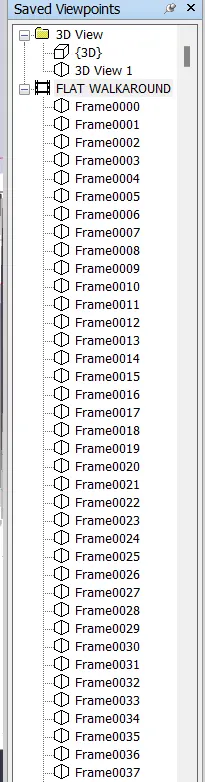
- It will automatically load an animated video file of your walk, you just have to rename it.
- So, give it an appropriate name within the saved viewpoints.
- Export the Video
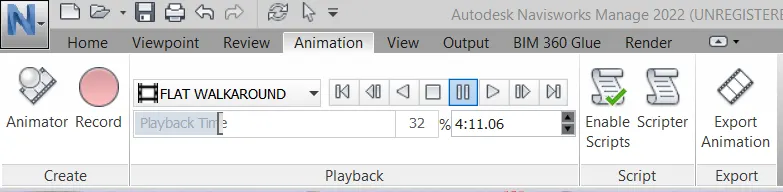
- To export the video, go to the animation tab and click on the export animation option.
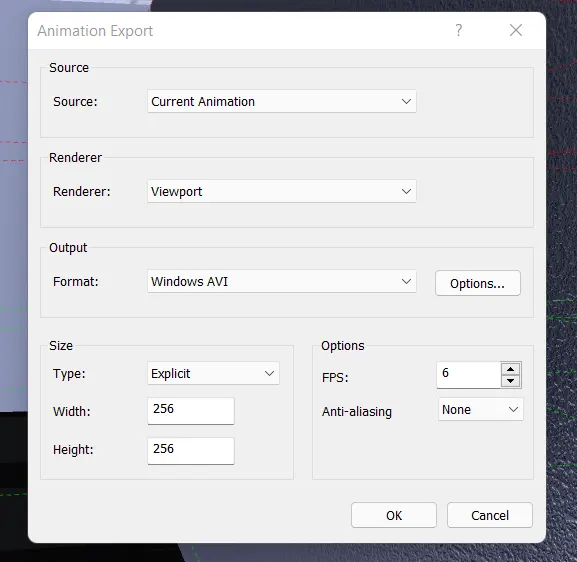
- Adjust the export settings and select the destination folder within your system.
- Also, make sure to select the proper video format that is supported on your computer.
3) Use Navigate tool to use the Realism feature to walk through the model and record your moving as animation in the Navisworks file.
STEPWISE PROCEDURE:
- Activate the Realism Feature
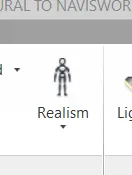
- Go to the viewpoint tab and look for the realism dropdown menu.
- From the realism dropdown list, check the third person box.
- The feature will be activated and now you can execute the realistic walk throughout the project.
- Complete the Walkthrough of the Entire Project
- To execute the walkthrough, follow the exact procedure that was followed in the previous question.
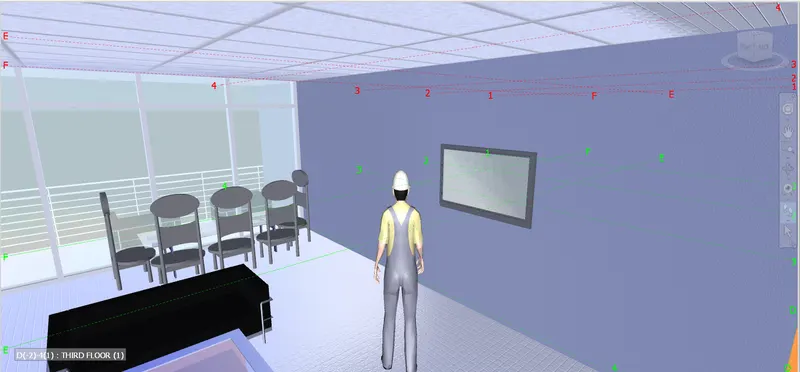
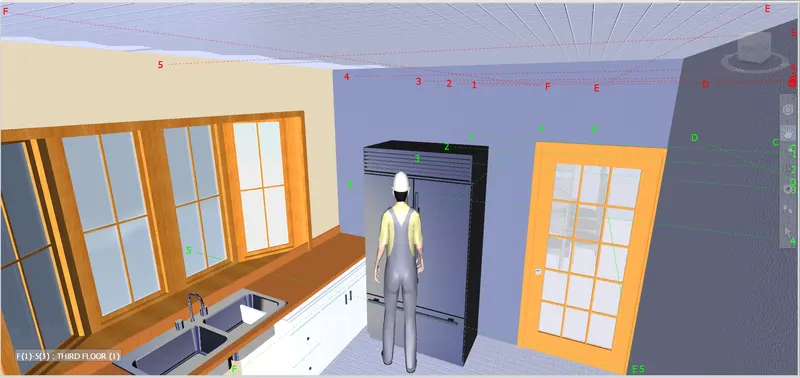
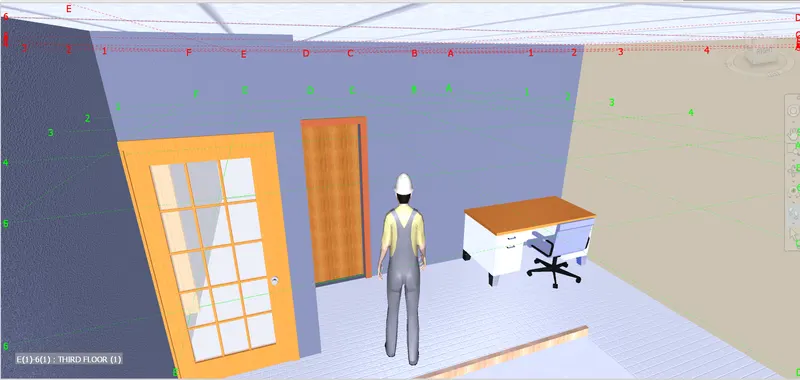
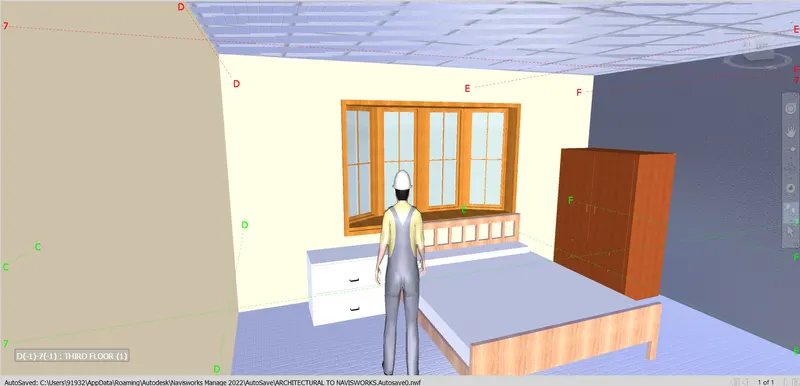
- Thus, a similar approach is followed and realistic visuals from different rooms are recorded and inserted below:
LIVING ROOM
KITCHEN
BEDROOMS
4) Embed both architecture and structure *.nwc file to your Navisworks file. Create a clash detection test between the two models
a. Run the Clash Detection Test
b. Study the clashes between the two models
c. List which of the clashes could be approved
d. List which of the clashes could be neglected ( will be taken care of later)
e. List which of the clashes can be resolved
f. Save the results after color-coding the clashes to the Navisworks file
g. In case of resolution annotate the clash and save the view to defined views in Navisworks
STEPWISE PROCEDURE:
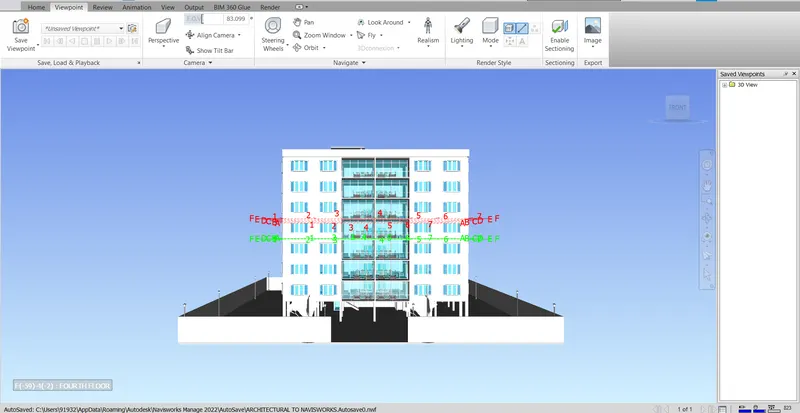
- Open the Architectural Model in NavisWorks
- Start the software and go to the open tab.
- Browse for the converted NWC file for your Architectural model.
- Select the file and click open.
- Append the Structural Model
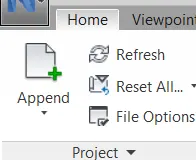
- After opening the Architectural model, now use the append option from the home tab and combine both models in your NavisWorks file.
- And to do so, go to the home tab and locate the append option.
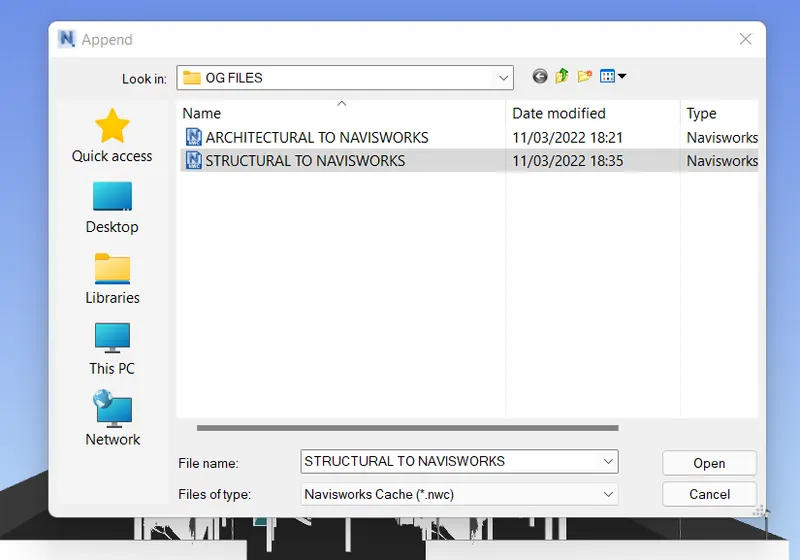
- Click on the append button and browse for the file you want to append with your current model.
- Then, click on the flie and open the same.
- Now both models are combined and you need to run the clash detection test in order to find out where these models need the correction for a seamless construction process.
- Run the Clash Detection Test
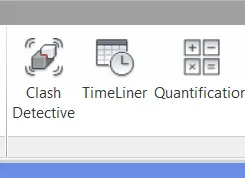
- Now to run the test, you need to click on the clash detective tool and do some settings and then run the thing.
- So, from the home tab locate the clash detective tool and click on it.
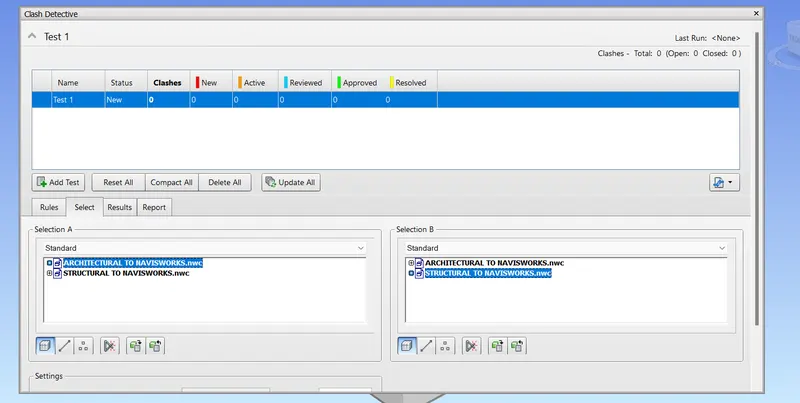
- Then, you will be required to select two files that you want to check for the clash.
- Thus, click on the Architectural file from the section A and click on the structural file from the section B.
- Then, scroll down the dialogue box and click on the run option to execute the clash detection test.

- Carefully Examine the Results and Categorize the Clahes
- After running the test successfully, the results will be displayed on your screen in terms of the total numbers of clashes detected.
- So, look at the clashes and try to categorize them according to the type of clash.
- You can categorize them as active, resolved, approved and reviewed.
- Thus, active clashes are those who are under discussion and need to attention to be solved.
- Resolved are the ones that are taken care of already or can be easily executed at the site.
- And, approved claesh are the ones that are typically approved on the construction level.
- At last, reviewed are the ones that can be neglected as these are minor clashes that are generally understood and dealt with at the time of construction.
- Moreover, you can also assign a person through NavisWorks to take care of some of the clashes in your project.
- At the same time, you can add comments and all regarding the clash that need further explanation.
- Then after conductin this entire operation, you can go ahead and write a report on all the clashes and how they are dealt with.
TEST RESULTS
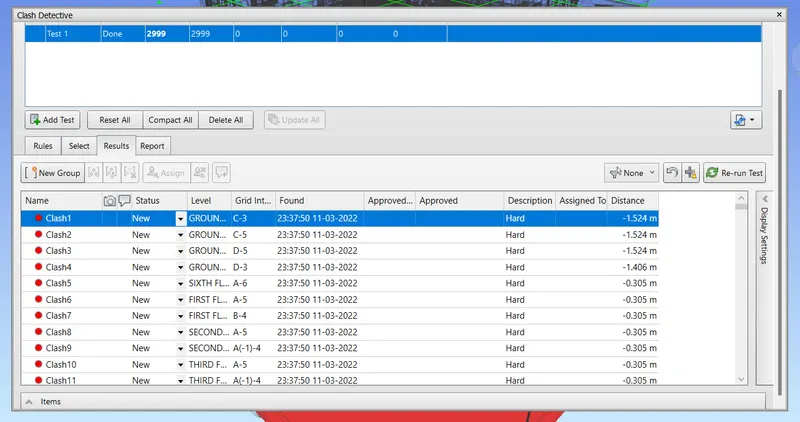
CLASH CATEGORIES BASED ON THE TYPE OF CLASH
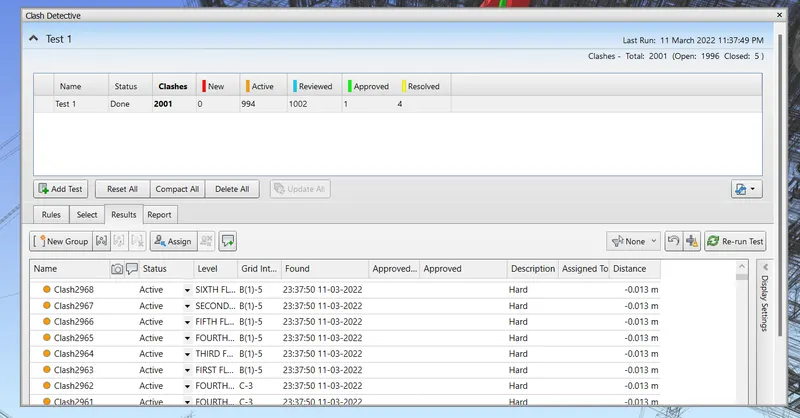
NOTE: No new clashes should be left over after examining the model.
5) Using the Timeliner feature in Navisworks prepare a schedule for the project developed in week 6 to 8 by adding reasonable assumptions for task start date and end date and simulate the task completion as a visual simulation. Record it and save the timeline simulation to Navisworks file.
- Open up the structural framing model into your NavisWorks file by following the standard procedure as discussed in the previous sections.
- Now, you can find the timeliner tool just beside the clash detective tool. So, click on it.
- A dialogue box will appear on your screen where you can set the scheduling of your project.
- Now, go to the selec option and activate the selection tree on the left hand side of your NavisWorks screen.
- Thus, start adding tasks based on the standard construction procedure followed in the industry.
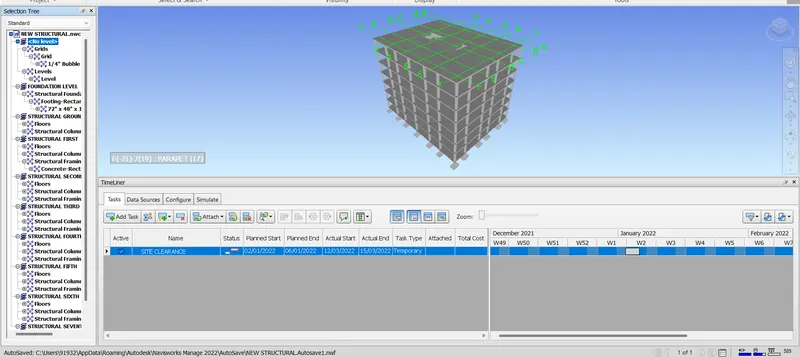
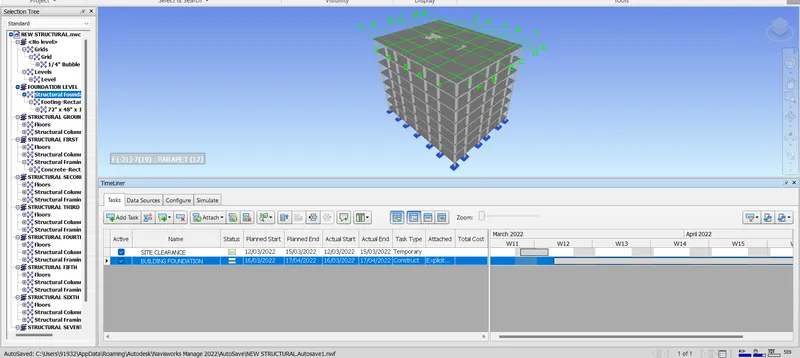
- Start from the site clearance then add the foundation construction till the end at the top roof slab.
- So, when you add a task, you can define its name, starting date, ending date, type of task and you can also assign the selected objests to it.
- For example, if you are adding a task named column casting, you can select all the columns you want to target in this taks at a certain floor level.
- Hence, the above method has been followed and the following schedule timings have been laid out based on the scope of our project.
TASK 1 - SITE CLEARANCE
TASK 2 - BUILDING FOUNDATION
TASK 3 - GROUND LEVEL FLOOR PREPARATION FOR PARKING
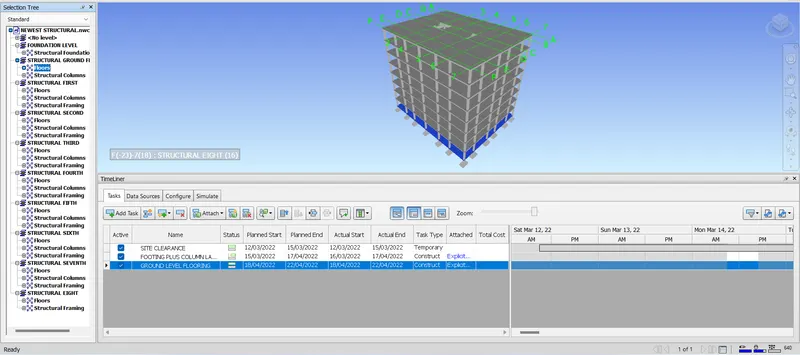
TASK 4 - GROUND FLOOR COLUMNS CASTING AND CURING
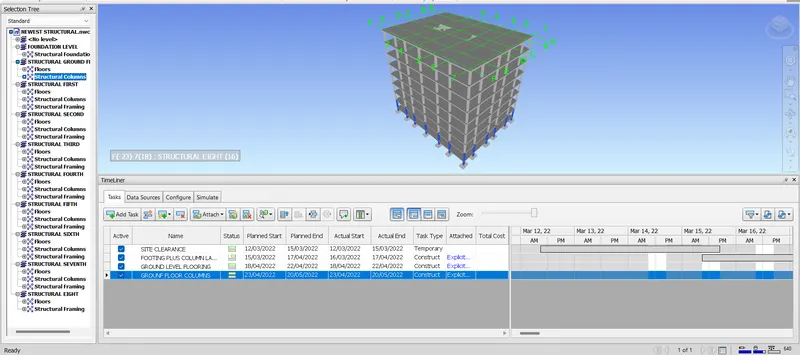
TASK 5 - FIRST SLAB
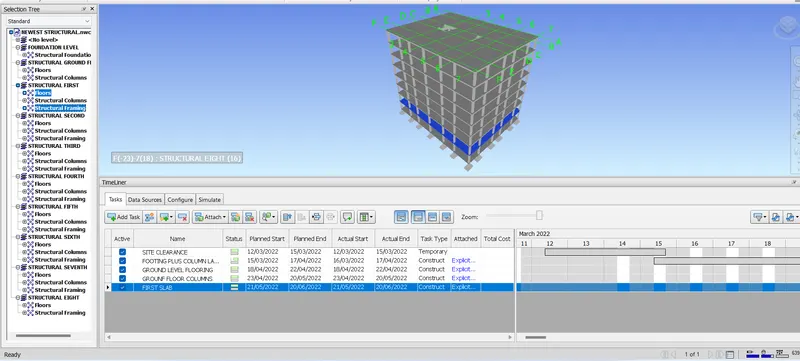
TASK 6 - FIRST FLOOR COLUMNS CASTING AND CURING
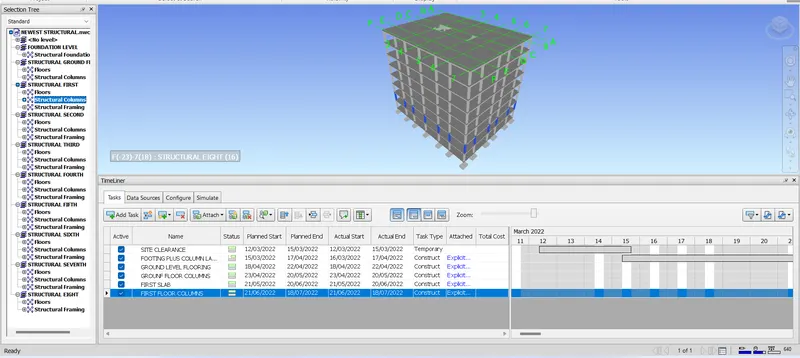
TASK 7 - SECOND SLAB
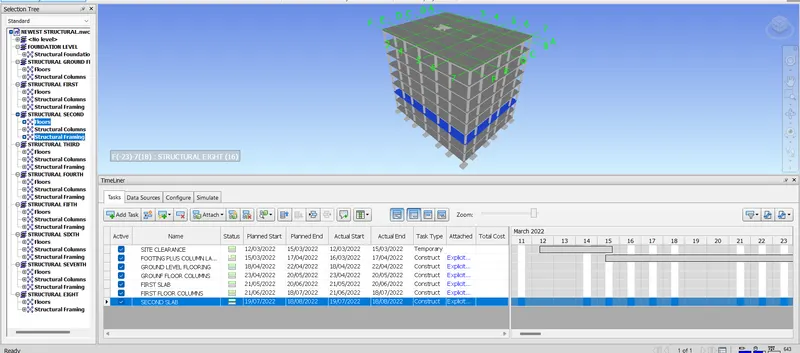
TASK 8 - SECOND FLOOR COLUMNS CASTING AND CURING
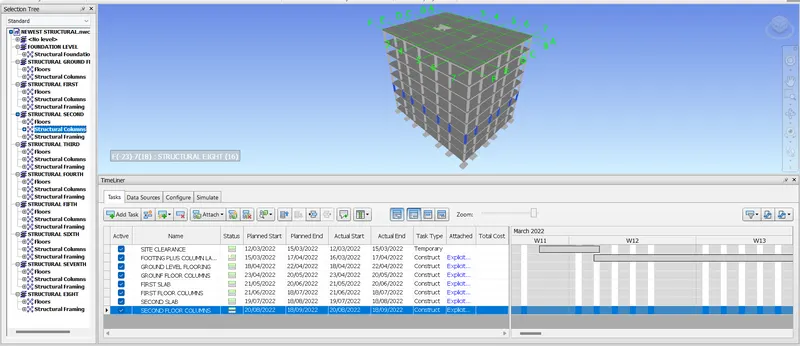
TASK 9 - THIRD SLAB
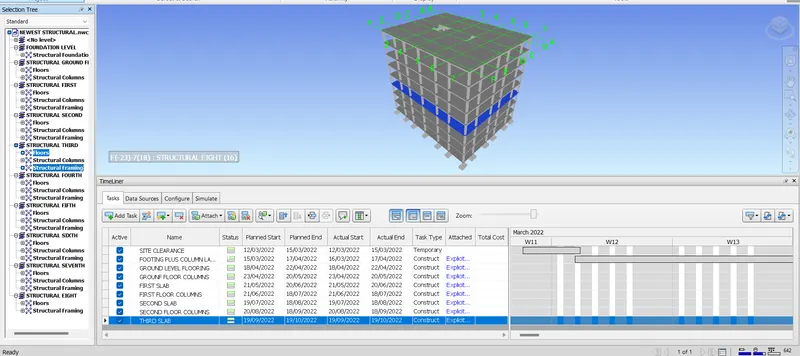
TASK 10 - THIRD FLOOR COLUMNS
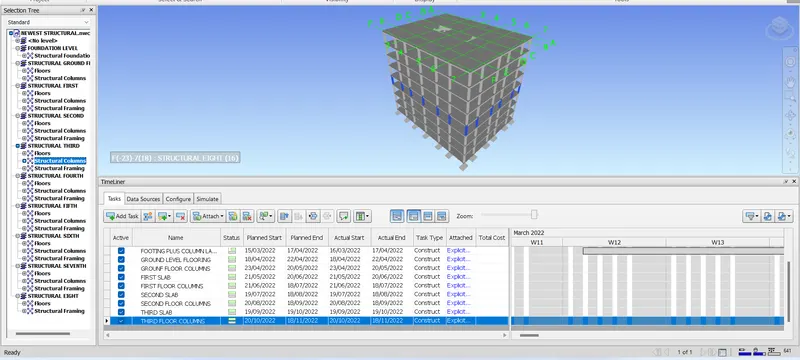
TASK 11 - FOURTH SLAB
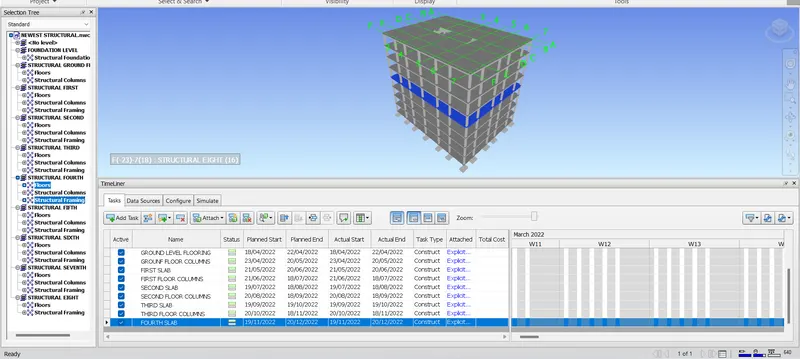
TASK 12 - FOURTH FLOOR COLUMNS
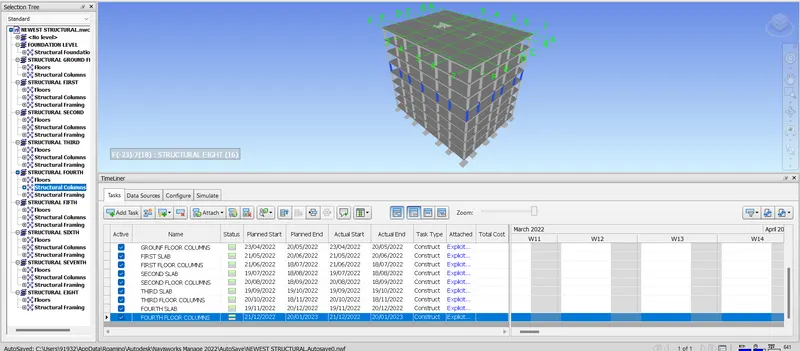
TASK 13 - FIFTH SLAB
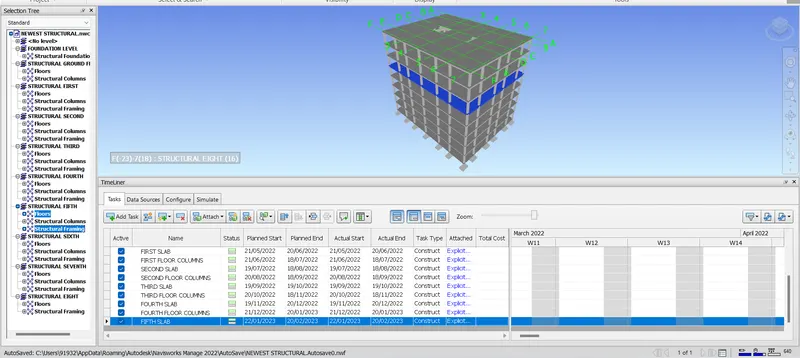
TASK 14 - FIFTH FLOOR COLUMNS
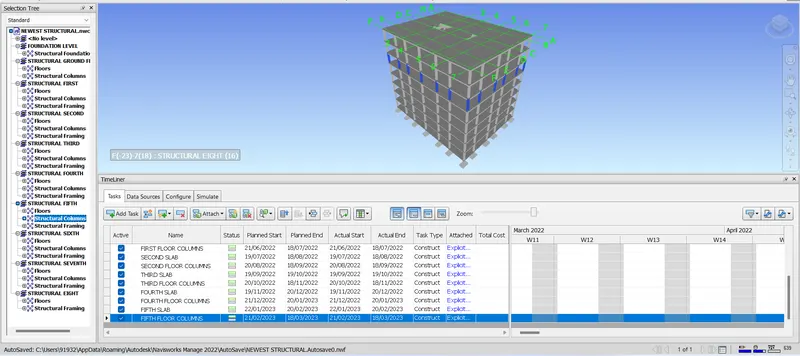
TASK 15 - SIXTH SLAB
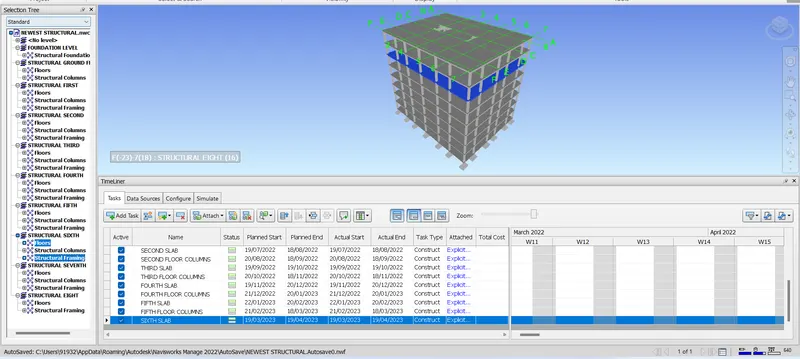
TASK 16 - SIXTH FLOOR COLUMNS
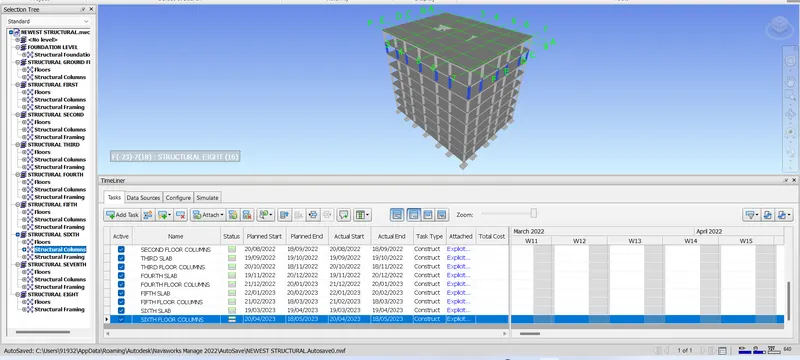
TASK 17 - SEVENTH FLOOR COLUMNS
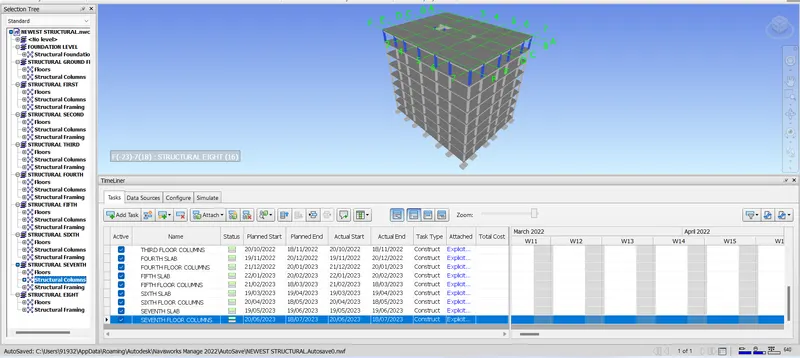
TASK 18 - FINAL SLAB (TERRACE LEVEL)
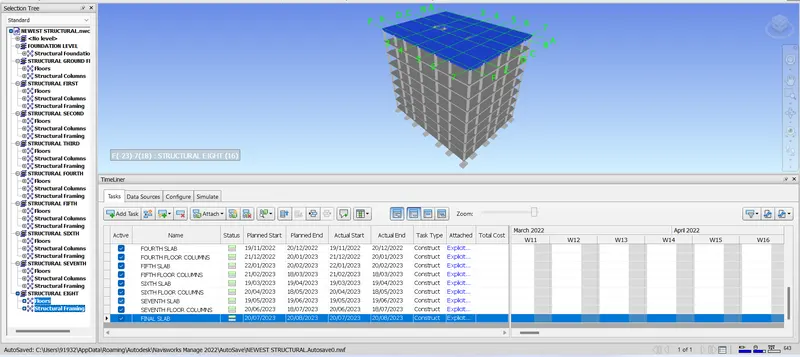
Hence all the tasks are successfully scheduled based on the realtime project timeline. Now we can simulate the entire project in a video format. So, go to the simulate option and play the video that has been added to simulate menu. Moreover, you can also download the video on your system by exporting it just like we did for the walktrhough of our project.