Usage of Navigation tool , Timeliner and Clash Detection test using Naviswork
Name: Allan Bryan Jayson Cruz
Course: Master’s Certification Program in High-Rise Building Design & Analysis
Date: March 7, 2022
Challenge 11_Usage of Navigation tool , Timeliner and Clash Detection test using Naviswork
********************************************************
1 Aim & Introduction
***************
Aim
This challenge aims to introduce the use of the Navisworks software with relation to the Revit software. It also aims to familiarize the student in exporting and importing of data files from one software to another. This allows the student an on hand experience on Project time stamp and clash detection using the newly known software.
Introduction
Revit is a building information modelling software that allows the user to create and design a 3D model building structure. It is an architectural, structural, and mechanical software where the user can provide 3D illustration of the building as well as its design.
********************************************************
2 Detail Procedure
***************
1) Use the Architecture/ Structure Project file developed by you in Week 6 to 8. Export the Revit architecture and structure model to Navisworks Cache file following the export settings discussed in class.
PROCEDURE:
To export the revit model to a navisworks cache file, the following steps are followed.
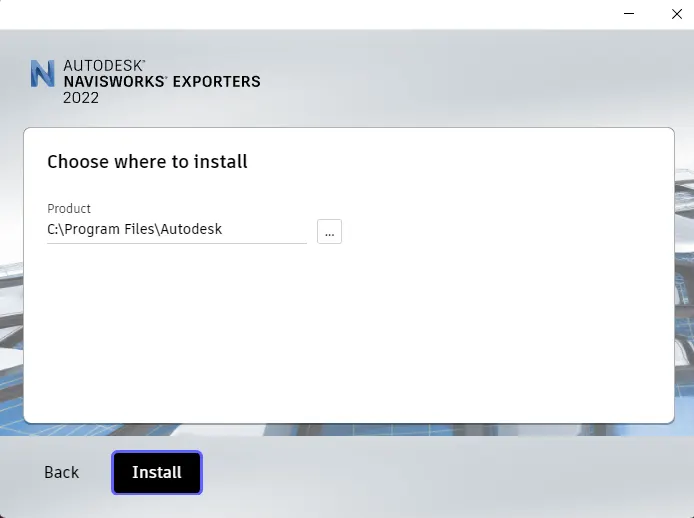
- Open the Revit softeware. The navisworksExporters must be installed in order to export the Revit file to NWC file.
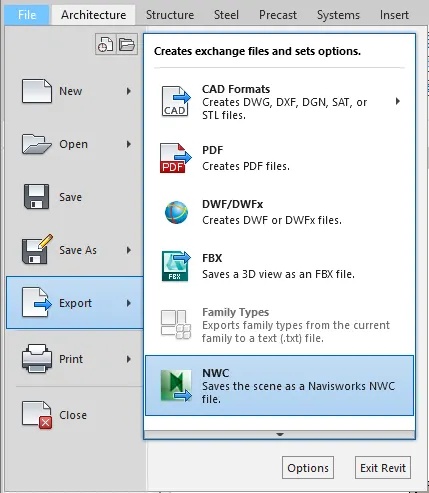
- In the opened Revit software, Go to file --> Export --> NWC. Do this for both Architectural and Structural File.
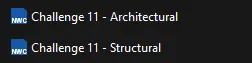
- This will create an NWC file that can be opened using another software.
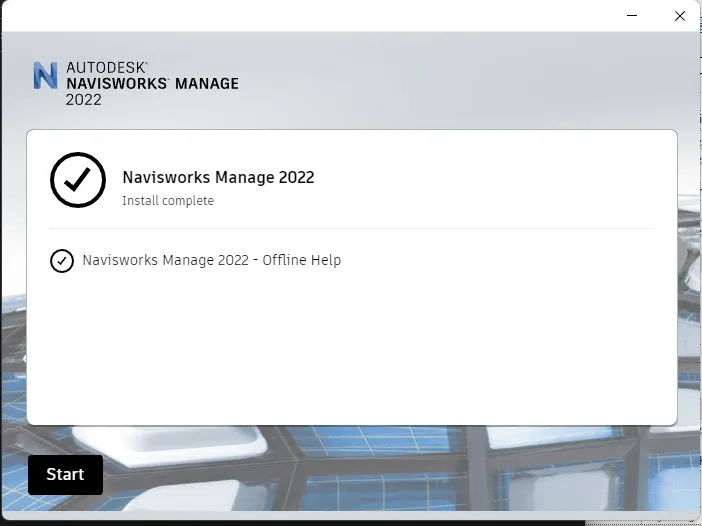
- Install the Navisworks Manage to open the created file.
- Now we can open the created file using the software. Open Navisworks Manage then select Open under the file Menu.
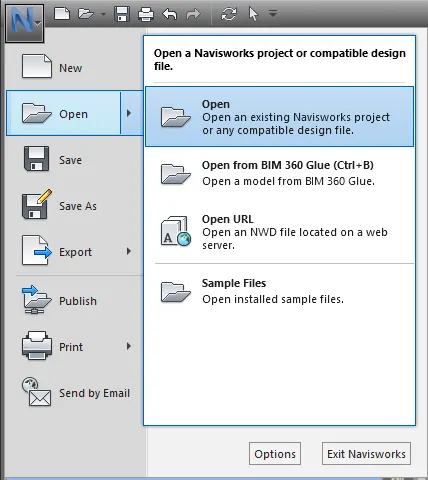
- Change the file type to NWC then open the created file.

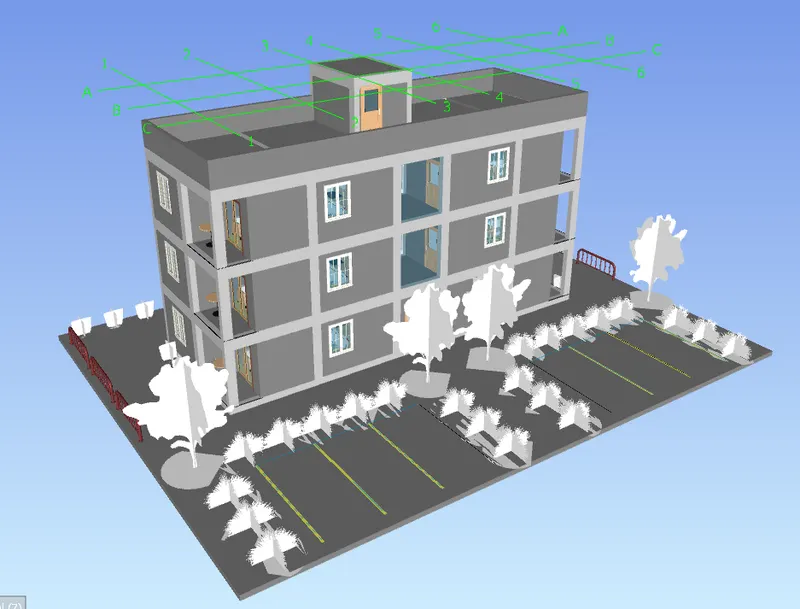
***************
2) Use Navigate Tool to walk around the model and walk through the rooms created and record your moving as animation in your Navisworks file.
PROCEDURE:
- First open the Navisworks file as stated in Q.1 answer.
- Then go to the selected room before walking using the scroll bar of the mouse. Make sure you are inside the created model.
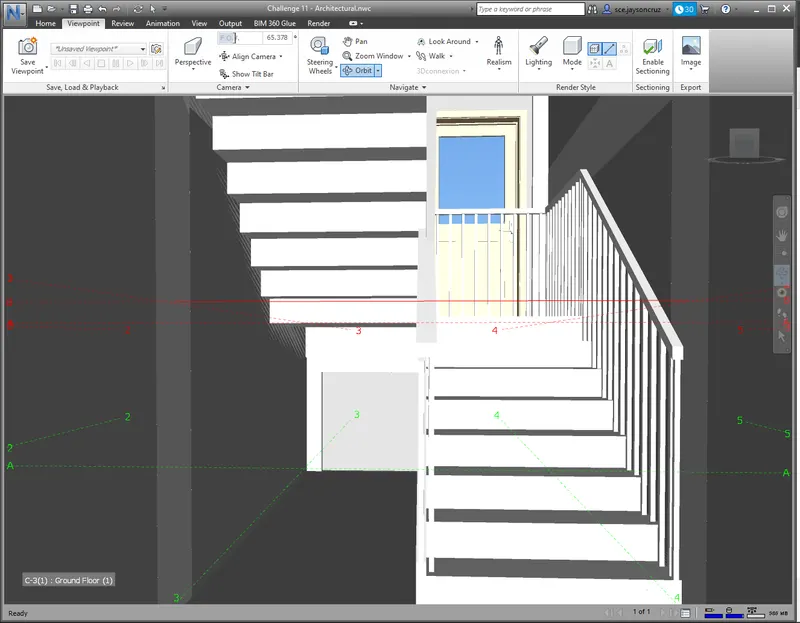
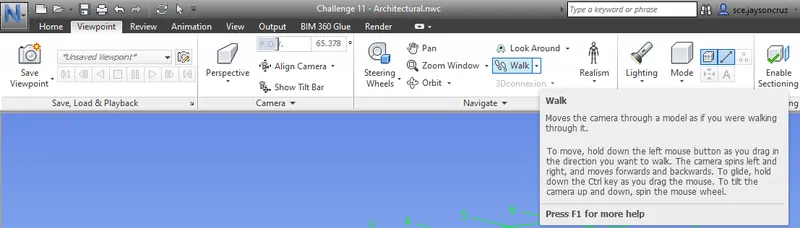
- Now, select the Walk tool under the viewpoint tab to start walking.
- To record the walk, first Save the viewpoint which can be done using the Save Viewpoint option under the Viewpoint tab.
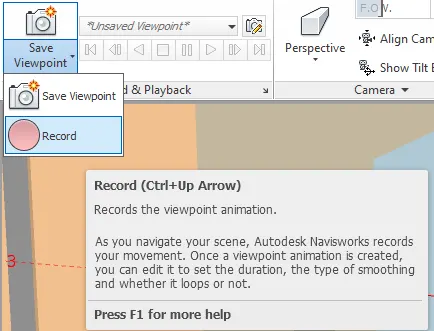
- Press Record then start walking by pressing the left mouse button.
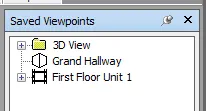
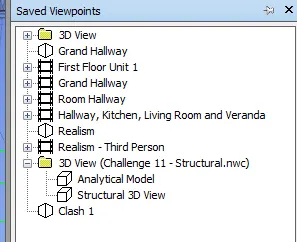
- The recordings and viewpoints will be saved under the Saved Viewpoints tab.
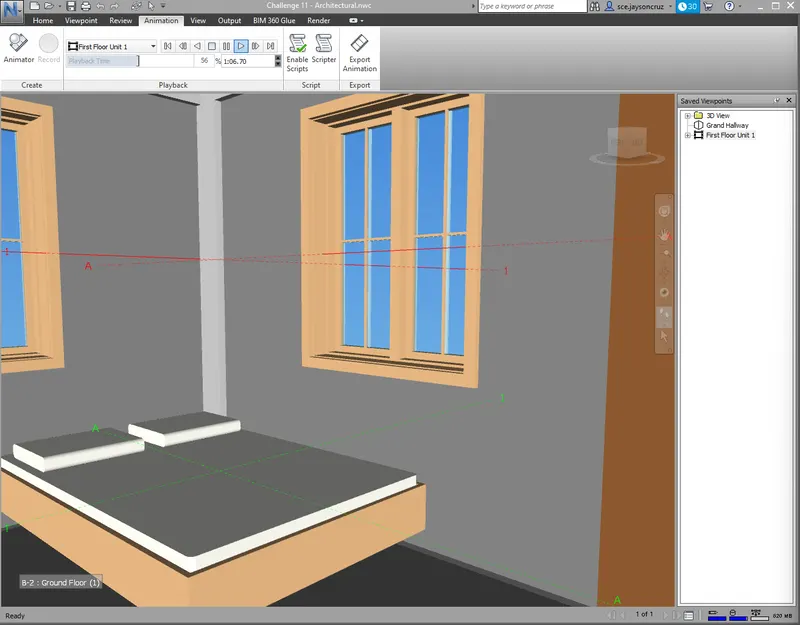
- To view the animation or play the animation, go to the animation tab and use the tools appropriately.
- To export the animation video, use the export animation tool under the animation tab.
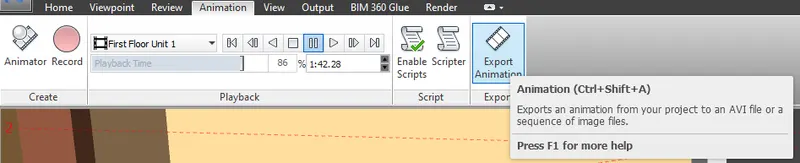
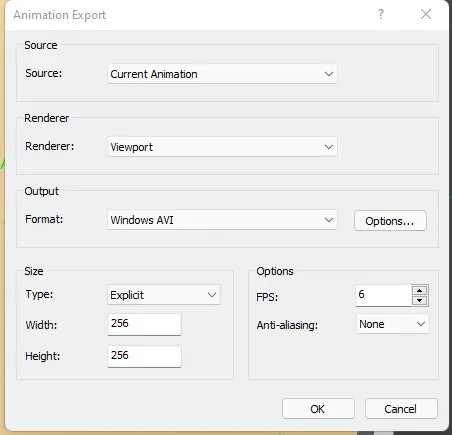
- The video will be saved in the chosen location.
***************
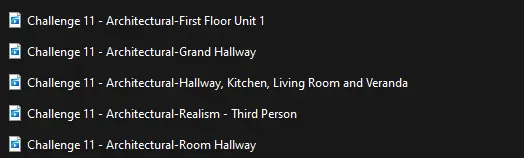
3) Use Navigate tool to use Realism feature to walk through the model and record your moving as animation in Navisworks file
PROCEDURE:
- To activate the Realism view, use the Realism tool under the Viewpoint tab.
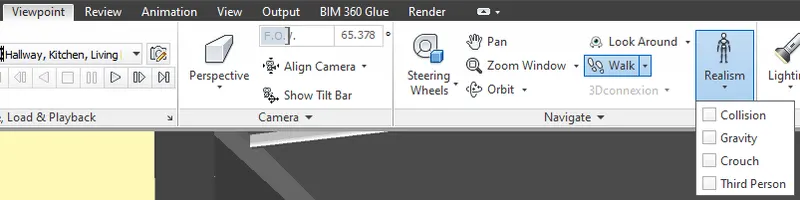
- If the third person is chosen, a person will appear on the screen for realism feature.
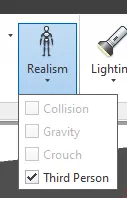
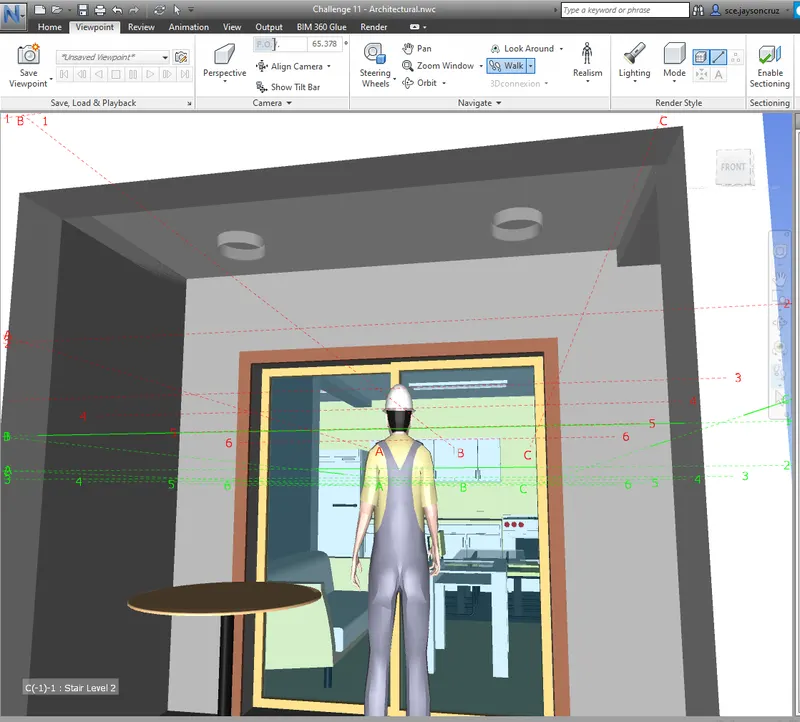
- Now record and start walking around the rooms.
- Save the recording.
***************
4) Embed both architecture and structure *.nwc file to your Navisworks file. Create a clash detection test between the two models
a Run the Clash Detection Test
b Study the clashes between the two models
c List which of the clashes could be approved
d List which of the clashes could be neglected ( will be taken care later)
e List which of the clashes can be resolved
f Save the results after color coding the clashes to the Navisworks file
g In case of resolution annotate the clash and save the view to defined views in Navisworks
PROCEDURE:
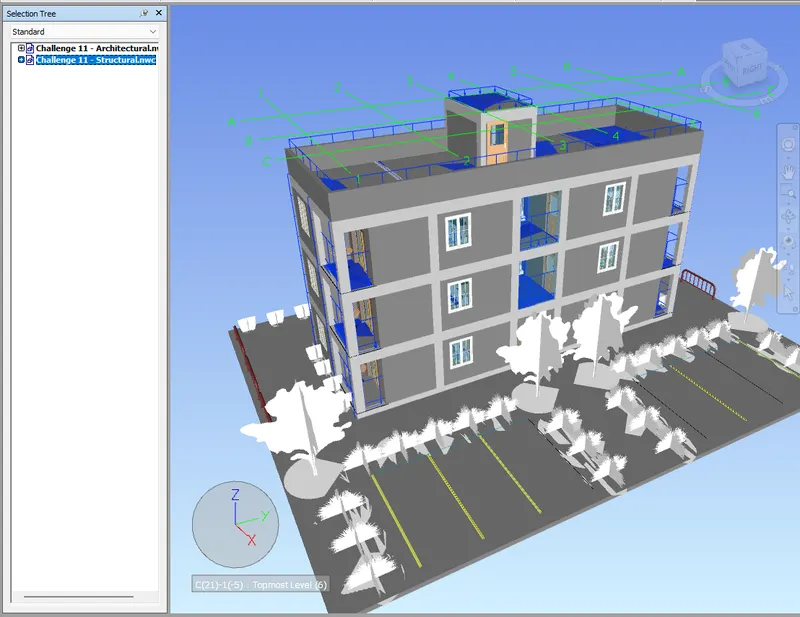
--> Import Structural Revit Model
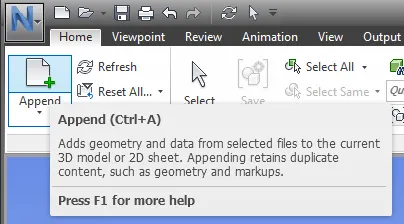
- To import the structural model, use the Append tool under the Home tab.
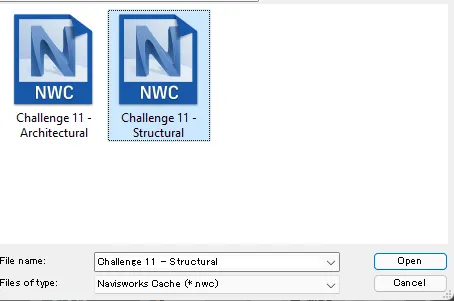
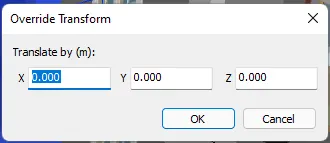
- Makesure the models have the same coordinates. If the model coordinates are different, use the transform tool to move the imported mode.
--> Run the Clash Detection Test
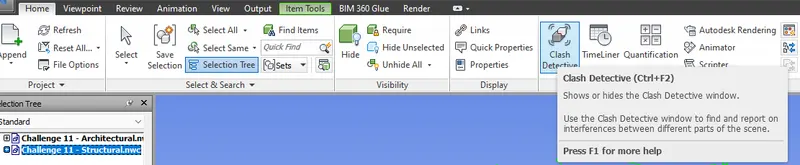
- To run the clash detection test, click the Clash Detective test under the Home tab.
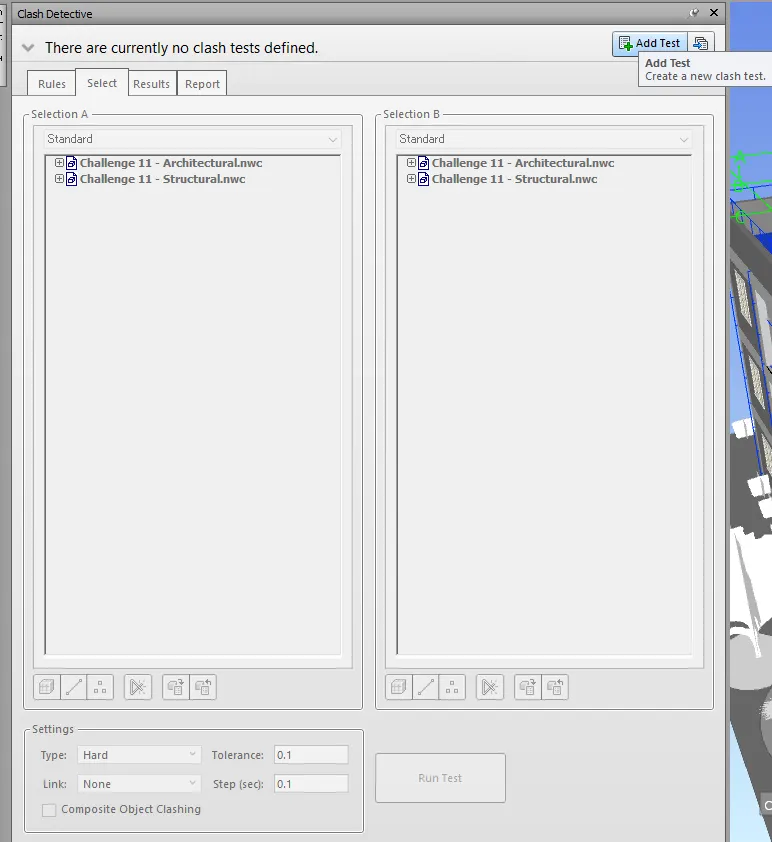
- A window will appear. Select the Add Test button.
- Once the Add test button is selected. A new tab will appear.
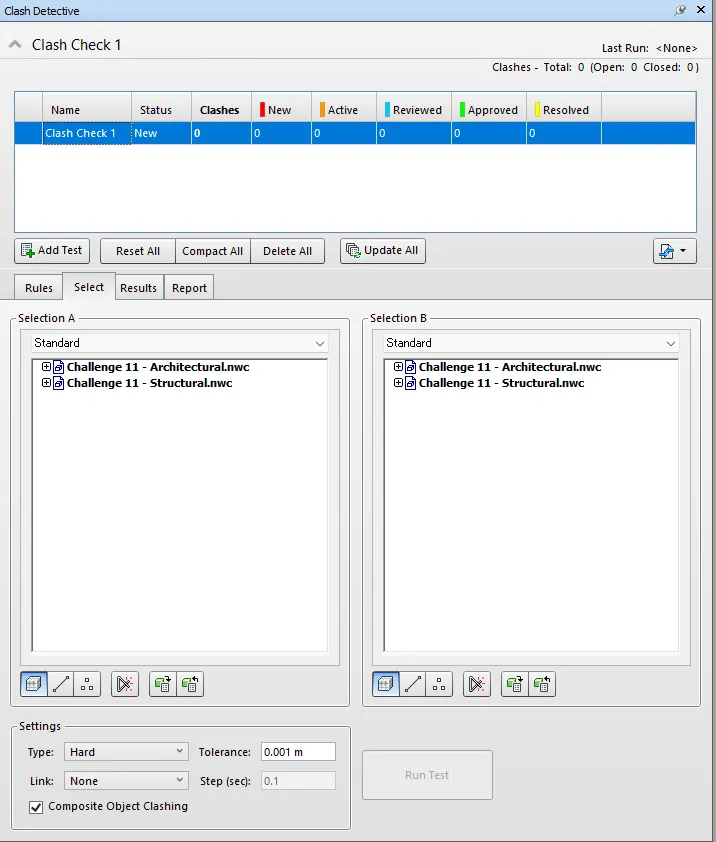
- On the lower part, select the models for checking then click the Run Test Button.
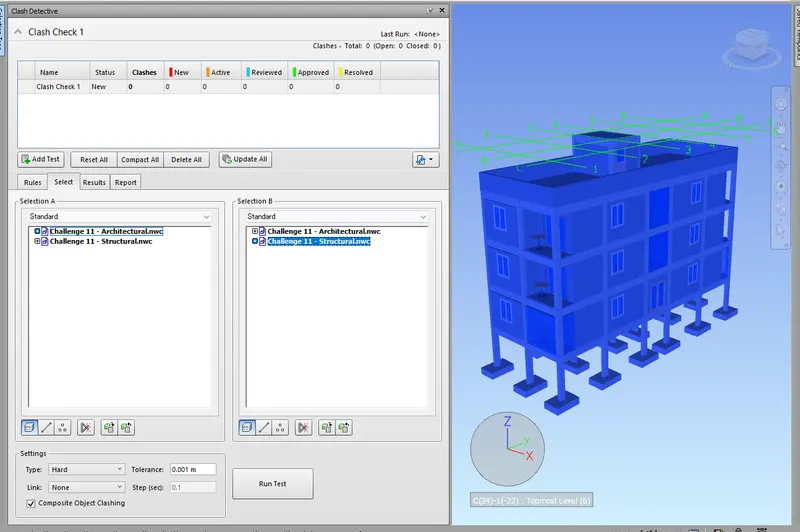
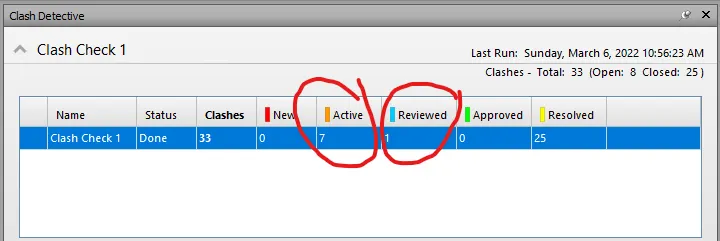
- The calshes will be recorded as below.
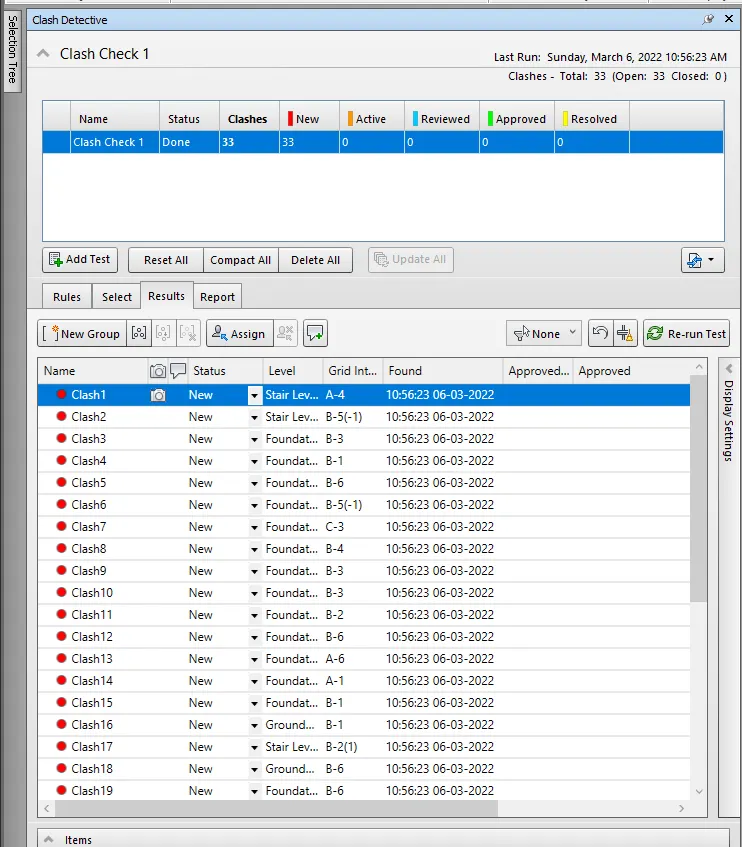
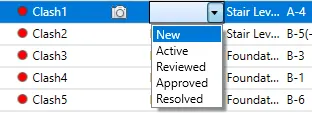
--> Study the clashes between the two models ; List which of the clashes could be approved ; List which of the clashes could be neglected ( will be taken care later) ; List which of the clashes can be resolved
- Analyze the clashes and check whether of the following
- Active
- Reviewed
- Approved
- Resolved
--> Save the results after color coding the clashes to the Navisworks file
- Once the checking is done, the following will be shown.
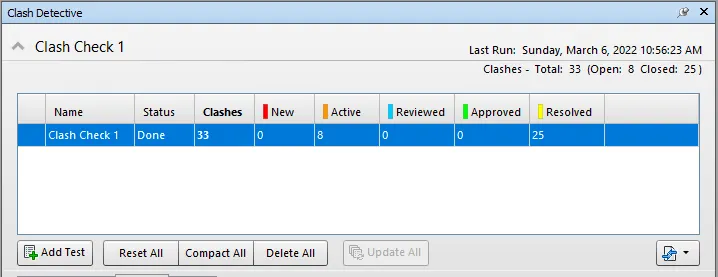
- Notice that the staus of the items will be recorded. Active statuses will be clashes that needs to be reviewed. Once reviewed, the item status should be changed and informed to the project personnel for resolution.
- And then, a new clashing check will be conducted.
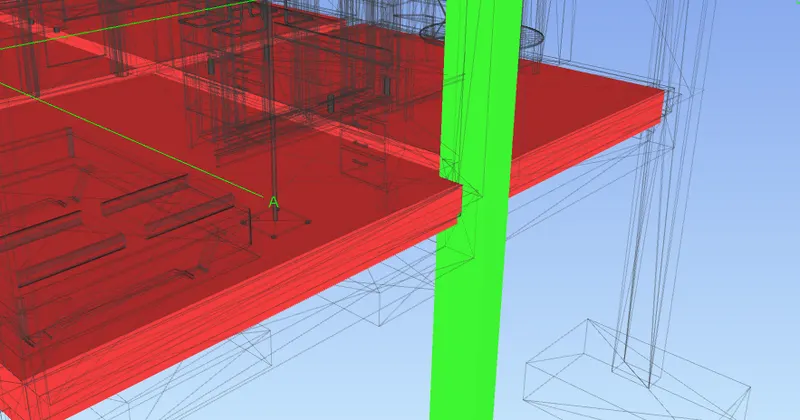
--> In case of resolution annotate the clash and save the view to defined views in Navisworks
- When resolving clashes, select the clash tab. The clash location will be shown on the model.
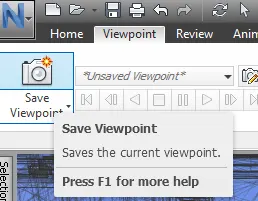
- Save the view using the Viewpoint tool so that this can be resolved during the revision phase.
- The saved views will be recorded under the Saved Viewpoints.
***************
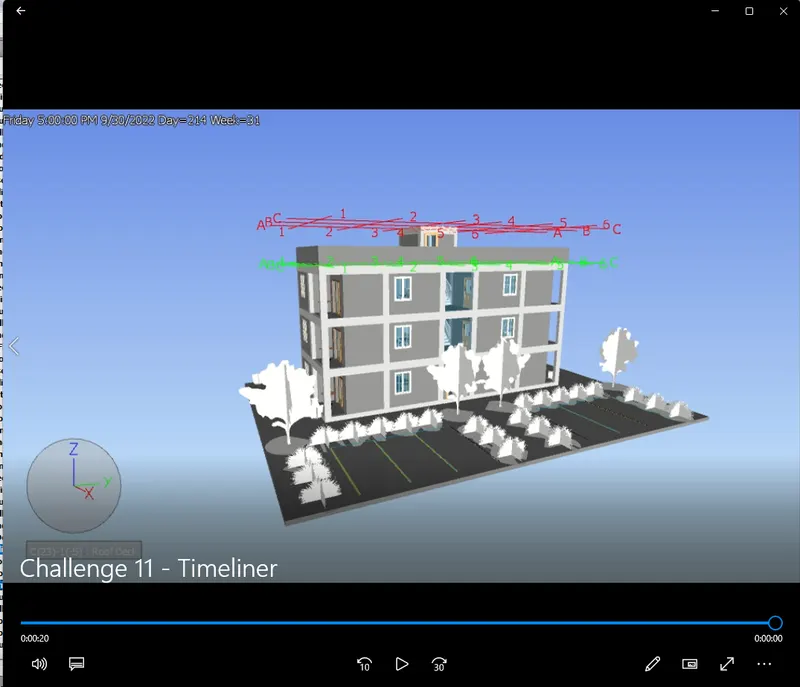
5) Using the Timeliner feature in Navisworks prepare a schedule for the project developed in week 6 to 8 by adding reasonable assumptions for task start date and end date and simulate the task completion as a visual simulation. Record it and save the timeline simulation to Navisworks file
PROCEDURE:
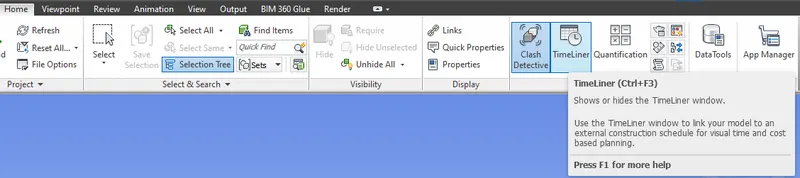
- The Timeliner tool can be selected under the Home tab.
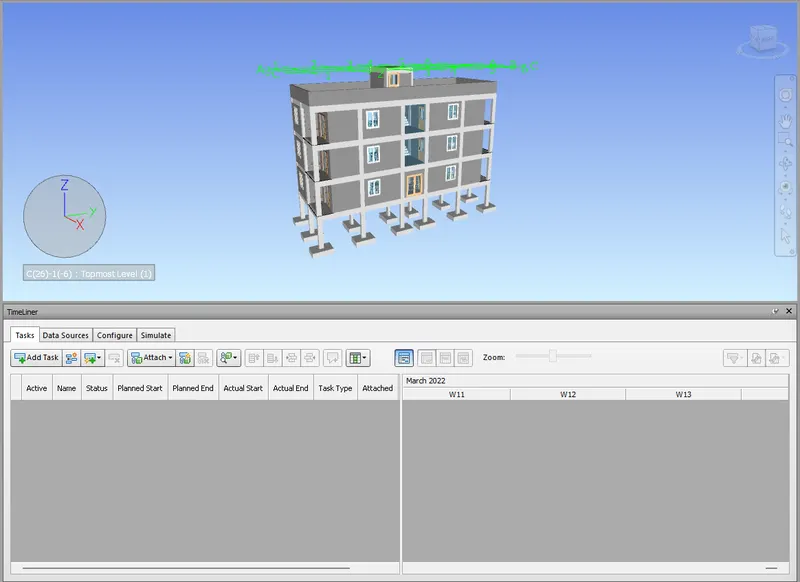
- Once selected, the Timeliner tab will be shown on the model.
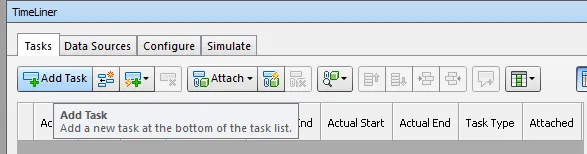
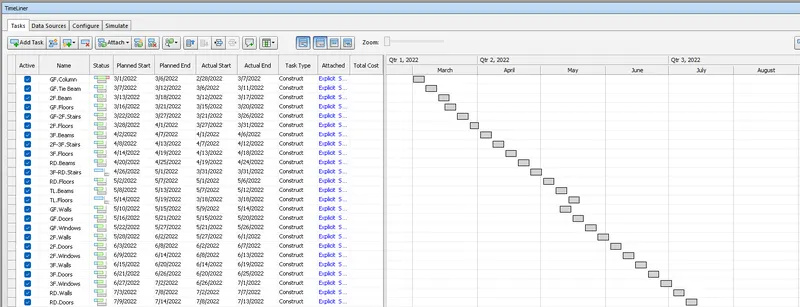
- To add tasks, select the add tasks button and decide the dates for the construction.
- First is the ground floor.
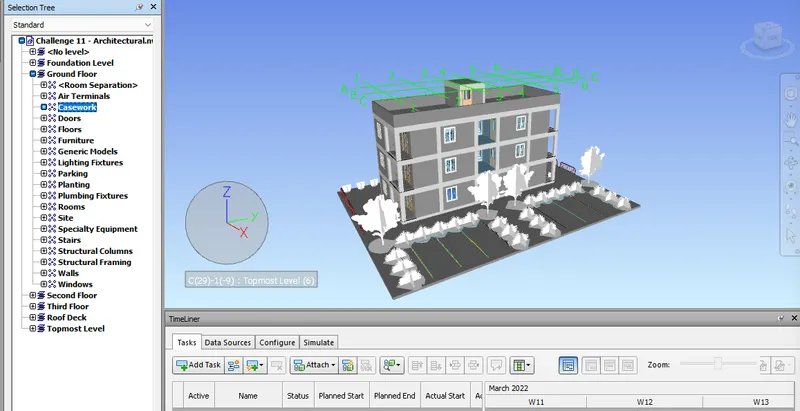
- Add tasks and decide the dates. Also, attach the appropriate items to the tasks.
- Construction Parameters are as per below.
- Planned Start Date: March 1, 2022
- Estimated Time for each item: 5 days
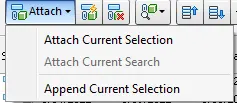
- To attach the selected items, open the Selection Tree and select the items. Once the items are selected, click the Attach button and select one of the following.
- Once the dates are decided, the schedule will be complete.

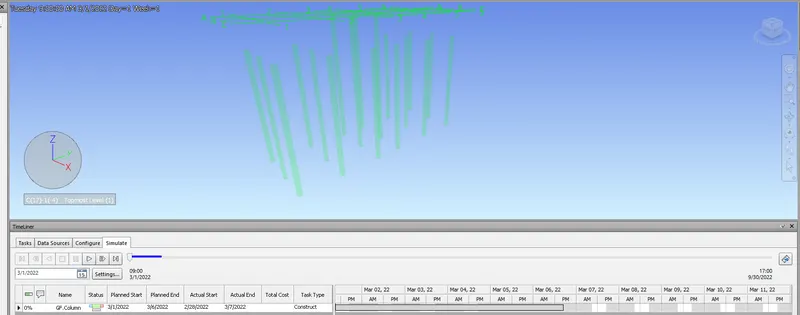
- You can check the construction process using the simulate button under the Timeliner.
- You can review the animation and export the video for future use.
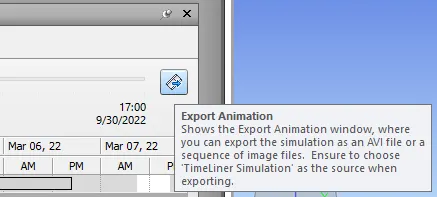
- Once the video is exported, it can be used for presentation of the model.
********************************************************
3 Conclusion
***************
The Revit software allows the collaboration with other software using the import and export tool. This can transfer the created model from one software to the other. Different software provides different tools that gives the user access to other kinds of utilities. One of the software that Revit can collaborate with is the Navisworks software.
Navisworks software provides an easier checking experience to the user. It contains different viewing tools that specifically target checking around the model in a real time experience using the Walk, Plane, and Orbit Tool that creates a point of view image around or inside the model. Navisworks also provides a Timeliner which is used for scheduling revisions under the project and Clashing Test that helps engineers to avoid mistakes during the duration of the project.