Usage of Navigation tool , Timeliner and Clash Detection test using Naviswork
1):
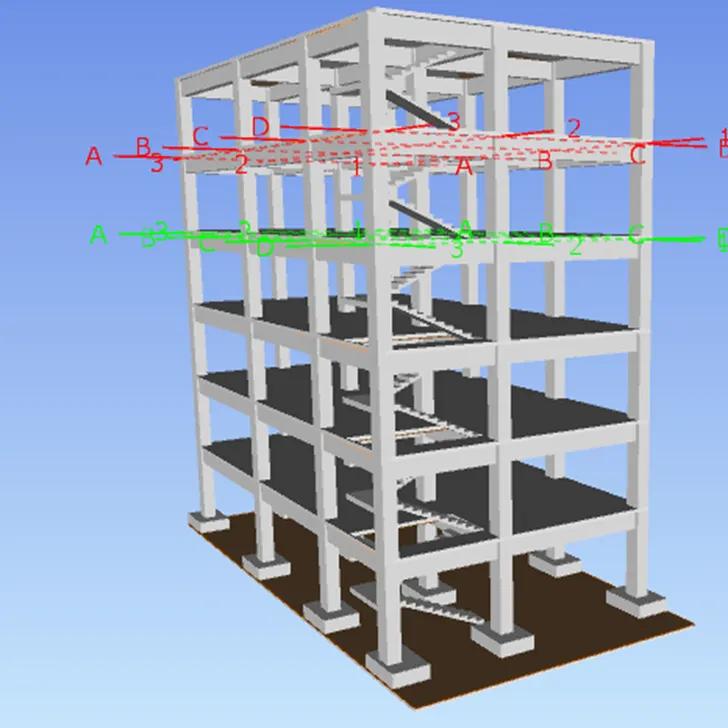
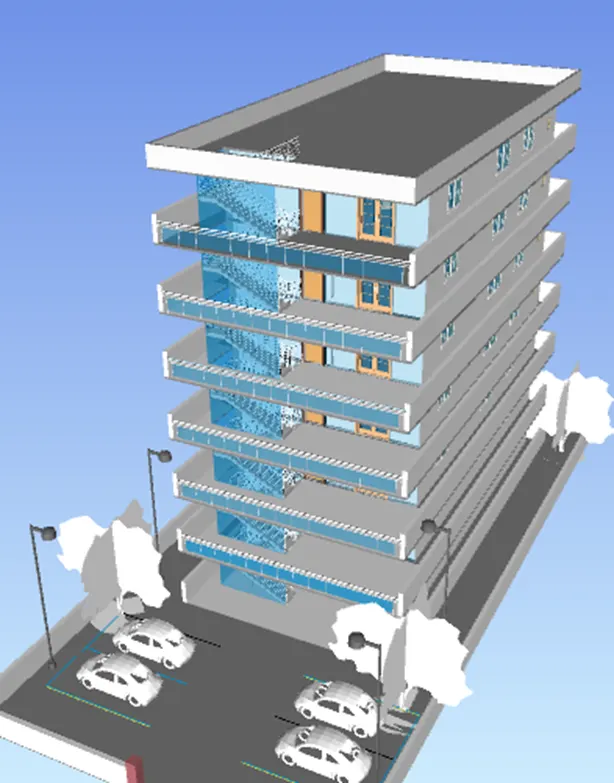
Aim: To export the Revit architecture and structure model to Navisworks
Introduction: To export the Revit architecture and structure model to Navisworks.
Procedure:
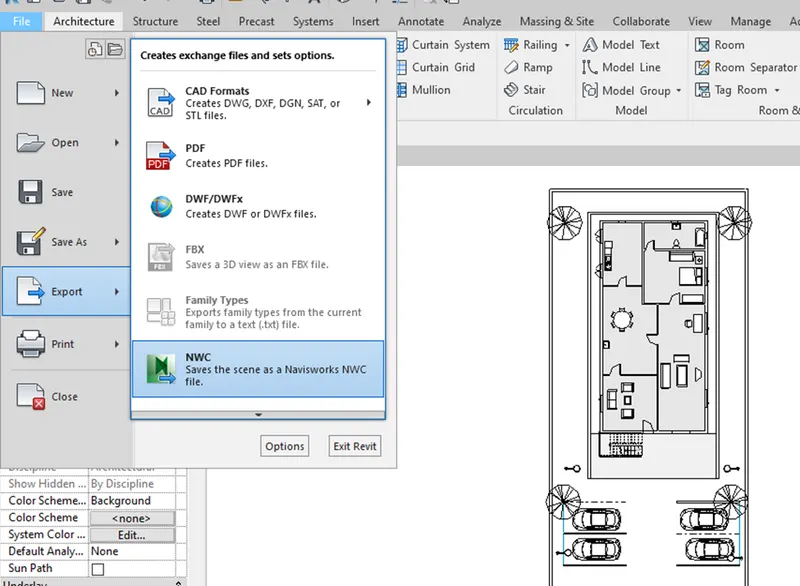
Step1:
- Open the revit softer from the file option click on the export then select the nwc option
Step2:
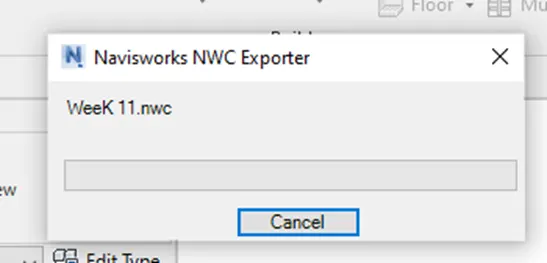
- Now select the location to save the file in the local system
- Revit file is exporter to naviswork the file is save at give location
Step 3:
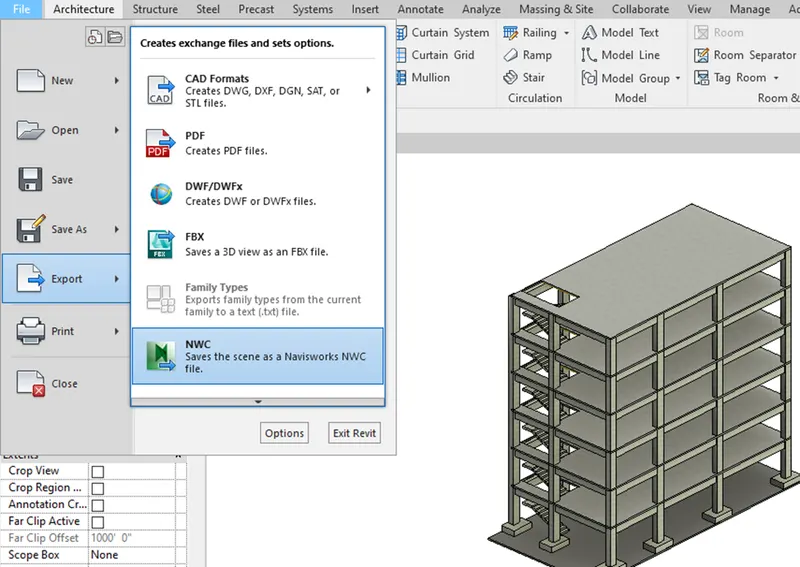
- Similarly we can export the structure file into naviswork
- From the revit select the file option then from the export select nwc
Step4:
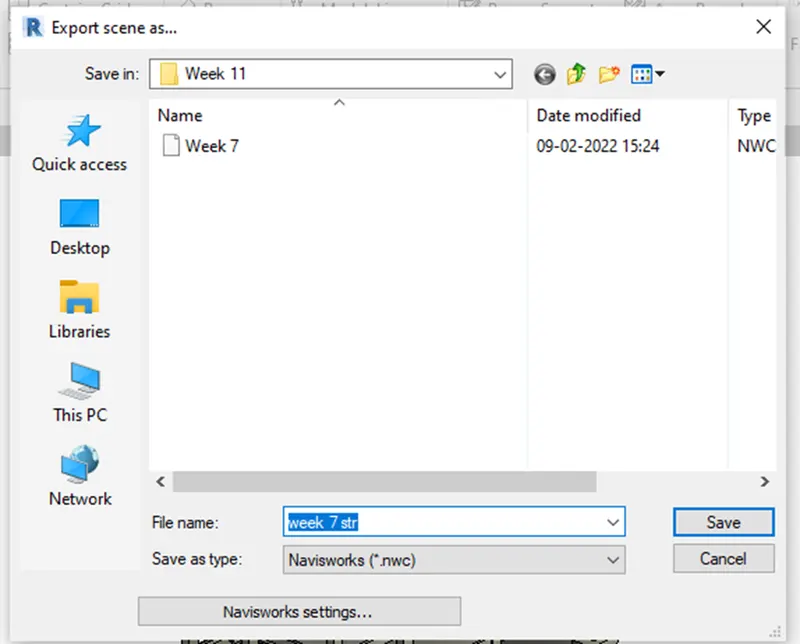
- Now give the file location and file name to save.
- Now the file has been exported to naviswork at give location
Result:
2):
Aim: To create the walk through the model. And to record the animation by using navigate tool.
Introduction: To create the walk through the model. And to record the animation by using navigate tool. By using naviswork softer.
Procedure:
step 1:
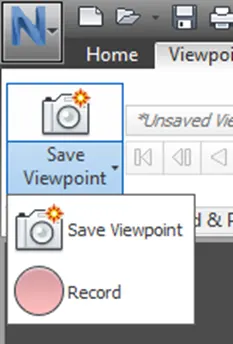
- Open the naviswork from the toolbar select the view point option
- Click on save view point then click on record
Step2:
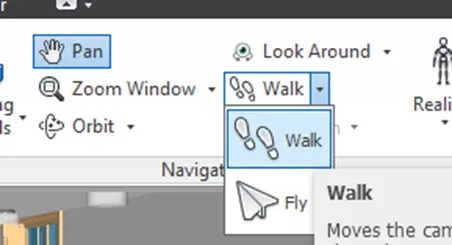
- From the toolbar click on the walk option to create record throughout the model
- Click on the cursor and drag to move and record the video
Step 3:
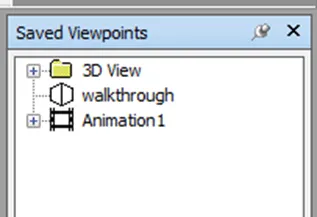
- from the saved viewpoint browser we can check the 3D views and record animations
Step 4:
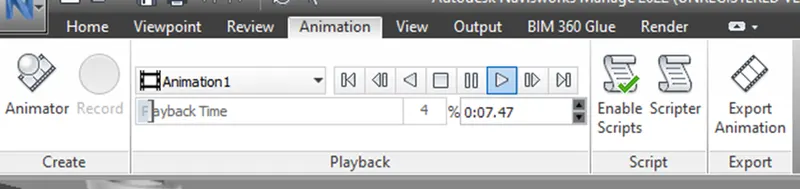
- To check the recorded animation from the toolbar click on the animation then pay the record animation
Result:
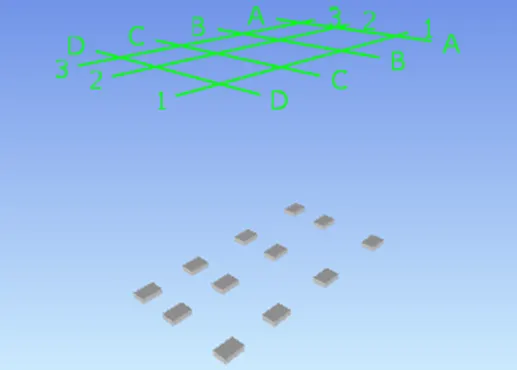
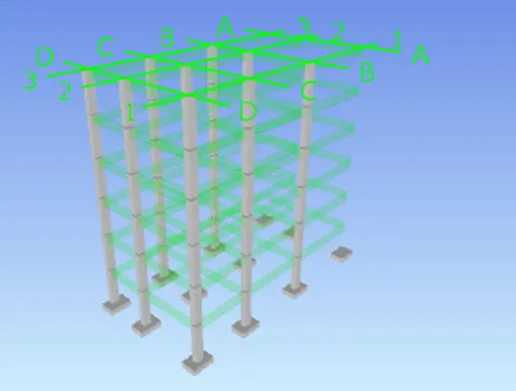
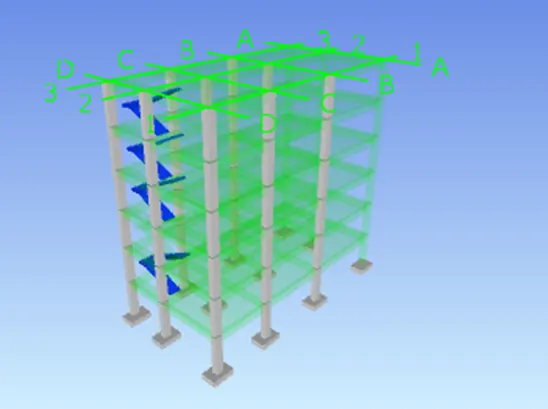
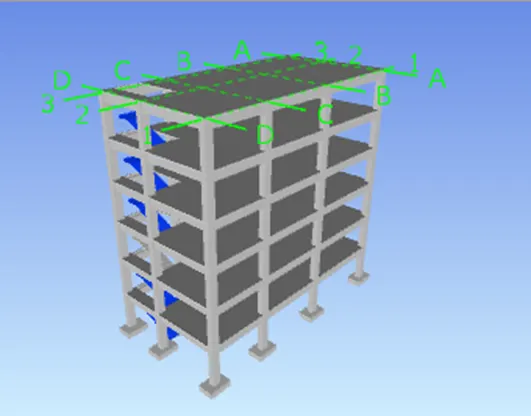
From the above process we recorded the walkthrough animation of model by using navigate tool
3):
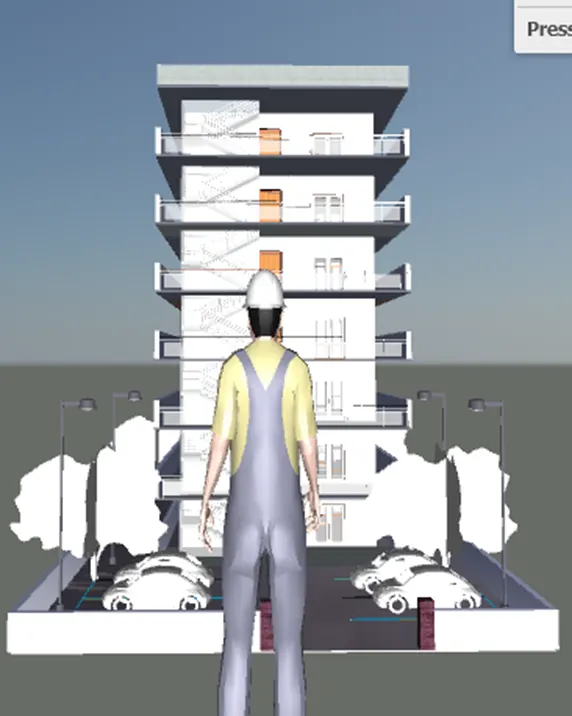
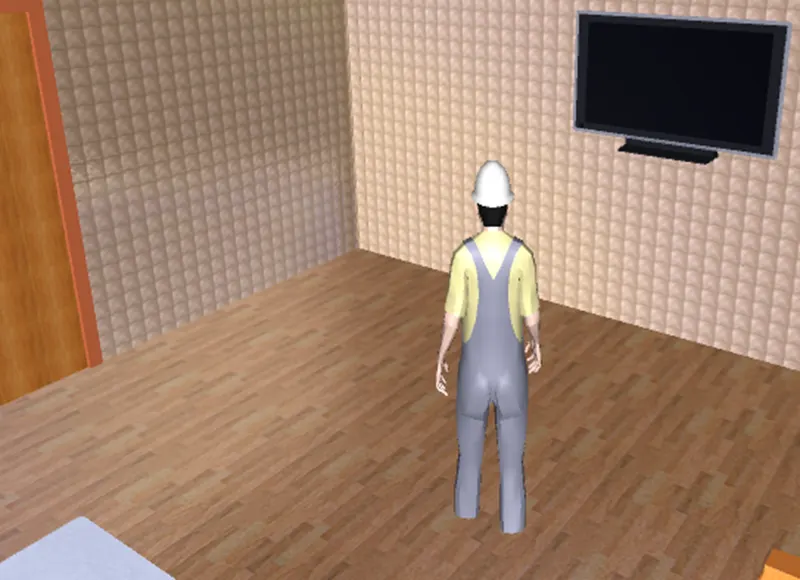
Aim: To create the walk through the model by using Realism feature. And to record the animation by using navigate tool.
Introduction: To create the walk through the model by using Realism feature. And to record the animation by using navigate tool. By using naviswork softer.
Procedure:
Step 1:
- Open the naviswork softer
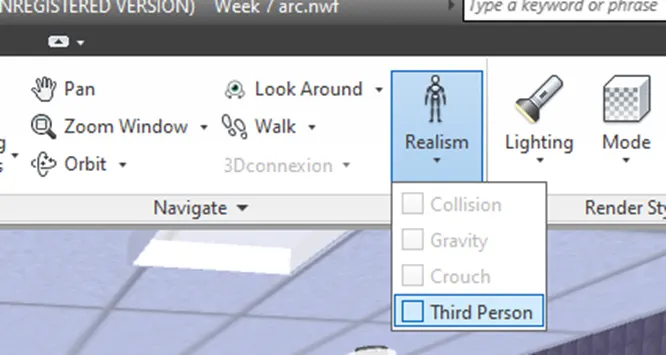
- From the viewpoint select on the realism then click on the third person
Step 2:
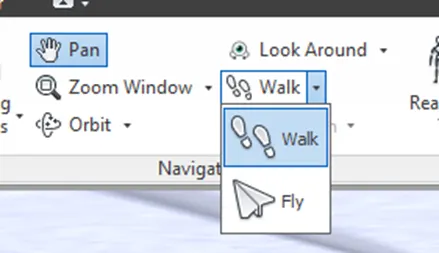
- Next from the toolbar select the viewpoint then click on the walkthrough
Step 4:
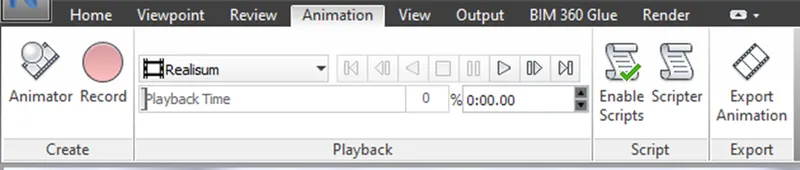
- From the toolbar select the animation and record the animation
Step 5:
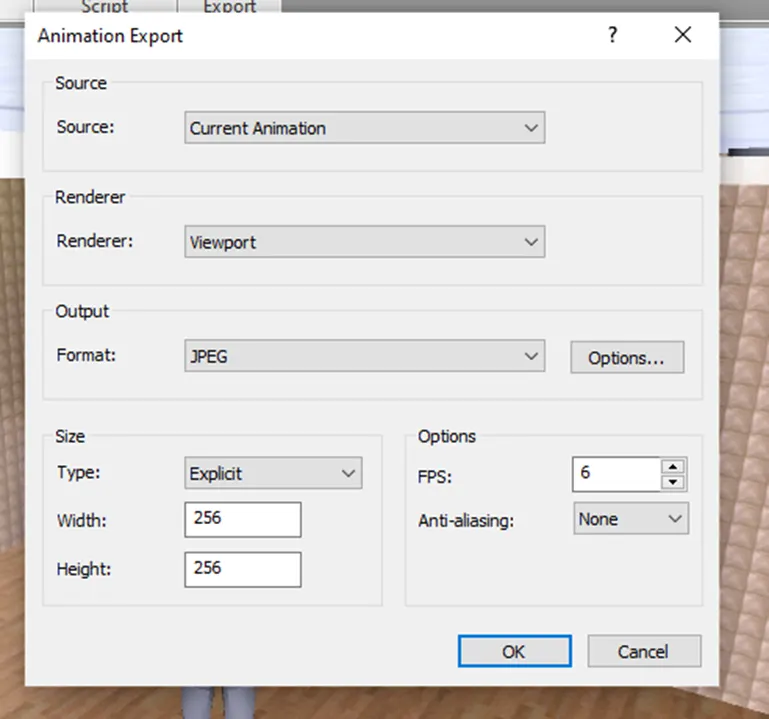
- Now select the export option to save the recorded animation to local system
Result:
4):
Aim: To create clash detection test between architecture and structure model
Introduction: To create clash detection test between architecture and structure model. By using naviswork.
Procedure:
Step 1:
- First open the architecture file in naviswork
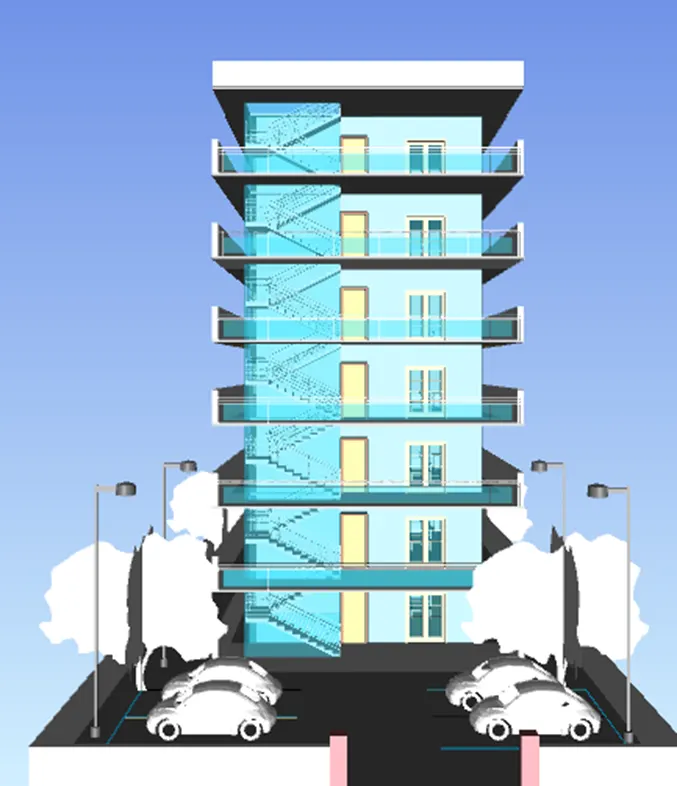
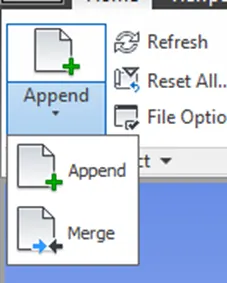
- Next from the home tab select the append option and add the structure file
Step 2:
- From the home tab select the clash dictation option
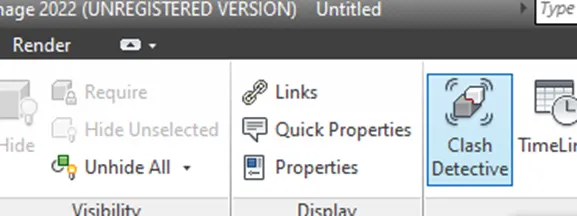
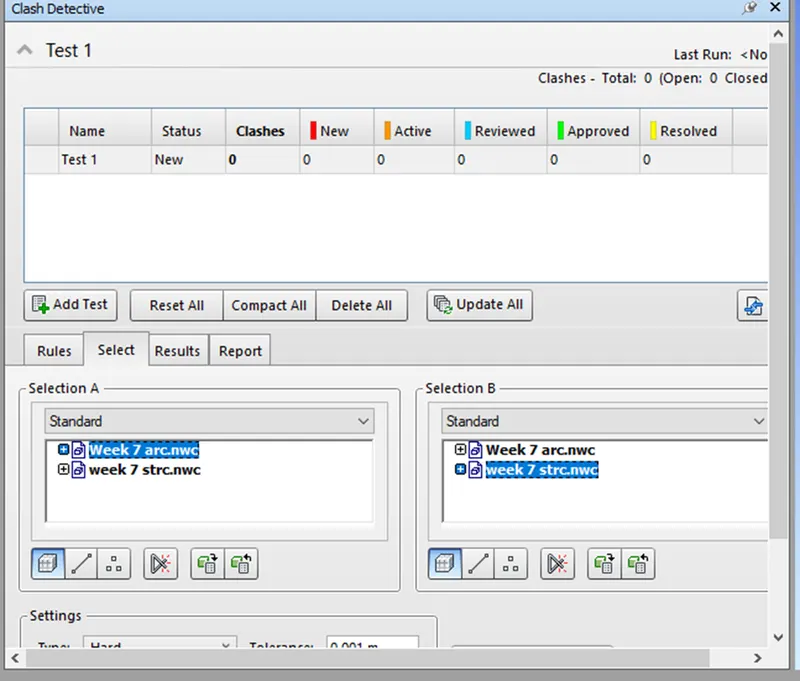
- The clash detective test window will appears
- Click on the add test then from the section A select the architecture and from the section B select the structure
- Then click on the run test
Step 3:
- Next the window will appears with the no.of clash detective
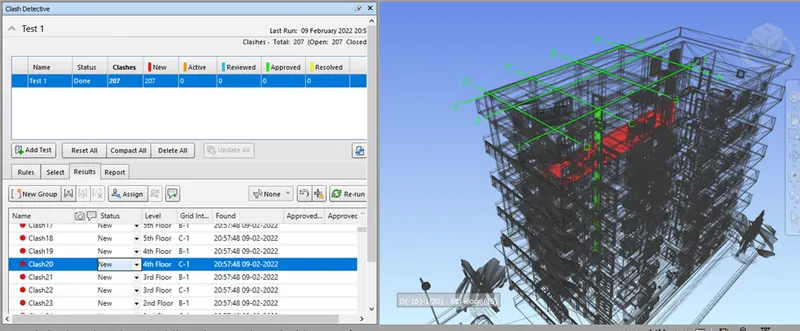
Step 4:
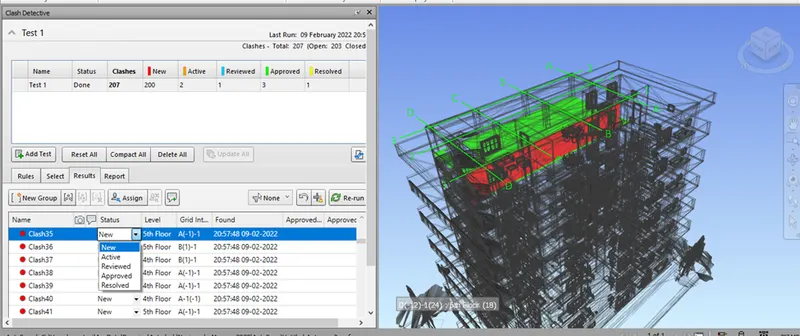
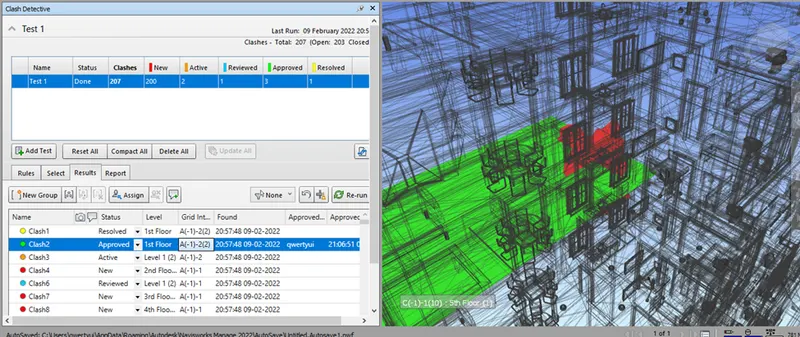
- Now we can select the single clash and check the status
- By selecting the clash mark the status as approved, resolved
- We can resolve the clashes and change model condition. Exclude clashes from the detective test
Result:
We successfully import the architecture and structure model and find the clash detection and resolved it.
5):
Aim: To prepare a schedule for the project task start and end date by using time liner feature in naviswork.
Introduction: To prepare a schedule for the project task start and end date by using time liner feature in naviswork.
Procedure:
Step 1:
- First open the naviswork then add a structure file to it
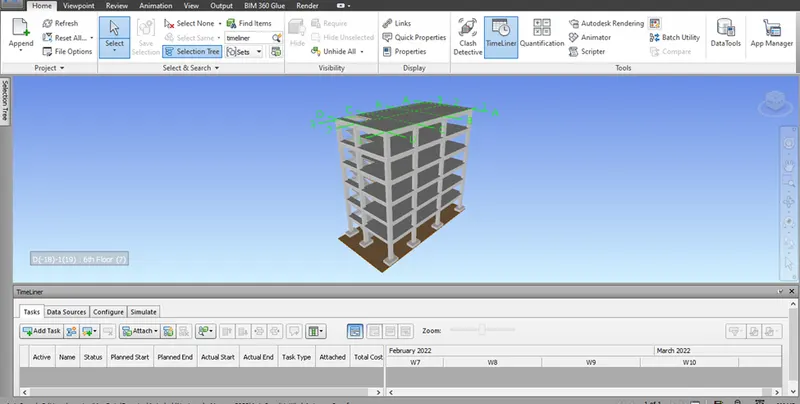
- Now from the toolbar home tab select the time liner option
- The time liner window will appears as shown
Step 2:
- From the toolbar home tab select the selection tree option
- The selection tree window will appears with the list of selection tools
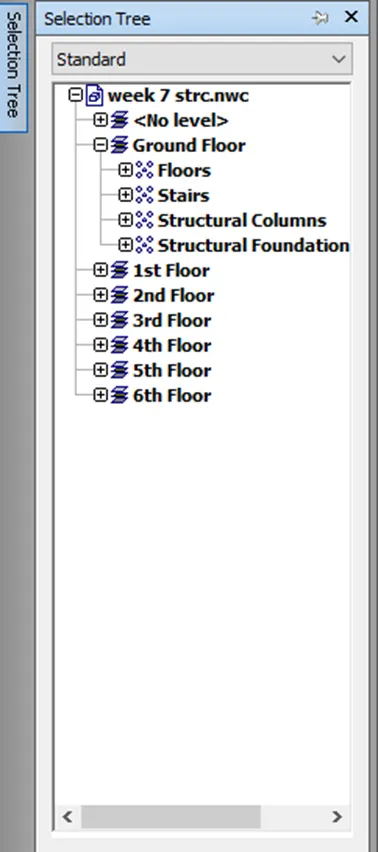
Step 3:
- Now from the time line window select the add task option
- Add the tasks as per the selection tree window
- Such as components of structure and start date and end date

Step 4:
- After adding the task simulate option from the time line window
- Now to play the animation click on play button.
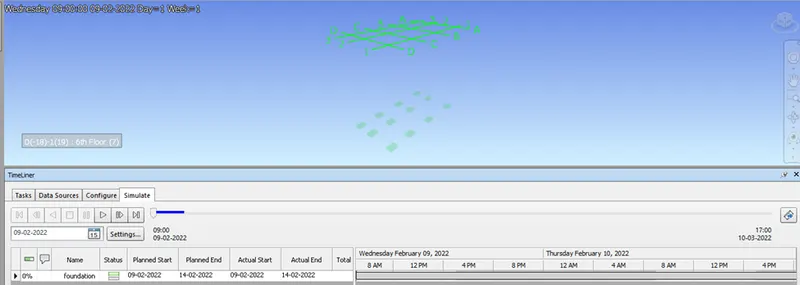
Step 5:
- To save the animation click on the export option
- Animation export window will appears click on ok and save in the location
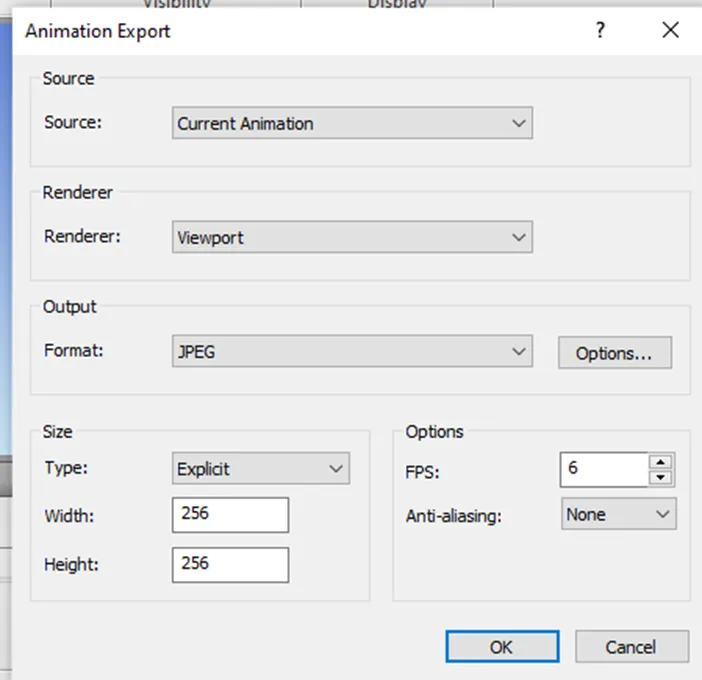
Result: