Usage of Navigation tool , Timeliner and Clash Detection test using Naviswork
QUESTION 1 ANSWER
AIM : To Export Revit architectural and structural, model to Navis works
PROCEDURE
- First open the architecture one you want to export
- Now Click on file and then export
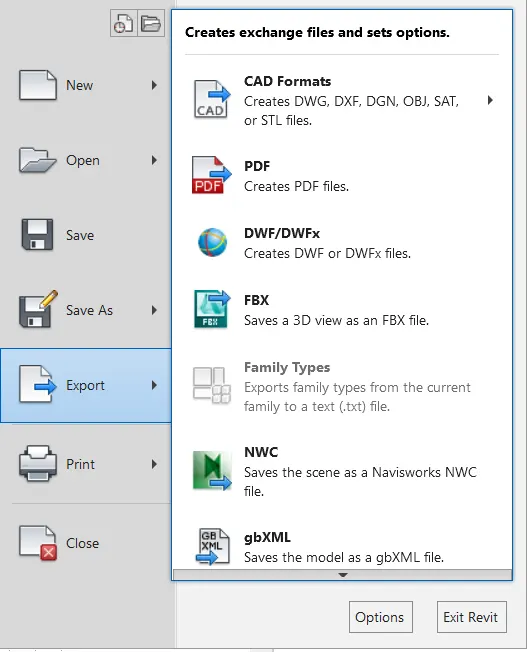
- Select NWC ,Now select the destination folder where you want to save the file and rename and click on save
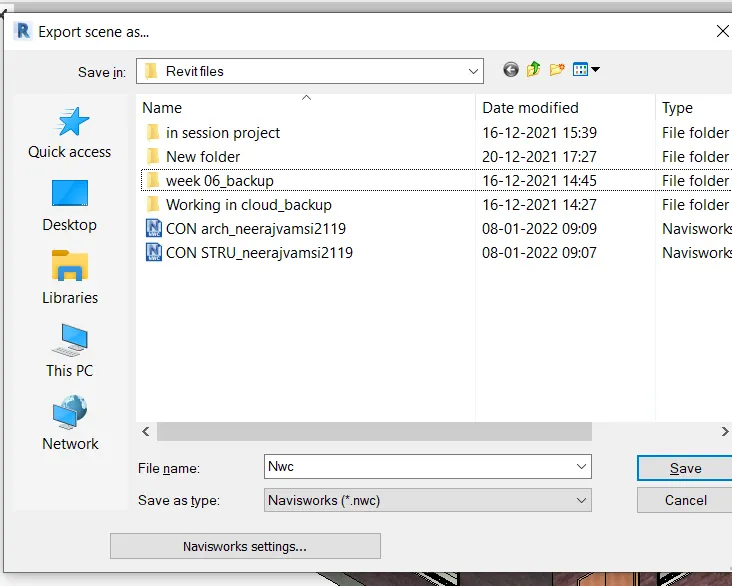
- Similarly repeat the process for structural one
RESULT : We exported our archichiture and structural files to Navis works
QUESTION 2 ANSWER
AIM : To walk through in the rooms of our model
PROCEDURE :
- Open Navis works manage and click On N option on the top left corner
-
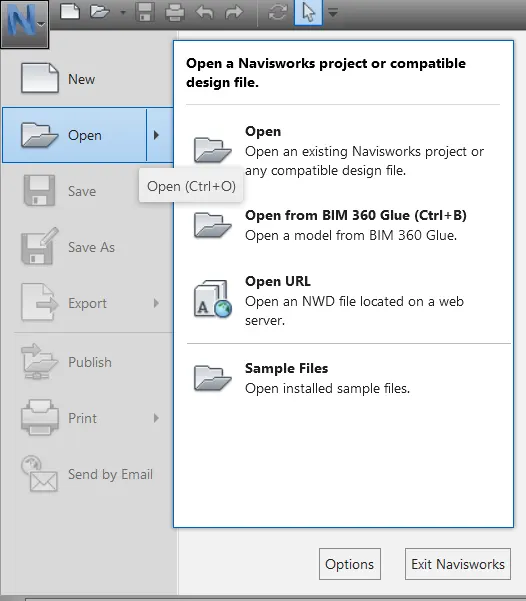
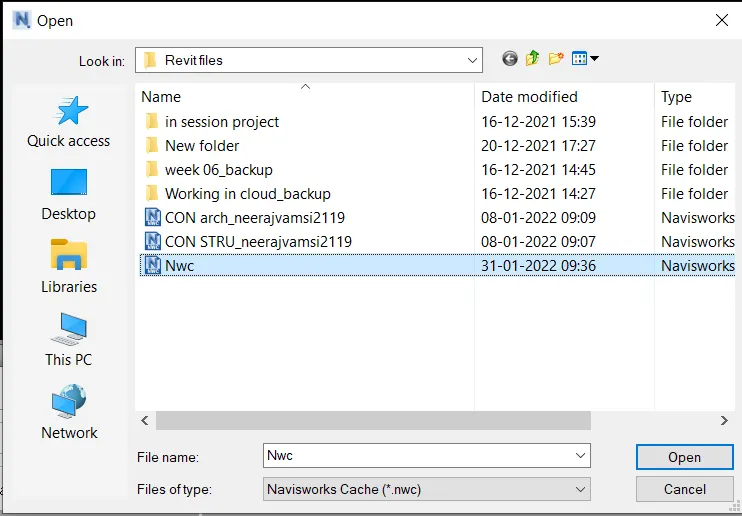
- Now click on open and and the select the architecture one we exported in our previous question
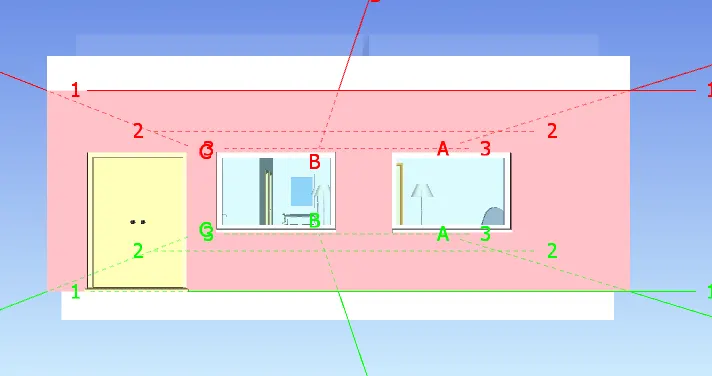
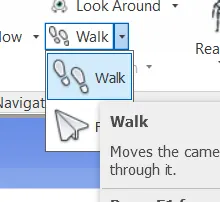
- Now to walkthrough through our model click on walk option and use your mouse to go to every room

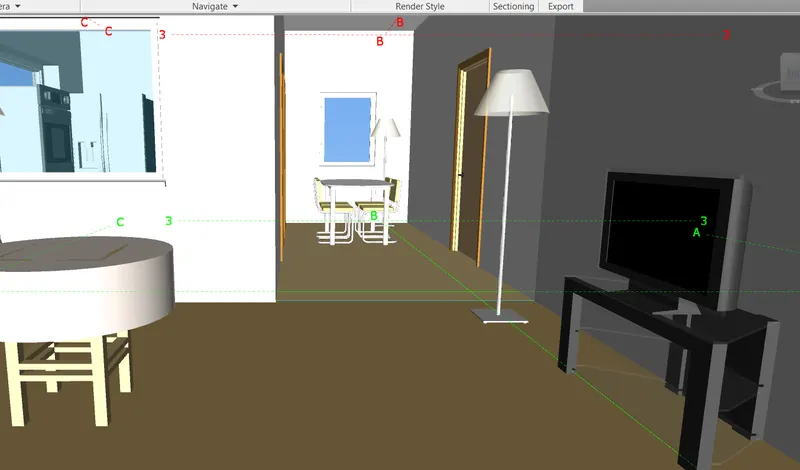
- To record our view click on viewpoint and click on record
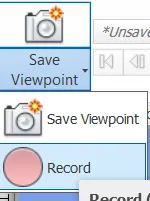
- Then go through the view and click on stop on the top right bar
- And save the view using a name
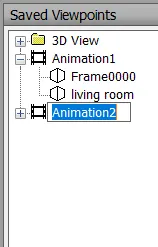
- Now to see the recorded view go to animation tab and click on play button to see the created animation
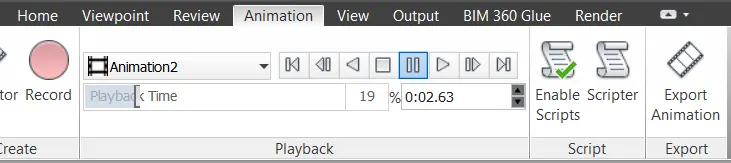
- To save the video to system click on export animation
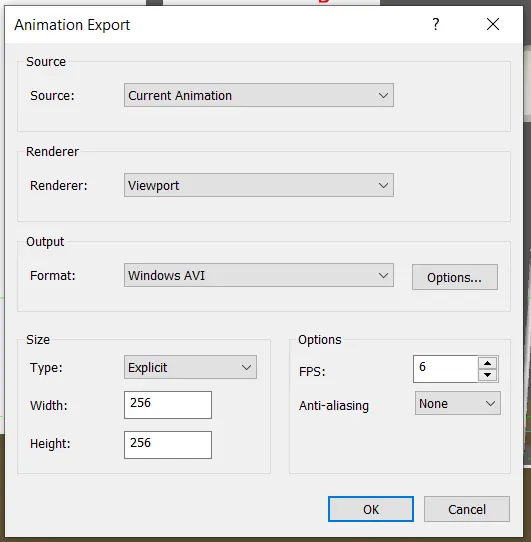
- Choose the required settings and click on ok .
RESULT : We walked through our model and recorded the view
QUESTION 3 ANSWER
AIM : To use navigate tool to use realism feature to walk through our model
PROCEDURE:
- Open the navis works file and click on realism feature
-

- Click on third person
- Now use your cursor to move around the rooms
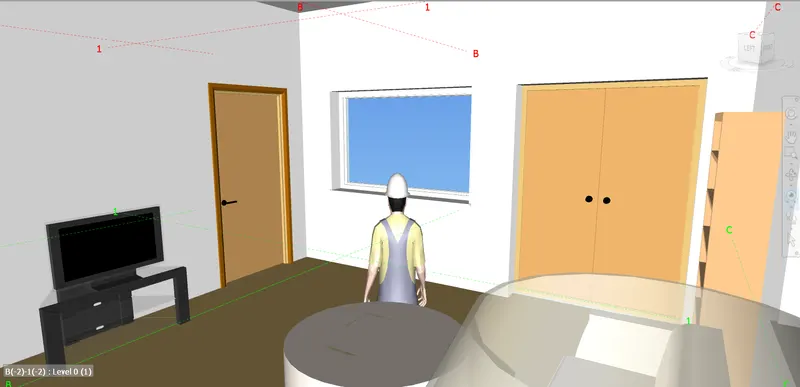
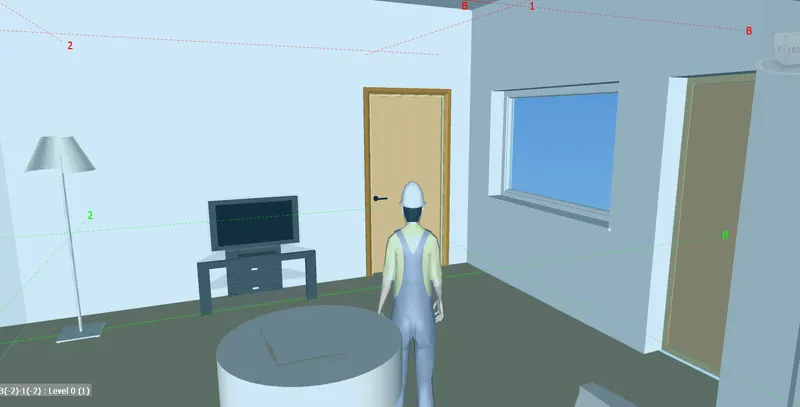
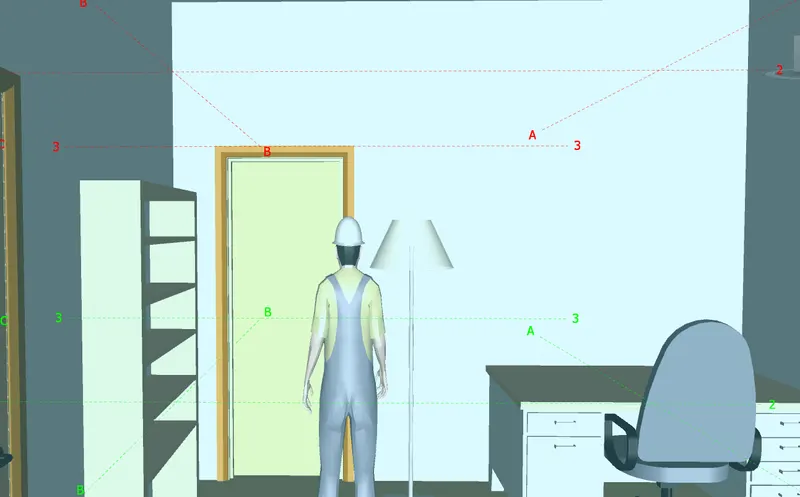
- Now to record the views ,repeat the same process as above question i.e click on view point record
RESULT : We Walked through our model using realism option
QUESTION 4 ANSWER
AIM : To run the clash detective test between architectural and structural model
PROCEDURE :
- Open a nwc architecture file which was exported using revit
- Now go to home and click on append

- Then add the structural one and click on open
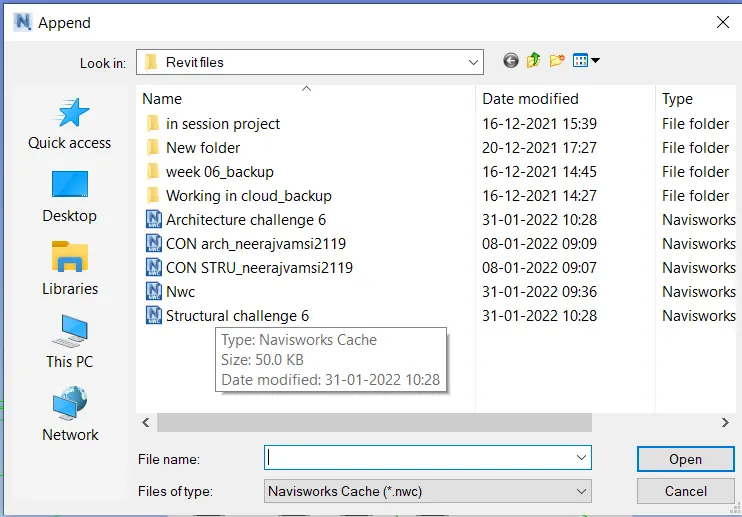
- Now under home click on clash detective option
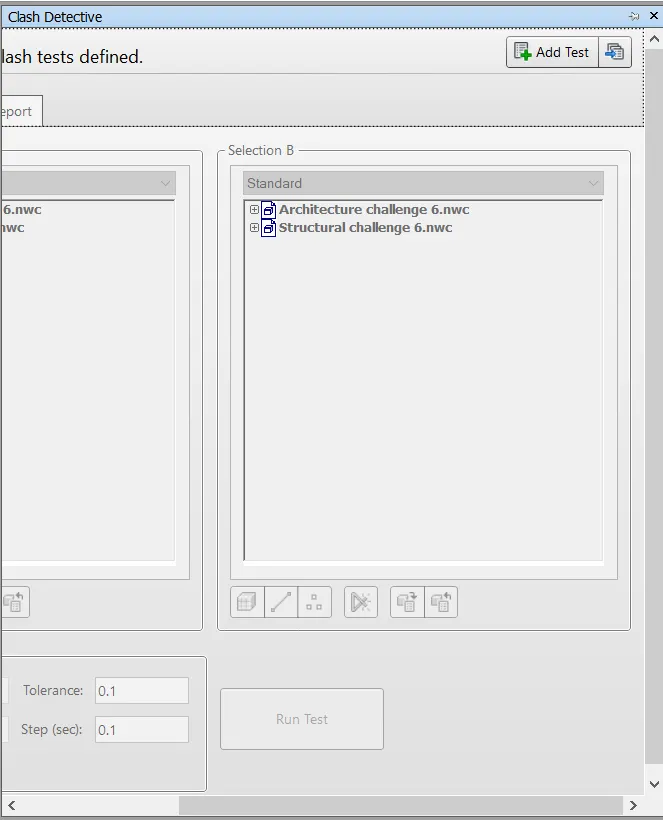
- From the pop up click on run test and add the architecture and structural one
- You can also rename the test name
- Now click on run test
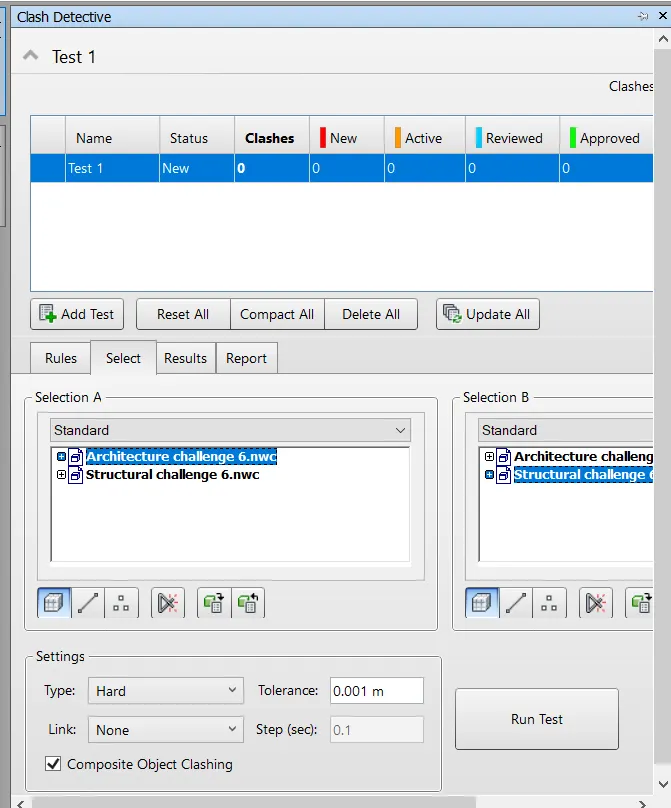
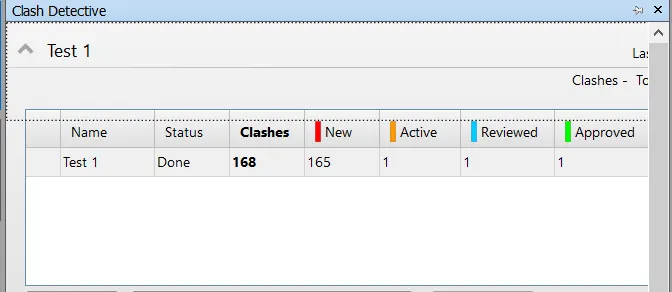
- You can see the no of clashes between them
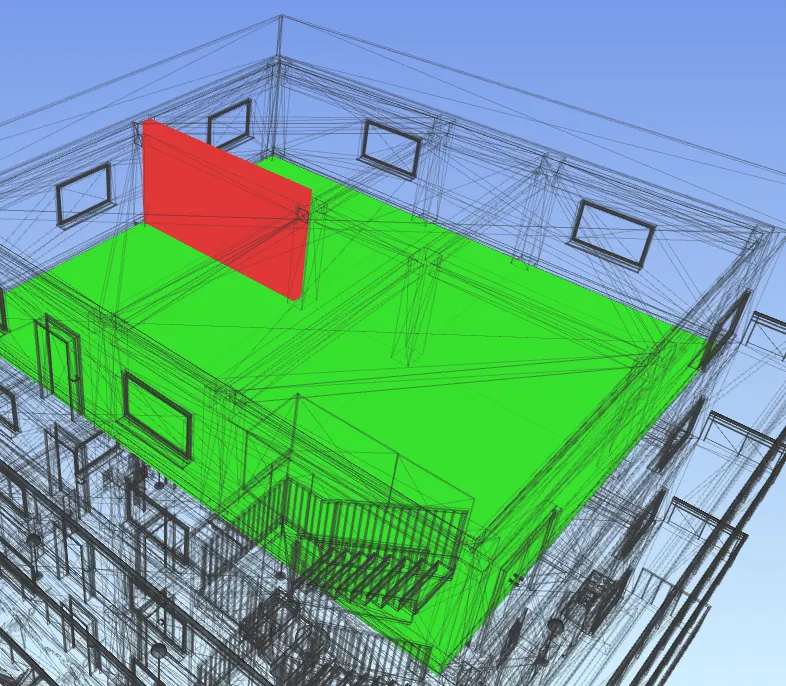
- Now to study the clashes click on each one of them below in the list ,you can also see the clashes in your model in red and green colour ones
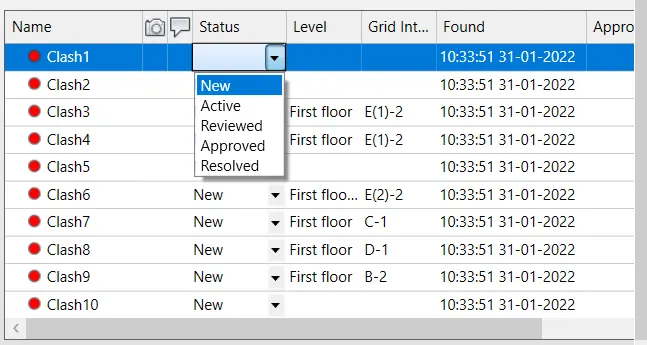
- In case a if a clash is resolved we can set it to approved .
RESULT : In this way you have to run the test and check the clashes between them
QUESTION 5 ANSWER
AIM : To use the timeliner option and prepare a scheduler for the project
PROCEDURE :
- Open the architectural nws file
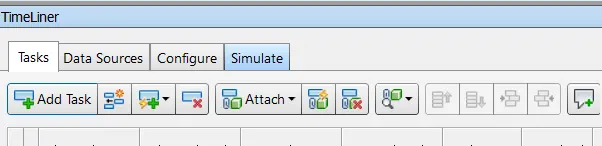
- Now under home tab click on Time liner option

- Click on selection tree and from you can see what items you can select
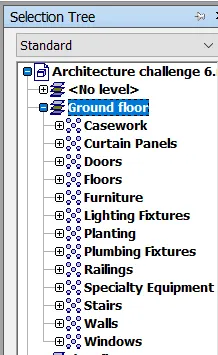
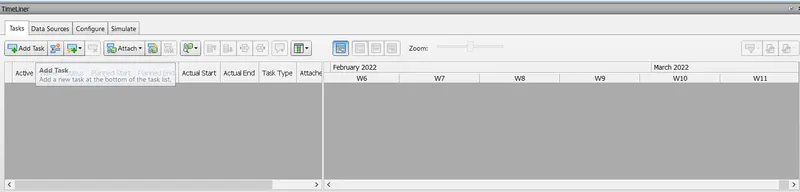
- Now click on add task ,rename it as ground floor case work
- Now set the planned and actual start and end dates and type as construction

- Now click on selection tree select case work
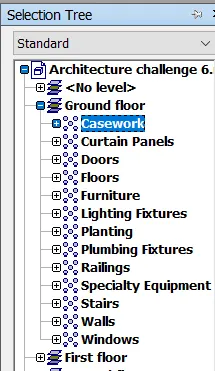
- Now select on task 1 click on attach and click on current selection(case work)
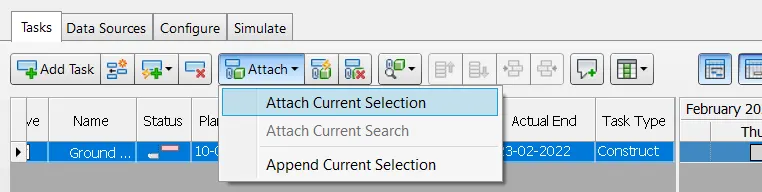
- Similarly add all the tasks in order with start dates and end dates
- Now To watch the simulation video click on simulate and click on play option
- You can see the entire time line video above
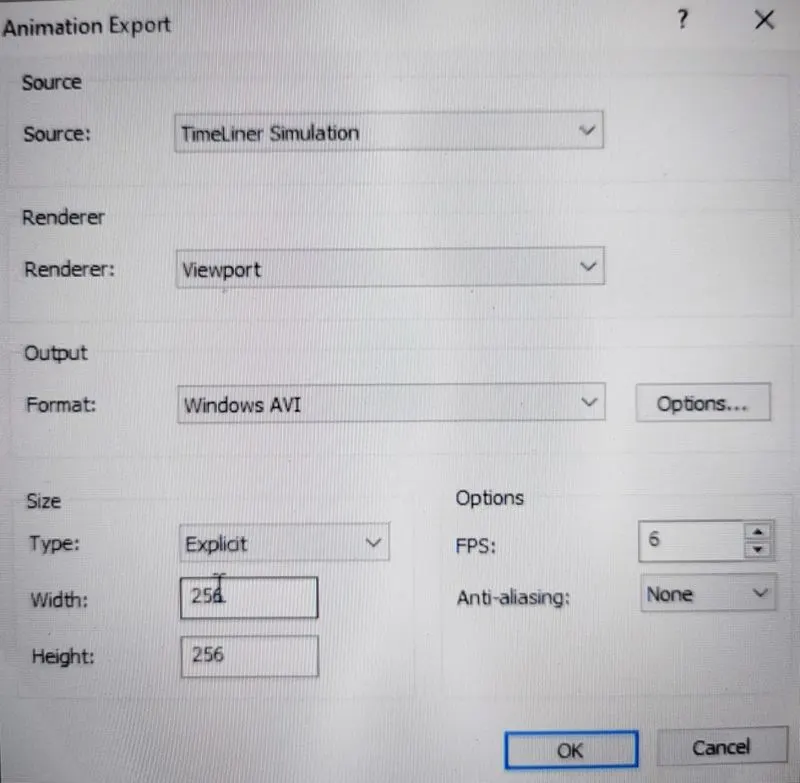
- Now to export the time liner video to system click on export animation and set the source to timer liner simulation and adjust the settings and click on ok
RESULT : We used the timeliner feature ,prepared a schedule and finally saved it .