Introduction to REVIT concepts
CHALLANGE NO 1 (13 QUESTIONS)
QUESTION 1 ANSWER
AIM : To create a new project and naming the project file in REVIT software
PROCEDURE :
- Open Revit software from desktop
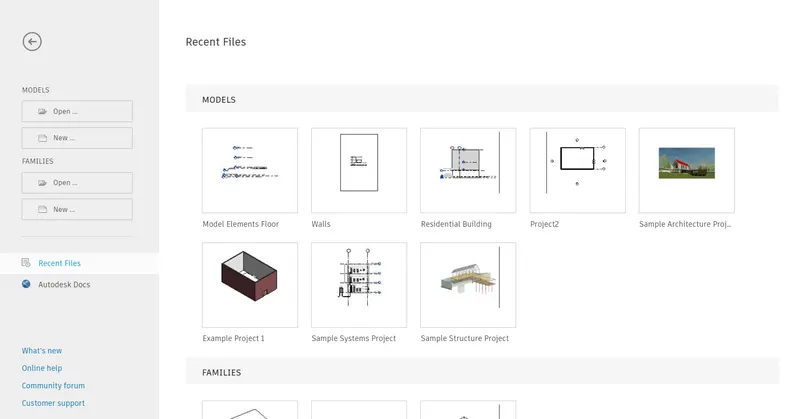
- On Start up it will appear as shown in fig(above).
- Now click on new in models.
- A dialogue box appears in which we have to select a template file based on our work.
- There are different templates provided as shown in fig.
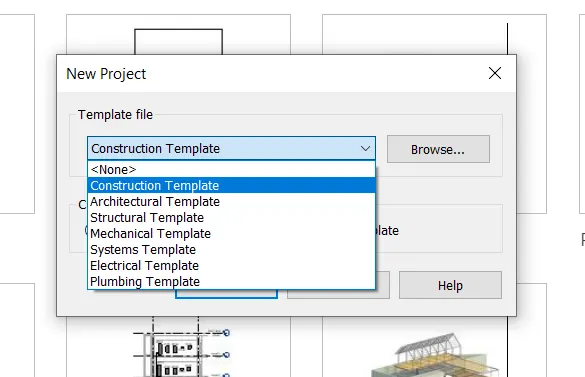
- Now select a template ( Here Iam selecting constuction template) and thus your new project is created.
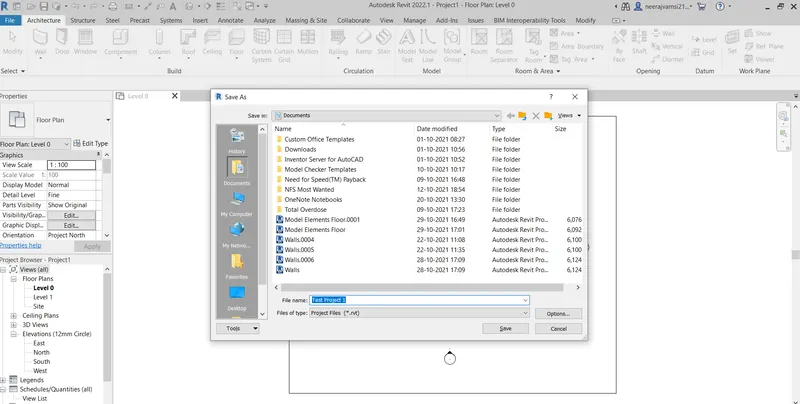
- Now to name the project click on save option on the top right corner and name the project accordingly.
- Here Iam naming it as Test project 1.
QUESTION 2 ANSWER :
AIM: To save a project and opening and closing it from file tool bar.
PROCEDURE:
- To save a project click on save option available on top right corner.
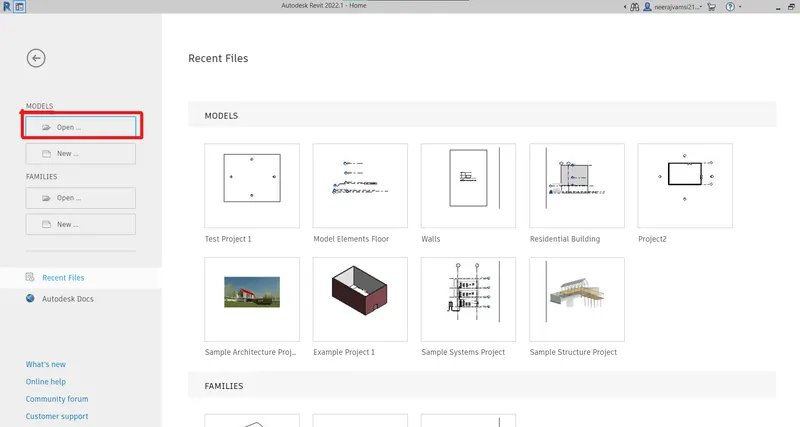
- To close the the project click on close option in file tool bar as shown in fig.
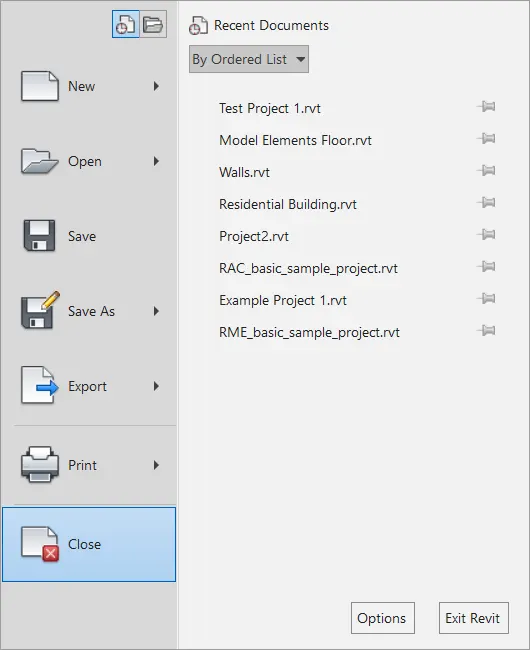 .
.- And to open the saved project click on open and select the project name to open it.
QUESTION 3 ANSWER :
AIM : To create a rectangular layout of wall of dimensions 40*35(feet).
PROCEDURE:
- To create a wall click on architecture tab and click on wall( architecture wall).
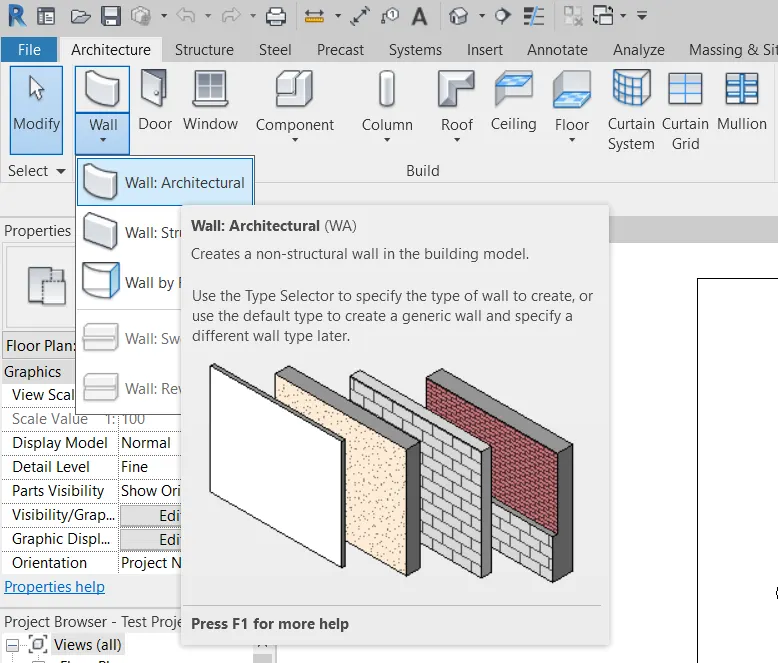
- Then Select Line and draw a rectangular wall of 40 * 30 feet.
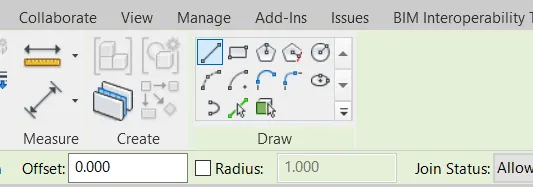
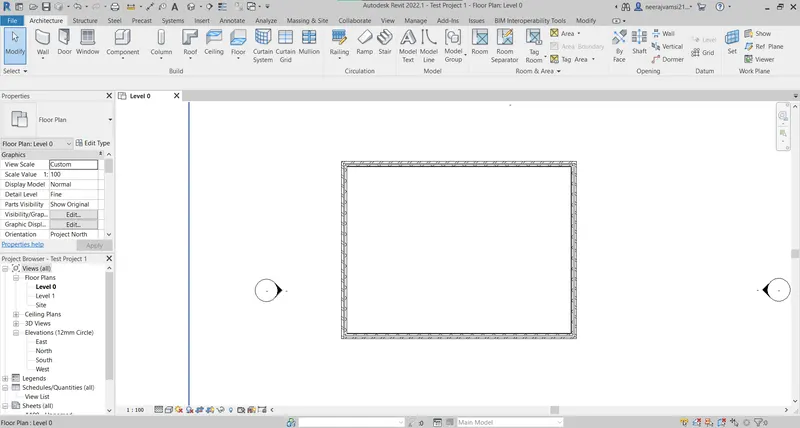
- You can also select a rectangular instead of line and can draw it directly.
RESULT : Thus a rectangular wall is created of dimensions( 40*30).
QUESTION 4 ANSWER:
AIM: To add dimensions to the layout we have drawn.
PROCEDURE:
- Click on annotate tab and select aligned dimensions option.
- Now place the cursor at the end of walls and mention the dimensions as shown in fig down.
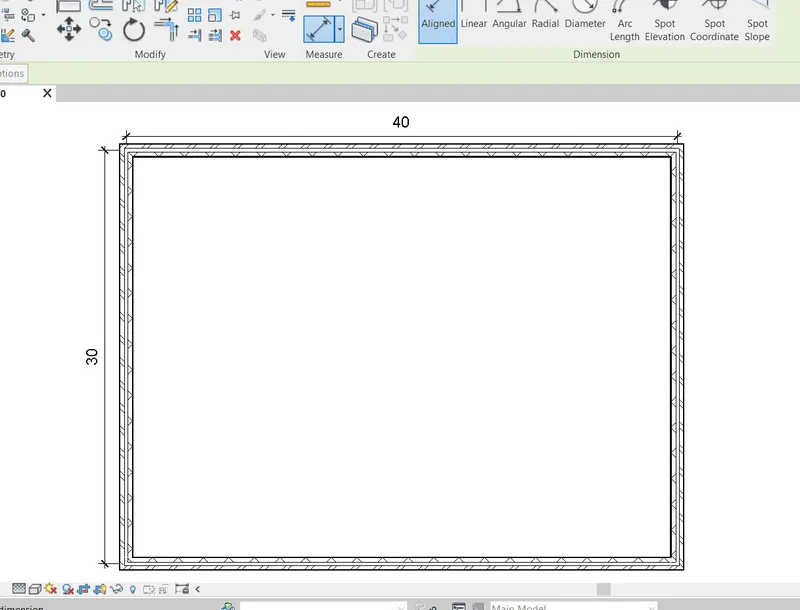
RESULT : Dimensions are added to the layout.
QUESTION 5 ANSWER
AIM : To change the type of wall .
PROCEDURE :
- Click on any one of the wall in the layout.
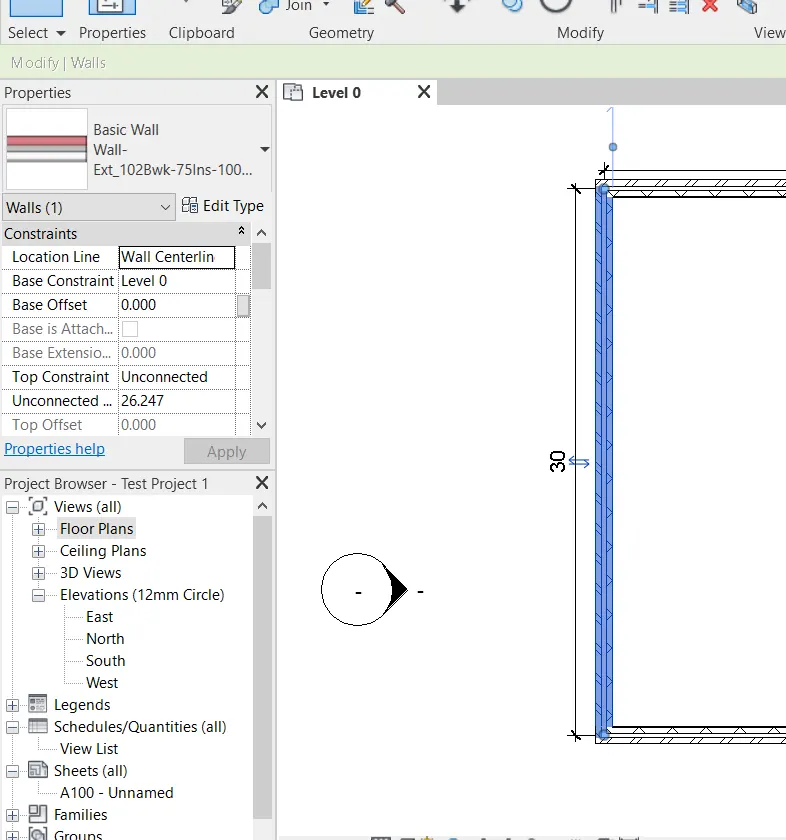
- In the properties browser to the left of screen click on basic wall option in which there appears different types of walls of which you can select any one.
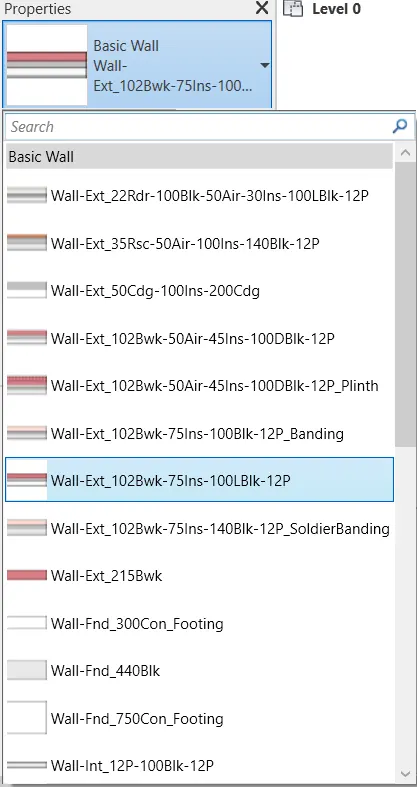
- From this you can change the type of wall.
RESULT : The type of wall is changed.
QUESTION 6 ANSWER :
AIM : To create a 3D view of our layout and naming the view with appropriate name.
PROCEDURE :
- Click on view tool bar and click on 3d view as shown in fig .
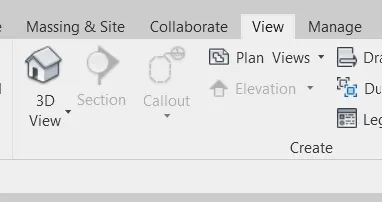
- The view of our project will be changed into a 3d view as shown in fig below.
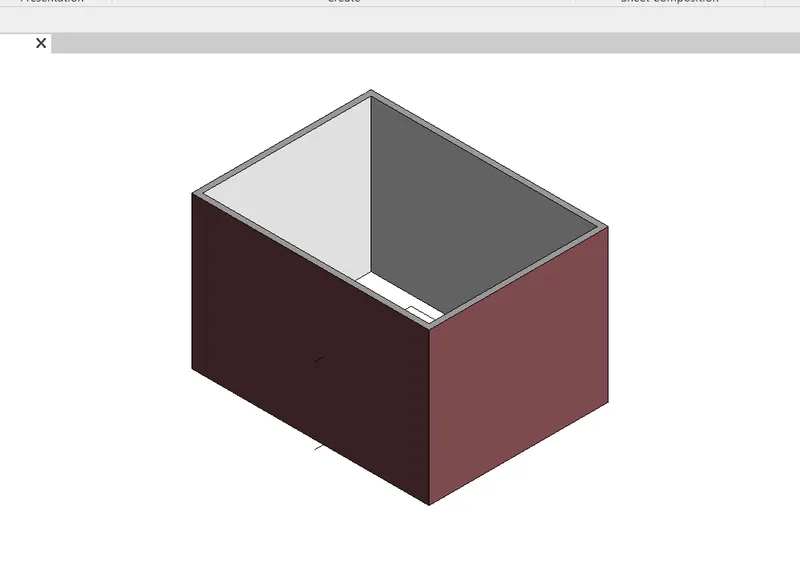
- Now to change the view name single click on {3D} in 3d view in properties browser and rename it.(Here I named it as 3d view).
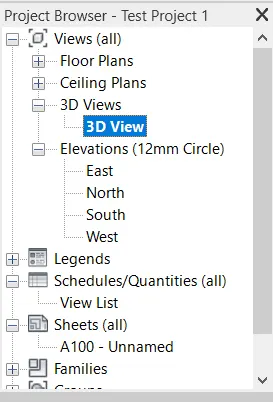
RESULT : A 3D view of our model is created
QUESTION 7 ANSWER :
AIM : Navigating through the 3 d model using view cube and to pan / Orbitting through the model.
PROCEDURE :
- We can navigate through our model through view cube which is present on right top of our drawing space
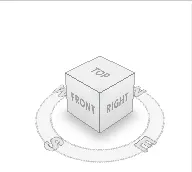
- Click on top,right,front to get different views of model
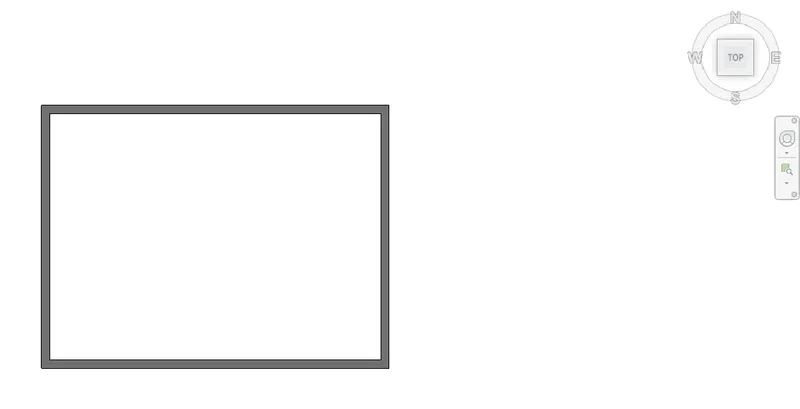
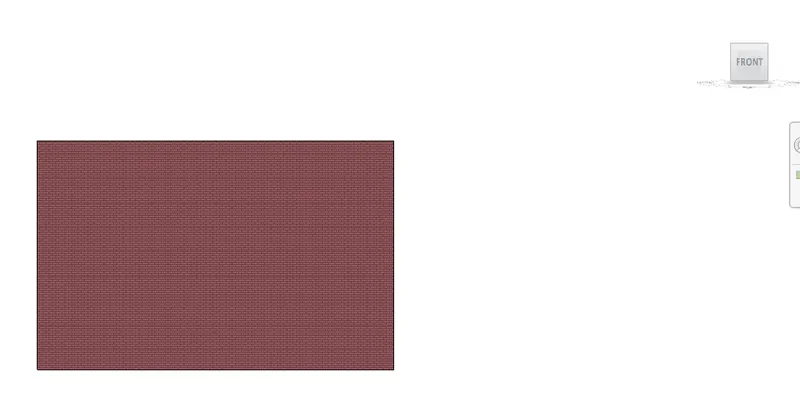
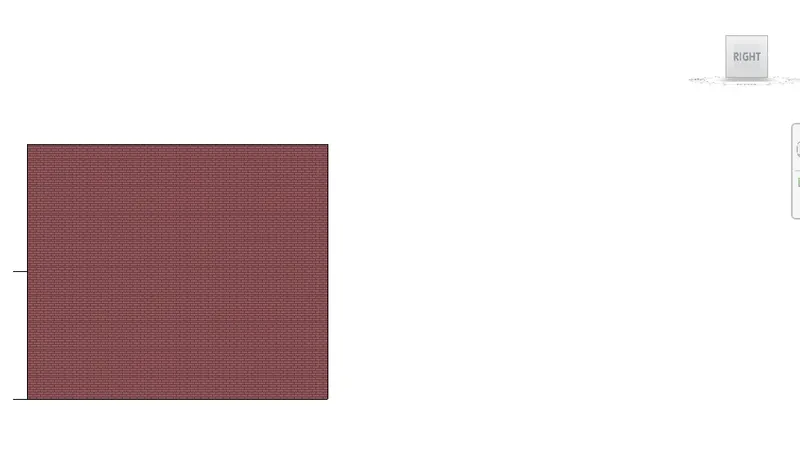
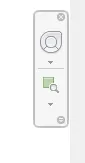
- Now to orbit or pan through model click on full navigation wheel in navigation bar which is located below view cube.
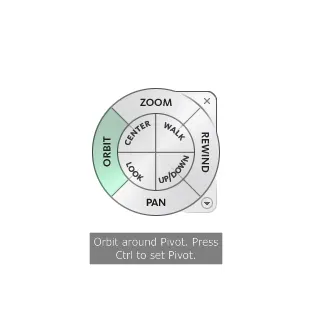
- Now click on orbit or pan option to use them accordingly.
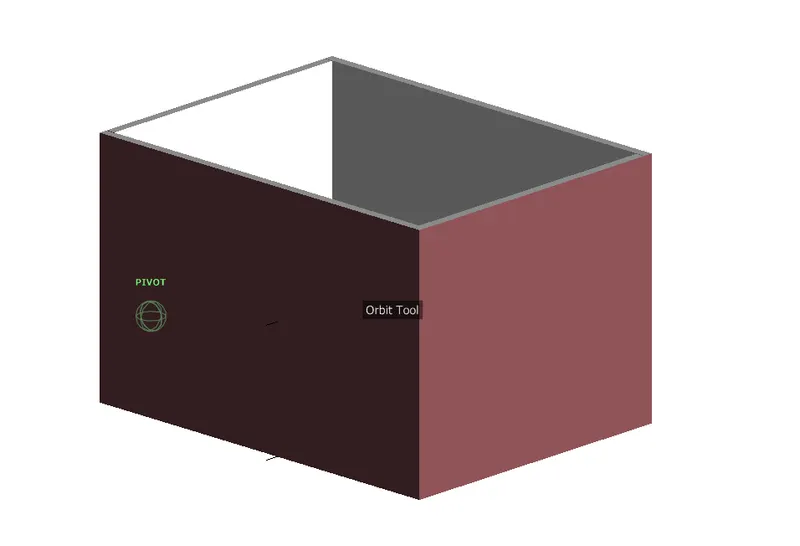
RESULT : Thus we navigated through our model using view cube and pan,orbit options.
QUESTION 8 ANSWER
AIM : To use the visibility settings option below to switch model to shaded, realistic, hidden lines options.
PROCEDURE :
- Click on Visual style option present at the bottom of the tool bar .
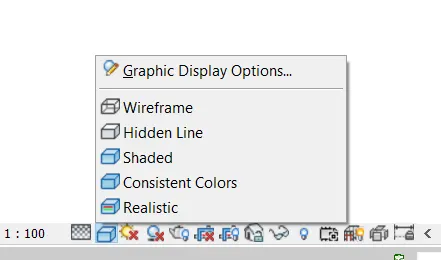
- Now switch the model to shaded, hidden line, realistic,wired frame views as shown below.
- Shaded(below fig).
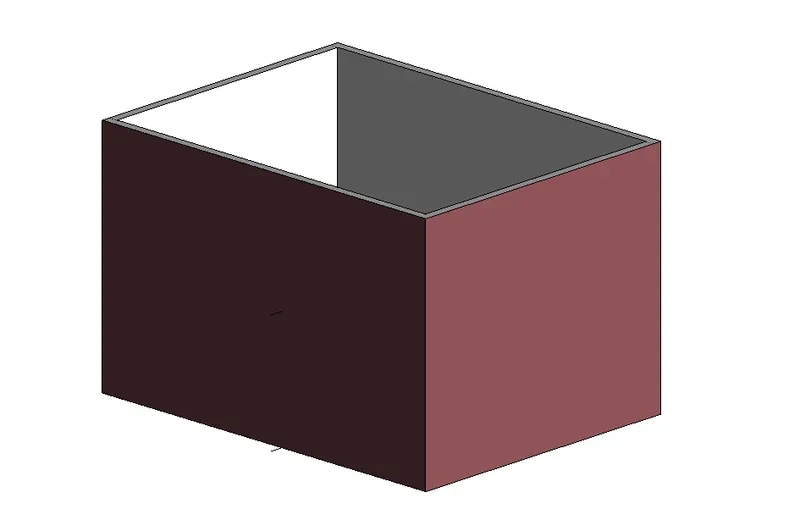
- Hidden lines(Below fig).
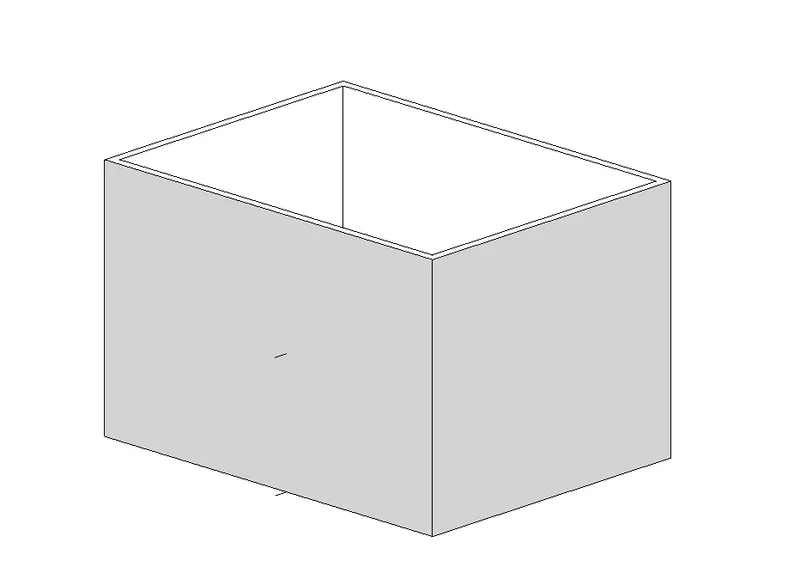
- Realistic (Below fig).
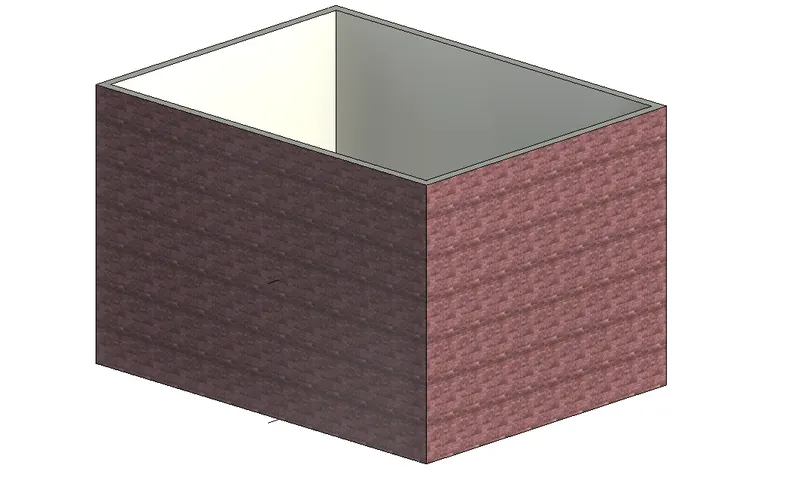
RESULT : Shaded,Hidden line and realistic views are shown.
QUESTION 9 ANSWER :
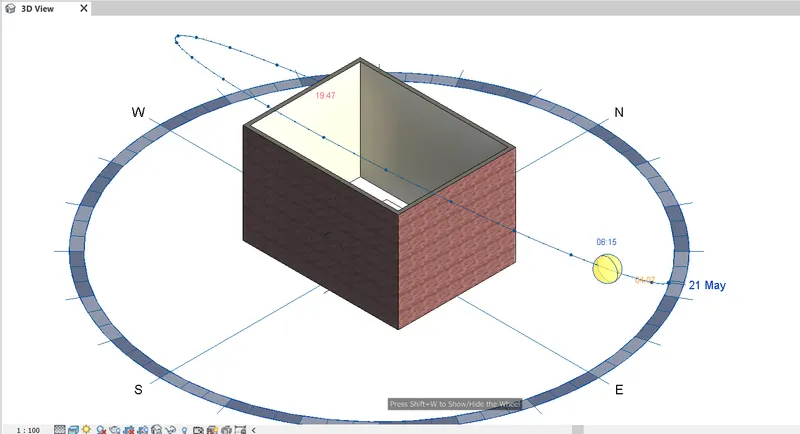
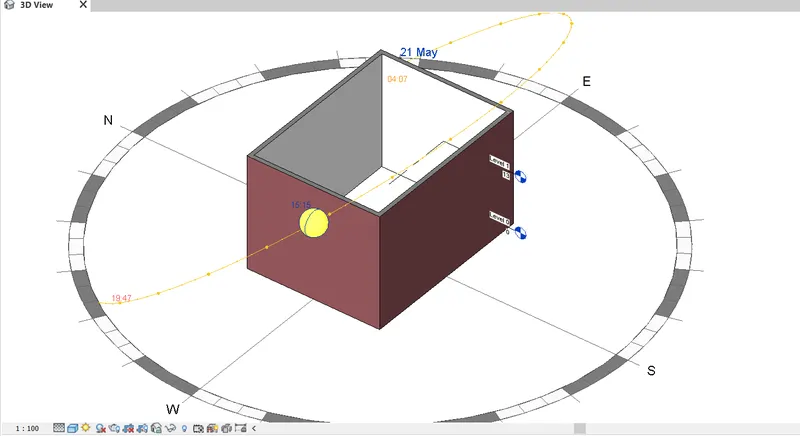
AIM : To turn the sun path on and off to view shadings in the layout created.
PROCEDURE :
- To turn sun path on click on sun path option which is present beside visibility shade at the bottom as shown on fig below.
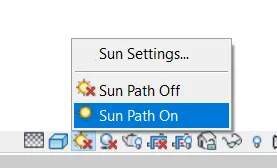
- And On the Sun Path .
- Change the direction of sun using mouse to get different views.
QUESTION 10 ANSWER :
AIM : To enter project settings, project name, and project issue date.
PROCEDURE :
- Click on manage tool bar and then click on project information .
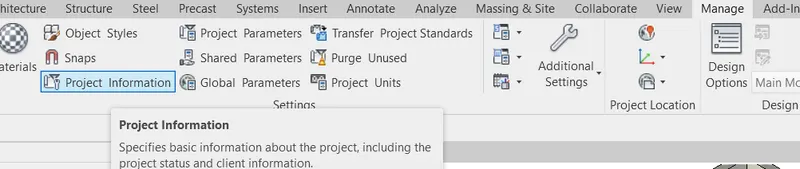
- Fill the details (such as project name,issue date etc)in the dialogue box that appears and click on ok.
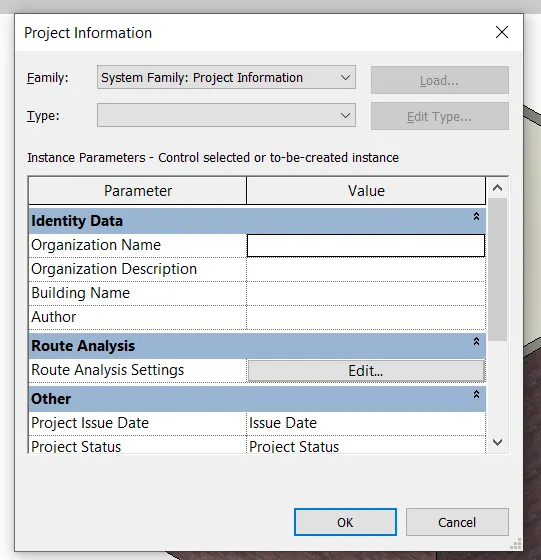
RESULT : Thus the project details are entered.
QUESTION 11 ANSWER
- ANALYZE TOOL BAR

- Analyze tool bar contains different options which help in load combinations,boundary conditions,load and cases adjustment,etc.
- It helps in setting the geographical location of our project.
- Robo structural analysis option is also available in this tool bar.
- Space separation,space tagging space naming etc are also different options available.
- Colour fill ,Energy optimisation are options which helps us to know how ecofriendly is our project.
- These are the different options available to us in analyze tool bar which are useful in desgining and modeling.
QUESTION 12 ANSWER
The links that revit supports to be linked to a model are,
- LINKS REVIT MODELS - Links one revit model to the other revit model.
- LINKS CAD FILE- Links cad file to current revit project.
- LINKS IFC FILE- Links an IFC file for current revit project .
- LINKS PDF - Links a pdf to current revit project .
- LINKS TOPOGRAPHY-Can link Topography .
- It also links a NWD or Nwc file to extract content for the revit model .
- Manages links- It manages the links such as CAD ,mark up the DWF files and all the BIM works that are related to the present file.
QUESTION 13 ANSWER
- COLLABORATE TAB IN REVIT

- Collaborate option allows collaboration so that team members can work on a single model simultaneosly (that is at the same time).
- We can edit and sync a model in the cloud on a Local area network(LAN) or Wide area network .
- There allowing different people to work on a single project at same helps to save time also can make work efficient .
- We can take ideas from them which helps us in modeling and increasing its efficiency .