Usage of Navigation tool , Timeliner and Clash Detection test using Naviswork
1. AIM
To export the Revit architectural and structural model to Navisworks cache file.
INTRODUCTION
Naviswork Manage is a completed featured tool to review 3D model. Models from various sources can be combined such as to identify and resolve any clashes and to ensure coordination within the BIM projects. Files exported in Naviswork are easy to access and manage. Those files will also be smaller in size when compared to their sizes in other software tools. It also takes lesser time for review in Naviswork.
PROCEDURE
- Open the architectural model in Revit.
- Open the 3D view.
- Go to the file tab.
- Click on export and scroll down.
- Then click on NWC option.
- It will ask for options to save. Save the model in particular folder where you want to save it.
- Then close the architectural model in Revit.
- Open the structural model.
- Open the 3D view.
- Go to the file tab.
- Click on export and scroll down.
- Then click on NWC option.
- It will ask for options to save. Save the model in particular folder where you want to save it.
- Then close the structural model.
- Open Naviswork Manage.
- In the home page, click on open.
- Select the architectural file and open.
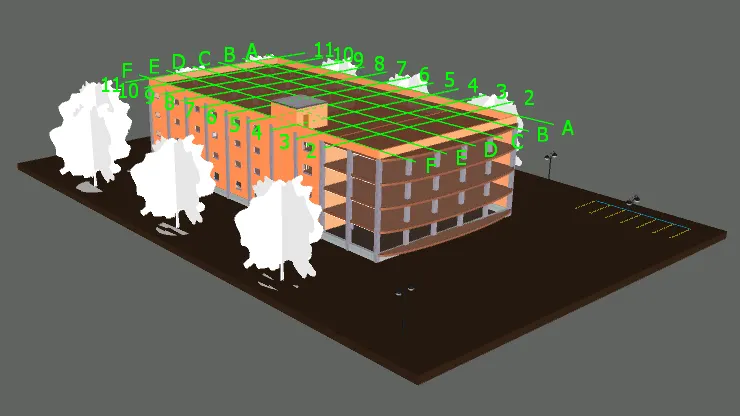
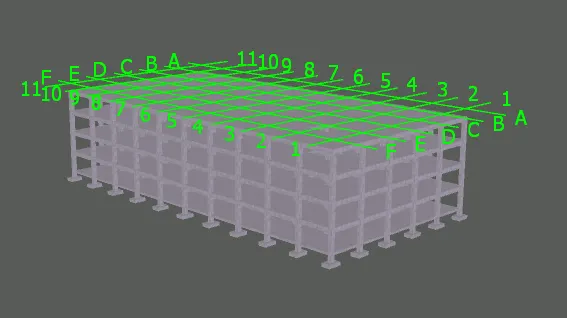
- We can see that the architectural model is successfully exported to Naviswork Manage.
- Now close the file.
- Go to the home page.
- Again click on open.
- Select the structural file and open.
- We can see that the structural model is successfully exported to Naviswork Manage.
RESULT
(2) AIM
To use navigate tool to walk around the model and walk through the rooms created and to record the moving as animation in the Naviswork file.
INTRODUCTION
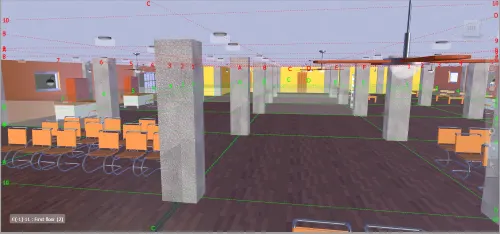
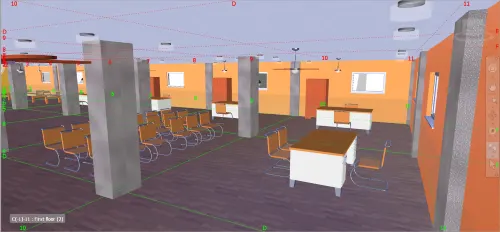
In Naviswork Manage, we can make use of the walk option to have a look within and outside the model that we created, as if we are watching it for real. We can check the arrangements within the model, as well as can ensure the models are placed correct and can see whether there are any clashes between any disciplines.
PROCEDURE
- Open Naviswork Manage tool.
- Open architectural model.
- From the saved views, open 3D view for ground floor.
- Zoom in to the inside of floor.
- Go to the viewpoint tab.
- Click on walk in the ribbon.
- We can see an icon representing walk in the screen.
- This icon can be moved either by using the right, left, up and down arrows in the keyboard or by using the mouse.
- As the icon moves, it will create walk through the model.
- Now, in the ribbon, from the drop down near save viewpoint, click on the option record.
- By clicking on record, we can record the walk through the model.
- Once we click to record, it will start to record the walk and we can stop record after sometime we wish to end the walk.
- We can then save the recording.
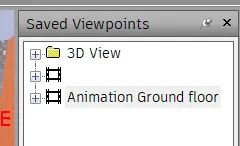
- The record is saved as 'Animation Ground floor'.
RESULT
3) TO USE REALISM FEATURE TO WALK THROUGH THE MODEL
AIM
To use realism feature to walk through the model and to record the moving as animation in Naviswork file.
INTRODUCTION
By using the realism feature in Naviswork file, we can have an added advantage and benefit of having a look around from a third person perspective. It will add to the feeling of a realistic approach to check the model from every corner as if a human is walking and watching all the aspects within and around the model.
PROCEDURE
- Open Naviswork Manage tool.
- Open architectural model.
- From the saved views, open 3D view for third floor.
- Zoom in to the inside of floor.
- Go to the viewpoint tab.
- In the ribbon, click on the realism feature drop down.
- Then check the box for third person.
- After clicking this, we can see an man in the screen.
- Then click on walk option.
- We can move the man using the mouse or by using the right, left, up and down arrows in the keyboard or by using the mouse.
- As we use the movement options, the man will move accordingly.
- We can create and save views of particular spaces, if we think any revision or change is needed there.
- Then, go the record option from the save viewpoint option in the record.
- This will start to record the walk by man.
- We can save the recording as 'Animation Third floor'.
RESULT
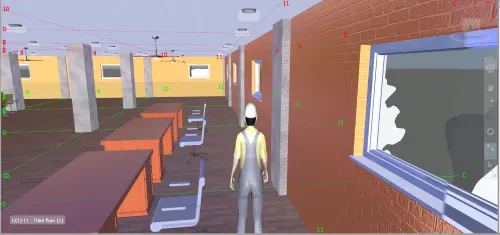
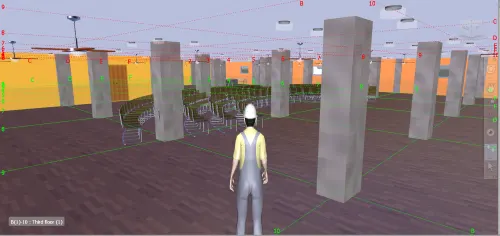
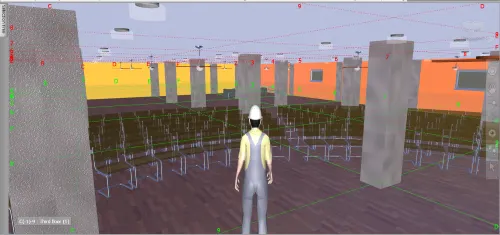
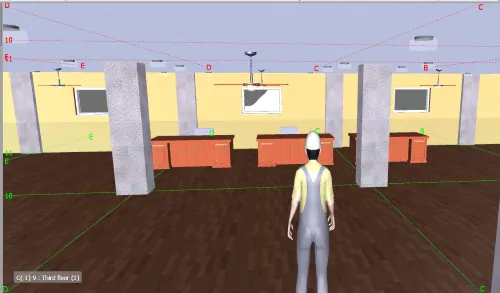
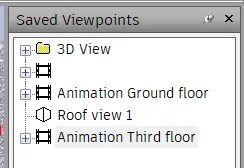
4) CLASH DETECTION TEST
AIM
To run clash detection test between two models.
INTRODUCTION
Naviswork Manage can be used to detect any interferences or clashes in between the model from different disciplines. The clash detection test can be done in minimal time, which is an added benefit to reduce time in model or project reviewing within in a team work.
PROCEDURE
- Open Naviswork Manage tool.
- Open architectural model.
- Now, in the home tab in ribbon, click on append.
- Select and open structural model from the folder.
- Then, click on clash detective in the ribbon.
- Now, a box will appear. Click on add test at the top right of the box.
- Name the test as 'Test 1'.
- Then, in the selection A box, click on the architectural file and in selection B box, click on the structural file.
- After that, click on Run test.
- Now we can see the result of the test.
- After the results are obtained, check for the clashes to be approved, resolved, reviewed etc.,
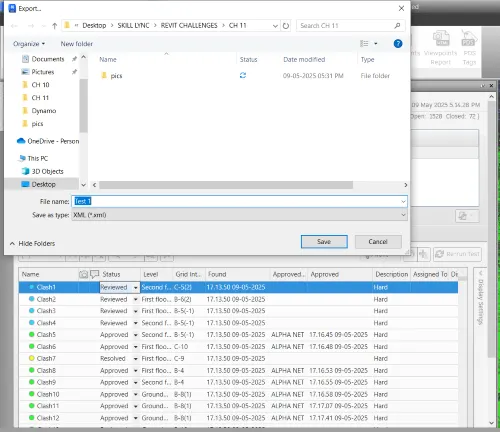
- To save the test results, click on export in the test box.
- Save the result as 'Test 1'.
RESULT
(a) Clash detection test is done for the models.
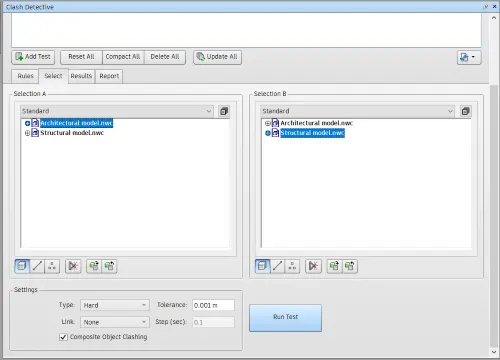
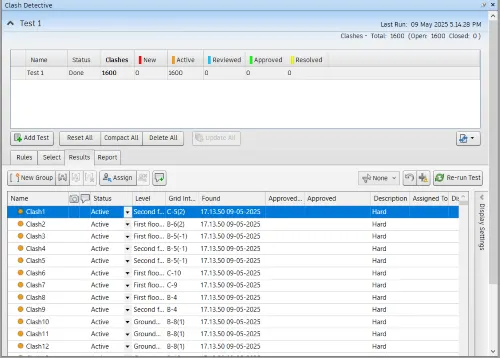
(b) After the clash detection test is done, it is found out that there are clashes between the architectural and structural models.
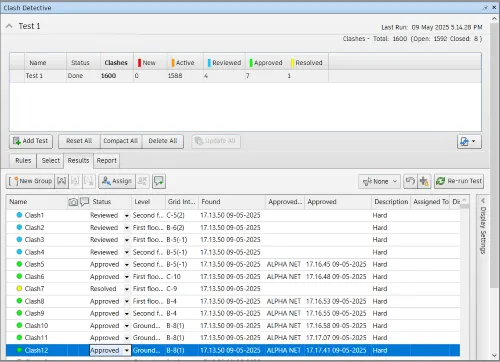
(c) 55 clashes can be approved.
(d) 99 clashes are reviewed to be taken care of later.
(e) 17 clashes can be resolved.
(f) The test results are saved in XML format.
5) TO PREPARE SCHEDULE
AIM
To create schedule for structural model using timeliner in Naviswork Manage.
INTRODUCTION
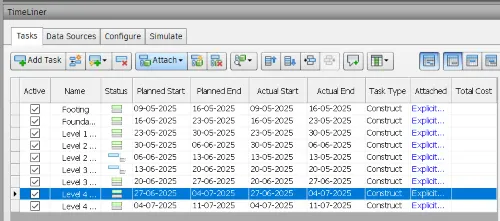
The timeliner feature in Naviswork Manage can be very well used to create schedule and simulate for the project models. In the timeliner, different tasks can be added, each task representing different steps in a construction process. Start and end time can be added. We can also mention the status and type of a process. For each tasks, cost can also be assigned.
PROCEDURE
- Open Naviswork Manage and open the structural model.
- Go to the home tab.
- Click on the timeliner and selection tree.
- We can see timeliner box opened and the selection tree in the left end.
- In the timeliner box, click on add tasks.
- When a new task is added, rename it as 'Footing'.
- Then, enter the particular dates in the space where they are to be mentioned.
- Then, from the selection tree, select structural foundations from the foundation level.
- On clicking the foundation, we can see that all the foundations are selected in the model.
- Now, click on 'attach current selection' option from the drop down in attach.
- Select the task type as 'construct.
- Now, again click on add task, and rename it as 'Foundation + Level 1 columns'.
- Add dates and select task type as construct.
- Now go to the selection tree, click on structural columns from foundation level and structural column from ground floor.
- Attach this selection.
- Then add another task and rename it as ''Level 1 floor + Level 2 framing'.
- Add dates and select task type as construct.
- Now go to the selection tree, click on floors from ground level and structural framing from first floor.
- Attach the selected items.
- Add the next task and rename it as 'Level 2 columns'.
- Add dates and select task type as construct.
- Go to the selection tree, click on structural columns from first floor.
- Attach the selected items.
- Then add next task, and rename it as 'Level 2 floor + Level 3 framing'.
- Go to the selection tree and select the components representing this.
- Attach the selected items.
- This way, add tasks; Level 3 columns, Level 3 floor + Level 4 framing, Level 4 columns, Level 4 floor + Roof framing.
- Enter dates for all the tasks.
- For all the tasks added, select the type as construct.
- For each task, attach the elements from selection tree.
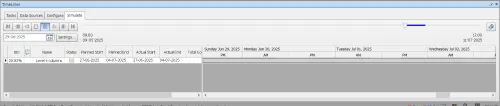
- Now, click on simulate in the timeliner box.
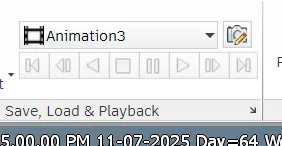
- Then go to the viewpoint tab and click on record.
- Click on the play button.
- We can see the visual representation of activities or tasks we added.
- Also the progress will get recorded as well.
RESULT
A schedule is created using timeliner and simulation is done.