Usage of Navigation tool , Timeliner and Clash Detection test using Naviswork
1) Use the Architecture/ Structure Project file developed by you in Week 6 to 8. Export the Revit architecture and structure model to Navisworks Cache file following the export settings discussed in class.
Intoduction -
Navisworks Cache files are created mostly for ease of use and speed.
When you open a model created in other programs, it create a cache file that is much smaller in size , and you wont even notice it.
The next time that you open that same model, it will instantly load, rather than gathering the information for it.
This is beacuase it is now reading the information from the cache file rather than the model itself.
It does this for each file navisworks opens or merges navtively.
Procedure -
First we have to open the Revit software and open the architectural model.
Next we click on the file option and export the model as NWC file.
Next the export the scene as tab will appear, next the give the nwc file name as project 123.
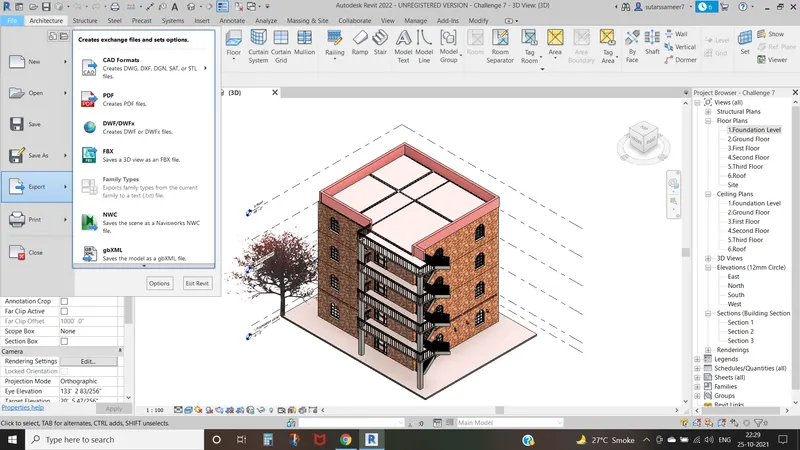
First we have to open the Revit software and open the Structural model.
Next we click on the file option and export the model as NWC file.
Next the export the scene as tab will appear, next the give the nwc file name as project 1Structural.
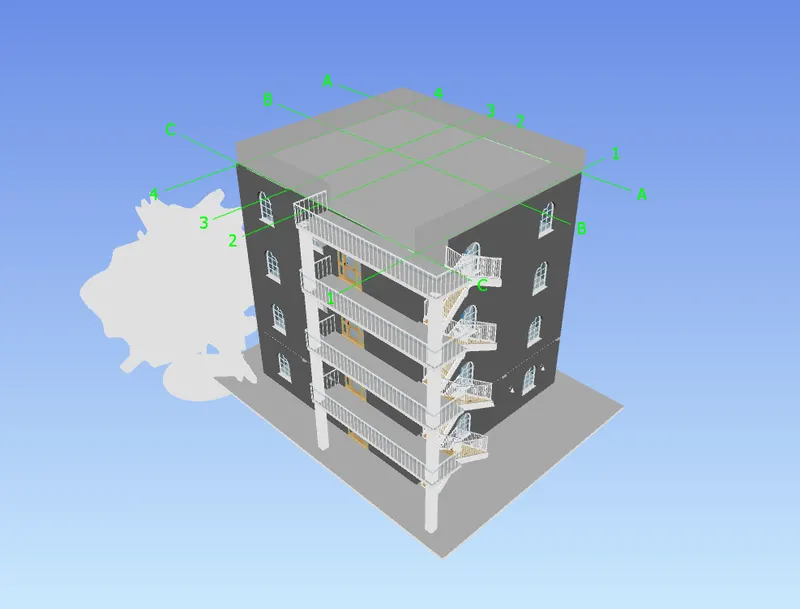
Next the architectural and structural model open in Navisworks.
Result -
Revit Architectural and structural model are successfully added to the navisworks cache file.
2) Use Navigate Tool to walk around the model and walk through the rooms created and record your moving as animation in your Navisworks file.
Introduction -
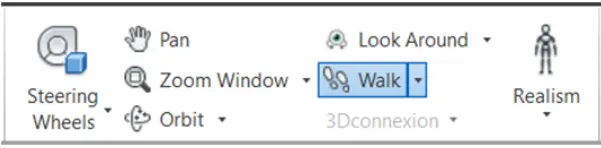
With the walk tool, you can navigate through a model as if you were walking thriugh it.
Once you start the walk tool, the centre circle icon is displayed near the base of the view and cursor changes to display a series of arrows.
To walk through a model, you drag in the direction in which you want to move in.
Procedure -
After opening the architectural model in the navisworks, then click on the walk tool.
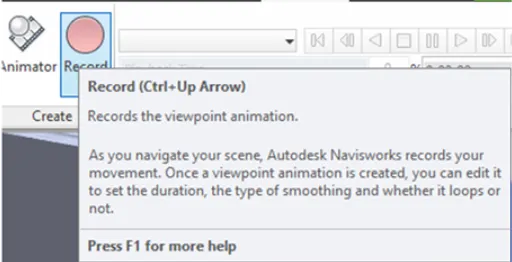
Next we use the record option in the viewport toolbar to record the moving as animation in each and every room.
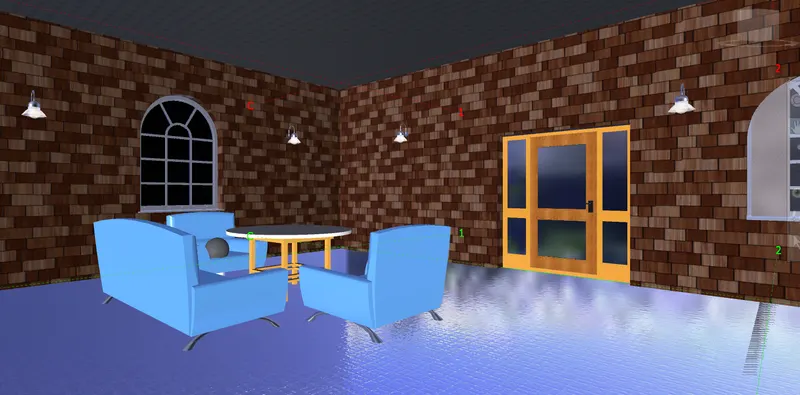
Next we walk through the living room.
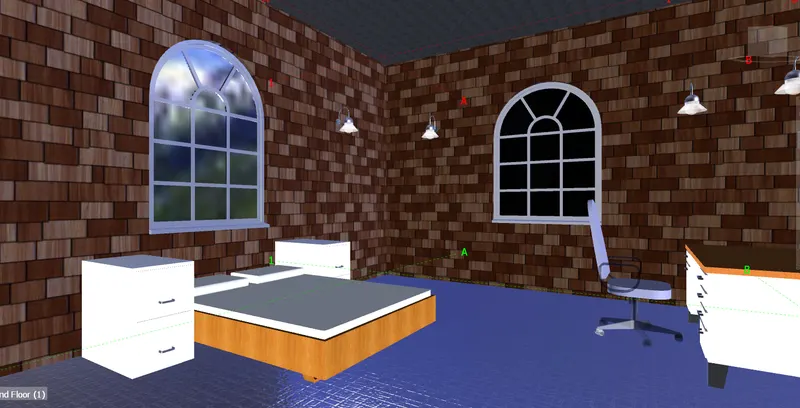
Next we walk through the bed room.
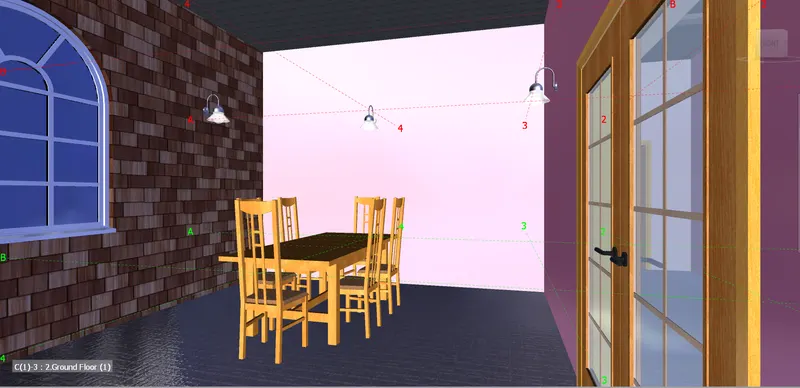
Next we walk through the kitchen room.
Result -
Used navigation tool to walk around the model.
To walk through the room created.
To record moving as animation in navisworks file.
3) Use Navigate tool to use Realism feature to walk through the model and record your moving as animation in Navisworks file.
Introduction -
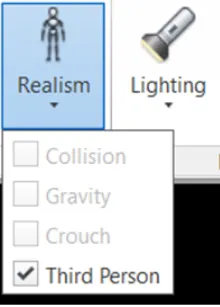
This function allows you to navigate scene from a third person perspective.
When a third person activated, you will able to see an avatar which is a representation of yourself within the 3D model. Whilist
navigating you will be controlling the avatar interaction with current scene.
Using third person in connection with collision and gravity makes these a very powerful function, allowing you to visualize exactly how
a person would interact with the intended design.
You can customize setting, such aa avatar selection,dimension, and positioning for the current viewpoint or as a global action.
Procedure -
First we open the realism option and select the third person.
Next we use the record option in the viewport toolbar to record the moving as animation in each and every room.
First we walk through living room.
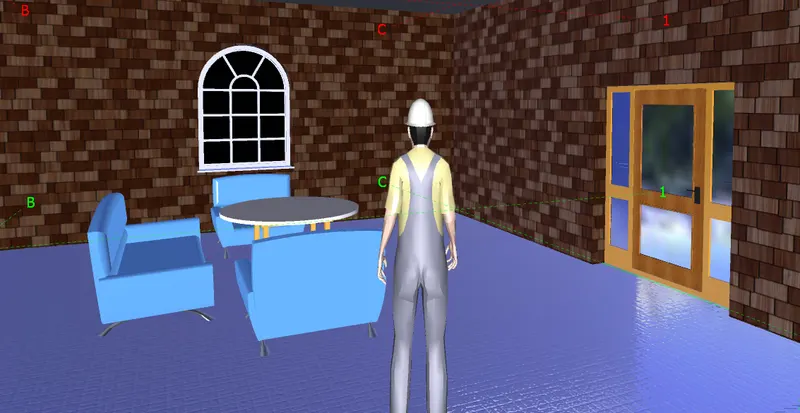
Next we walk through bed room.
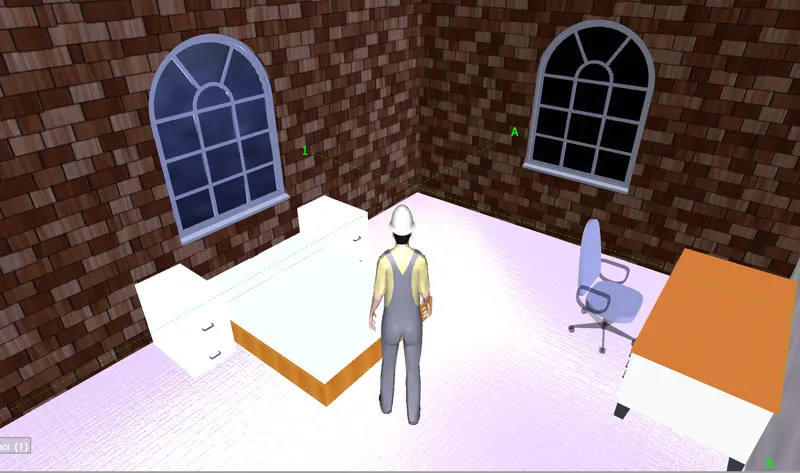
Next we thriugh kitchen room
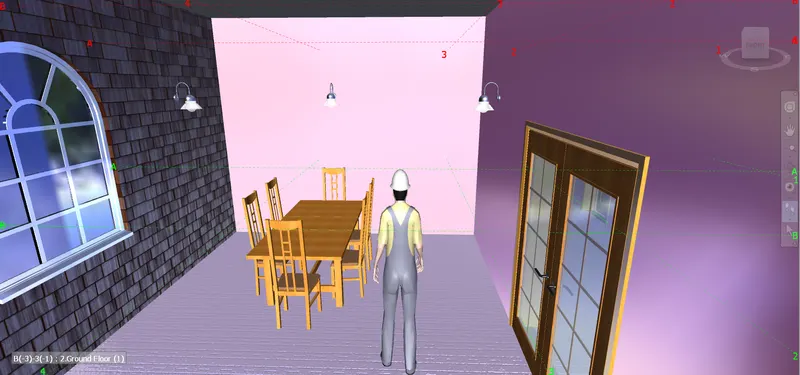
Next we walk through the entrance.
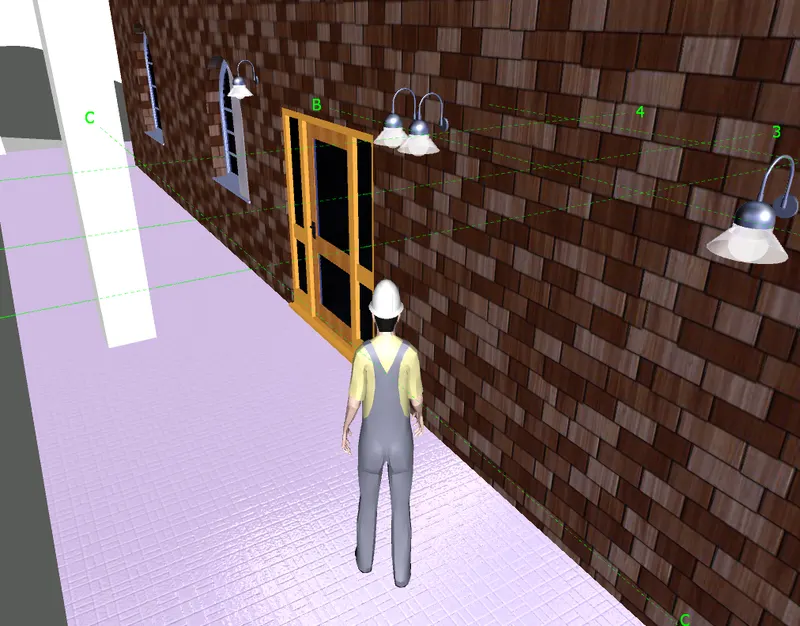
First we walk through a stairs.
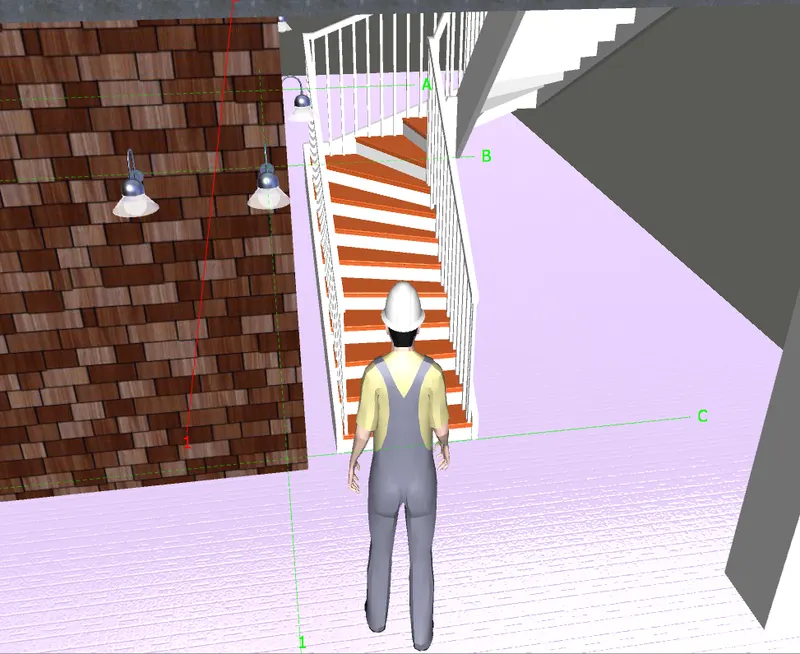
Result -
Used realism tool to walk around the model.
To walk through the rooms created.
To record moving as animation in navisworks file.
4) Embed both architecture and structure *.nwc file to your Navisworks file. Create a clash detection test between the two models
a. Run the Clash Detection Test
b. Study the clashes between the two models
c. List which of the clashes could be approved
d. List which of the clashes could be neglected ( will be taken care later)
e. List which of the clashes can be resolved
f. Save the results after color coding the clashes to the Navisworks file
g. In case of resolution annotate the clash and save the view to defined views in Navisworks
Introduction -
The clash detective tool anables you to search through your project model, identifying cross discipline interferance earlier in design process.
This feature is available for Autodesk Navisworks Users Only.
Procedure -
Initially apend the structural model to architectural model.
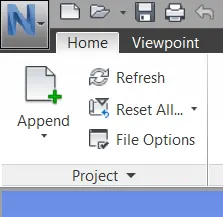
First we need to open the home tab and select the clash detective tool.

Next we need to study the clashes between the two models.
There was a problem to study the clashes between two models.
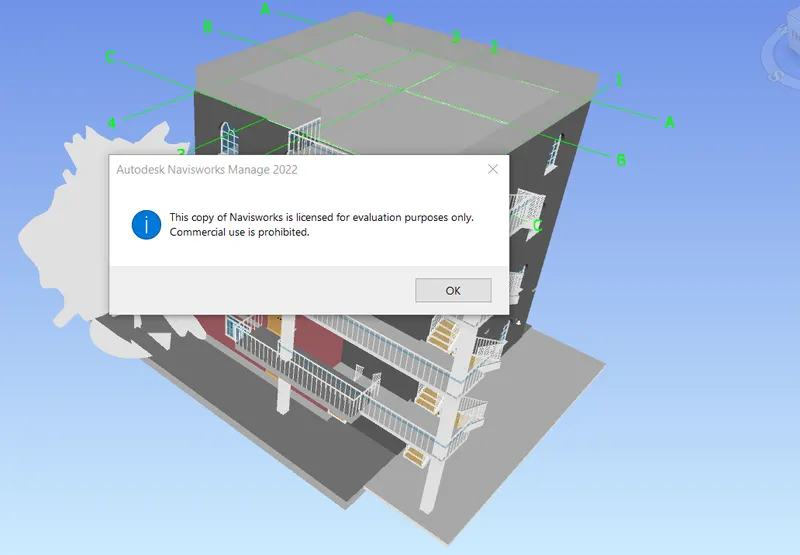
Next listdown the clashes which are approved.
Next listdown the clashes which are neglected.
Next listdown the clashes which are resolved.
Next we need to save the results after colour coding clashes to the Navisworks file.
Results -
Created a clash detection test between the two models successfully.
5) Using the Timeliner feature in Navisworks prepare a schedule for the project developed in week 6 to 8 by adding reasonable assumptions for task start date and end date and simulate the task completion as a visual simulation. Record it and save the timeline simulation to Navisworks file
Introduction -
The time liner tool add schedule simulation to Autodesk Navisworks.
Time Liner imports schedules from a veriety od sources.
You can then connect tasks in the schedule with objects in the model to a create a simulation.
This allows you to see the effects of the schedule on the model, and compared planned dates against actual dates.
Costs can also be assigned to tasks to track the cost of the project throughout its schedule.
It is allows the export the images and animation based on the result of the simulation.
It will automatically update the simulation if the model or schedule changes.
Procedure -
First we open the structural model in navisworks which was exported from Revit.
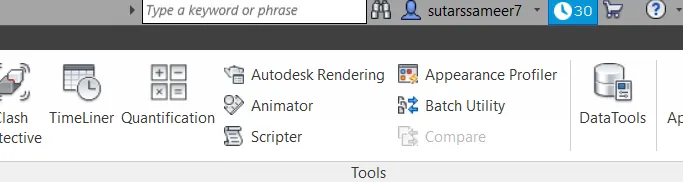
Next select the home tab and select the tome liner.
Next add the tasks and attach the tasks in it.
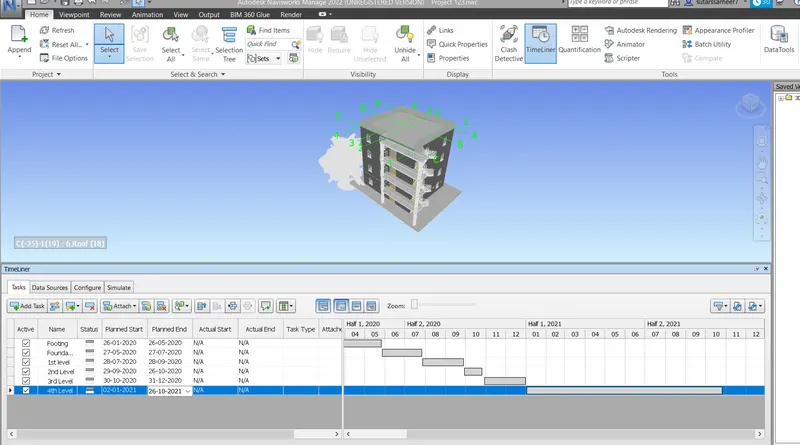
Next update the actual dates like like start and finish date to the task.
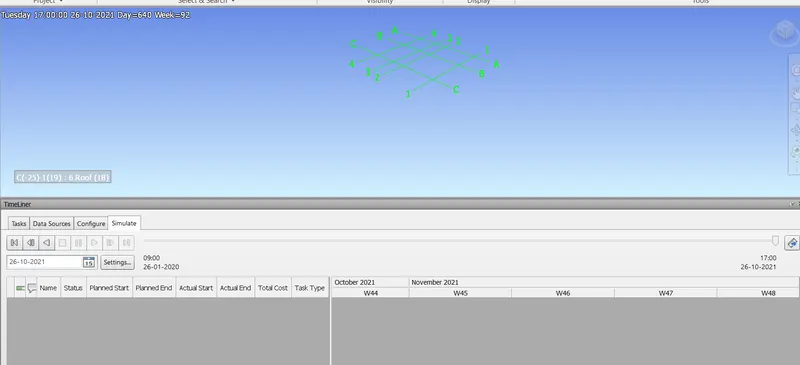
Next click on the stimulate to play the recorded task and next save the project.
Result -
Time liner feature is used successfully in navisworks to prepare a schedule for the project developed in week 6 to 8.