Usage of Navigation tool , Timeliner and Clash Detection test using Naviswork
AIM: Usage of Navigation tool, Time liner and Clash Detection test using Naviswork
INTRODUCTION:
Navisworks allows users to open and combine 3D models, navigate around them in real-time and review the model using a set of tools including comments, redlining, viewpoint, and measurements. A selection of plug-ins enhances the package adding interference detection, 4D time simulation, photorealistic rendering and PDF-like publishing.
It is a project review software that allows Architecture, Engineering and Construction professionals holistically review integrated models and data with stakeholders during preconstruction to better control project outcomes. Here is a list of some tools and functionalities:
Coordination
Clash Detection
5D Project scheduling
Rendering
Quantification
Construction Simulation
Navisworks is available in three versions namely Freedom, Simulate and Manage. Freedom is a free viewer for native NWD files. Simulate is the base level and includes the functionalities except for Clash Detective. Manage on the other hand is the top level and includes all features.
TASK 1:
To export the Revit architecture and structure model to Navisworks Cache file following the export settings.
PROCEDURE:
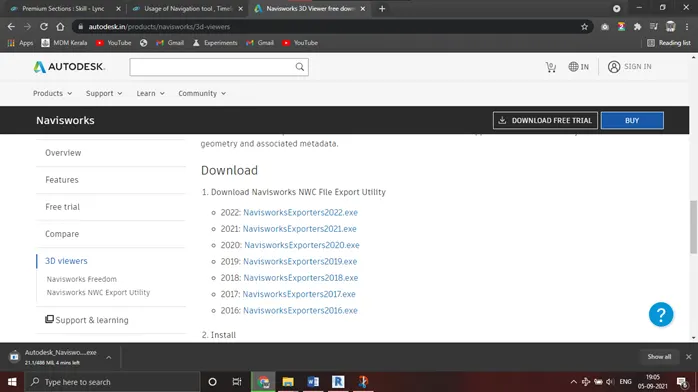
Download the Navisworks Exporter set up file
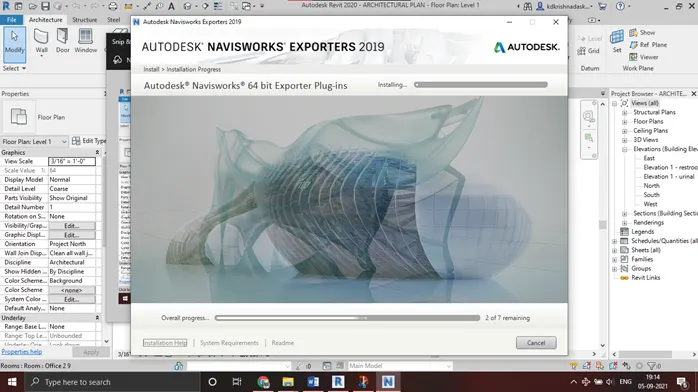
And install it into the pc.
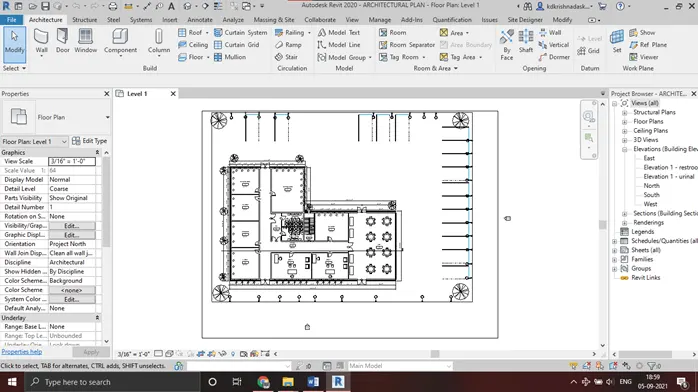
Open the Revit file which we want to export into Navisworks.
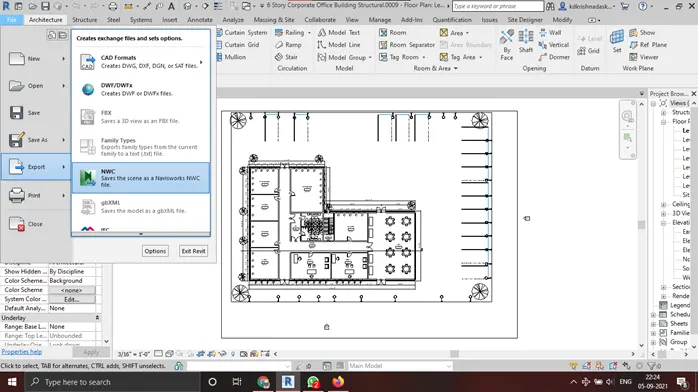
In the file menu select Export followed by NWC
Select the location in which you want to save the file
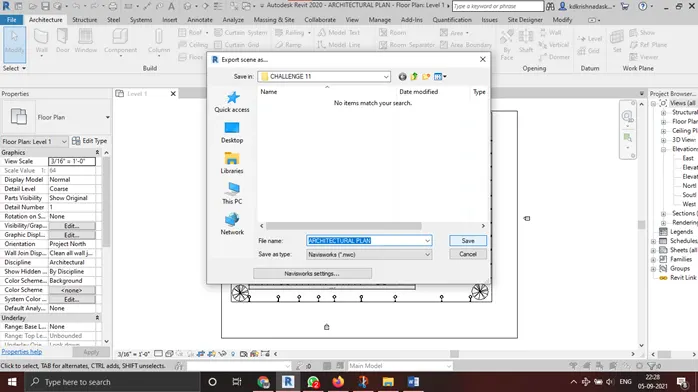
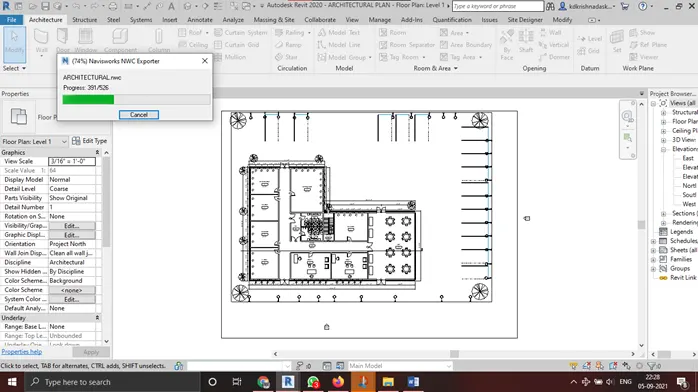
Then the exporting process will begin as shown
Once it is exported open the exported file using the Navisworks manage application
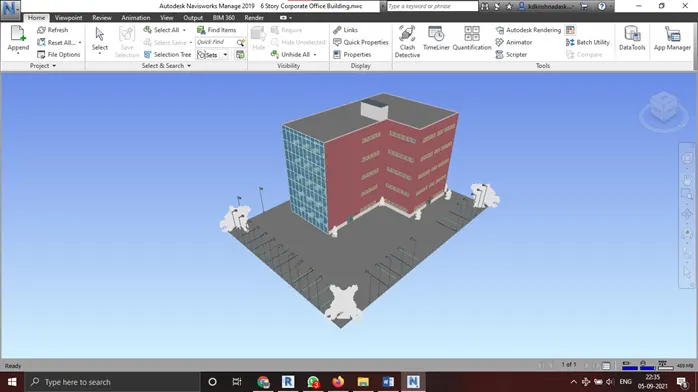
RESULTS:
Architectural model was successfully exported into Navisworks cache file.
TASK 2:
To use Navigate Tool to walk around the model and walk through the rooms created and record your moving as animation in your Navisworks file.
PROCEDURE:
Open the architectural file in Navisworks
Click on the walk option in the Viewport tab.
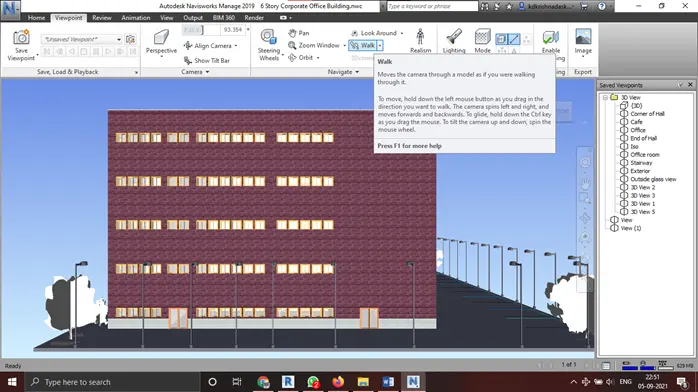
Click on the record option in save viewport option under viewpoint tab.
We can save viewpoint using the save viewpoint option above it.
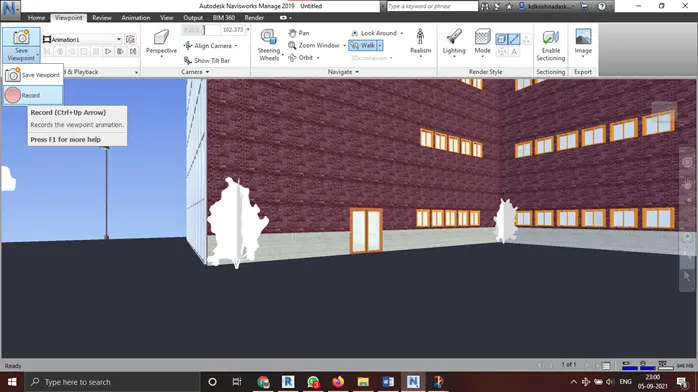
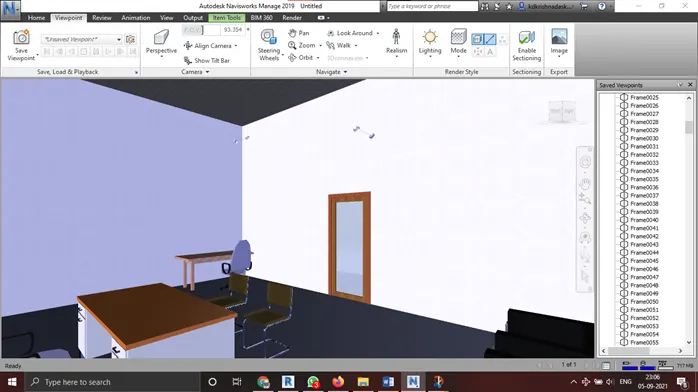
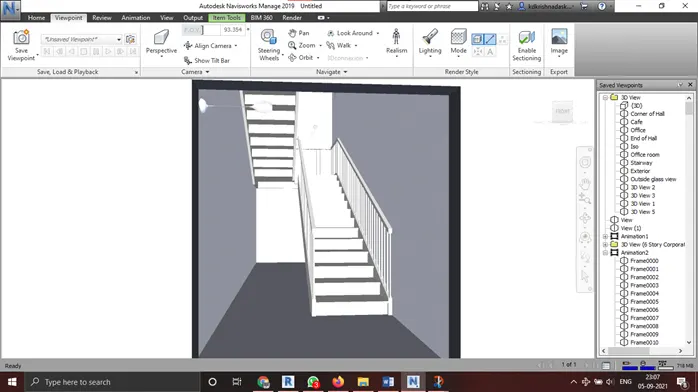
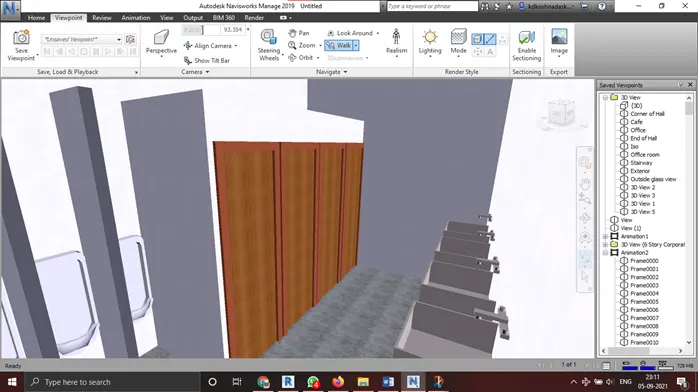
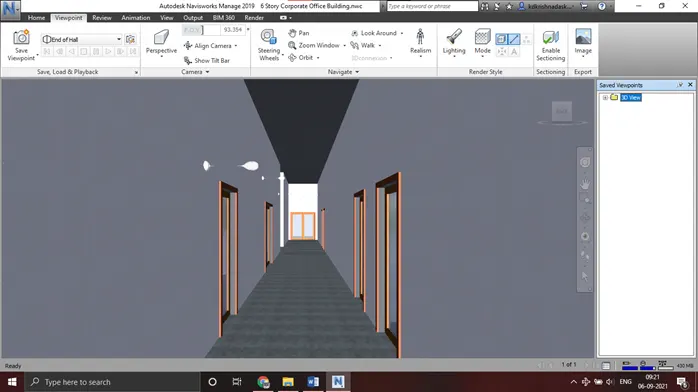
Using the walk option we walked through all the rooms of the building and was recorded.
Cafeteria:
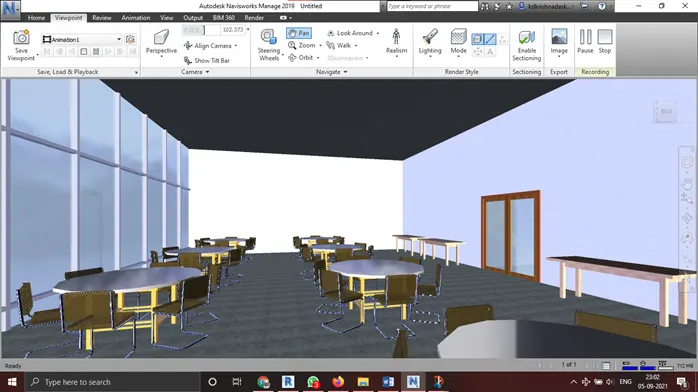
Hallway:
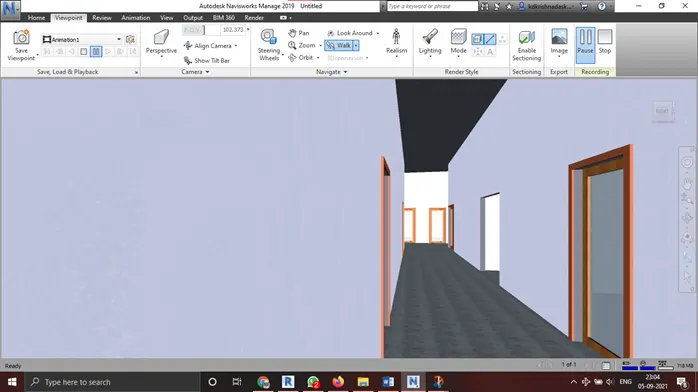
End of corridor:
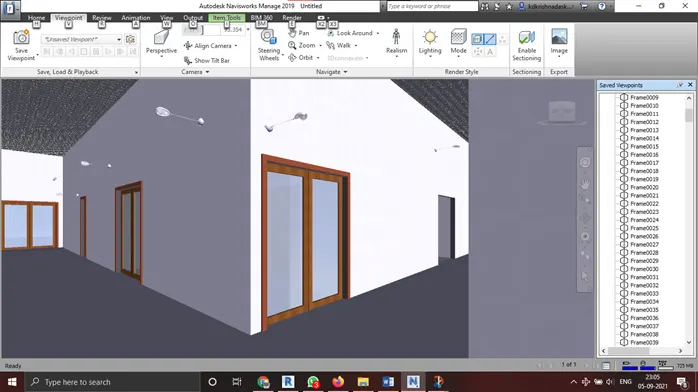
Office room:
Stairway:
Washroom:
Hallway:
RESULTS:
Walk around through the model was completed.
TASK 3:
To use Navigate tool to use Realism feature to walk through the model and record your moving as animation in Navisworks file
PROCEDURE:
Tick on the Third person option in Realism menu under the viewpoint tab
Click on the record option in save viewport option under viewpoint tab.
We can save viewpoint using the save viewpoint option above it.
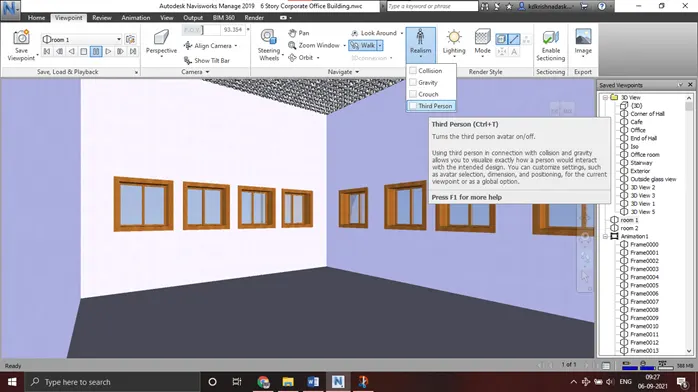
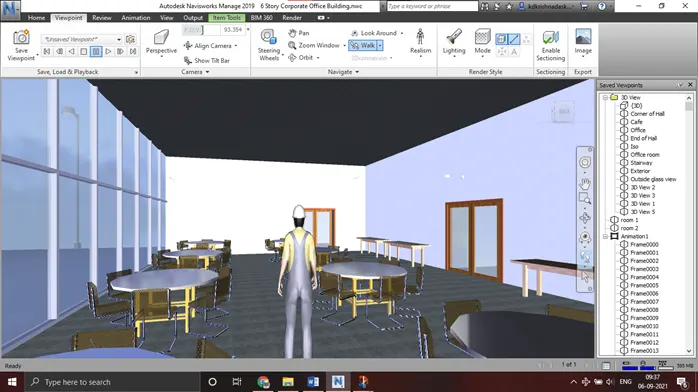
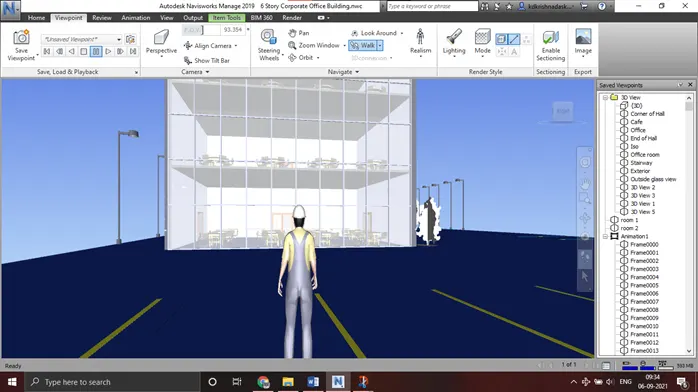
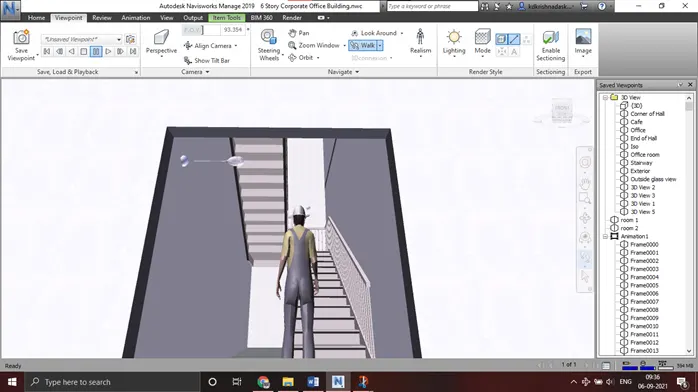
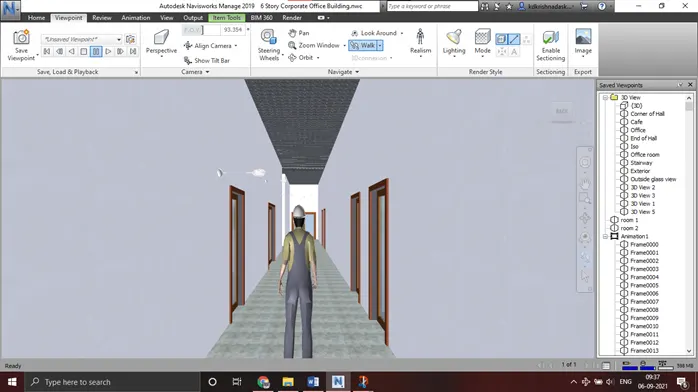
Using Realism feature walkthrough we walked through the building.
Cafeteria:
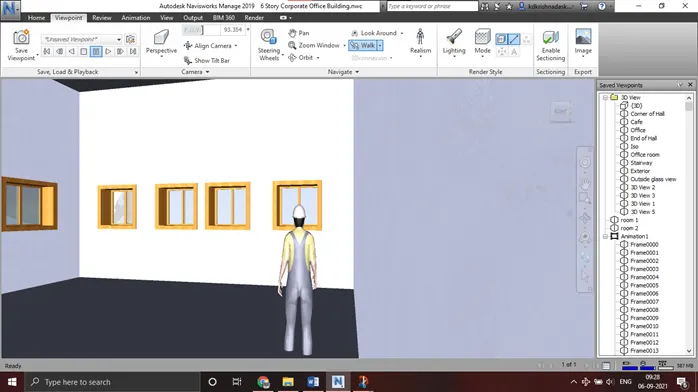
Room 1:
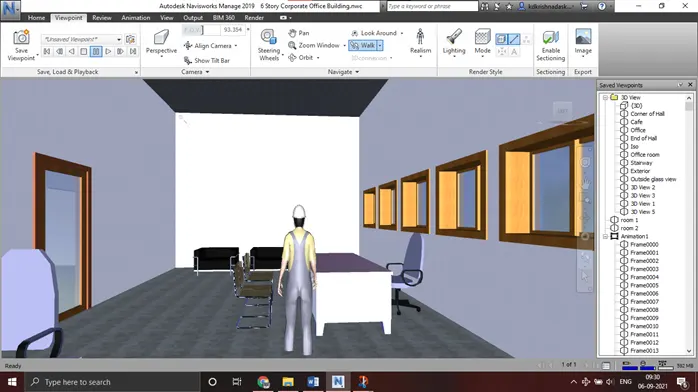
Office room:
Outside View of building:
Stairway:
Hallway:
RESULTS:
Walkthrough the model using realism feature is completed
TASK 4:
To embed both architecture and structure *.nwc file to your Navisworks file and to Create a clash detection test between the two models
a. Run the Clash Detection Test
b. Study the clashes between the two models
c. List which of the clashes could be approved
d. List which of the clashes could be neglected (will be taken care later)
e. List which of the clashes can be resolved
f. Save the results after color coding the clashes to the Navisworks file
g. In case of resolution annotate the clash and save the view to defined views in Navisworks
PROCEDURE:
a) Initially open the architectural file in Navisworks.
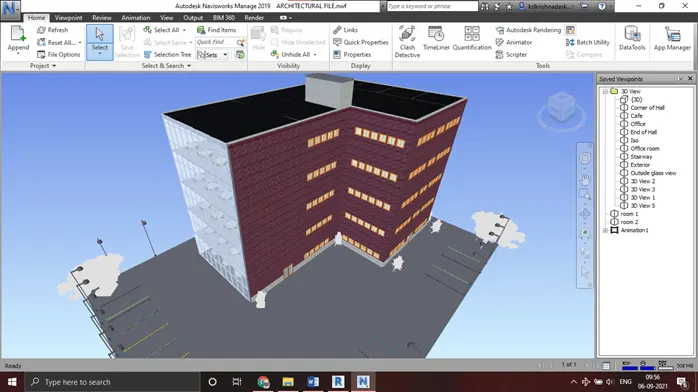
Click on the append menu in the home tab to append structural file into architectural file
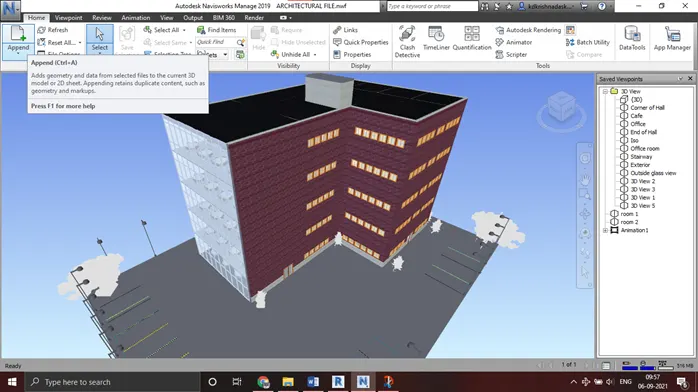
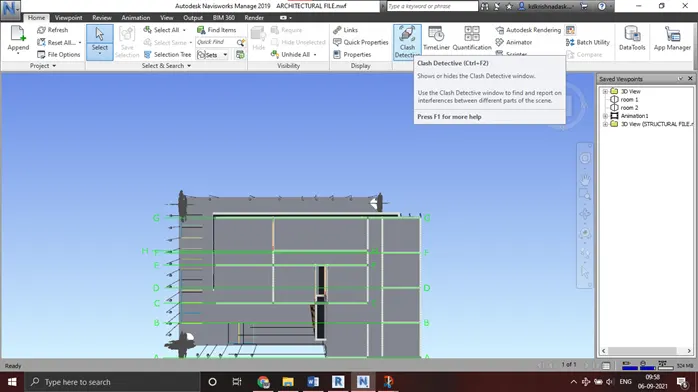
Now click on Clash Detective option the Home tab to start the test.
Then select the files which we want to do the test and click on run test.
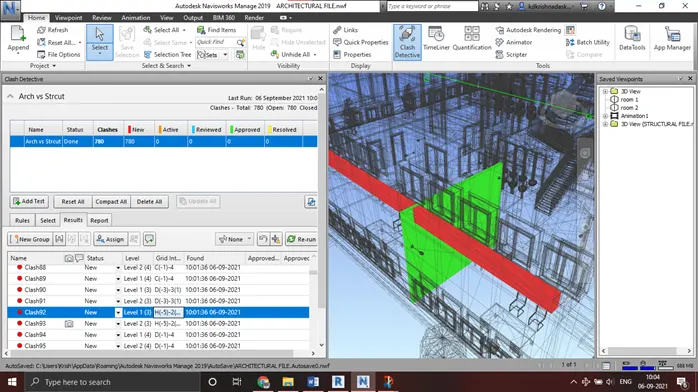
b) Clashes between the two models was studied
c) Clashes can be approved as part of construction, these clashes will not appear again and will turn to green colour once we click on approve
d) The clashes which will not cause any issue to the project can be easily neglected.
e) Clashes can be resolved which can change model boundary conditions these clashes can be excluded from the detective test.
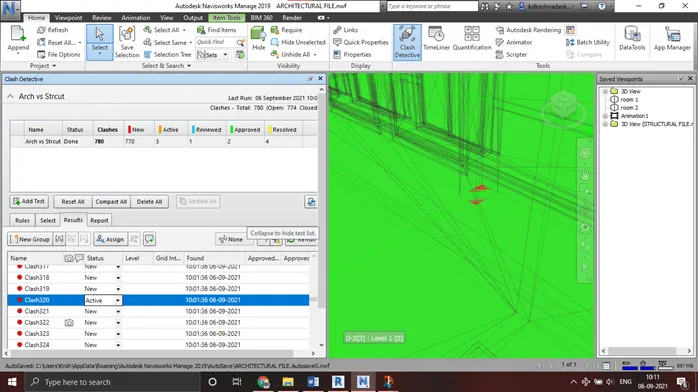
Save the file after colour coding the clashes to the Navisworks file
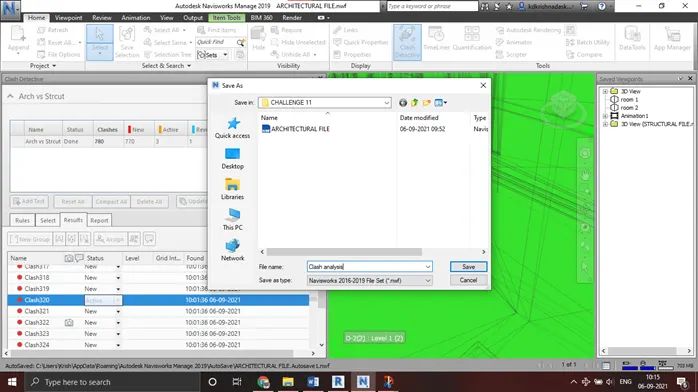
RESULTS:
Navisworks clash analysis was carried out successfully
Task 5:
Using the Timeliner feature in Navisworks prepare a schedule for the project developed.
PROCEDURE:
Open the structural file in Naviswork.
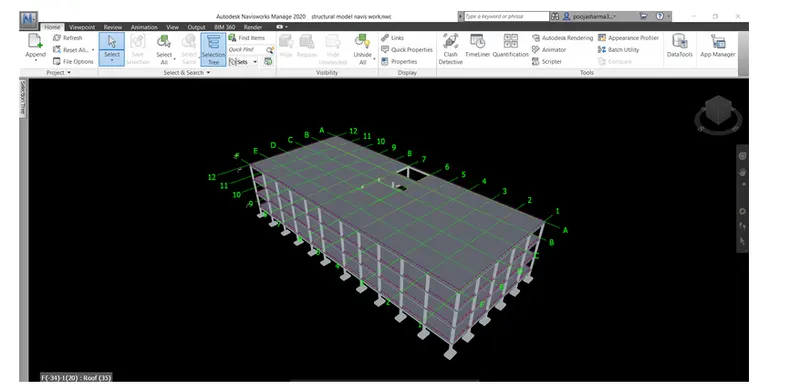
Click on the timeliner option in the home tab
Click on add task in the timeliner to add new tasks
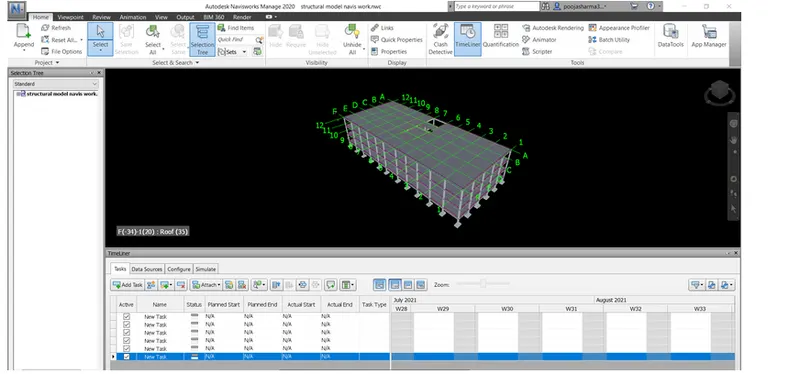
Create the tasks as required from start to end by providing a starting and ending date, and provide type as construct.
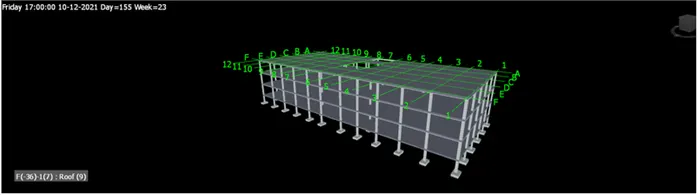
After entering all the tasks click on stimulate, record it and save the work
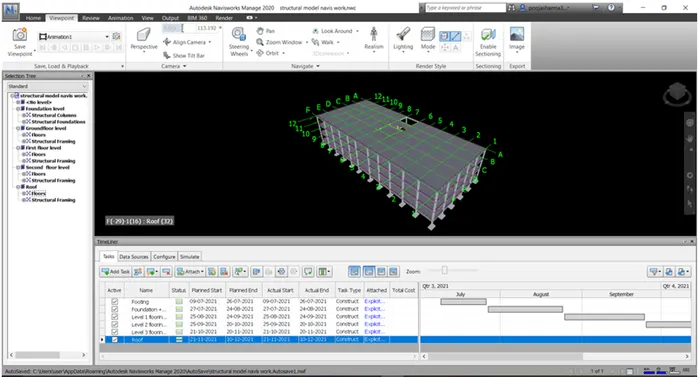
Timeliner stimulation is now completed and is as shown
RESULTS:
The timeliner analysis was successfully completed