Usage of Navigation tool , Timeliner and Clash Detection test using Naviswork
1.
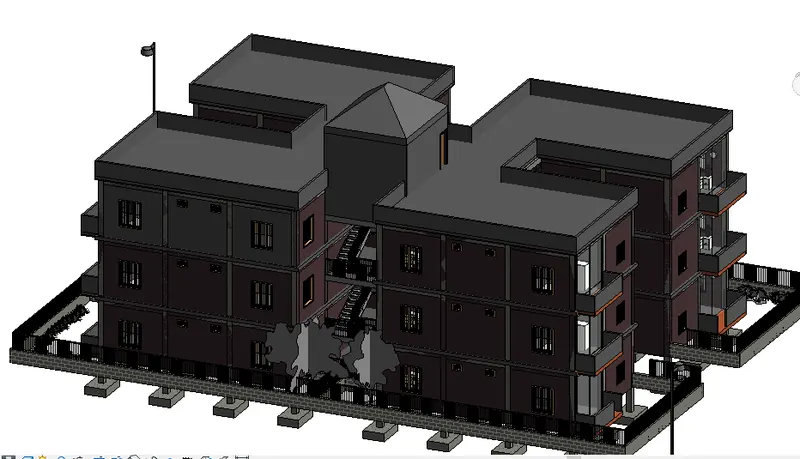
AIM: Use the Architecture/ Structure Project file developed by you in Week 6 to 8. Export the Revit architecture and structure model to Navisworks Cache file following the export settings discussed in class
PROCEDURE:
- open revit->Open the week 7 file
- Go to file->Export->NWC //To save the file in naviswork format
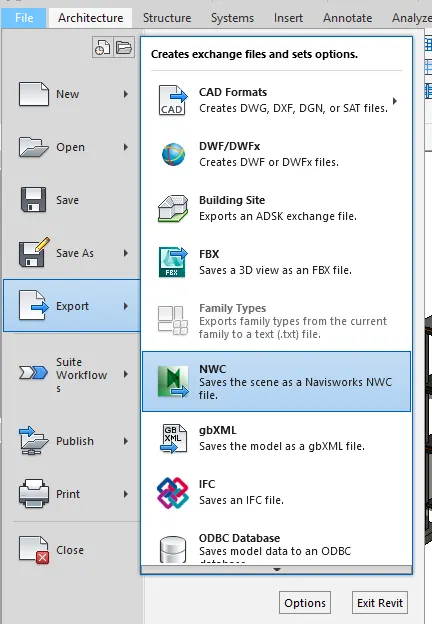
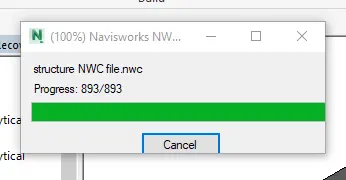
- click on NWC->The file will now be saving in NWC //Saving progress will be shown
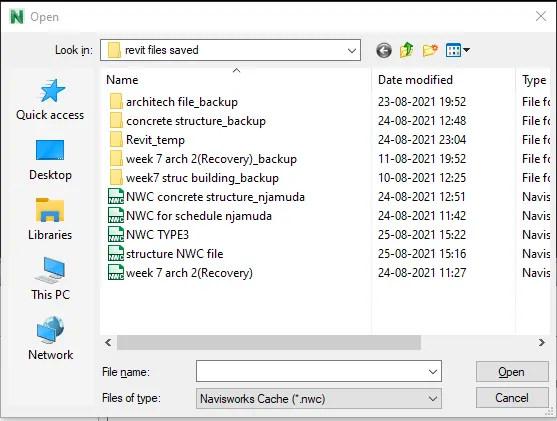
- Now open Naviswork->Open ->Search for the file
- Change the file of type to Naviswork cache
RESULT:
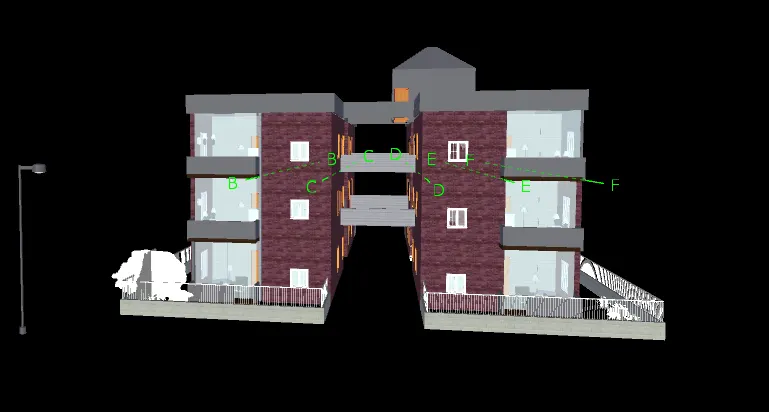
2.
AIM: Use Navigate Tool to walk around the model and walk through the rooms created and record your moving as animation in your Navisworks file
PROCEDURE :
- Open Naviswork manage->Go to that model you open in the previous question
- Go to viewpoint->Navigation tab->Walk
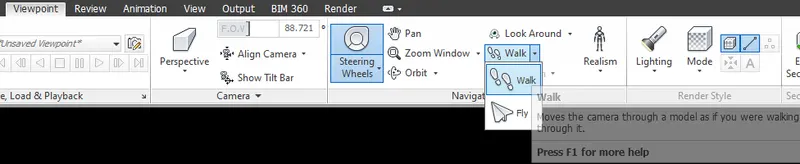
- Viewpoint->Save viewpoint->Record //To record the walkthrough
- the walkthrough video will be saved in the viewpoint tab
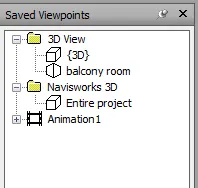
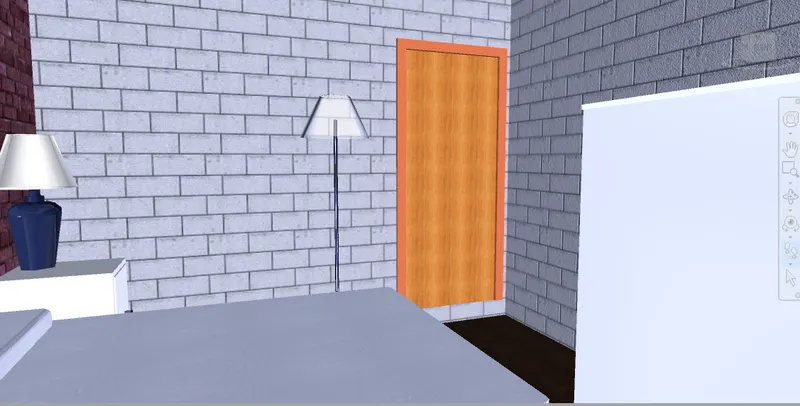
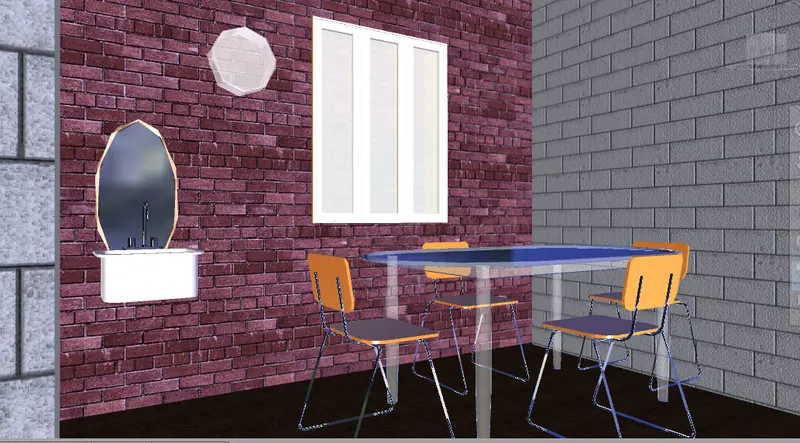
- No walkthrough the rooms,bathroom,,dining etc
- record the video and save it
3.
AIM: Use Navigate tool to use Realism feature to walk through the model and record your moving as animation in Navisworks file
PROCEDURE:
- open naviswork->open the previous file model
- Viewpoint->Save viewpoint->record //The video will be start recording
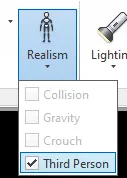
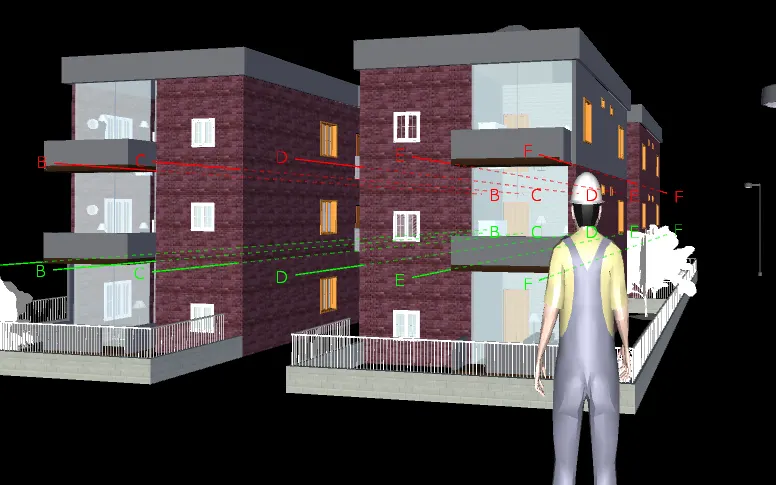
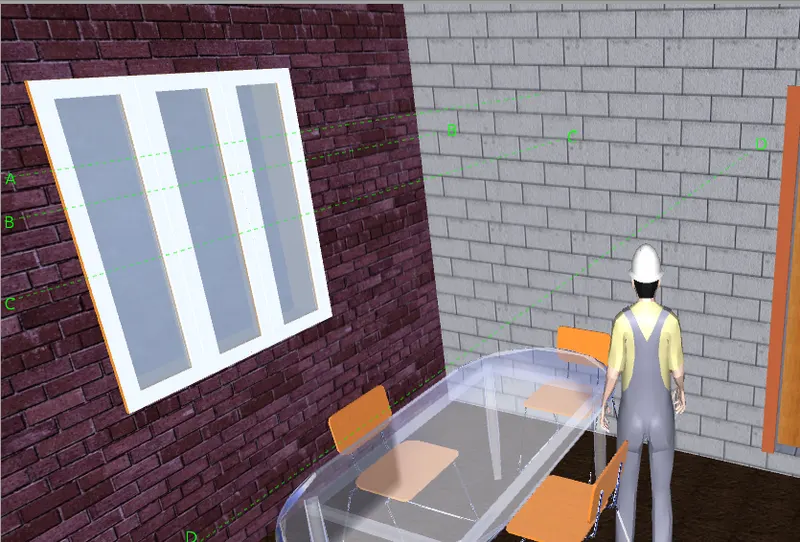
- viewpoint->realism->Then select the 3rd person option

- Use the mouse to move forward and backwards
- and scroll up and down for adjusting the view height
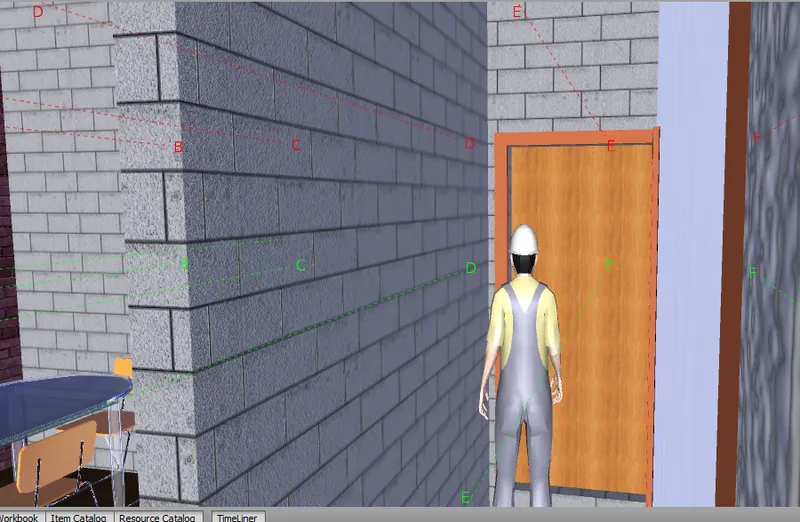
- move the 3rd person thorugh the rooms
- Stop the recording->The animation will be saved to the viewports
RESULT:
4.
AIM: Embed both architecture and structure *.nwc file to your Navisworks file. Create a clash detection test between the two models
a. Run the Clash Detection Test
b. Study the clashes between the two models
c. List which of the clashes could be approved
d. List which of the clashes could be neglected ( will be taken care later)
e. List which of the clashes can be resolved
f. Save the results after color coding the clashes to the Navisworks file
g. In case of resolution annotate the clash and save the view to defined views in Navisworks
PROCEDURE:
- Open naviswork->Open the structure and the architecture file
- Home tab->Clash detective
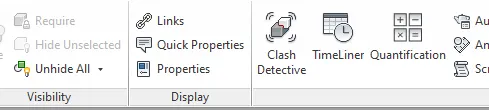
- A new tab will open.->select the clashes file you want to check
- //In my case i've selected a combined model (Structure and architecture in one )
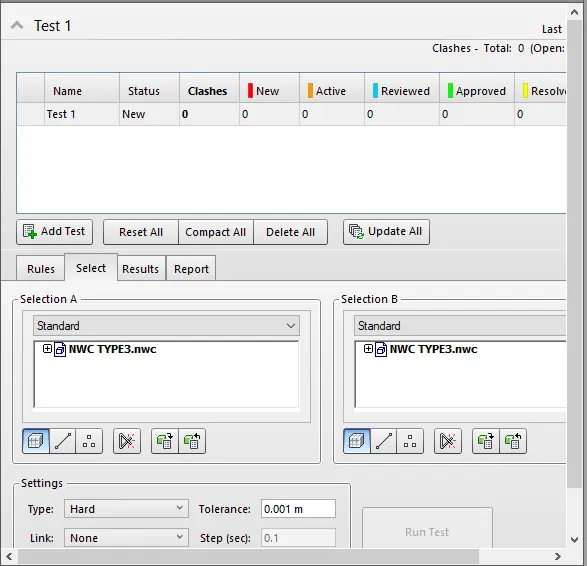
- after selecting the file to check for clash->Click on run test
- A number of clashes which are present will be shown in the model
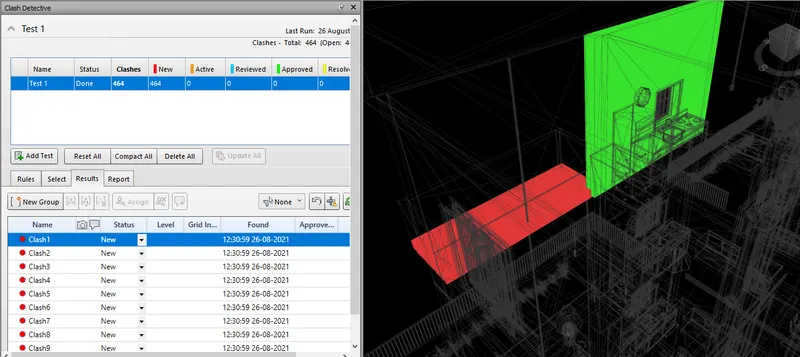
- Look after the clashes and try resolving
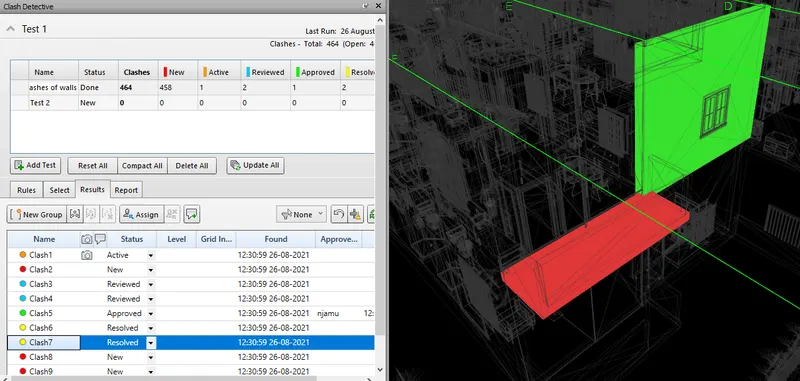
- Once the clash is looked over and corrected->Go to status change into "resolved"
- Then the look for other clashes->Change the status according to the clashes condition
RESULT:
//After solving the clashes the name and color of that clases will be changed accoridng to the format
5.
AIM:Using the Timeliner feature in Navisworks prepare a schedule for the project developed in week 6 to 8 by adding reasonable assumptions for task start date and end date and simulate the task completion as a visual simulation. Record it and save the timeline simulation to Navisworks file
PROCEDURE:
- Open naviswork ->Open the model you want o make the timeline
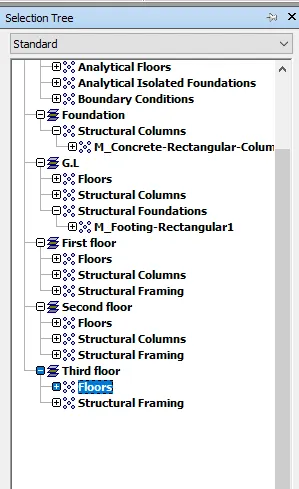
- Go t home tab->Selection tree
- A new panel will open->you can select the element to include in the timlines
- On home tab->Click on timeliners
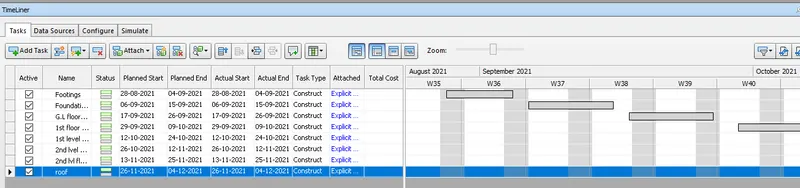
- A new tab opens->Click on +AddTask ,to add new tasks
- Add the task as construct,if you want to see construction progress
- Enter thedate planned start,planned end,actual start actual end according the model progression
- You can attach the elements from the selection tree(click on attach and attch from selection)
- Now click on simulate->A new tab will open
- Click on play to see the construction progress
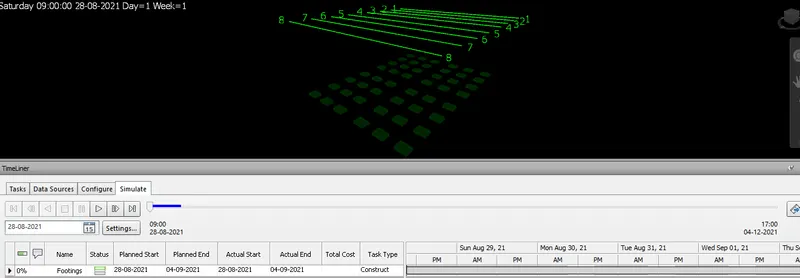
- The progression will be shown according toh the construction time and date
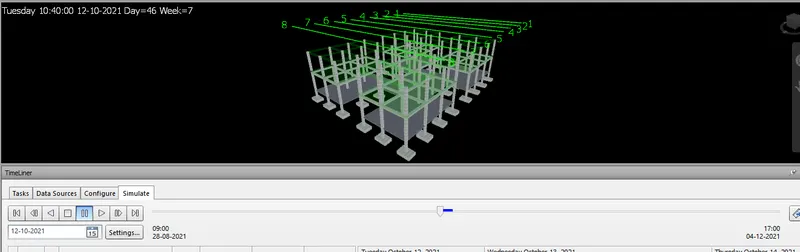
- Progress after 50% completion
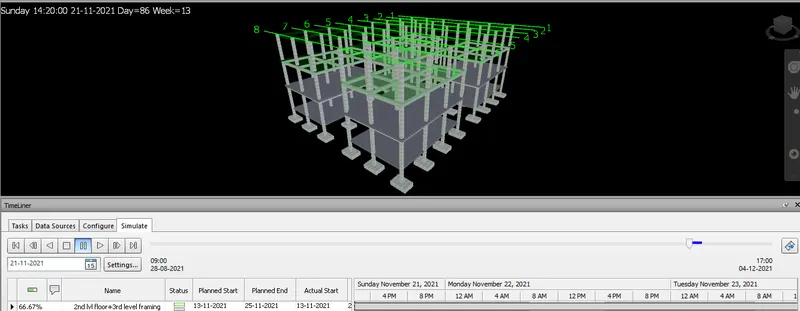
- progress after 66.67% completion
- Click on save .