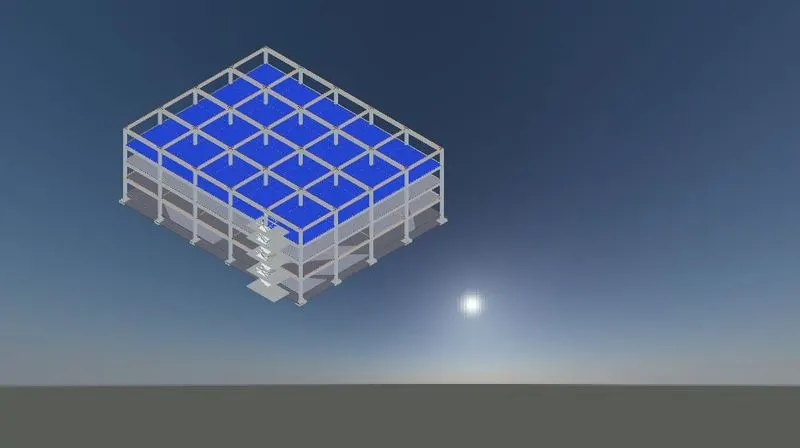
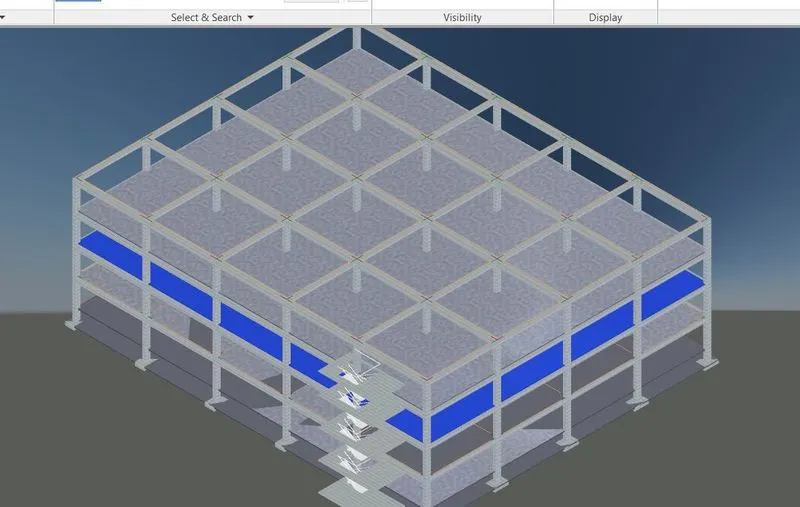
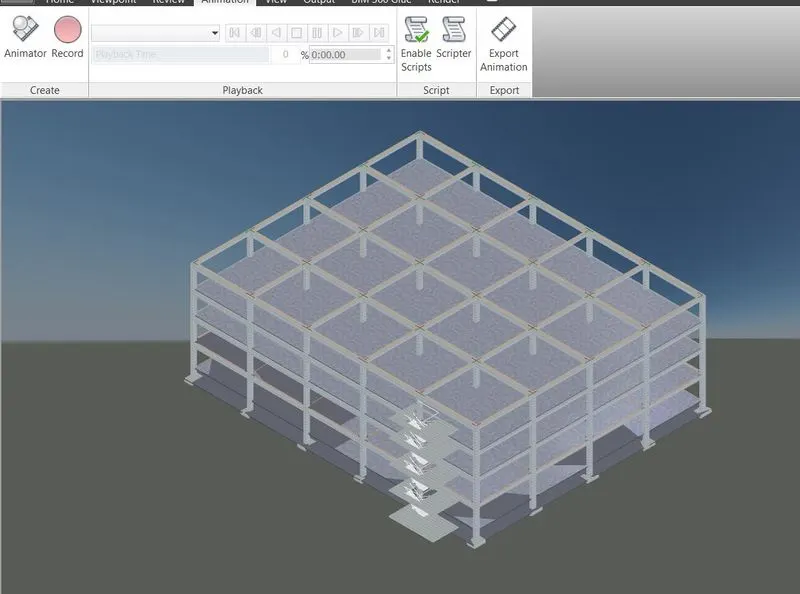
Usage of Navigation tool , Timeliner and Clash Detection test using Naviswork
1. Use the Architectiral/Structural project file developed by you in week 6 to 8. Export the Revit Architecture and structural model to navisworks cache file following the export settings discussed in class.
AIM
To Export the architecture and structure model to Navisworks cache file.
PROCEDURE
- To open any Revit combined plan of Architecture and structural model.
- Before, we open Autodesk website and login to my ID and download Navisworks software.
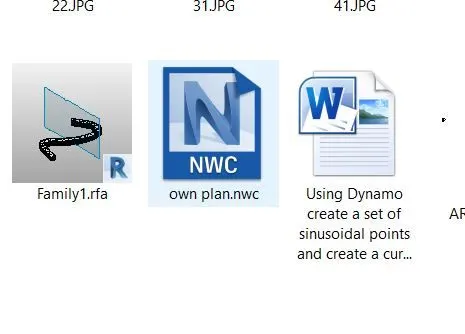
- After downloaded, now we get to export the file in NWC file.
RESULTS
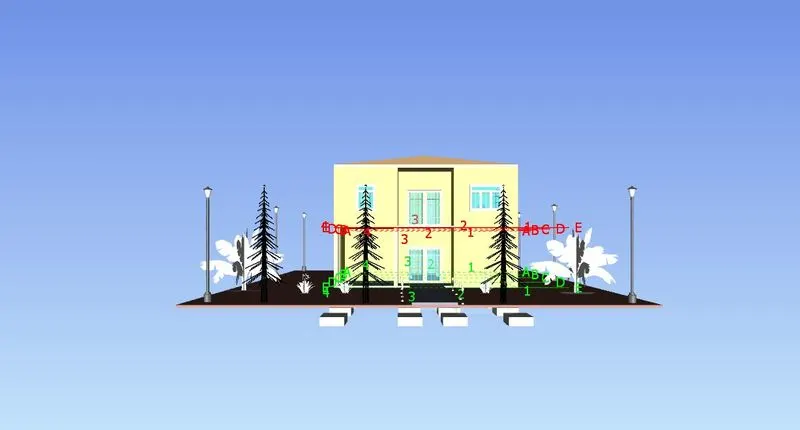
Finally, we get the combined file of Architecture and Structure in Navisworks manage software to further process.
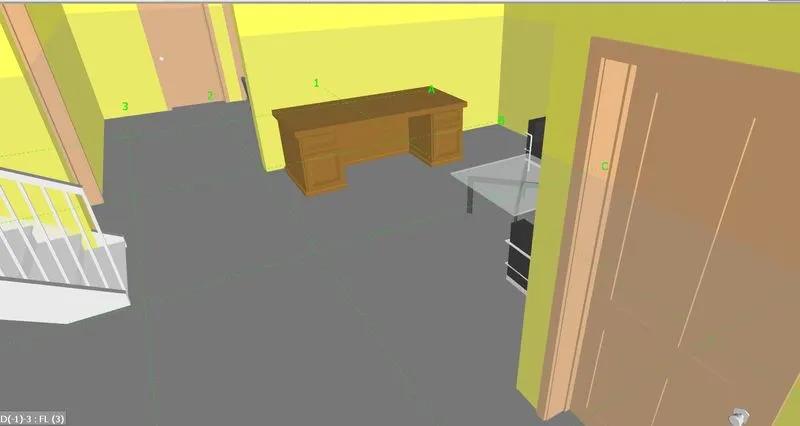
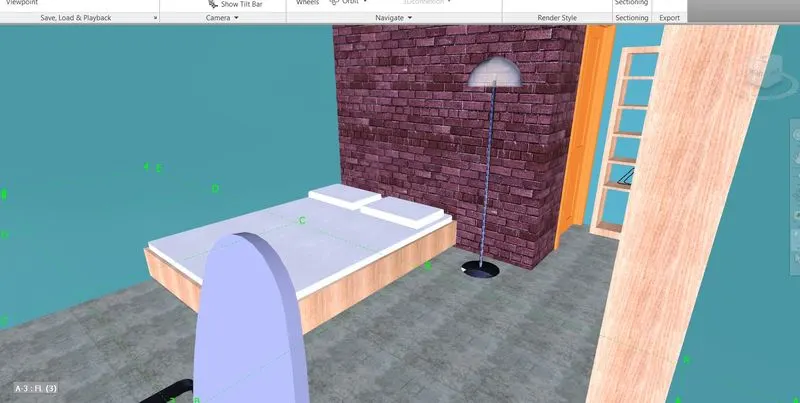
2. Use Navigate tool to walk around the model and walk through the rooms created and record your moving as animation in your Navisworks.
AIM
To use the navigate tool to walk around the model and record your moving as animation in your Navisworks.
PROCEDURE
- To open the file in Navisworks manage.
- Go to viewpoint, select the view for your required place.
- Go to view point, to saved the all view.
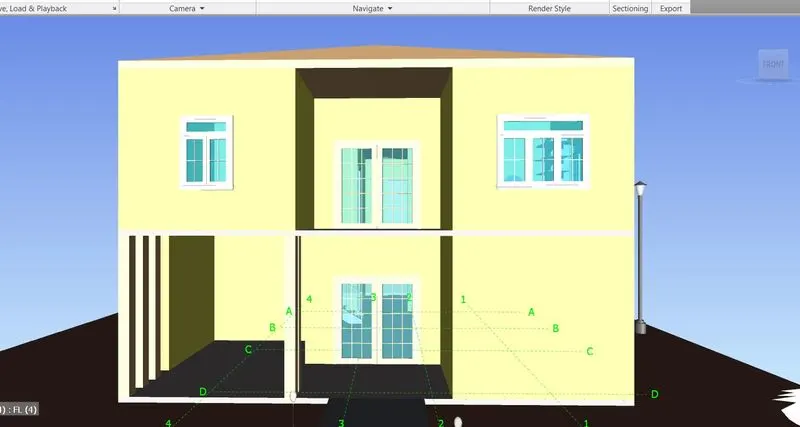
- To select walk, will appear all interior by walk through view.
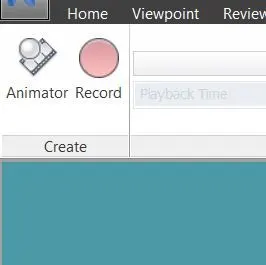
- Go to animation bar, select the tool of Record, to saved our wall through .
RESULT
The walk through and video has been created successfully.
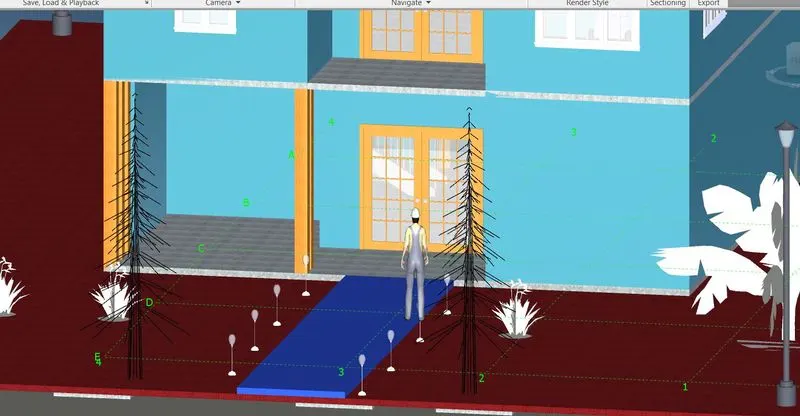
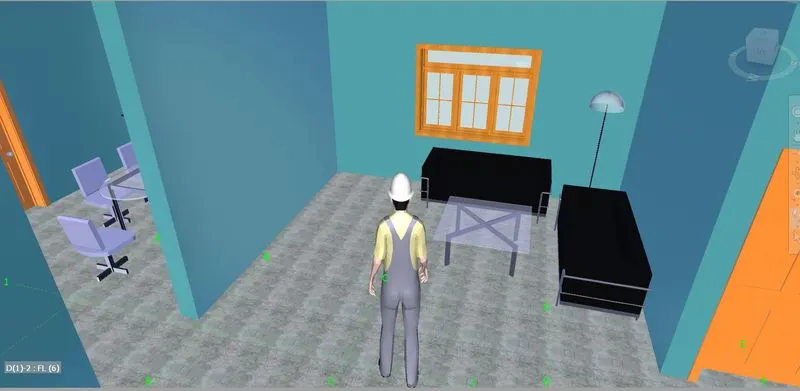
3. Use navigate tool to use Realism feature to walk through the model and record your moving as animation in Navisworks file.
AIM
To use realism feature to walk through the model and record my moving animation.
PROCEDURE
- Open the 3D viewpoint.
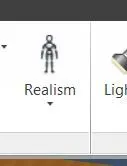
- Click on viewpoint, select the Realism third person.
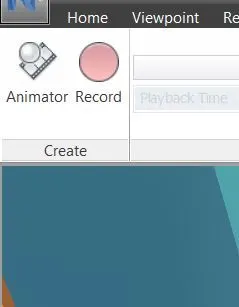
- Go to animation, set to record your walk through view.
RESULTS
The Realism model is created successfully.
4. Embed both architecture and structure *.nwc file to your Navisworks file. Create a clash detection test between the two models
AIM
To create a clash detection test between the two models
PROCEDURE
- To open the combined file of Architecture and structure.
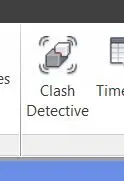
- Go to home tab, the to choose the class detective.
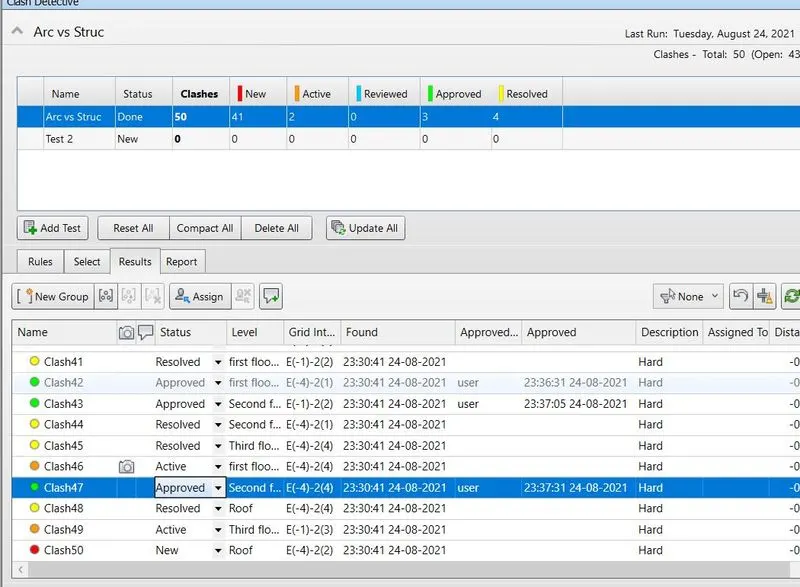
- Run the clash detection test.
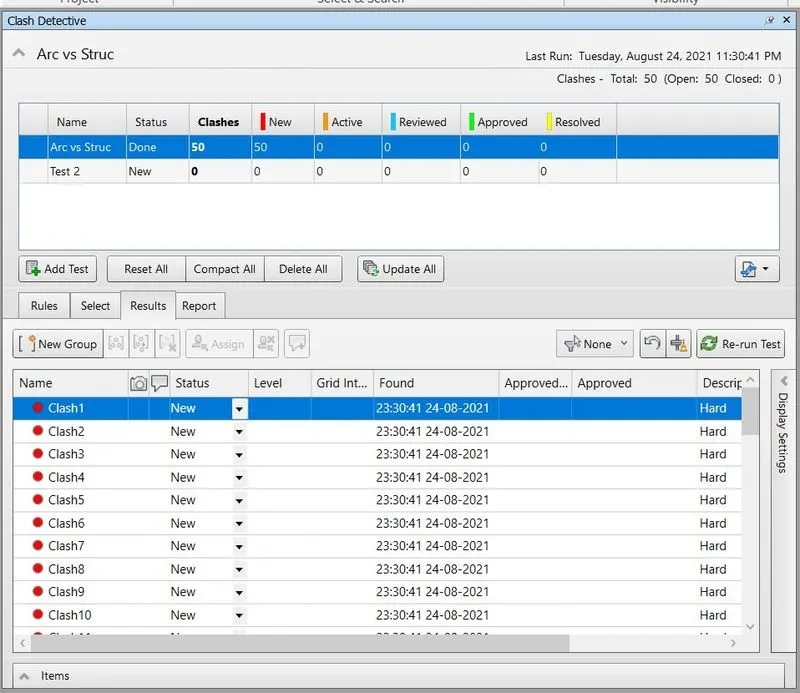
2.Study the clashes between the two models.
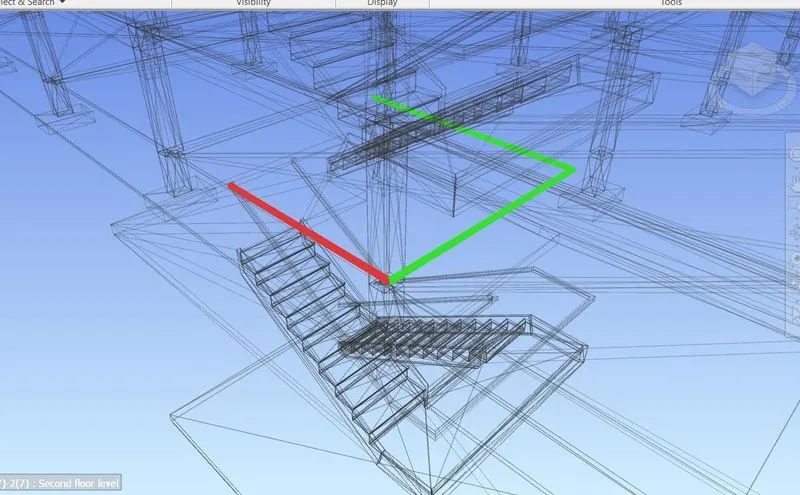
3. List which of the clashes could be approved.
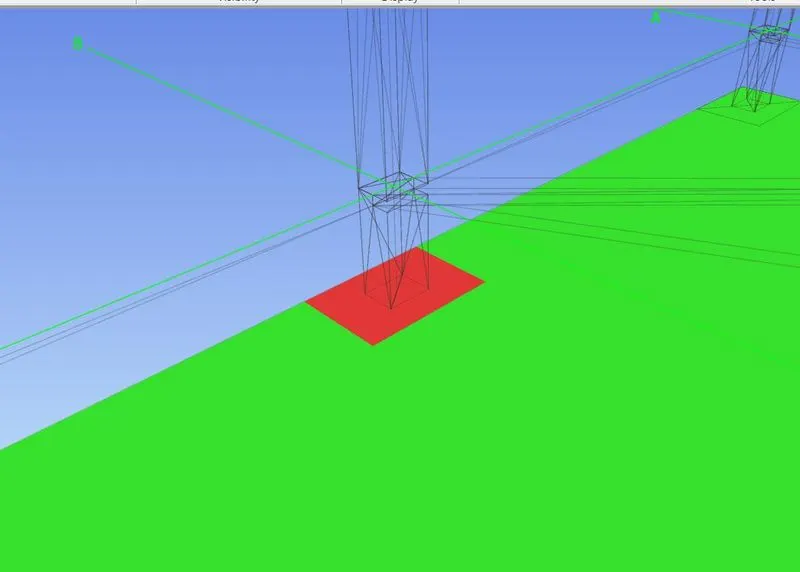
4. List which of the clashes could be neglected.
5. List which of the clashes can be resolved.
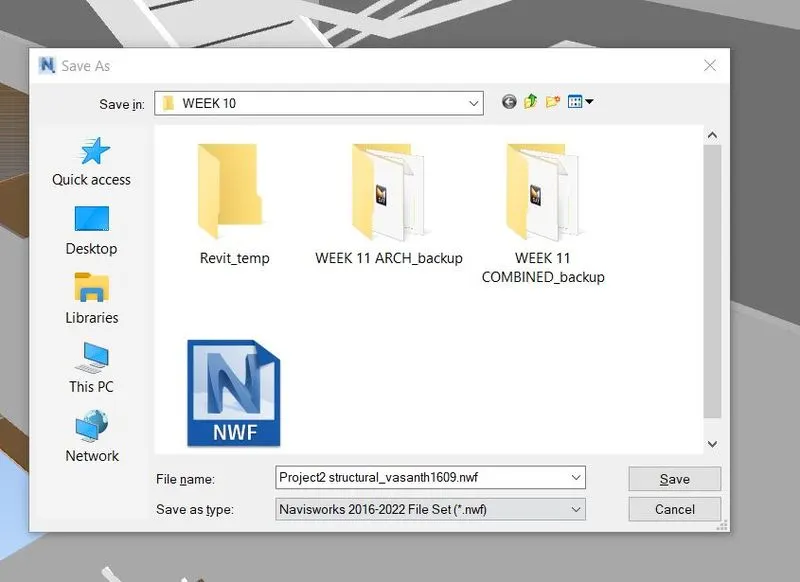
6. Finally, we saved the file after getting the clashes test results.
RESULTS
The clash detective test is done successfully in this project.
5. Using the Timeliner feature in Navisworks prepare a schedule for the project developed in week 6 to 8 by adding reasonable assumption for task start date and end date and simulate the task completion as a visual simulation. Record it and save the timeline simulation to Navisworks file.
AIM
To create timeline feature in Navisworks.
PROCEDURE
- Go to home tab. To choose the timeliner.
- Click on timeliner.
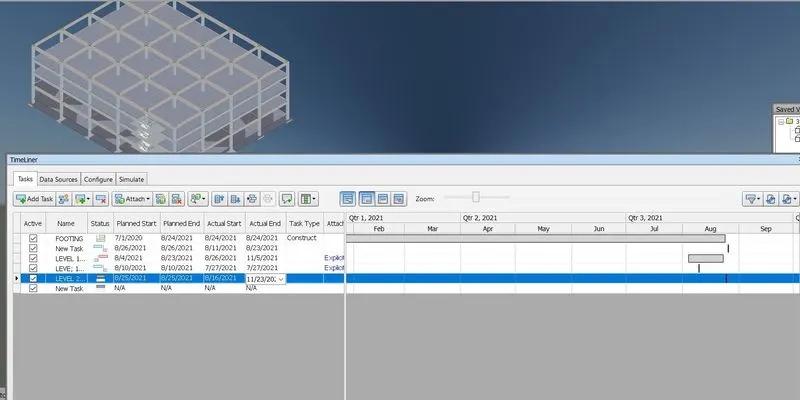
- The options of Attach to click and mingle site variation.
- For to select the desired various levels and components.
- After that the addition of task, then to set the start date and end date of each and every levels should be mentioned.
- And then, to click simulate, to record the walk through view.
- After that to save the Navisworks file.
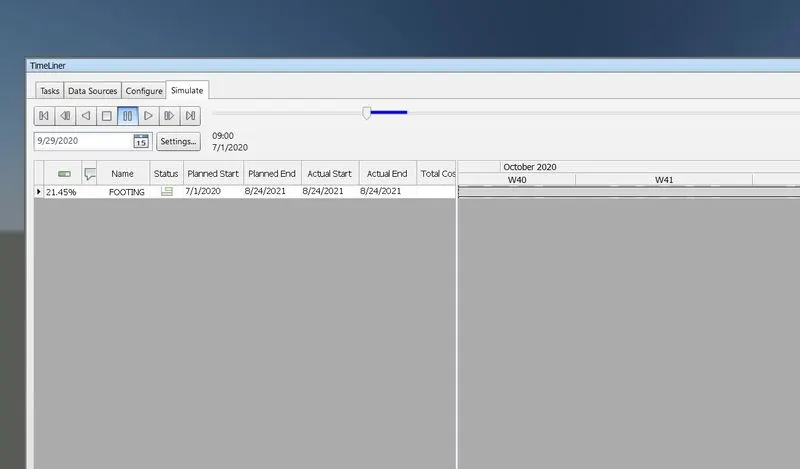
RESULTS
The timeliner of our projects is successfully done.