Usage of Navigation tool , Timeliner and Clash Detection test using Naviswork
1.Aim:
Use the Architecture/ Structure Project file developed by you in Week 6 to 8.
Introduction:
Use Navisworks project review software to improve BIM (Building Information Modelling) coordination.
- Combine design and construction data into a single model.
- Identify and resolve clash and interference problems before construction.
- Aggregate data from multiple trades to better control outcomes.
Used primarily in construction industries to complement 3D design packages (such as Autodesk Revit, AutoCAD, and MicroStation) Navisworks allows users to open and combine 3D models, navigate around them in real-time and review the model using a set of tools including comments, redlining, viewpoint, and measurements.
Procedure:
- Open Revit
- Click on Open and Select the 7th-week project Architectural File.
- Install the Navisworks Exporter from Autodesk Website
- Go to File Tab
- Click on Export
- Select NWC
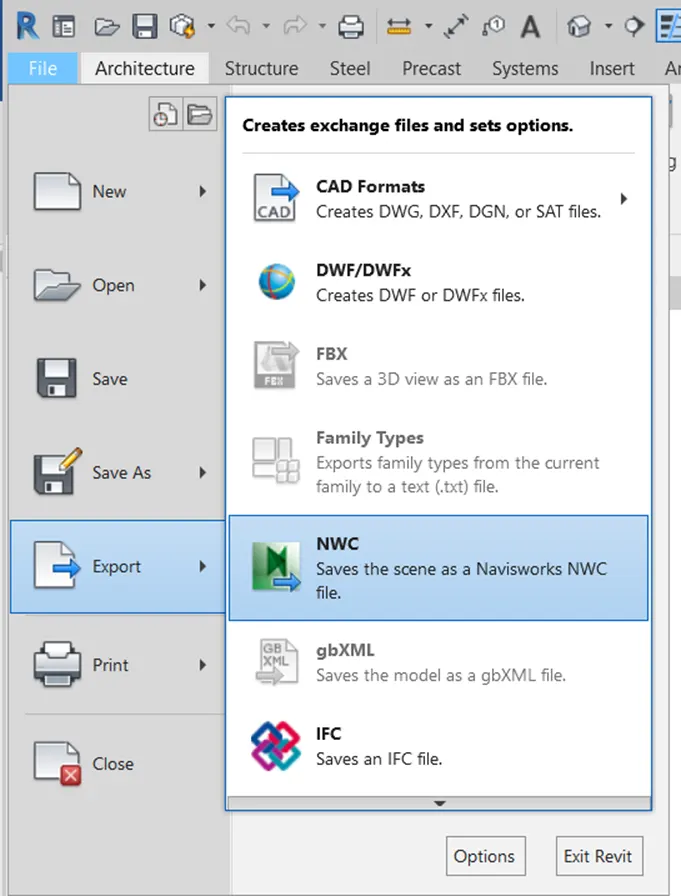
- Export the files as NWS format
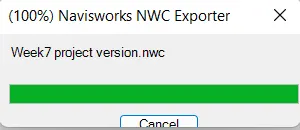
Step 3: Open Navisworks Manage
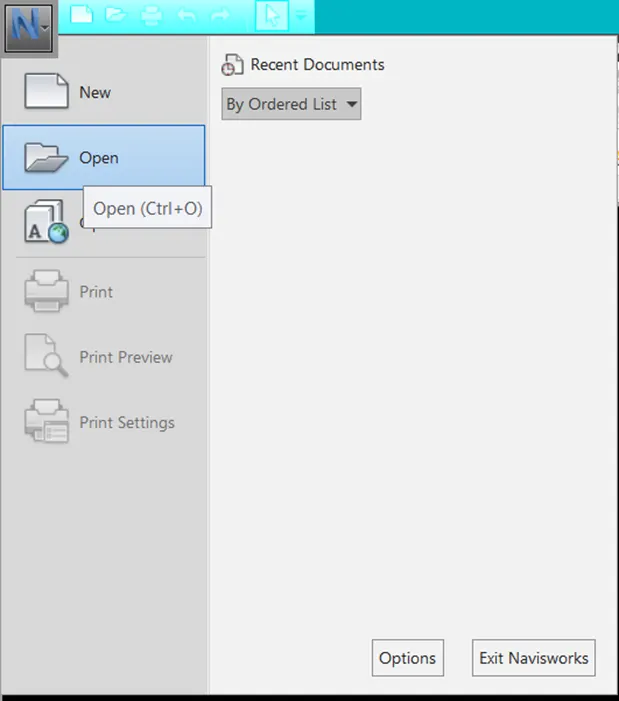
- Click on Open and select the Exported file from Revit
Result:
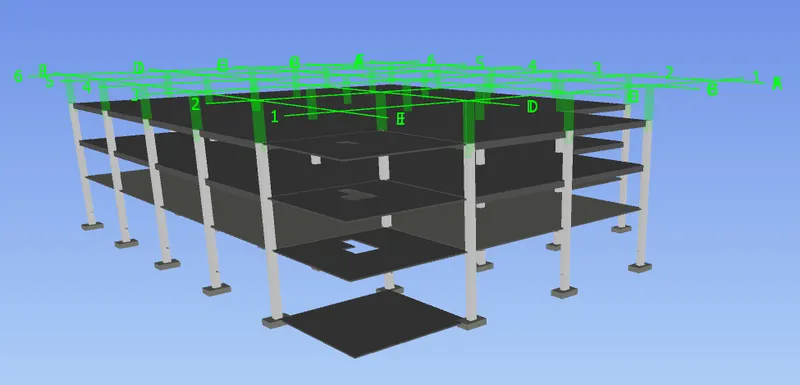
The Navisworks File of Revit is as Follows
2.Aim:
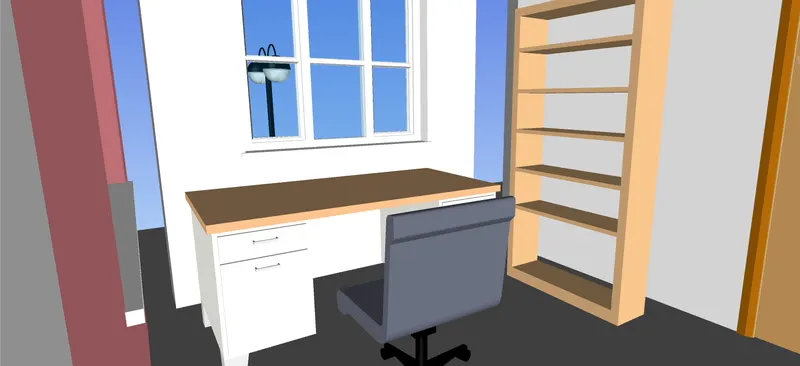
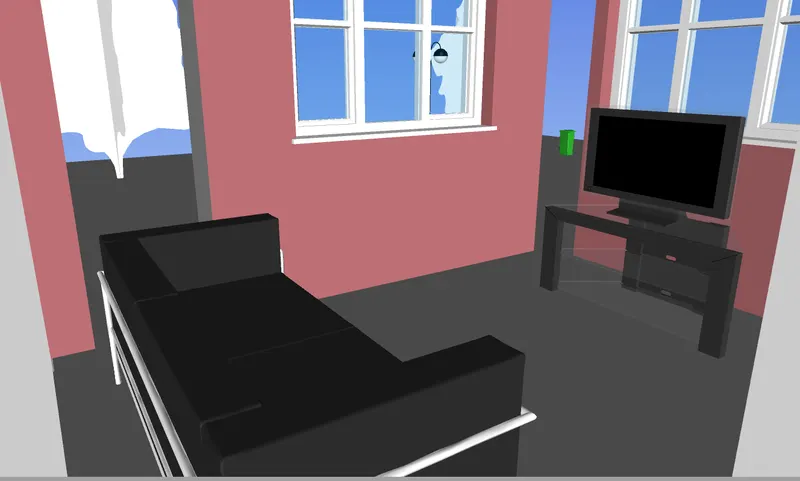
To Use Navigate Tool to walk around the model and walk through the rooms created and record your moving as animation in your Navisworks file.
Introduction:
The Saved Viewpoints window is a dockable window that enables you to create and manage different views of your model so that you can jump to pre-set viewpoints without having to navigate each time to reach an item. The Saved Viewpoints window is a dockable window that enables you to jump to pre-set viewpoints without having to navigate each time to reach an item. Viewpoint animations are also saved with the viewpoints, as they are simply a list of viewpoints treated as keyframes. In fact, viewpoint animations can be made by dragging pre-set viewpoints onto an empty viewpoint animation. You can organize your viewpoints and viewpoint animations using folders.
Procedure:
- Open Navisworks
- Click on open and select
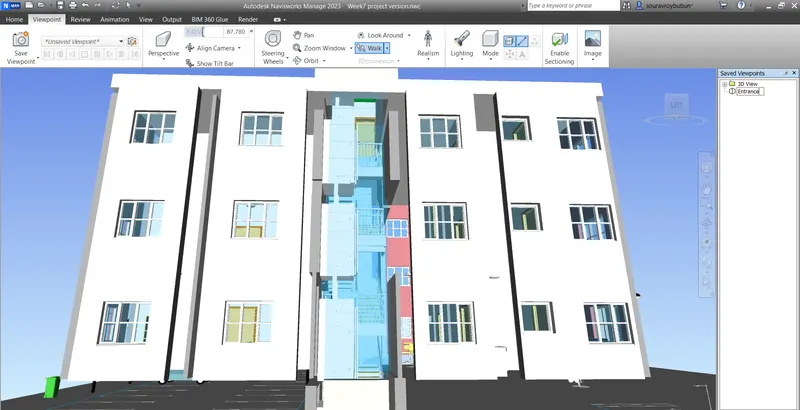
- Go to Viewpoint Tab and Click on Pan to adjust View
- Click on Save View Point
- Rename viewpoint ‘Entrance’
- Select Walk and create different view Points
Result:
All the viewpoints created are done
Study Room
Living Room
3.Aim:
Use Navigate tool to use the Realism feature to walk through the model and record your moving as animation in the Navisworks file.
Introduction:
When you navigate a 3D model, you can use the realism tools on the Viewpoint tab Navigate panel to control the speed and realism of your navigation. The realism tools are not available in a 2D workspace.
Procedure:
- Open Navisworks
- Click on open and select
- Go to Viewpoint Tab and Click on Pan to adjust View
- Click on Save View Point
- Rename viewpoint ‘Entrance’
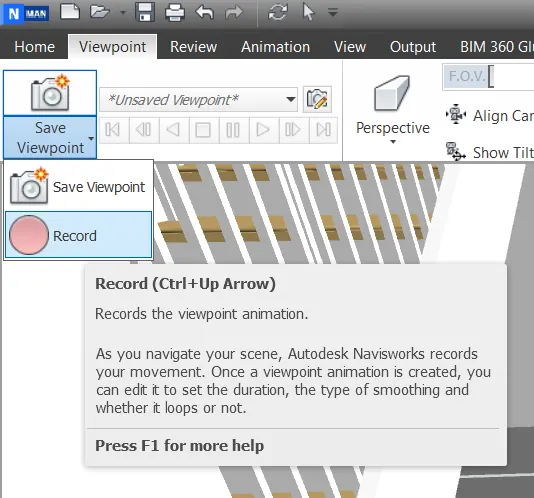
- Go to viewport.
- Under the camera icon click recording
Result:
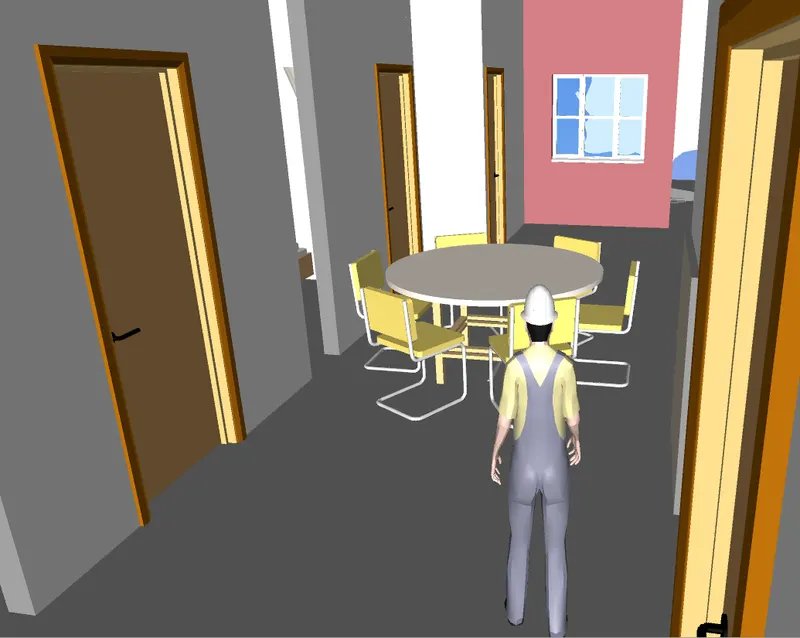
Entrance
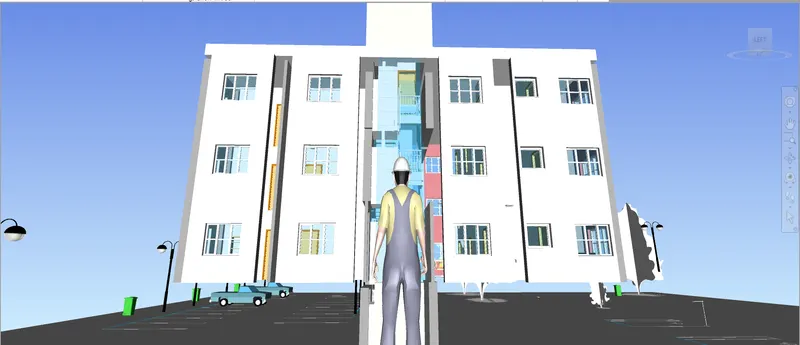
Dining Room
4.Aim:
To Embed both architecture and structure *.nwc file to your Navisworks file.
Introduction:
The Clash Detective tool enables you to search through your total project model, identifying cross-discipline interferences (clashes) earlier in the design process. This feature is available for Autodesk Navisworks Manage users only. Clash Detective can be used as a one-off “sanity check” for completed design work, or it can be used as an ongoing audit check of the project. You can use Clash Detective to conduct clash tests between traditional 3D geometry (triangles), and laser-scanned point clouds.
Procedure:
- Open Navisworks
- Click on open and select
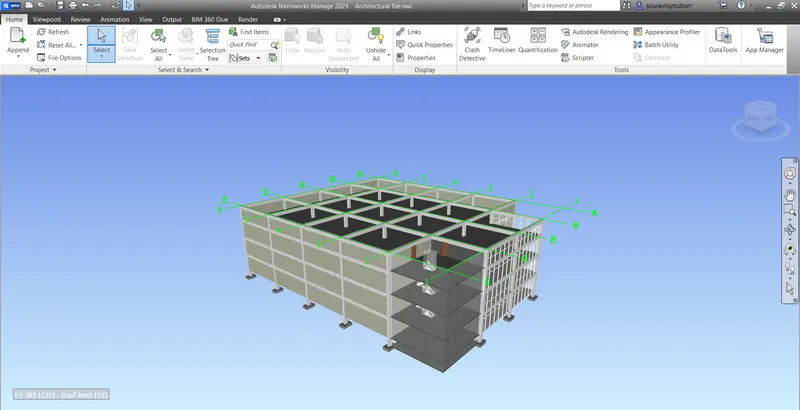
- Go to Append in Home tab
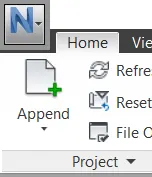
- Add Structural Drawing. nwc format
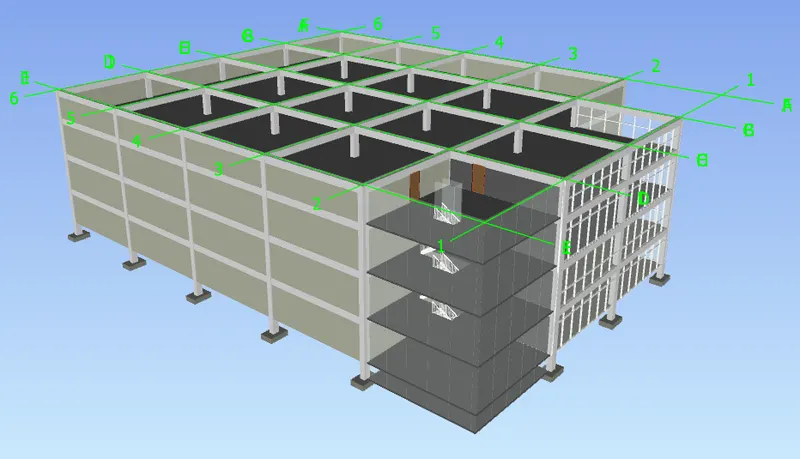
- Click on Clash test in Home Tab
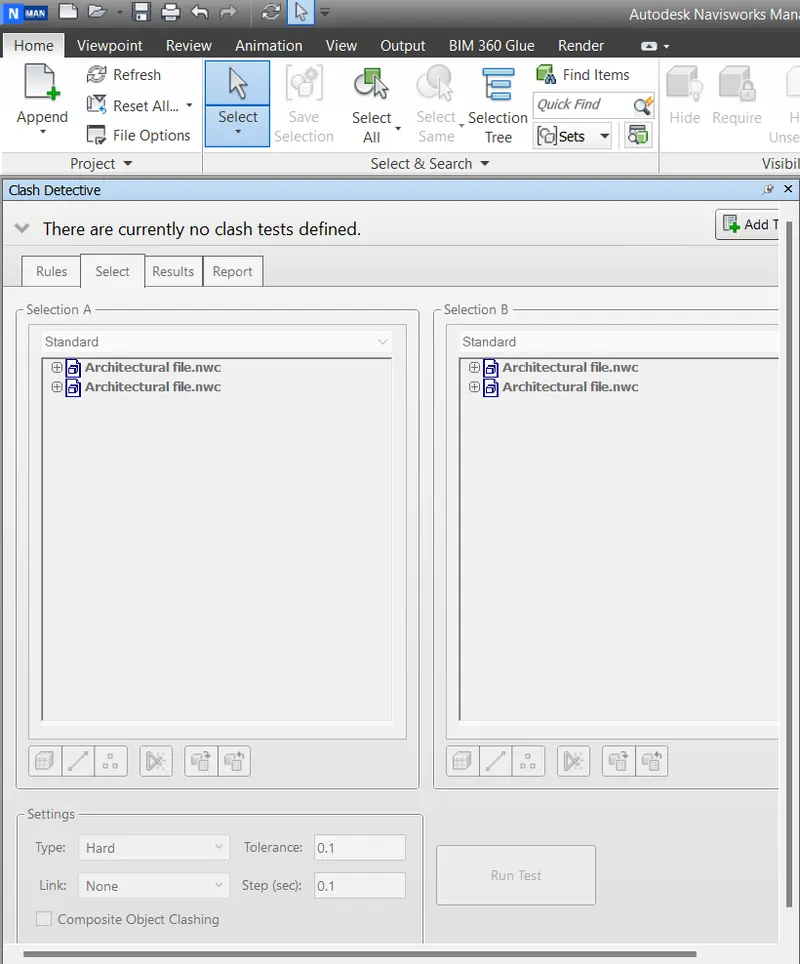
- Click on Add Test
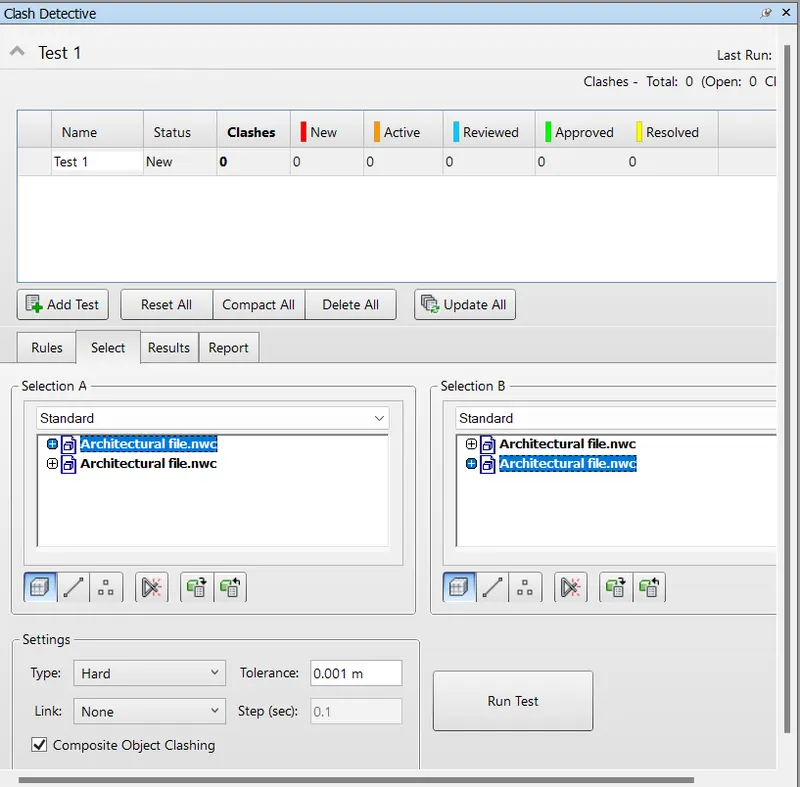
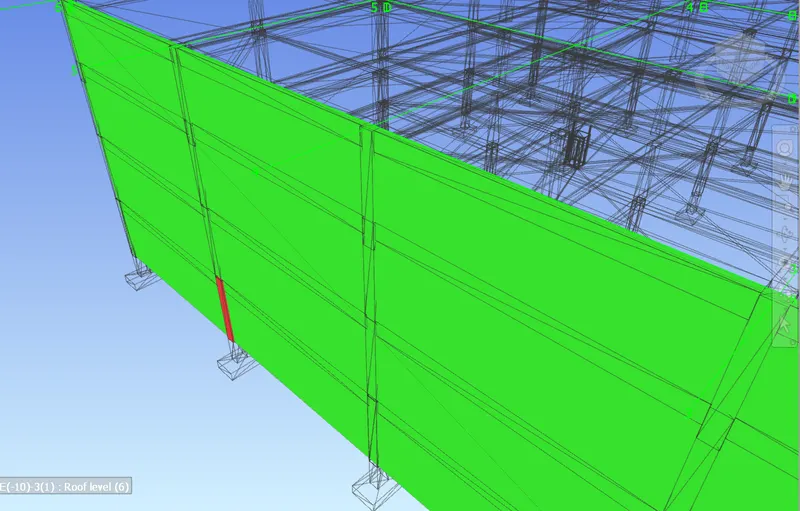
- Select Drawings as shown in figure
- Click on Run test
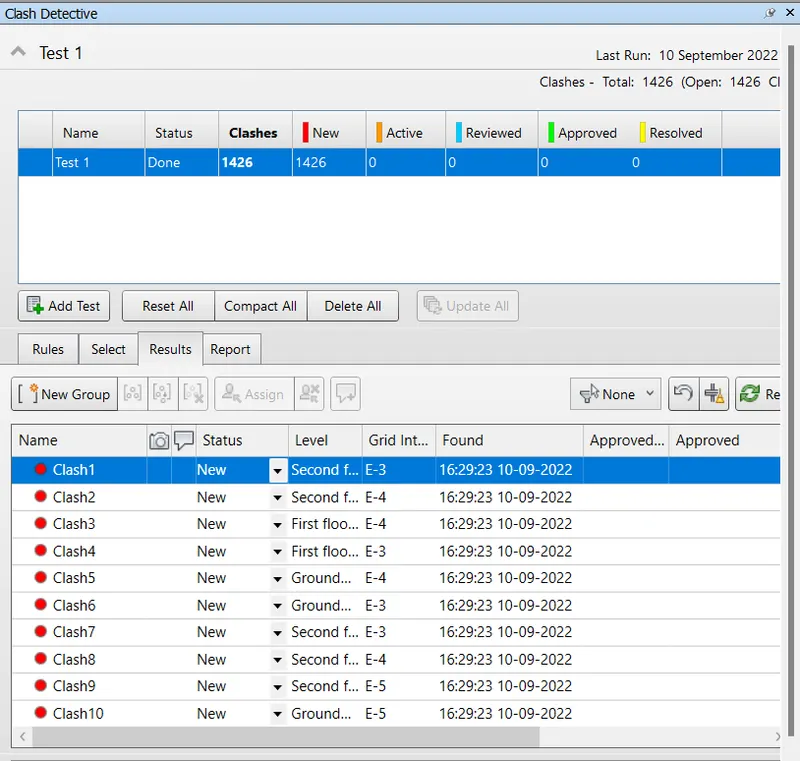
Result:
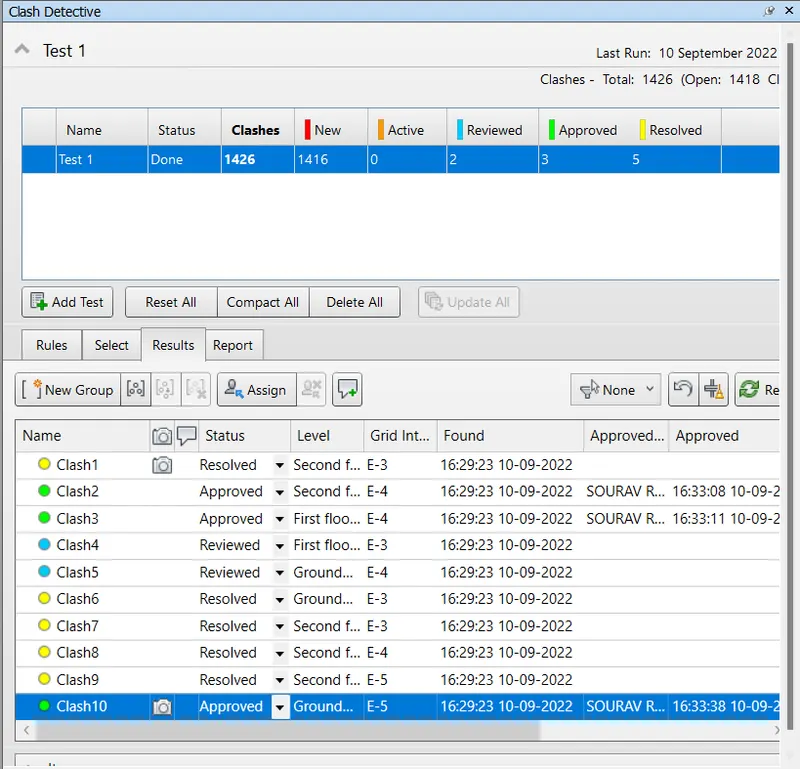
Resolve/ Approve/ Review all the clashes in Revit Model accordingly
5.Aim:
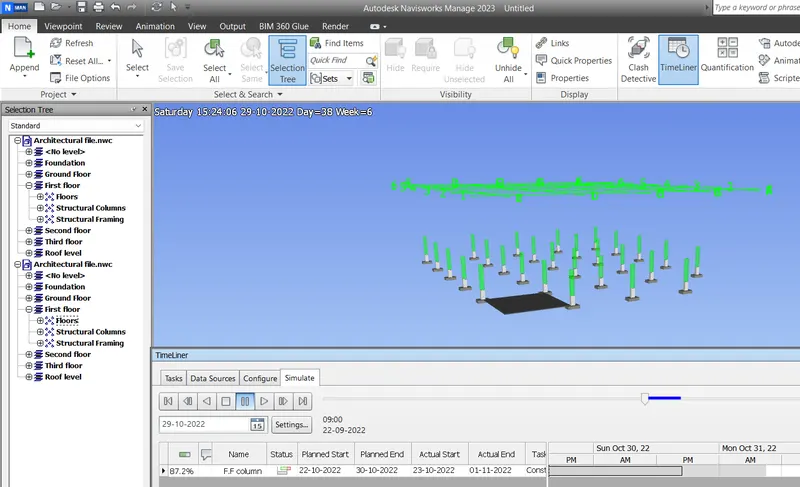
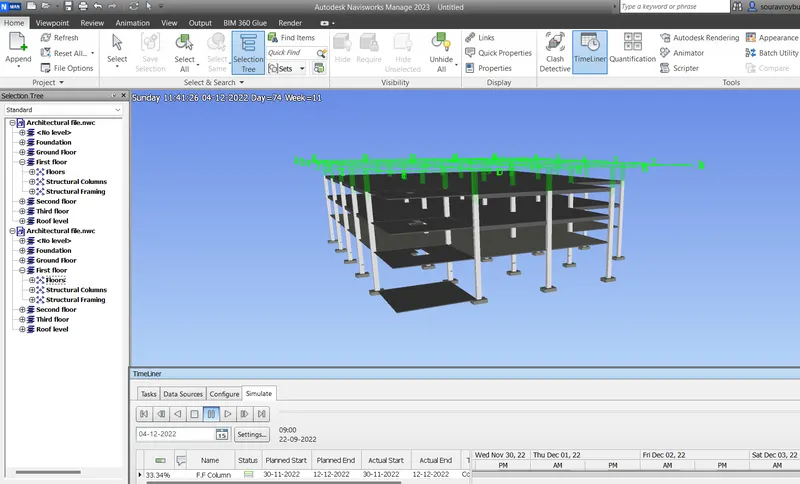
To Use the Timeliner feature in Navisworks to prepare a schedule for the project developed in weeks 6 to 8 by adding reasonable assumptions for task start date and end date and simulating the task completion as a visual simulation.
Introduction:
The TimeLiner tool adds schedule simulation to Autodesk Navisworks. TimeLiner imports schedules from a variety of sources. You can then connect tasks in the schedule with objects in the model to create a simulation. This allows you to see the effects of the schedule on the model, and compare planned dates against actual dates. Costs can also be assigned to tasks to track the cost of a project throughout its schedule. TimeLiner also allows the export of images and animations based on the results of the simulation. TimeLiner will automatically update the simulation if the model or schedule changes.
Procedure:
- Open Architectural Export model of Week 7 project
- Append the structural drawing to it
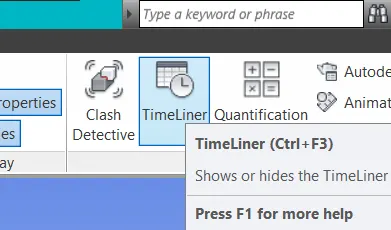
- Clcik on Timeliner in Home Tab
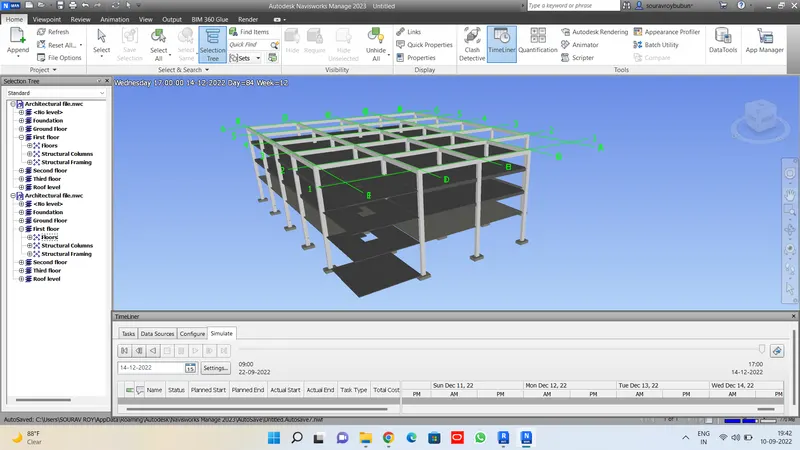
- Open Selection Tree as follows
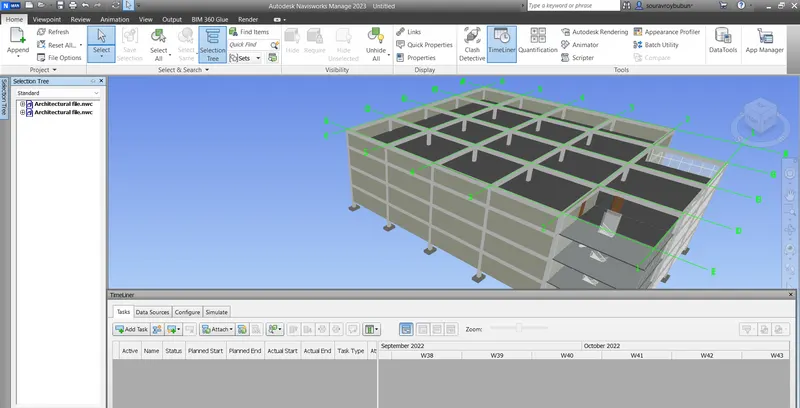
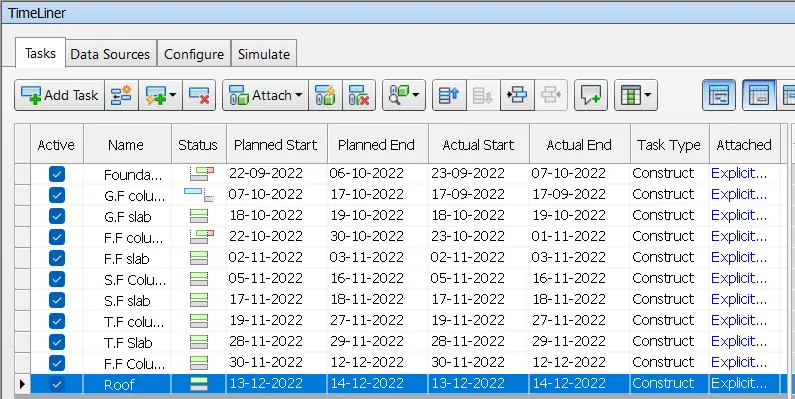
Click on Add task
- Name it as Foundation
- Set Planned start date and Planned End Date accordingly
- Set Actual start date and Actual End Date accordingly
- Set Type as construction
- Attach the components from the selection tree
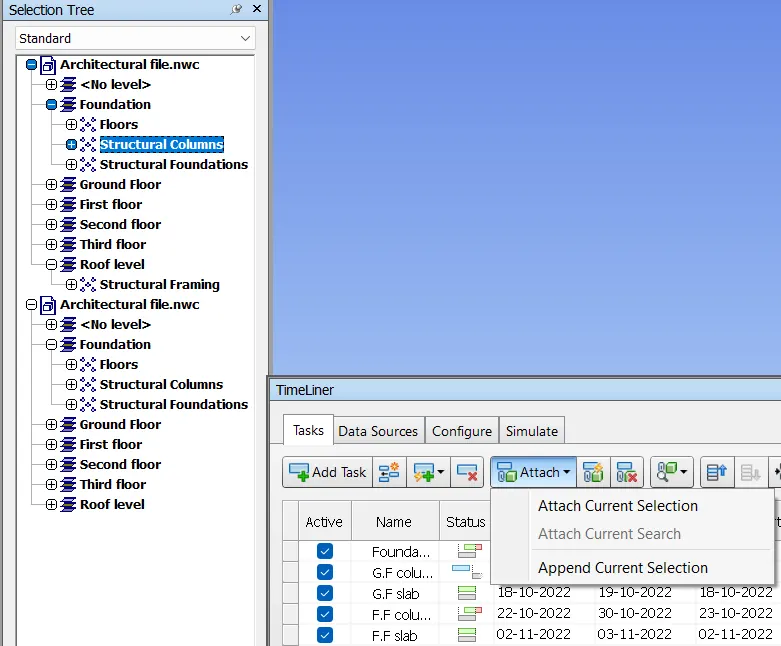
- Click on Attach Current selection

Similarly, add all the other tasks and add them to the selection.
Step 4: Simulation
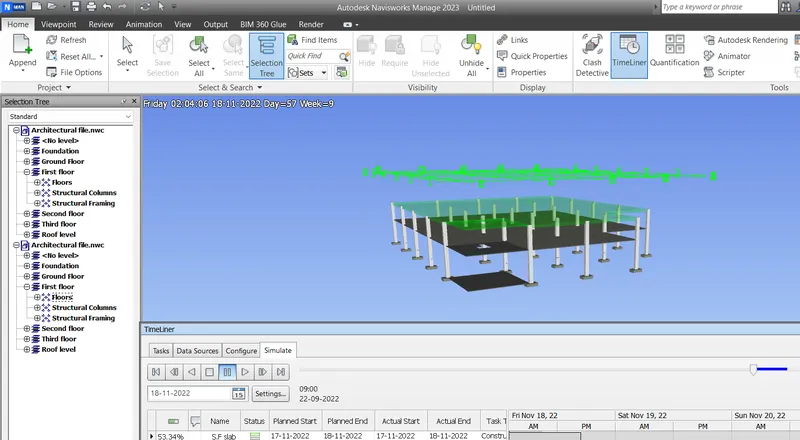
Go to Simulate Option on Timeliner Tab
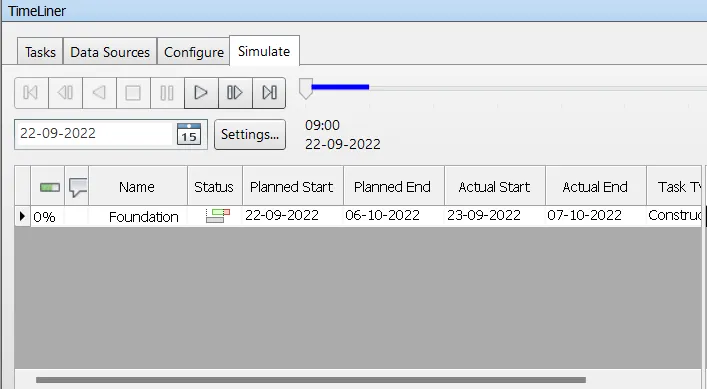
Click on play and Record
Result:
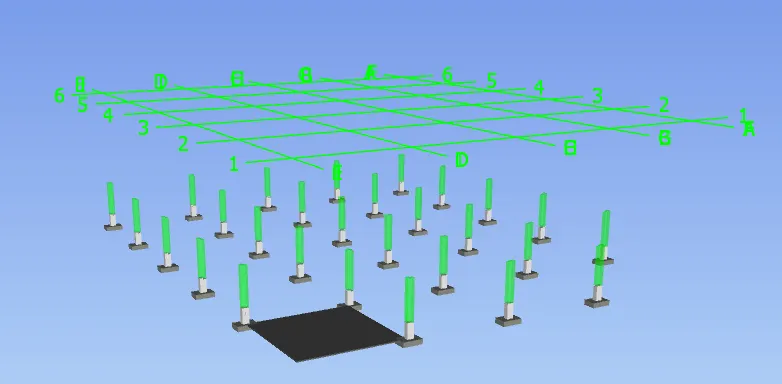
The timeliner created for all the other Tasks is as follows
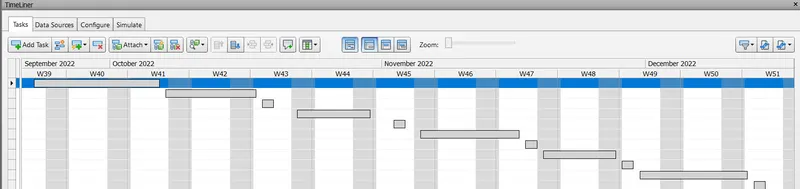
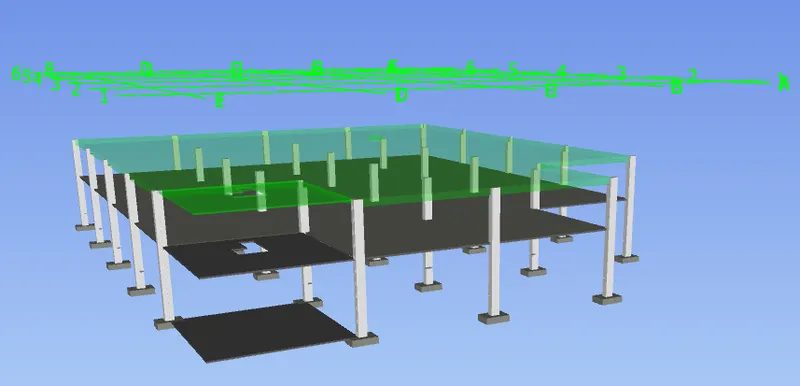
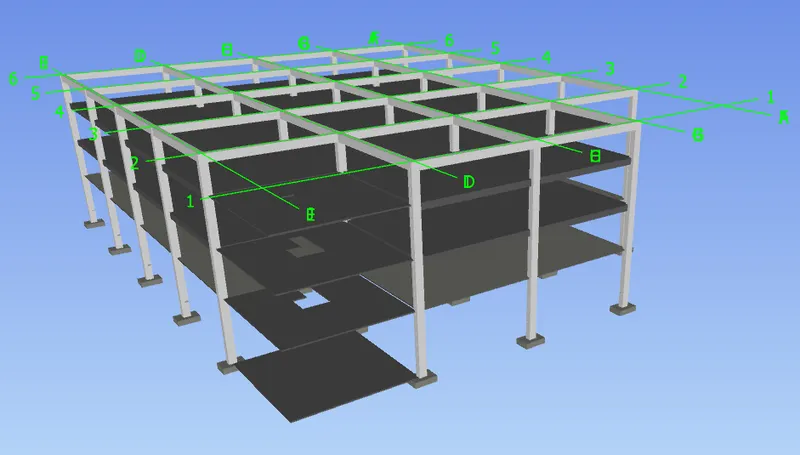
The simulation Result