Usage of Navigation tool , Timeliner and Clash Detection test using Naviswork
Aim: To export the reviet architectural and structural file in to naviswork .
softwares that i used Revit,naviswork.
Procedure:
first install the navisworks exporters utility 2023 exe.
now open the rivet softaware.
go to file tab.
select the import option.
now we can see the nwc format icon in it.
before set the view you want to export.
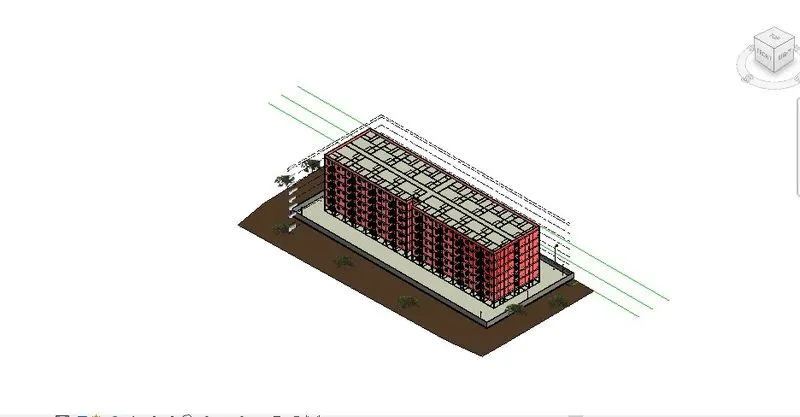
select the nwc option in the export.
redirect to file explorer .
In which path do you want to save.
select the location and go to setting.
tick the check box of the import linked file because both architectural and structural file in the same model.
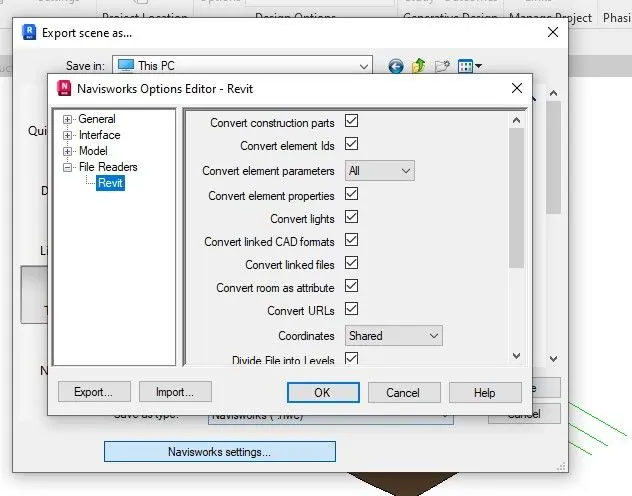
click save option.
one popup box will appear it sis loading file.
after loading go to location double click on the file.
its navigate to naviswork.
now the file format is in the nwc.
if the model element appearence in no color.
go to revit select that element and go material browser select the apperance click the render on .
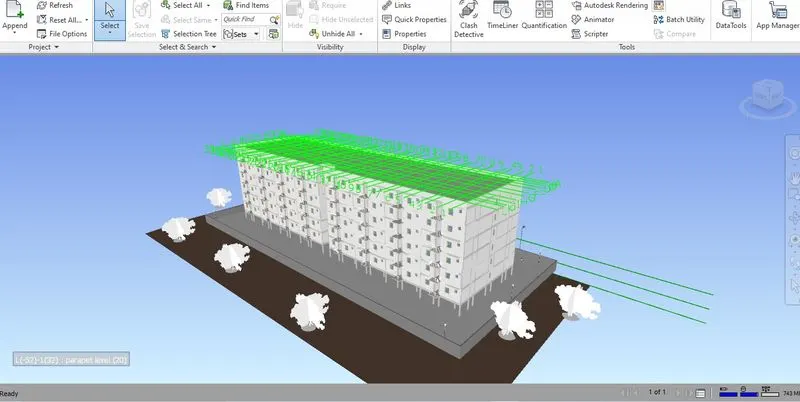
now it shows the material color on the element which you assigned.
Result: To export the reviet architectural and structural file in to naviswork .
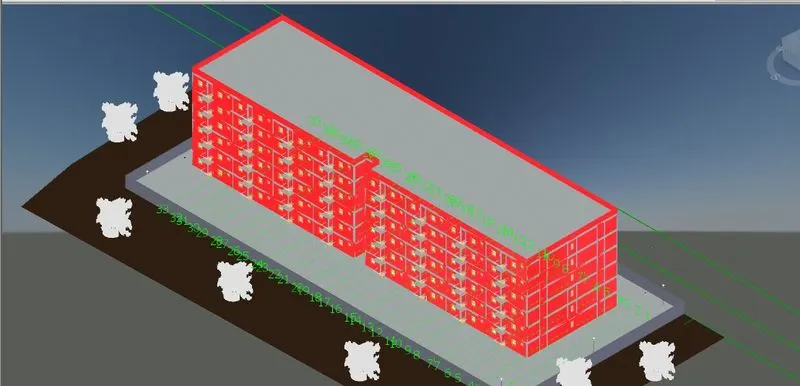
Aim: To record the walk around the model and walk through the rooms in the naviswork file.
Software that io used: Naviswork.
Procedure:
open the naviswork apllication.
type ctrl+o it ask you select the file you want to open.
select the revit model.
go to viewpoint tab select the walk option .
go to camera panel.
ajust the zoom .
go to save,load and playback panel.
select the save viewport.
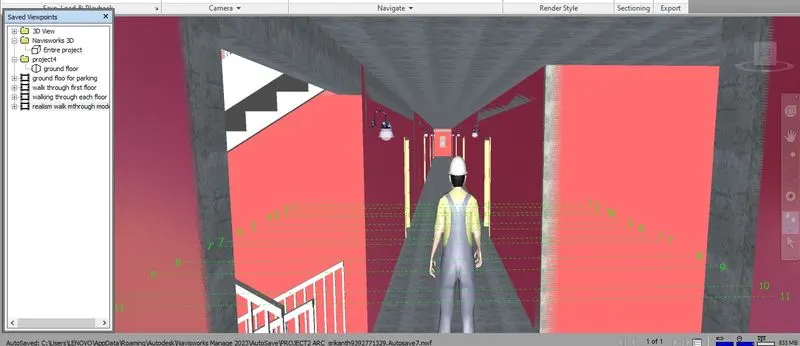
saved viewpionts paletee appear in the screen.
save the viewpoint of the model in the different perspective views.
in the same panel you can see the record option click it.
now take walk option and walk through model.
with moving the mouse forword you can walk forward like that walk through model.
with the help of mouse different activies we can do.
moving mouse forward-moving forward.
moving mouse backward-walk backwards.
right click+move right side-move right side.
right click+ move lerft side-move left side.
hold the scroll of mouse move right,left,top,bottom-camera moves right,left,top,bittom.
scroll the foward- camera moving to up.
scroll the backward-camera moving to down.
use pan tool to adust the view.
after finish the walking stop the recording and go to animation.
watch the video you have done.
click export animation option to export the video and save it.
Result: I recorded the walk view around the model and walk through the rooms in the naviswork file.
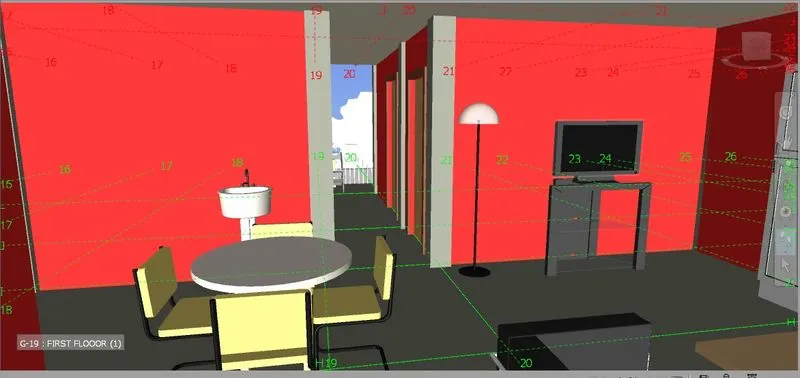
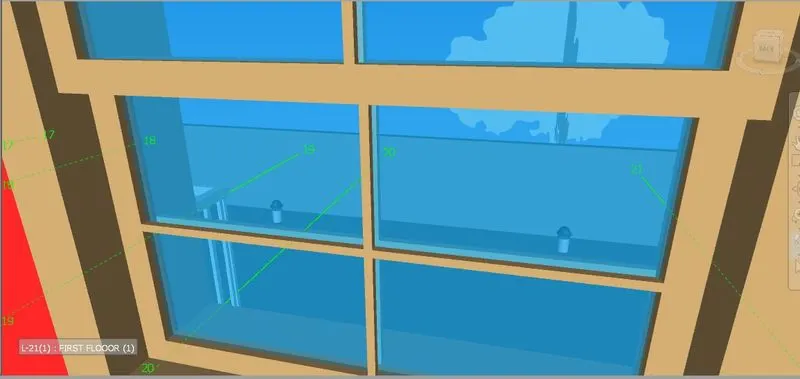
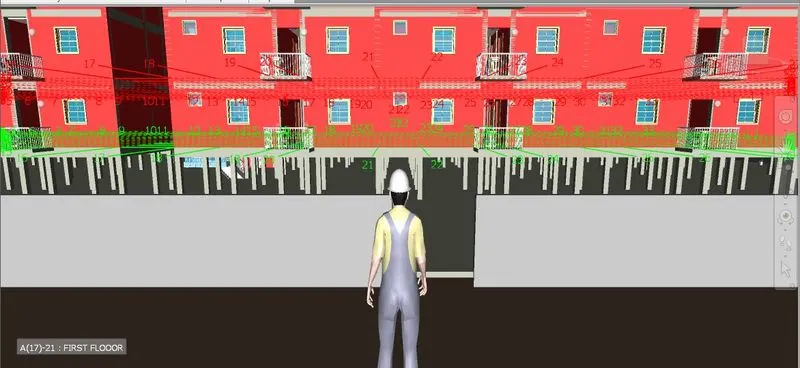
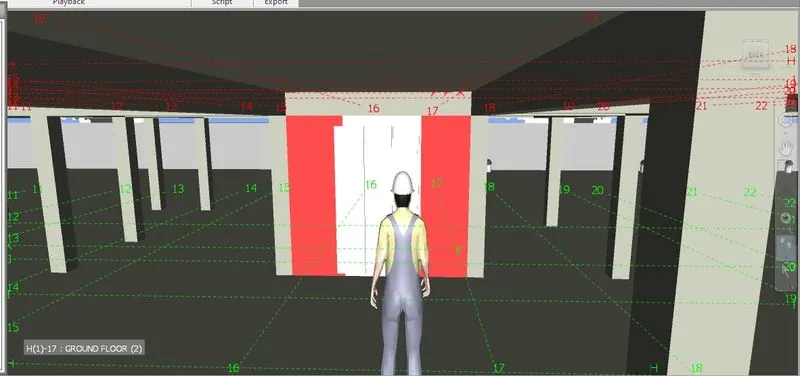
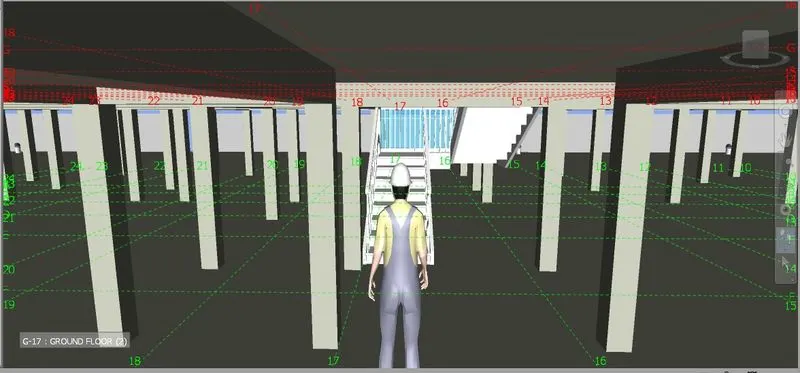
Aim: To use realism feature to walk through the model and record the moving.
Software that io used: Naviswork.
Procedure:
open the naviswork apllication.
type ctrl+o it ask you select the file you want to open.
select the revit model.
go to viewpoint tab select the walk option .
go to camera panel.
ajust the zoom .
go to save,load and playback panel.
select the save viewport.
saved viewpionts paletee appear in the screen.
save the viewpoint of the model in the different perspective views.
in the same panel you can see the record option click it.
now go to navigate panel select the realism before go to edit current viewpoint and go to select the setting enable the third person.
select the avatar walk through the model.
i selected the human1.
now take walk option and walk through model.
with moving the mouse forword you can walk forward like that walk through model.
with the help of mouse different activies we can do.
moving mouse forward-moving forward.
moving mouse backward-walk backwards.
right click+move right side-move right side.
right click+ move lerft side-move left side.
hold the scroll of mouse move right,left,top,bottom-camera moves right,left,top,bittom.
scroll the foward- camera moving to up.
scroll the backward-camera moving to down.
use pan tool to adust the view.
after finish the walking stop the recording and go to animation.
watch the video you have done.
click export animation option to export the video and save it.
Result: I used realism feature to walk through the model and recorded the views.
Aim: To check the clash dection of my architectural and structural model.
Software that i used : Naviswork.
Procedure
open the structural and architectural file in the naviswork.
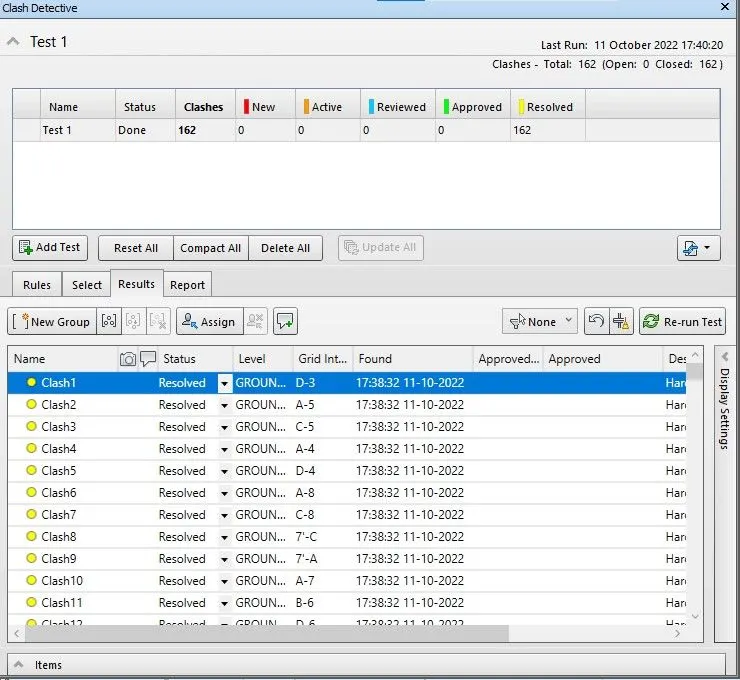
select the clash dective under tools panel.
select the architectural model in the selection A and structural model in selection B .
select the surface option in the both sections.
start run test.
it shows 321 clashes in my model.
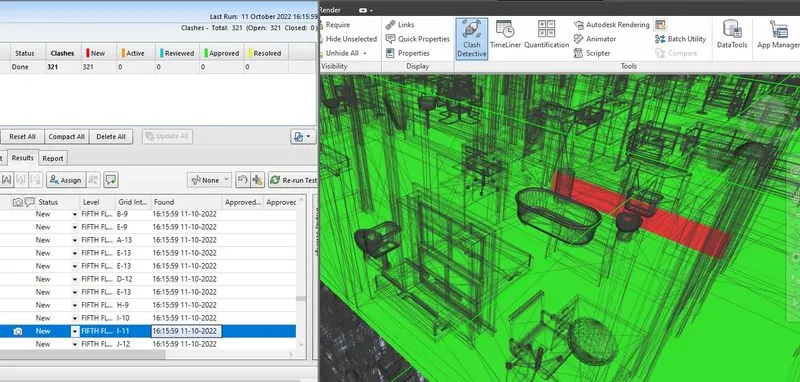
most of the clashes occured in the ground floor and fifth floor.
in the ground floor clashes the structural column clashes the topographic surface.
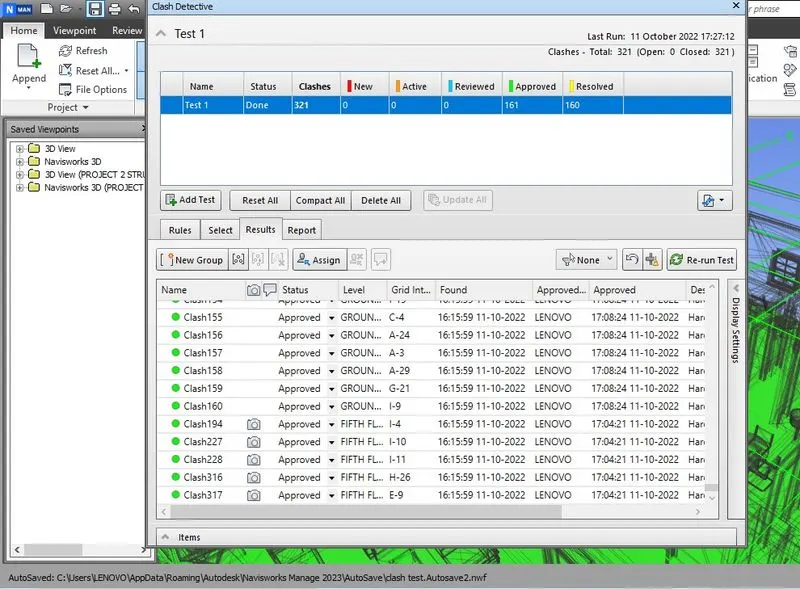
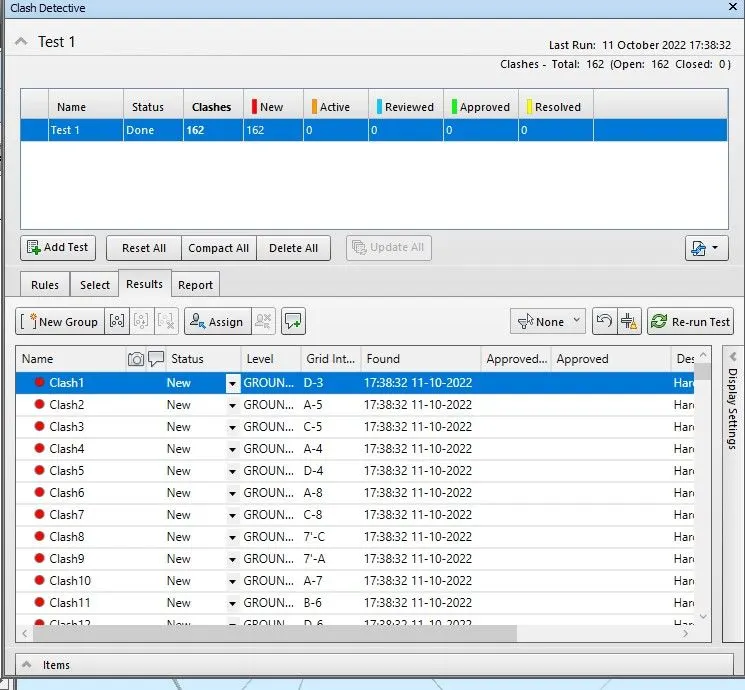
when i hide the topographic surface and click the retest now its only showing fifth floor clashes.
the ground floor clashes are approved.
when comes to the fifth floor the fifth level wall is clashes the structural floor.
the wall goes beyond the floor which means i gave extra offset to my wall element.
go tom revit softaware set the wall height constraint to the level 6.
again reload the file and run the test now it shows no clashes.
i revised two to three times it shows no clashes.
now my model is free from the clashes.
Result : I checked the clash dection of my model it shows no clashes.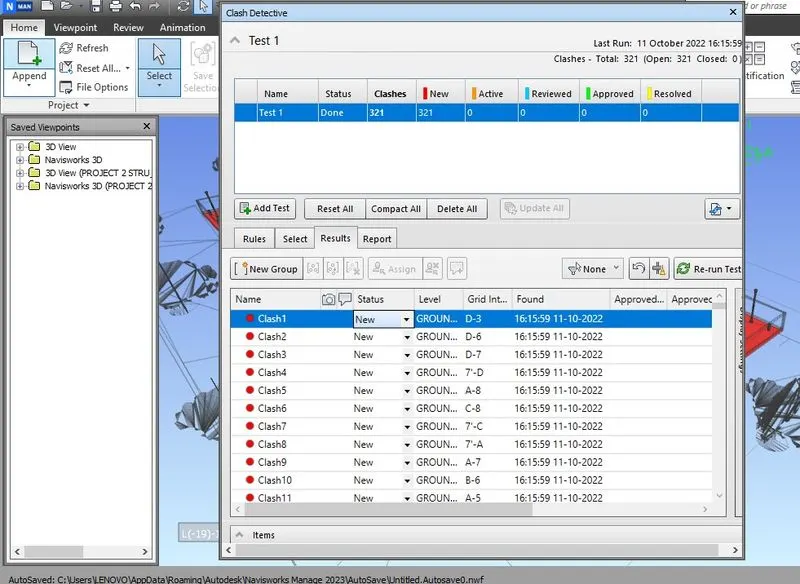
Aim: To prepare a schedule using time linear tool and create visual stimulation in navis work.
Softawre that i used : Navis work.
procedure:
import the both architectural and structural file in to naviswork.
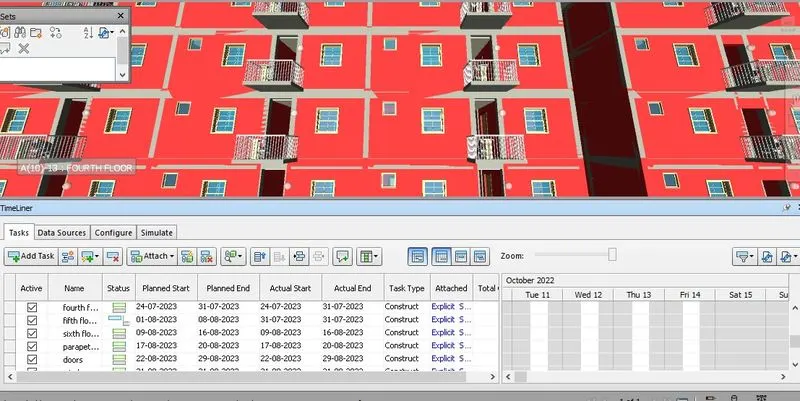
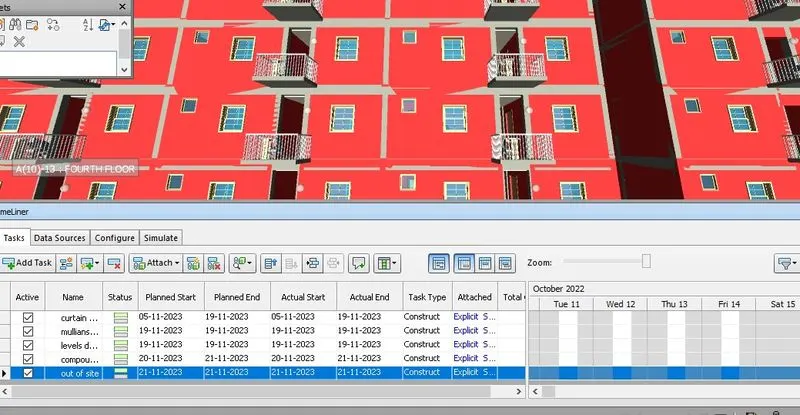
select the time linear tool in the tool panel.
click add task
before enable tree selection it shows the task which done in the rivet.
one row will generate.
conents having in that rows are active,name,status,planned start,planned end,actual start,actual end,tasktype,attach,total cost.
i generate 30 row tasks.
i select the task type construction in all rows .
this is the task i have created.
1.making flat of the topography.
2.placing grids.
3.foundation.
4.columns.
5.foundation slab.
6.extension of passage.
7.plinth beam.
8.ground base(or) grade slab.
10.first floor slab and framing.
11.sraircase for first floor.
12.second floor slab and framing.
13.sraircase for second floor.
14.third floor slab and framing.
15.sraircase for third floor.
16.fourth floor slab and framing.
17.sraircase for fourth floor.
18.fifth floor slab and framing.
19.sraircase for fifth floor.
20.sixth floor slab and framing.
21.sraircase for sixth floor.
22.first floor masonry.
23.secondfloor masonry.
24.third floor masonry.
25.fourth floor masonry.
26.fifth floor masonry.
27.sixth floor masonry.
28.parapet wall.
29.doors
30.windows.
31.balcony railings.
32.masonry for lifts.
33.compound wall.
34.finish touch.
i fix each task planned start,planned end,actual star,actual end,cost.
i set the planned date of first task is 11-10-2022.
i set the planned date the last task is 21-11-2023.
i set the project will complete in one year.
after fill up the all rows go to stimulate .
go to setting options .
set the play back duration one minute.
situmlate the work flow.
at the end of the duration there is save animation option is there select it and save the video.
Result: I have prepared a schedule using time linear tool and created visual stimulation in navis work.