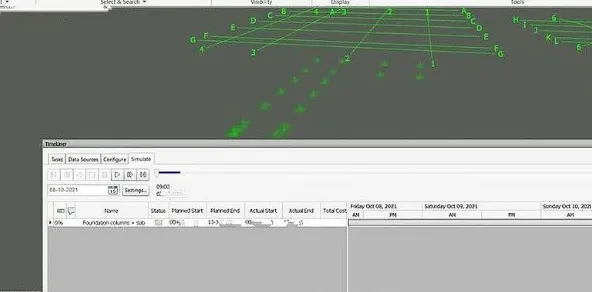
Usage of Navigation tool , Timeliner and Clash Detection test using Naviswork
PROJECT:- Usage of Navigation tool, Timeliner and Clash Detection test using Naviswork
INTRODUCTION:
• NAVISWORKS Used primarily in construction industries to complement 3D design packages (such as Autodesk Revit, AutoCAD, and MicroStation) Navisworks allows users to open and combine 3D models, navigate around them in real-time and review the model using a set of tools including comments, redlining, viewpoint, and measurements.
• Navisworks Manage software help teams deliver projects effectively. Navisworks Manage includes clash detection and interference management tools plus the core capabilities of Navisworks Simulate for model review, quantification,
and coordination.
1) Use the Architecture/ Structure Project file developed by you in Week 6 to 8. Export the Revit architecture and structure model to Navisworks Cache file following the
export settings discussed in class
AIM:
To use the Architecture/ Structure Project file developed in Week 6 to 8. Export the Revit architecture and structure model to Navisworks Cache file following the export settings
INTRODUCTION:
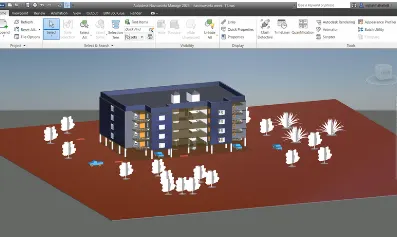
Export the Revit architectural and structural model to Navisworks cache file which has been created in week 6 to 8, and following the export settings
PROCEDURE:
1. ARCHITECTURAL PROJECT FROM WEEK 7:
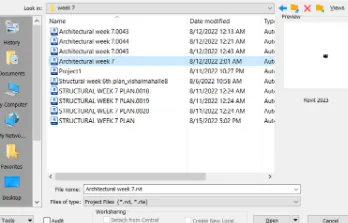
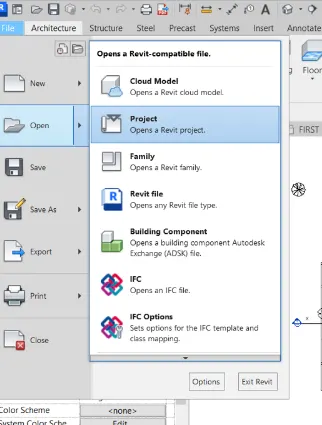
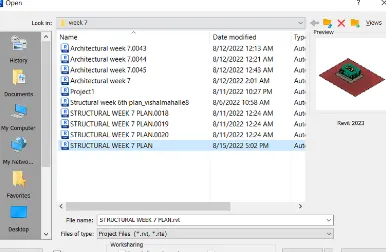
Open REVIT 2023 in a computer Then,open week 7 project (architectural model) called
"Architectural week 7"
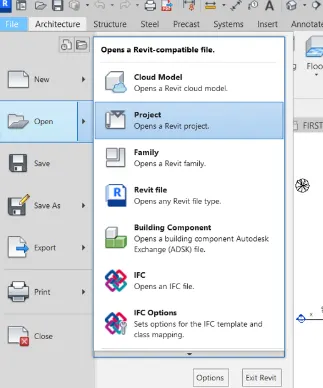
- Open architectural week7
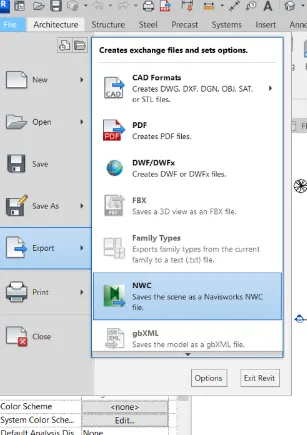
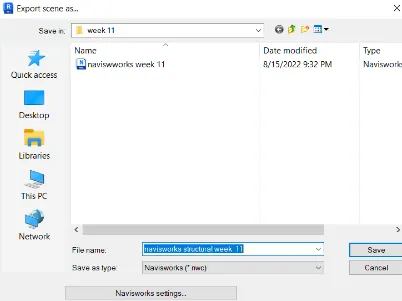
- Go to the file and select nwc
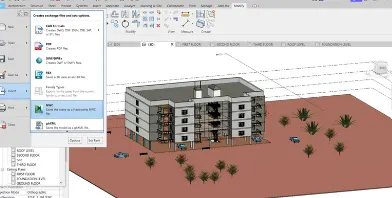
Save it as new folder
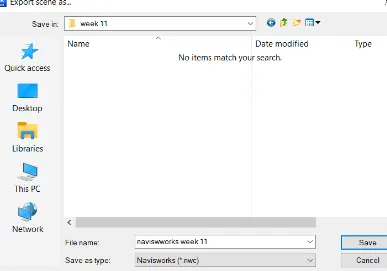
Finally save as nwc file
RESULT:
After following above steps, we have successfully
exported architectural and structural model in Navisworks
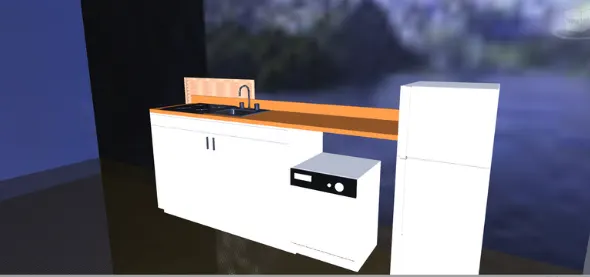
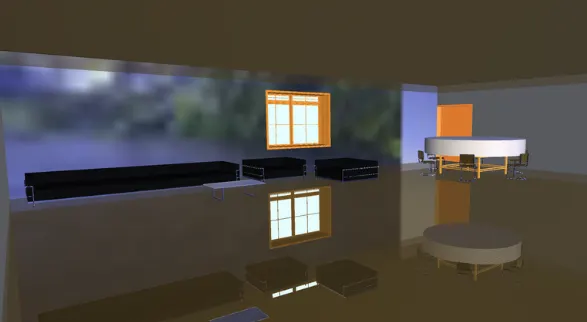
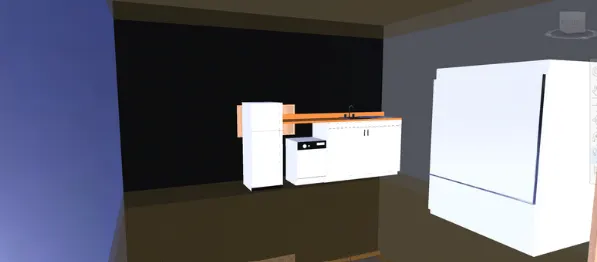
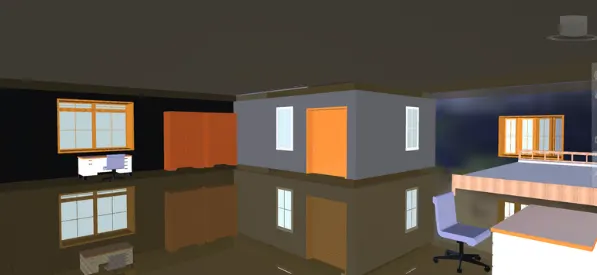
2) Use Navigate Tool to walk around the model and walk through the rooms created and record your moving as animation in your Navisworks file
AIM:
Walk around the model and walk through the rooms, used Navigate tool and save the recording as administrator in Navisworks file
INTRODUCTION
By using navigation tool to walk around the model, and walk through the room, recorded and saved the moving as administrator in Navisworks
PROCEDURE:
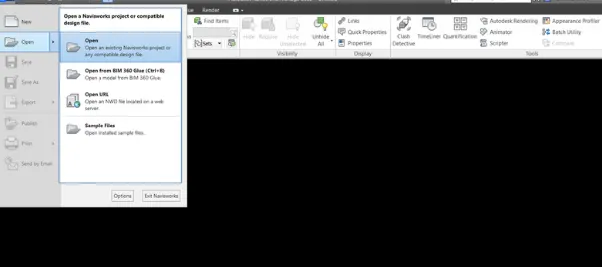
• Open Navisworks Manage 2023 • Go to application menu and click on open
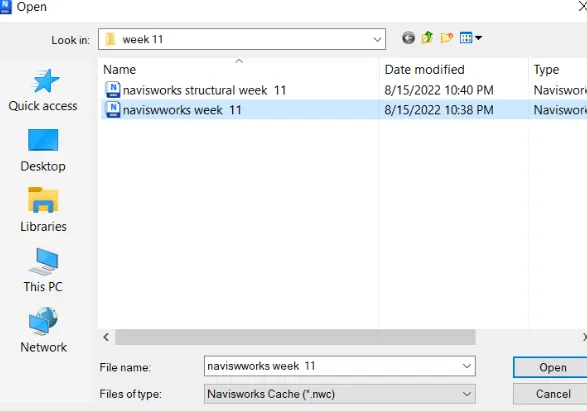
• Open the" architecture week 7.nwc" file which is exported
last question
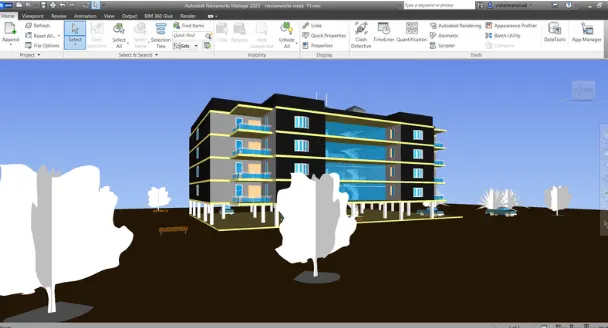
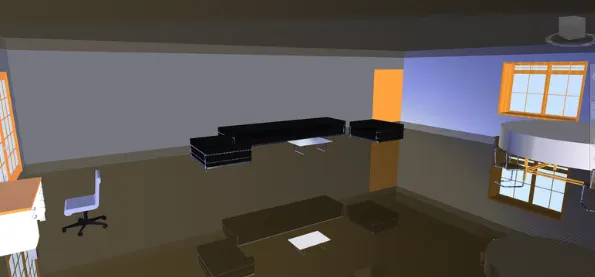
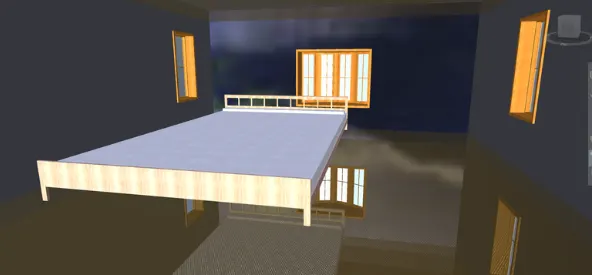
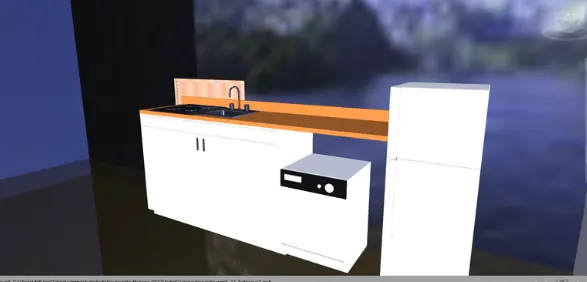
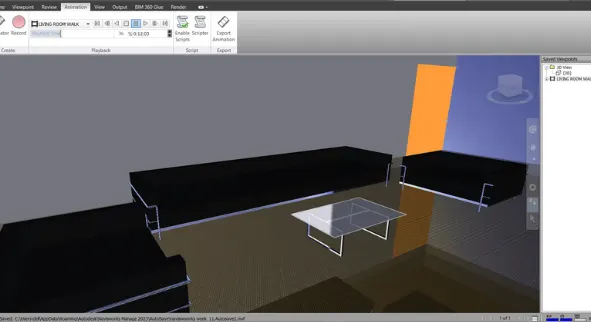
Now,go to walk option in the viewport tab of the
naviswork software
• Use the record option in the save viewport option
record animated at each and every room
RESULT:
we have Used Navigate Tool to walk around the model
and walk through the rooms created and record
moving as animation in Navisworks file
3) Use Navigate tool to use Realism feature to walk through the model and record your moving as
animation in Navisworks file
AIM:
To use Navigate tool to use Realism feature to walk through the model and record your moving as animation in Navisworks fil
INTRODUCTION:
Realistic views in Revit is a feature that enables a much
more creative and easy way of visually communicating
your design intent to stakeholders and collaborators.You
can easily navigate through your BIM model natively in
Revit and display your applied materials in real-time, without having to export outside of the environment.When we navigate a 3D model, you can use the realism tools on the Viewpoint tab > Navigate panel to control the speed and realism of your navigation
PROCEDURE:
• Go to the viewpoint tab
Click on realism tool and select third person
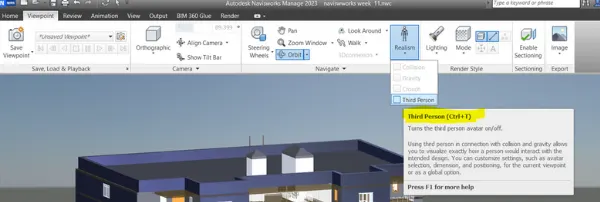
Click on walk and move around the building
• Click on record and save the animation
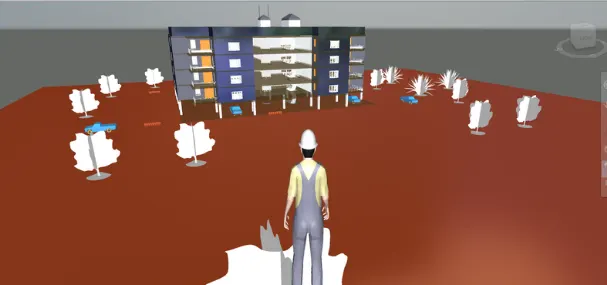
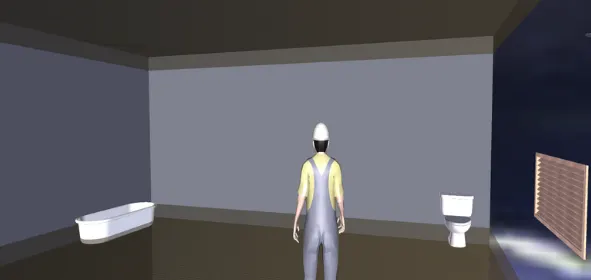
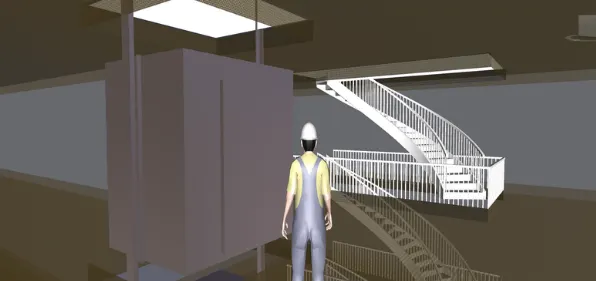
SOME OF THE VIEWS OF OUR PROJECT WITH REALISM (THIRD PERSON) ARE AS BELOW;
RESULT:
walk through the model using realism is complete succesfully
4) Embed both architecture and structure *.nwc file to your Navisworks file. Create a clash detection test between the two models
a. Run the Clash Detection Test
b. Study the clashes between the two models
c. List which of the clashes could be approved
d. List which of the clashes could be neglected (will be taken care later)
e. List which of the clashes can be resolved
1. Save the results after color coding the clashes to the Navisworks file g. In case of resolution annotate the clash and
save the view to defined views in Navisworks
AIM:
To use the timeliner feature in navisworks to prepare a schedule for the project developed in week 6 to week 8 by adding reasonable assumption for the taask start m date and date and simulate the task completion asa visual simulation
INTRODUCTION:
• Navisworks Manage is a model aggregator that brings together 3D models and their associated design data into a single working environment.It allows design review, coordination analysis, simulation, presentation, and communication of design and constructability.
It offers share view feature and users can review models on different platforms (Revit, Inventor, Rhinoceros, Solidworks, Sketchup, Allplan, Robot, CYPE, etc.)It offers a varied bucket of tools such as Clash Detective, Animator, TimeLiner, Quantification Workbook, etc.Autodesk Navisworks acts as a model aggregator as it brings together 3D models and associated design data into a single working environment for the purpose of design. review, coordination analysis, simulation of the model, and presentation.
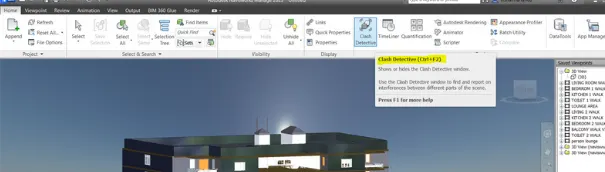
• There are many specialized tools in Navisworks such as Clash Detective, TimeLiner, Animator, etc. It allows an interactive review of the virtual project model in order to
PROCEDURE:
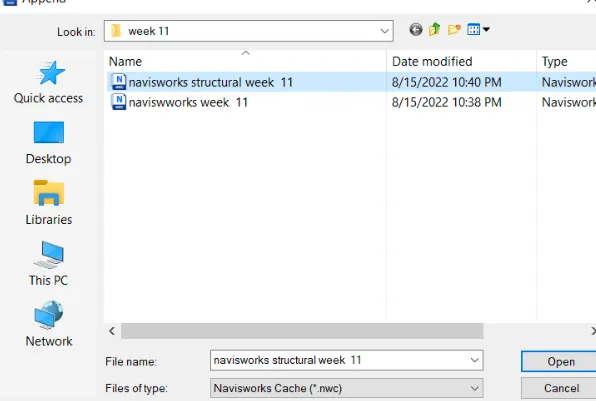
• Open our architectural model in navisworks manage2023
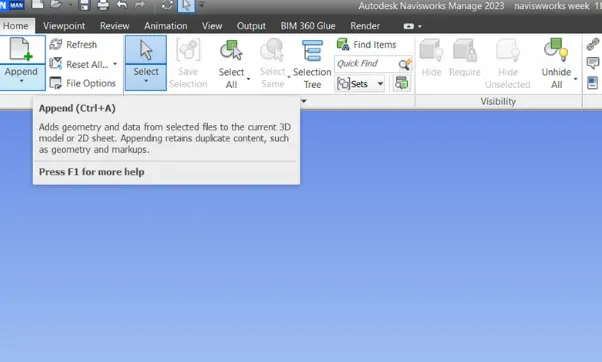
• Click on append in home tab
Now we can see the both structural and architectural plan combined with shared coordinates as below;
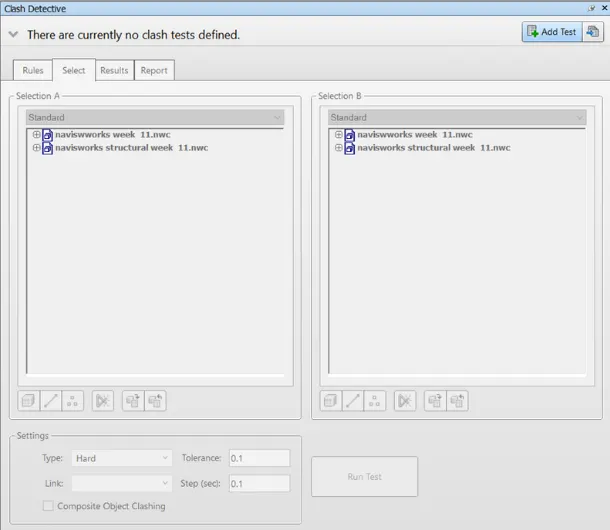
Name the test as "ARCH VS STRC"
• Select selection A and selection B
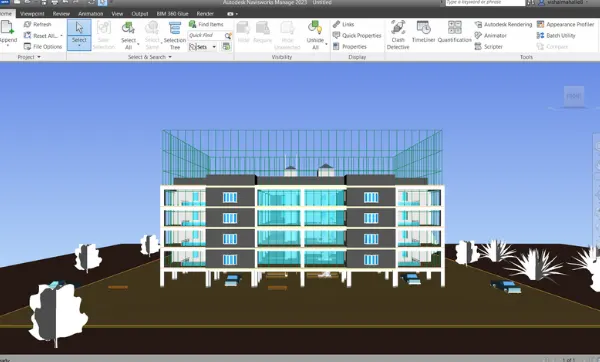
select surfaces and click on run test
we got lots of clashes as our project is a complex project
we can resolved and approve after detection
Click on status and change the status to resolved or
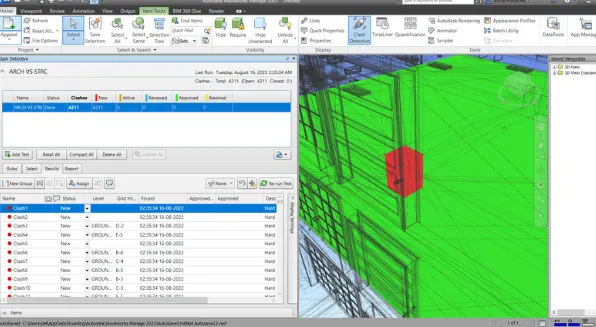
reviewed or approved accordingly or you can group the clashes and approved or resolved them
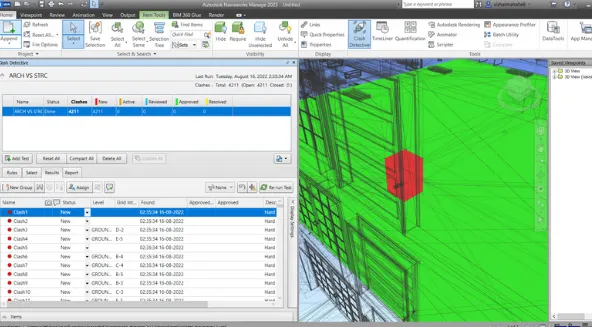
RESULT:
we have created a clash detection test between the two
models.
5) Using the Timeliner feature in Navisworks prepare a schedule for the project developed in week 6 to 8 by adding reasonable assumptions for task start date and end date and simulate the task completion as a visual simulation. Record it and save the timeline simulation to Navisworks file
AIM:
To use the Timeliner feature in Navisworks prepare a schedule for the project developed in week 6 to 8 by adding reasonable assumptions for task start date and end date and simulate the task completion as a visual simulation. Record it and save the timeline simulation to Navisworks file
INTRODUCTION:
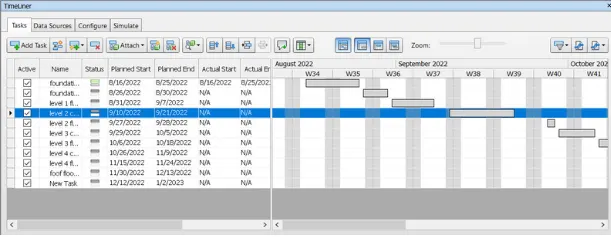
The TimeLiner tool adds schedule simulation to Autodesk Navisworks. Timeliner imports schedules from a variety of sources. You can then connect tasks in the schedule with objects in the model to create a simulation. This allows you to see the effects of the schedule on the model, and compare planned dates against actual dates. Costs can also be assigned to tasks to track the cost of a project throughout its schedule. Timeliner also allows the export of images and animations based on the results of the simulation. TimeLiner will automatically update the simulation if the model or schedule changes.
PROCEDURE:
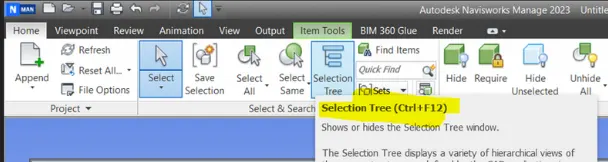
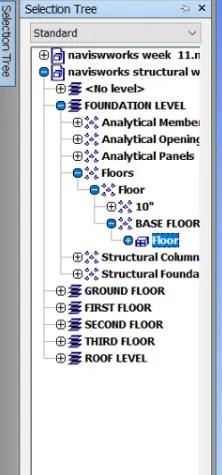
• Go to home tab
• Click on timeline
RESULT:
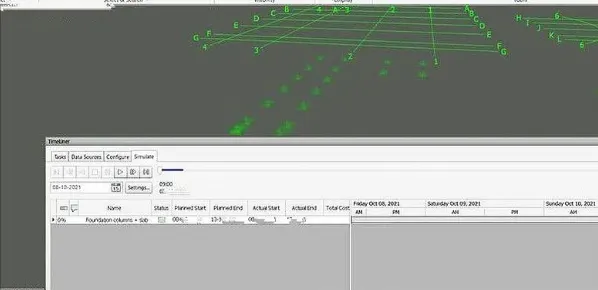
we have used the Timeliner feature in Navisworks prepare a schedule for the project developed in week 6 to 8 by added reasonable assumptions for task start date and end date and simulate the task completion as a visual simulation.
• Timeline simulation to Navisworks file is recorded and saved