Usage of Navigation tool , Timeliner and Clash Detection test using Naviswork
1) Use the Architecture/ Structure Project file developed by you in Week 6 to 8. Export the Revit architecture and structure model to Navisworks Cache file following the export settings discussed in class
AIM
To Export the Revit architecture and structure model to Navisworks Cache file following the export settings.
INTRODUCTION
Navisworks is a project review software that allows Architecture, Engineering and Construction professionals holistically review integrated models and data with stakeholders during preconstruction to better control project outcomes. Here is a list of some tools and functionalities:
- Coordination
- Clash Detection
- 5D Project scheduling
- Rendering
- Quantification
- Construction Simulation
Navisworks is available in three versions namely Freedom, Simulate and Manage. Freedom is a free viewer for native NWD files.
Simulate is the base level and includes the functionalities except for Clash Detective.
Manage on the other hand is the top level and includes all features.
Navisworks offers a lot benefit in terms of Project Review and Collaboration and some of it are listed below:
- Navisworks file comes in an NWD format which is a relatively small file size that contains overall 3D project information which clients can use to review through the use of Navisworks Freedom, which by the way is FREE!
- Performing Clash Detection allows Stakeholders to resolve issues early on during the Design phase therefore, saving not only efforts but most importantly cost and time.
- Aggregated models can be analysed at a faster speed rate as compare to Revit.
- Easily manipulate how the model appears with the use of selection and search sets
- Several export options for various tools means users are able to re-use certain settings for other relevant projects
- Construction simulation aids everyone involved in the project to visually understand and relate any site movement with project schedule.
- BIM 360 Glue Integration provides access to models in the cloud.
PROCEDURE
Open the Revit software and open the architectural model
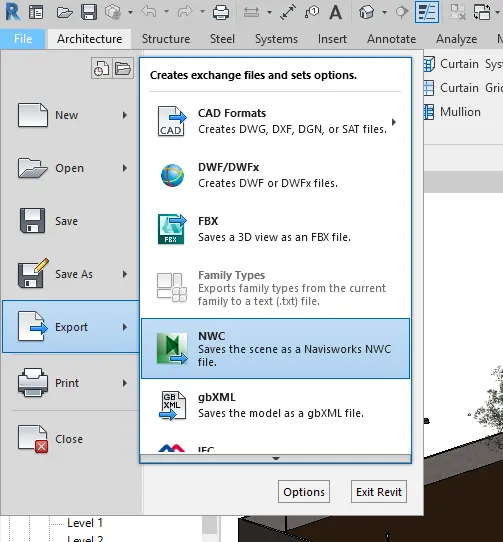
Export the model as NWC file, as shown in the below figure
Export scene as tab will appear next the give the NWC file name as Project A
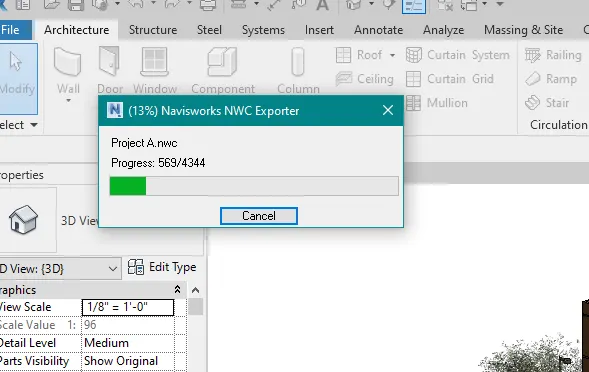
Next, open the structural model.
Click on the file option and export the model as NWC file, as shown in the below figure
Next the export scene as tab will appear, next the give the NWC file name as Project S
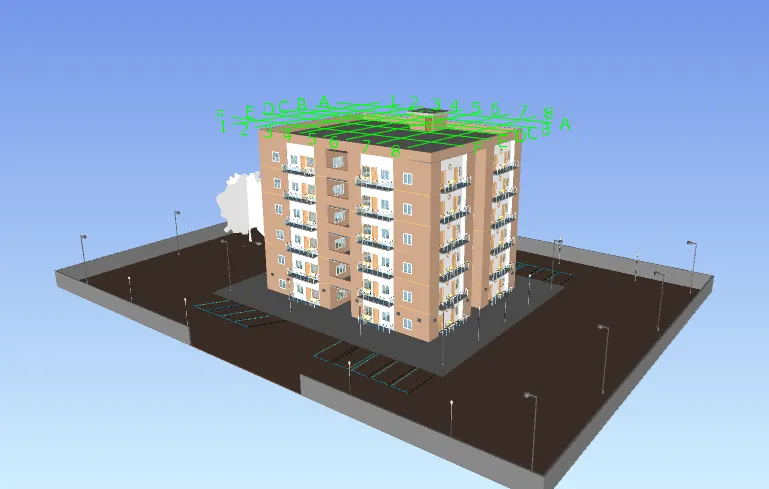
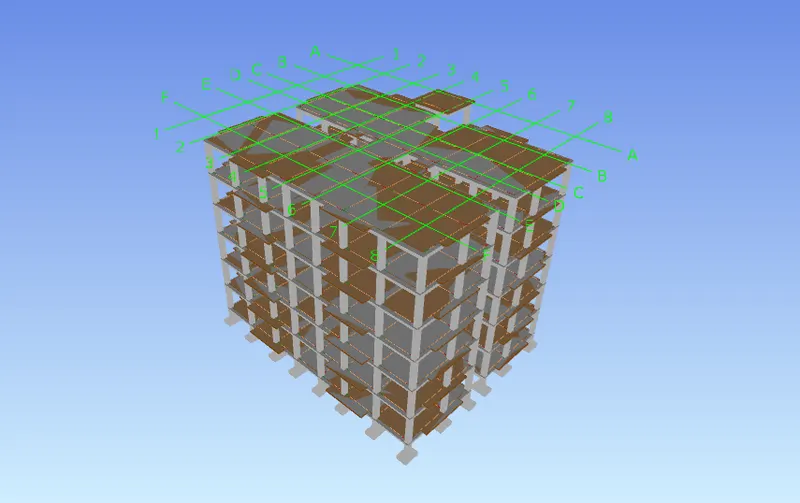
The architectural and structural model are opened in Navisworks
RESULT
Revit structural and architectural model are successfully exported to the Navisworks file.
2) Use Navigate Tool to walk around the model and walk through the rooms created and record your moving as animation in your Navisworks file
AIM
Using the Navigate Tool to walk around the model and work through the room created and record moving as animation in the Navisworks file
INTRODUCTION
With the Walk tool, we can navigate through a model as if we are walking through it. Once we start the Walk tool, the Center Circle icon is displayed near the base of the view and the cursor changes to display a series of arrows. To walk through the model, we drag in the direction in which you want to move in
PROCEDURE
Open the architectural view in the Navisworks
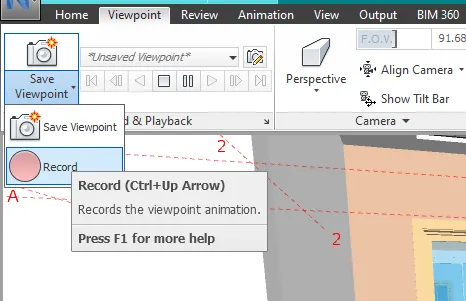
Go to Viewpoint> Navigate> Walk
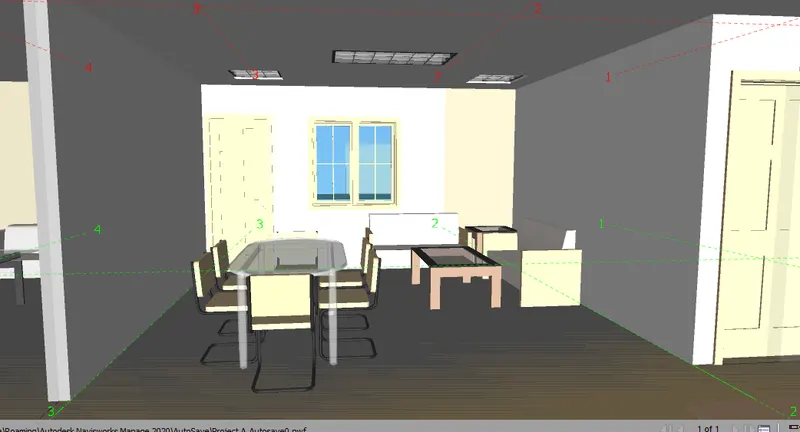
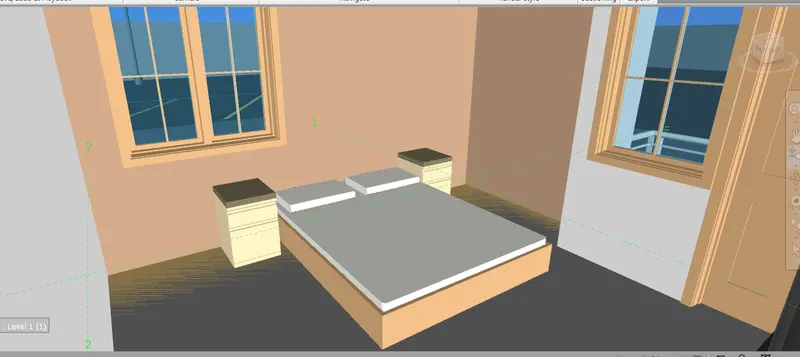
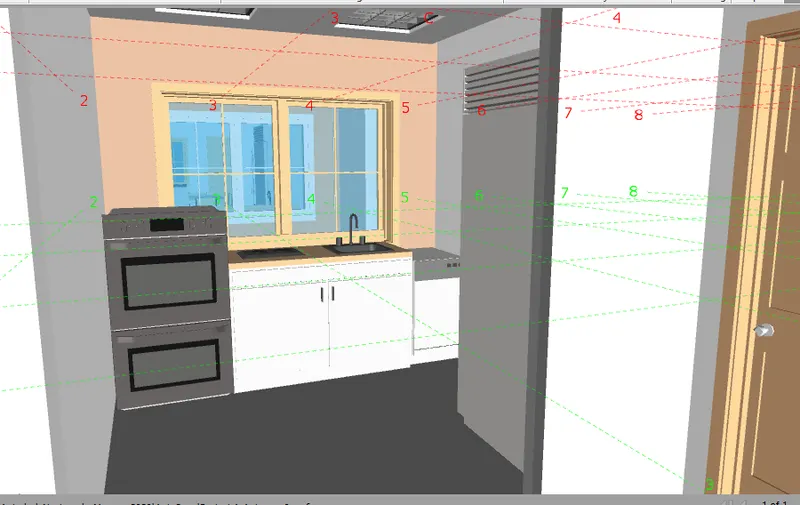
Next we use the record option in the viewport toolbar to record the moving it each and every room, as shown in the below Figures
Walkthrough of living room
Walkthrough bedroom
Walkthrough of kitchen
RESULT
Walkthrough and animation are created using Navigation tool
3) Use Navigate tool to use Realism feature to walk through the model and record your moving as animation in Navisworks file
AIM
Use Navigate tool to use Realism feature to walk through the model and record moving as animation in Navisworks file
INTRODUCTION
When we navigate a 3D model using the realism tool it allows to control the speed and realism of the navigation. The realism tools are not available in a 2D workspace. It allows to navigate in 4 ways.
1. Gravity
This function only works in connection with collision. Where collision gives us mass, gravity gives weight. As such, you (as the collision volume) will be pulled downwards whilst walking through the scene. Gravity can only be used with the Walk navigation tool. This allows us to walk down stairs, for example, or follow terrain.
2. Crouching
This function only works in connection with collision. When walking or flying around the model with collision activated, we may encounter object that are too low to walk under, a low pipe for example. This function enables to crouch under any such objects. With crouching activated, we automatically crouch under any objects that we cannot walk under at a specified height, thereby not impeding our navigation around the model.
PROCEDURE
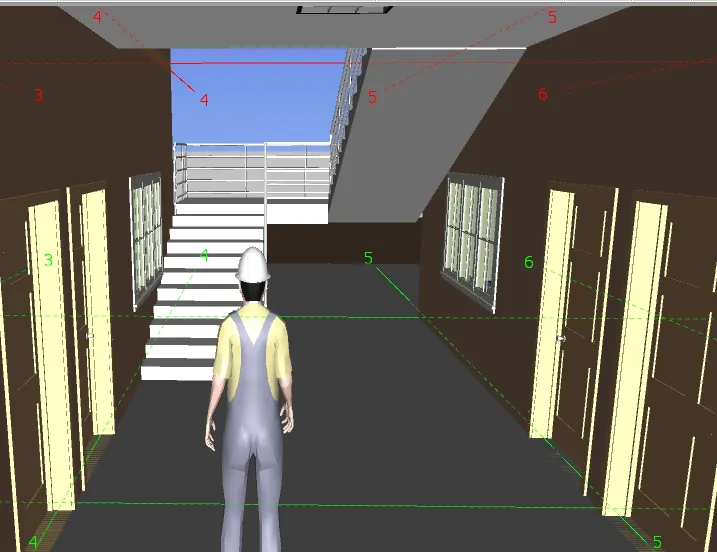
First we open the realism option and select the third persons as shown below
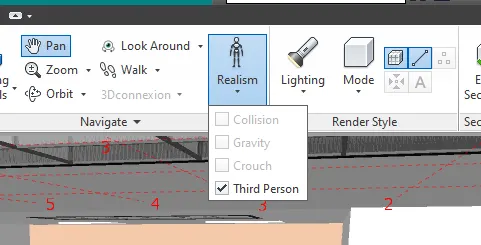
Use the record option in the viewport toolbar to record the moving animation in each and every room
Walkthrough of living room
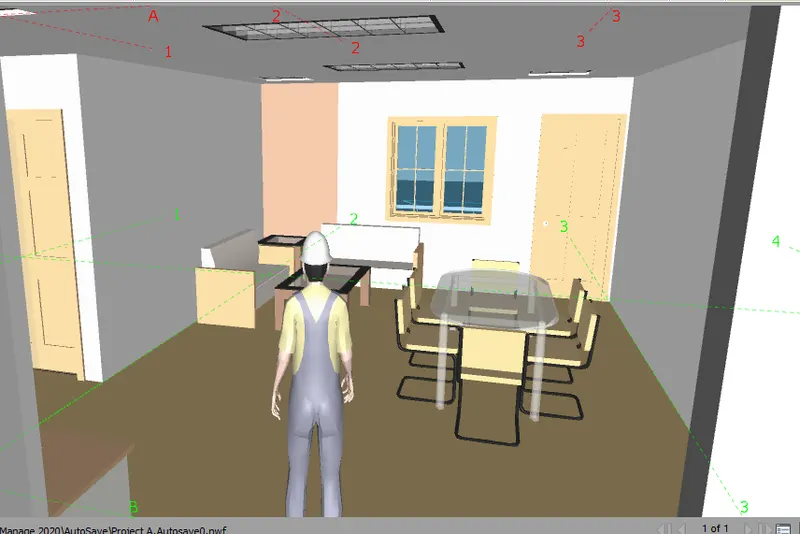
Walkthrough Drawing room
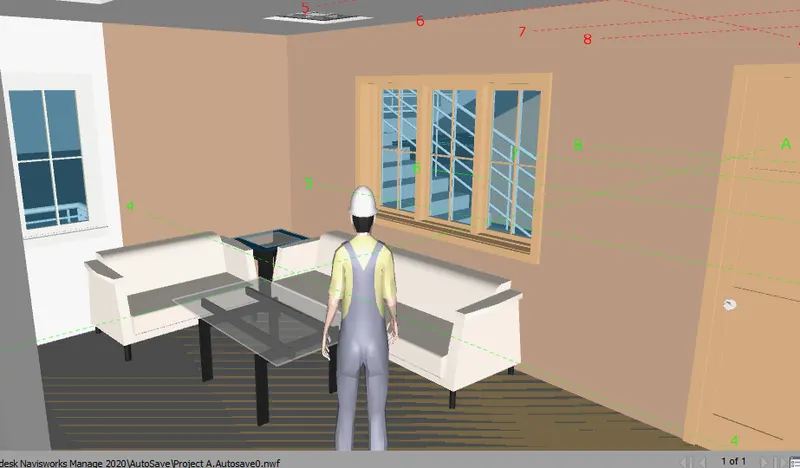
Walkthrough of kitchen
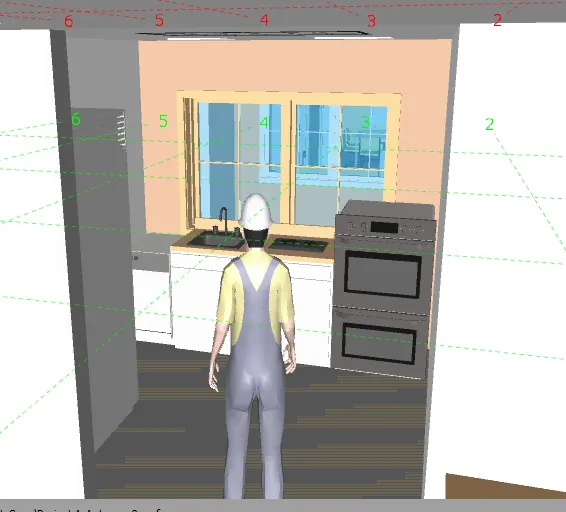
Walkthrough of staircase
RESULT
Walkthrough and animation are created using Realism in Navigation tool
4) Embed both architecture and structure *.NWC file to your Navisworks file. Create a clash detection test between the two models
a) Run the Clash Detection Test
b) Study the clashes between the two models
c) List which of the clashes could be approved
d) List which of the clashes could be neglected (will be taken care later)
e) List which of the clashes can be resolved
f) Save the results after colour coding the clashes to the Navisworks file
g) In case of resolution annotate the clash and save the view to defined views in Navisworks
AIM
To create a clash detection test between the two models.
INTRODUCTION
Clash detection is the method of identifying and inspecting the various building design interferences which frequently occur during the BIM coordination or Construction Gatekeeping process. Clash detection is like a review process that ensures all building components, assemblies, and trades are in ready-to-be-installed conditions generating no conflicts with other building trades. Clash detection will only come into the picture when all the building design trades (Architectural, Structural, Mechanical, Electrical, Plumbing, Fire Protection, and others) are integrated into the BIM model.
A conflict occurs when the elements of different MEPFP or other trades occupy the same space. This conflict can be geometrical (for example, HVAC crossing through structural beam), schedule-based (when the sequence of work is not as per the schedule or multiple things take place at once), or the changes are not updated in the drawings.
There are primarily 3 types of clashes:
1. Hard Clash
A hard clash occurs when two components of a building intersect or pass through each other.
2. Soft Clash
Soft Clash occurs when one element is not given the spatial or geometric tolerance and because of which its buffer zone is breached. It is a type of clash which gets flagged when a distance of less than a set tolerance is detected.
3. Workflow/4D
Workflow clashes, as the name suggests, are the timeline conflicts. They actually represent a mismatch in the scheduling of contractors or when there is a conflict of timeline with equipment or material delivery. It is knowns as 4D clash as it results from scheduling clashes that affect the efficiency of the entire construction firm.
PROCEDURE
Open the Architectural Model in Navisworks
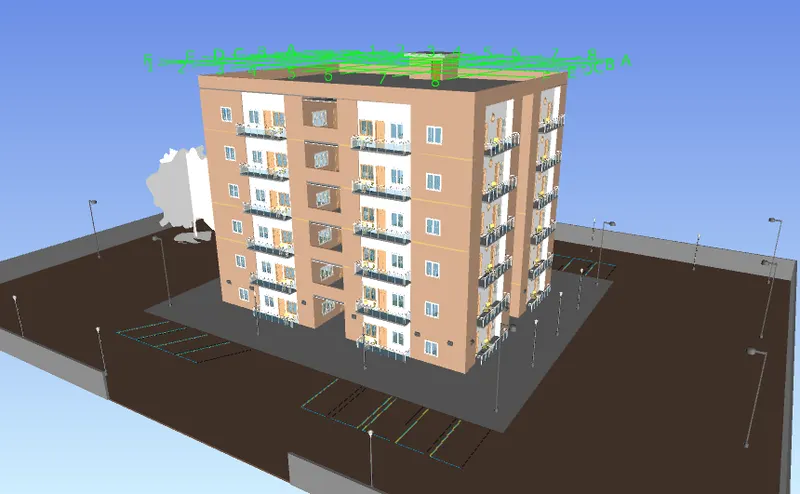
Use the append option from the home tab and combine both models in Navisworks file.
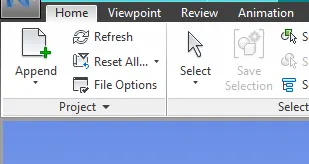
Go to Home> Append option.
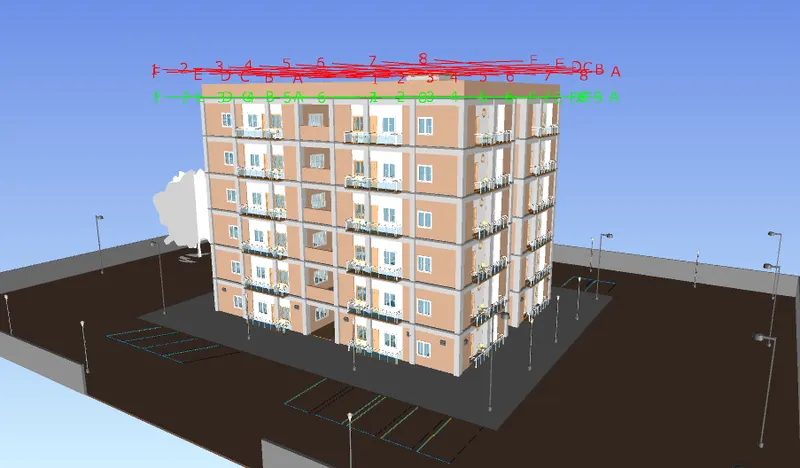
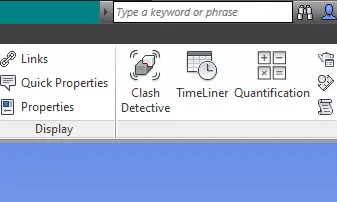
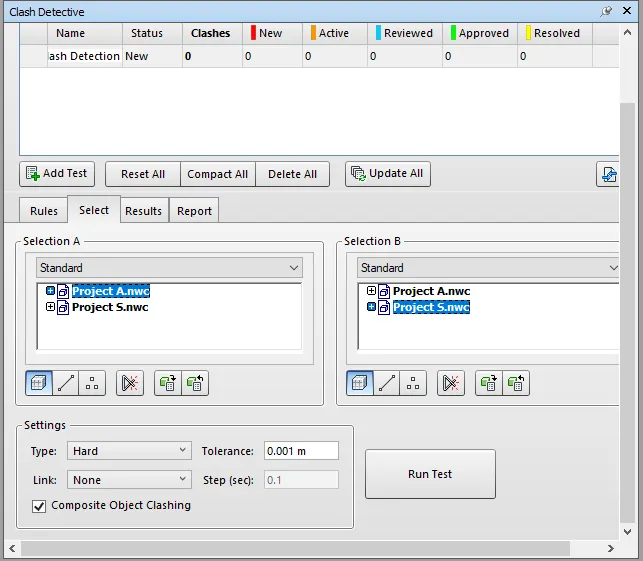
Select the clash detective tool and run the test
Study the clashes between the two models
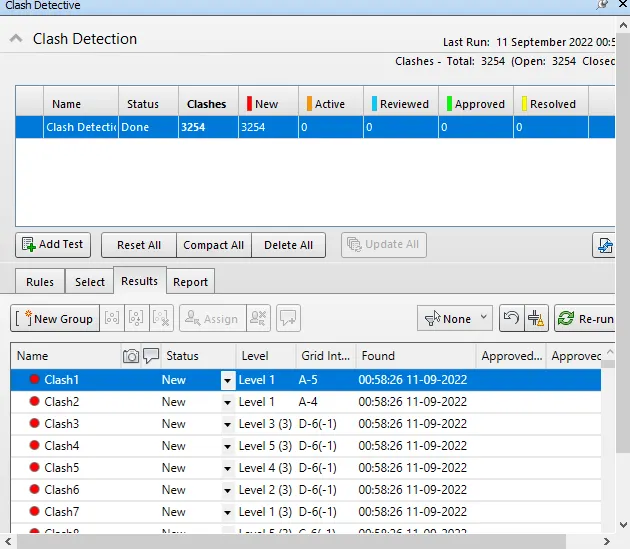
After running the test successfully, the results will be displayed on your screen in terms of the total numbers of clashes detected.
So, look at the clashes and try to categorize them according to the type of clash.
They can categorized as active, resolved, approved and reviewed.
Thus, active clashes are those who are under discussion and need to attention to be solved.
Resolved are the ones that are taken care of already or can be easily executed at the site.
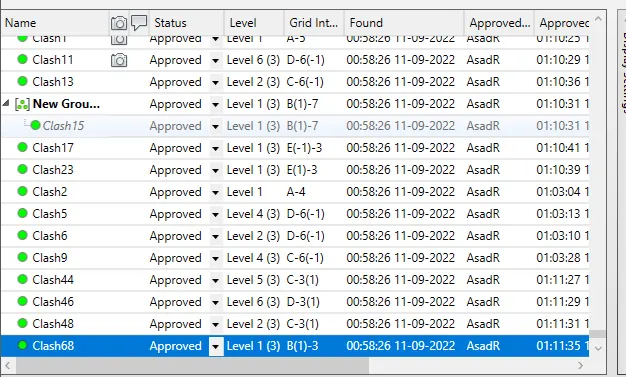
And, approved clash are the ones that are typically approved on the construction level.
At last, reviewed are the ones that can be neglected as these are minor clashes that are generally understood and dealt with at the time of construction.
List down the clashes which are approved.
List down the clashes which are neglected.
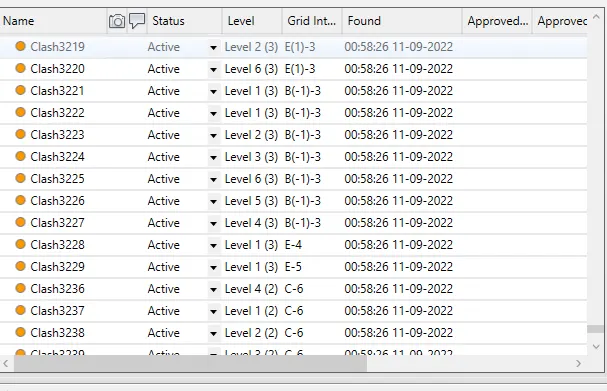
List down the clashes which are resolved.
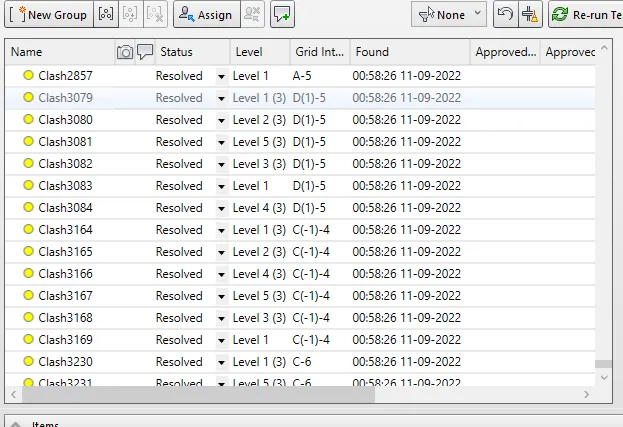
Save the results after colour coding the clashes.
Click on the Export clash test
After clicking on the option Export Clash Test there will be another window called Export, in that window just save the file and then click the option save
The extension for the exported file is *.xml.
Resolved clashes can be cleared from the list by using the compact option.
Using the compact option we can clear the resolved clashes from the list and can save the view to define the views in Navisworks.
Go to the option compact
Save the view to define the views in the Navisworks.
RESULT
Created a clash detection test between two models successfully.
5) Using the Timeliner feature in Navisworks prepare a schedule for the project developed in week 6 to 8 by adding reasonable assumptions for task start date and end date and simulate the task completion as a visual simulation. Record it and save the timeline simulation to Navisworks file
AIM
To use the Timeliner feature in Navisworks to prepare a schedule for the project developed in week 6 to 8.
INTRODUCTION
Navisworks TimeLiner module is widely used by the BIM industry and construction professionals to simulate the building construction. The TimeLiner tool adds schedule simulation to Autodesk Navisworks. Navisworks TimeLiner module is an extremely useful module for the BIM and construction professionals to simulate the construction sequence. However, linking the schedule correctly and mapping the right set of columns is always tricky. TimeLiner imports schedules from a variety of sources. We can then connect tasks in the schedule with objects in the model to create a simulation. This allows us to see the effects of the schedule on the model, and compare planned dates against actual dates. Costs can also be assigned to tasks to track the cost of a project throughout its schedule. TimeLiner also allows the export of images and animations based on the results of the simulation. TimeLiner will automatically update the simulation if the model or schedule changes.
PROCEDURE
First we open the structural models in Navisworks which was opened from Revit
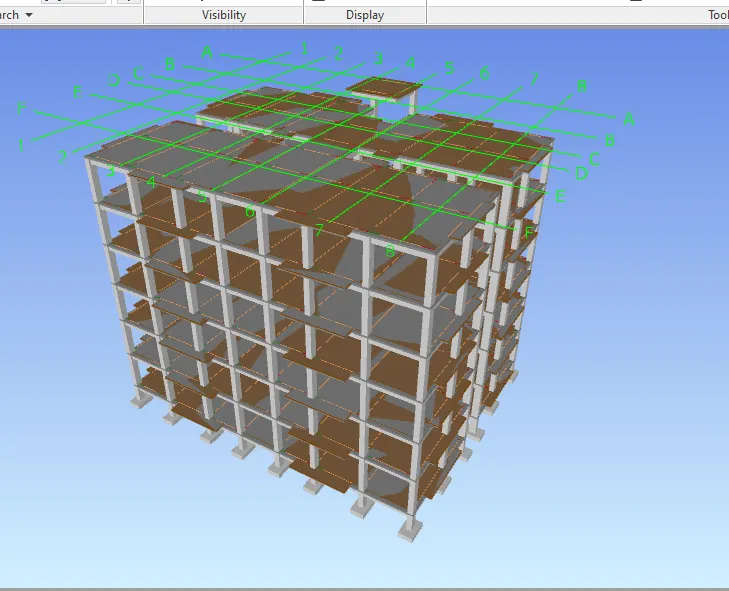
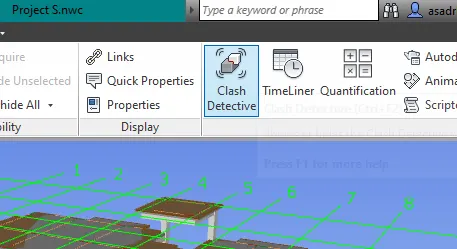
Next select the home tab and select the Timeliner
Next add the tasks and attach the tasks in it
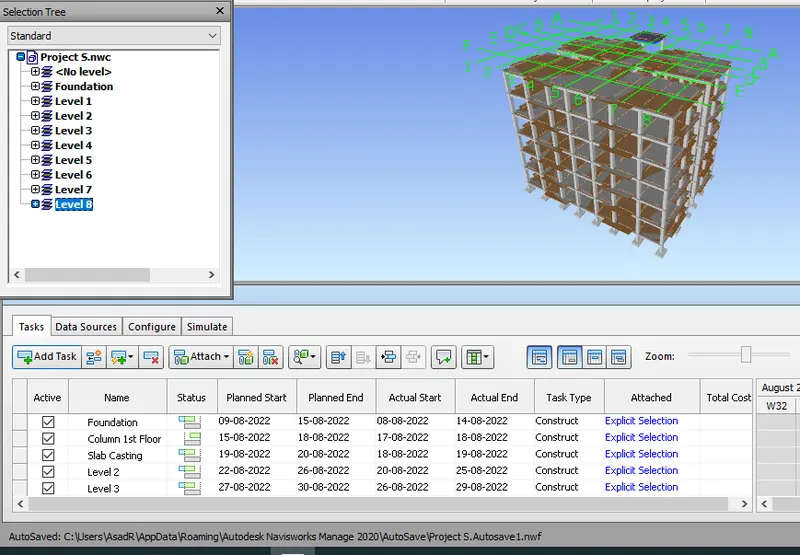
Update the actual dates like start and finish date to the task
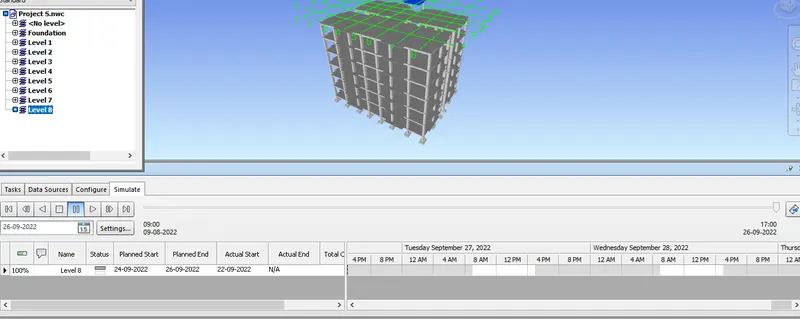
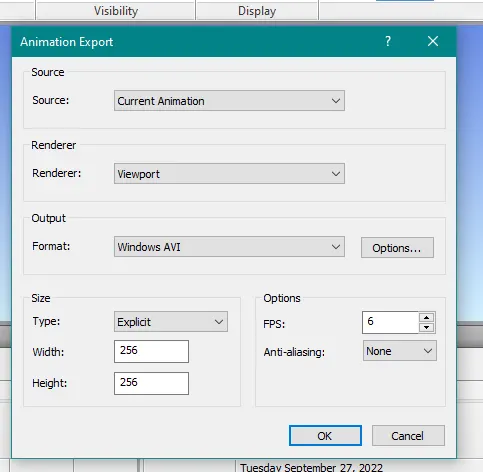
Then click on the simulate to play the recorded task and save the project
RESULT
The Timeliner feature is used successfully in Navisworks to prepare a schedule for the project developed in week 6.