Usage of Navigation tool , Timeliner and Clash Detection test using Naviswork
1. Aim: To Create the Architecture /Structure project file developed in week6 to 8 and export the Revit architecture and structure mdel to Navisworks cache file.
Introduction: To Create the Architecture /Structure project file developed in week6 to 8 and export the Revit architecture and structure mdel to Navisworks cache file.
Procedure:
- First open the revit software and we have architectural file.
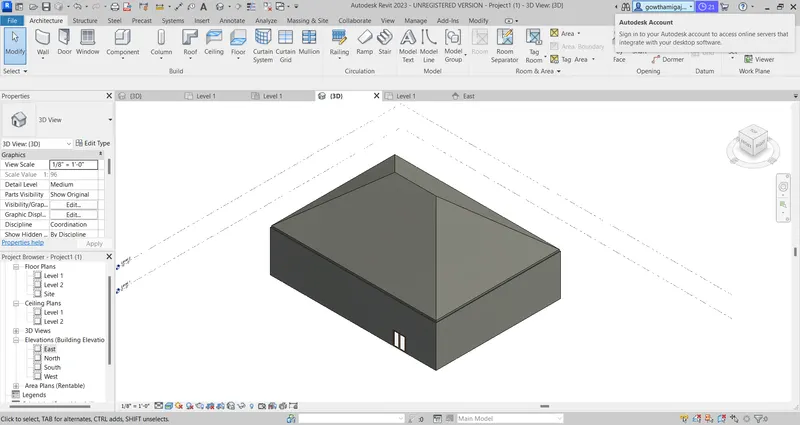
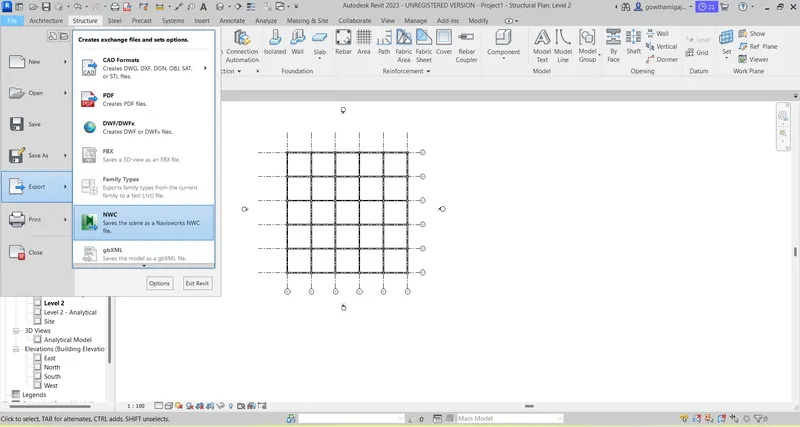
- Then we need to export the revit file to NWC file from the file menu.
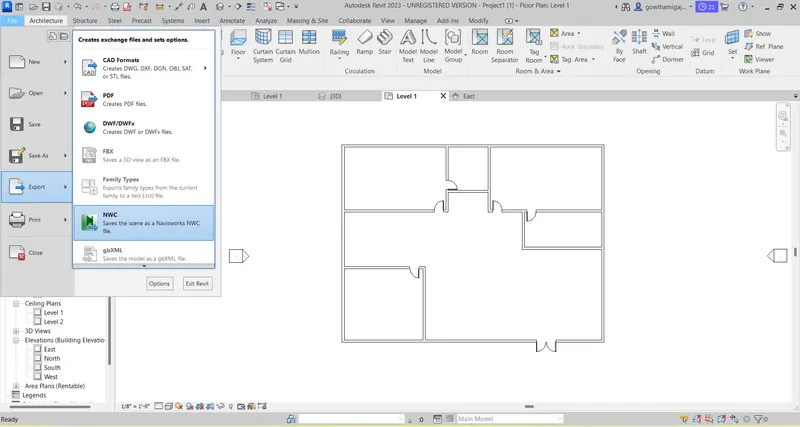
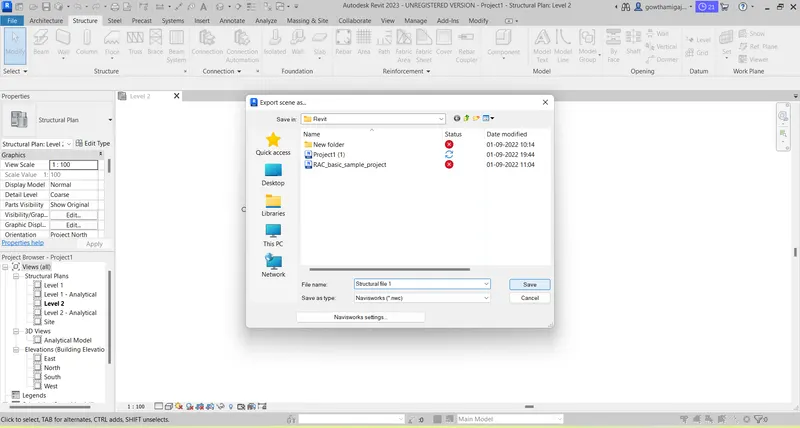
- Once by clicking in the NWC file, It will ask for the destination folder.
- Then save the file in the desktop.
- And make sure the file to be saved in NWC format.
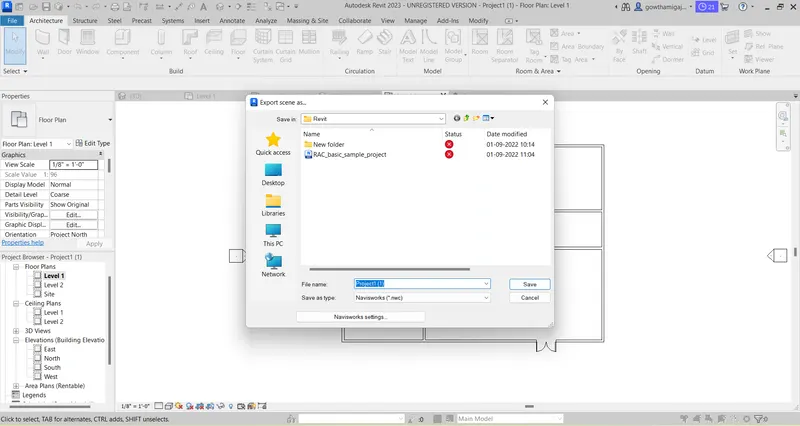
- Then click save option.
- Now we can see the file as exporting to NWC file.
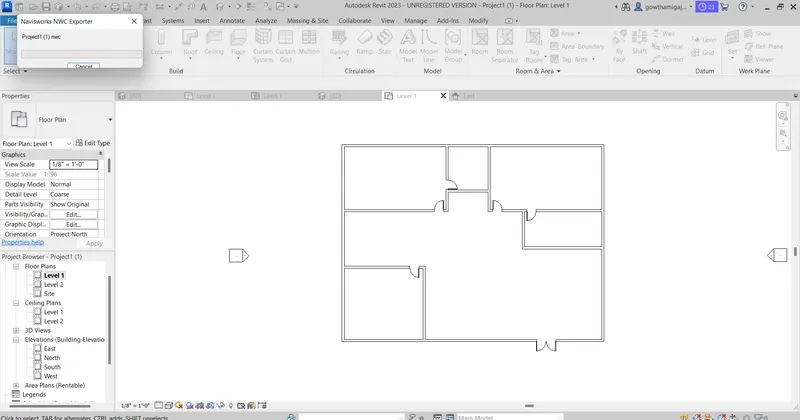
- In the same way, now open the structural file.
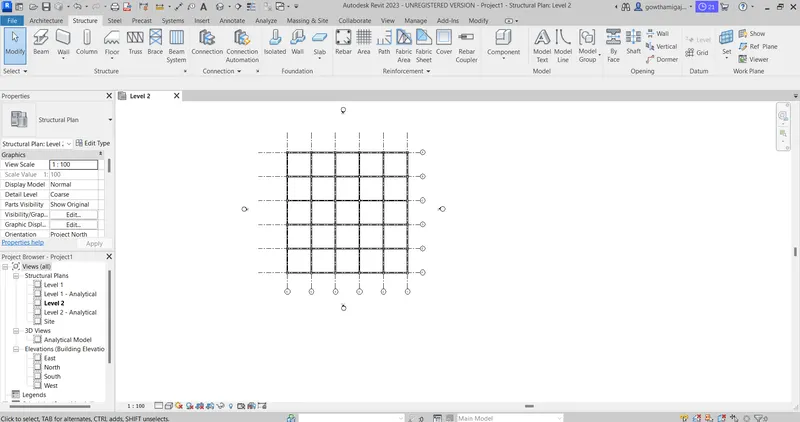
- Then click on file and export the file.
- Now save the file in NWC file as structural file.
- Now the file is saved to NWC file
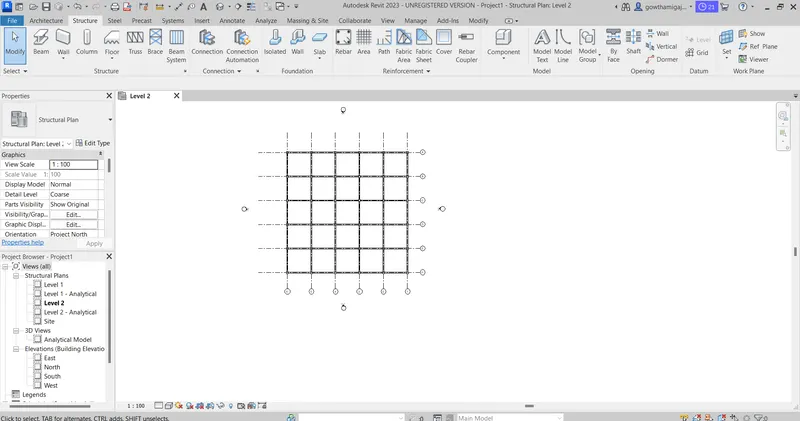
Result:
2. Aim: To create by using the navigation tool to walk around the model and walk through the rooms created and record your moving as animation in your navisworks file.
Introduction: To create by using the navigation tool to walk around the model and walk through the rooms created and record your moving as animation in your navisworks file.
Procedure:
- First we need to Open the Navisworks software.
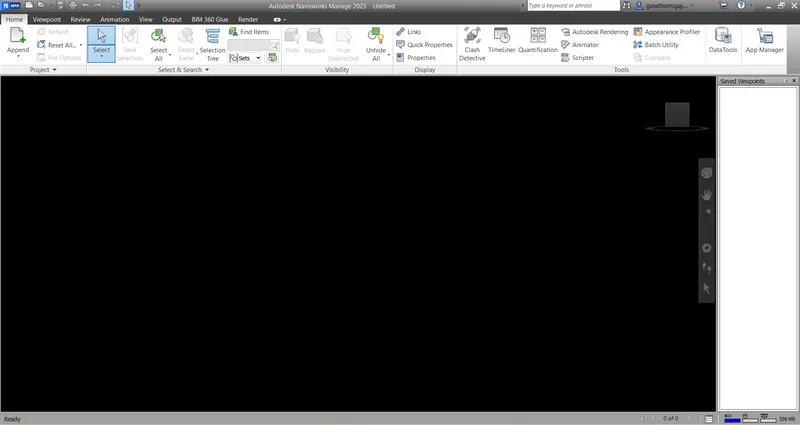
- For importing drawing into navis works software, click file option.
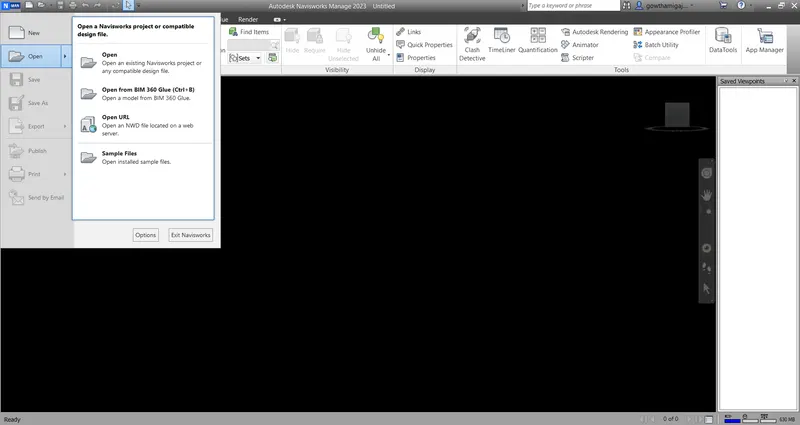
- Now click open and open the NWC file which we have saved previously.
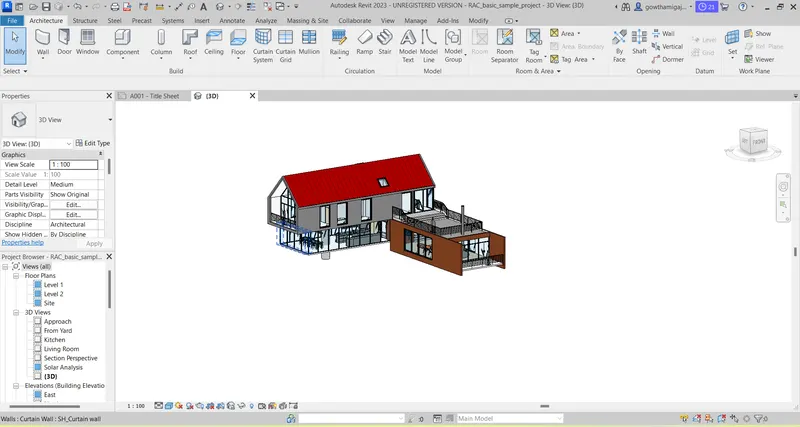
- Now we have to show wallk through option through the drawing.
- Go to the view point and select walk option.
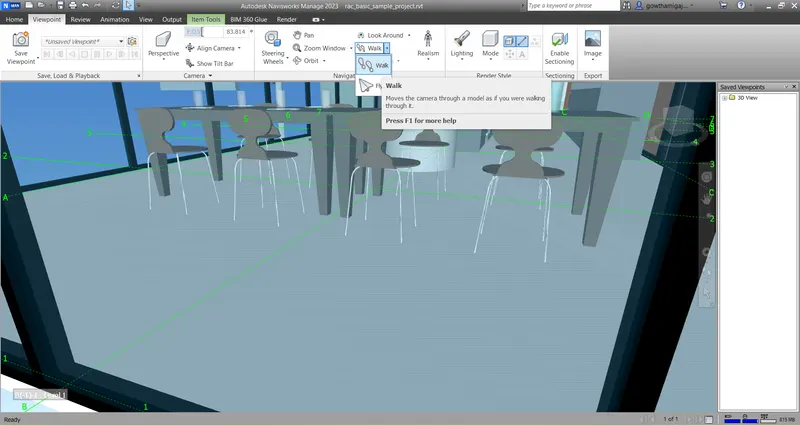
- Now go the view point and select save view point option and select record option.
- This is to record the walk through option.
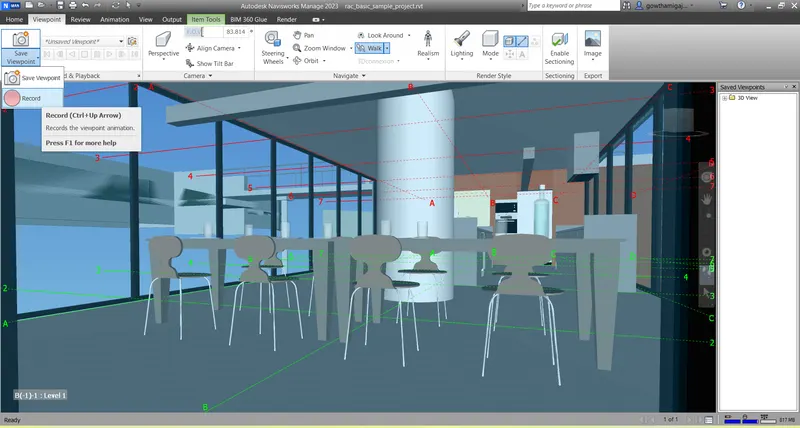
- Now save the record through option in the properties file.
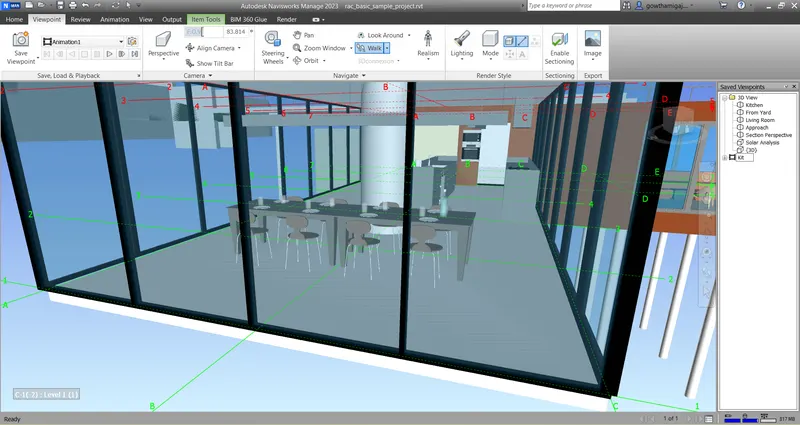
- Now make the walk through option.
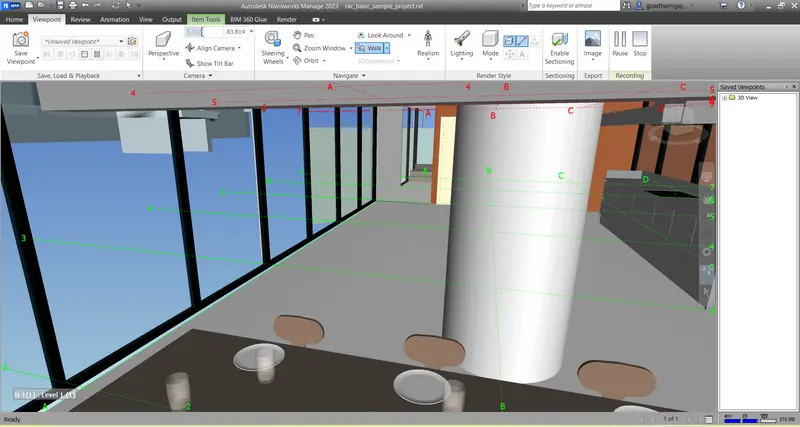
- After creating the walk through option we can check the recor dview.
- For that go to the animation option and there we can see the play option for the walk through option.
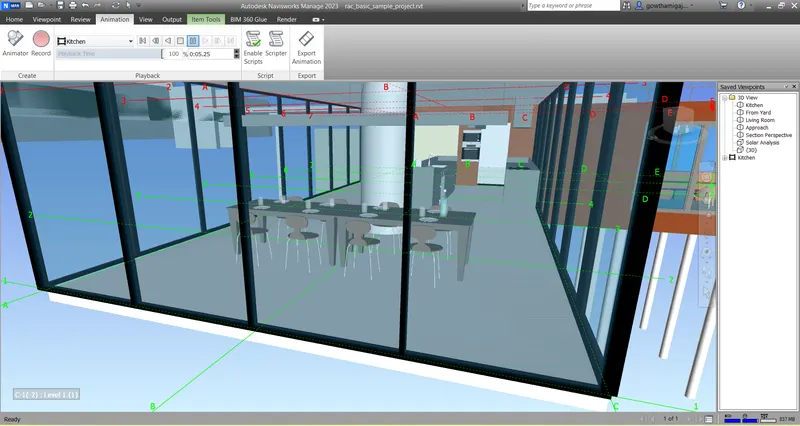
- Then go to the animation option and click on the exxport option to save the vedio in the system.
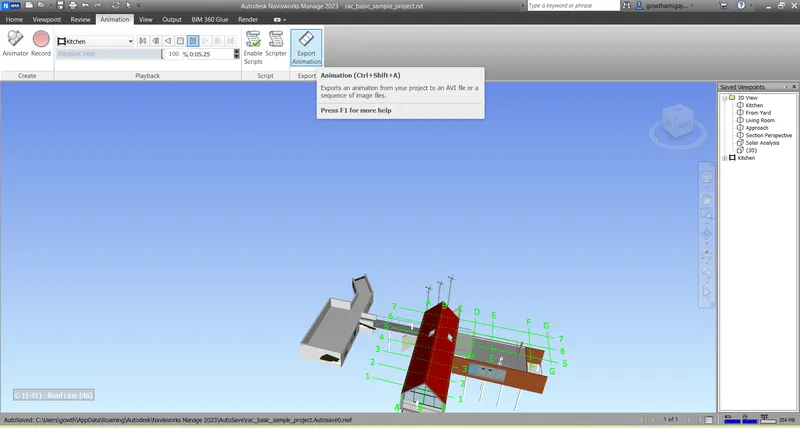
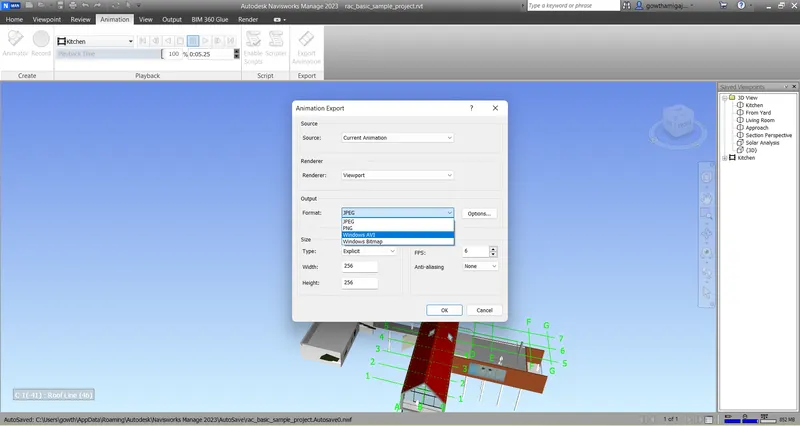
- Then the dialogue box will appear on the screen.
- And select the proper options to save the vedio.
- Then click ok.
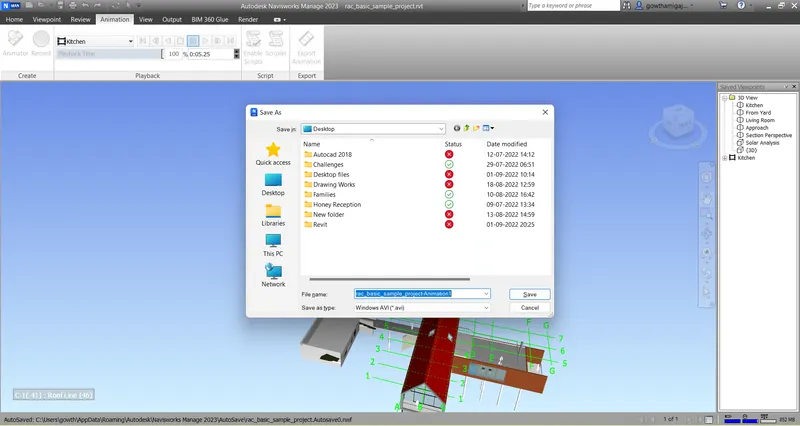
- Now select the destination to save the file.
- And click ok.
- Then the vedio is saved.
- Now we can see the vedio without opening the revit file.
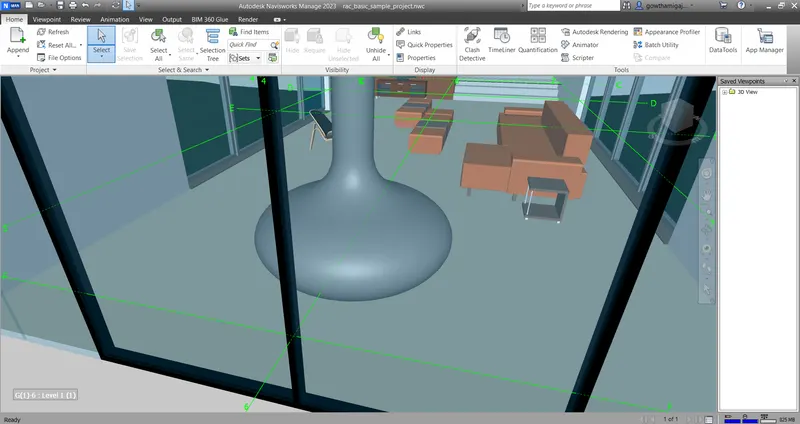
- Now we have to make walk through option fro another room to the living room.
- Go to annotate tab and choose walk through option.
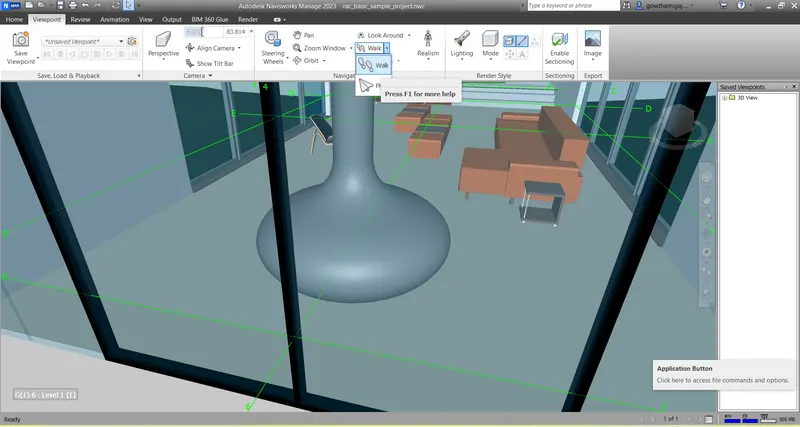
- Make the walk through option through out thee living room.
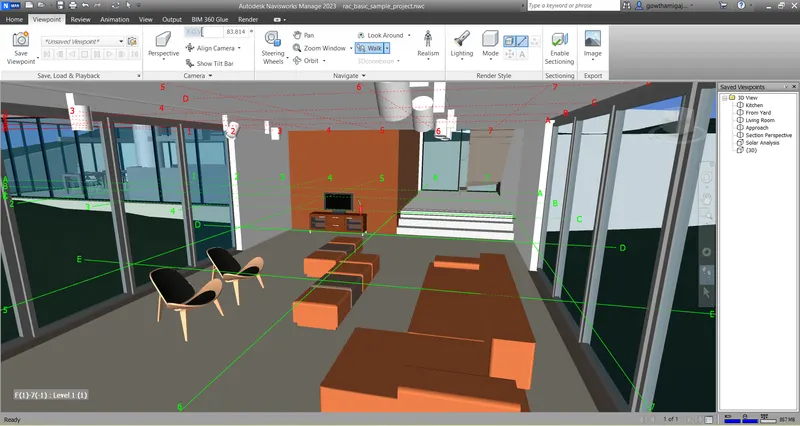
- Now save the walk through for living room.
- After creating the walk through option we can check the record view.
- For that go to the animation option and there we can see the play option for the walk through option.
- Then go to the animation option and click on the exxport option to save the vedio in the system.
- Then the dialogue box will appear on the screen.
- And select the proper options to save the vedio.
- Then click ok.
- Now select the destination to save the file.
- And click ok.
- Then the vedio is saved.
- Now we can see the vedio without opening the revit file.
- Now make the walk through option for terrace floor.
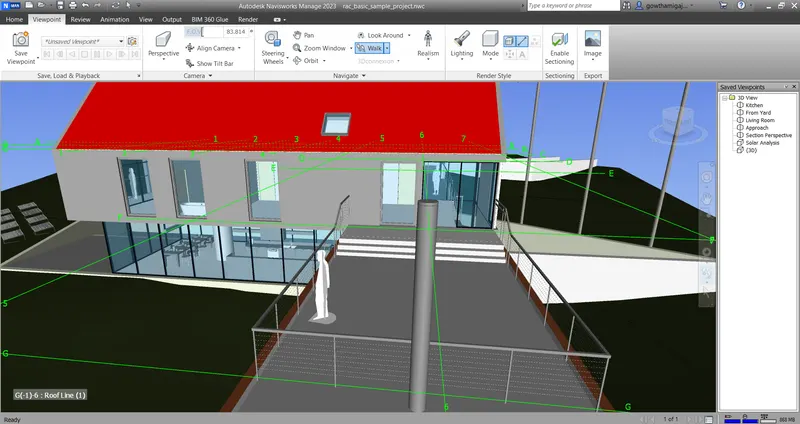
- The walk through is applying to the terrace floor area.
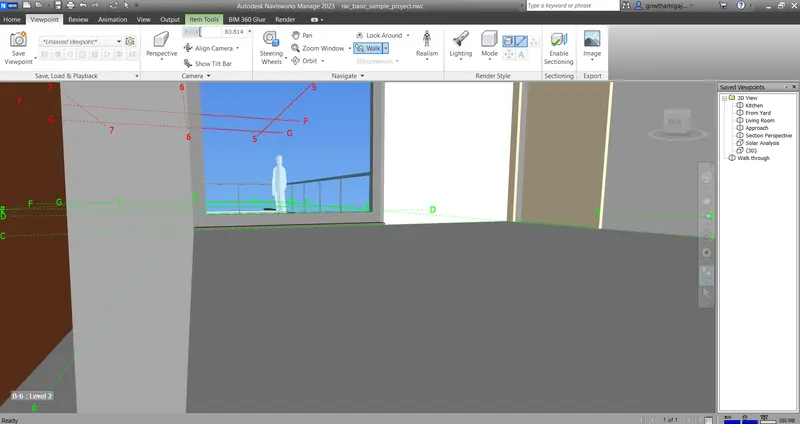
- After creating the walk through option we can check the record view.
- For that go to the animation option and there we can see the play option for the walk through option.
- Then go to the animation option and click on the exxport option to save the vedio in the system.
- Then the dialogue box will appear on the screen.
- And select the proper options to save the vedio.
- Then click ok.
- Now select the destination to save the file.
- And click ok.
- Then the vedio is saved.
- Now we can see the vedio without opening the revit file.
Result:
3. Aim: To create a realism feature to walk through the model and record your moving as animation in navisworks file.
Introduction: To create a realism feature to walk through the model and record your moving as animation in navisworks file.
Procedure:
- Open the Navis works and open the drawing.
- Then go to the view point option and select relism opton.
- Then select the third person icon
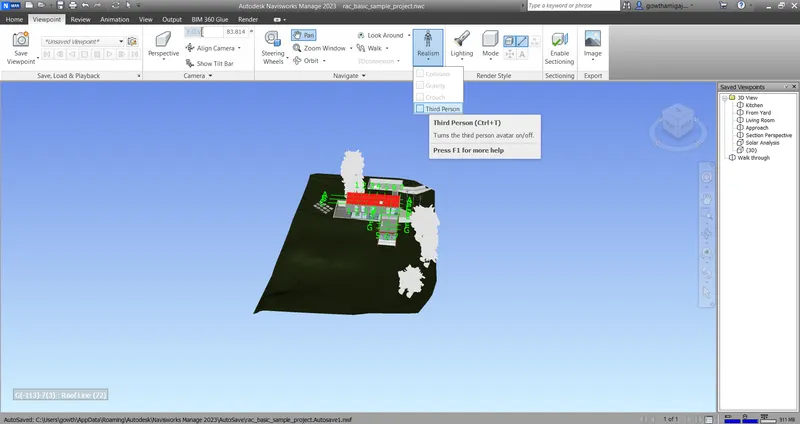
- Now go to any room and select realism option.
- Then we can see a person standing to walk through.
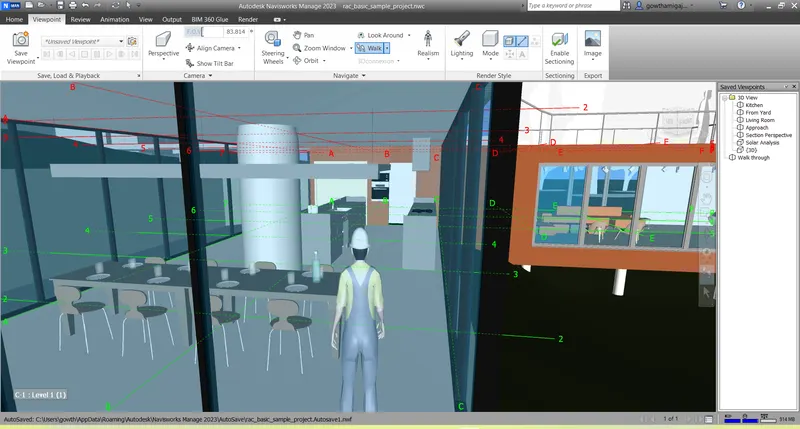
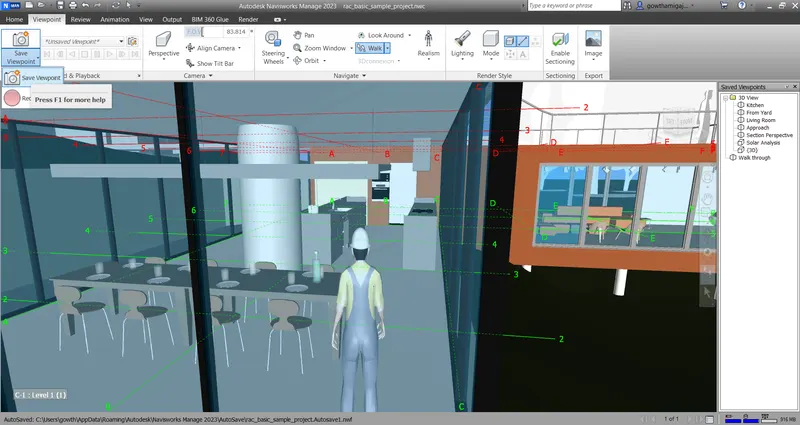
- Then click the save view option and then rename the text. '
- No go to animation tab and start record option.
- After completing the record then stop the record option.
- Then export the record to save in the system file.
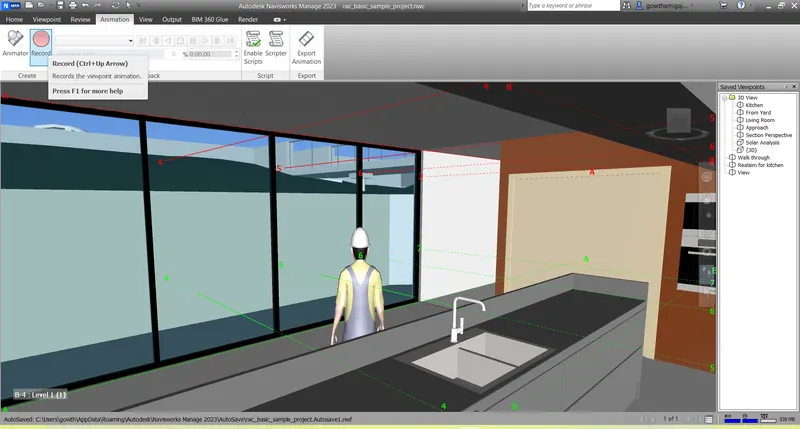
- Now go to animation tab and select export option.
- This export option is to save the recorded file in the system.
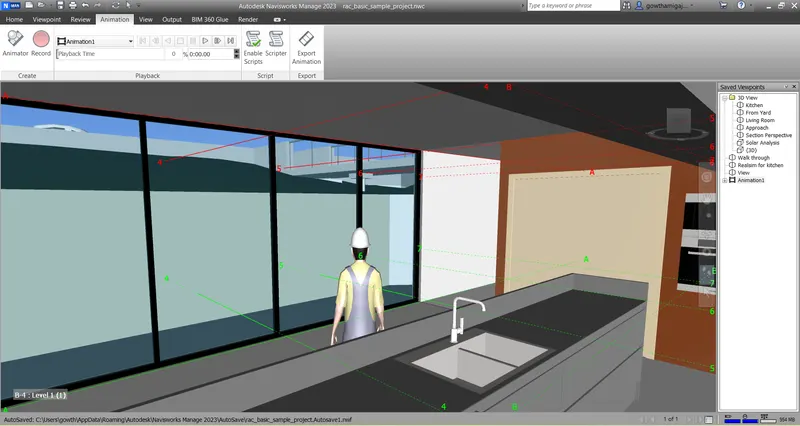
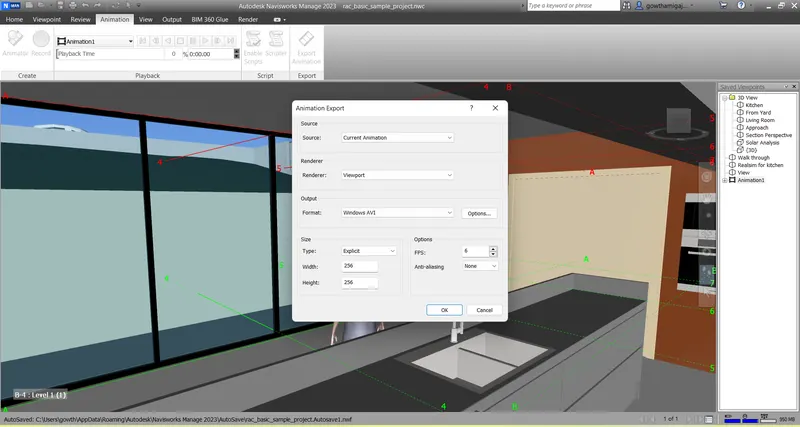
- Then the dialogue box will appear on the screen.
- Then change the settings as per your drawing.
- Now click ok.
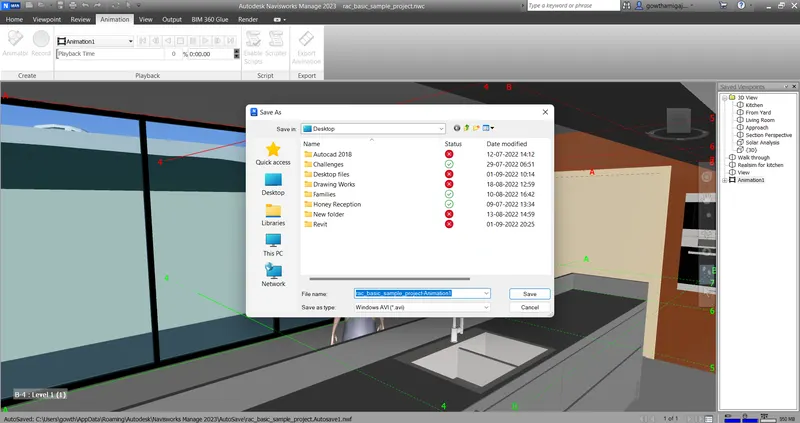
- Then we can see the destination to save the file.
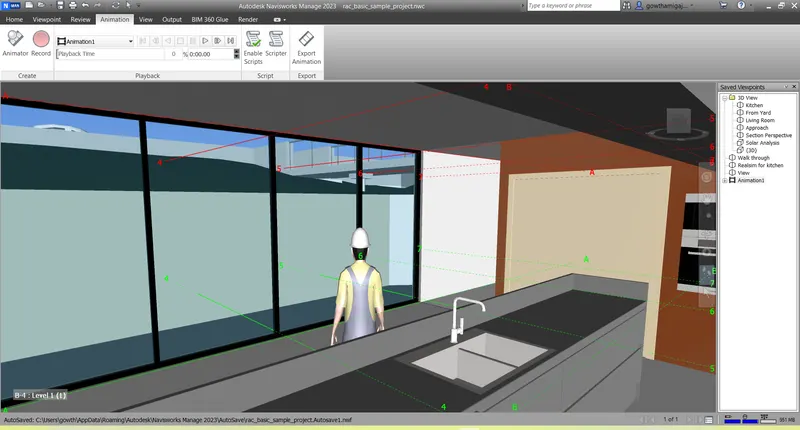
- Finally the file is saved in the local computer.
- Then go to the another room for living room and choose realistic option.
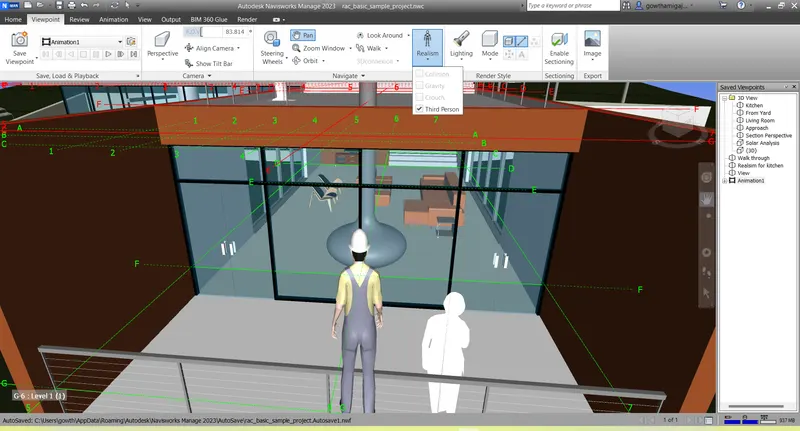
- Then go to the save point and save the recorded file.
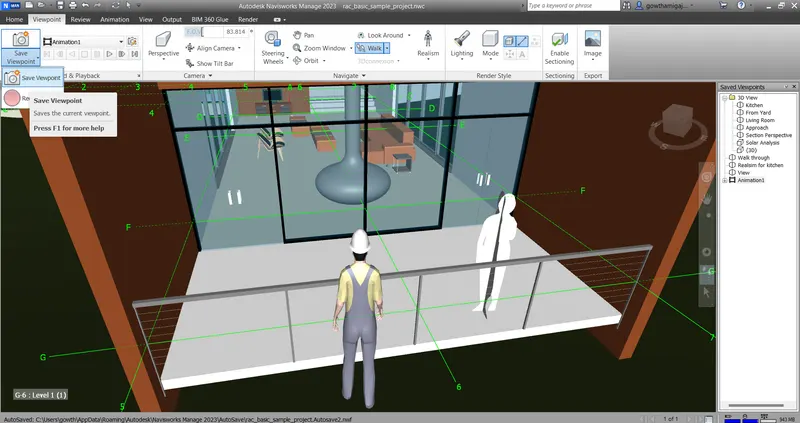
- Now walk through option is going through the living room.
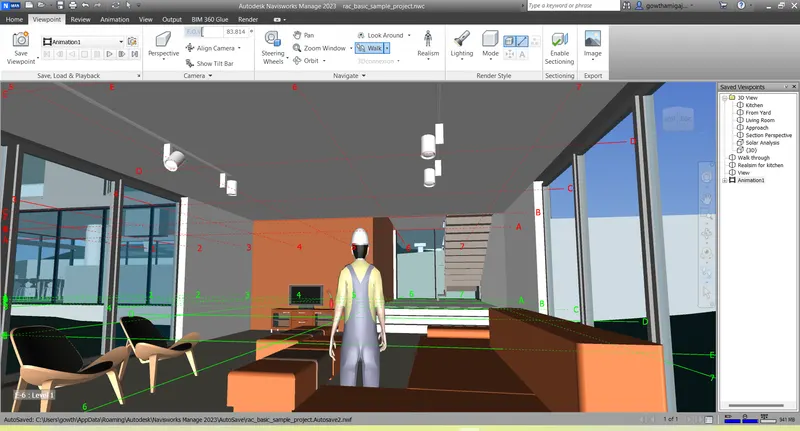
- After walk through is completed go to the animation tab and select the export option.
- To save the record file we need to export the file.
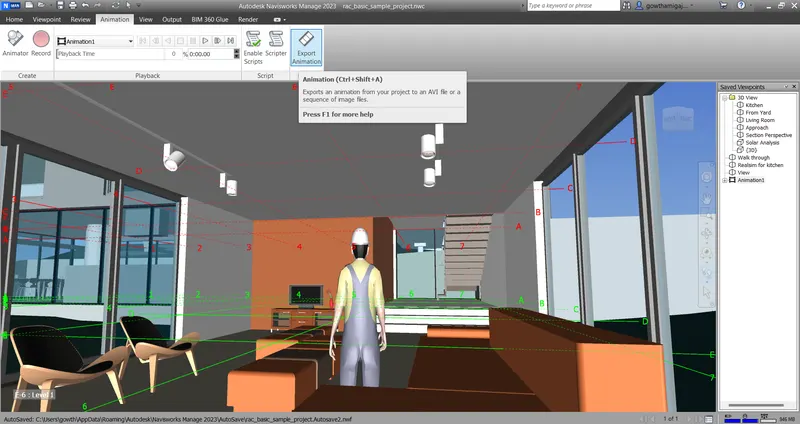
- Then select the options from the dialogue box.
- Then click ok.
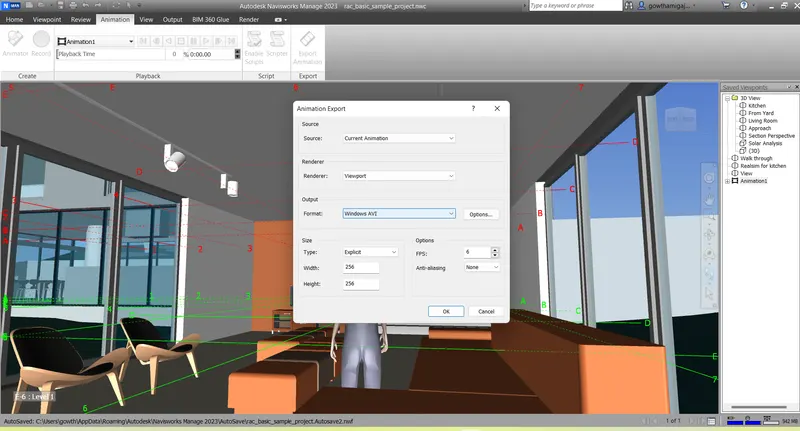
- Now we have to save the file file and select the destination folder o save the fiile.
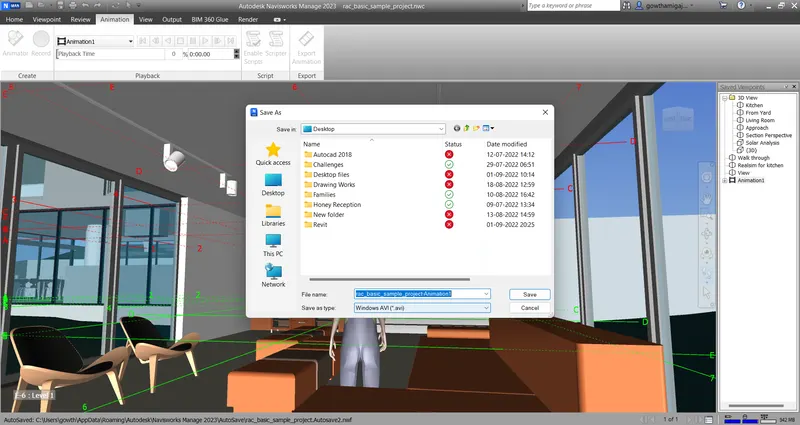
- And finally the file is saved in the folder.
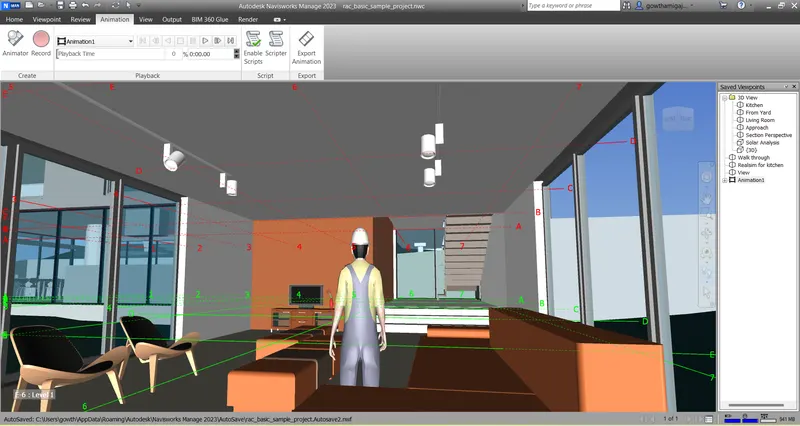
Result:
4. Aim: To create embed both architecture and structure.nwc file in naviswork file and to create a clash detection test between the two models.
Introduction: To create embed both architecture and structure.nwc file in naviswork file and to create a clash detection test between the two models.
Procedure:
- First we need to open the naviswork file.
- Then go to the home tab and click on append option.
- Then select the two files of architectural and strcutural files.
-
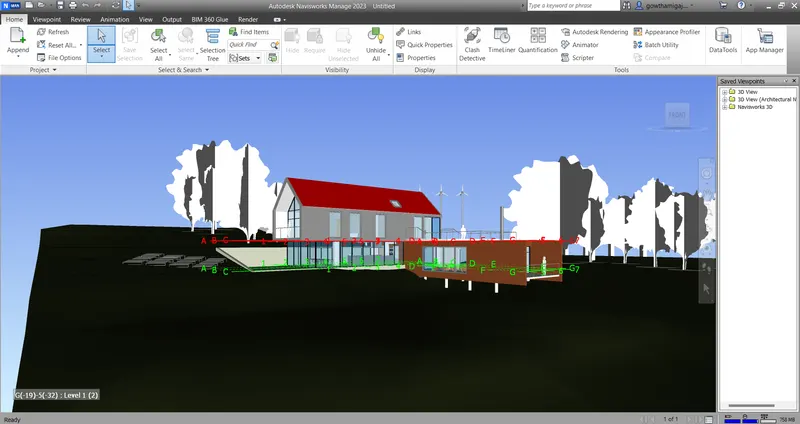
- Now click on the clash detective test option in the home tab.
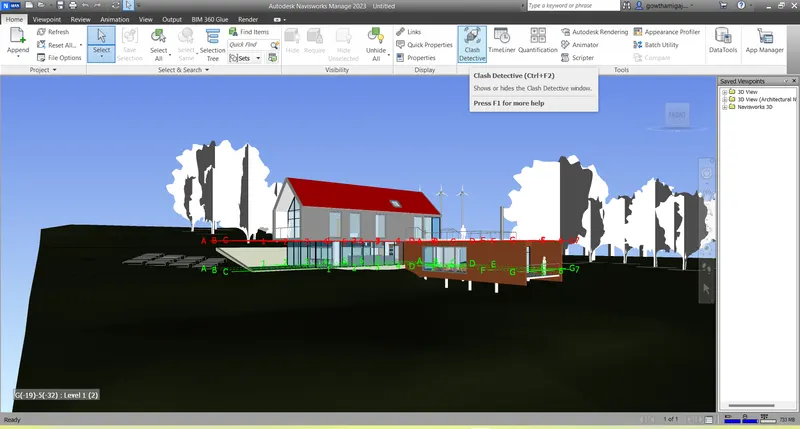
- Then the dialogue box will get open.
- Then click on add test icon.
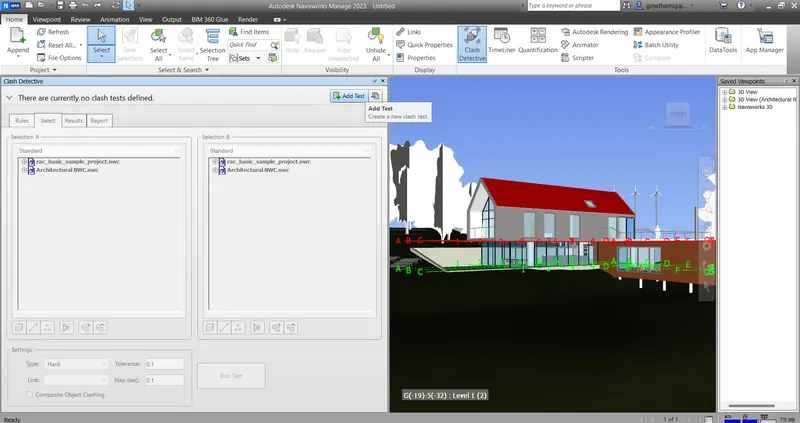
- Now the test icon tabular form will get opened.
- Now select the architectural and structural files.
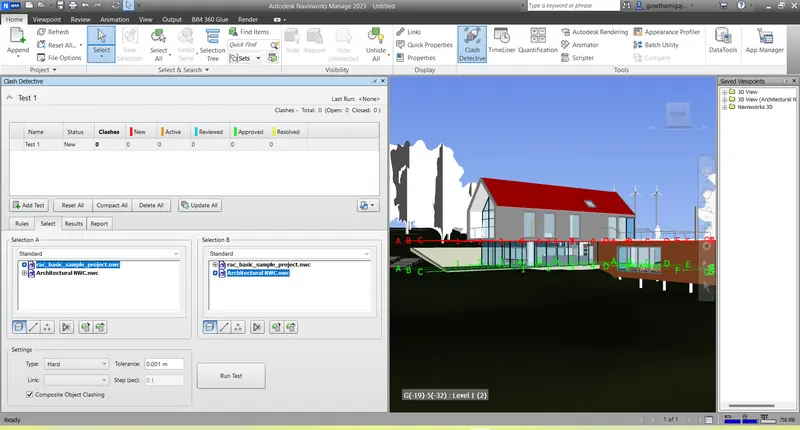
- Then click on run test option.
- Now we can see the test report and clash report.
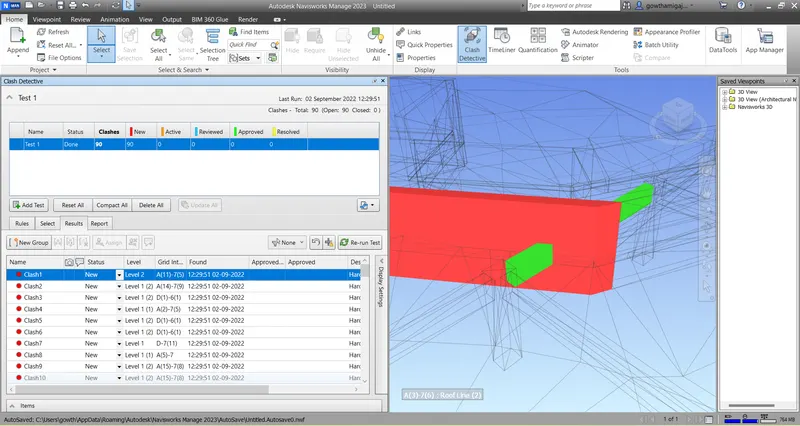
- For this we need to cahnge the status of each clash test.
- And also we can see the data when we have started and when we have closed the draiwng.
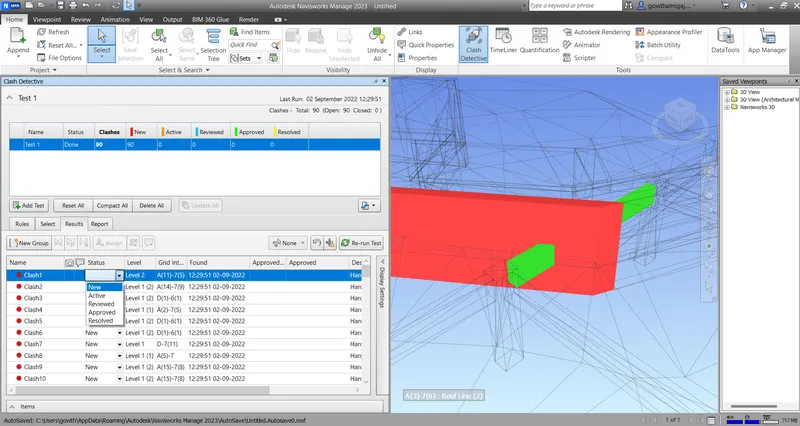
- And when you click on the clash option, there we can see the area of the clashed portion.
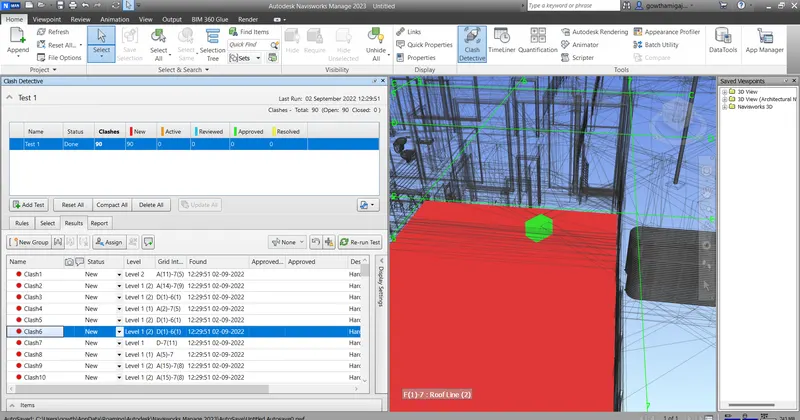
- Once the clash status is resolved, then we need to change the status of the test.
- Once we have changed the status of the test, then we can see the report of clear status.
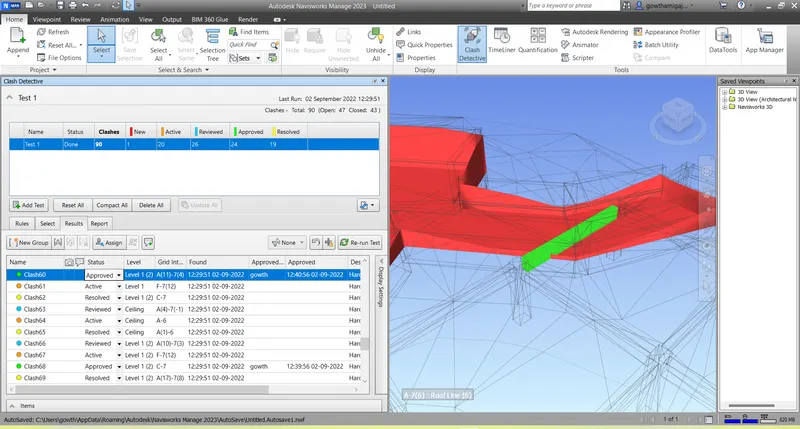
Result:
5. Aim; To use the timeliner feature in Navisworks prepare a schedule for the project developed previously by adding reasonable assumptiions for start date and end date and simulate the task completion as a visual simulation.
Introduction: To use the timeliner feature in Navisworks prepare a schedule for the project developed previously by adding reasonable assumptiions for start date and end date and simulate the task completion as a visual simulation.
Procedure:
- First we need to open the navis software and open the drawing.
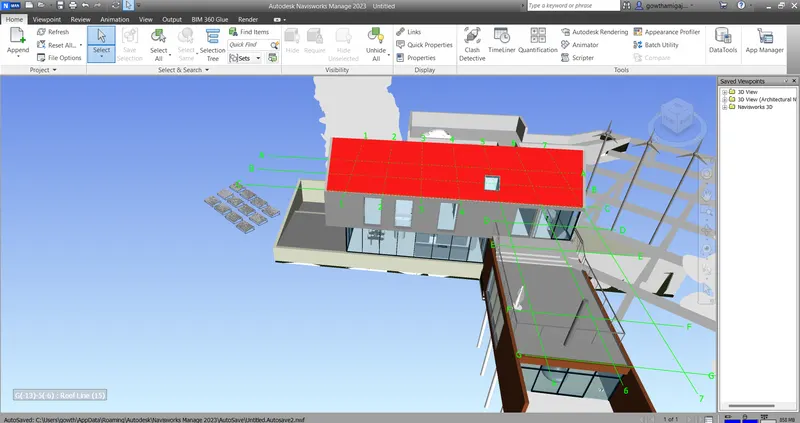
- Then go to the time liner option click the option.
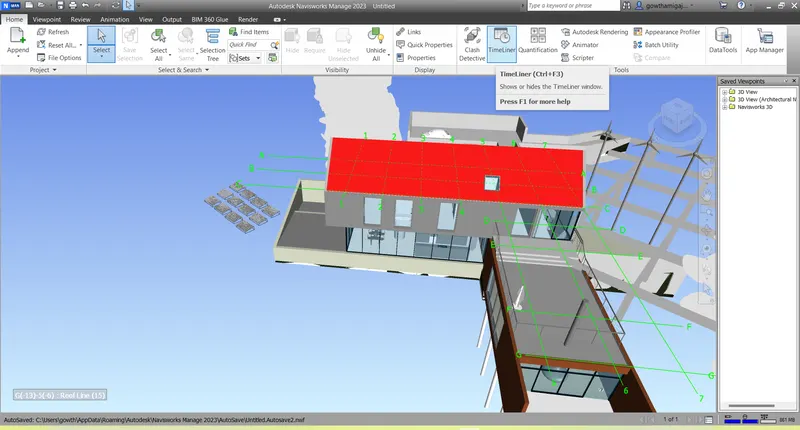
- Now a dialogue box will appear on the screen.
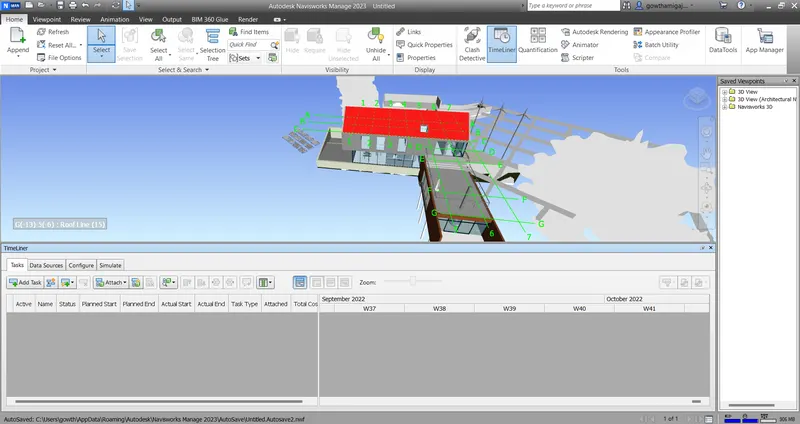
- Now click on the selection tree option.
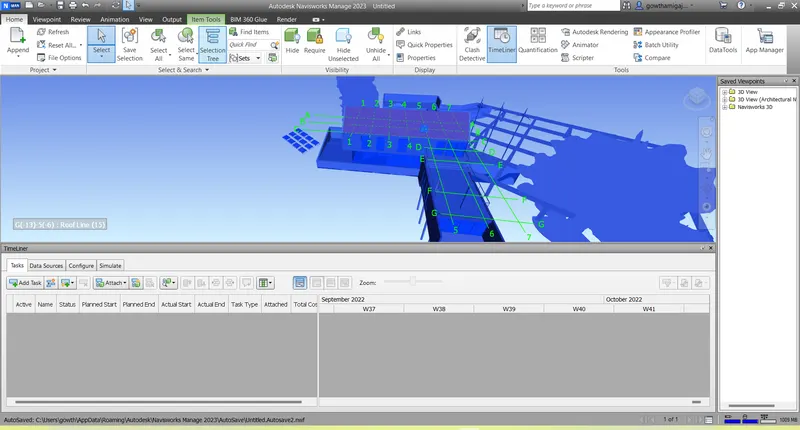
- Then we can see the dialogue properties box which is opened.
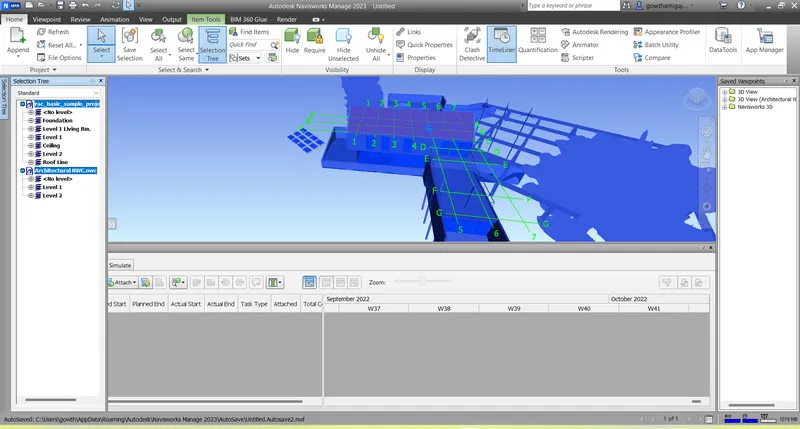
- Then click on add test button and we can get the details of the drawing.
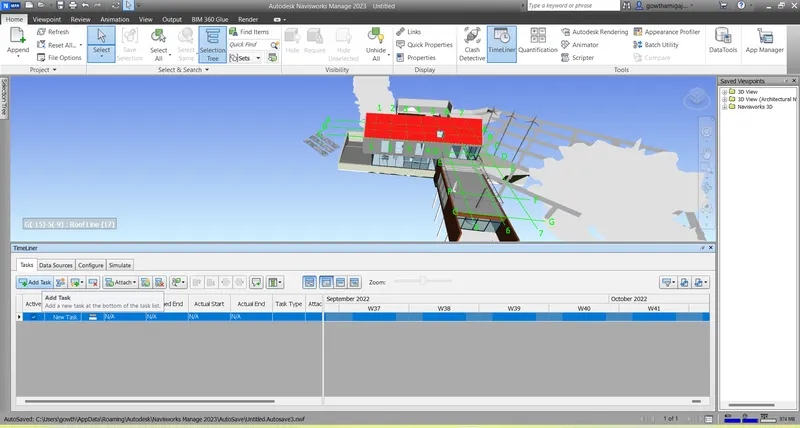
- Now select the point from the tool bar as furniture and give the details according to the drawing.
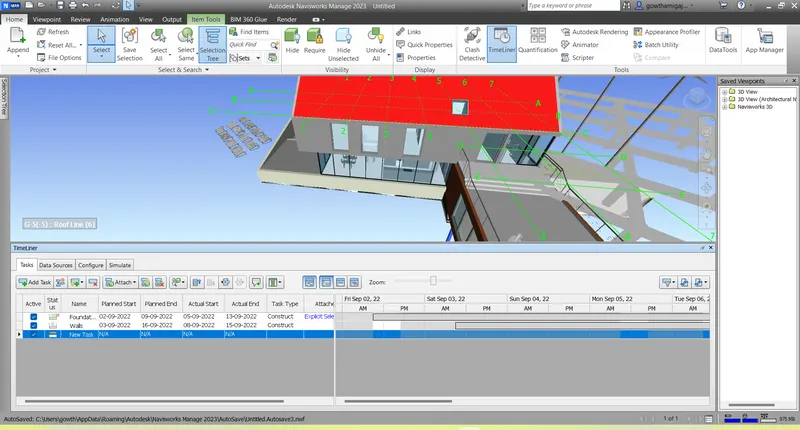
- In the same way, select for all the tasks and give details on it.
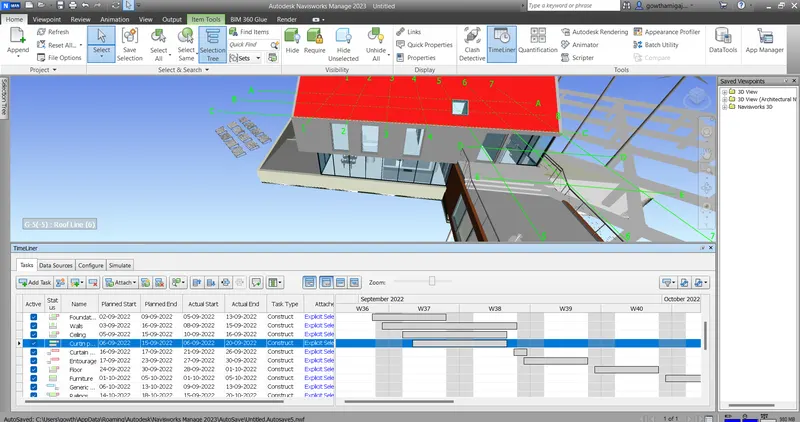
- Now select the simulate option from the dialogue box.
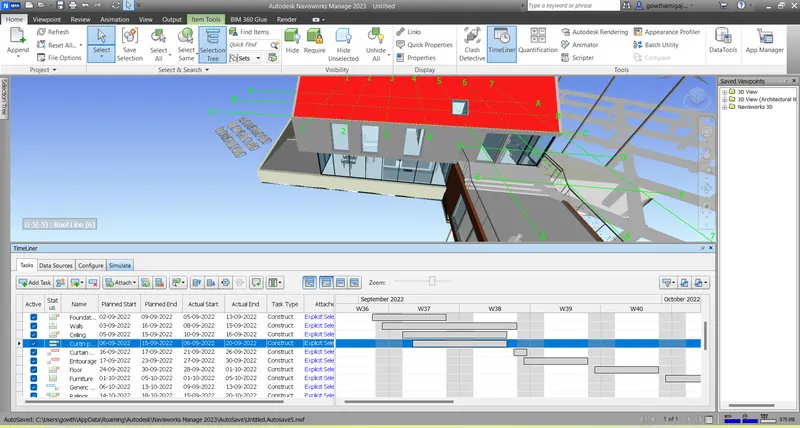
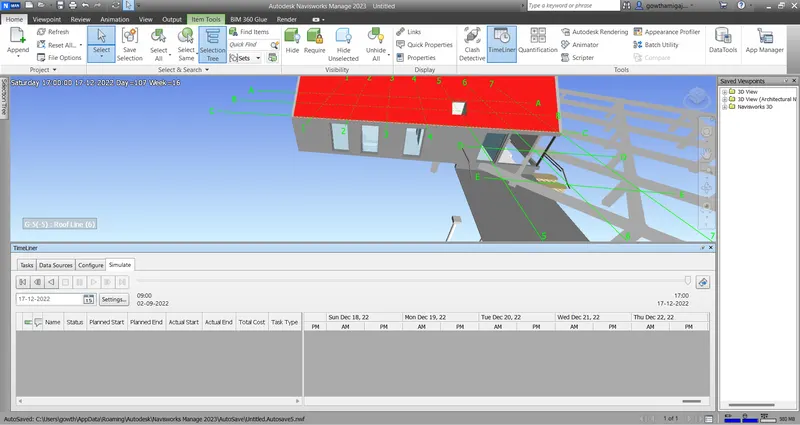
- Now we can see the play option for the drawing as in the given drawing.
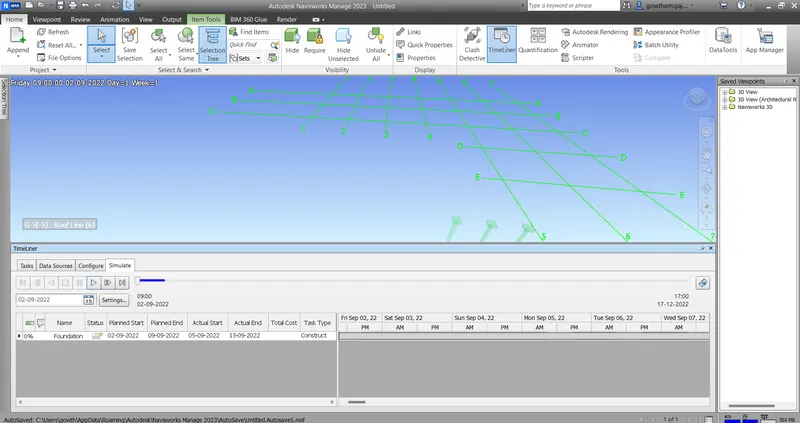
- As per the tasks given in the dialogue box, we can get the play vedio.
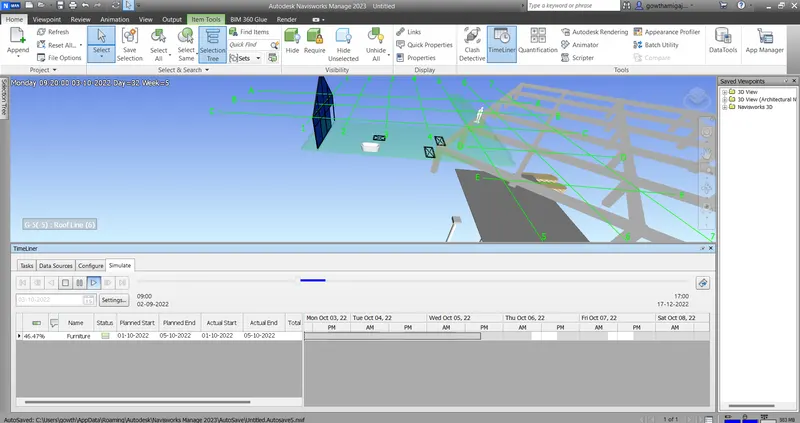
- Finally the drawing is ready after attaining all the tasks.
Result: