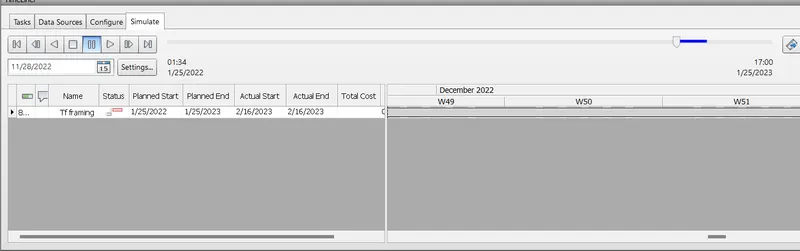
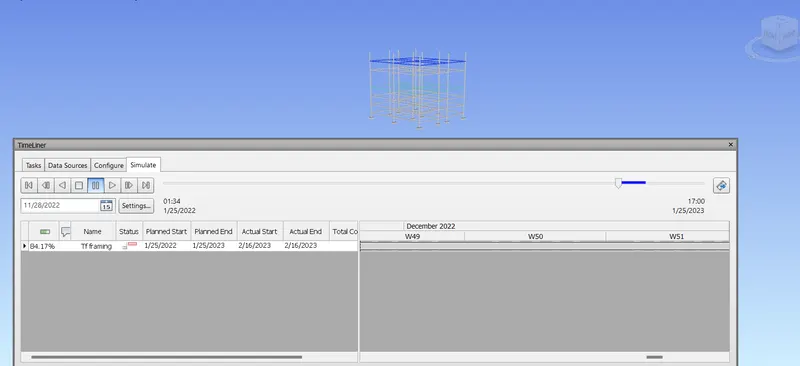
Usage of Navigation tool , Timeliner and Clash Detection test using Naviswork
1) Use the Architecture/ Structure Project file developed by you in Week 6 to 8. Export the Revit architecture and structure model to Navisworks Cache file following the export settings discussed in class.
Aim:- To Export the Revit architecture and structure model to Navisworks,the project which is created or developed from Week 6 to 8.
Procedure:-
- Get open with the revit software.
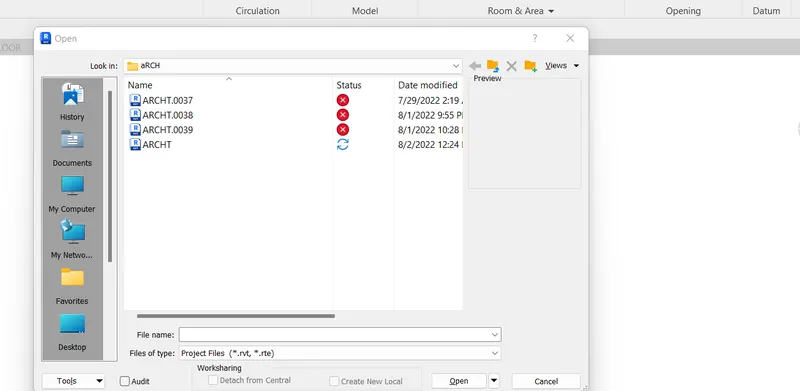
- Open the project file that is created during course project from Week 6 to 8.
- Go to 3D view of the project.
- Download and install the Compatible Navisworks manage 2023 from Auto desk website Student version.
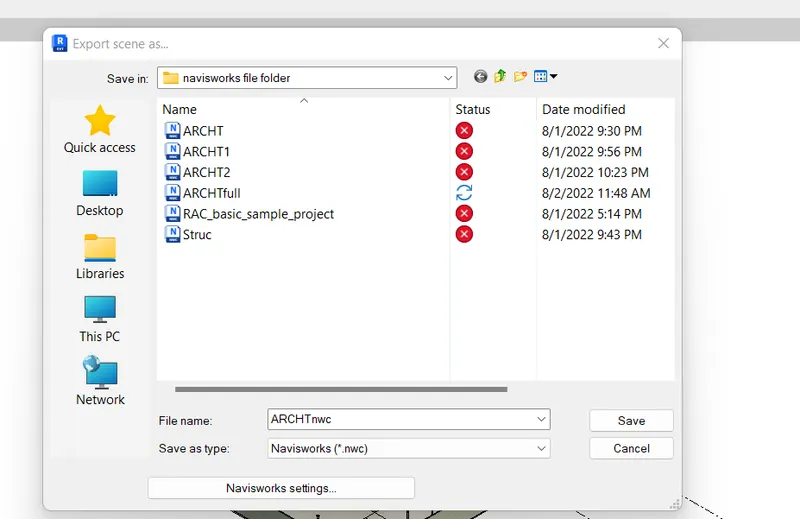
- Now,go to file menu in revit,from there click on export and choose NWC and it will automatically starts exporting save the exported file in your desired folder in Navisworks(*.nwc) file type.
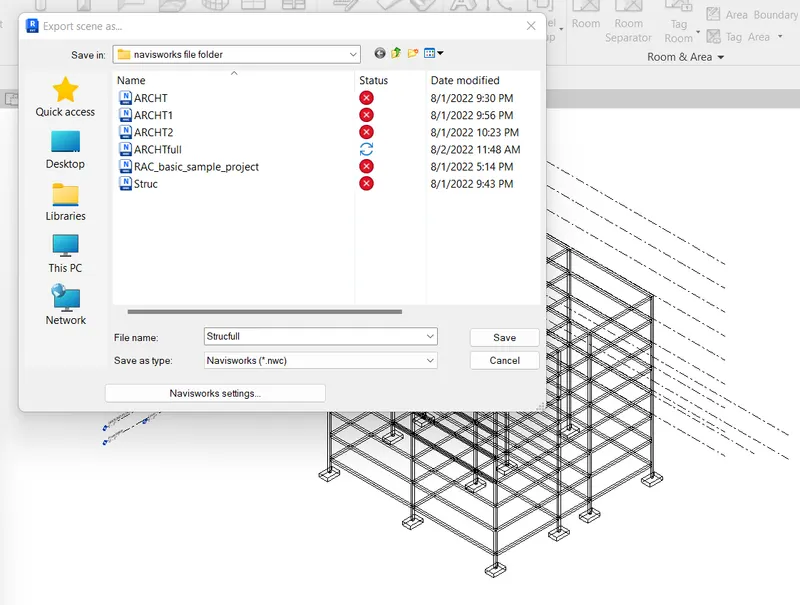
- Similarly, export the same coordinate Structural file into the navisworks and save it as a navisworks file type.
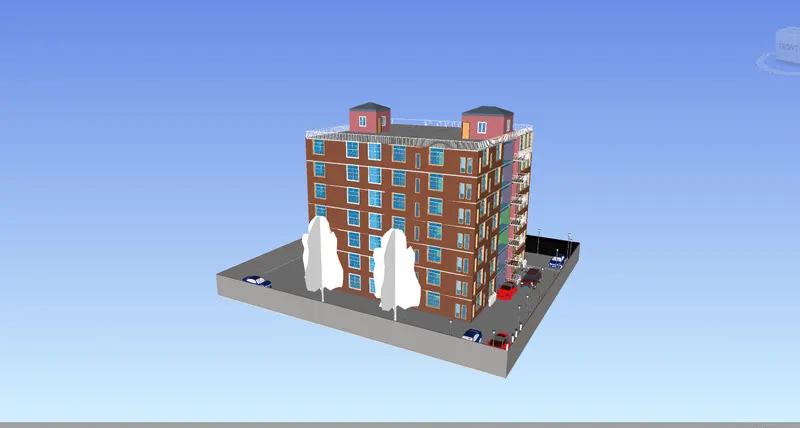
- now,Go to NAVISWORKS and from application menu go to file and open the saved exported file.
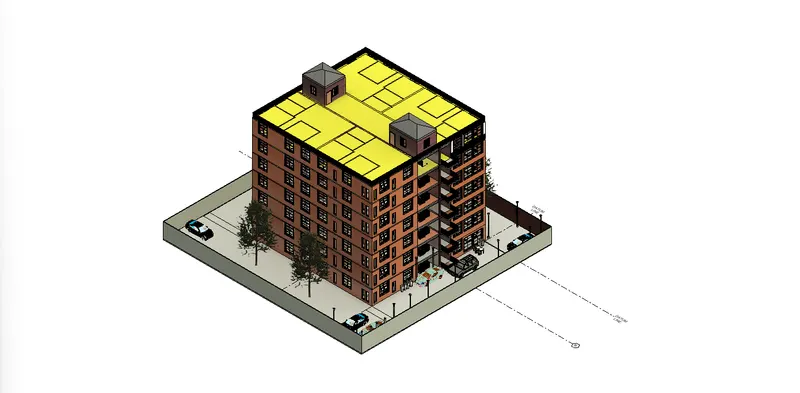
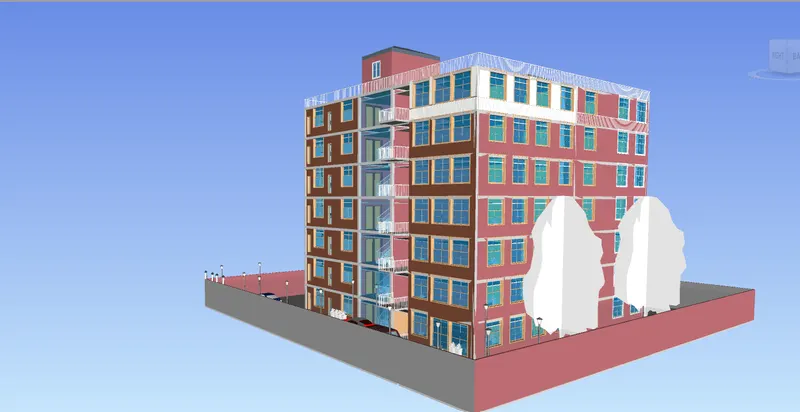
- Append the structural model with the architectural model in the navisworks manage and the view will be like as shown below,
2) Use Navigate Tool to walk around the model and walk through the rooms created and record your moving as animation in your Navisworks file.
Aim:- To walk around the model and walk through the rooms created and record your moving as animation in your Navisworks file.
Procedure:-
- Using the same opened navisworkfile to record the walk inside the flats.
- For recording the walk go to save viewpoint dropdown and press record then walk into the flats,the animated walk video will get recorded and can be accessed from the Animation tab.
- The recorded video can be saved in the video format such as AVI also and can be accessed without the software as a video.

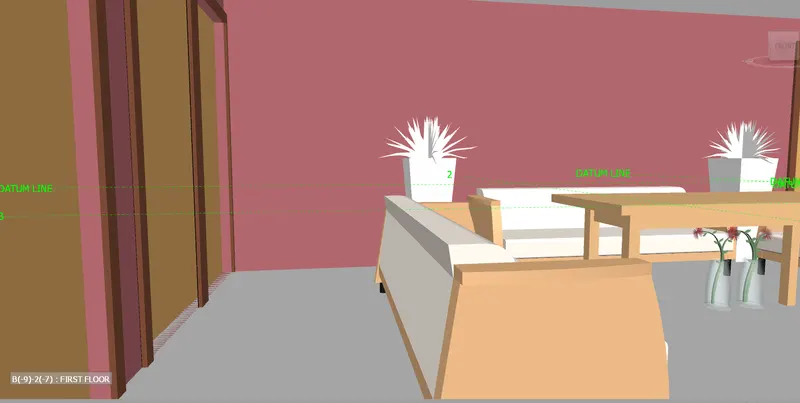
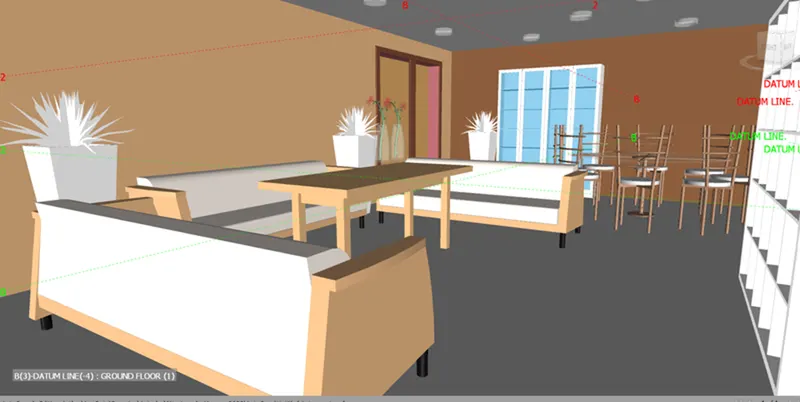
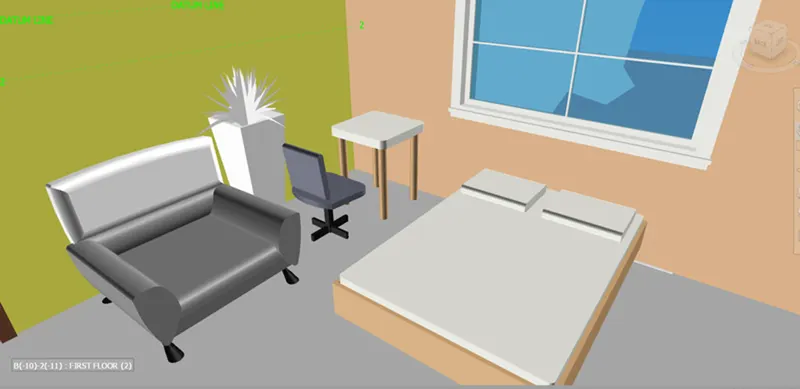
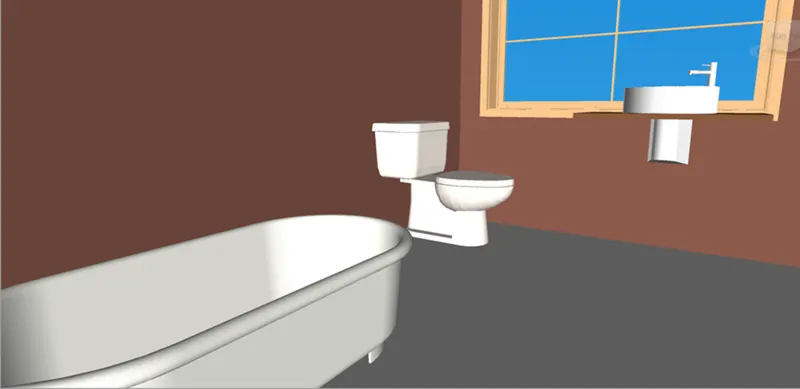
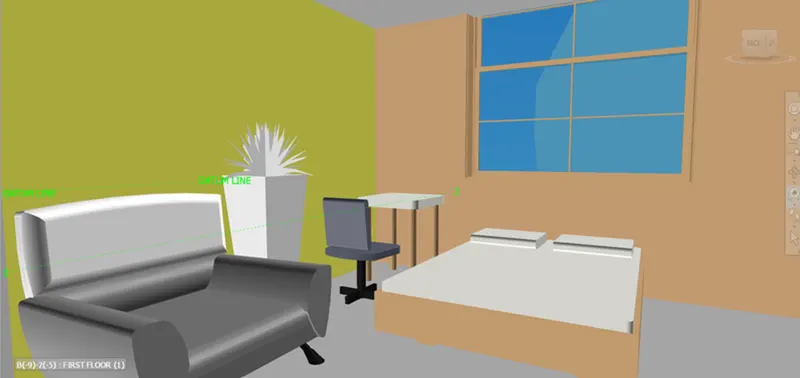
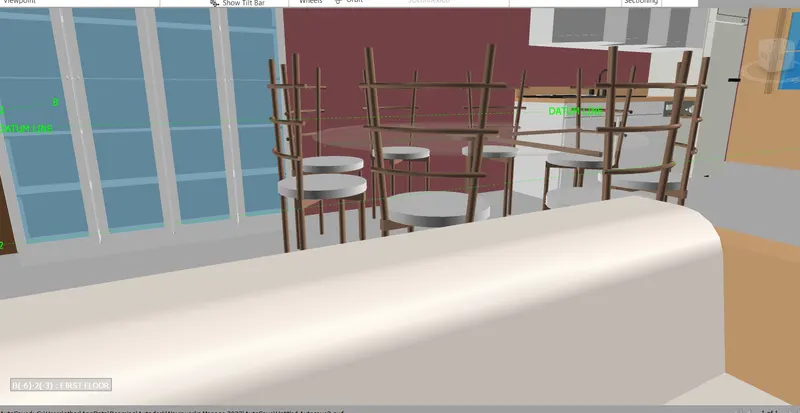
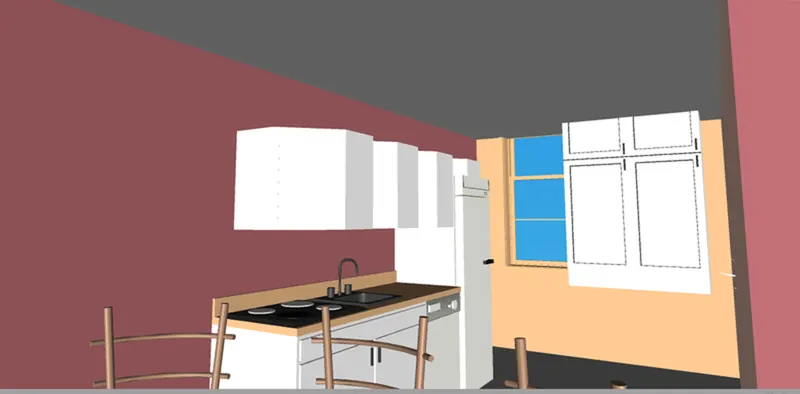
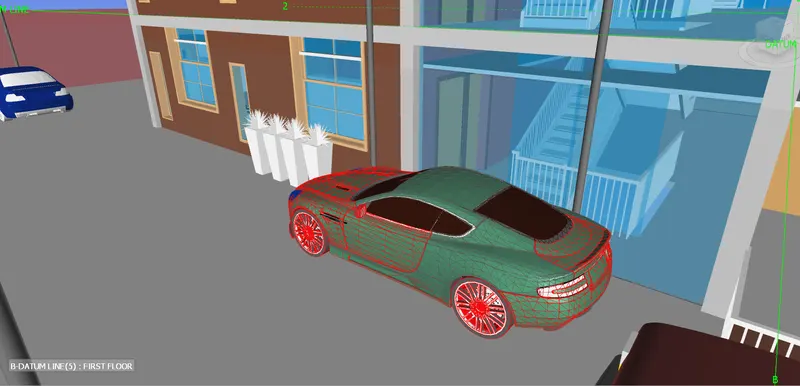
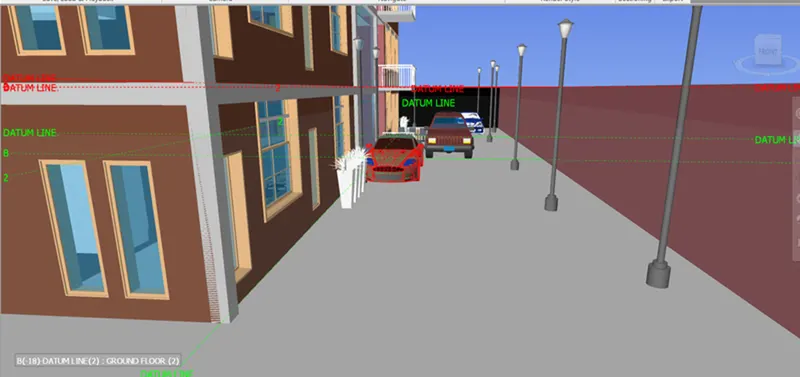
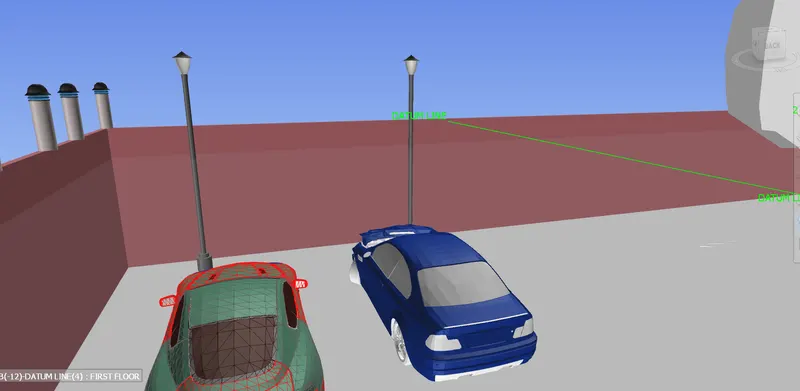
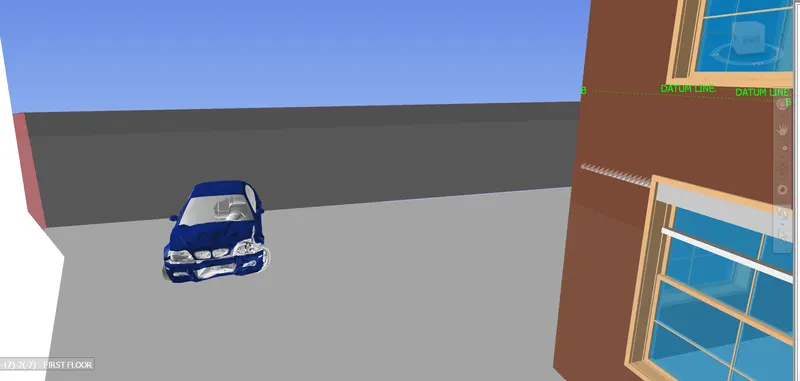
- As the walkthrough is saved as continuous frames, Access the frames in saved video animation.
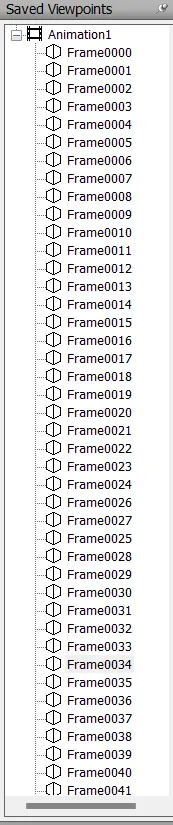
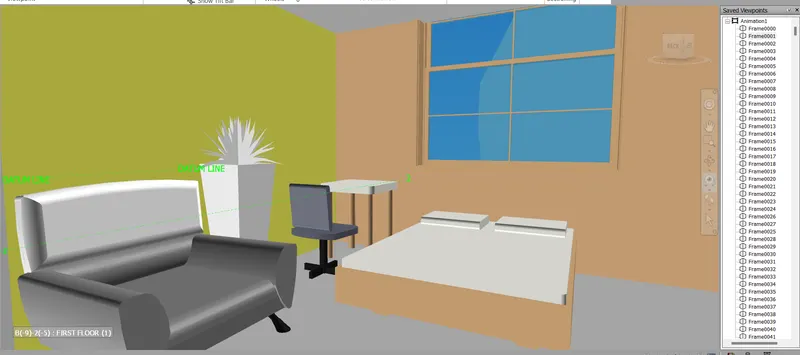
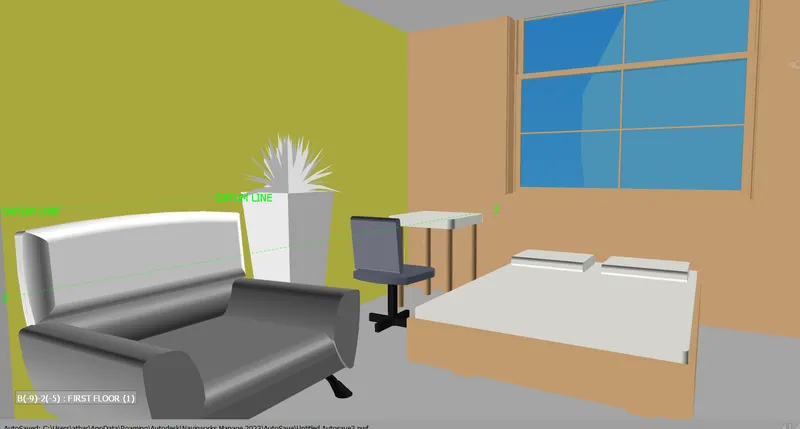
- Different fame views are as follows,
3) Use Navigate tool to use Realism feature to walk through the model and record your moving as animation in Navisworks file.
Aim:- Use Navigate tool to use Realism feature to walk through the model and record your moving as animation in Navisworks file.
Procedure:-
- Get open with the exported file in navisworks manage.
- Go to viewpoiunt tab in navisworks manage,then.
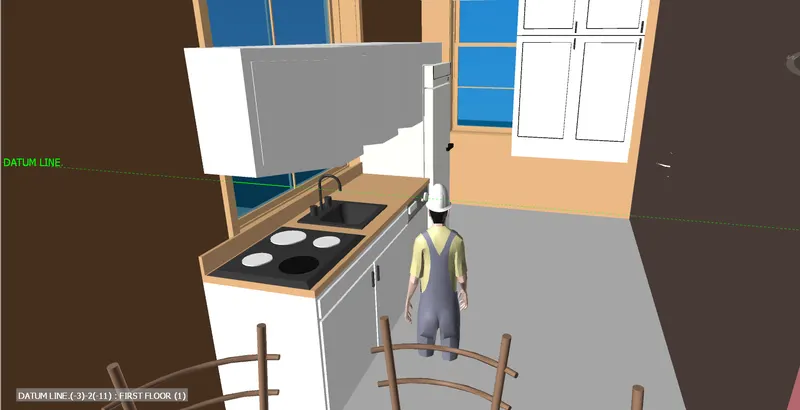
- Go to Realism dropdown and choose Third person. a man will get appear.
- Use the pan and look around tool to adjust the man on ground for the feasible movement in and around the building.
- Exploring each of the space arrangements walking with the person.

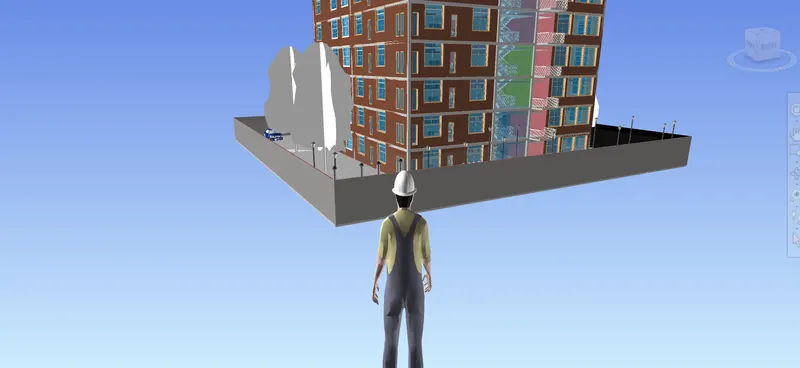
- Start recording also of the walk with the third person.

- Living room,
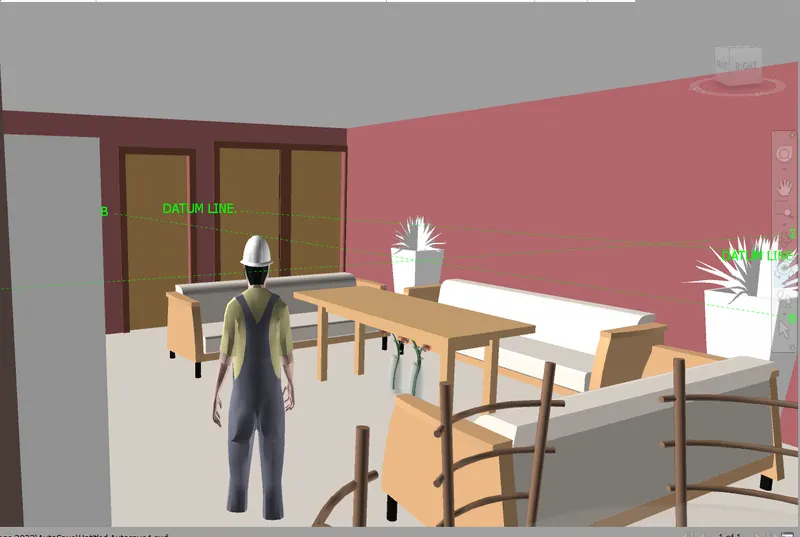
- Living room + Dining room
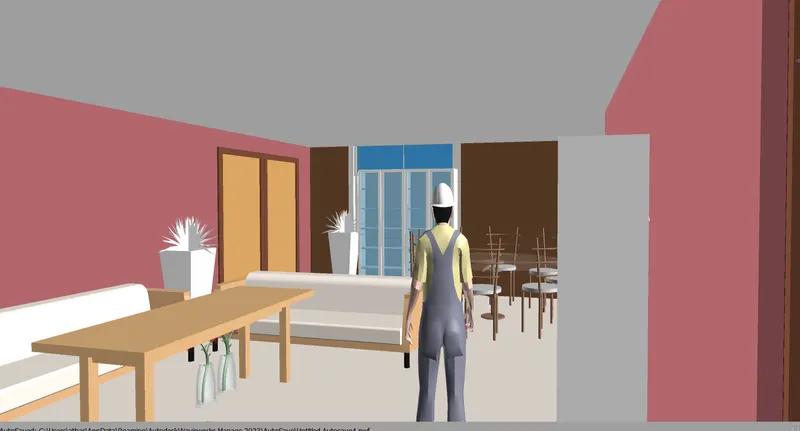
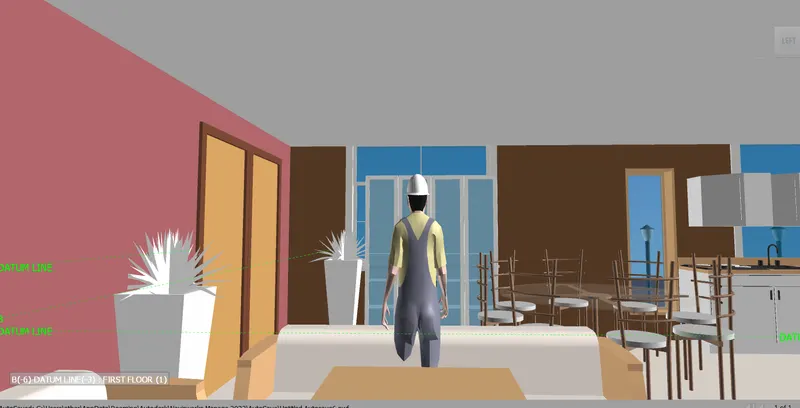
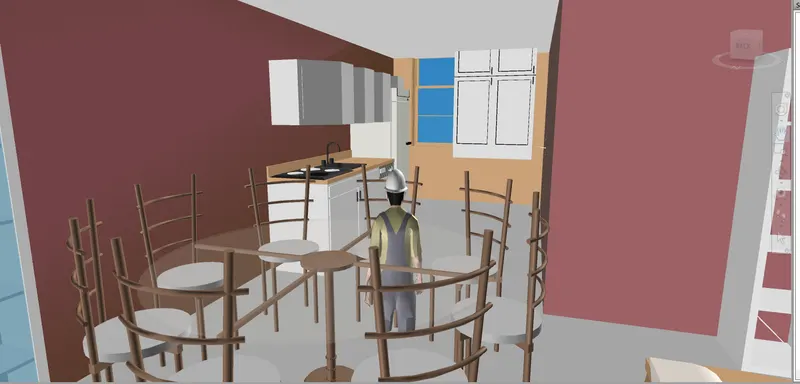
- Kitchen+ Dining
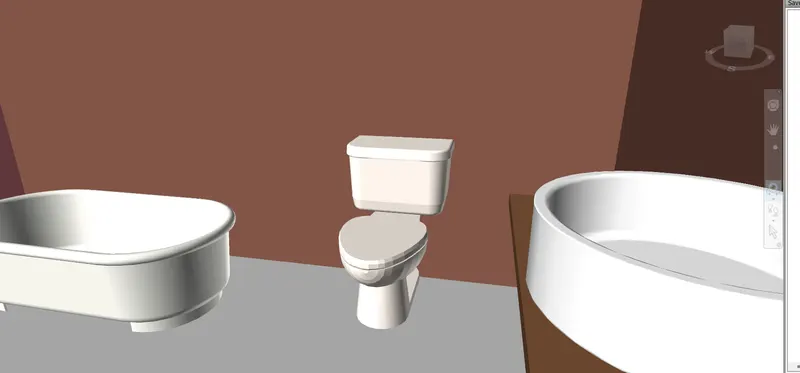
- Toilet/Bathroom
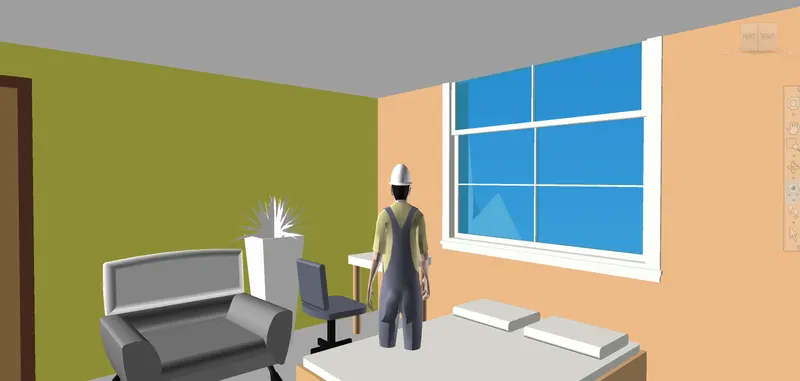
- Bedroom
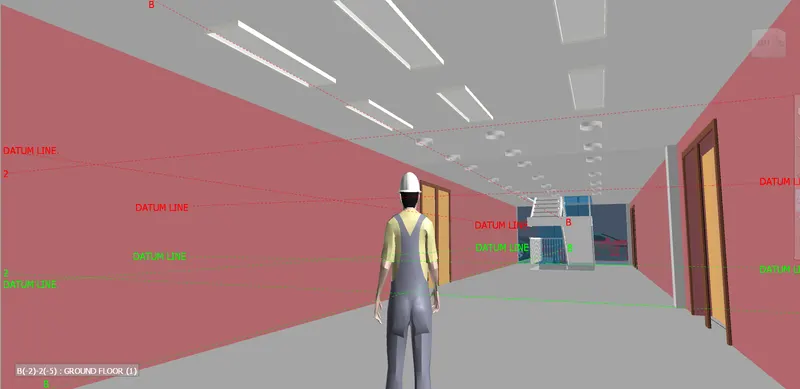
- Stairs Gallery
- View from Walkaround the building
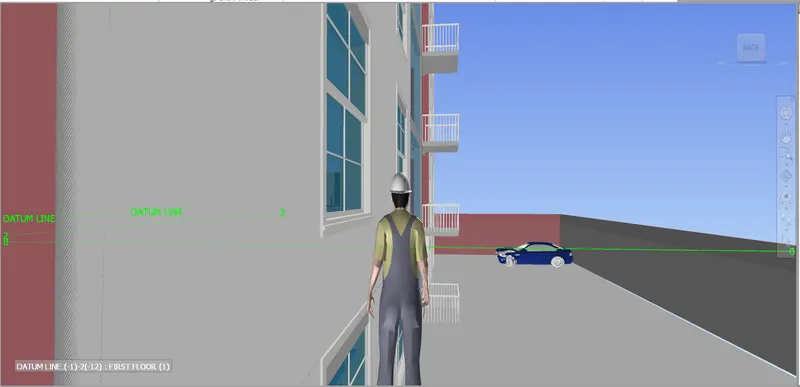
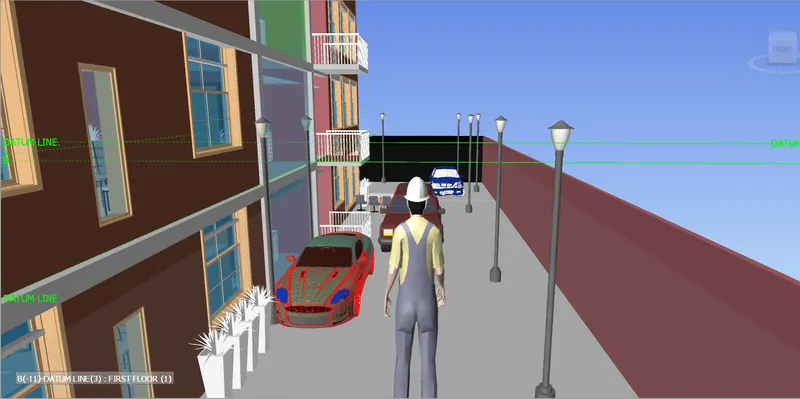
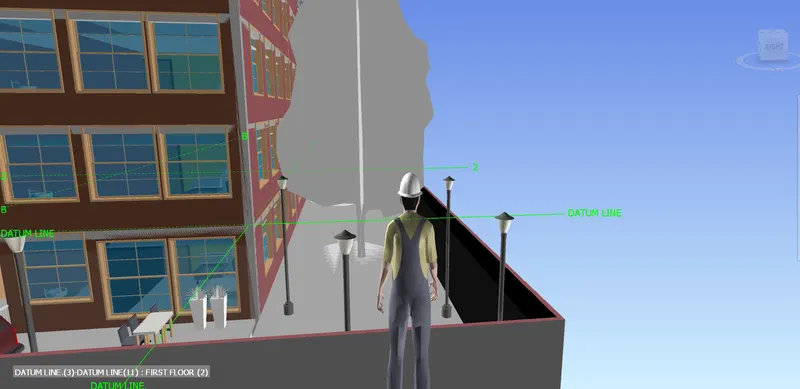
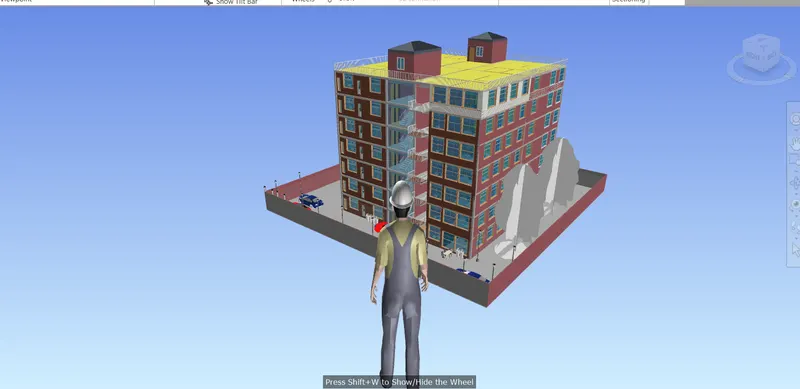
- Stop the recording and save the animation as follows.
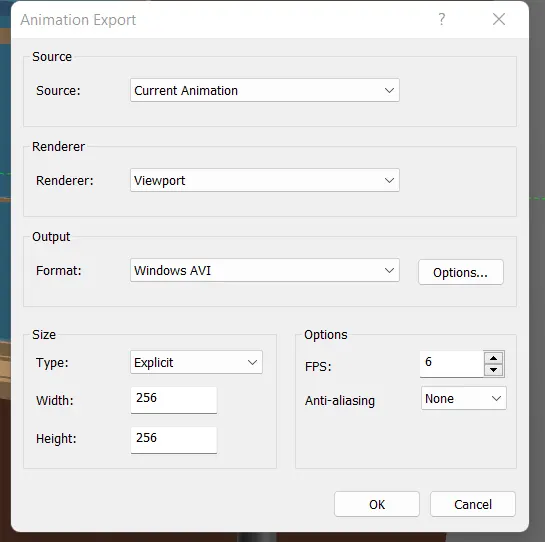
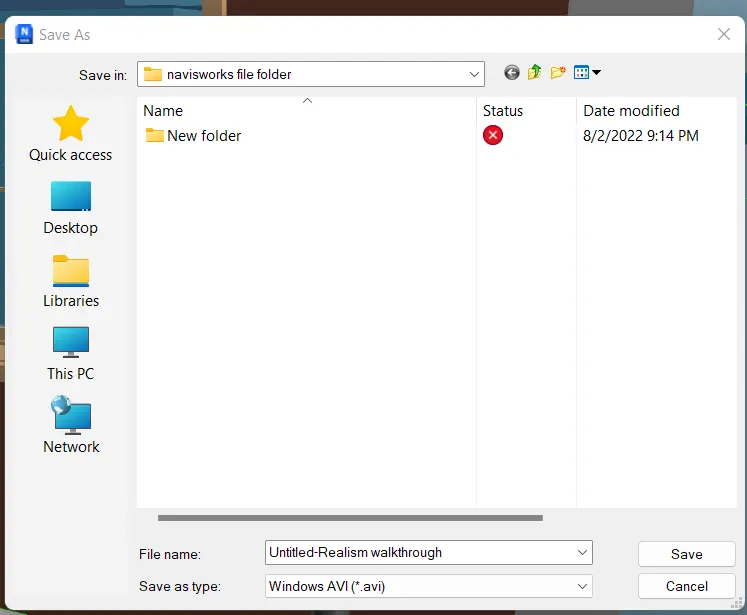
- Save the animated video in the system folder so that the video can be accessed as a video without Navisworks manage software.
4) Embed both architecture and structure *.nwc file to your Navisworks file. Create a clash detection test between the two models
a. Run the Clash Detection Test
b. Study the clashes between the two models
c. List which of the clashes could be approved
d. List which of the clashes could be neglected ( will be taken care later)
e. List which of the clashes can be resolved
f. Save the results after color coding the clashes to the Navisworks file
g. In case of resolution annotate the clash and save the view to defined views in Navisworks.
Aim:- To embed or append both architecture and structure *.nwc file to your Navisworks file and to perform a clash detection test between the two models.
Procedure:-
a. Run the Clash Detection Test
- Export both the structural and Architectural file into naviswork and open one of the file in navisworks and append the other file.
- Under the home tab go to clash detective test option a new dialouge box will get open ,
- click add test
- Rename the test if you want and then,
- Choose Architecture file from selection A and structure file from selection B and then choose the surfaces option and click run test.
- A total of 1094 clashes are discovered
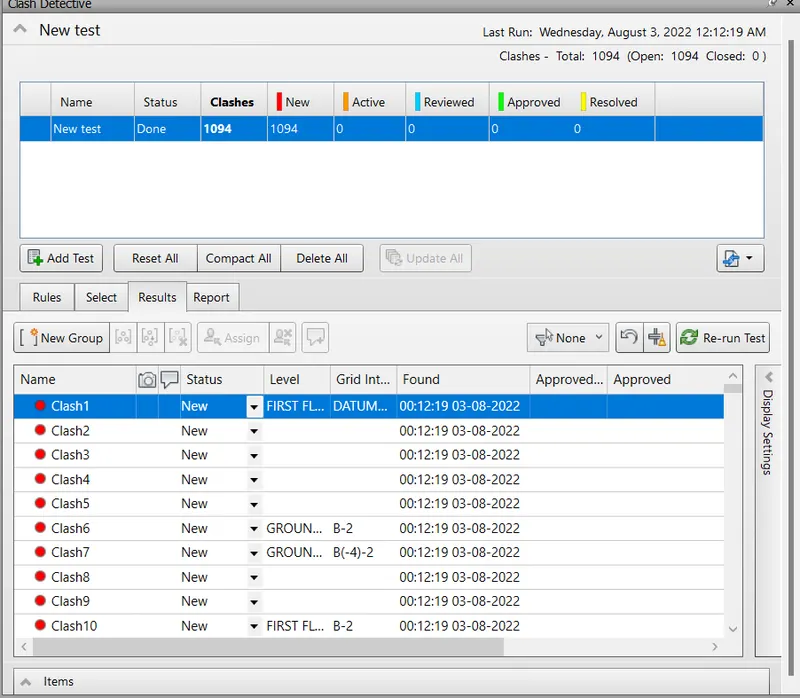
b. Study the clashes between the two models.
- By clicking on each of the clash row, the clash between the elements can be viewd.
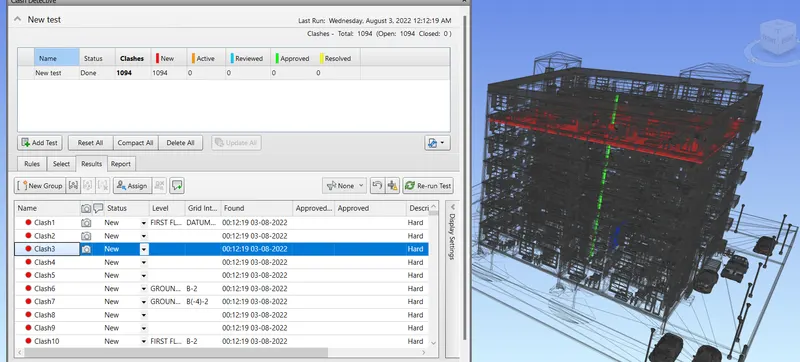
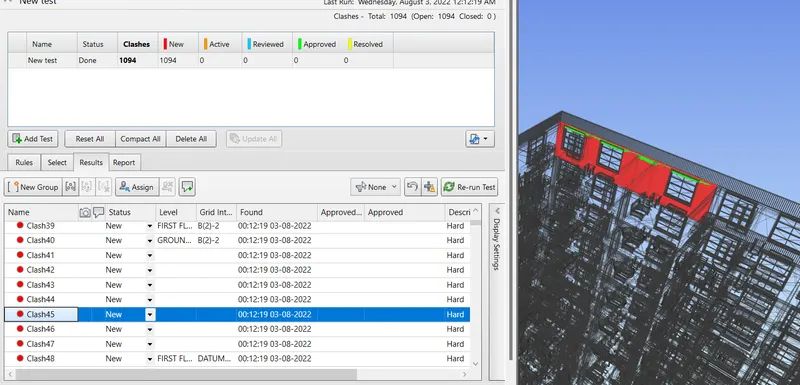
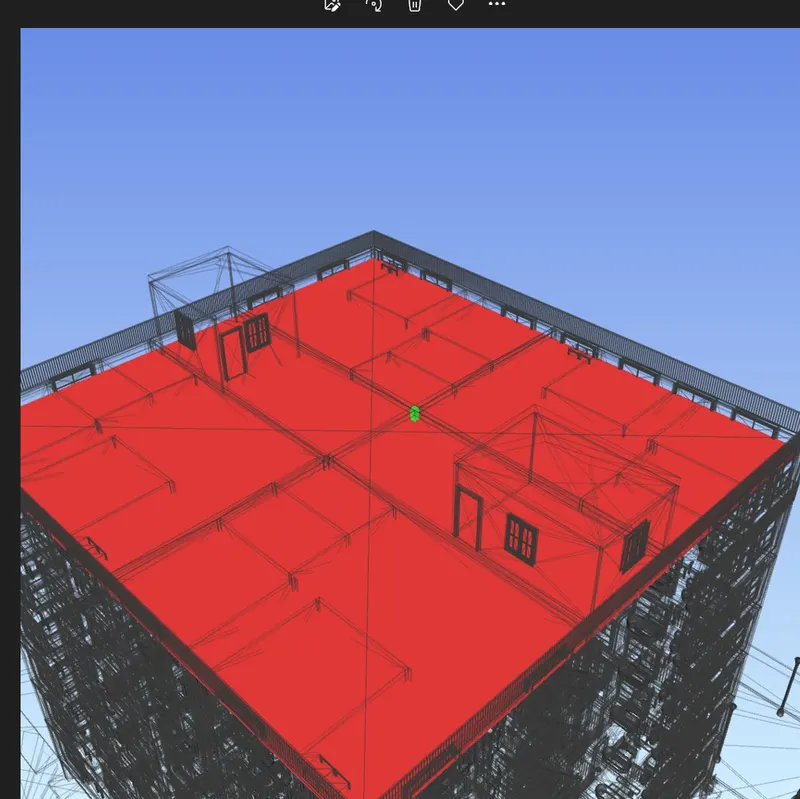
- Mark the status of the clashes for Reviewing or Resolved status.
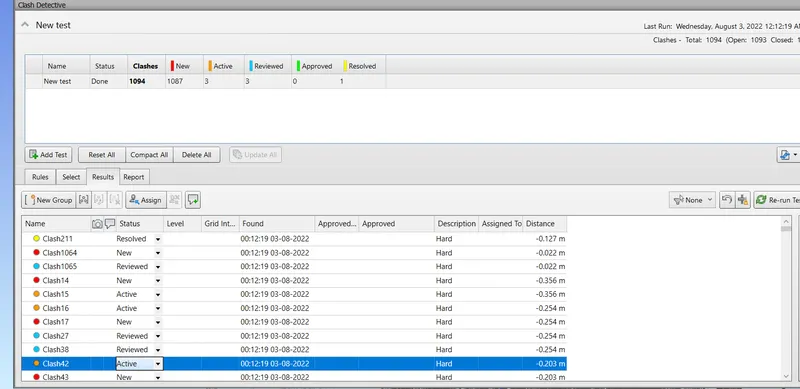
- None of the clashes should be leftover,each one of them shound be reviewd and rectified to avoid the clashes among the disciplines at later stages.
5) Using the Timeliner feature in Navisworks prepare a schedule for the project developed in week 6 to 8 by adding reasonable assumptions for task start date and end date and simulate the task completion as a visual simulation. Record it and save the timeline simulation to Navisworks file.
Aim:- To use the Timeliner feature in Navisworks prepareing a schedule for the project developed in week 6 to 8 by adding assumptions for task start date and end date and simulating the task completion as a visual simulation,recording it also and save the timeline simulation to Navisworks file.
Procedure:-
- Open the exported structural model into the navisworks manage software from revit sopftware.
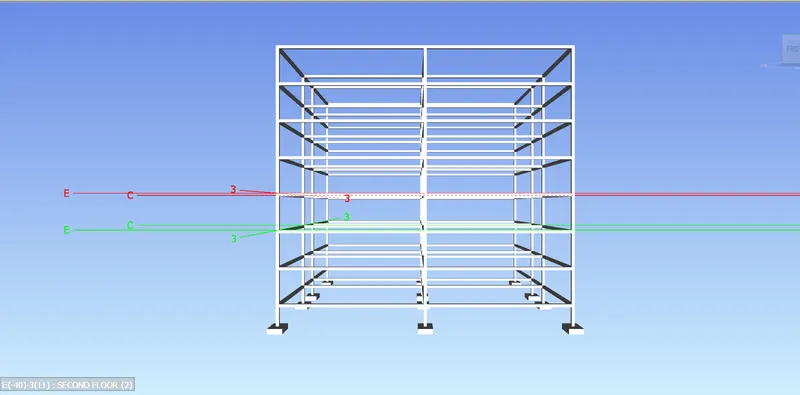
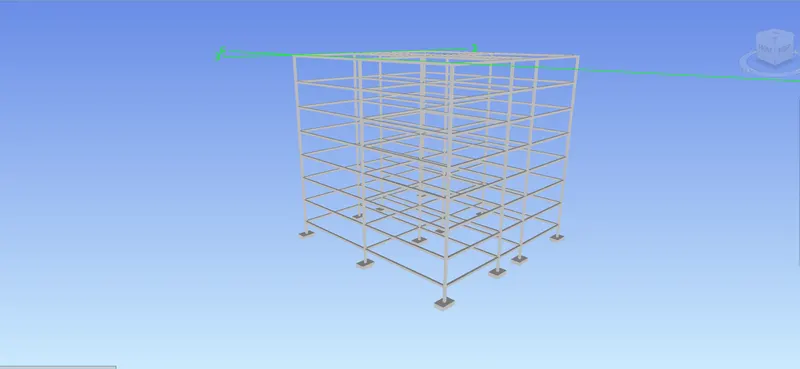
- Go to timeliner option under Home tab.
- A timeliner tool will get open.
- Click on the selection tree for viewing the know the tasks associated with the structure.
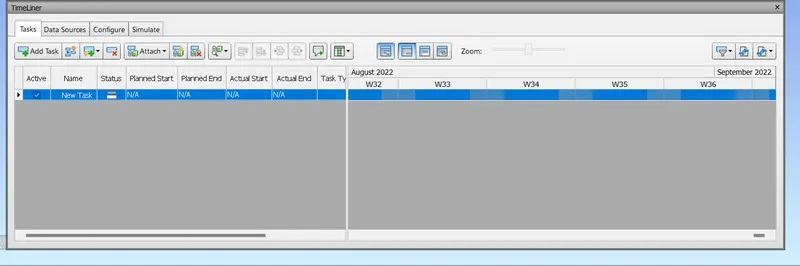
- Click on add task and renamed the first task as "Site clearance".
- Feed the possible start and end date of the task.
- similarly, stepwise adding the tasks to construct the structural frame from bottom to top.
- First task will be marked as Site clearance.
- Task 2 will be marked as Construction of the foundation footings.
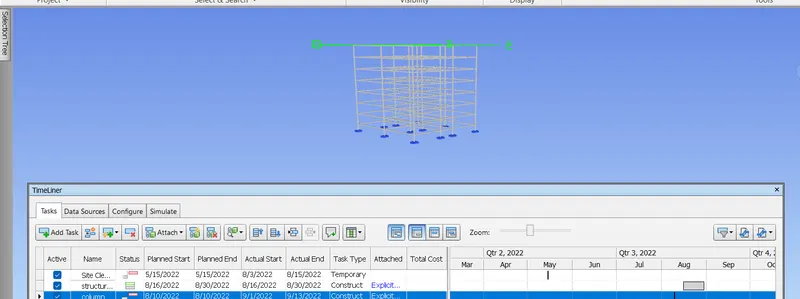
- Task 3 is for construction of the columns.
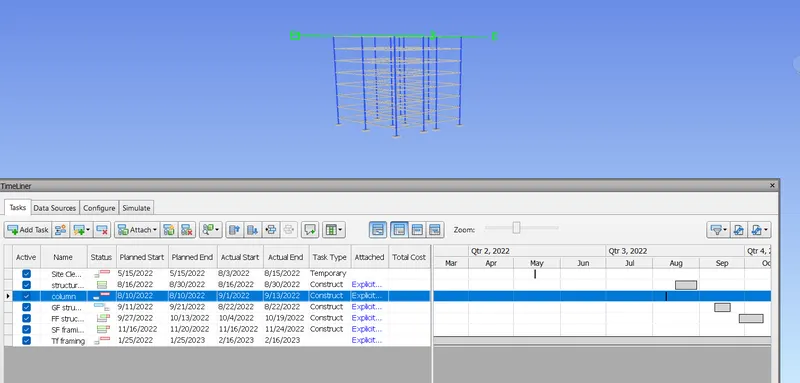
- Now, Assign the tasks for construction of structural framings.
- Ground floor framing.
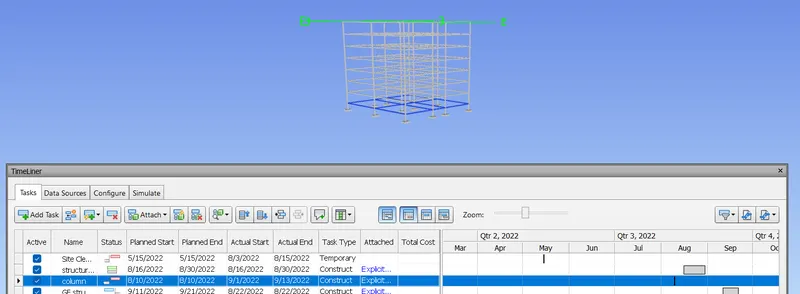
- First floor framing
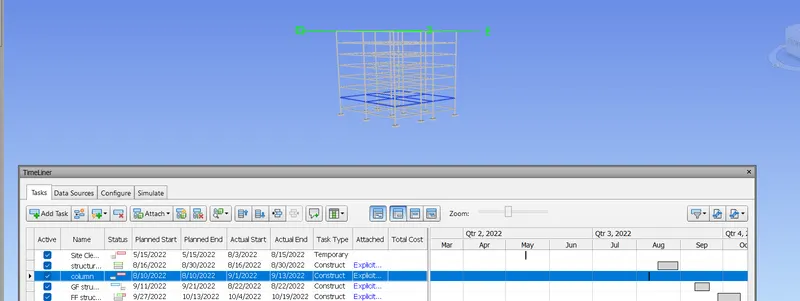
- Second floor framing
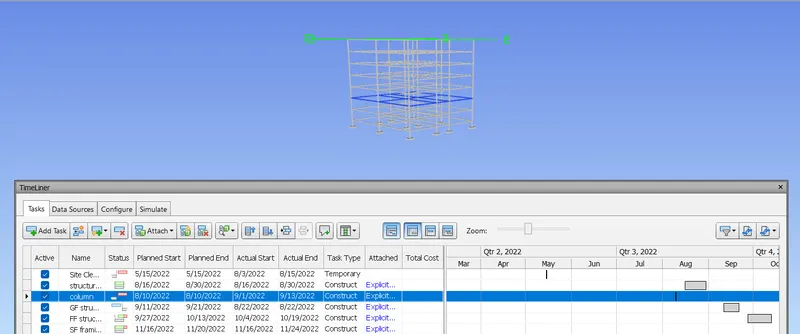
- Similarly assign the tasks for above floors framings
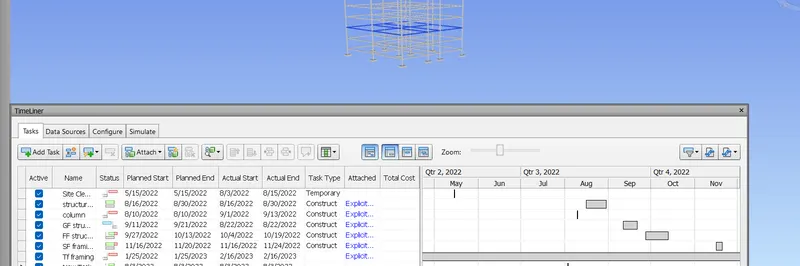
- After assigning all the tasks,Now, simulate the tasks into video format to show the sequence of construction as per created timeline.