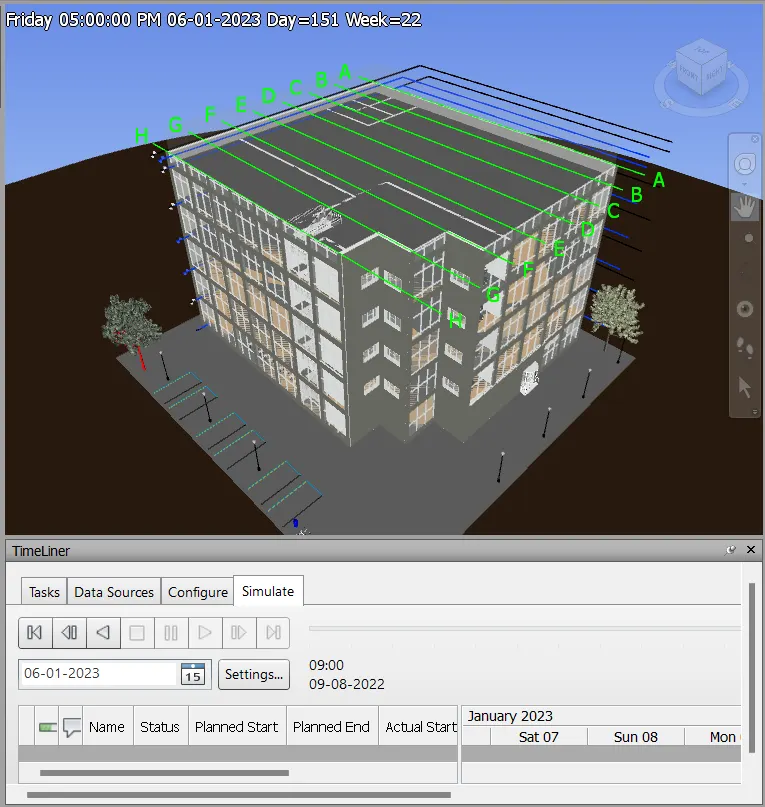
Usage of Navigation tool , Timeliner and Clash Detection test using Naviswork
Usage of Navigation tool, Timeliner and Clash Detection test using Naviswork
Q1. Use the Architecture/ Structure Project file developed by you in Week 6 to 8. Export the Revit architecture and structure model to Navisworks Cache file following the export settings discussed in class
Ans:
AIM
To export the Revit architecture and structure model to Navisworks Cache file
INTRODUCTION
NWC, or Navisworks Cache files, are generated when CAD files, RVT files or laser scans are opened, merged, or appended in Navisworks.
PROCEDURE
- Open Revit software
- Open the existing 'Project Architectural' and 'Project Structural' file from week 6 to 8
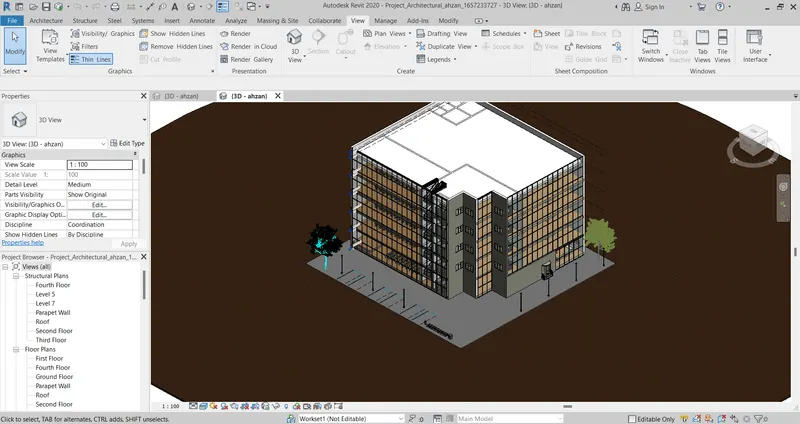
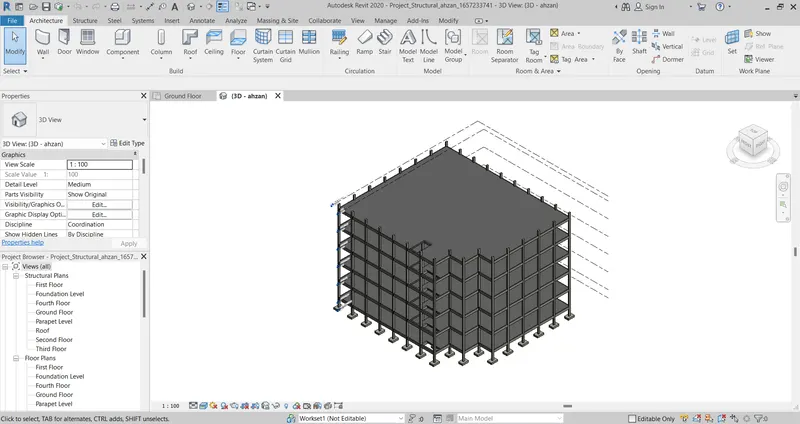
- Click 'NWC' in the 'Export' under the 'File' tab
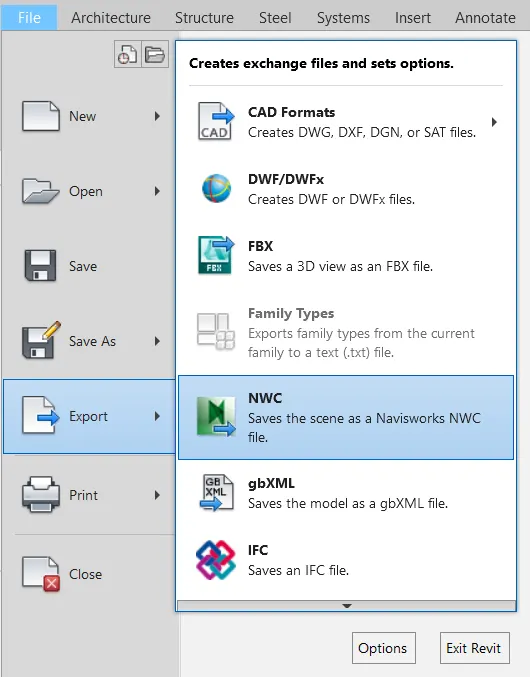
- Click 'Save' and do the same step for 'Project Architectural'
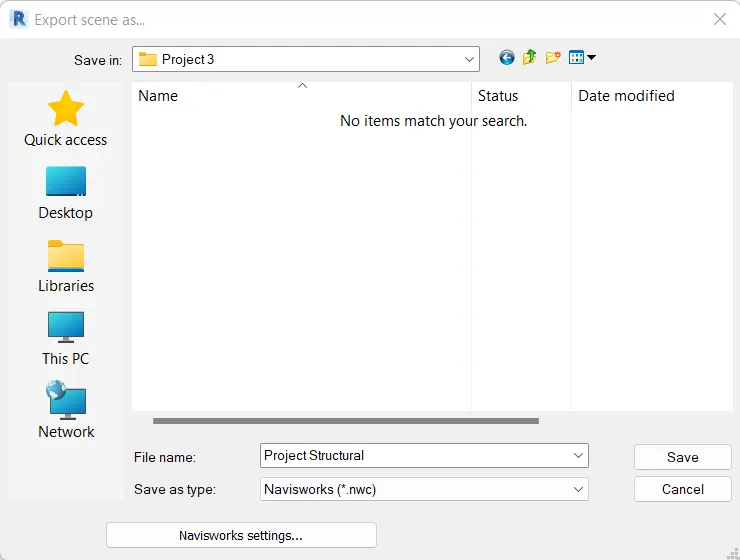
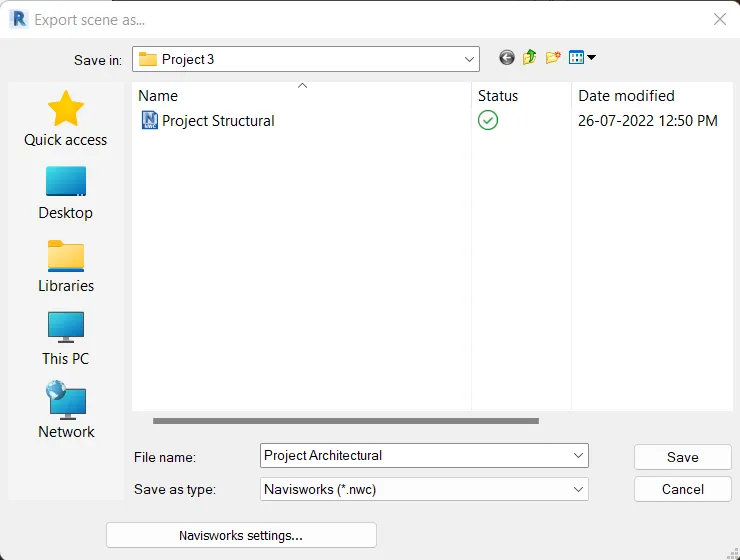
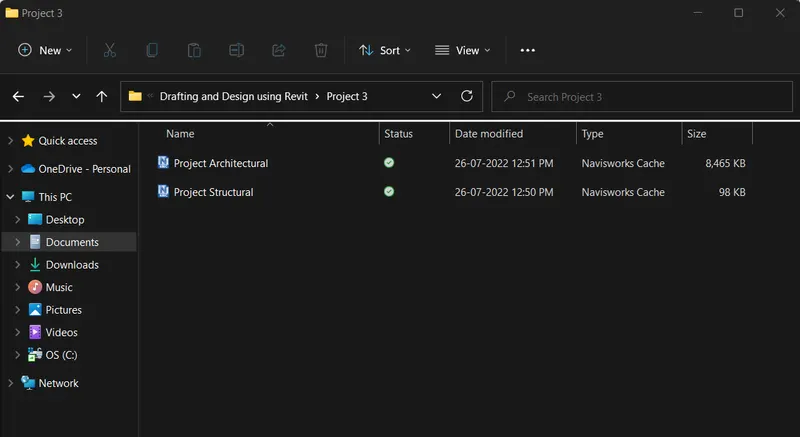
RESULT
The Revit architecture and structure model from week 6 to 8 is exported to Navisworks Cache file
Q2. Use Navigate Tool to walk around the model and walk through the rooms created and record your moving as animation in your Navisworks file
Ans:
AIM
To use Navigate tool to walk around the model and walk through the rooms created and record your moving as animation in Navisworks file
INTRODUCTION
Navisworks is a project review software that allows Architecture, Engineering and Construction professionals holistically review integrated models and data with stakeholders during preconstruction to better control project outcomes.
PROCEDURE
- Open Navisworks Manage software
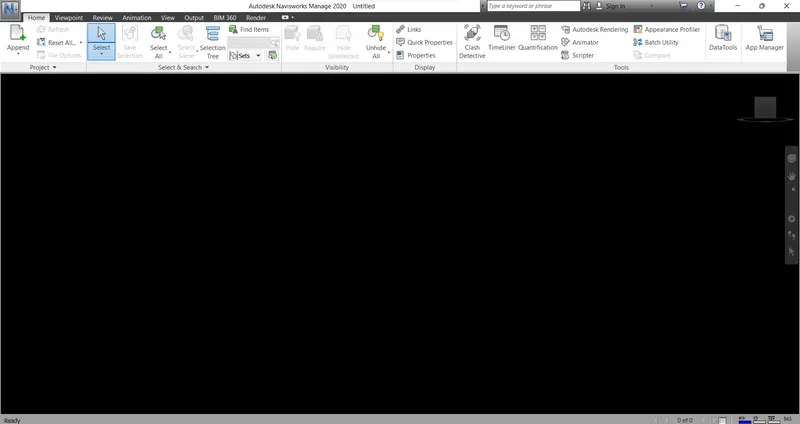
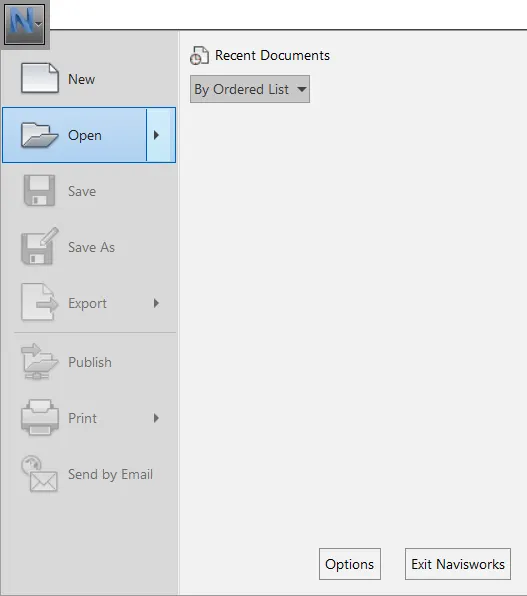
- Click 'Open' under the application button
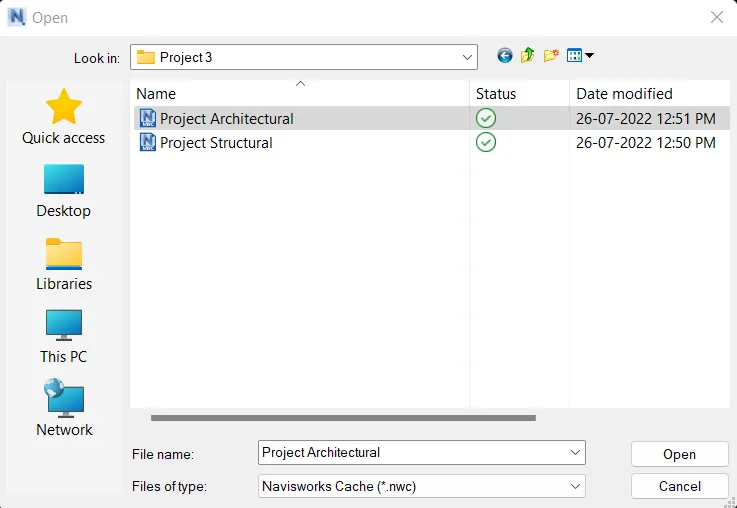
- Select 'Project Architectural' and click 'Open'
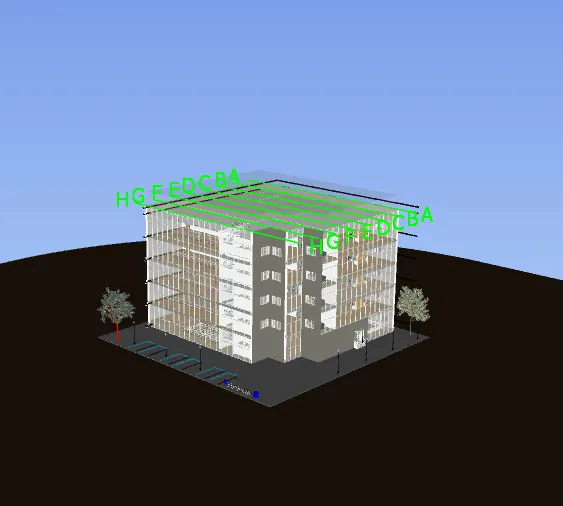
- Click 'Append' under the 'Home' tab
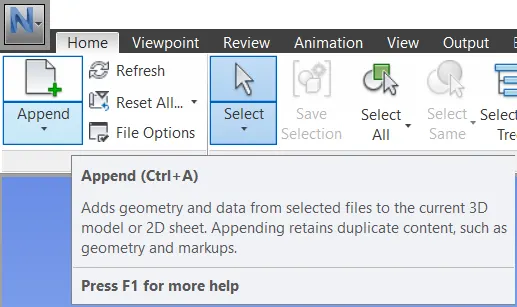
- Select 'Project Structural' and click 'Open'
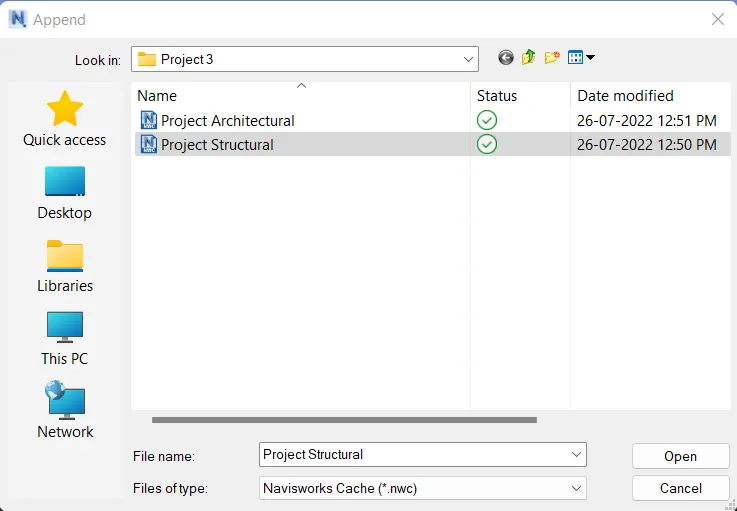
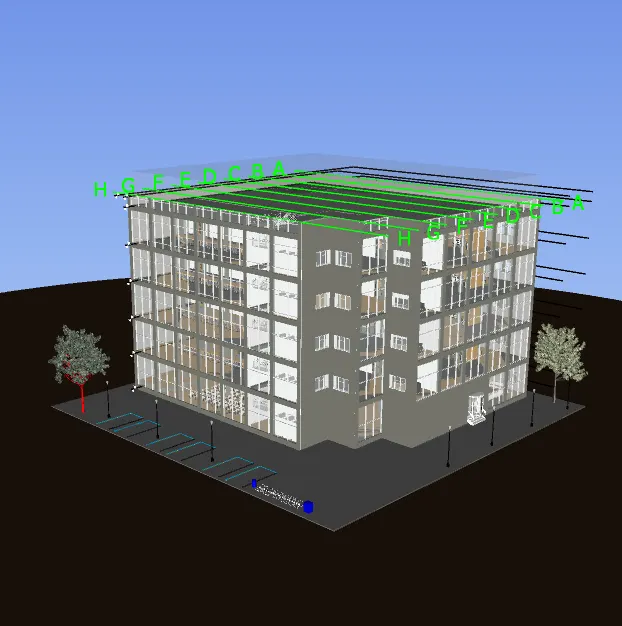
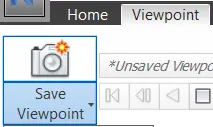
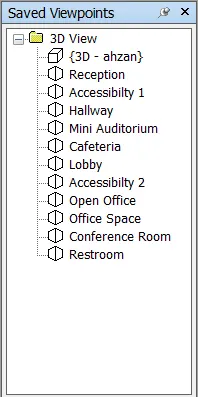
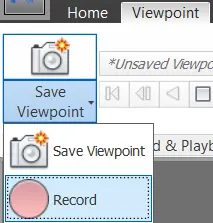
- Using 'Save Viewpoint' under the 'Viewpoint' tab, save all the rooms
- Click 'Record' under the 'Viewpoint' tab
- Record all the rooms and outside view using walk option
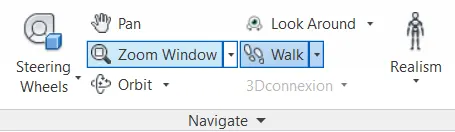
- Click the 'Walk' under the 'Viewpoint' tab

- Using Navigate tools, walk around the model and walk through the rooms created
- Click the 'Stop' under the 'Viewpoint' tab to stop the recording

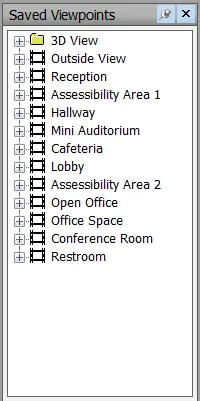
- The final output is shown in the results
RESULTS
Navigate tool was used to walk around the model, walk through the rooms created and recorded moving as animation in Navisworks file
Outside View
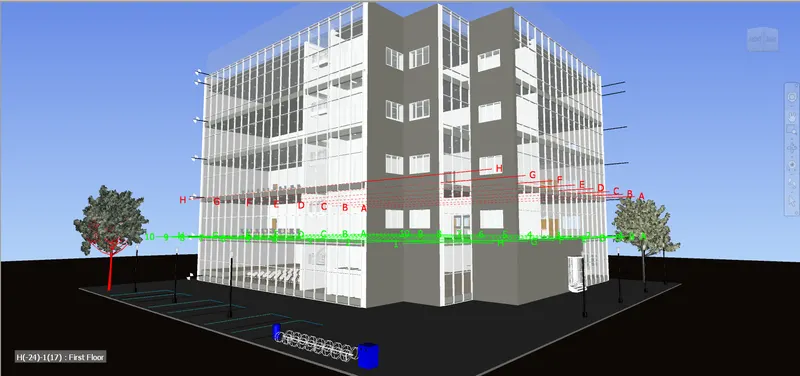
1) Ground Floor
Reception
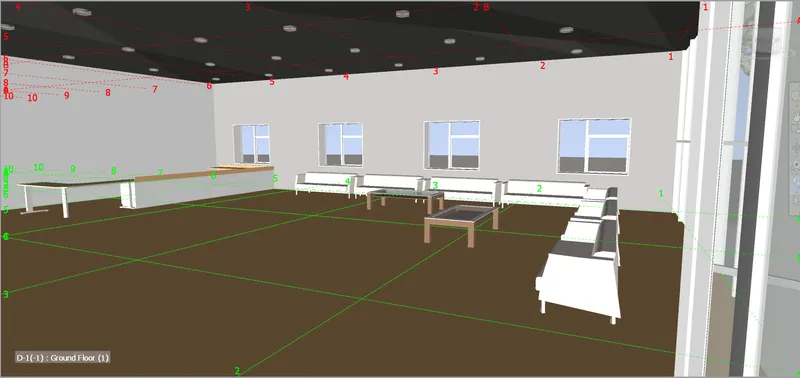
Accessibilty Area
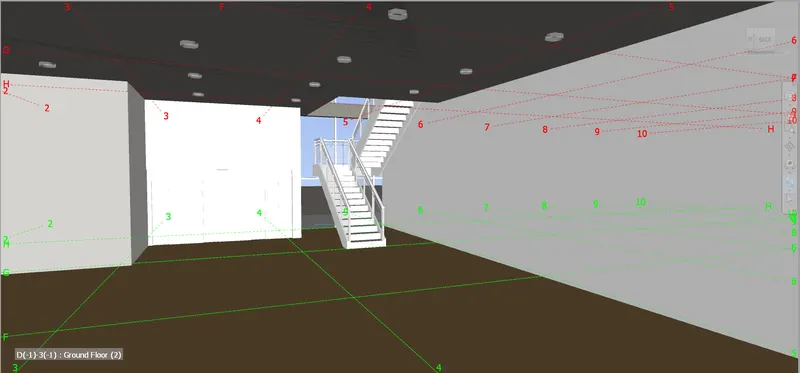
Hallway
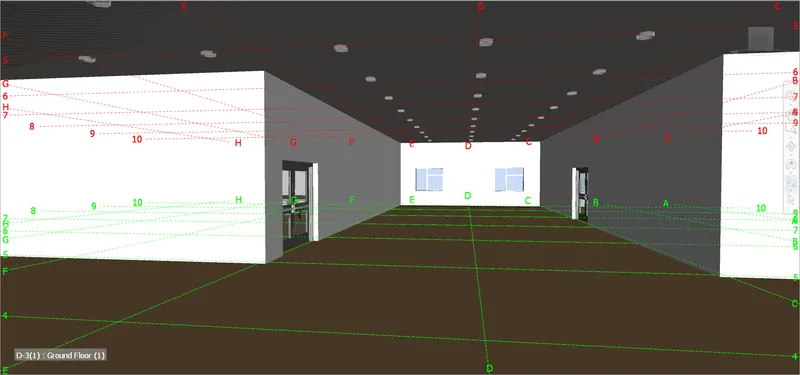
Mini Auditorium
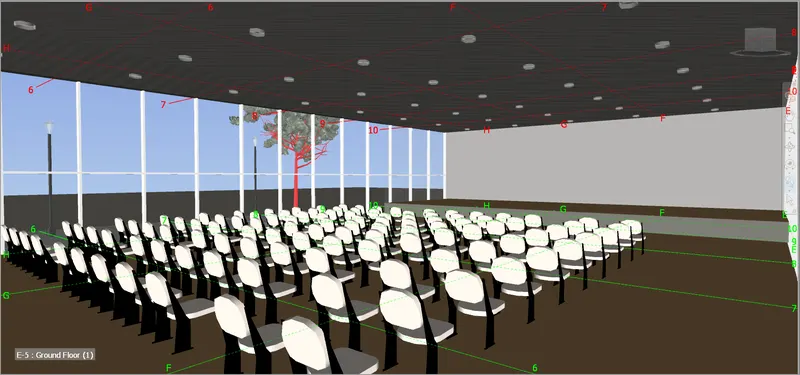
Cafeteria
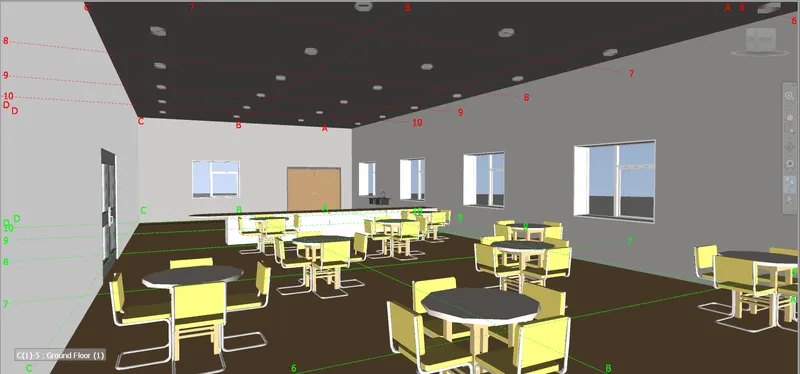
2) First, Second, Third and Fourth Floor
Lobby
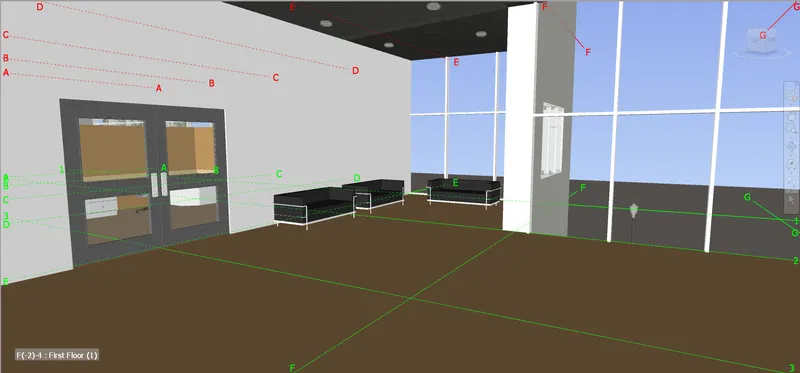
Accessibility Area
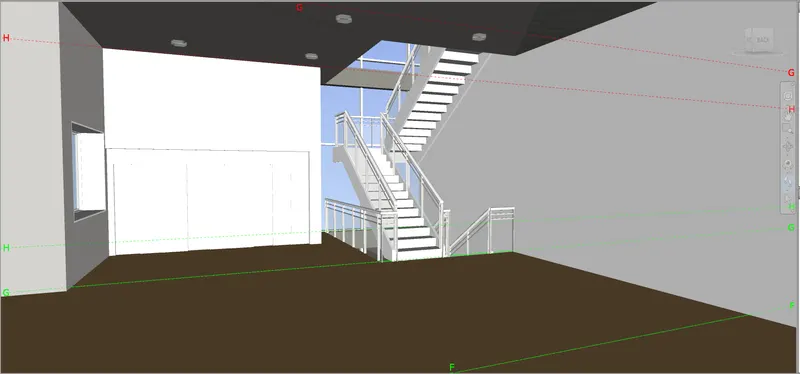
Open Office
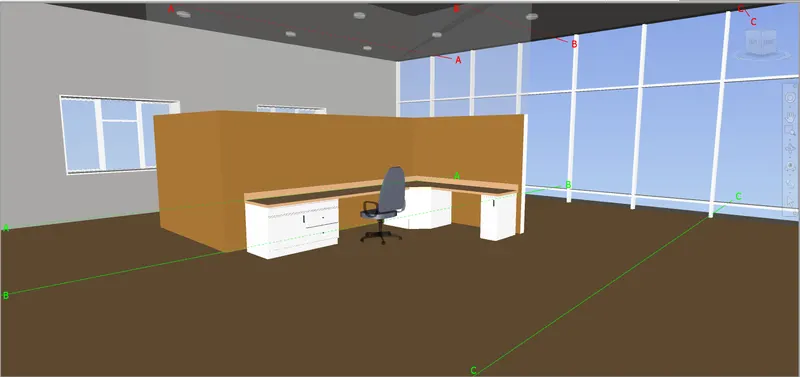
Office Space
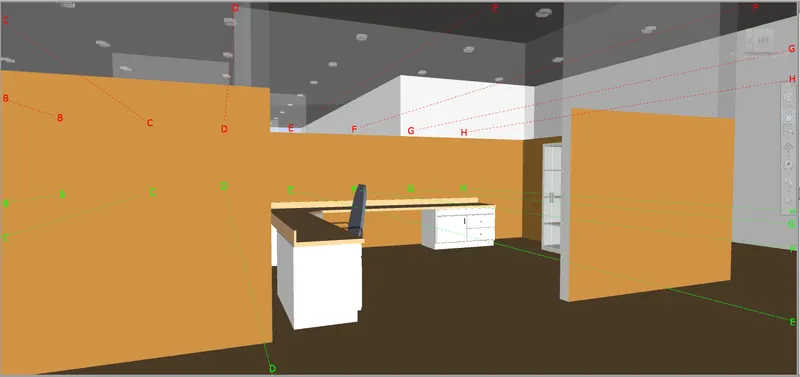
Conference Room
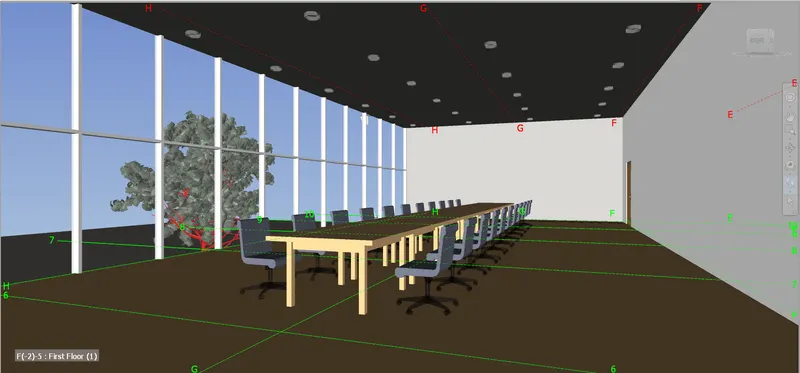
Restroom
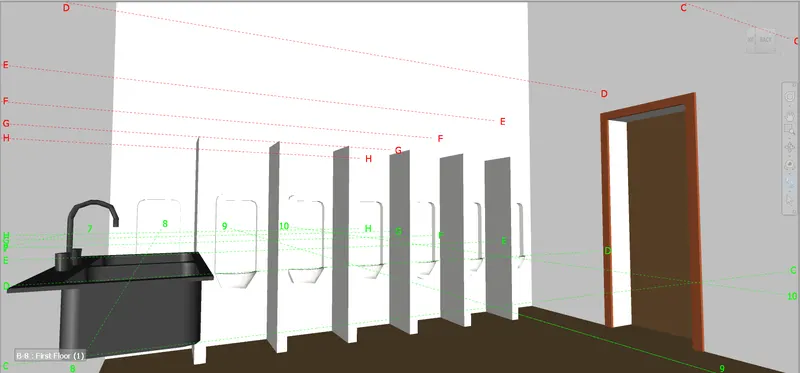
Q3. Use Navigate tool to use Realism feature to walk through the model and record your moving as animation in Navisworks file
Ans:
AIM
To use Navigate tool to use Realism feature to walk through the model and record your moving as animation in Navisworks file
INTRODUCTION
Navisworks is a project review software that allows Architecture, Engineering and Construction professionals holistically review integrated models and data with stakeholders during preconstruction to better control project outcomes.
PROCEDURE
- Open Navisworks Manage software
- Open existing 'Project Architectural' file
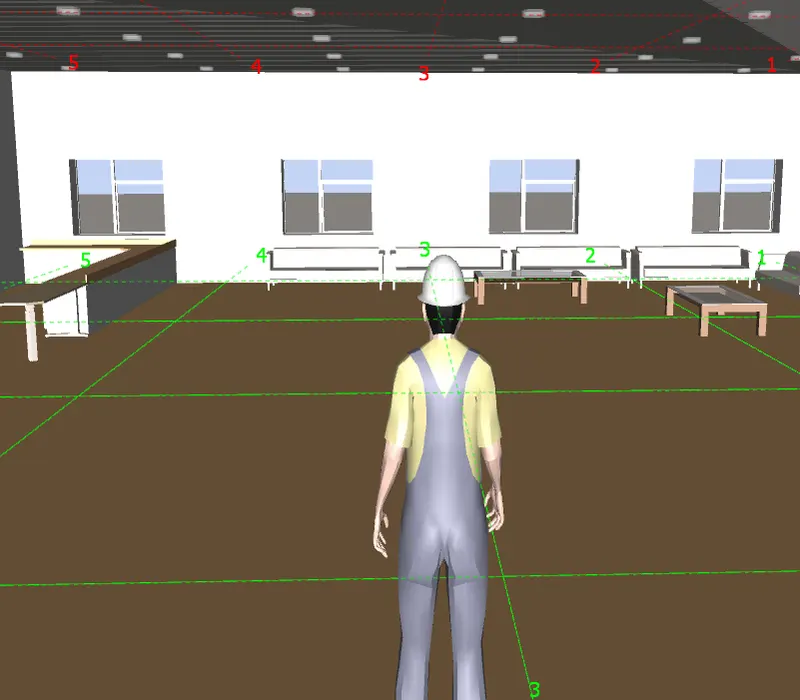
- Click 'Third Person' in the 'Realism' option under the 'Viewpoint' tab
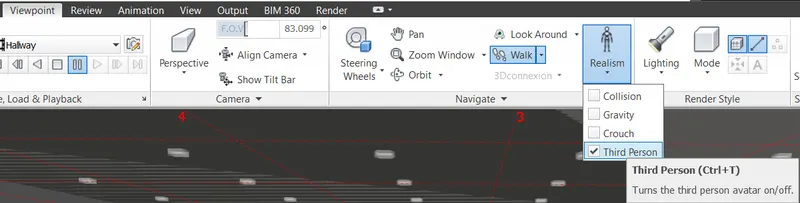
- Click 'Record' under the 'Viewpoint' tab
- Click the 'Walk' under the 'Viewpoint' tab
- Using Navigate tools, walk around the model and walk through the rooms created
- Click the 'Stop' under the 'Viewpoint' tab to stop the recording
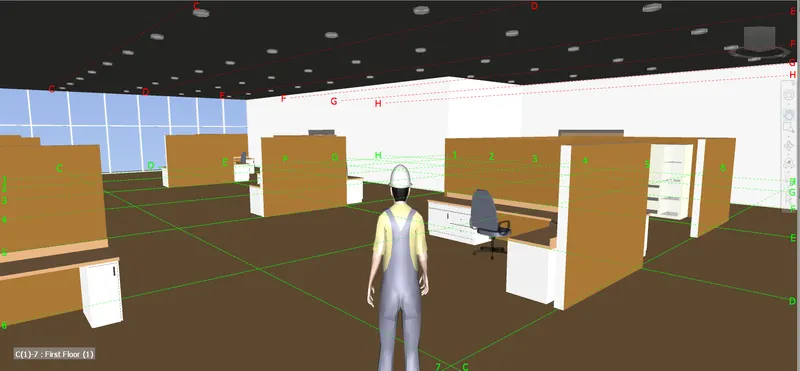
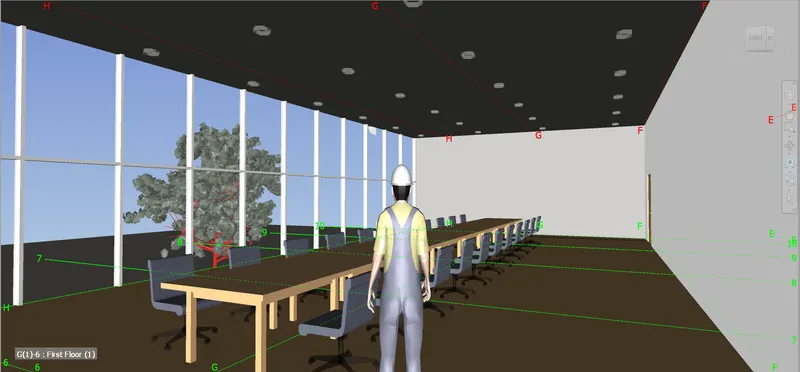
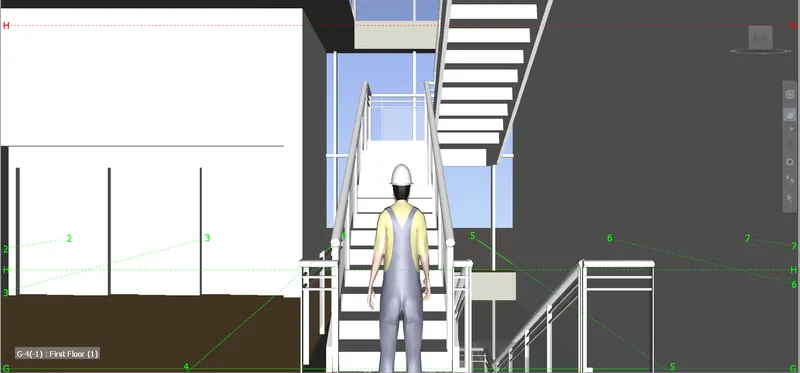
- Some of the snapshot of recorded animation is shown in the results
RESULTS
Realism feature and navigation tools are used to walk through the model and recorded the moving as animation in Navisworks file
Q4. Embed both architecture and structure *.nwc file to your Navisworks file. Create a clash detection test between the two models
a. Run the Clash Detection Test
b. Study the clashes between the two models
c. List which of the clashes could be approved
d. List which of the clashes could be neglected ( will be taken care later)
e. List which of the clashes can be resolved
f. Save the results after color coding the clashes to the Navisworks file
g. In case of resolution annotate the clash and save the view to defined views in Navisworks
Ans:
AIM
To create a clash detection test between the architecture and structure model
INTRODUCTION
Clash detection is the method of identifying and inspecting the various building design interferences which frequently occur during the BIM coordination or Construction Gatekeeping process.
PROCEDURE
- Open Navisworks Manage software
- Open existing 'Project Architectural' file
- Click 'Append' under the 'Home' tab
- Select 'Project Structural' and click 'Open'
a) Run the Clash Detection Test
- Click the 'Clash Detective' under the 'Home' tab

- Click the 'Add Test' option in the 'Clash Detective'
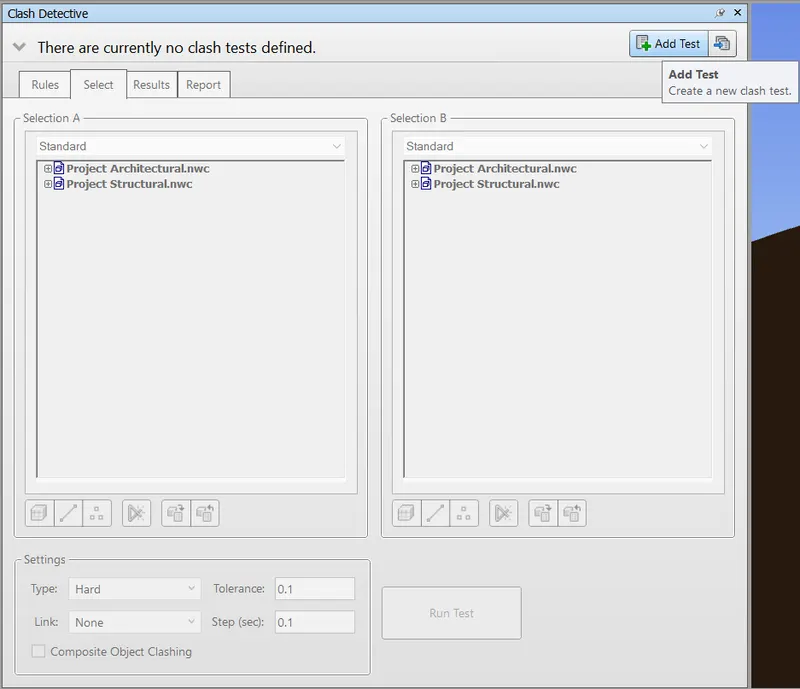
- Select 'Project Architectural' as the 'Selection A'
- Select 'Project Structural' as the 'Selection B'
- Click 'Run Test'
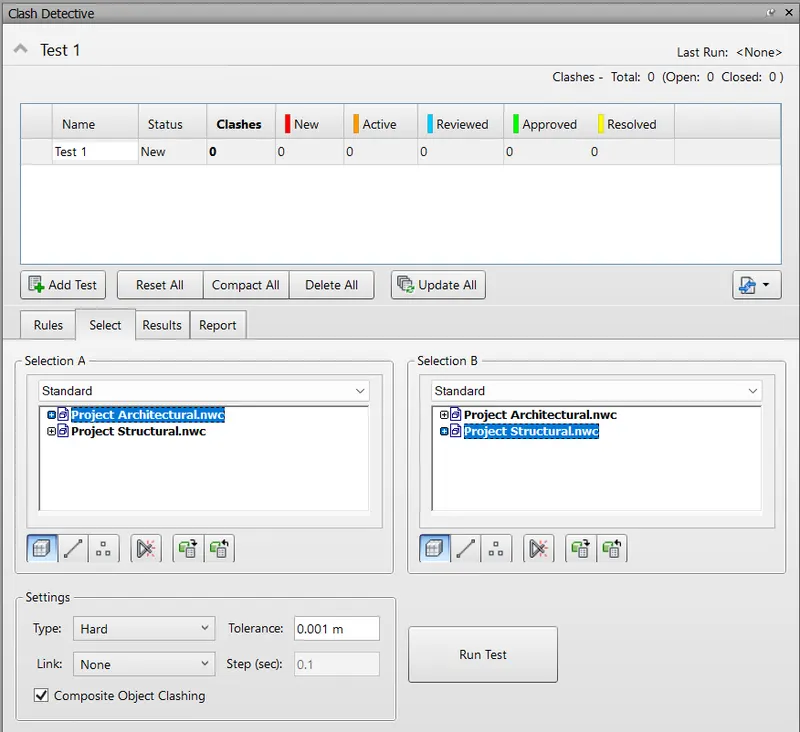
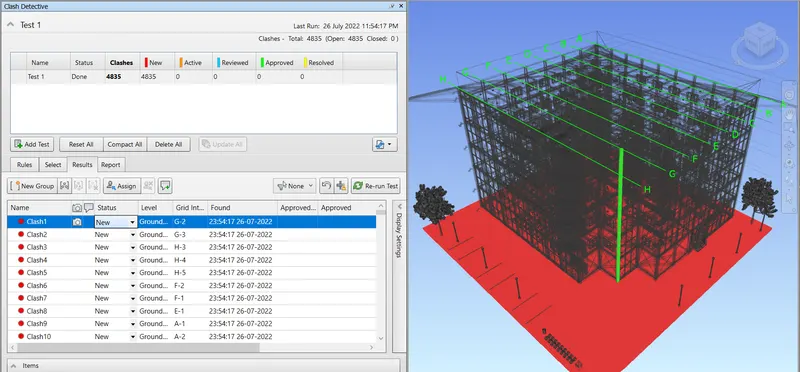
b) Study the clashes between the two models
- The Architectural and Structural model has 4835 clashes
- Study the reason behind the clash
- List them into approved, neglected, and resolved
c) List which of the clashes could be approved
- Select the clashes, mark the status as 'Approved'
d) List which of the clashes could be neglected
- Select the clashes, mark the status as 'Active'
e) List which of the clashes can be resolved
- Select the clashes, mark the status as 'Resolved'
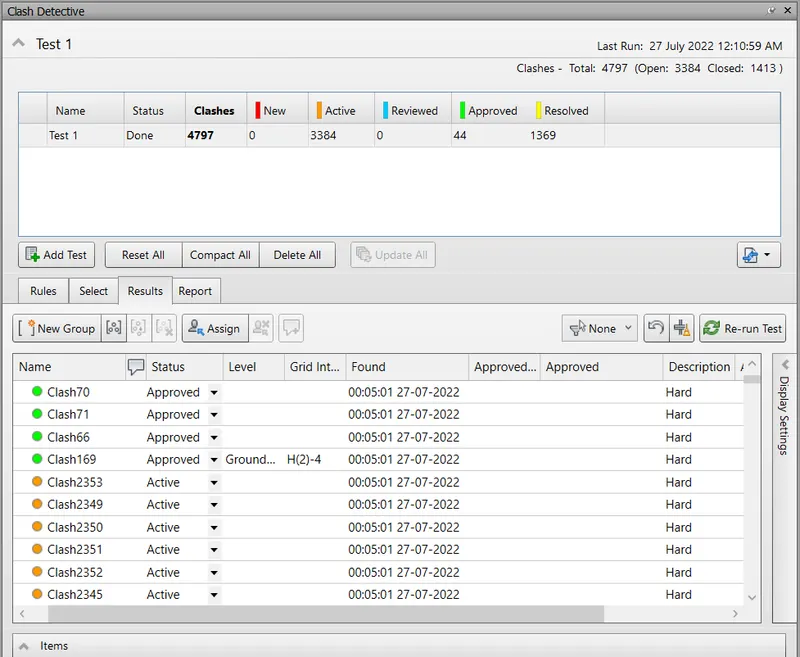
f) Save the results after color coding the clashes to the Navisworks file
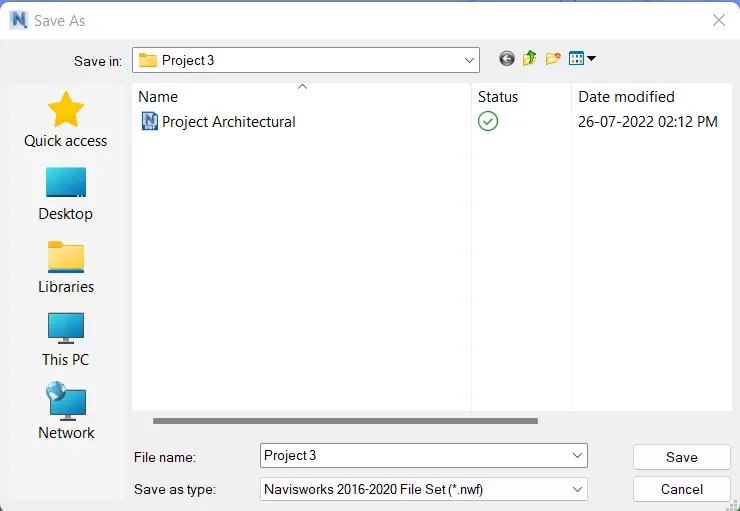
- Save the file by clicking the 'Save As' option and click 'Save'
g) In case of resolution annotate the clash and save the view to defined views in Navisworks
RESULTS
A clash detection test between the architecture and structure model is created
Q5. Using the Timeliner feature in Navisworks prepare a schedule for the project developed in week 6 to 8 by adding reasonable assumptions for task start date and end date and simulate the task completion as a visual simulation. Record it and save the timeline simulation to Navisworks file
Ans:
AIM
To prepare a schedule for the project developed in week 6 to 8 and simulate the task completion as a visual simulation using Timeliner feature
INTRODUCTION
The TimeLiner tool adds schedule simulation to Autodesk Navisworks. TimeLiner imports schedules from a variety of sources. You can then connect tasks in the schedule with objects in the model to create a simulation.
PROCEDURE
- Open Navisworks Manage software
- Open existing 'Project 3' file
- Click the 'TimeLiner' under the 'Home' tab

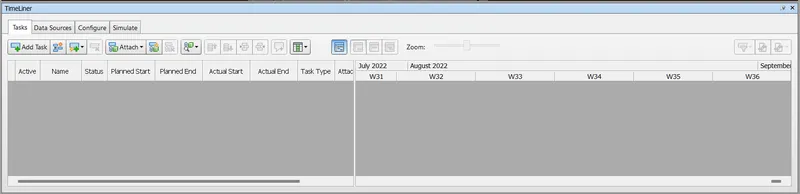
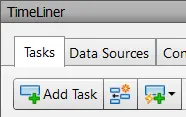
- Click 'Add Task' in the 'Tasks' tab under the 'TimeLiner'
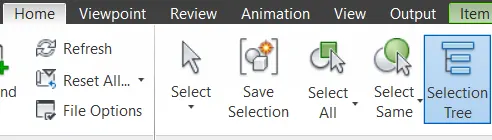
- Click the 'Selection Tree' under the 'Home' tab
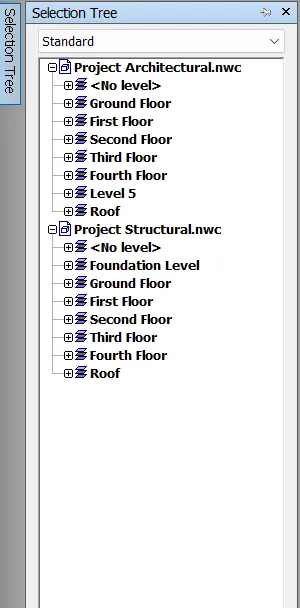
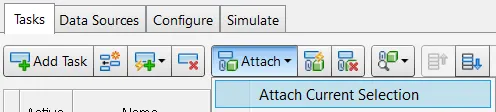
- Select the task from the 'Selection Tree' and click 'Attach Current Selection' in the 'Tasks' tab under the 'TimeLiner'
- For every task, attach task from the selection tree
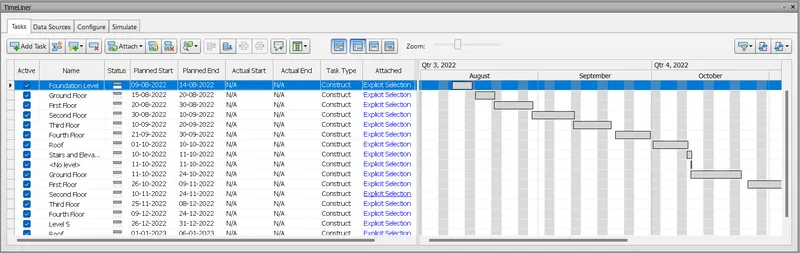
- Give details to each tasks
- Assign 'Name' according to the tasks
- Assign 'Planned Start' and 'Planned End' date to each task
- 'Actual Start' and 'Actual End' date is assigned after completing each task
- Assign 'Construct' as the 'Task Type'
- Click 'Play' in the 'Simulate' tab under the 'TimeLiner'

- Click 'Export Animation' in the 'Simulate' tab under the 'TimeLiner'

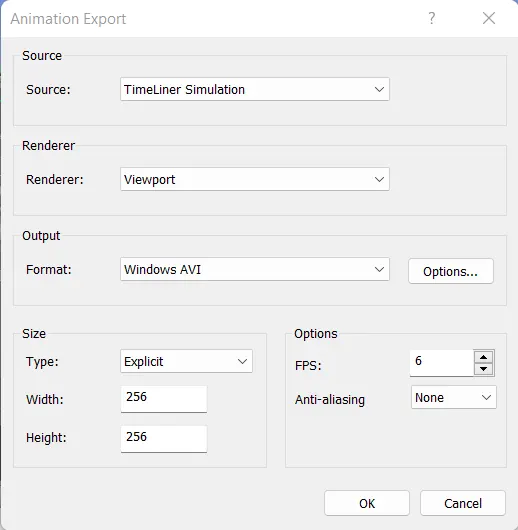
- Set the options in the 'Animation Export'
- Assign 'TimeLiner Simulation' as the 'Source'
- Click 'OK'
- The final output is shown in the results
RESULTS
A schedule for the project developed in week 6 to 8 is prepared and simulated the task completion as a visual simulation using Timeliner feature
Stage 1: Initial State
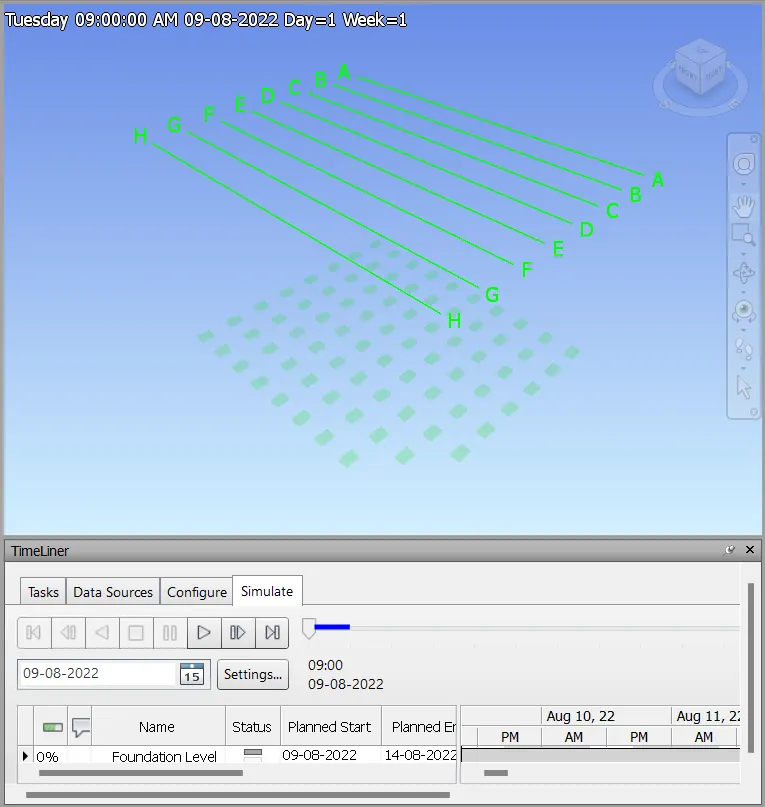
Stage 2: Footing
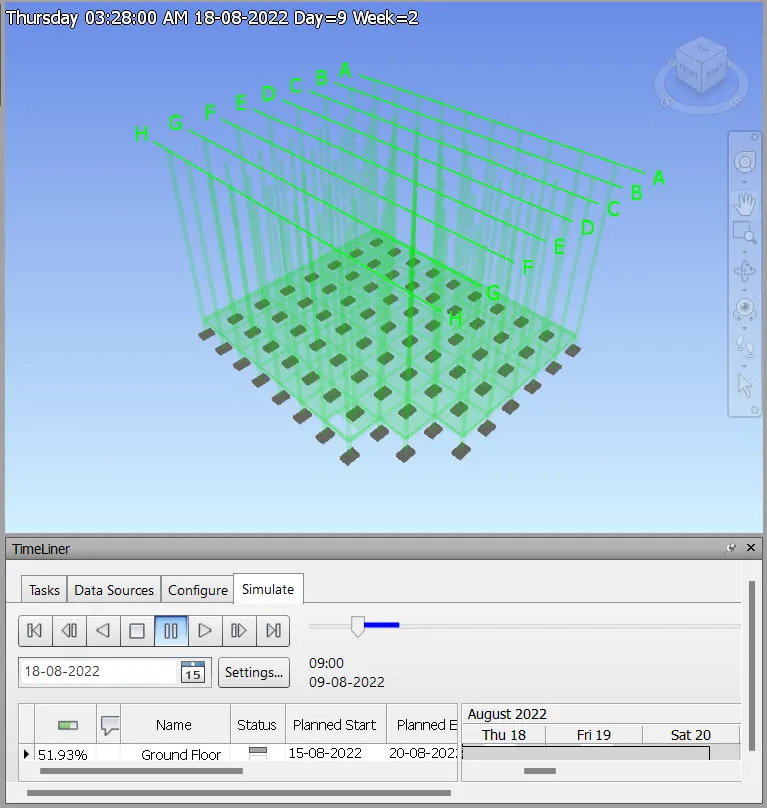
Stage 3: Columns and Beams
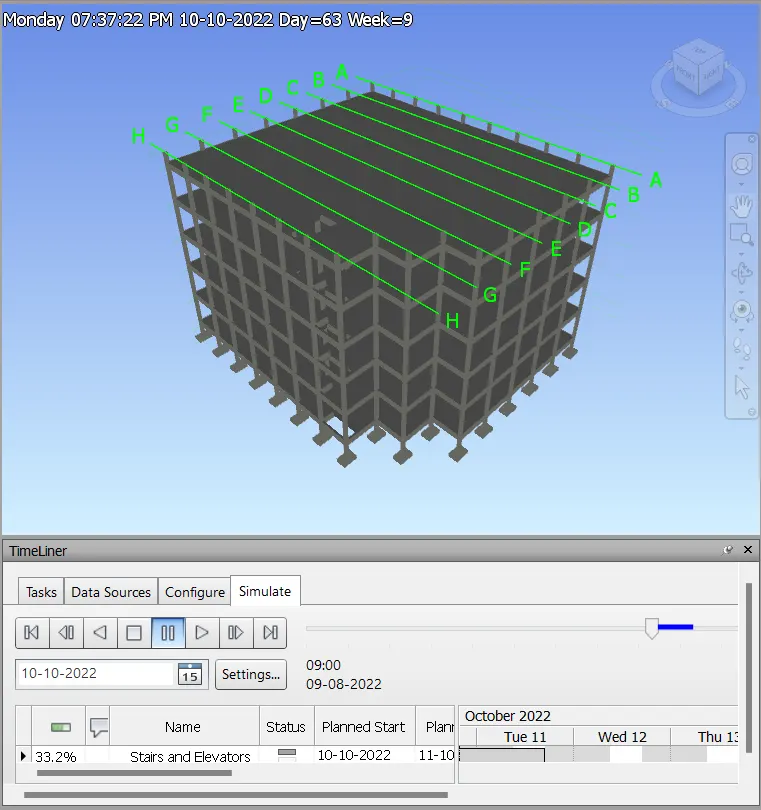
Stage 4: Stairs and Lifts
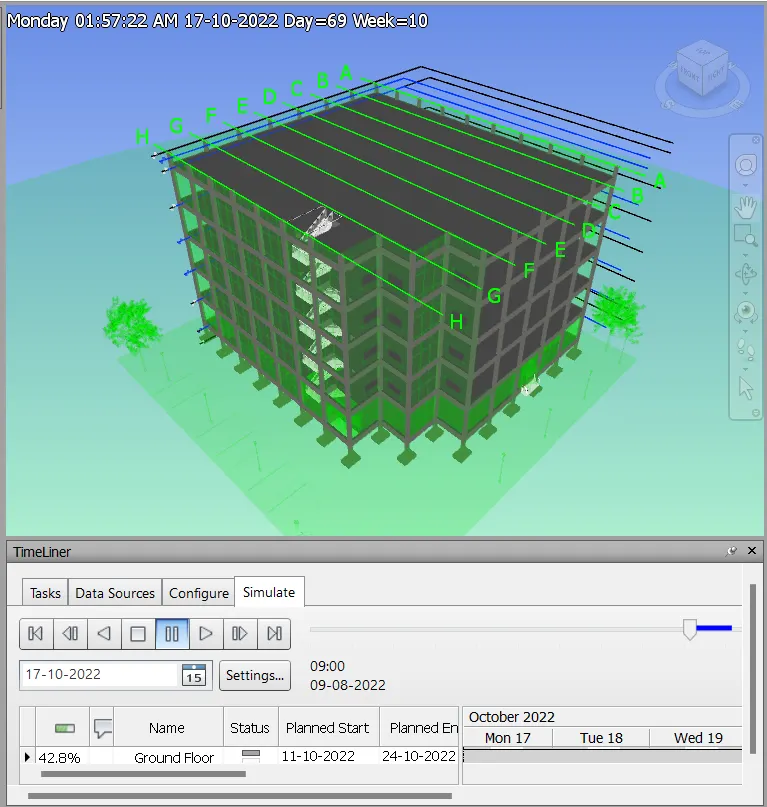
Stage 5: Walls and Store front
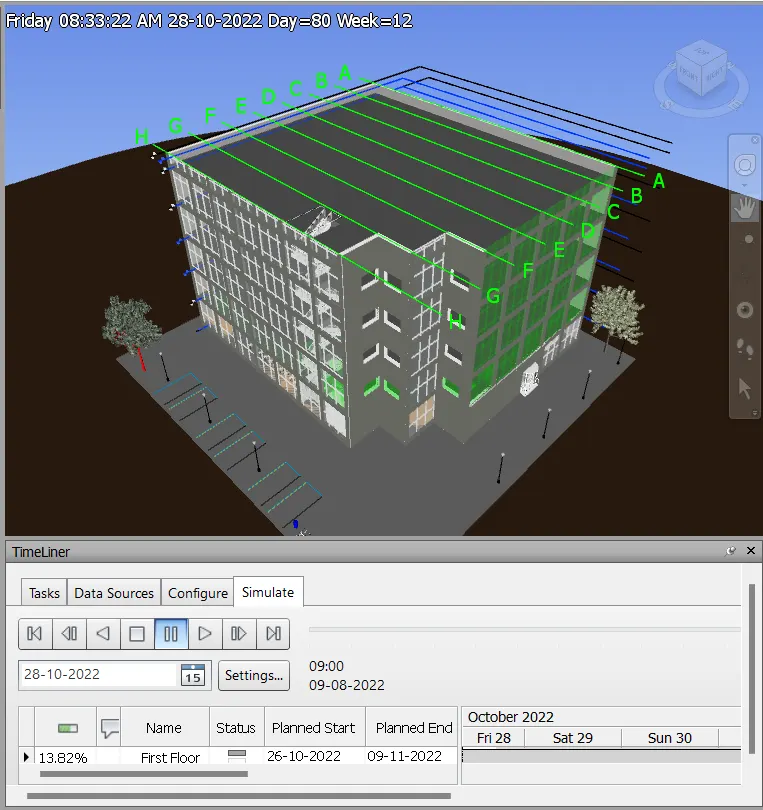
Stage 6: Final Output (Consists All Floor Details)