Usage of Navigation tool , Timeliner and Clash Detection test using Naviswork
1)
AIM:
- To export the Architecture/ Structure Project file developed in Week 6 to 8 to Navisworks Cache file.
PROCEDURE:
STEP 1:
- Open the Architectural model of Project 2 from File-> Open-> Project.
- Open the 3D view of the Architectural model from Project browser.
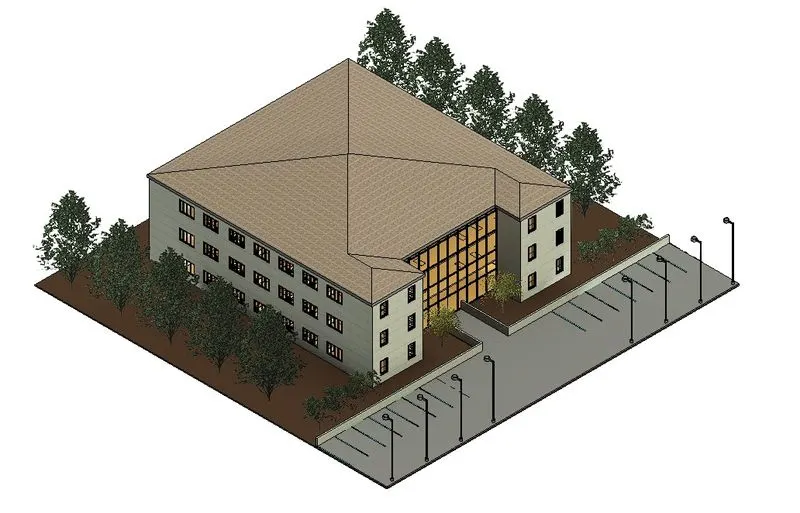
STEP 2:
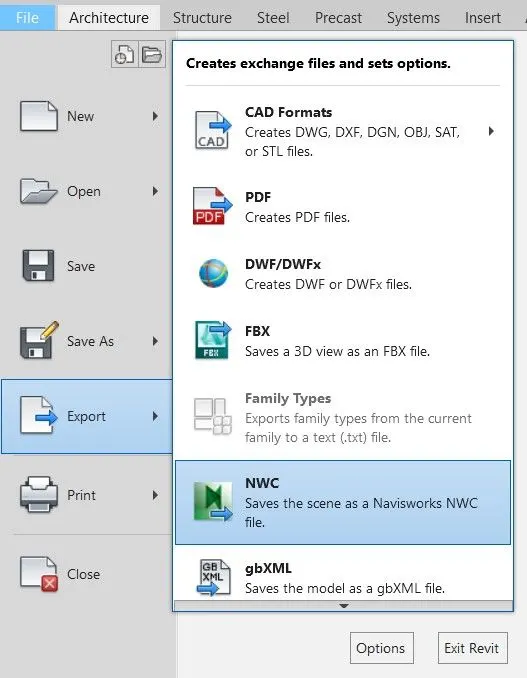
- Go to File-> Export-> NWC to export the view to Navisworks.
STEP 3:
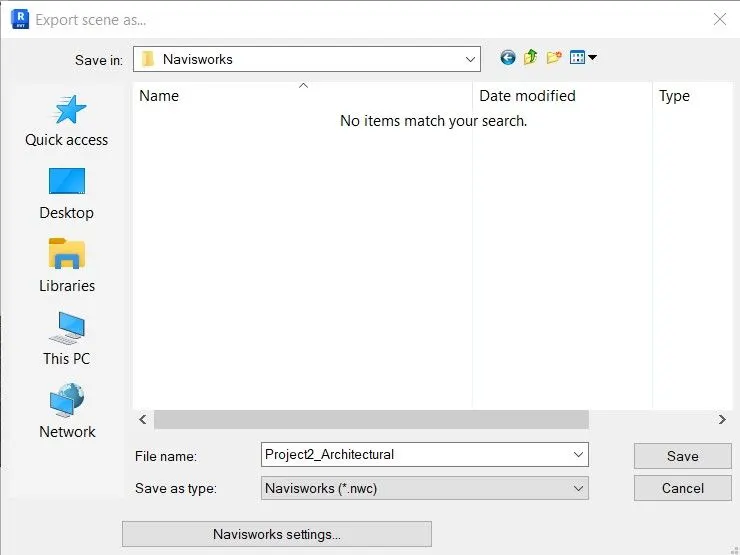
- Save the File name as required.
- Save as type is changed to Navisworks (*nwc).
- Then click on save.
STEP 4:
- Open the Structural model of Project 2 from File-> Open-> Project.
- Open the 3D view of the Structural model from Project browser.
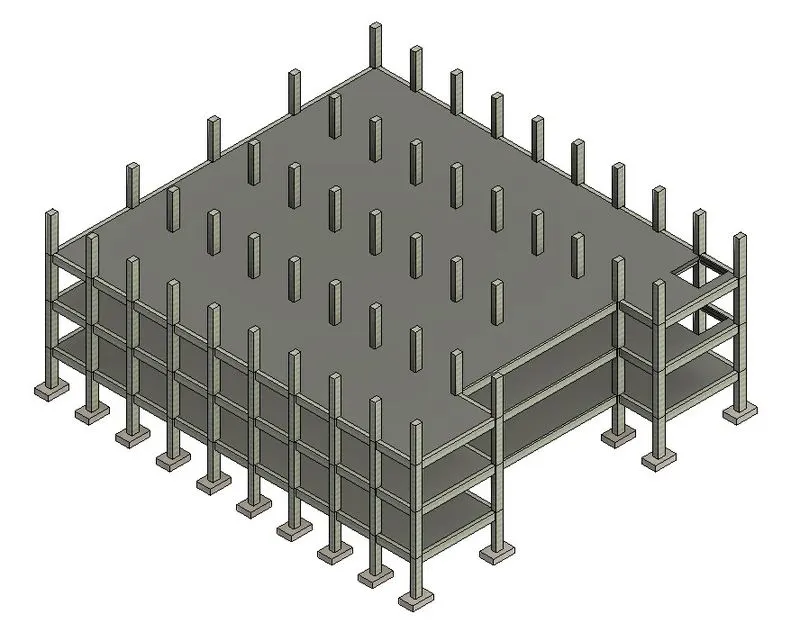
- Follow the same steps as mentioned above to export and save the View as Navisworks cache file .
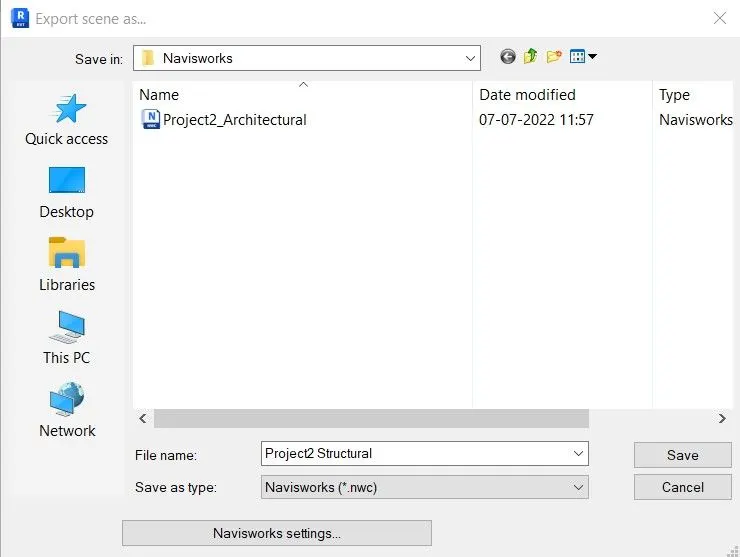
FINAL RESULT:
The Architecture/ Structure Project file developed in Week 6 to 8 have been succesfully exported and saved as Navisworks Cache files.
2)
AIM:
- To use Navigate Tool to walk around the model and walk through the rooms created and record the moving as animation in Navisworks file.
PROCEDURE:
STEP 1:
- Open Navisworks software.
- Go to Open and select and open the Architectural model of Project 2.
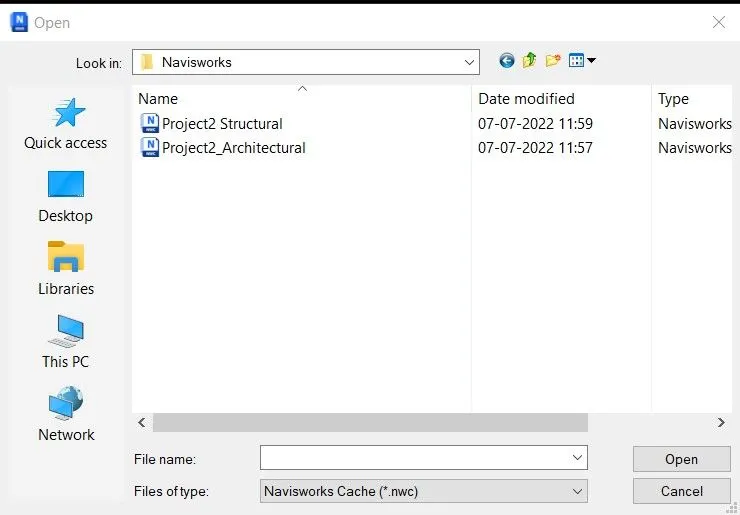
STEP 2:
- After the Architectural model is loaded use the mouse to navigate to the entrance of the building.
- Go to Viewpoint Tab-> Navigate panel-> Walk-> Walk.
- Select Save viewpoint-> Record from ribbon to start the recording of the walkthrough.
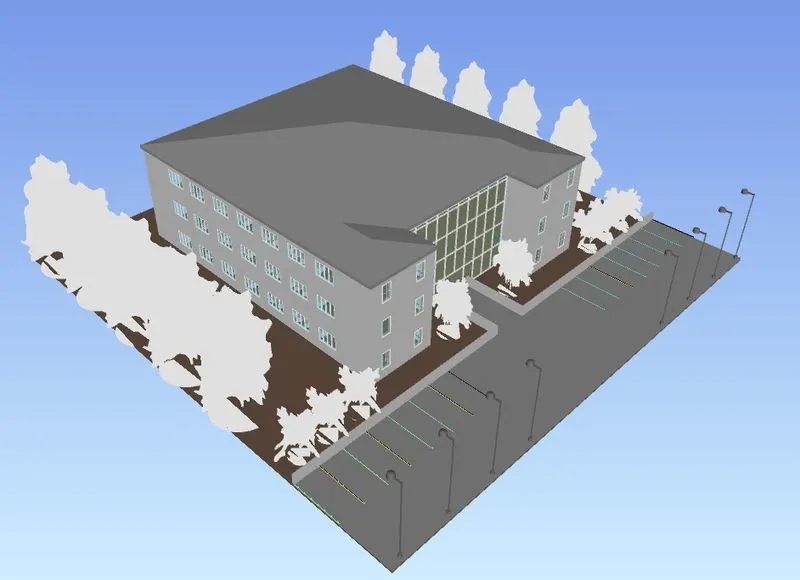
STEP 3:
- Using Arrow keys in the keyboard walkthrough each room in the building.
- The view of each room can be saved from Viewpoint-> Save viewpoint.
- Use the Pan, Zoom and Orbit icons from Viewpoint to look around modify the view if necessary.
- In the Saved viewpoints menu they are opened and renamed as required.
ENTRANCE:
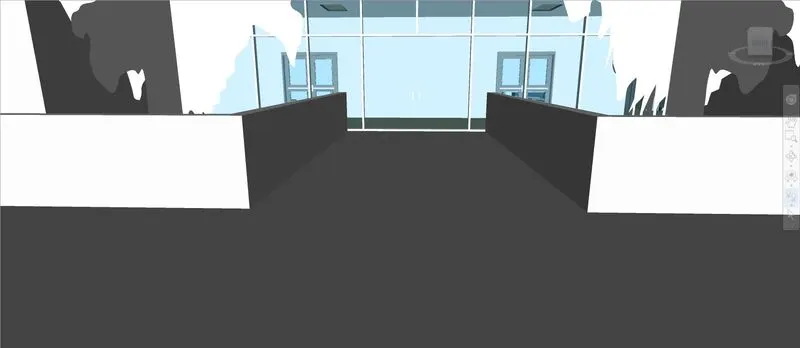
RECEPTION:
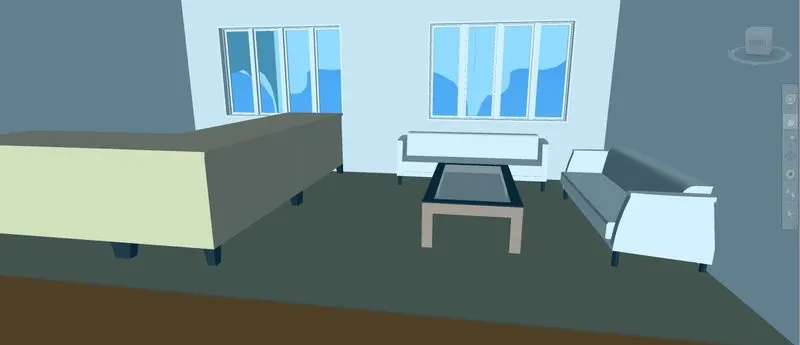
MANAGER'S OFFICE:
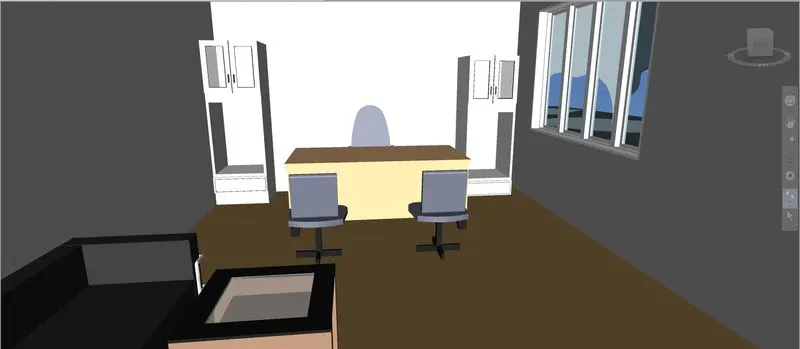
WORKSPACE:
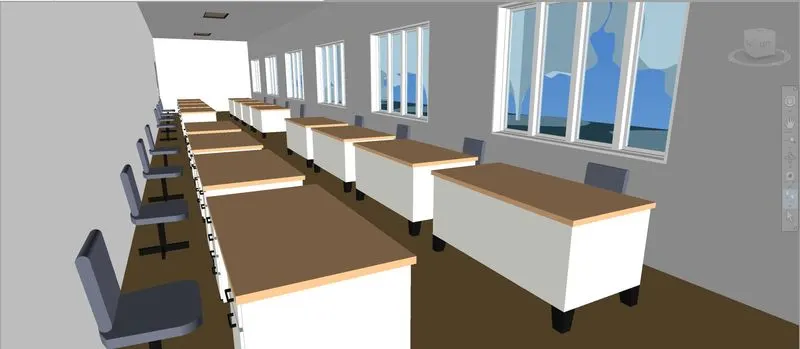
MEETING ROOM:
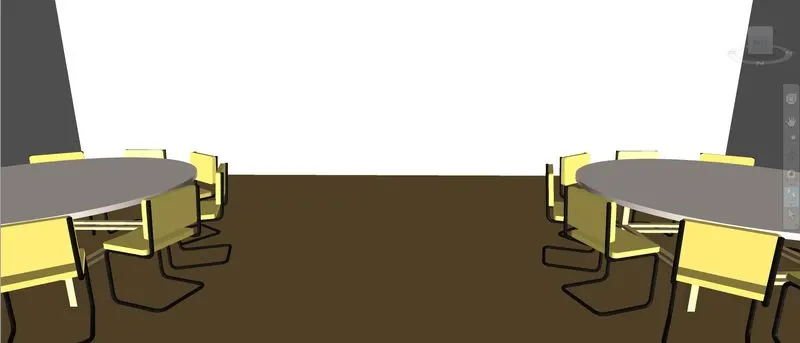
CONFERENCE ROOM:
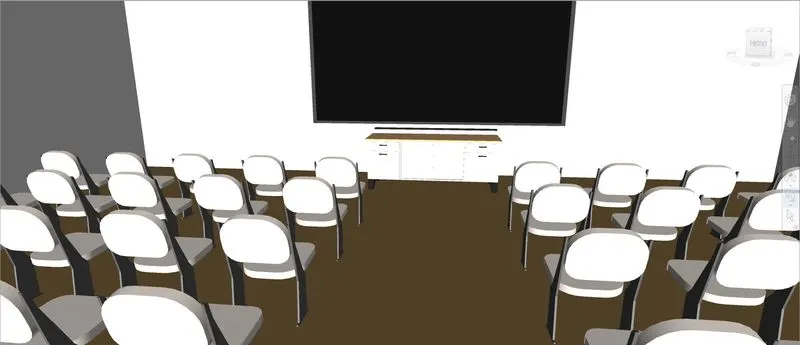
BREAK ROOM:
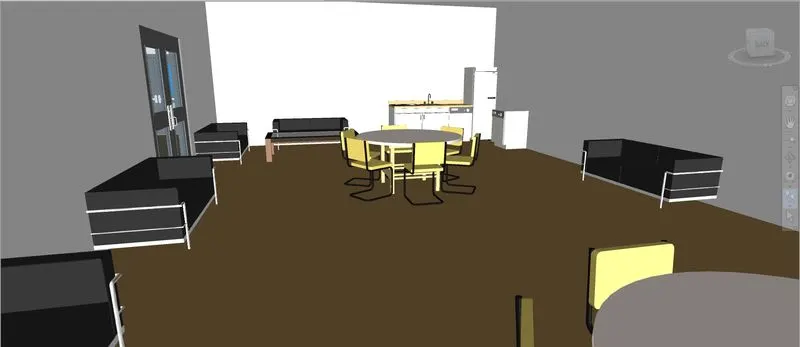
STEP 4:
- Once the recording of the walkthrough is complete stop the recording.
- The recording can be stopped or paused during recording from Pause and Stop options in ribbon.
- Go to Animation tab-> Export animation to export the recording.

STEP 5:
- Select Current animation as the source and Format as any available video format.
- Click on Ok.
- Save the Animation.
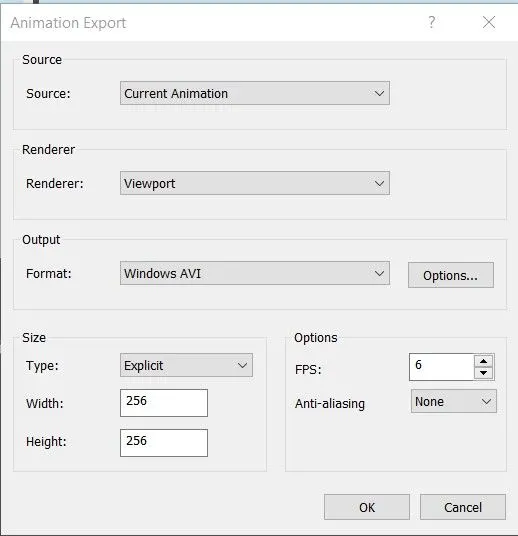
FINAL RESULT:
A walkthrough of all the rooms has been created using Navigate tool and has been recorded and saved as an animation in Navisworks file succesfully.
3)
AIM:
- To use Navigate tool to use Realism feature to walk through the model and record the moving as animation in Navisworks file.
PROCEDURE:
STEP 1:
- Use the mouse to navigate to the entrance of the building.
- Go to Viewpoint Tab-> Navigate panel-> Walk-> Walk.
- Go to Viewpoint Tab-> Realism-> Thrd person.
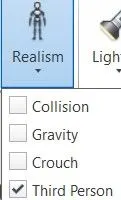
- Select Save viewpoint-> Record from ribbon to start the recording of the walkthrough.
STEP 2:
- Using Arrow keys in the keyboard walkthrough each room in the building.
- The view of each room can be saved from Viewpoint-> Save viewpoint.
- Use the Pan, Zoom and Orbit icons from Viewpoint to look around modify the view if necessary.
- In the Saved viewpoints menu they are opened and renamed as required.
ENTRANCE:
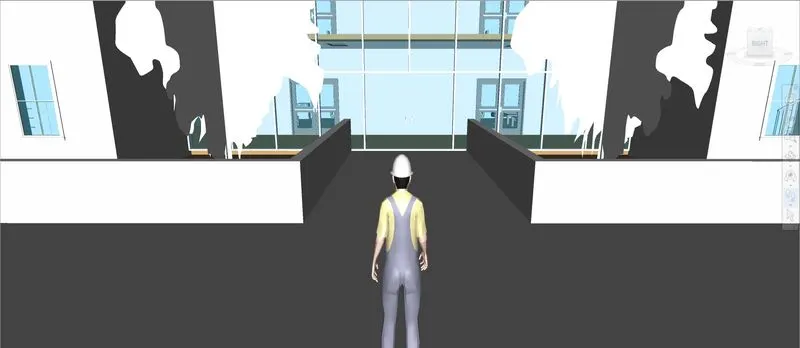
RECEPTION:
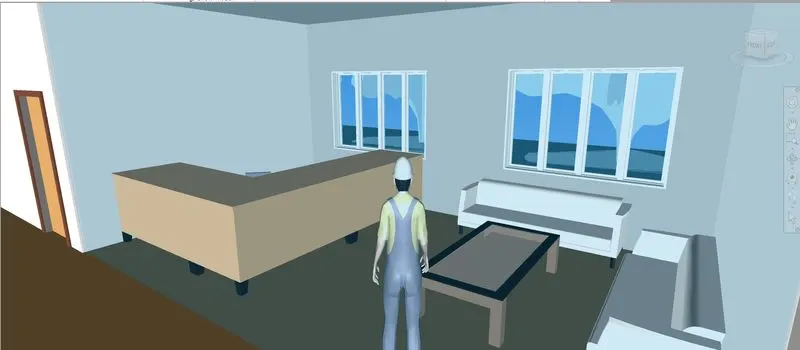
MANAGER'S OFFICE:
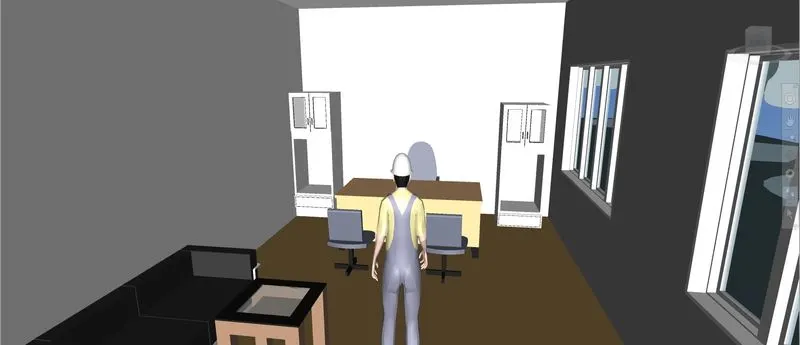
WORKSPACE:
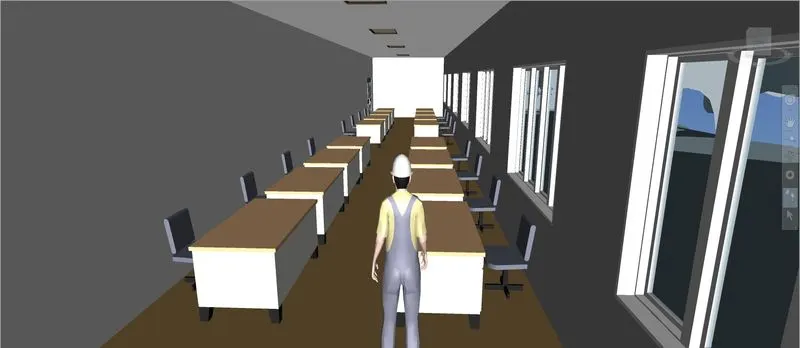
MEETING ROOM:
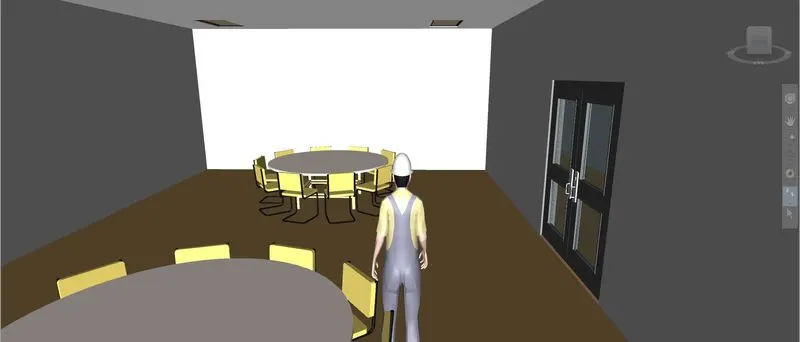
CONFERENCE ROOM:
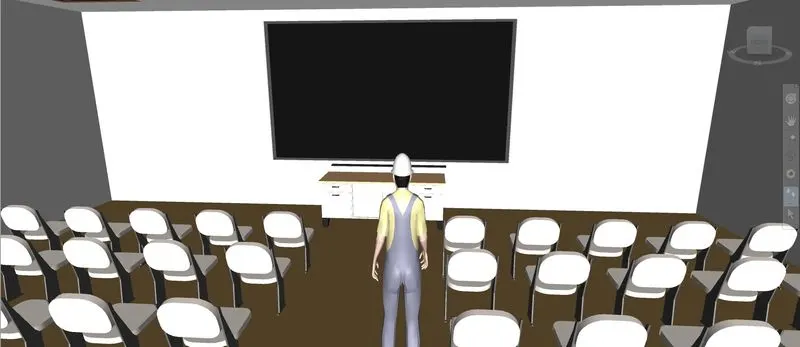
BREAK ROOM:
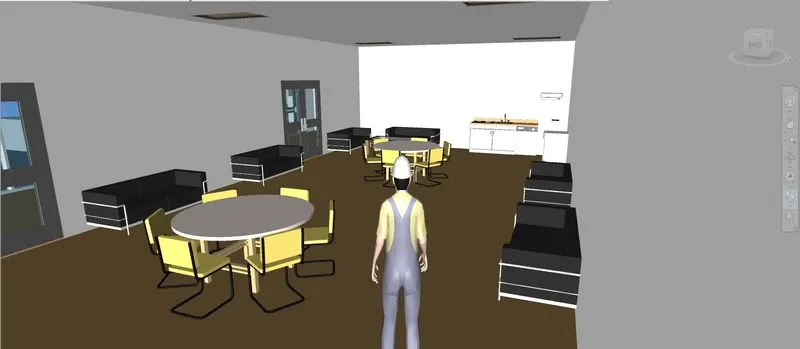
STEP 3:
- Once the recording of the walkthrough is complete stop the recording.
- The recording can be stopped or paused during recording from Pause and Stop options in ribbon.
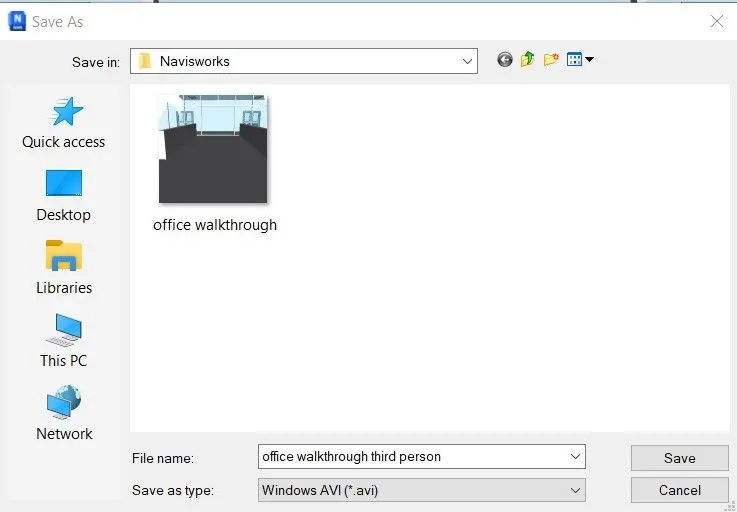
- Go to Animation tab-> Export animation to export the recording.
STEP 4:
- Select Current animation as the source and Format as any available video format.
- Click on Ok.
- Save the Animation.
FINAL RESULT:
A walkthrough of all the rooms has been created using Navigate tool and Realism feature, and has been recorded and saved as an animation in Navisworks file succesfully.
4)
AIM:
- To embed both architecture and structure *.nwc file to Navisworks file.
- To create a clash detection test between the two models
a. Run the Clash Detection Test
b. Study the clashes between the two models
c. List which of the clashes could be approved
d. List which of the clashes could be neglected ( will be taken care later)
e. List which of the clashes can be resolved
f. Save the results after color coding the clashes to the Navisworks file
g. In case of resolution annotate the clash and save the view to defined views in Navisworks.
PROCEDURE:
STEP 1:
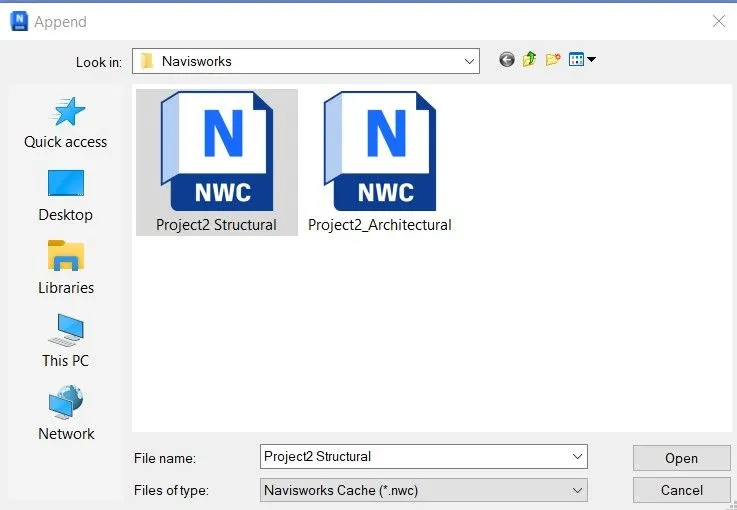
- Click on Home-> Append-> Append and open the structural model of the Project exported as Navisworks cache file.
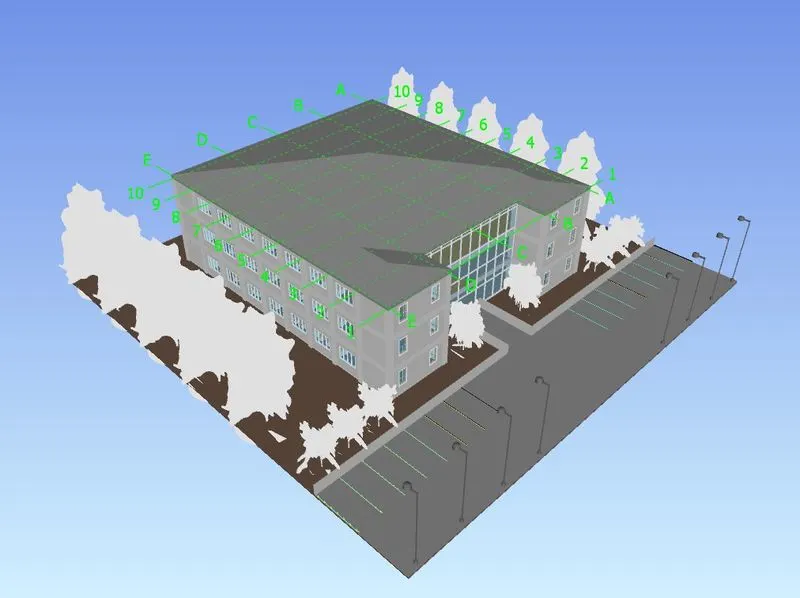
- The Architectural and Structural models have been opened and appended in Navisworks.
STEP 2:
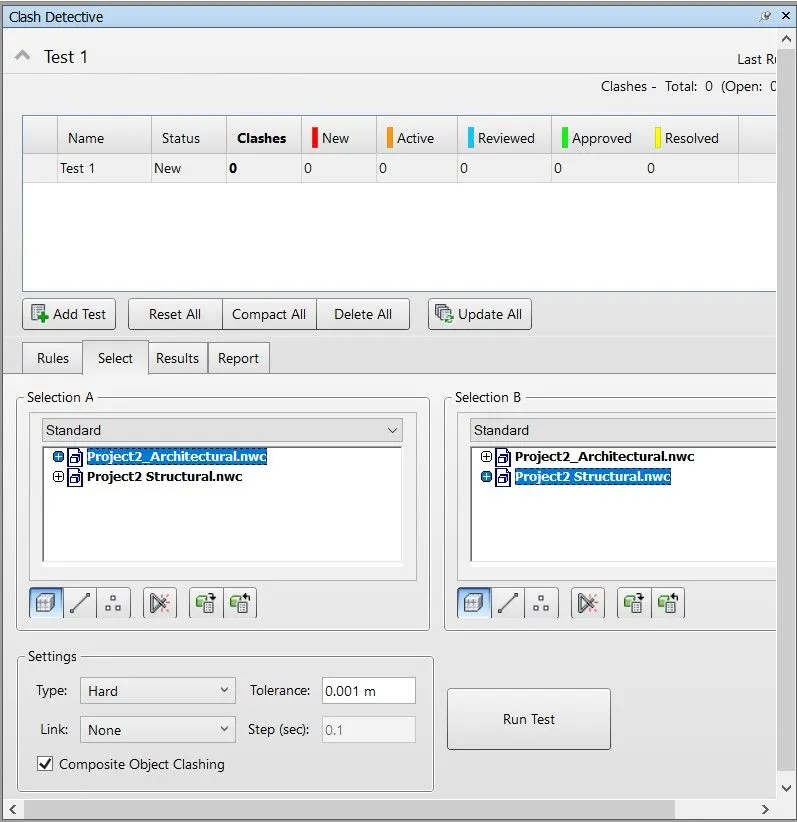
- To run the Clash detective test click on Home-> Clash detective.
- CLick on Add test and select Architectural model as Selection A and Structural model as Selection B.
- Select the surfaces option and click on Run test.
STEP 3:
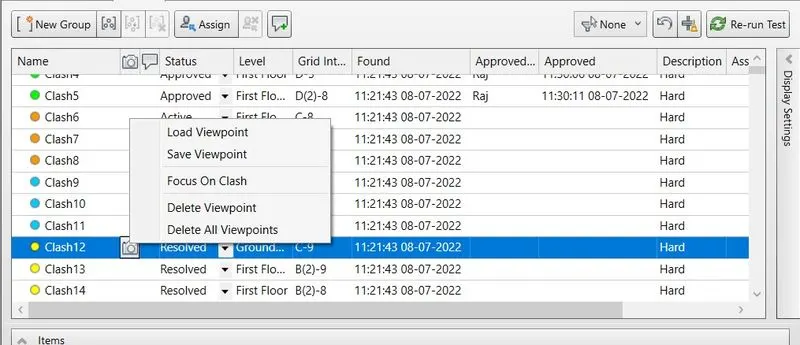
- The test results appear as shown below.
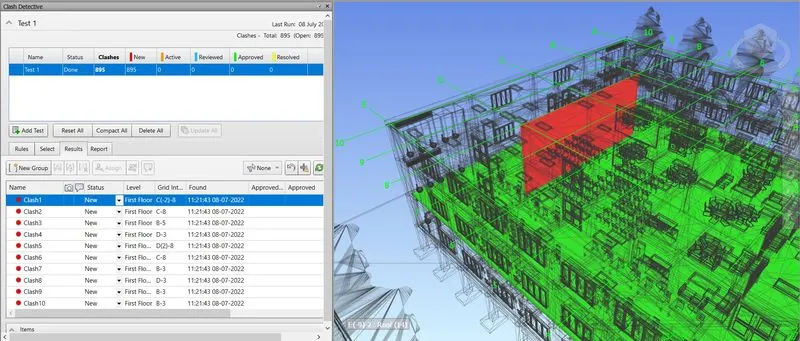
- They can be studied and marked as Approved, neglected and resolved by clicking on the dropdown under Status panel as required.
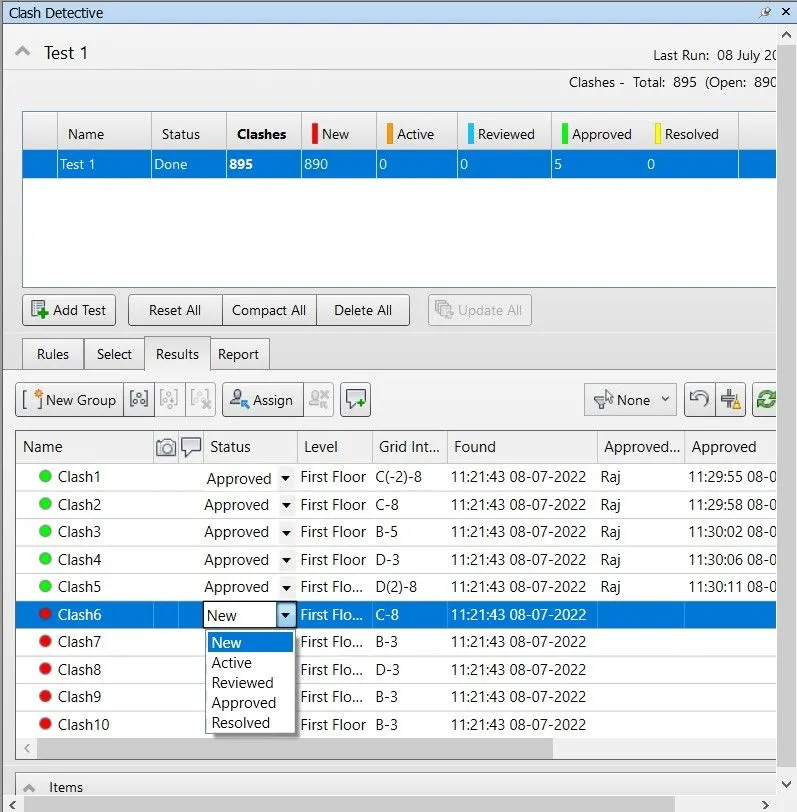
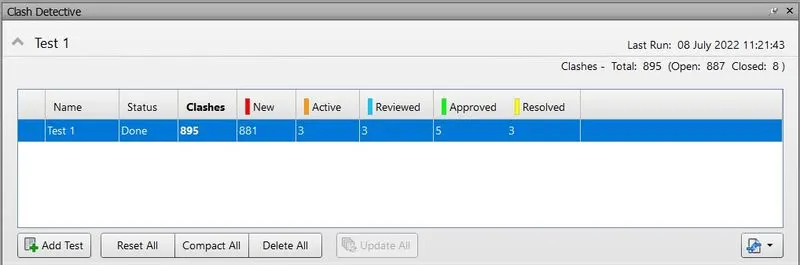
- Once the status is marked they will be grouped according to the provided status as colour coded clash test results.
STEP 4:
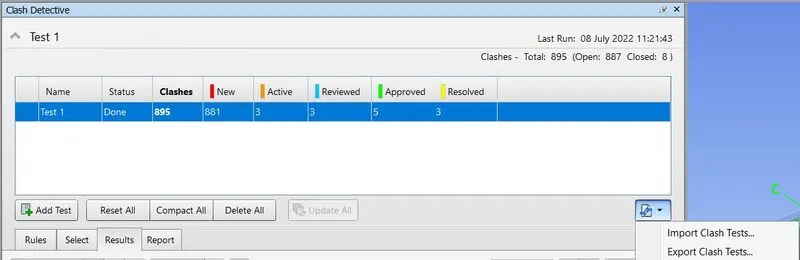
- To export the colour coded clash test results click in the Export icon in the Dialogue box-> Export clash tests.
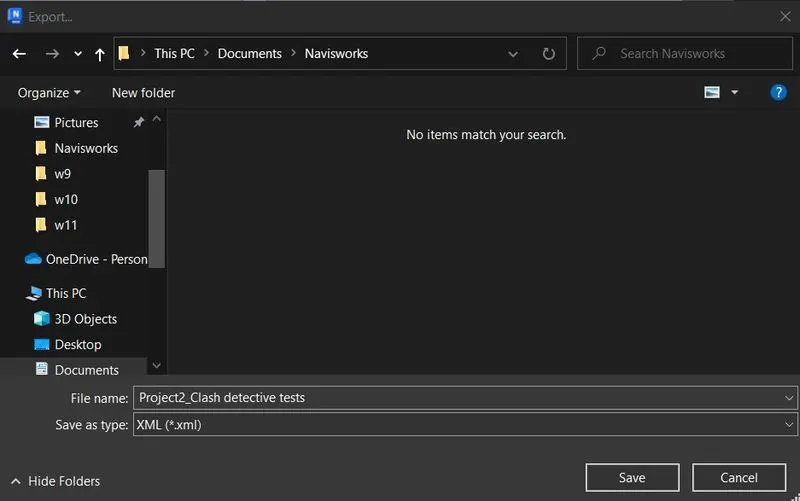
- The result is saved as XML (*.xml) file and named as required.
STEP 5:
- To save any view for future reference select the required clash , right click under the Camera column.
- Click on Save viewpoint.
FINAL RESULT:
Both architecture and structure *.nwc files have been embeddded to the Navisworks file and a clash detection test between the two models has been performed succesfully.
5)
AIM:
- To use the Timeliner feature in Navisworks and prepare a schedule for the project developed in week 6 to 8 by adding reasonable assumptions for task start date and end date.
- To simulate the task completion as a visual simulation.
- To record it and save the timeline simulation to Navisworks file.
PROCEDURE:
STEP 1:
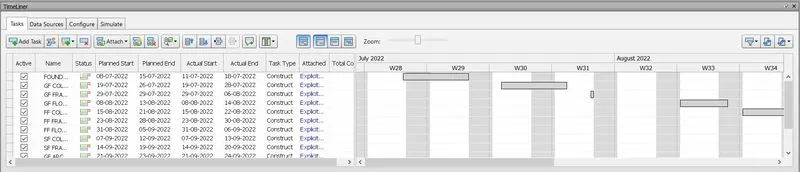
- Select Home tab-> Timeliner.
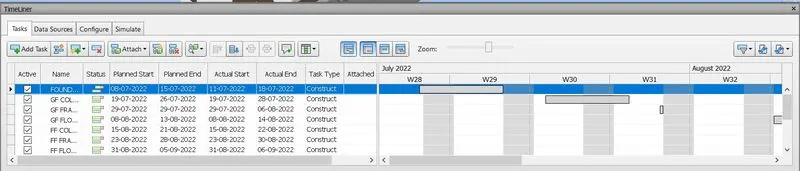
- The following Dialogue box appears

STEP 2:
- Click on Add task to add new tasks.
- Rename the task as required from under the Name column.
- Choose the Planned start, Planned end and Actual start, Actual end dates from calendar or type them in manually.
- Select the task type as required.
STEP 3:
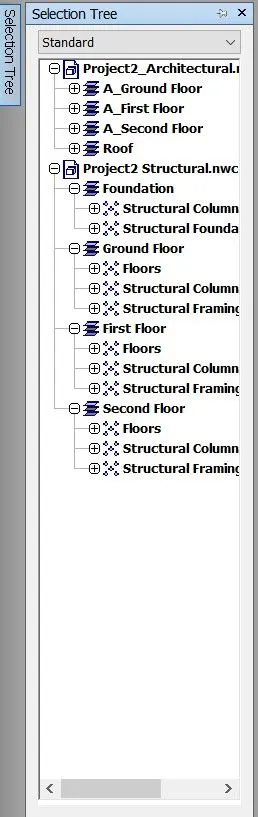
- Select Home tab-> Selection tree.
STEP 4:
- Select each dropdown from selection tree and attach it to its appropriate task.
- Use the Attach icon to attach the selection to its associated task.
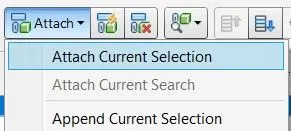
- Attach the appropriate selections for all tasks added to the timeliner.
STEP 5:
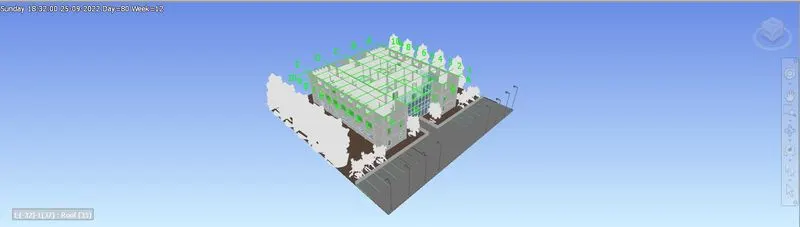
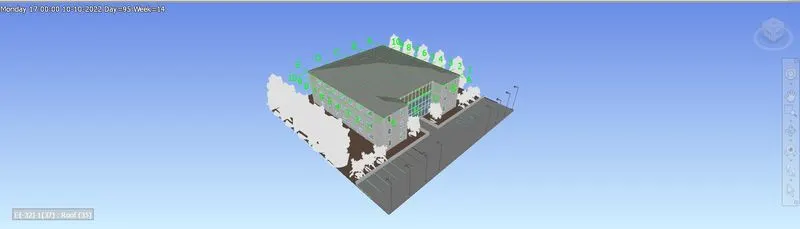
- To the simulate the tasks in the timeline click on Simulate tab-> Play button.
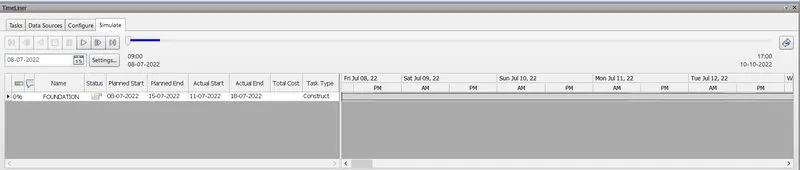
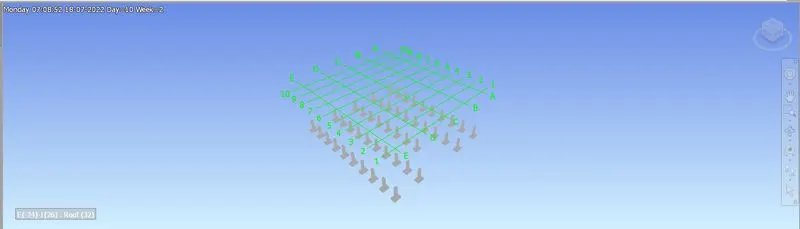
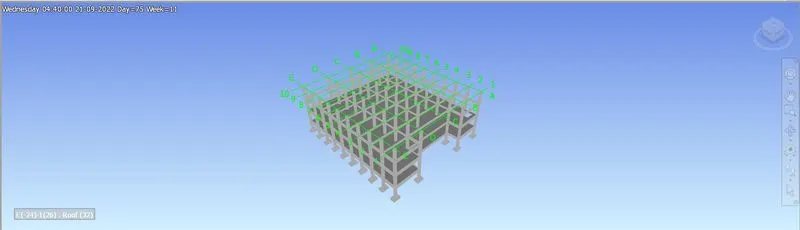
- The simulation of the construction begins to play as an animation.
- It can be paused, rewinded or forwarded using buttons in the dialogue box.
STEP 6:
- To save the timeline simulation select the Export animation icon in the corner.
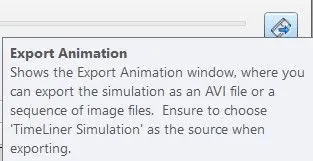
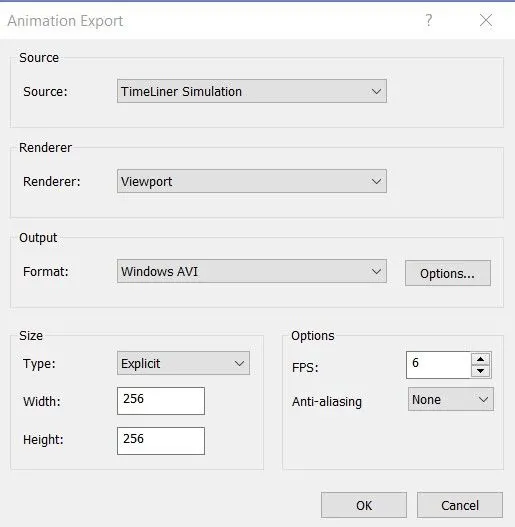
- Select the source as Timeliner simulation.
- Select any video format available as the Format.
- Click on OK
FINAL RESULT:
A schedule has been prepared succesfully with reasonable assumptions as task start date and end date, the task completion has been simulated as a visual simulation, recorded and saved to Navisworks file.