Usage of Navigation tool , Timeliner and Clash Detection test using Naviswork
ANS.1.
AIM :-
To Use the Architecture/ Structure Project file developed in Week 6 to 8. Export the Revit architecture and structure model to Navisworks Cache file following the export settings discussed in class
INTRODUCTION :-
Revit software from Autodesk can be used to capture design intent efficiently and accurately in 3D; producing consistent, coordinated, and complete model-based building designs and documentation.
PROCEDURE :-
Open revit software and then open the project file which we have created in week 6
After opening the file go to the file option and then select the export option from there
From export option go to the nwc to export the file as Navisworks file
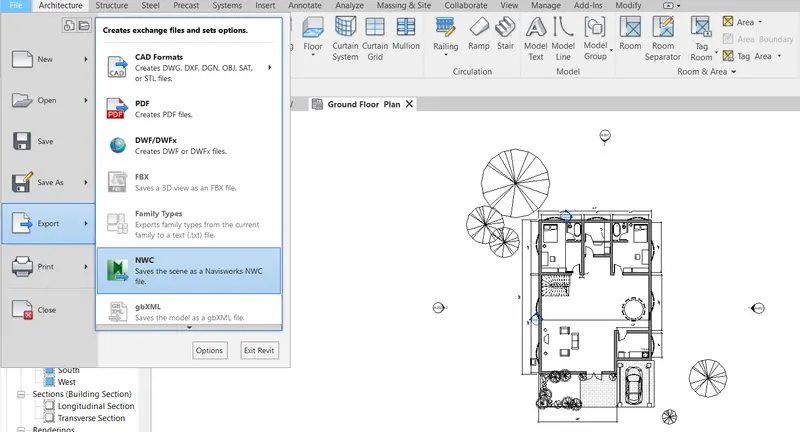
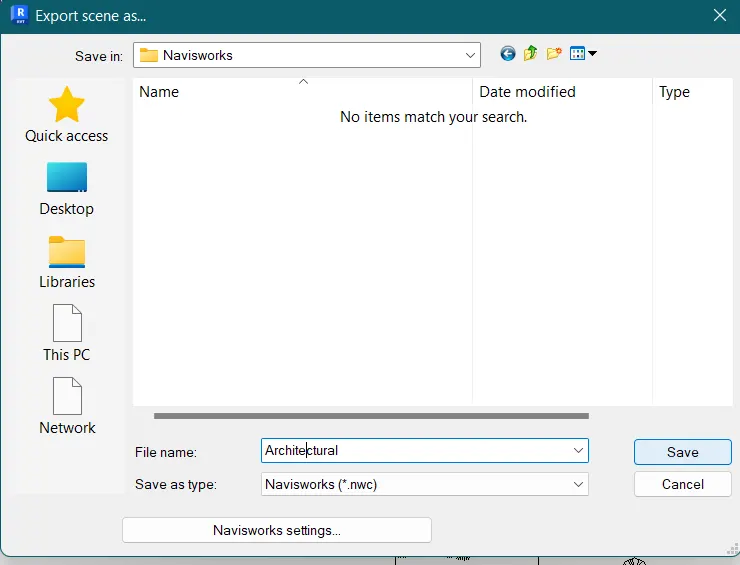
Then a dialogue box will open
Give the appropriate name to the structure file which you want to make as a Navisworks file and also select the appropriate format for that file and then click on the save option
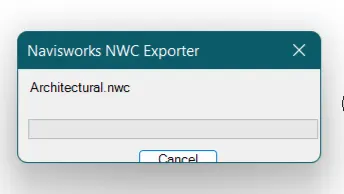
After that a small dialogue box type will open and you will get to know about the exporting of the file from the dialogue box
Similarly do it for the structural model also to export the file to Navisworks file.
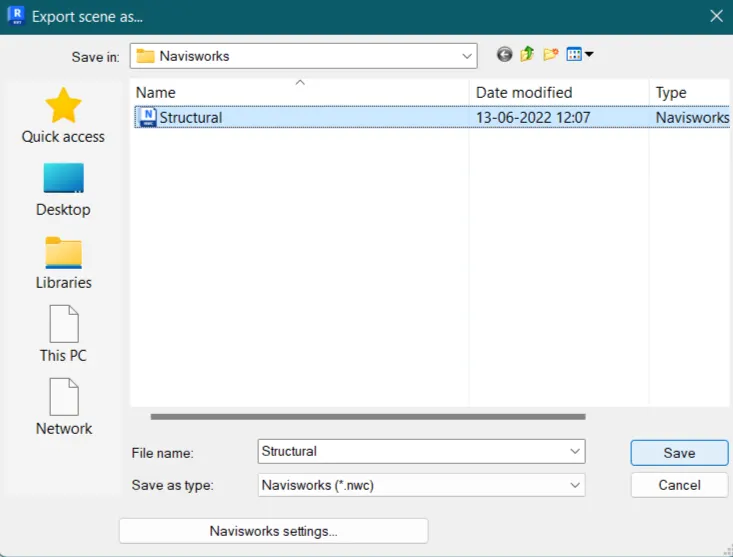
RESULT :-
Hence the project file has been exported to the Navisworks file as both architectural and structural model.
ANS.2.
AIM :-
To Use Navigate Tool to walk around the model and walk through the rooms created and record your moving as animation in your Navisworks file
INTRODUCTION :-
Revit software from Autodesk can be used to capture design intent efficiently and accurately in 3D; producing consistent, coordinated, and complete model-based building designs and documentation.
PROCEDURE :-
Firstly go to the Navisworks software
Click on the file tab and then click on the open option
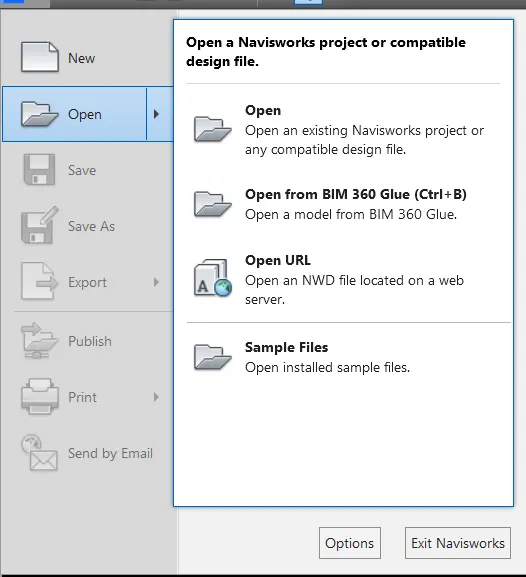
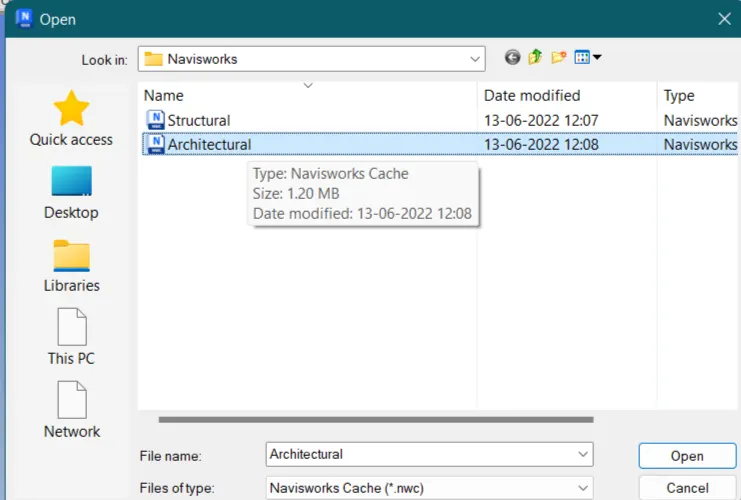
After clicking on the open option there open a new dialogue box
Select the model which you want to open
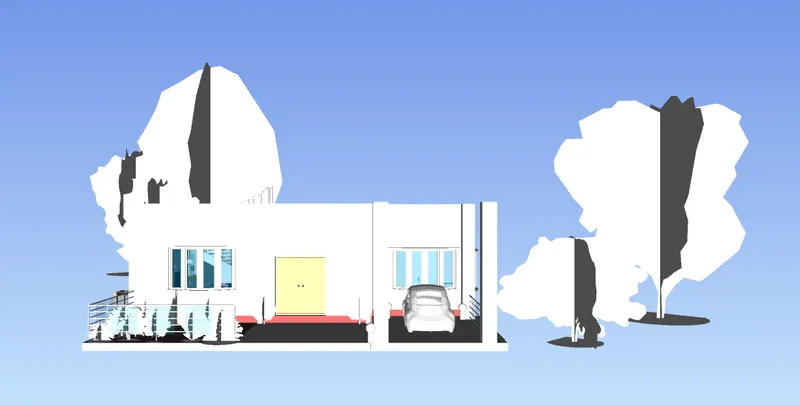
And hence our exported model has been opened
Then go to the viewpoint tab and click on the save view point option
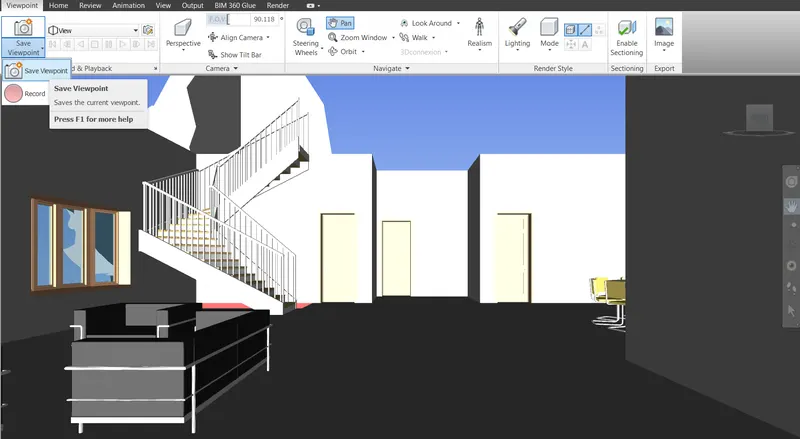
Then you can rename it from the saved view points tab
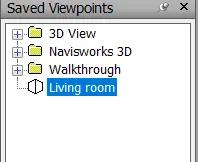
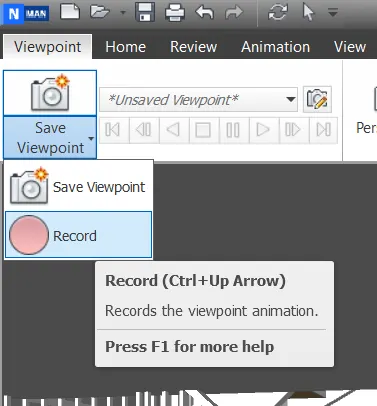
After that click on the view point option again and click on the record option
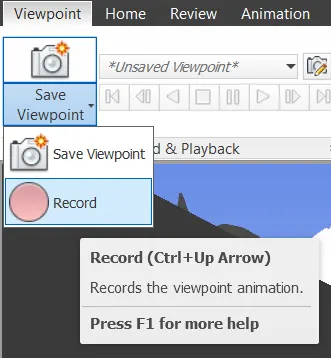
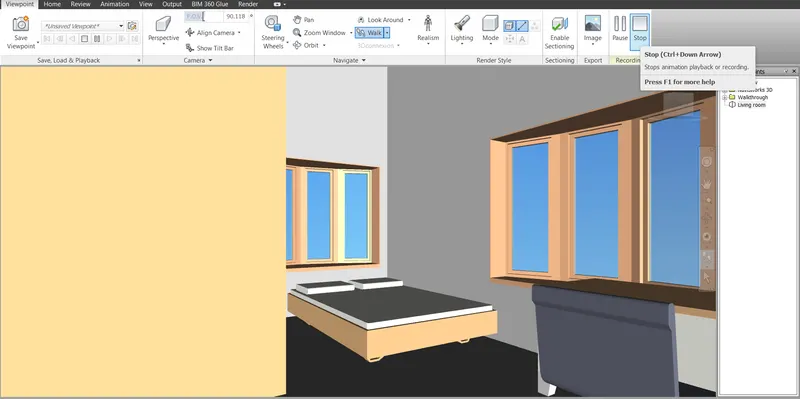
Then you will find out walk option on the viewpoint menu only and then click on the walk option to walk into your model
 and hence now you can move walk into your model and then click on the stop button to stop the animation video
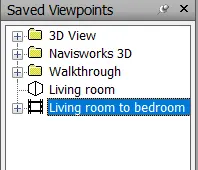
Now you can see the animated video in the saved viewpoints tab and also you can rename it.
RESULT :-
Hence the walk tool has been used in our model to walk through the rooms and also recorded as animation in our file.
ANS.3.
AIM :-
Use Navigate tool to use Realism feature to walk through the model and record your moving as animation in Navisworks file.
INTRODUCTION :-
Revit software from Autodesk can be used to capture design intent efficiently and accurately in 3D; producing consistent, coordinated, and complete model-based building designs and documentation.
PROCEDURE :-
Open your attached model and then go to the view point option where you will find a realism feature
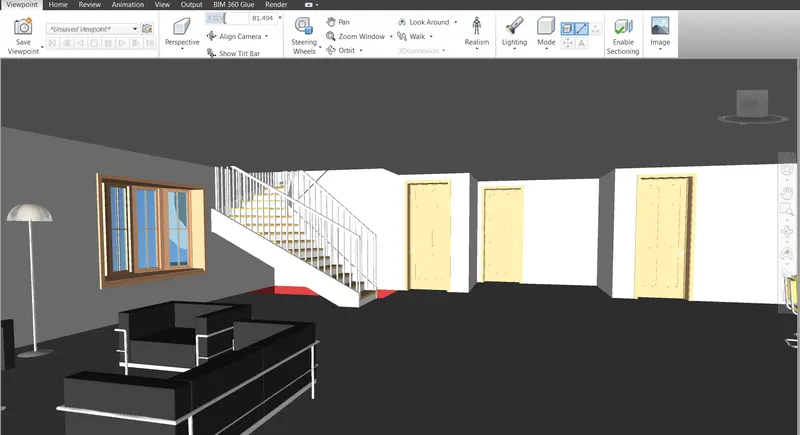
Click on the realism feature and then click on the third person option
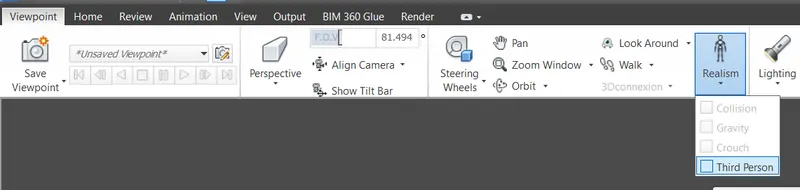
And hence now you can see that realism feature has been activated as the person has come in the drawing
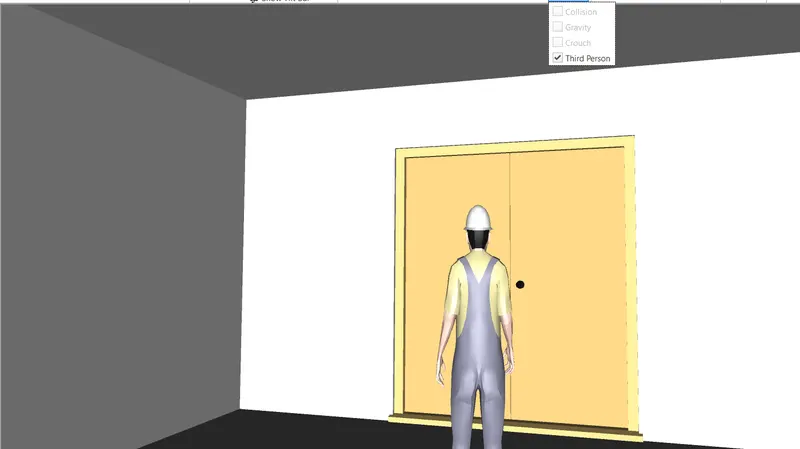
To make the video of that walk of the person, go to the view point option and then click on the record button
Now you can walk into your model by clicking the mouse buttons slowly and also by the scroll button to scroll through the model
Then go to the stop button to stop the animation video which was being created
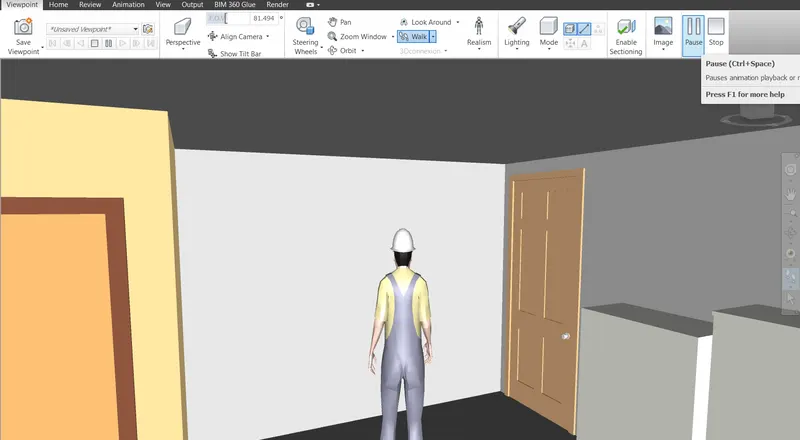
To see the video that has been created
go to the animation tab and they are you will find the video naming animation 1 which we have created.
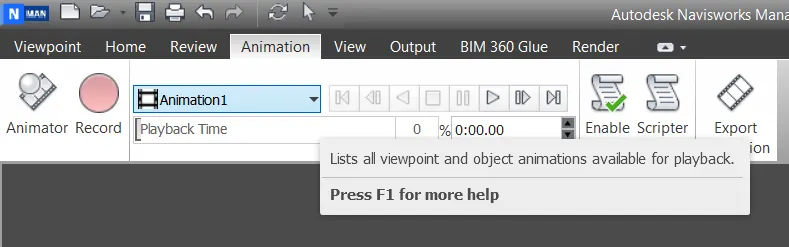
RESULT :-
Hence the realism feature has been used to walk through the models and also recorded our animation in Navisworks software.
ANS.4.
AIM :-
To embed both architecture and structure *.nwc file to your Navisworks file. Create a clash detection test between the two models
a. Run the Clash Detection Test
b. Study the clashes between the two models
c. List which of the clashes could be approved
d. List which of the clashes could be neglected ( will be taken care later)
e. List which of the clashes can be resolved
f. Save the results after color coding the clashes to the Navisworks file
g. In case of resolution annotate the clash and save the view to defined views in Navisworks
INTRODUCTION :-
Revit software from Autodesk can be used to capture design intent efficiently and accurately in 3D; producing consistent, coordinated, and complete model-based building designs and documentation.
PROCEDURE :-
Open your Naviswork software and then open the project which you have attached
Then go to the home tab and click on the append option
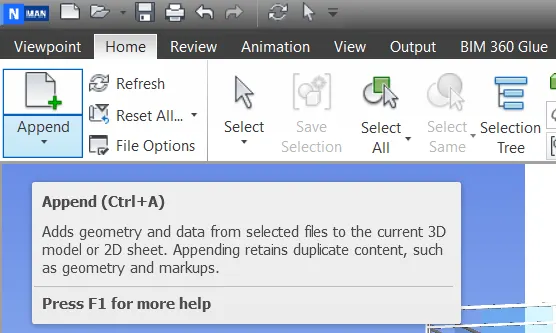
After clicking on the append option there opens a dialogue box in which selection of structure can be done
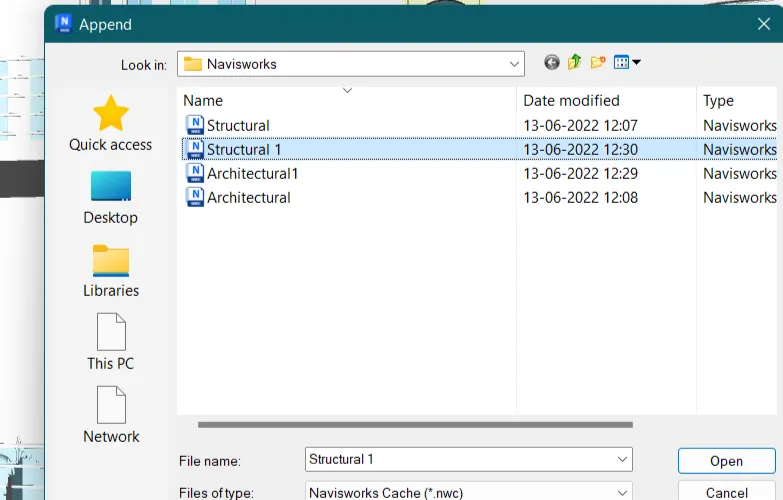
Select the structures which you want to append
After that again go to the home tab and then click on the Clash detective option to detect the clash.

Therefore a new dialogue box will open for Clash detection
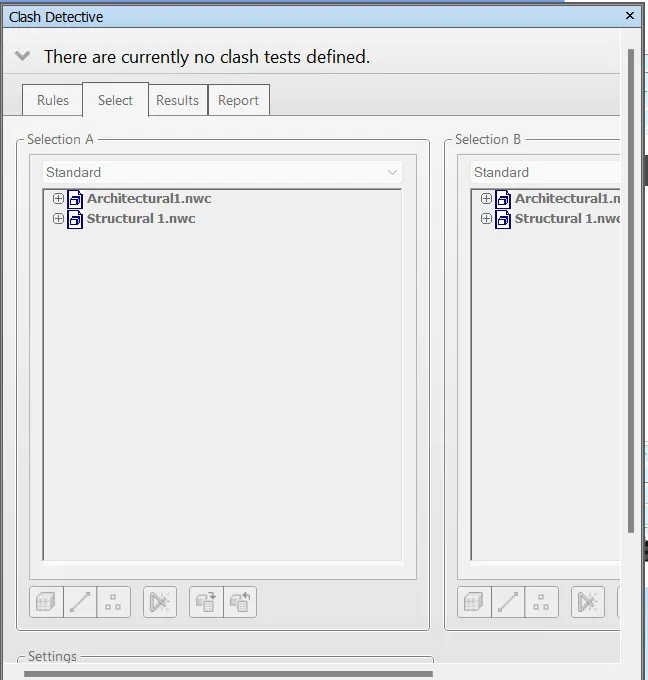
After that click on the clash detective dialogue box and click on the add test to add new test
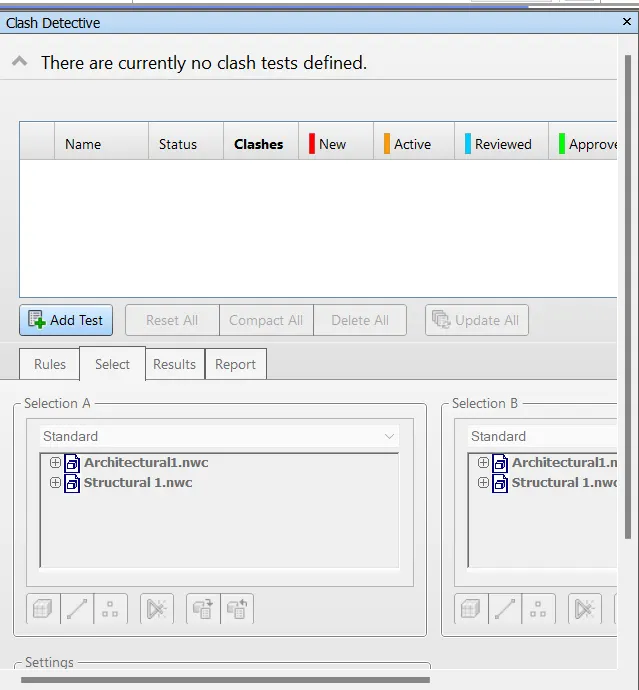
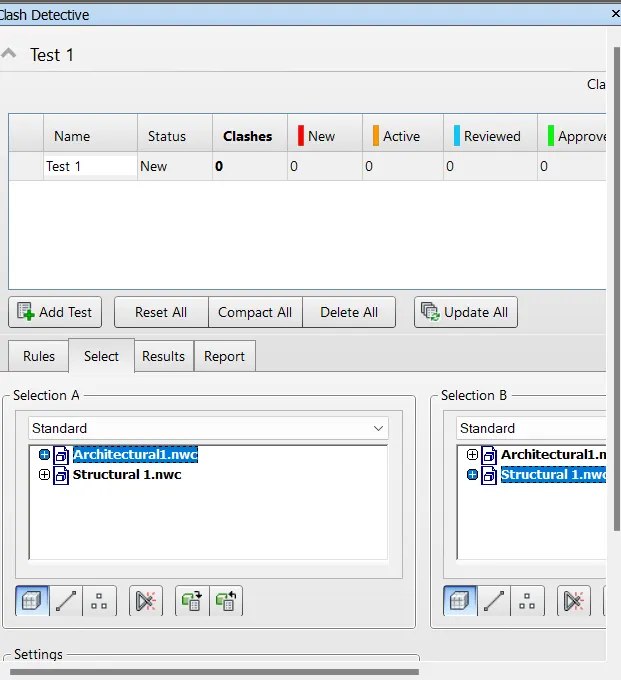
Hence new test had been added and then select the architectural from the selection one and structural from selection 2
After that click on the run Test option
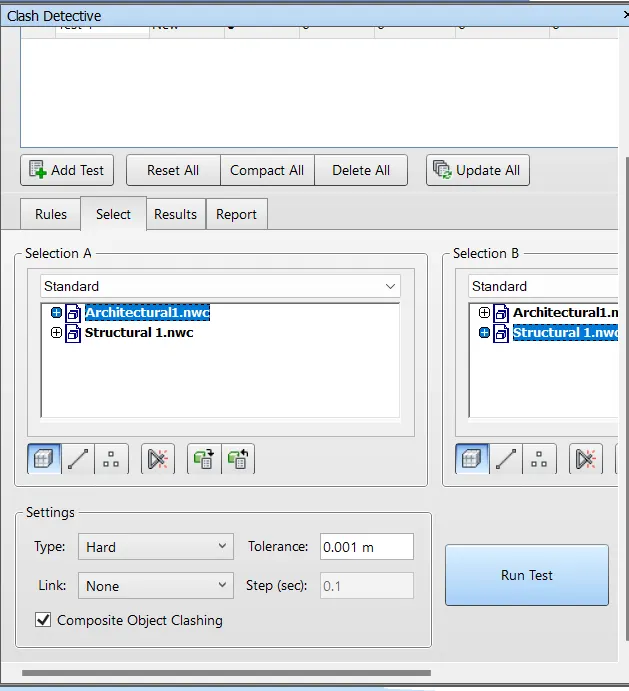
Hence now you can see the number of clashes that have occurred
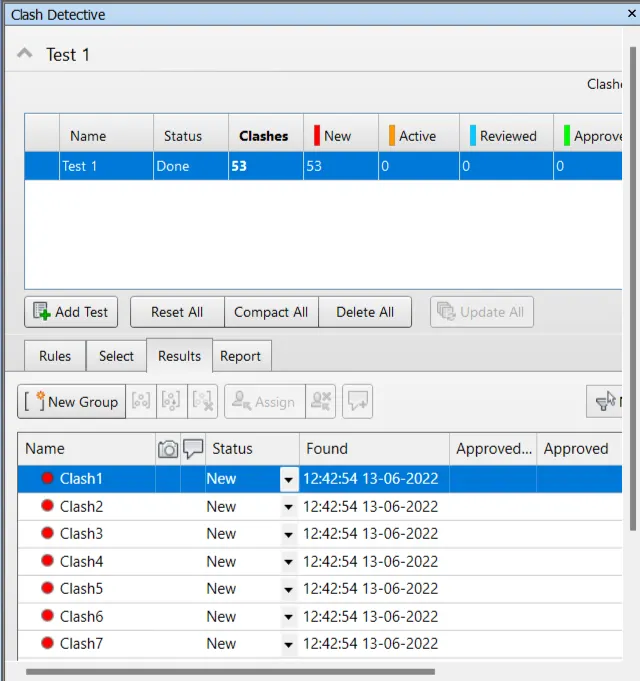
Then to review the clashes just click on the Clash and then select the type of status which you want to give as per the condition
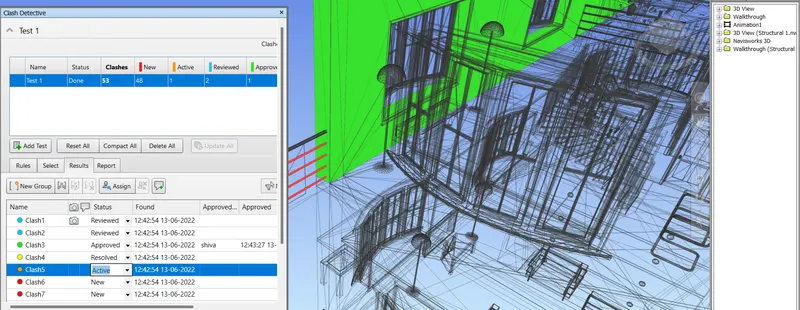
RESULT
Hence, both architectural structural files have been embedded and the class detection between the two models are also done.
ANS.5.
AIM :-
To prepare a schedule for the project developed in week 6 to 8 by adding reasonable assumptions for task start date and end date and simulate the task completion as a visual simulation. Record it and save the timeline simulation to Navisworks file
INTRODUCTION :-
Revit software from Autodesk can be used to capture design intent efficiently and accurately in 3D; producing consistent, coordinated, and complete model-based building designs and documentation.
PROCEDURE:-
Open Navisworks software and open the exported file from revit software
Then go to the home tab and then go to the timeliner option

A dialogue box will open naming timeliner and then go to the selection tree option from the home tab only
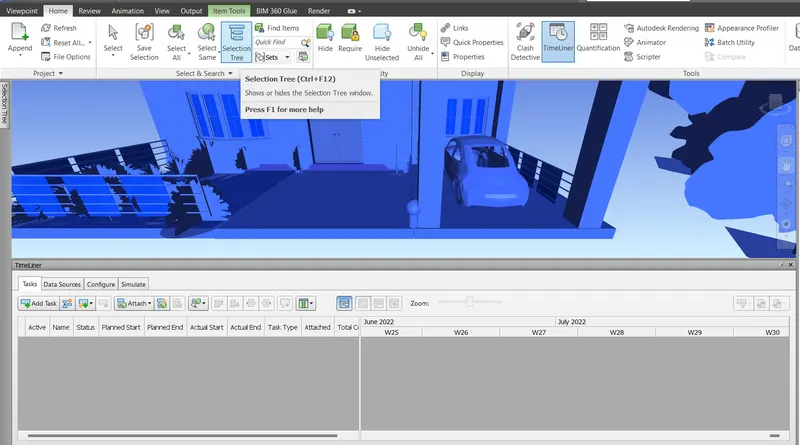
After that a selection tree will look like this
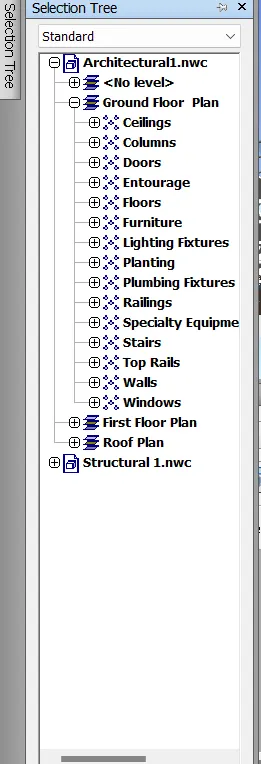
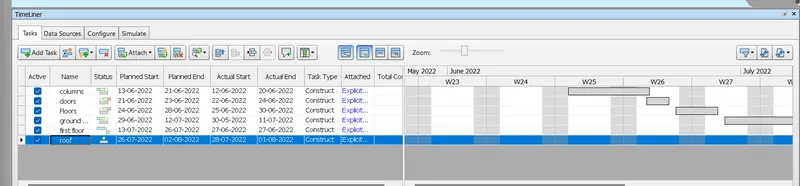
Then in the timeliner dialogue box add the task by using the addtask button
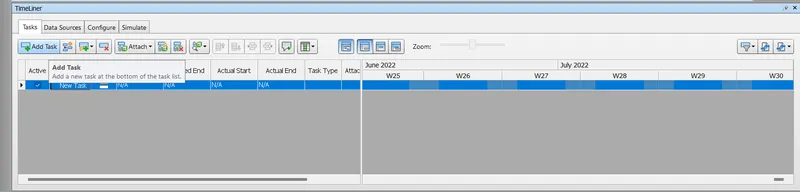
Then provide the task type as construction with proper start and end date and actual start an end date
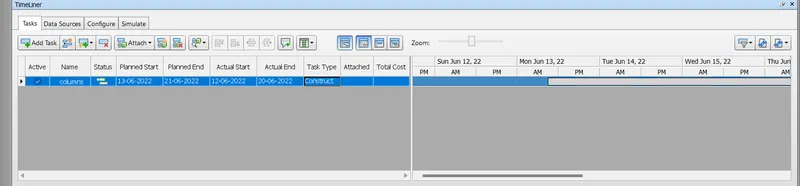
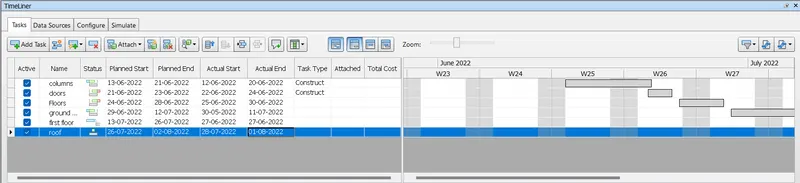
hence now you can see that different tasks has been assigned
Then go to the attach button and click on the attach current selection after selecting the same element from the selection tree
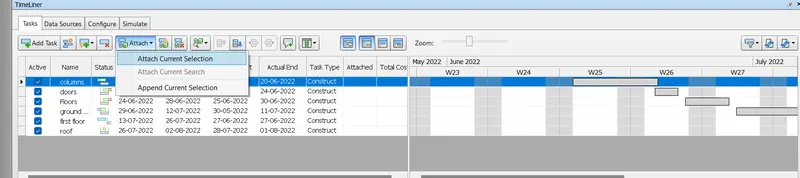
Do it for all tasks which you have added
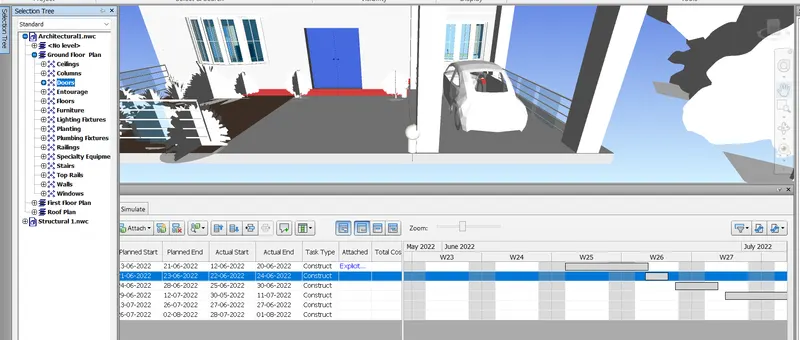
And then the timeliner dialogue box will look like this
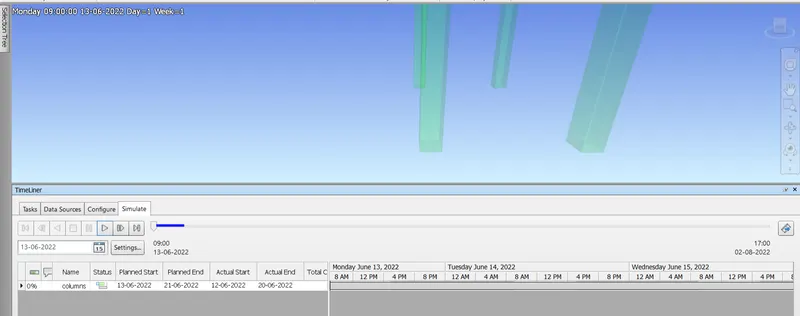
After that go to the simulate option and there you will get the video of the animation of the project with starting of construction from the options you assigned
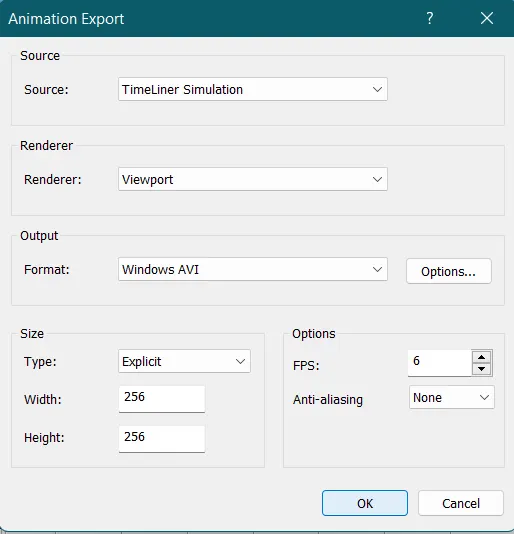
Then to export the simulate video which has been created go to the export animation option in the simulate tab and click on that
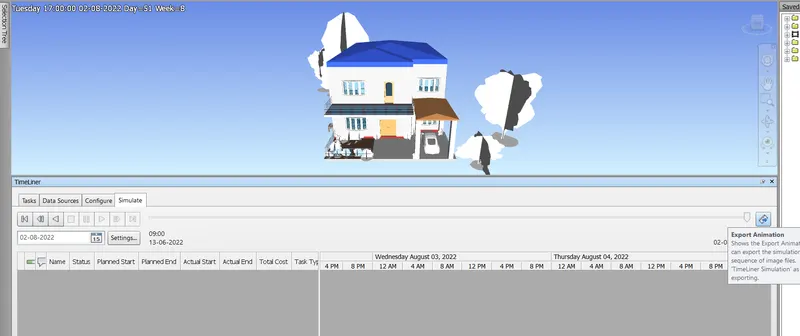
After clicking on that a new dialogue box will open naming animation export and then select the setting which you want to provide then click on the ok button to proceed
RESULT :-
Hence the timeliner feature has been used to prepare a schedule for the project and also the reasonable assumptions for task start date and end date and also the simulation of the task completion as a visual simulation is done and the file has been saved to the naviswork file.