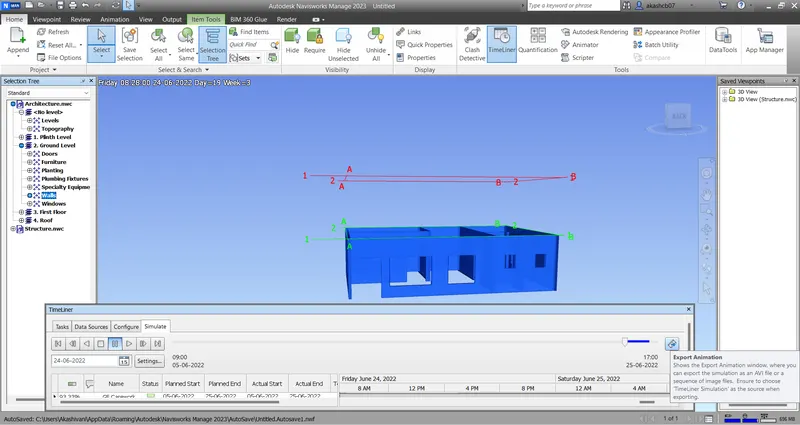
Usage of Navigation tool , Timeliner and Clash Detection test using Naviswork
Q.1 Ans
Aim: Export the Architecture and structure model in Naviswork file.
Procedure:
Step 1: Open the architecture file. Export this file to naviswork expert toolkit.
Go to File -> Export -> NWS.
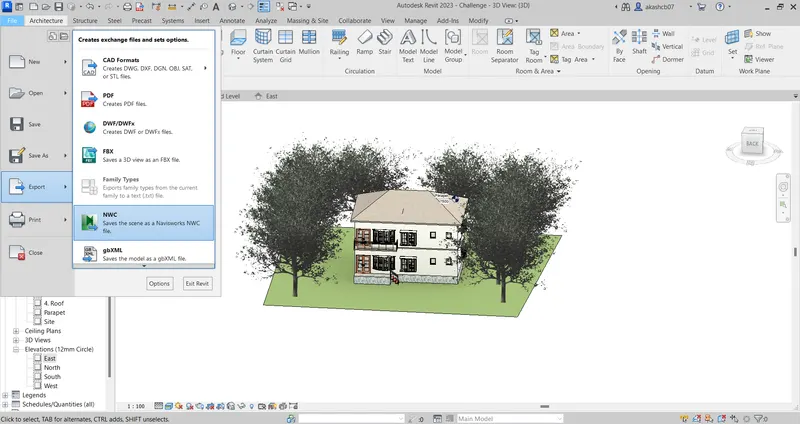
Step 2: Create a new folder Naviswork and Save this file as a archutectutral file.
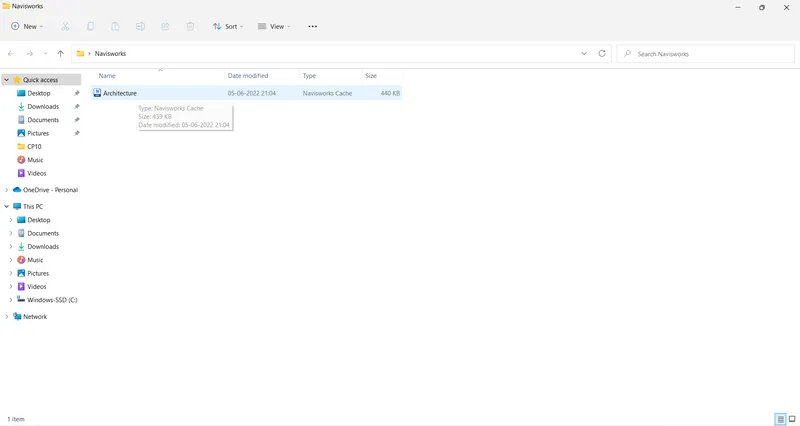
Step 3: Open a structural file and export to naviswork utility toolkit.
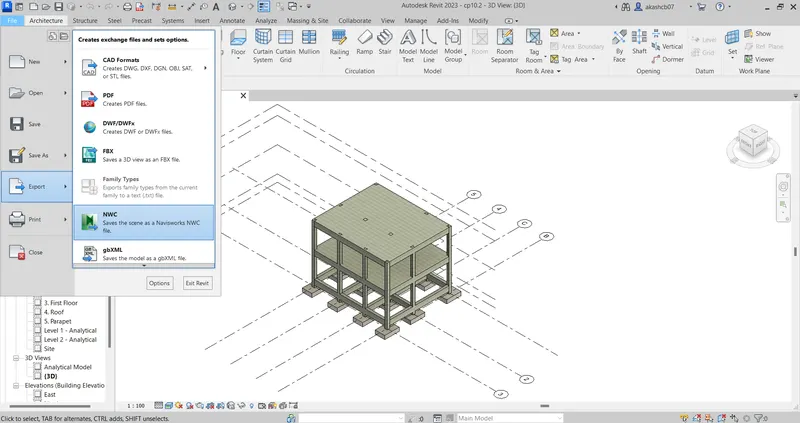
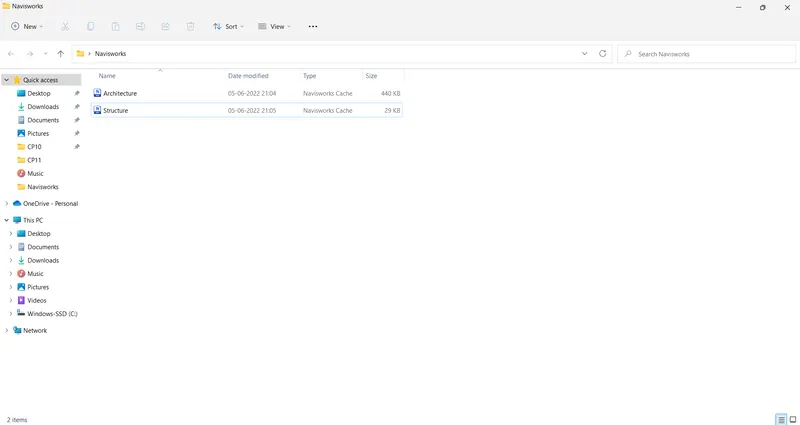
Step 4: Save the file in a same folder with name of structural.
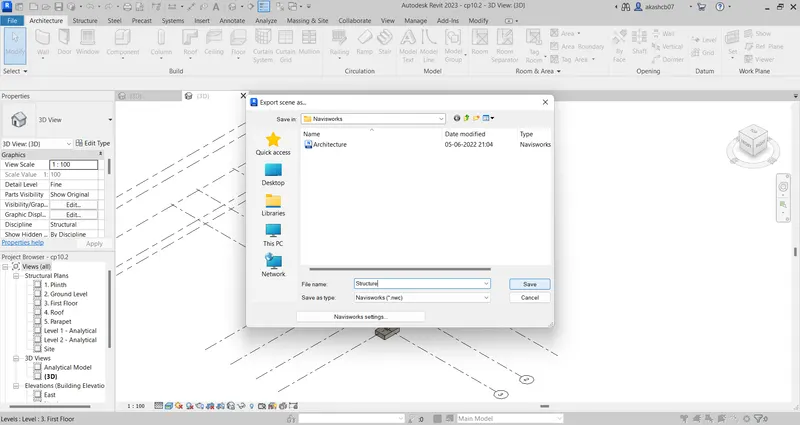
Result: The architectural and structural file is export in naviswork expert toolkit.
Q.2 Ans
Aim: Use the navigation tool to walk around the model.
Procedure:
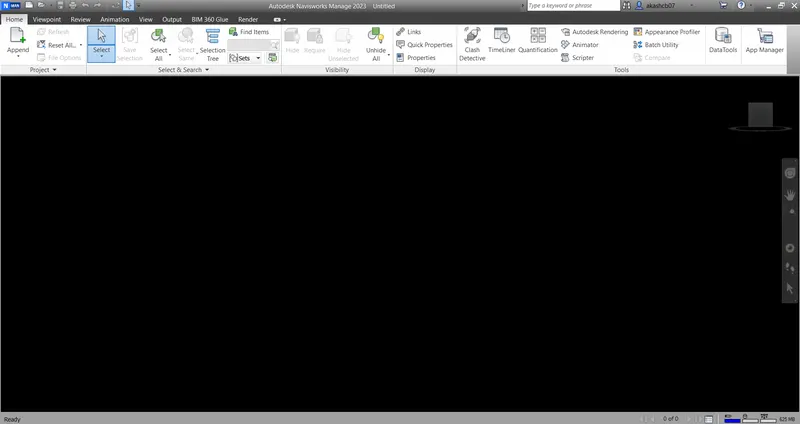
Step 1: Open the naviswork manage software.
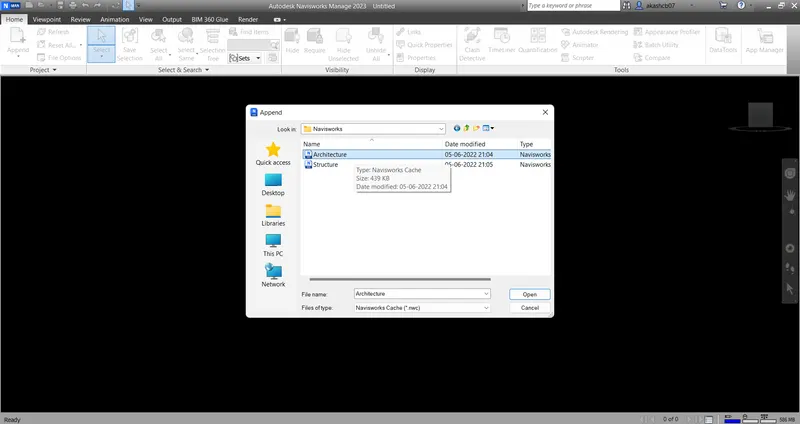
Step 2: Open the architectural file saved in the naviswork file.
Step 3: Go to viewpoint -> Navigation panel -> Walk command.
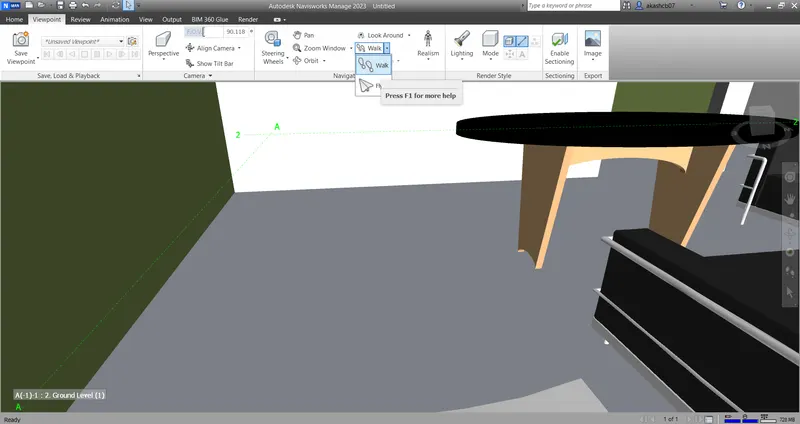
Step 4: Save the viewpoint rename the viewpoint.
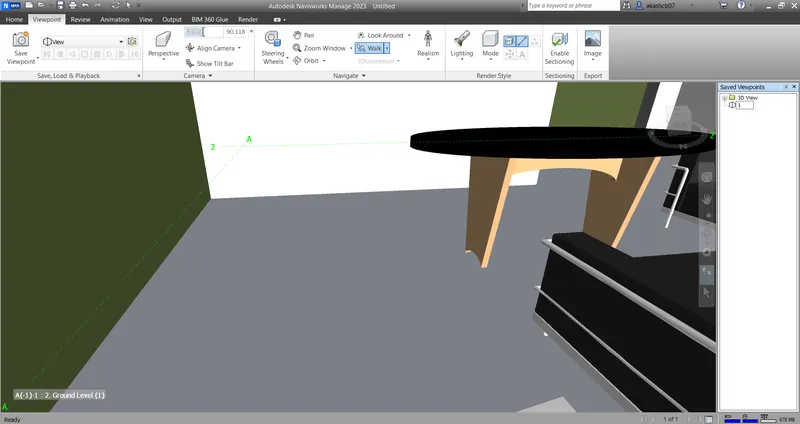
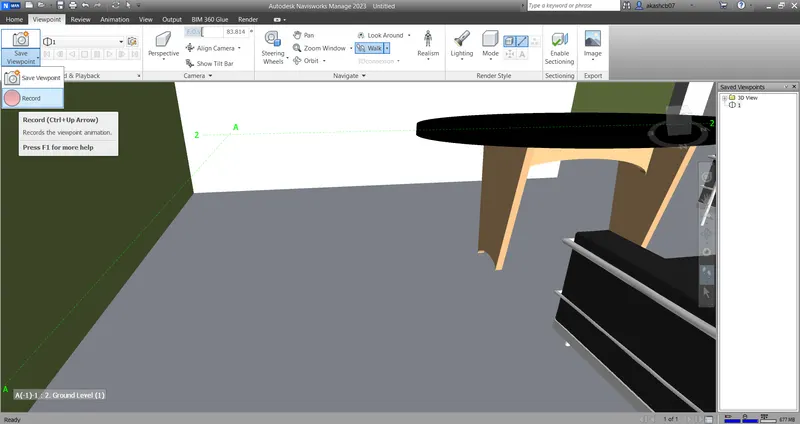
Step 5: Use the dropdown menu and choose the record point.
Step 6: To use the walk command use the mouse click and set forward the walk will be start.
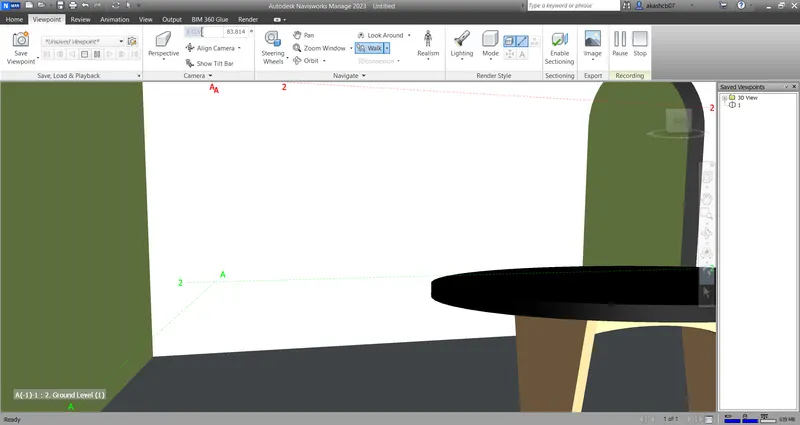
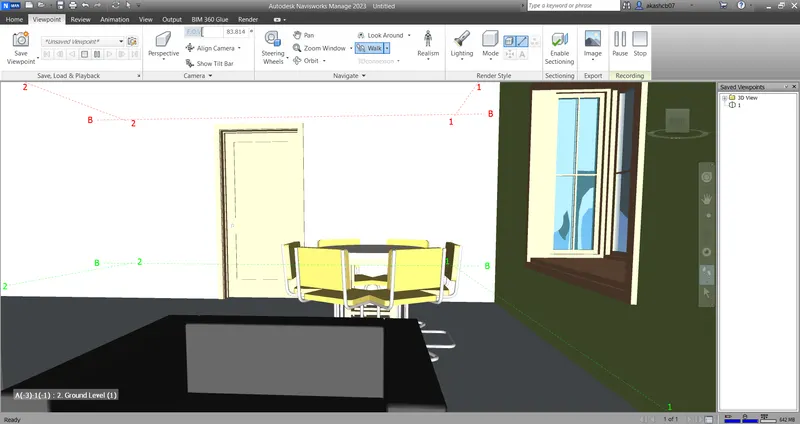
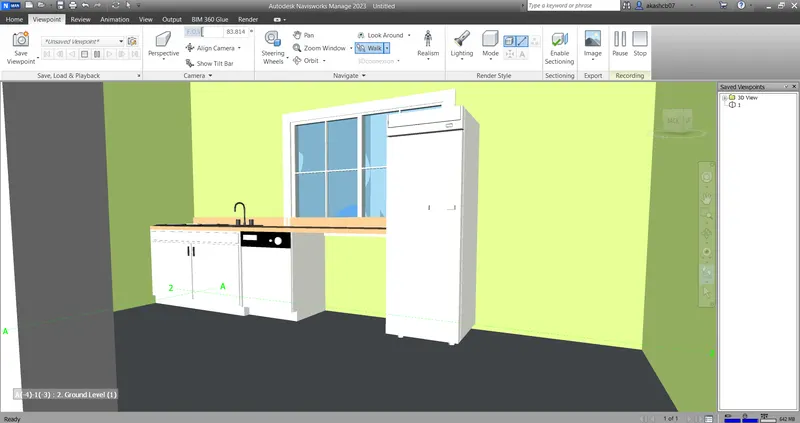
Step 7: To save the created view or recorded view stop the video.
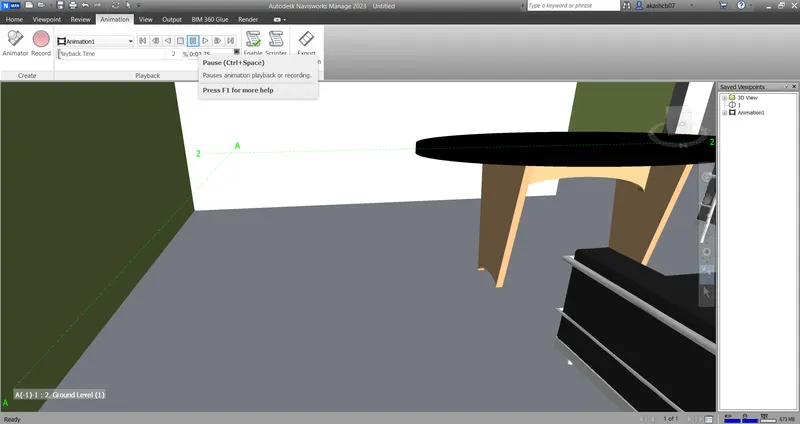
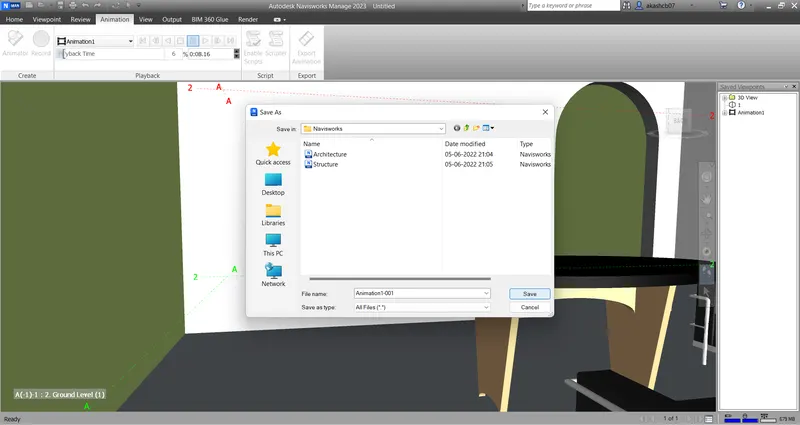
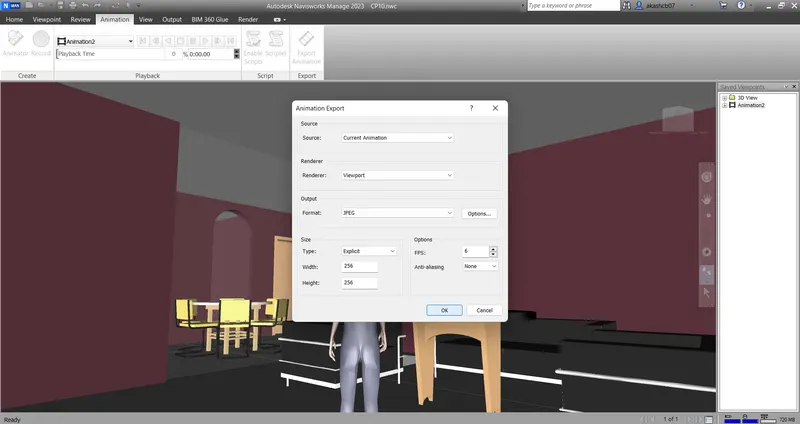
a. Go to export animation and select the parameters to save the video.
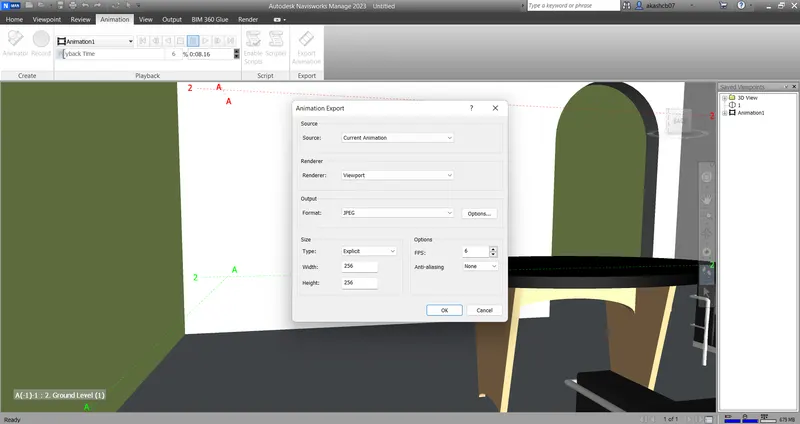
Result : The video is saved at the same folder with particular name.
Q.3 Ans
Aim: Use the navigation tool for Realism walk tool.
Procedure:
Step 1: Go to viewpoint -> Navigation panel -> Realism command.
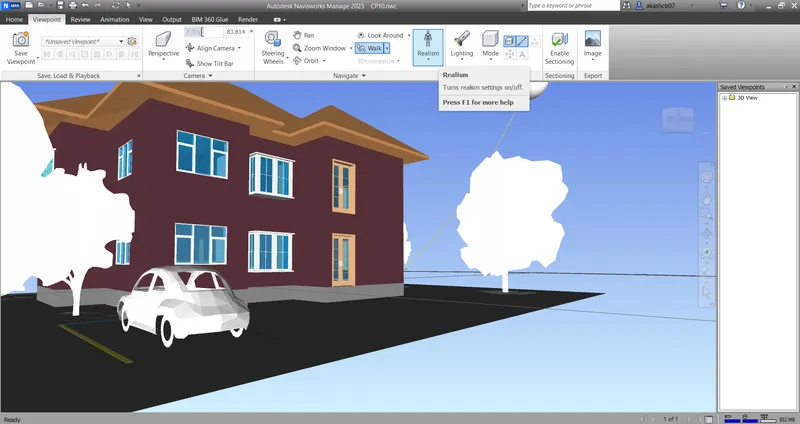
Step 2: In the dropdown menu select the thirdman option. The man will be shown as shown below.
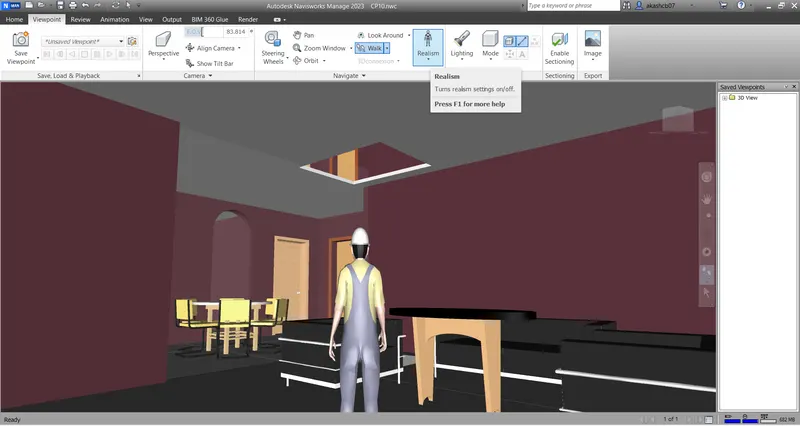
Step 3: To record the video same record panel will be available.
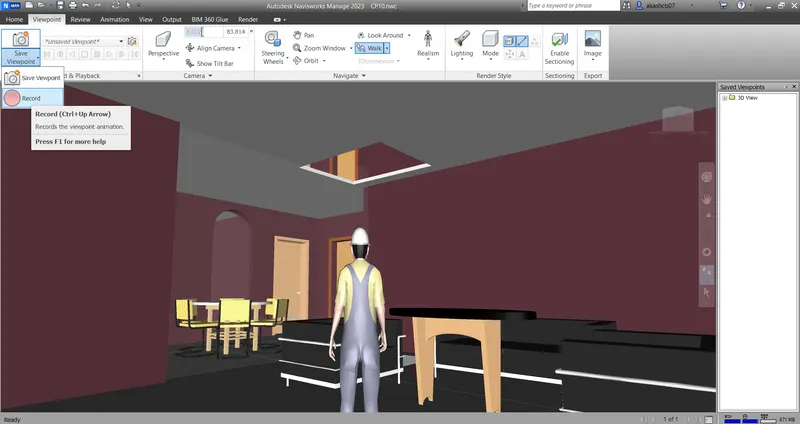
Step 4: Select the walk option and walk though out the room and to save the video go to animation export.
Q.4 Ans
Aim: Clash detection test.
Procedure:
Step 1: We have already the architectural model import the structural model to the same model.
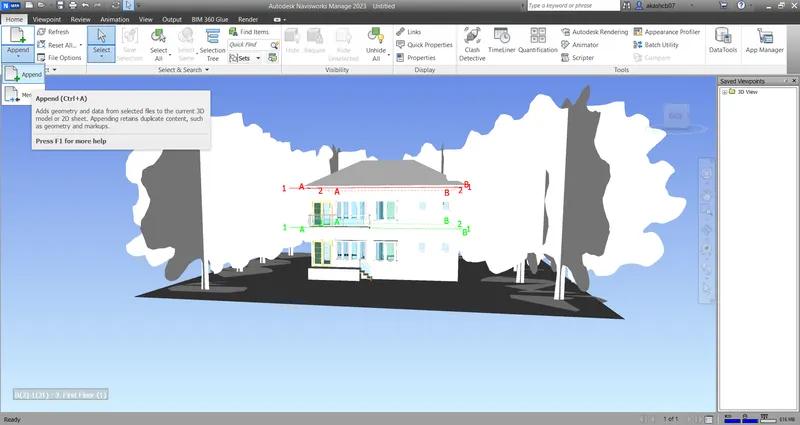
Step 2: Go to home -> tools -> Clash detective option.
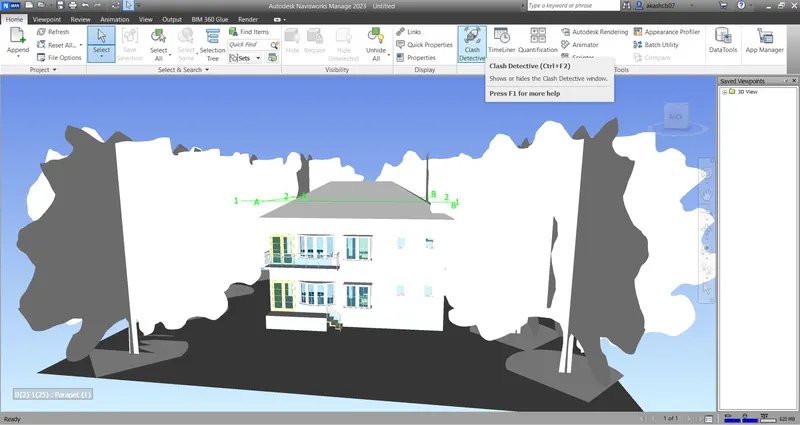
Step 3: The open architectural and structural model will be open in the clash detective. Add the new demo test.
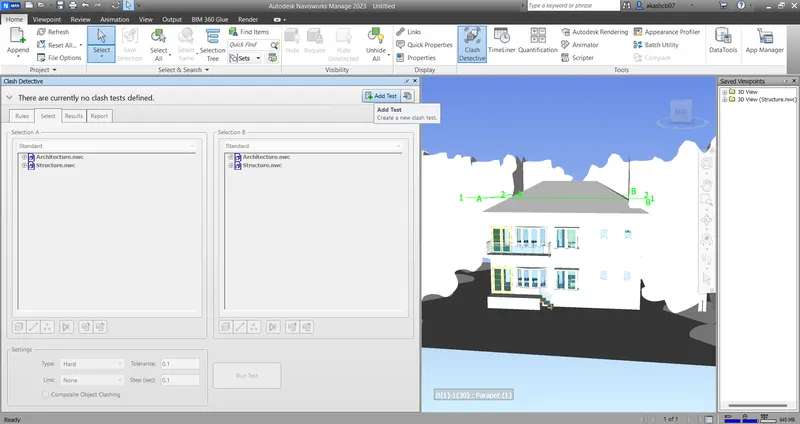
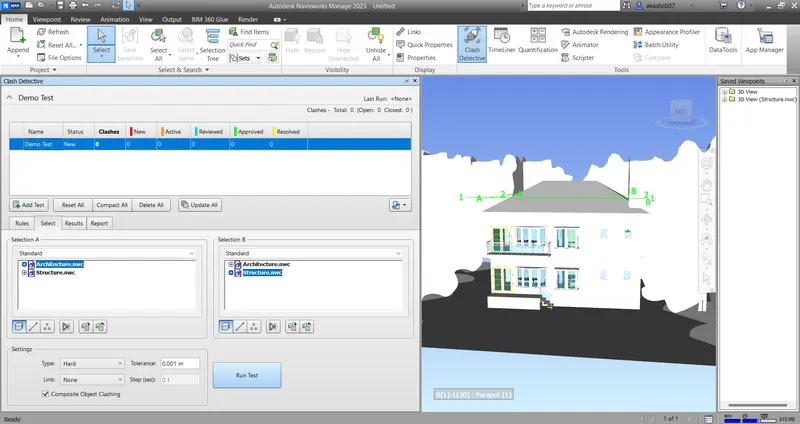
Step 4: Select the models and run the test the clashes will be created.
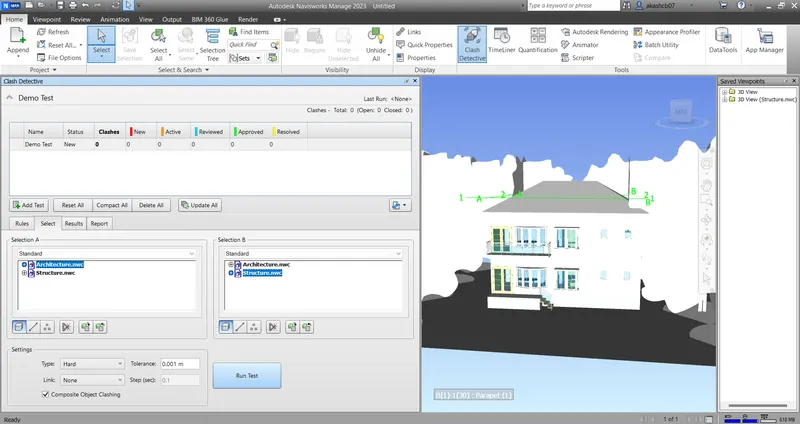
Step 5: Choose any of the clash and select the status of the clash.
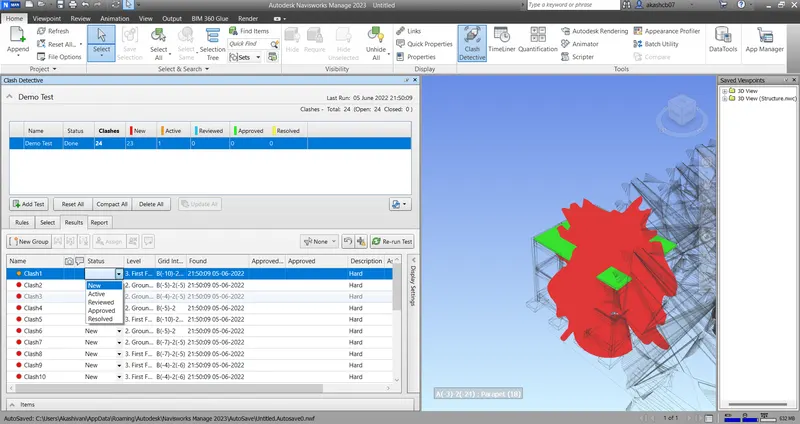
Step 6: As we selected the and change the status the same parameter will be selected in green colour.
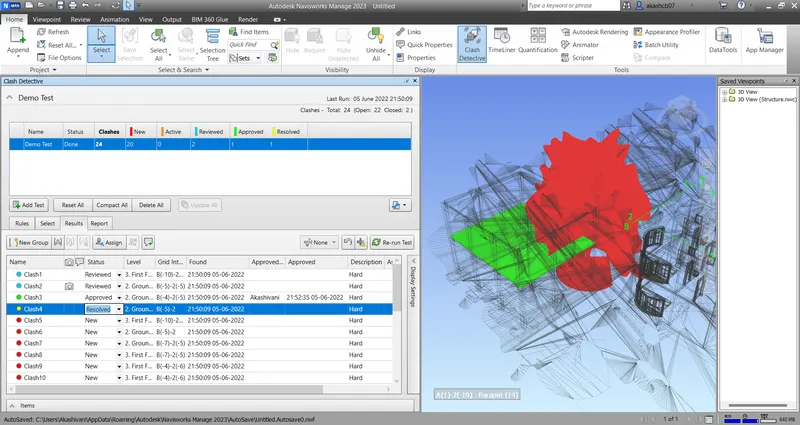
Q.5 Ans
Aim: Use the timeliner feature in Navisworks.
Procedure:
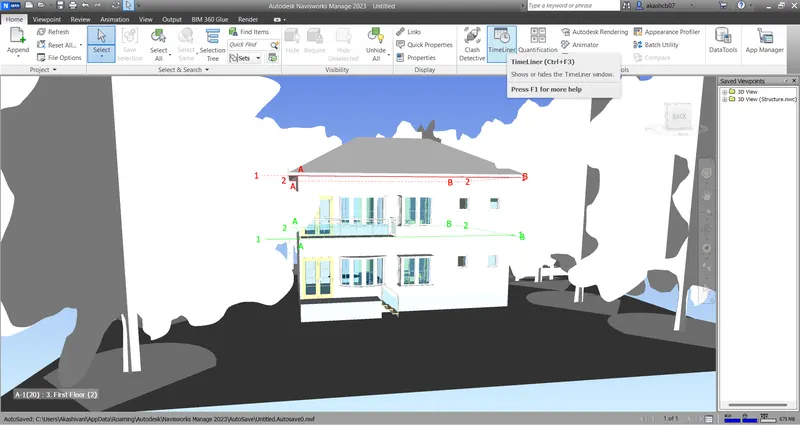
Step 1: Go to Home -> Tools panel -> Select the timeliner.
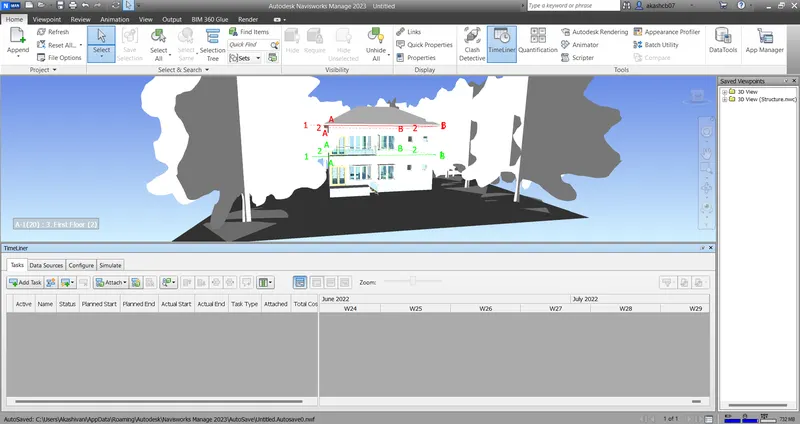
Step 2: In the timeliner window go to Add new task.
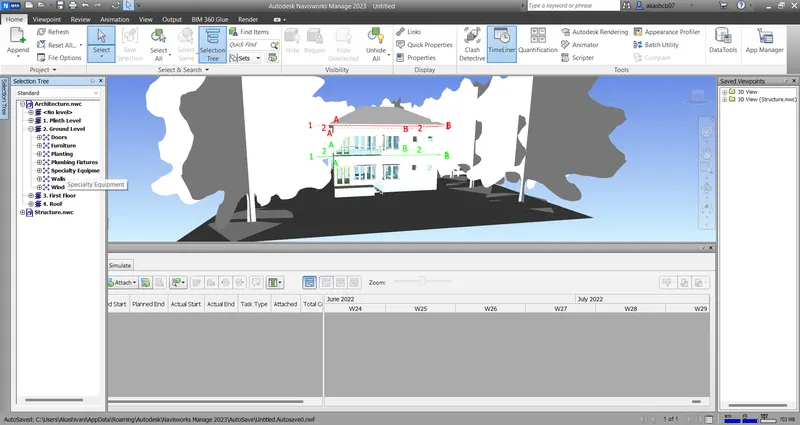
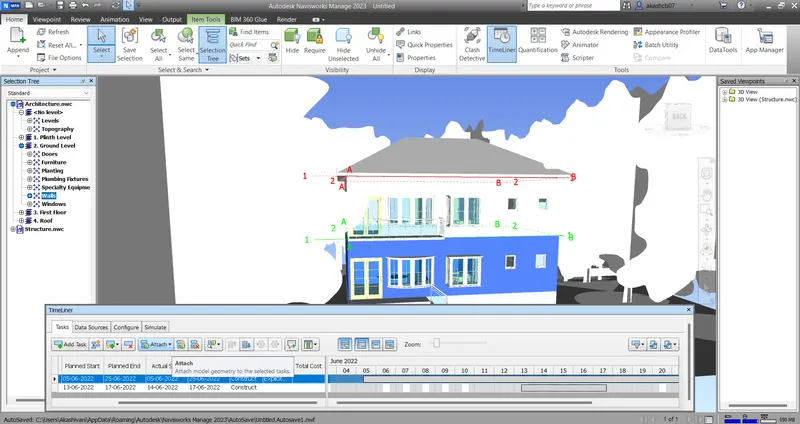
Step 3: Open the selection type and select any work.
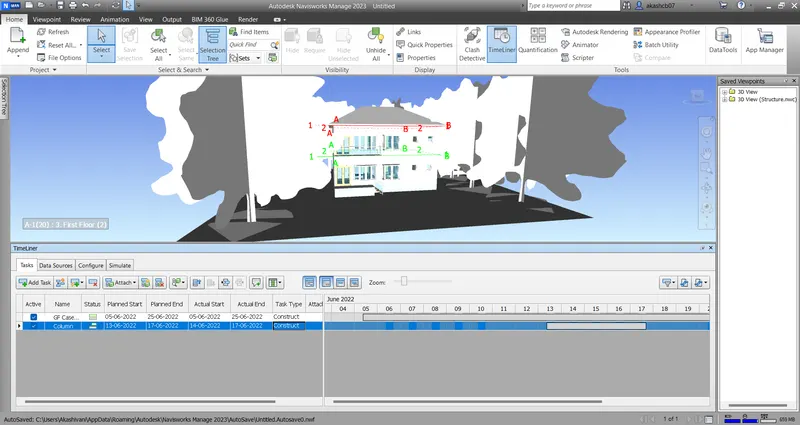
Step 4: Add the new task rename it and change the planned and actual date of the project.
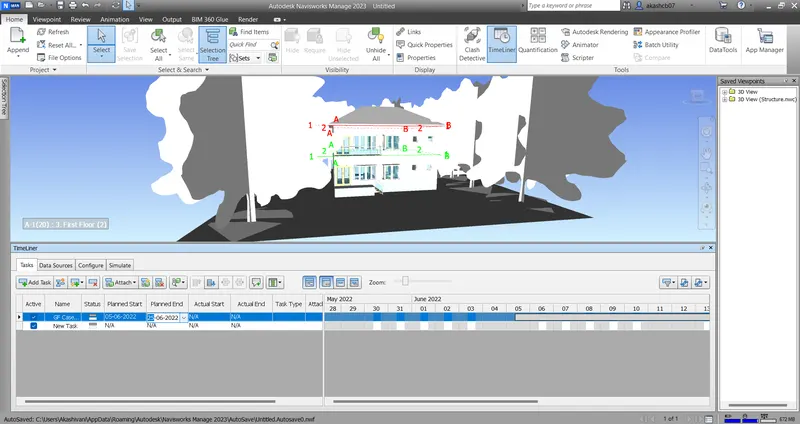
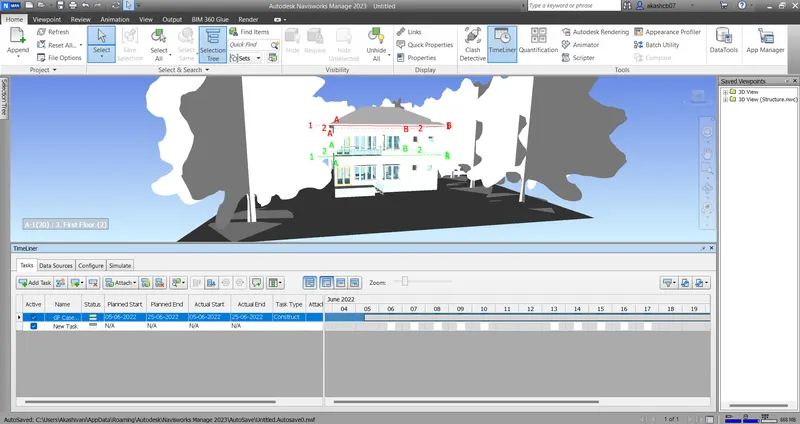
Step 5: Select the another parameter and add the same data.
Step 6: Go to attatch and attatch the same work parameter from selection type.
Step 7: Go to simulate and use the play button to show the work by planning and added task.
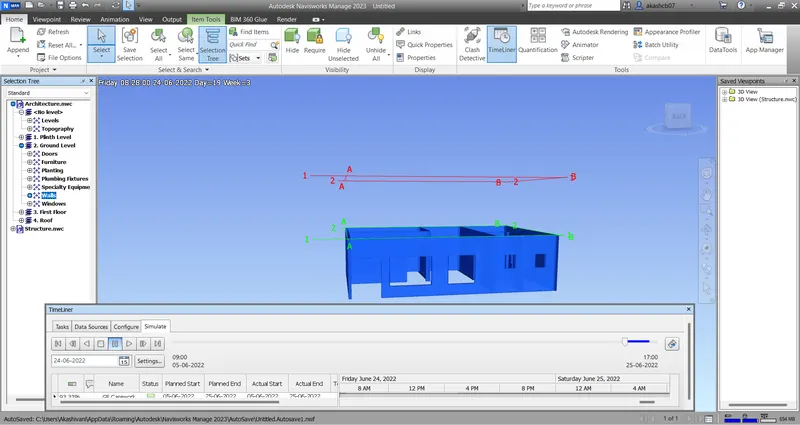
Result: The as the task added and planning the structure will be created.