Usage of Navigation tool , Timeliner and Clash Detection test using Naviswork
1.
Aim
To create a Navisworks file from Revit file and open in Navisworks software.
Procedure
- Open the existing Revit architectural file and then go to file.
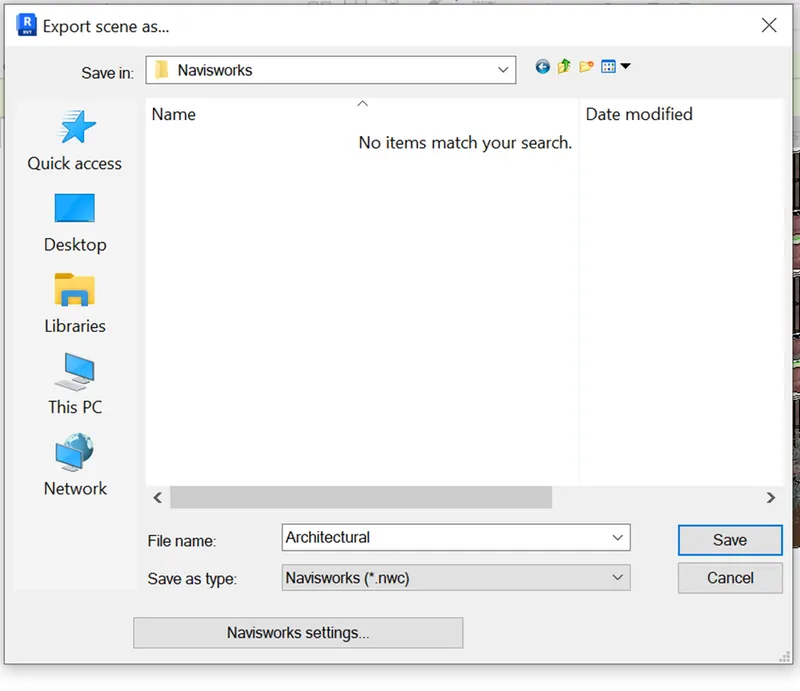
- There we have an option called Export click on it and choose .nwc format.
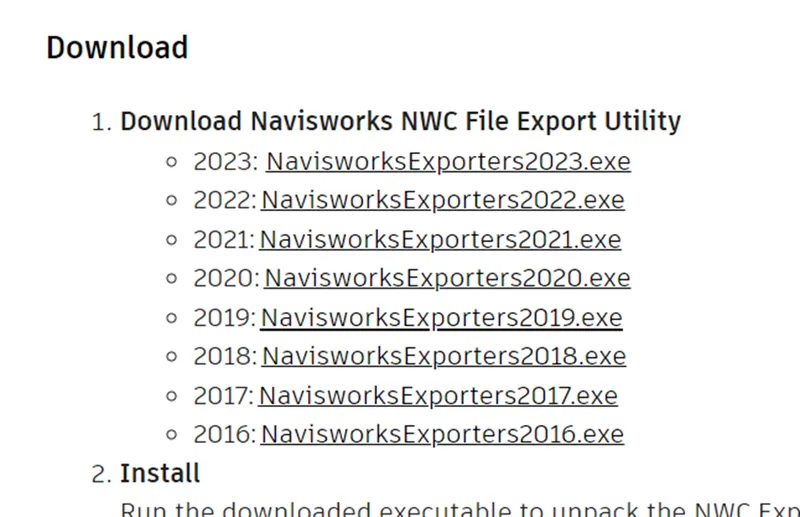
- If this format is not available, then go to google search for Navisworks exporter 2023.
- And download the file. Then go to Revit we will have this export option then click on it.
- Choose the location and file name, then save as nwc format.
- Thus, the file has been saved as Navisworks file.
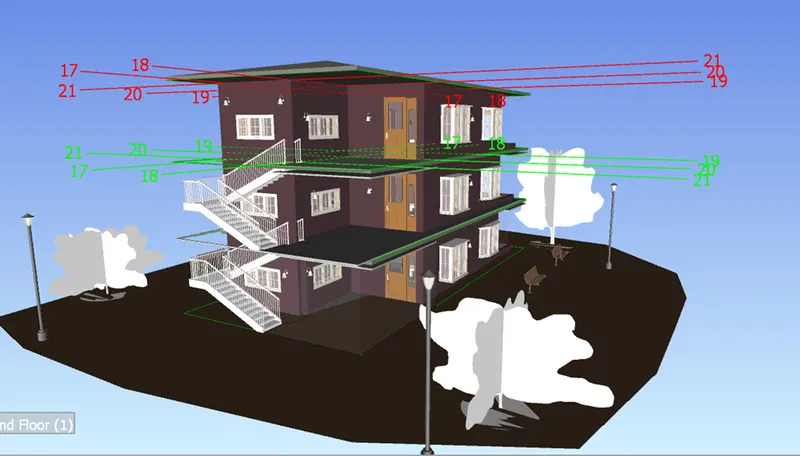
- Then go to Navisworks and choose open and open the saved architectural file.
- Similarly go to structural file in the Revit software
- And in file choose export option and export as Navisworks file and save it in the required location.
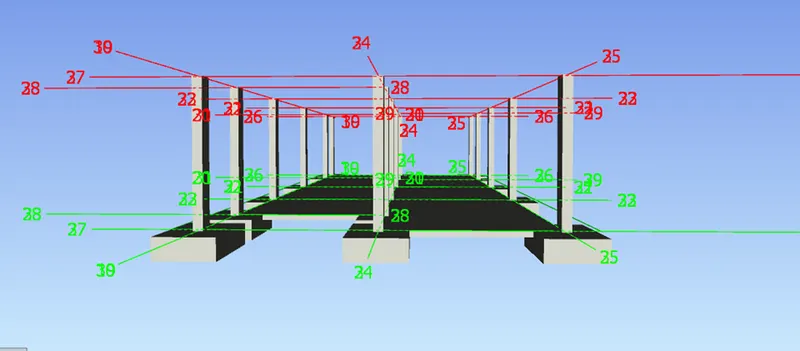
- And then open the Navisworks software and open the structural file.
Out put
Result
Thus, the Revit file has been saved as Navisworks file and opened in Navisworks software.
2.
Aim
To walk around the model and walk through the rooms and record the moving as animation by using Navisworks.
Procedure
- Go to Navisworks software, go to file and open the saved nwc format file.
- Use the courser to get into the model.
- Then go to viewpoint tab and there is an option called walk click on it.
- Then in save viewpoint option to start recording the walk.
- Then use the courser to wall through the model.
- And save the walkthrough as a recording by clicking stop.
- The saved viewpoints will be available in the animation tab.
- We can play the recorded walkthrough.
- If we required to save the video then there is an option called Export Animation in Animation tab. Click on it and choose source and format and click ok.
- And save the file in destination folder.
Output
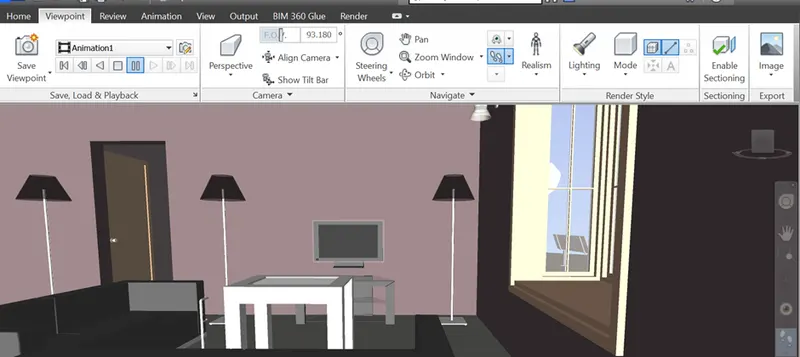
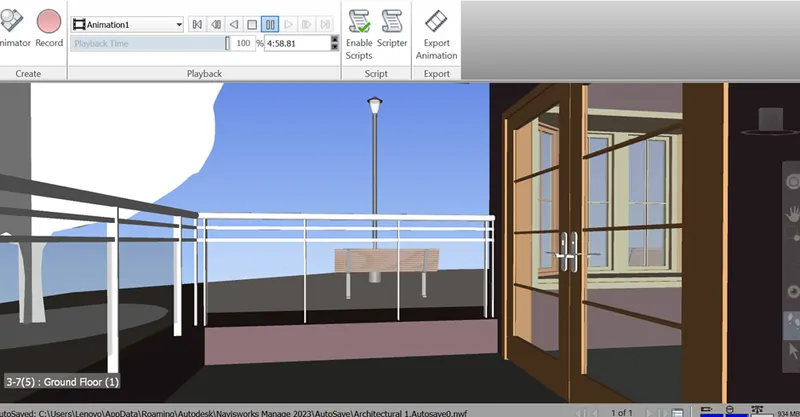
Result
Thus, the walk through the model is created and the video is saved in the folder.
3.
Aim
To walk around the model and walk through the rooms with realism and record the moving as animation by using Navisworks.
Procedure
- Go to Navisworks software, go to file and open the saved nwc format file.
- Use the courser to get into the model.
- Then go to viewpoint tab and there is an option called Realism click on it.
- Then go to save viewpoint option to start recording.
- Click on walk option to start walking with realism. Then use the courser to wall through the model.
- And save the walkthrough as a recording by clicking stop.
- The saved viewpoints will be available in the animation tab.
- We can play the recorded walkthrough.
- If we required to save the video then there is an option called Export Animation in Animation tab. Click on it and choose source and format and click ok.
- And save the file in destination folder.
Output
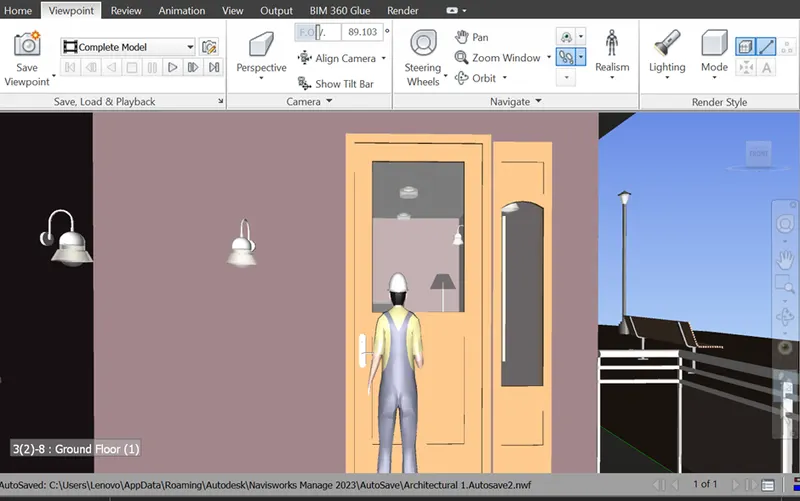
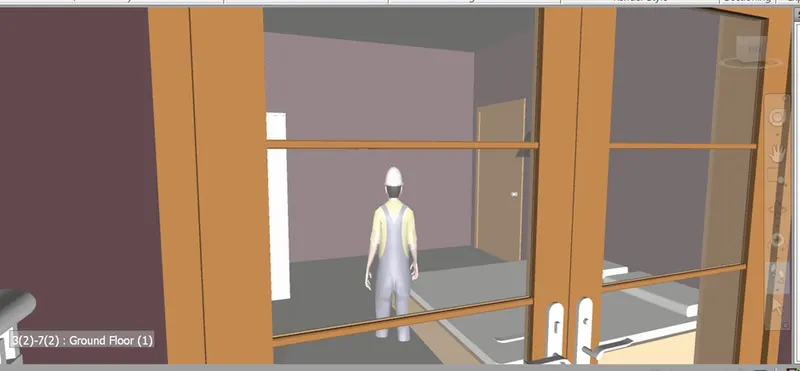
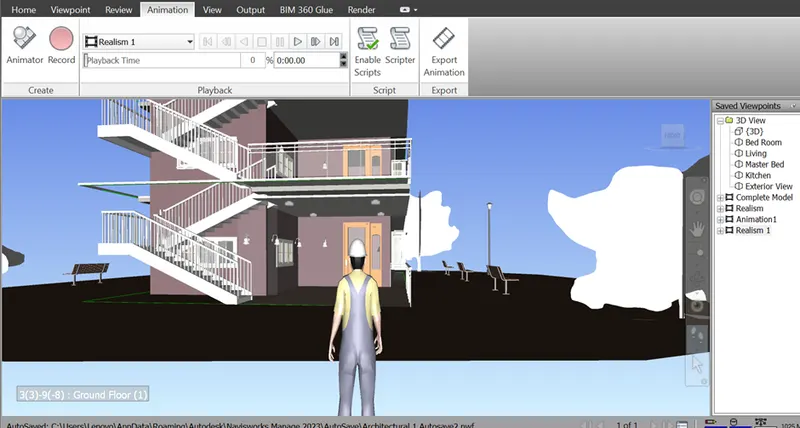
Result
Thus, the walk through the model with realism has been created and the video is saved in the designated folder.
3.
Aim
To do clash detection test for the Structural and Architectural model by exporting to Navisworks.
Procedure
- For exporting to Navisworks Go to Revit software and use project base point option to create a base point in Architectural file.
- Then open the structural file and create a project base point and enter the same values as on the architectural file.
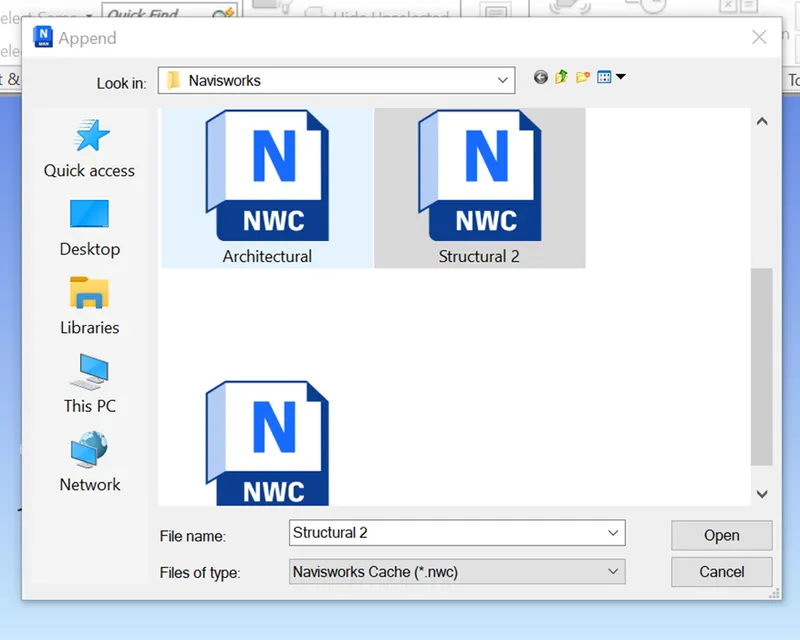
- Then export both the files to nwc format. Open the Architectural file in Navisworks and then use append to add Structural file. And open
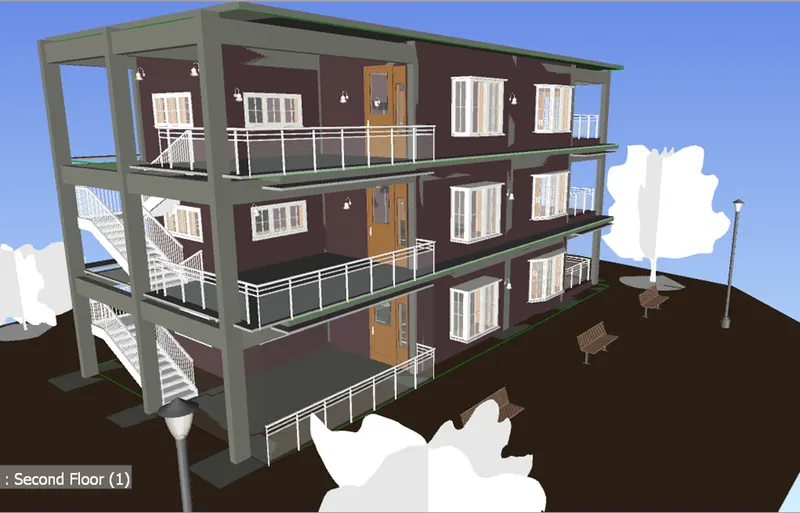
- The Architectural and structural file has been opened and merged according to the project base point.
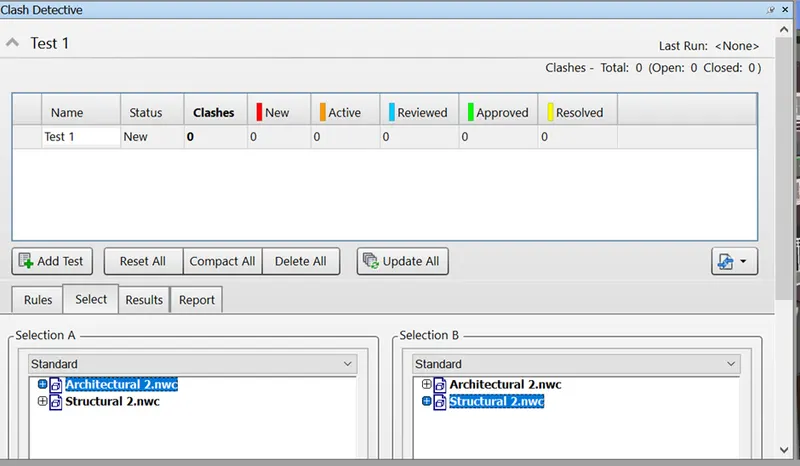
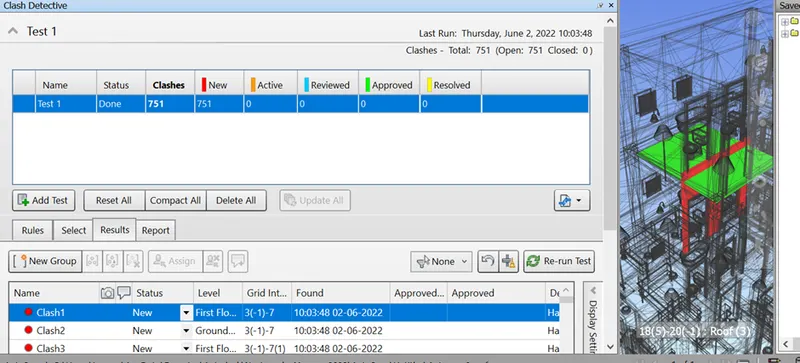
- Then in home tab we have an option called clash detection click on it.
- Then add test and click architectural and structural. Then click run test.
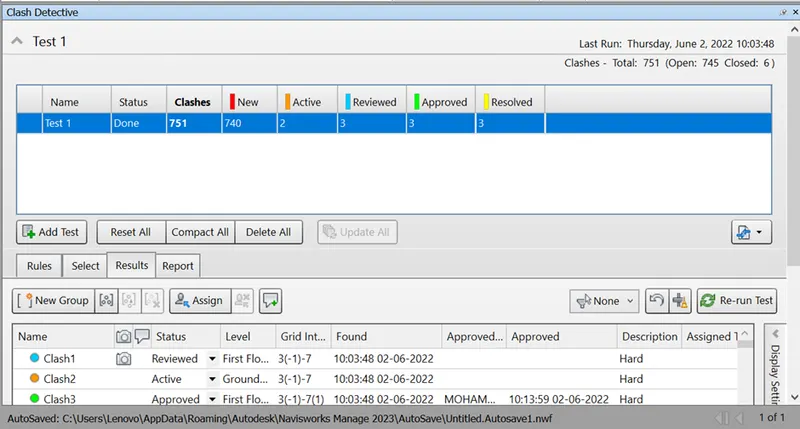
- Thus, the result will appear and the clashes will be found.
- We can note the clashes and rectify in the Revit software.
- We can provide the status as Revived, Approved, resolved, Active. So that others can know the status of the clash.
Output
Result
Thus, both the models have been exported and clash detection test ahs been carried out and the clash result has been taken.
The clashes are rectified by using Revit software and the status of these clashed have been uploaded in the Navis works.
5.
Aim
To create a schedule by using timeline in Navisworks and show it as visual simulation.
Procedure
- Open a combined Revit architectural and Structural file in Navis works.
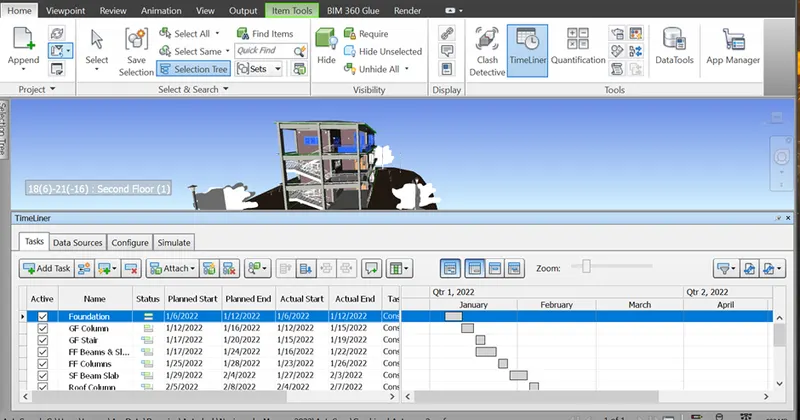
- Then go to timeliner in home tab for preparing schedule.
- Then a timeliner tab will open in the screen.
- We have add task, data source, Configure and simulate.
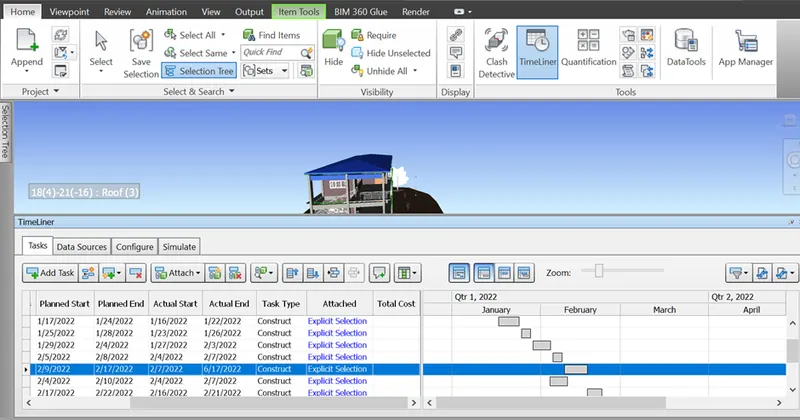
- Click add task and type the name of task and planned start planned end ad actual start and actual end.
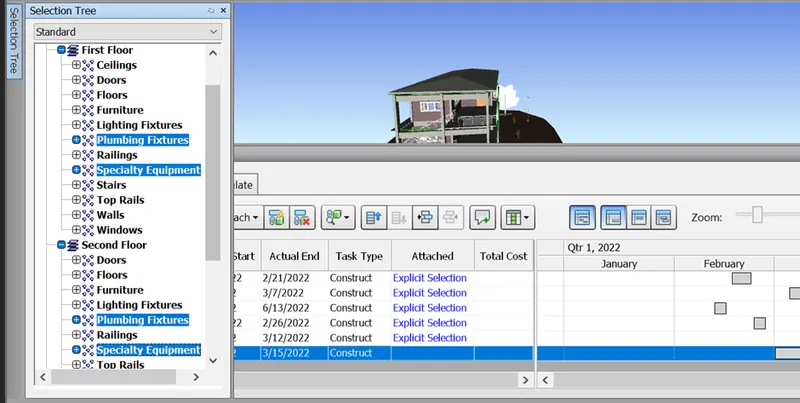
- Then click selection tree and select the added task from the selection tree and click attach current selection.
- Thus, the selected task will be added in it.
- Then create another task and type the name as first floor columns beams slabs and select the task in the selection tree and attach by using current selection.
- Add the planned start and end then actual start and end.
- Then click add task and name as second floor column beam slab separately.
- And provide the planned start and end then provide actual start and end.
- Then click the added task by using selection tree then attach by using attach current selection.
- Thus, the task is added.
- Repeat the same procedure for all the activities and provide the start and end time.
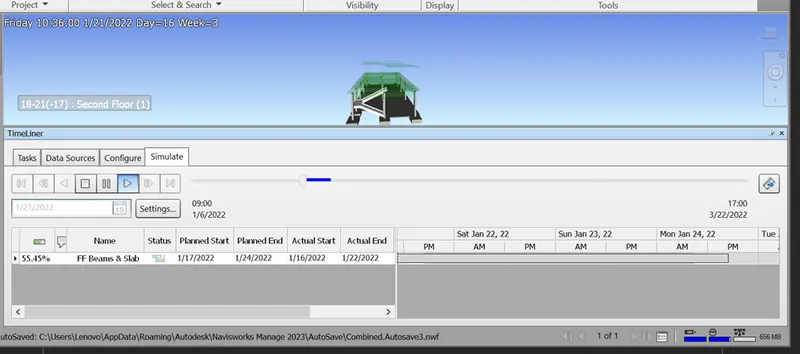
- Once all the tasks are added then go to simulate and play the video the progress of building will be seen in step-by-step procedure as per the actual dates provided.
- Then if we require to save the video in right corner there is an option called export animation click on it and provide time liner and then use windows player and save in the destination folder.
- The video is save.
Output
Result
Thus the schedule has been created for all the activities and virtual simulation of the model has been made and saved.