Usage of Navigation tool , Timeliner and Clash Detection test using Naviswork
Usage of Navigation tool , Timeliner and Clash Detection test using Naviswork
Introduction:
Navisworks is a 3D design review package for Microsoft windows. It is used primarily in construcion industries to complement 3D design packages such as Autodesk Revit, AutoCAD etc., Navisworks allows users to open and combine 3D models, navigate around them in a real-time and review the model using a set of tools including comments, viewpoints and measurements. A selection of Plug-ins enhances the package adding interference detection, 4D time simulation, photorealistic rendering and PDF like publishing.
Follwoings are built-in functions of Navisworks,
- Roamer - The core part allows users to open models from a range of 3D design and laser scan and combine them into a single 3D model. Users can anvigate around the model in real-time and review the model with a range of mark-up tools.
- Publisher - This allows user to publish the complete 3D model into a single navisworks file that can be freely opened by anyone using Freedom, a free viewer.
- Clash Detectives - A functionality to enable interference detection. This means users can select parts of the model and look for places where the geometry conflicts. This is for finding faults in the design.
- Renderer - With the Renderer, users can apply materials and lighting to the model and produce photo realistic images and animations.
- Quantification - By "taking off" the model, users can automatically make material estimates, measure areas and count building components.
- Timeliner - Adds 4D simulation so the user can link geometry to time and dates and to simulate the construction or demolition of the model over time. Also links with project scheduling softwares to import task data.
- Animator - A feature that allows the users to animate the model and interact with it.
- Scripter - This allows the users to setup a collection of actions that he/she want to happen when certain events conditions are met.
1) Use the Architecture/ Structure Project file developed by you in Week 6 to 8. Export the Revit architecture and structure model to Navisworks Cache file following the export settings discussed in class
Aim: To Export the Revit Architectural or Structural model created in Week 6 challenge to Navisworks Cache file following the export settings.
Procedure:
step-1: Open RVT 2023
step-2: Open Revit Architecture model file
step-3: Go to File tab
step-4: Go to Export option
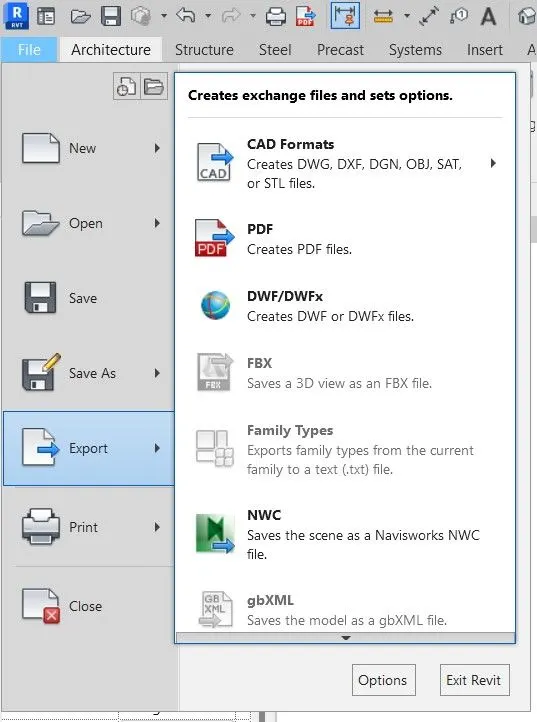
step-5: Select NWS navisworks export utility option
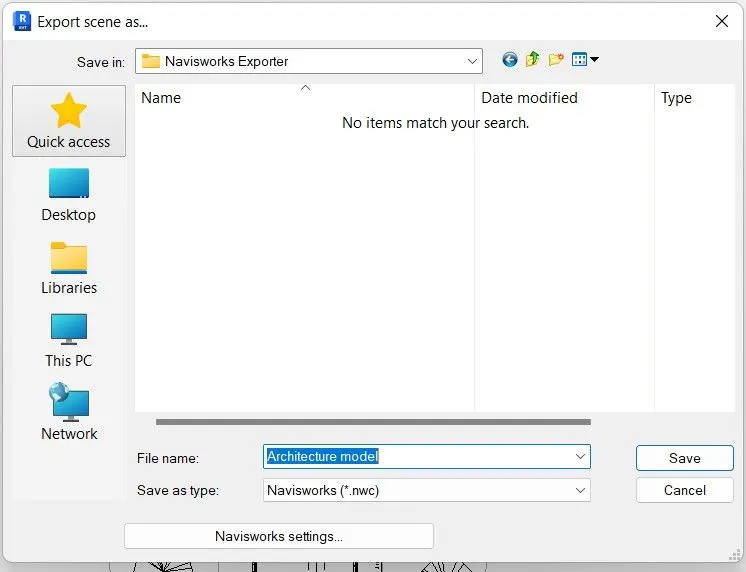
step-6: Select the folder want to save the file.
step-7: Finally, the file is exported.
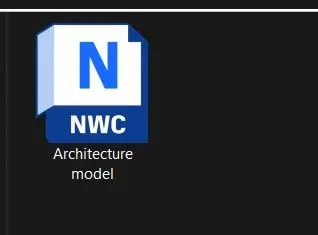
step-8: Open Structural model in Revit
step-9: Go to File tab
step-10: Go to Export option and Select NWC exporter Utility
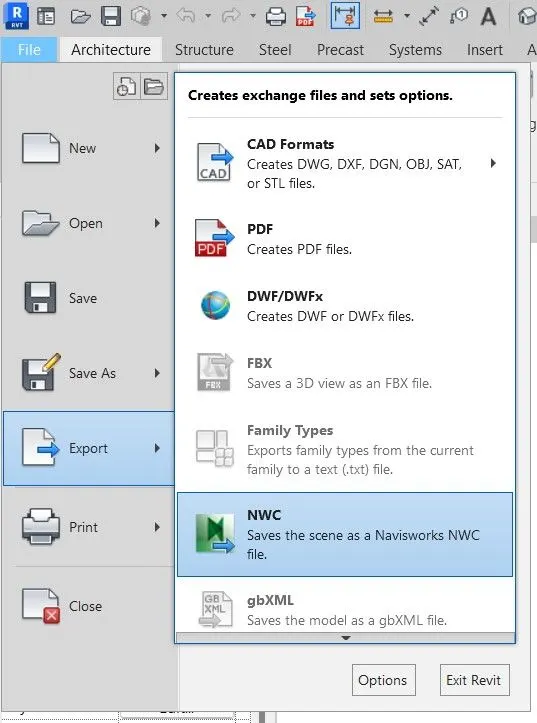
step-11: Search the folder want to save the file.
step-12: Renamed it and Save the file.
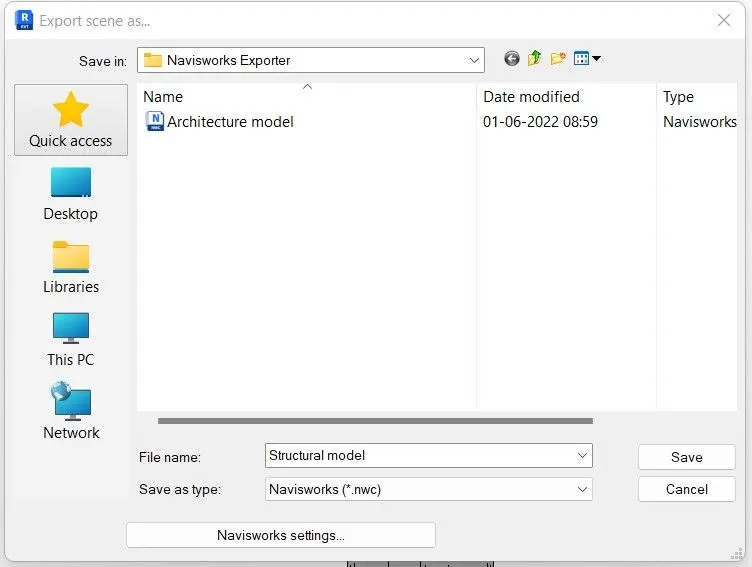
step-13: Hence, the structural model is exported.
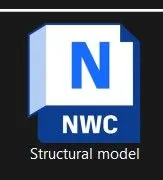
Result:
The Architecture model file is successfully exported to the Navisworks cache file by using Navisworks Utility Exporter plug-ins.
2) Use Navigate Tool to walk around the model and walk through the rooms created and record your moving as animation in your Navisworks file
Aim: To Use Navigate tool to walk around the model and walk through the rooms created and record our moving as animation in navisworks file.
Procedure:
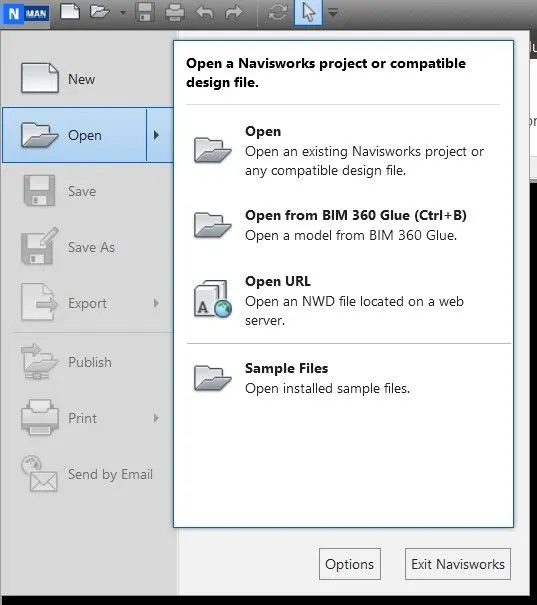
step-1: Open Navisworks
step-2: Open Existing exported file of Architecture model
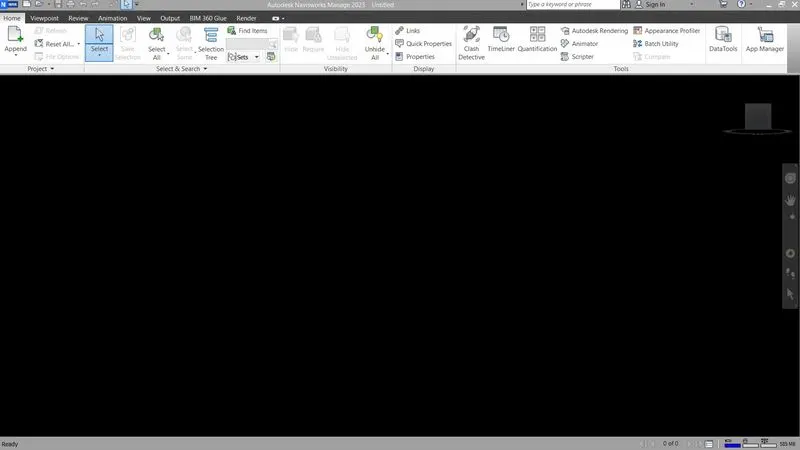
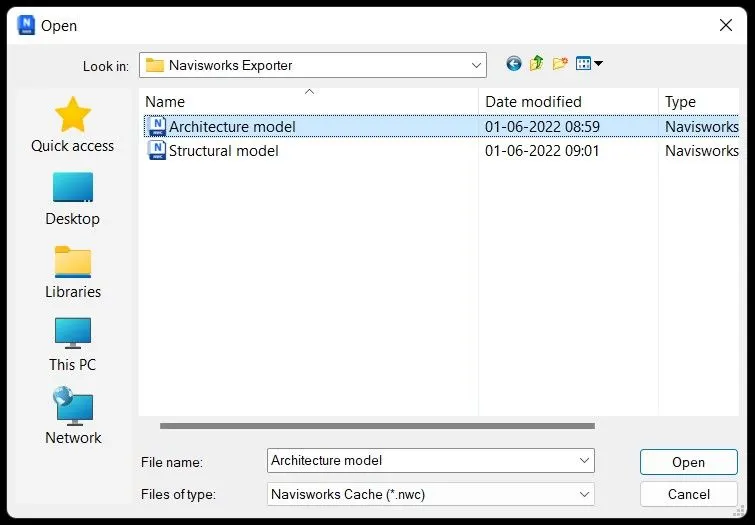
step-3: Go to Viewport tab

step-4: Select Walk option

step-5: Use the Record option to save viewport option to recorded animated view of each and every room
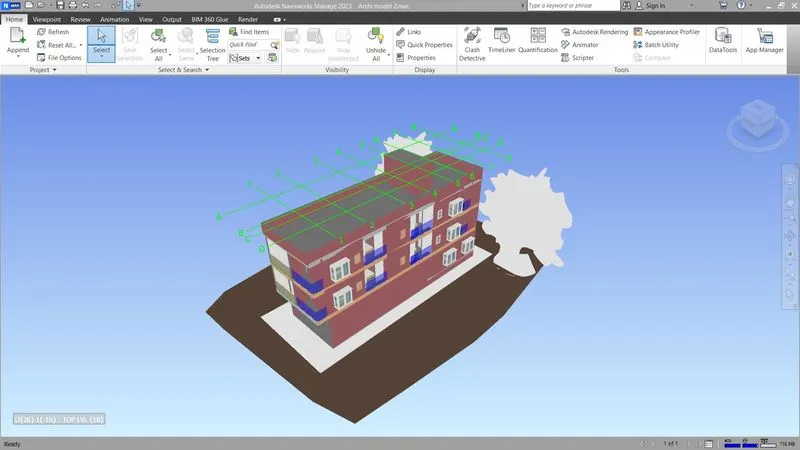
step-6: Living Room and walk through to entire residential building
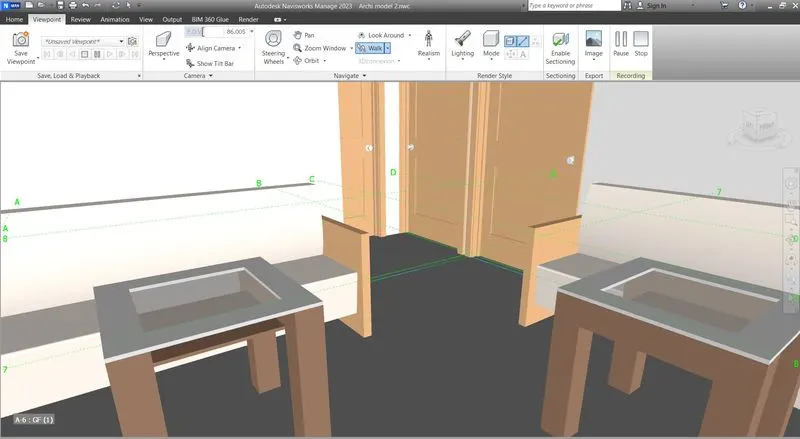
step-7: Kitchen
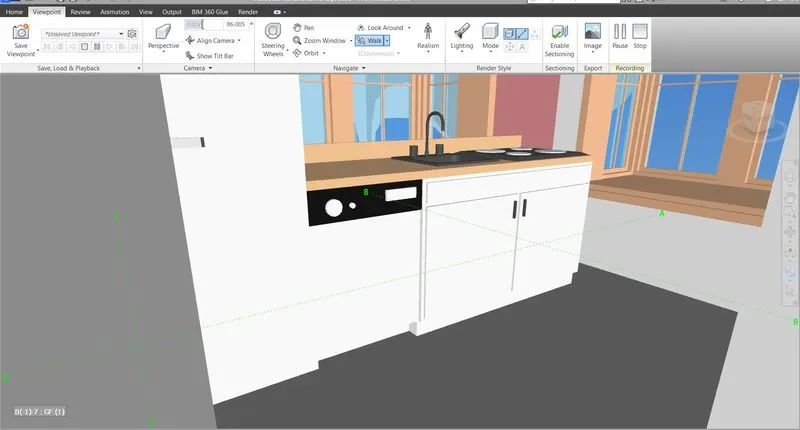
step-8: Bedroom Area
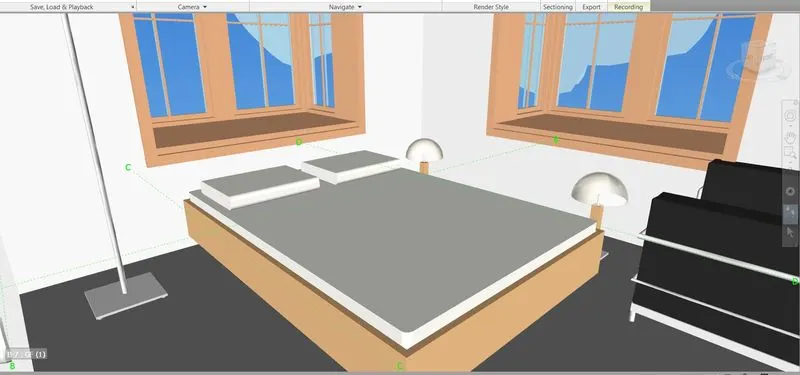
step-9: Bedroom 2
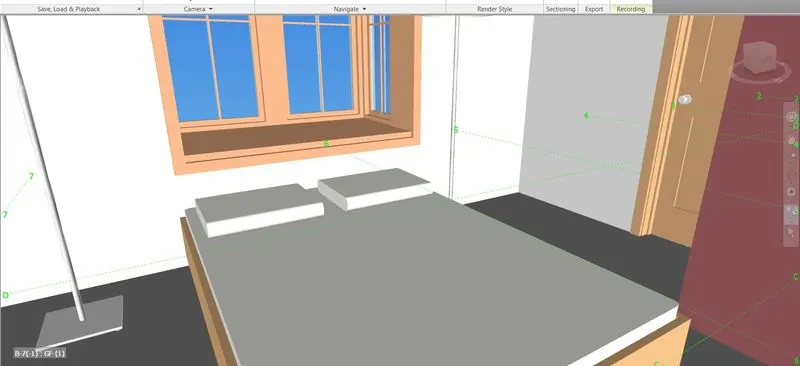
step-10: Toilet
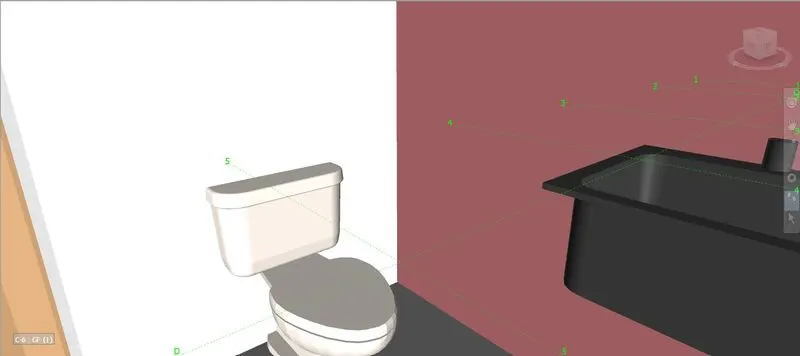
step-11: Corridor
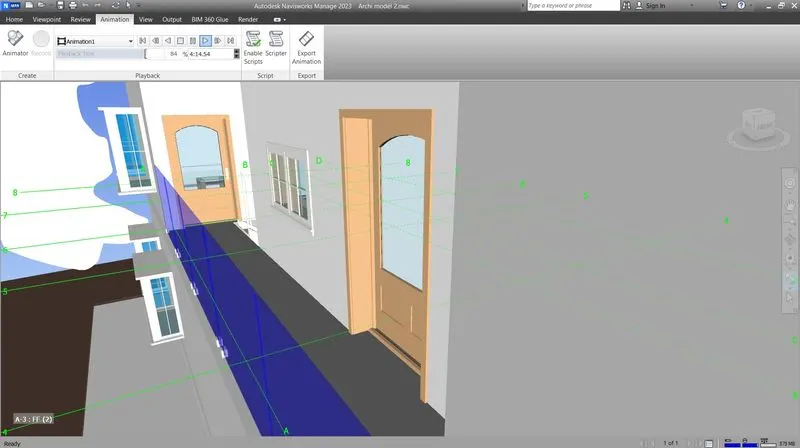
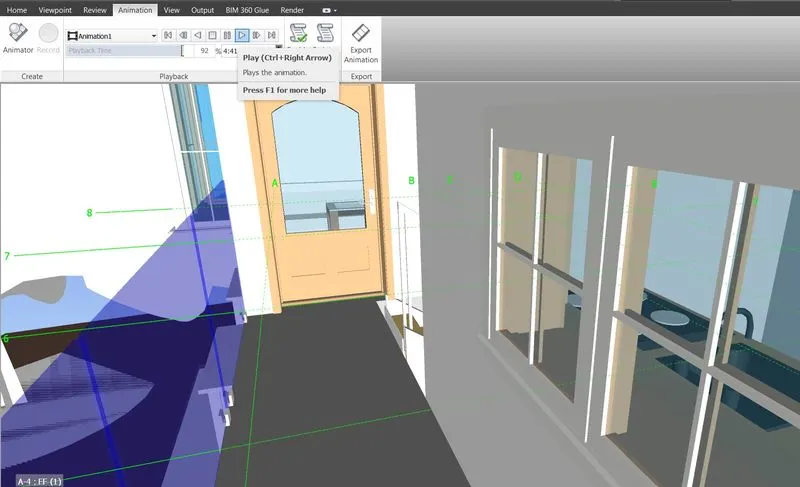
step-12: Go to Animation tab
step-13: Save the video file in PC
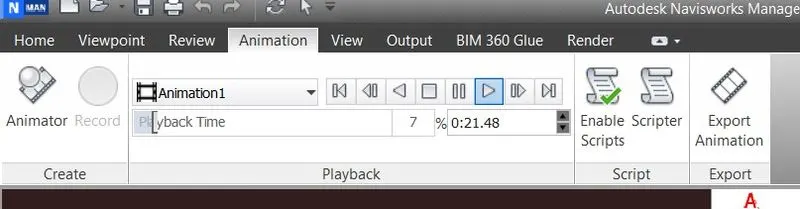
Result:
Walk around the model by use Navigate tool to and walk through the rooms created and record our moving as animation in navisworks file.
3) Use Navigate tool to use Realism feature to walk through the model and record your moving as animation in Navisworks file
Aim: To Use Navigate tool to use Realism feature to walk through the model and record our moving as animation in Navisworks file
Procedure:
step-1: Open Navisworks software
step-2: Go to Open file
step-3: Open Architecture model
step-4: Go to Viewport tab
step-5: Select Realism
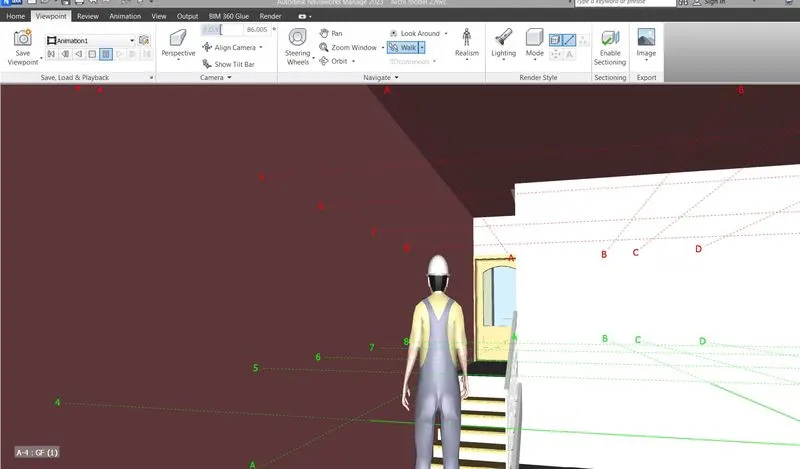
step-6: Place the Human Icon in the building.
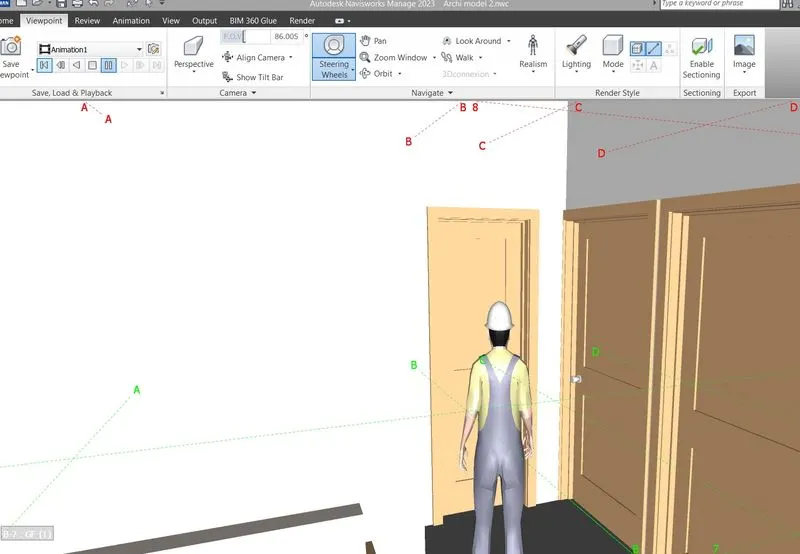
step-7: Select Walk option from Viewport tab
step-8: Go each and every rooom in the building by using walk option
step-9: Kitchen
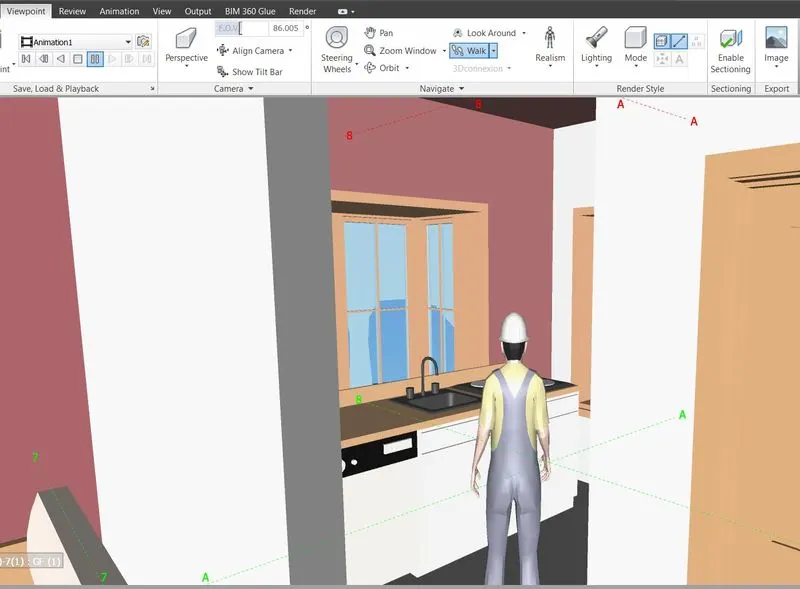
step-10: Living room
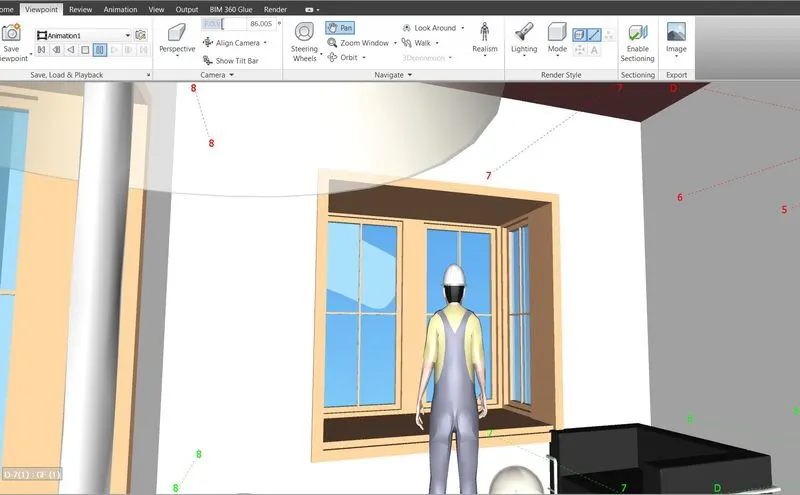
step-11: Corridor
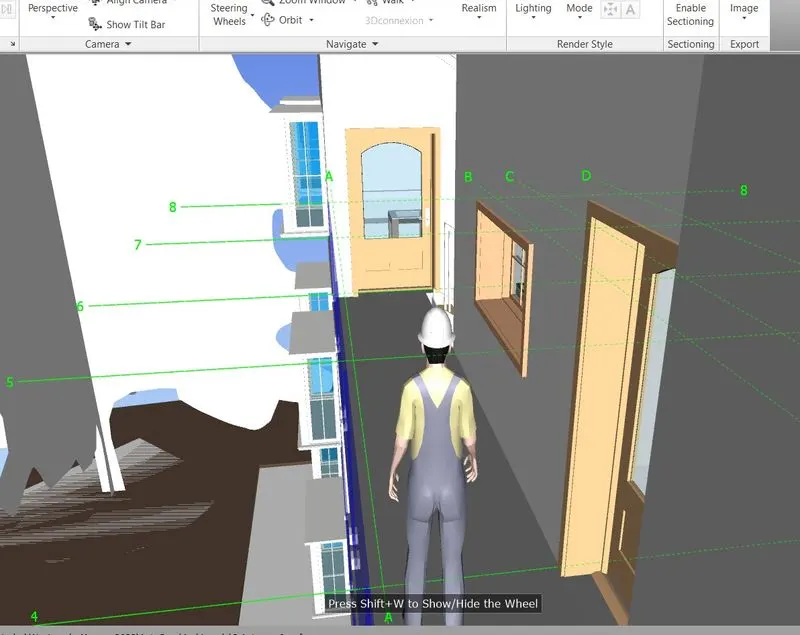
step-12: Building.
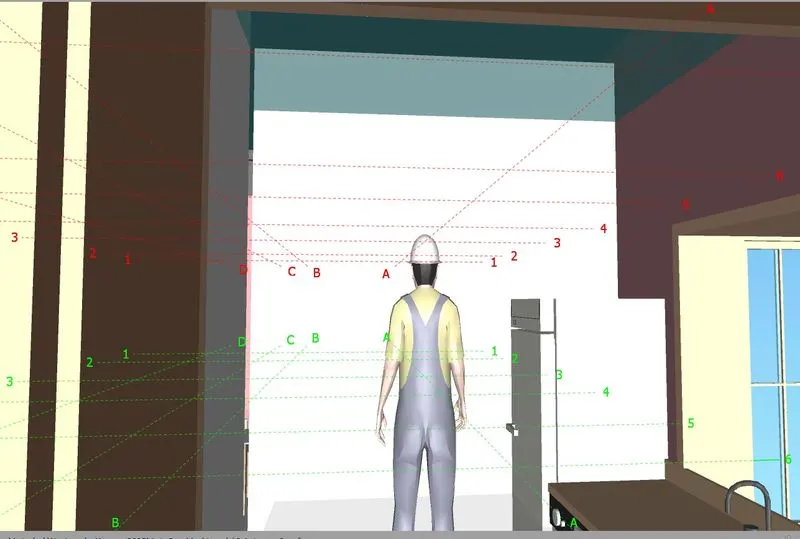
Result:
Realism feature to walk through the model by use Navigate tool and record our moving as animation in Navisworks file.
4) Embed both architecture and structure *.nwc file to your Navisworks file. Create a clash detection test between the two models
a. Run the Clash Detection Test
b. Study the clashes between the two models
c. List which of the clashes could be approved
d. List which of the clashes could be neglected ( will be taken care later)
e. List which of the clashes can be resolved
f. Save the results after color coding the clashes to the Navisworks file
g. In case of resolution annotate the clash and save the view to defined views in Navisworks
Aim: To Embed both Architecture and strcuture model in to Navisworks file and create a clash detection test between two models.
Procedure:
step-1: Open Navisworks
step-2: Open Architectural model
step-3: Go to File tab
step-4: Select Append
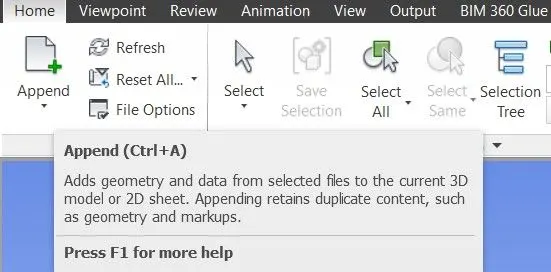
step-5: Select Structural model file into Arcitectural model.
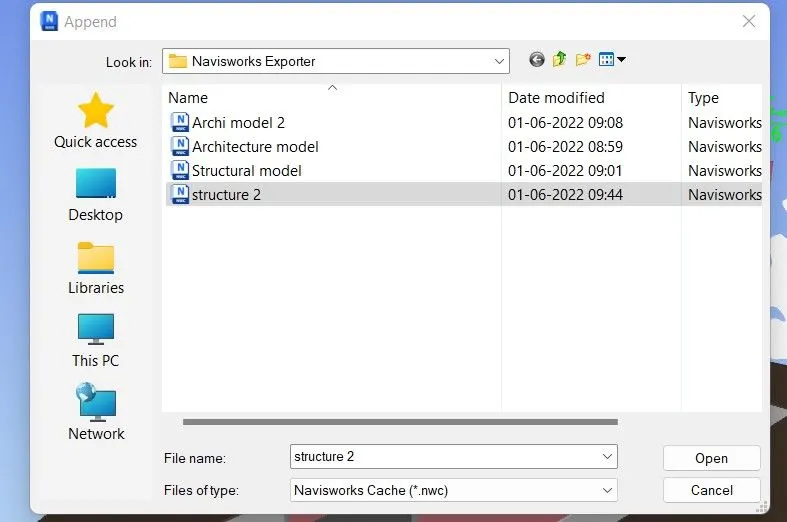
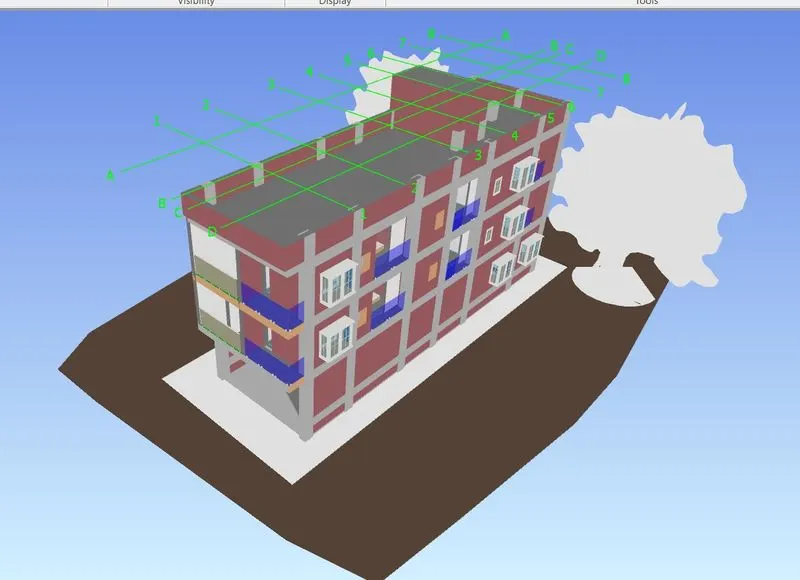
step-6: Select Clash detection from File tab

step-7: New dialogue box will open
step-8: Create a Test
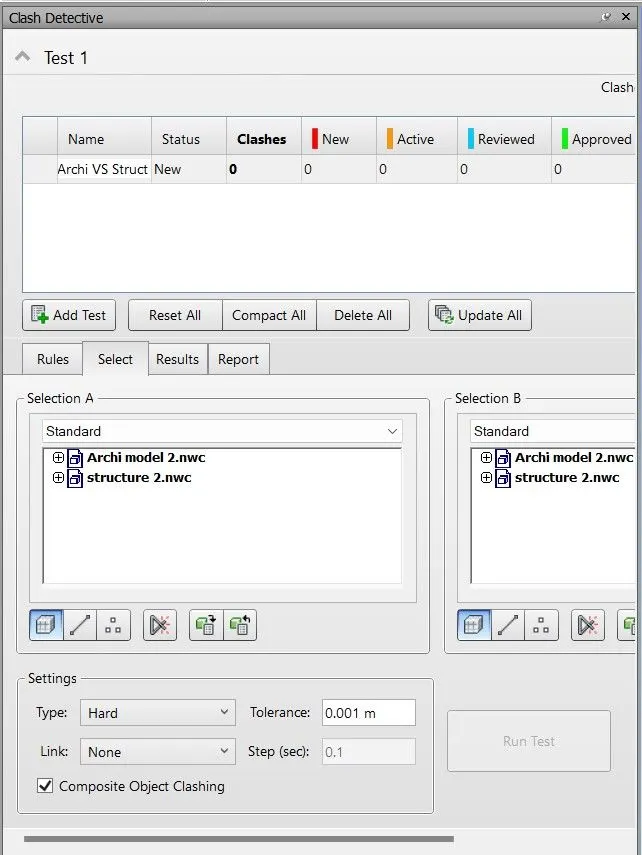
step-9: Select Architectural model at Selection A
step-10: Select Structural model at Selection B
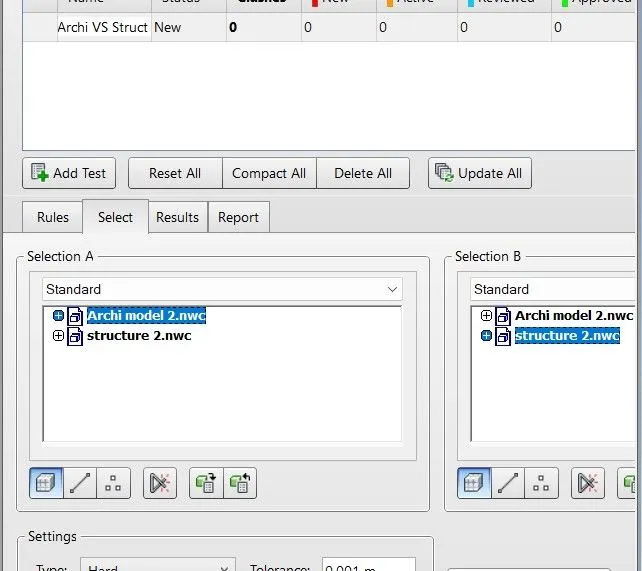
step-11: Run the Test
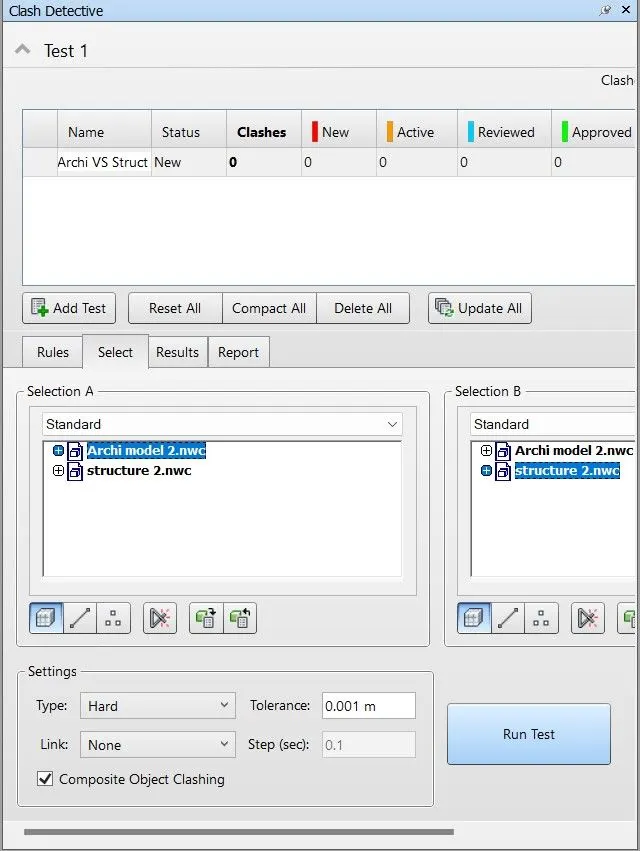
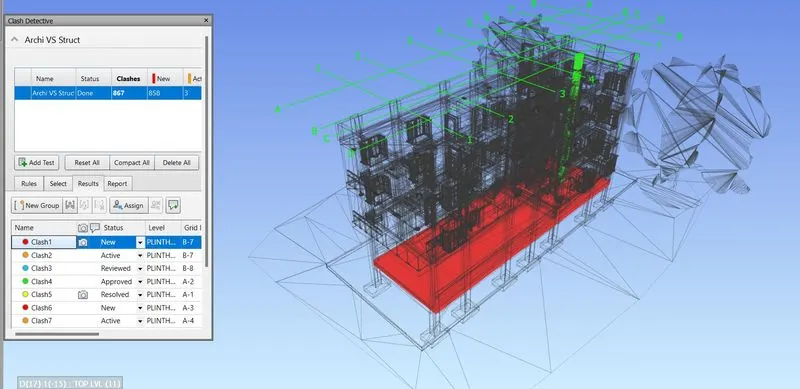
step-12: Result will be shown after clicking Run
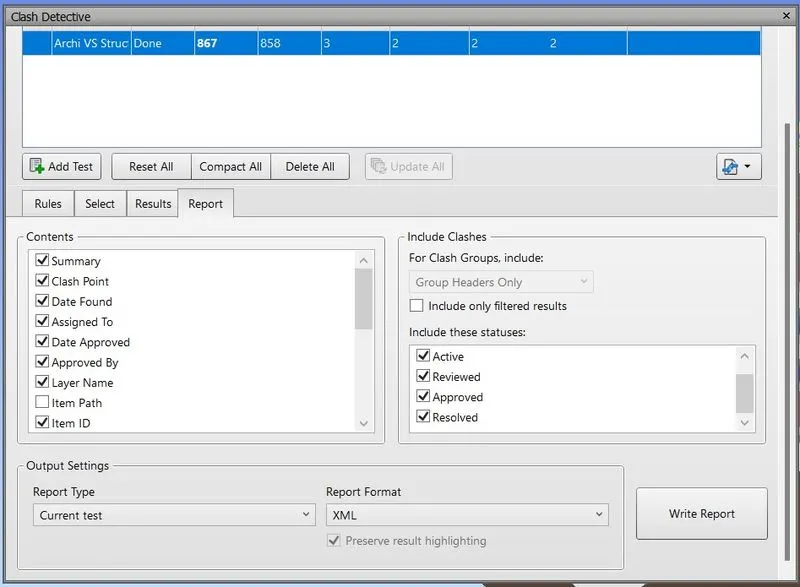
step-13: Here we identified 867 Clashes
step-14: Go to Status bar and check and resolve the clashes
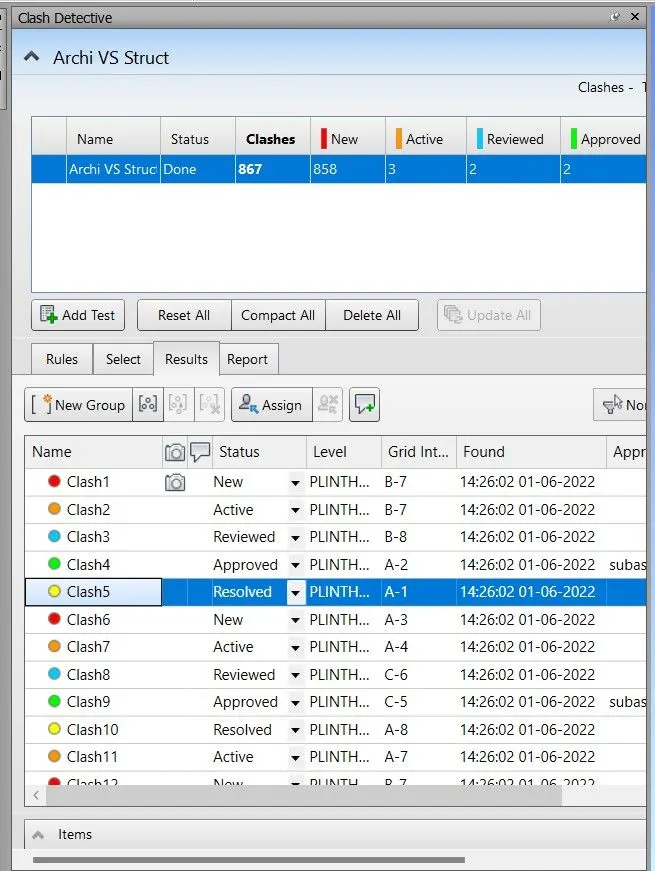
step-15: Go to Report
step-16: Write detailed report to the clashes we identified and resolved
Result:
Embed both architecture and structure file to Navisworks file. Created a clash detection test between the two models.
5) Using the Timeliner feature in Navisworks prepare a schedule for the project developed in week 6 to 8 by adding reasonable assumptions for task start date and end date and simulate the task completion as a visual simulation. Record it and save the timeline simulation to Navisworks file
Aim: To Using the Timeliner feature in Navisworks prepare a schedule for the project developed in week 6 to 8 by adding reasonable assumptions for task start date and end date and simulate the task completion as a visual simulation. Record it and save the timeline simulation to Navisworks file.
Procedure:
step-1: Open Navisworks file
step-2: Open structural model
step-3: Go to File tab
step-4: Select Timeliner option

step-5: Before adding task to select selection Tree option
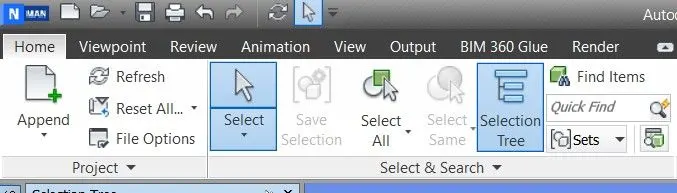
step-6: Check all the levels there in selection tree.
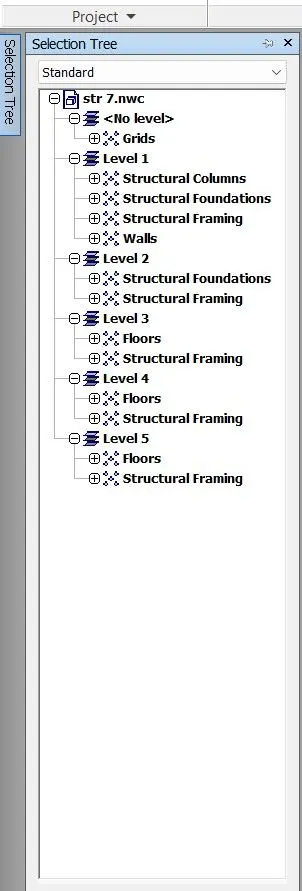
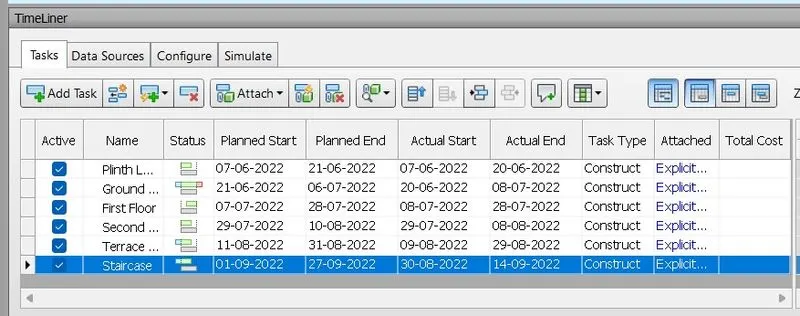
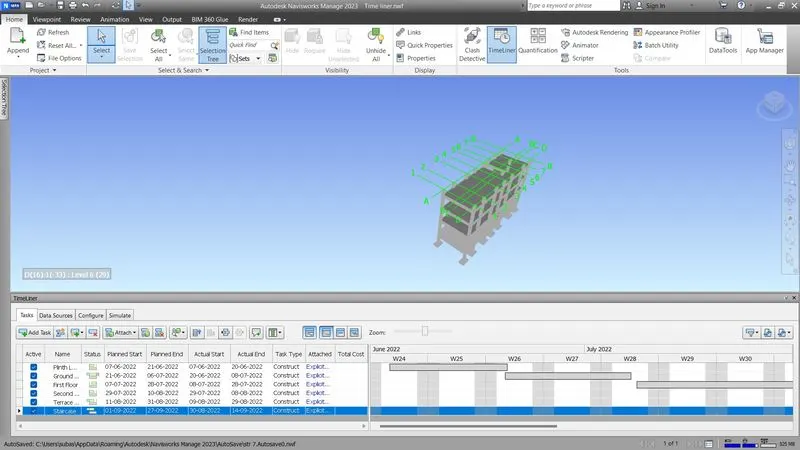
step-7: Add Task
step-8: Add Planned start date and Planned End date
step-9: Provide Actual start date and Actual End date
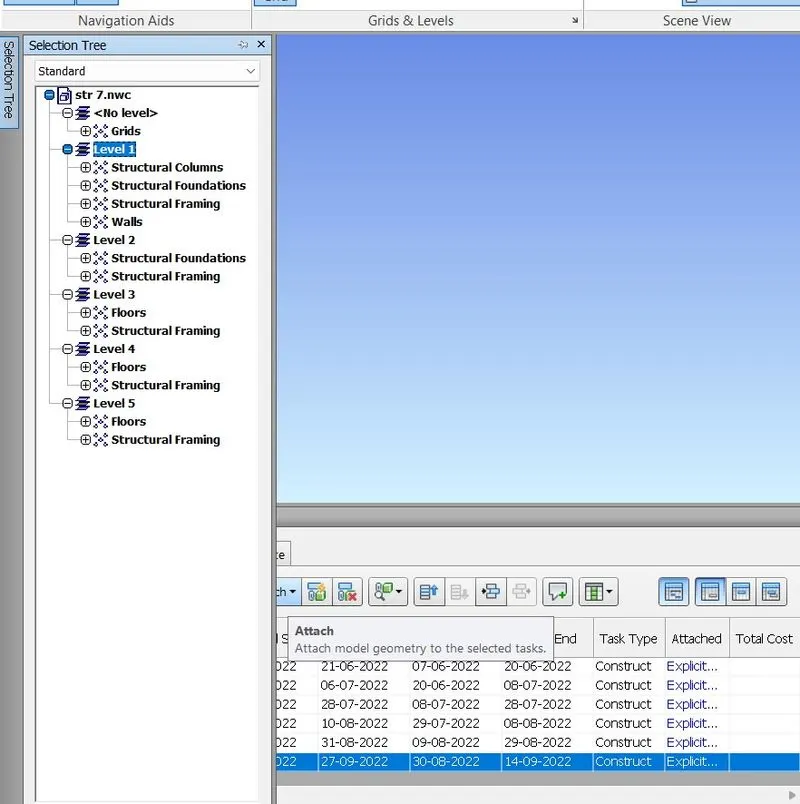

step-10: Attach the level from selection Tree dialogue box
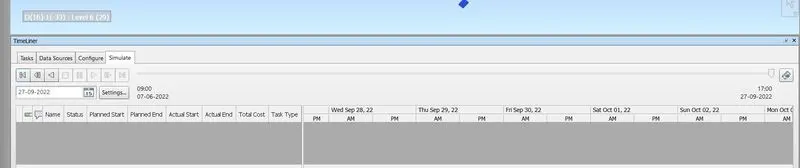
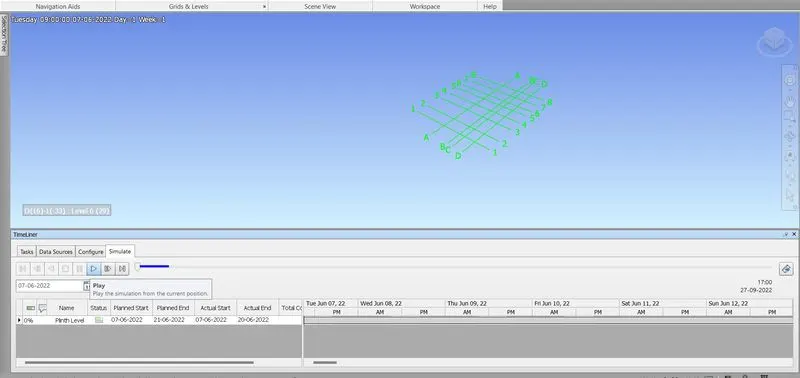
step-11: Go to Simulate tab
step-12: Click Play button
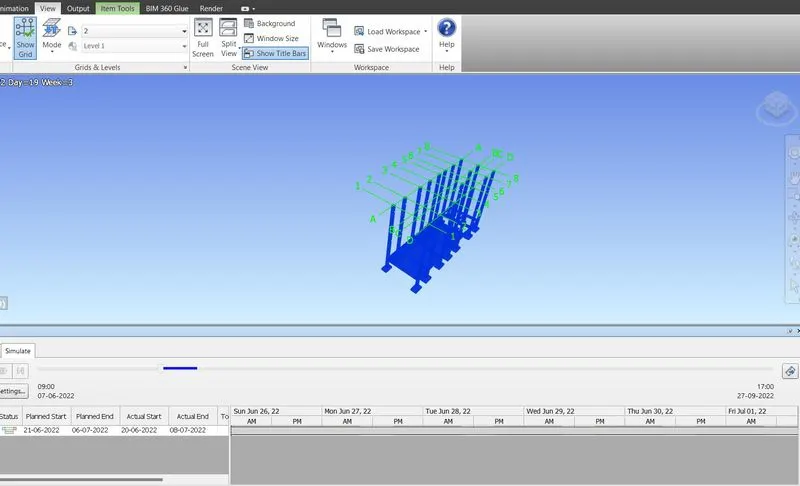
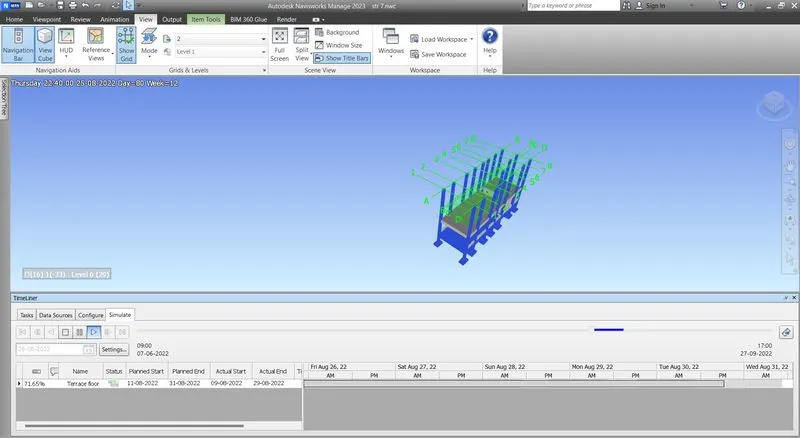
step-13: Go to Expot animation
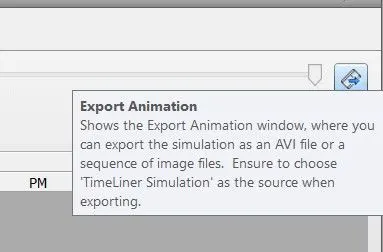
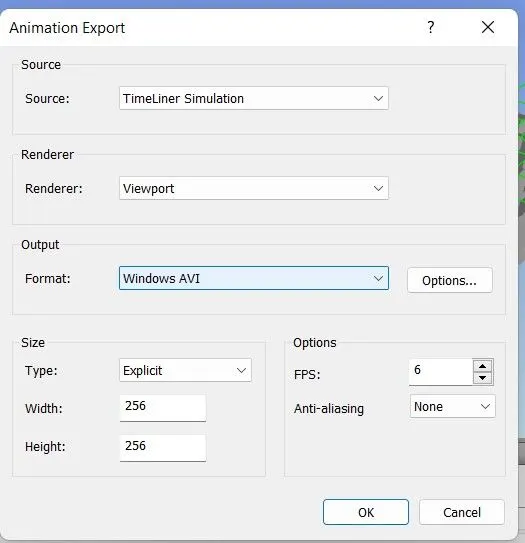
step-14: Select Timeliner simulation and save the video file in your PC.
Result:
Timeliner feature in the NAvisworks has been successfully completed and the result is given below.