Usage of Navigation tool , Timeliner and Clash Detection test using Naviswork
1) Aim of this project is to use the Architecture/ Structure Project file developed in Week 6 to 8 and Export the Revit architecture and structure model to Navisworks Cache file following the export settings.
Procedure:
a) First we need to export the revit file to Nwc file for opening the file in navisworks. For this go to the file-export option in revit and save the file in desired location and click ok. The file will be exported as navisworks file.
b) Now open the the navisworks manage and click on append and select the saved nwc file and click on open. This will import the file in navisworks manage.
c) Similary follow the same steps for the structural file.
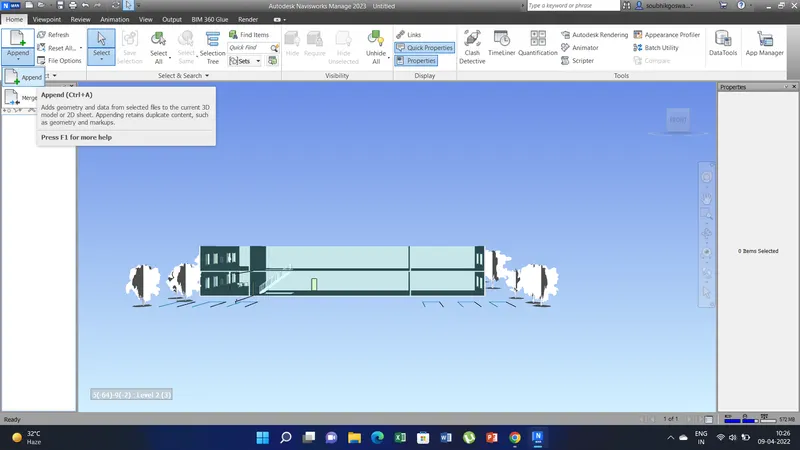
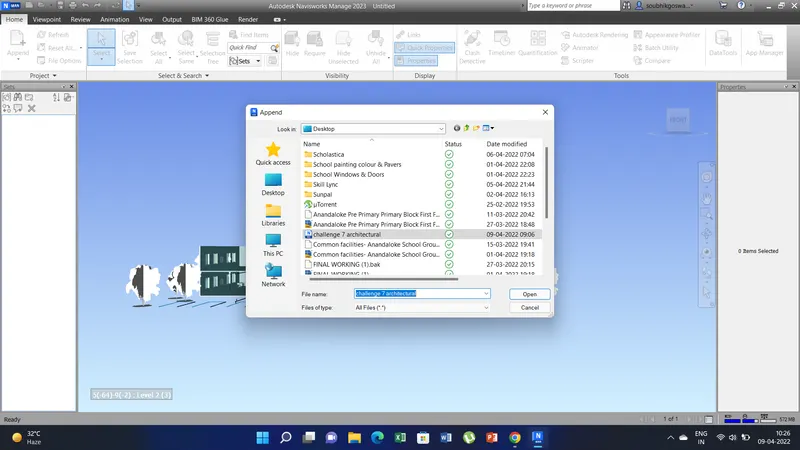
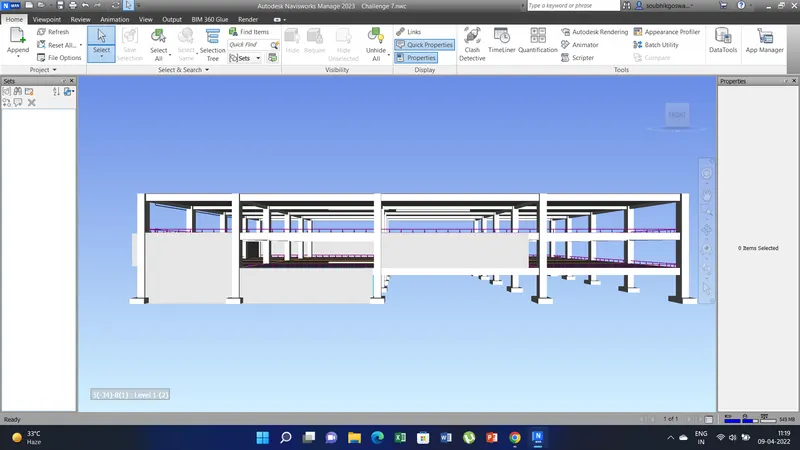
2) Aim of this project is to use navigate tool to walk around the model and walk through the rooms created and record the moving as animation in the Navisworks file.
Procedure:
a) For walk through first scroll to the model using mouse scroll.
b) Than go to the viewpoint option tab in navisworks than select the walk option in the ribbon menu bar.
c) Now slowly walk around the model by using the mouse movement or the arrow key in the keyboard.
d)For recording go to the save viewpoint -record option than after walkthrough click the stop button and the view will be saved.
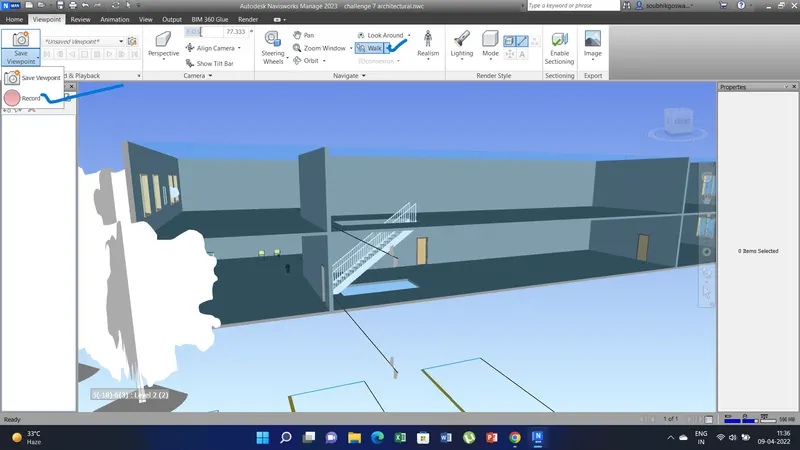
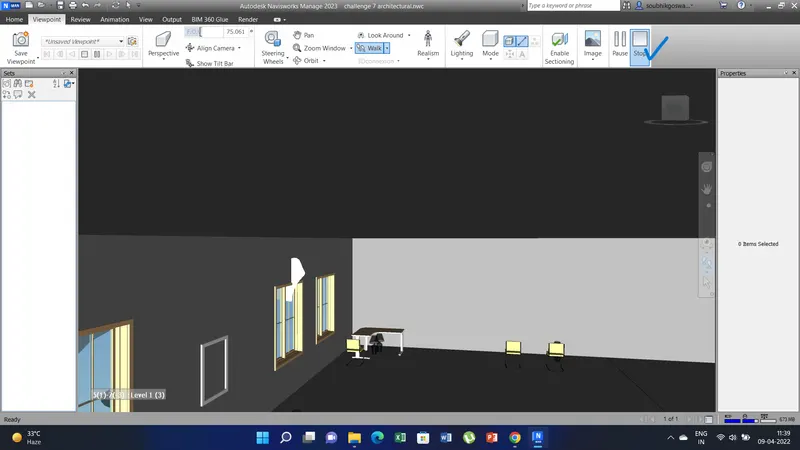
3) Aim of this project is to use navigate tool to use realism feature to walk through the model and record your moving as animation in Navisworks file.
Procedure:
a) To navigate using the realism feature to walk through the model go to the realism option in the ribbon menu. and select the third person option.
b) Now move around the model, in the rooms as a realism person.
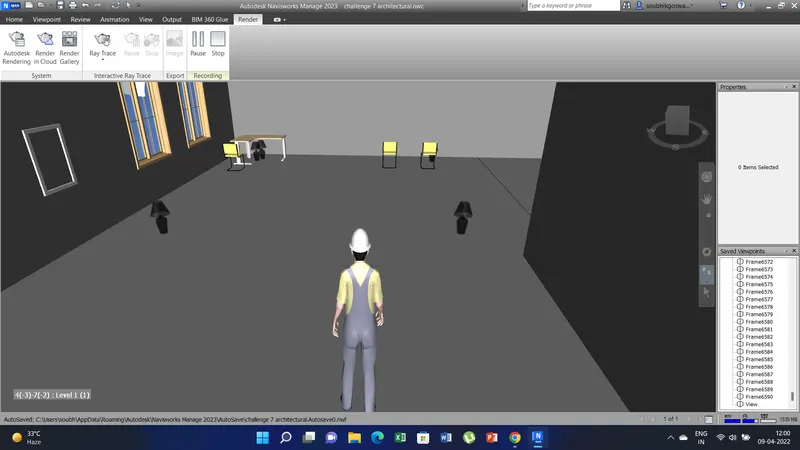
c) Click on the save view point and record option to record the animation while realism walk through. Click on the stop recording option to stop the recording.'
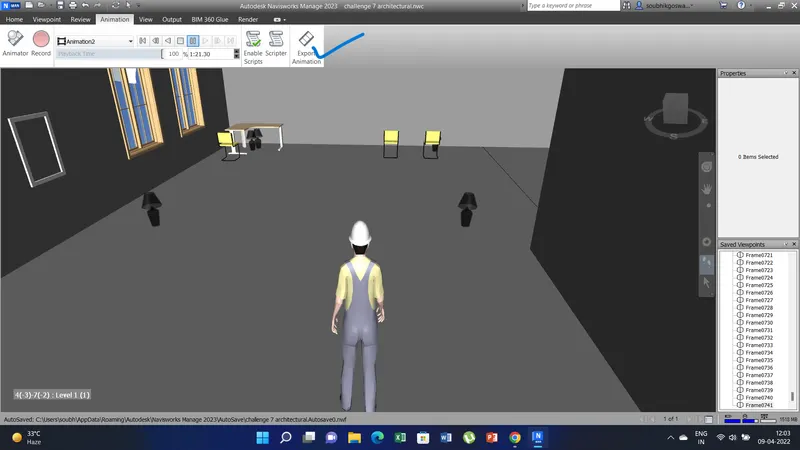
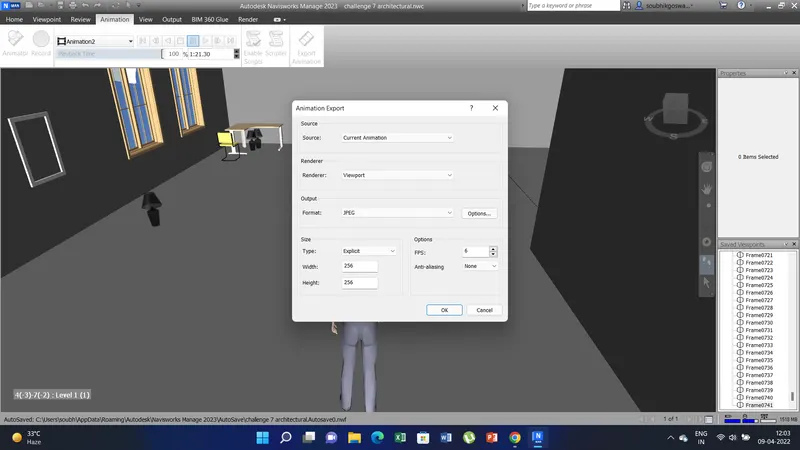
d) We can export the recorded file and save in the desired location under the animation tab and export animation option.
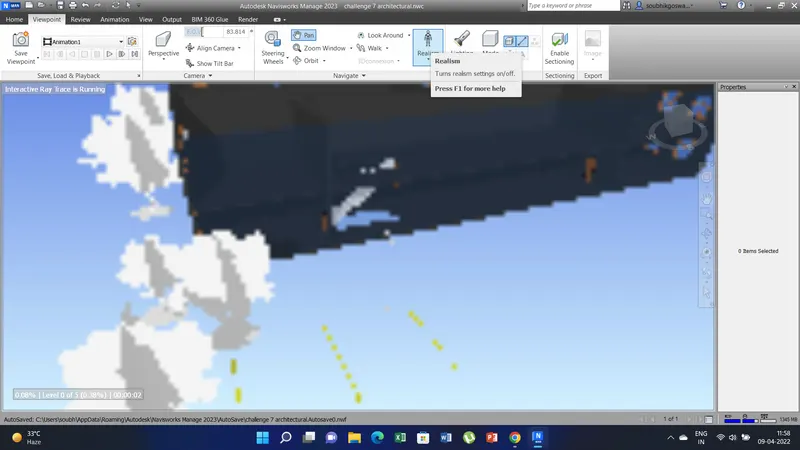
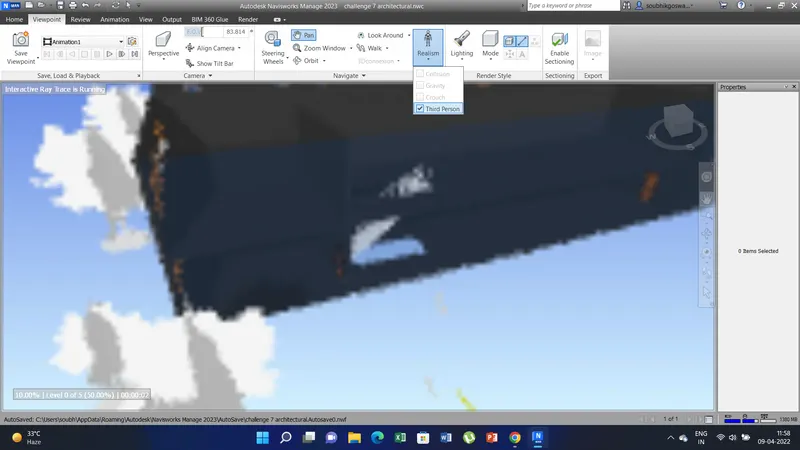
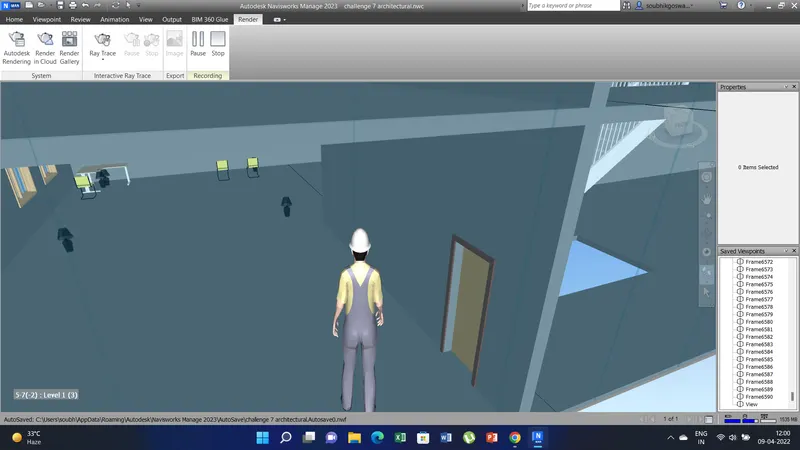
4) Aim of this project is to embed both architecture and structure *.nwc file to your Navisworks file and create a clash detection test between the two models.
Procedure:
a) Open the architectural nwc file in navisworks and than go to append option in the ribbon tab menu and import the structural nwc file in navisworks manage.
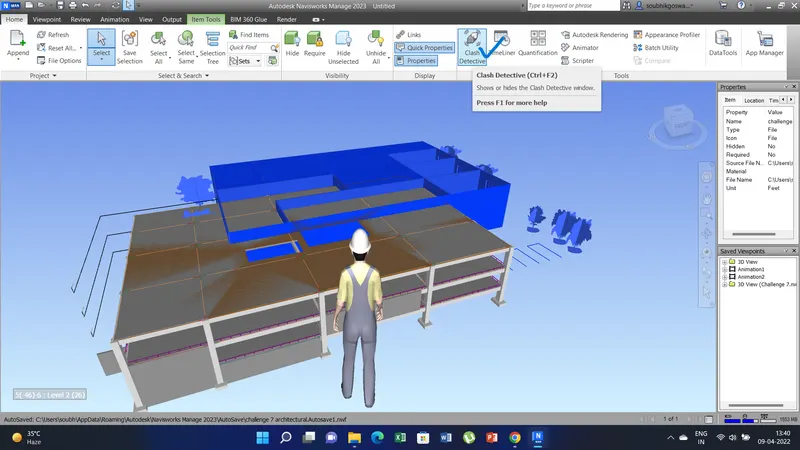
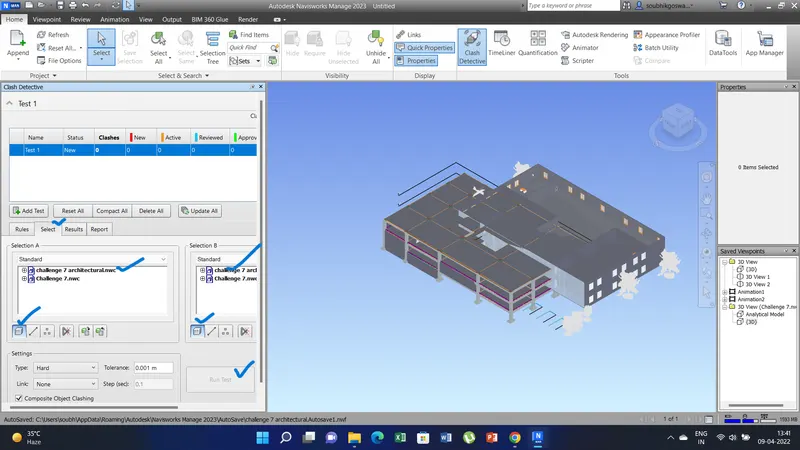
b) Now go to the clash detective option and than a pop up window appears as clash detective.
c) Click on the add test option and rename the test as you like.
d) Under select option select the architectural model in selection A and in selection B select the structural model.
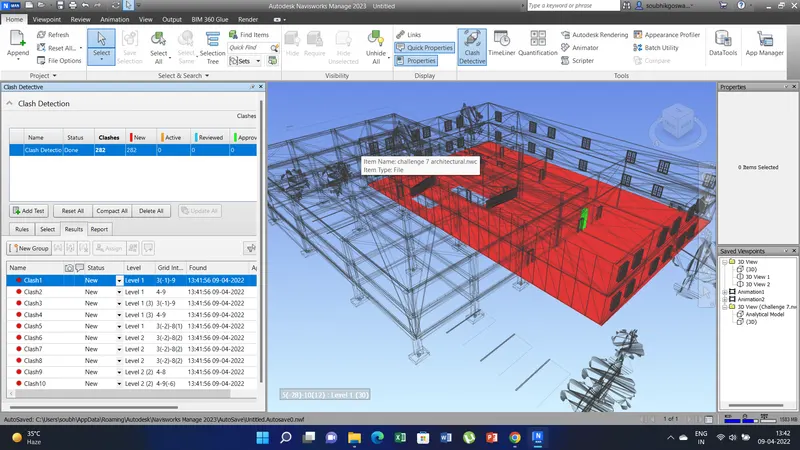
e) Click on the both surface box option and than click on the run test option. This will detect the total number of clashes.
f) Now in results section you can see all the total number of clashes. Select the clashes it will be highlighted in workspace model.
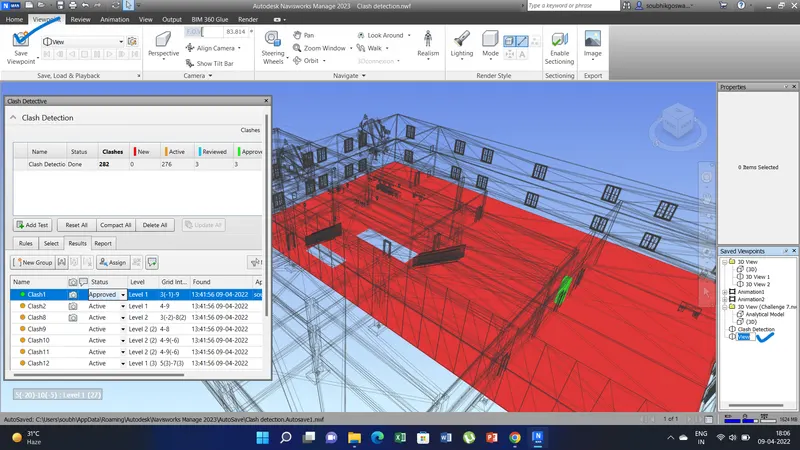
g) Now in the status option for each clash we can change the status as approved, approved or resolved.
h) In order to save the view point of the respective clashes, select clash and go to the save view point option to save the view of the respective clashes.
5) Aim of this project is to use the timeliner feature in Navisworks prepare a schedule for the project developed in week 6 to 8 by adding reasonable assumptions for task start date and end date and simulate the task completion as a visual simulation. Record it and save the timeline simulation to Navisworks file.
Procedure:
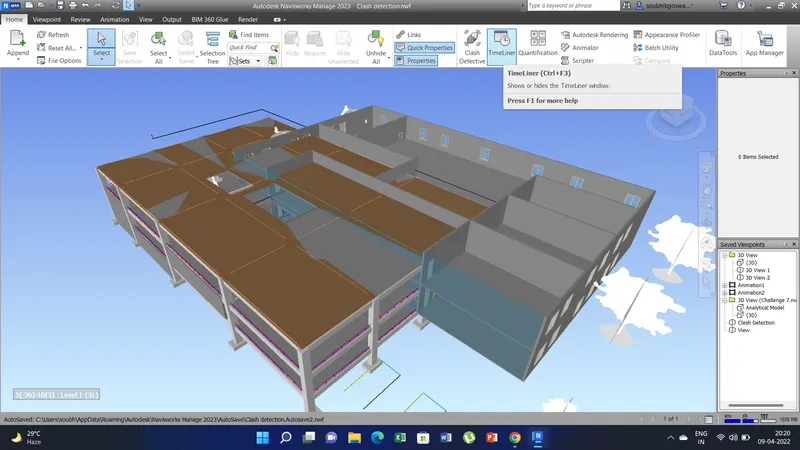
a) Under the home tab first click on the timeliner option in the ribbon menu.
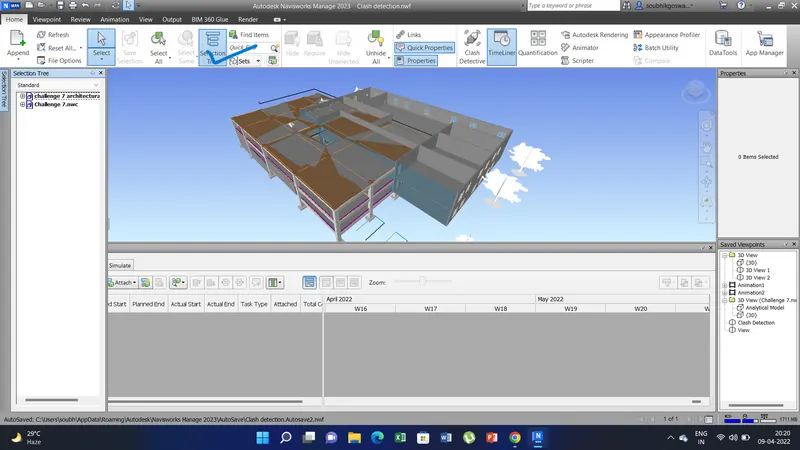
b) After that click on the selection tree option from the ribbon menu.
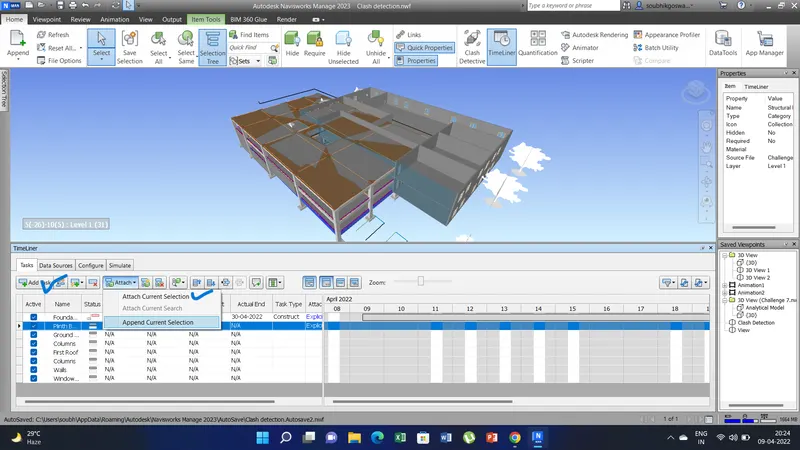
c) Now in the time liner menu click on the add task and rename the task like foundation, plinth beam, floors, column, roof and doors windows.
d) Attach the respective task from the selection tree and click the attach option and current selection option.
e) Similarly do for all other task. After that make the correspondent dates in the section of actual start date, planned date, actual end date etc. as per planning of the construction. Do this for all the task from foundation to roof construction planning.
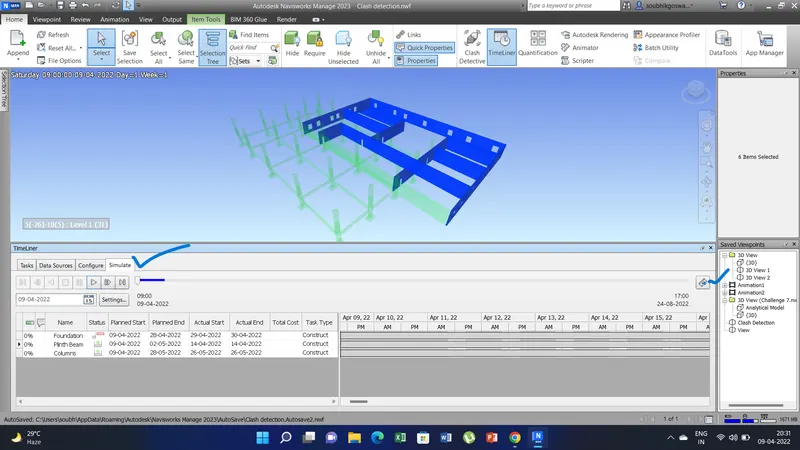
f) Now select the simulate option this will show the phase of the ongoing construction as per date that has been acertained in the time liner menu.
g) To export the animation of the time liner click the export option under the simulate option. And save the file type in desired location.