Usage of Collaborate tool in REVIT
1) Open an architectural template. Using the Manage tab set project base point and project shared coordinates for the project
AIM: To set project Base-point and project shared coordinates
PROCEDURE:
STEP 1: Setting of template
- Open Revit software
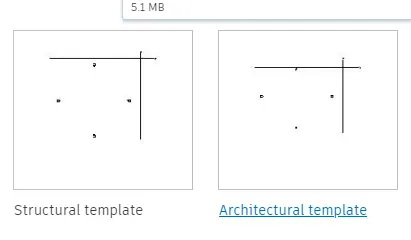
- select new and select imperial-architectural template from pop up
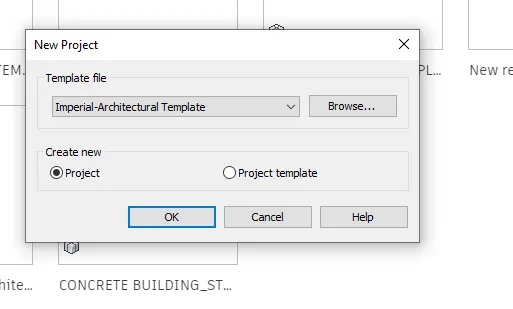
- Save the file
STEP 2:creating base point
- In the architectural toolbar select grid in Datum palate and assign the grids as desired
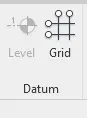
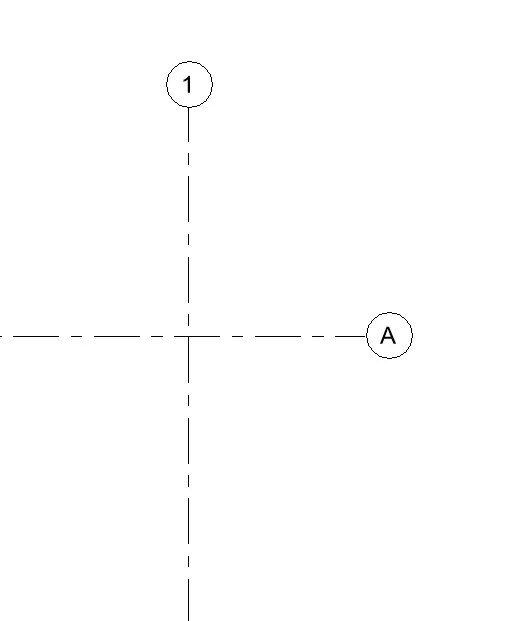
STEP 3: Setting project coordinates
- In the manage toolbar go to the project location palate and select coordinate and from drop-down select specify coordinates
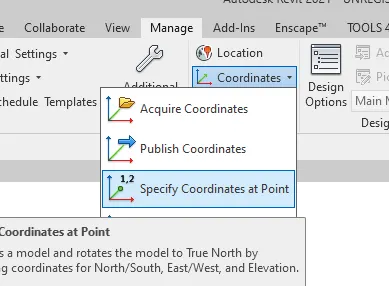
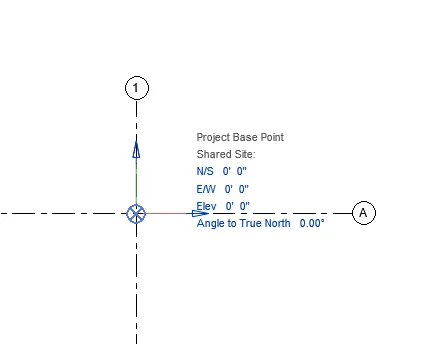
- Select the grids and specify the values as 0" 0" in both grids of North/south and east/ west
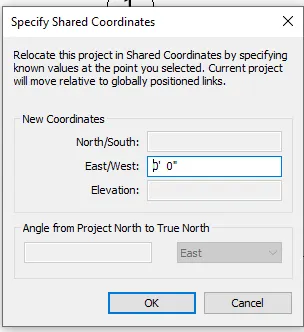
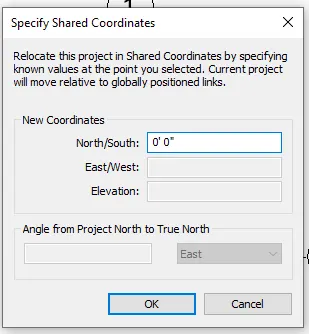
RESULT:
The Project base-point and shared coordinates are created
2) Open another new file but with a structural template. Using the manage tab set project parameters the same as the architectural model. Copy the parameters from the architectural model to the structural template or enter the parameters manually into the structural model
AIM: To create a structural template with the same parameters as an architectural project template.
PROCEDURE:
STEP 1: Setting of template
- Open Revit software
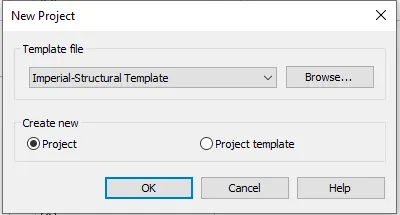
- select new and select imperial-Structural template from pop up
- Save the file
STEP 2: Creating base point
- In the Structural toolbar select grid in Datum palate and assign the grids as desired
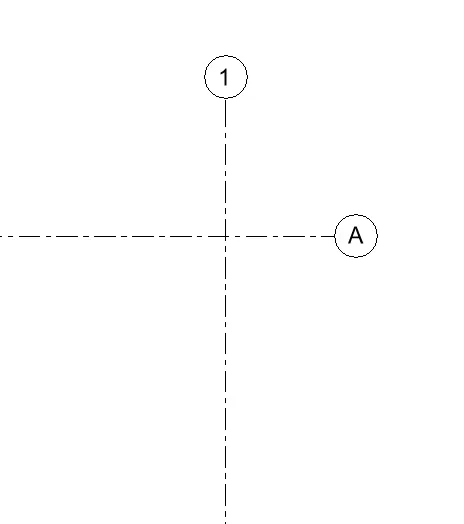
STEP 3: Setting project coordinates
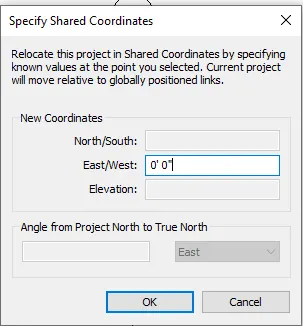
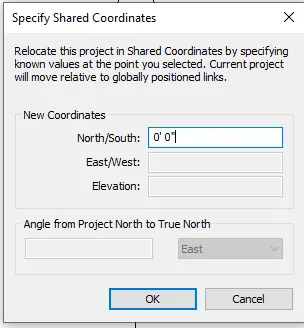
- In the manage toolbar go to the project location palate and select coordinate and from drop-down select specify coordinates
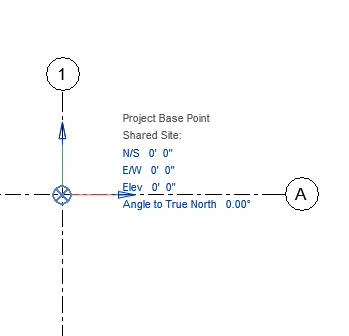
- Select the grids and specify the values as 0" 0" in both grids of North/south and east/ west
RESULT:
The Project base-point and shared coordinates are created
3) Re-open the architectural model. Using the tools under the Collaborate tab make the architectural model a central model (enabling simultaneous working on the model)
AIM: To create the architectural template as a central model.
PROCEDURE:
- Open the already created architectural template
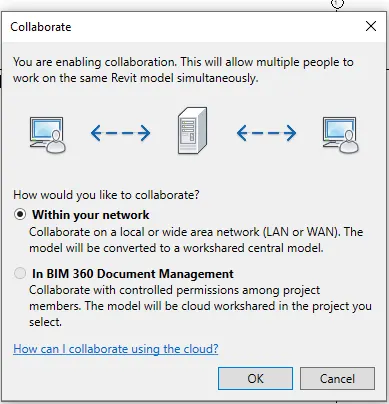
- In collaborate toolbar select the collaborate option
 and pop up of collaborate window appears on the screen select the within your network option and click ok
- Save the file and pop up message saying saving as central model select yes
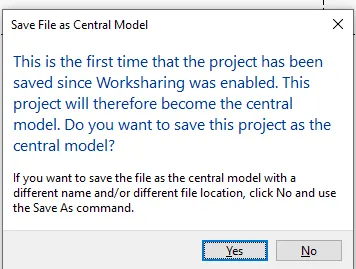
RESULT:
Saving the Architectural model as the central model is done.
4) Create the Grids Longitudinal and Transverse pattern for the project similar to the task done in Week 2
AIM: To Create grids longitudinal and transverse patterns for the project similar to the task done in week 2
PROCEDURE:
STEP 1: Opening the week 2 file
- Open Revit
- In options select open and select the saved week 2 model
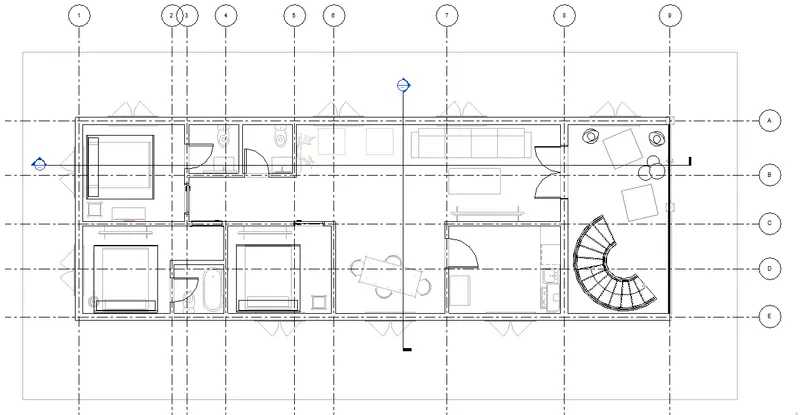
STEP 2: Assign longitudinal and transverse grids
- In the architectural toolbar select the grids from the datum palate and assign them to the model in plan view
- Draw the grids at column points where required
- Draw the Longitudinal grids
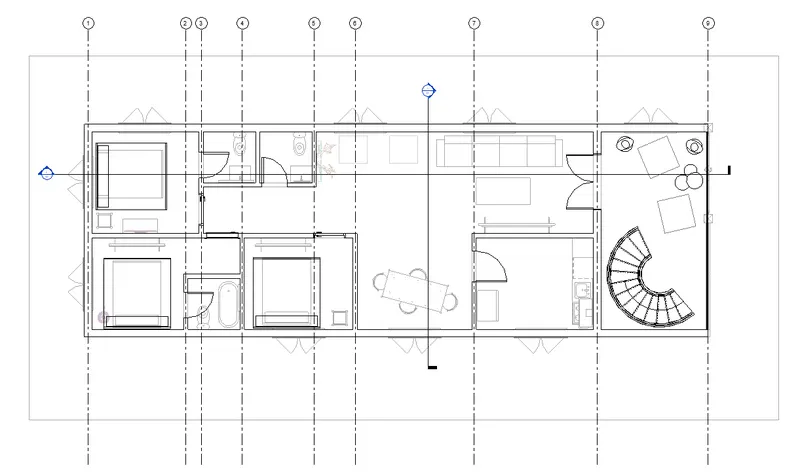
- Draw the longitudinal grids
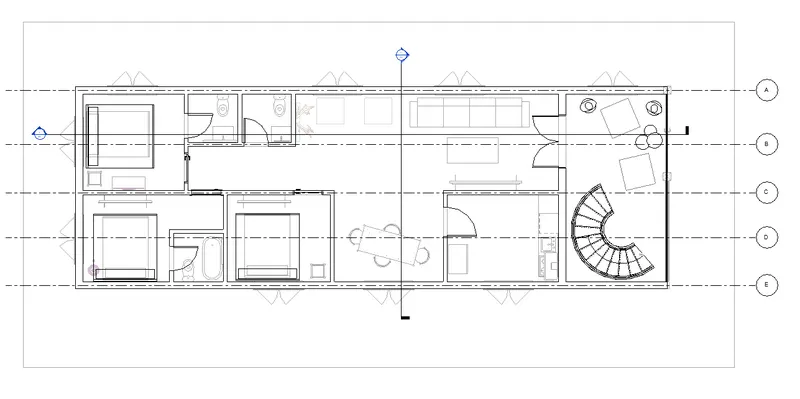
RESULT:
The end result of both Transverse and longitudinal grids is as follows
5) Synchronize the changes from the local copy to the central file of the architectural model.
AIM: To synchronize the changes from the local copy to the central file of the architectural model.
PROCEDURE:
STEP 1:
- Open revit
- Open the saved architectural file
STEP 2: Synchronizing with central file
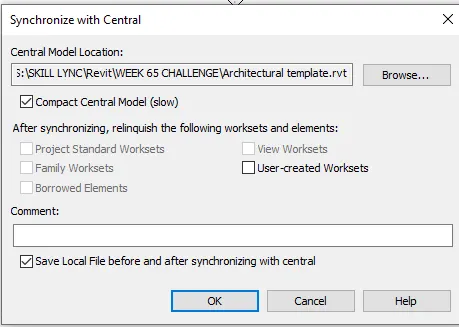
- In collaborate toolbar select synchronize with central and in dropdown select synchronize and modify settings
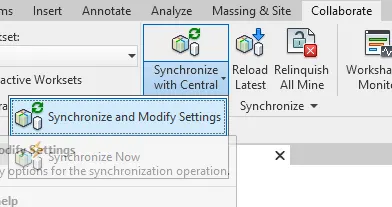
- After selecting the pop up will appear on the screen and select ok to save to central file
RESULT:
The Architectural model is synchronized with central is done
6) Open the structural model and use the collaborate tools to save the model as a central file.
AIM: To open a structural model and use collaborate tools to save the model as a central file.
PROCEDURE:
STEP 1: Saving structural file as a central file
- Open the already created architectural template
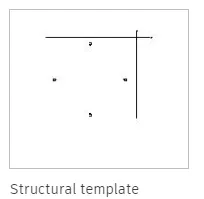
- In collaborate toolbar select the collaborate option and pop up of collaborate window appears on the screen select the within your network option and click ok
- Save the file and pop up message saying saving as central model select yes
STEP 2: Synchronizing with central file
- In collaborate toolbar select synchronize with central and in dropdown select synchronize and modify settings
- After selecting the pop up will appear on the screen and select ok to save to central file
RESULT:
The model is saved as a central file
7) Under the Collaborate tab, select the grids and levels from the architectural model, and using Copy Monitor try to copy the grids to the structural model. See what happens when the copy monitored grid is moved around in the structural model
AIM: To use a copy monitor to copy the grids and paste them into the structural model.
PROCEDURE:
STEP 1: Open the Architectural model
- Open Revit
- Open the saved Architecture model
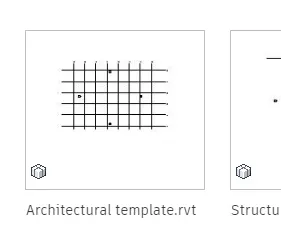
STEP 2: Drawing Longitudinal and transverse grids
- In the Architectural toolbar select the grids from the datum palate
- Draw the longitudinal and transverse grids as the desired offset
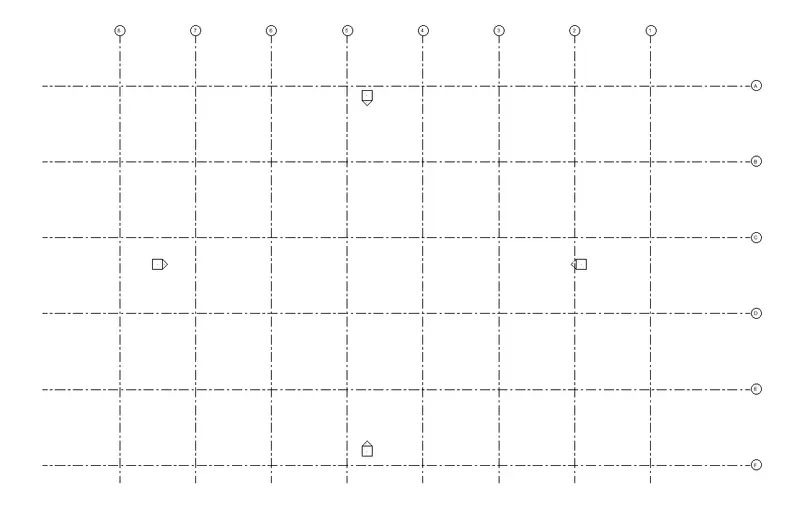
- In collaborate toolbar select the synchronize with central and save the file
STEP 3: Open the structural model
- Open the saved Structural model
- In manage toolbar select the manage link tab
- In popup window of manage link select add and select the saved architectural model
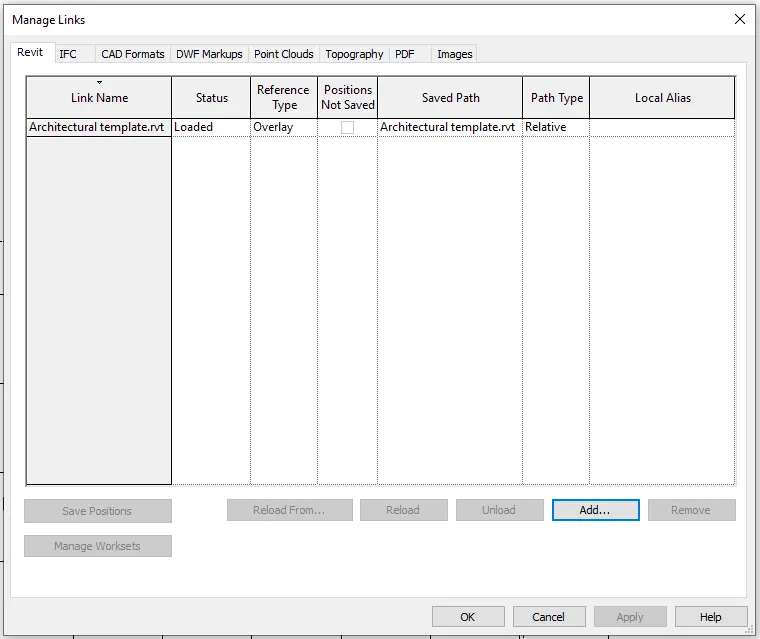
- Click ok to add it, Structural model
STEP 4:Using copy monitor
- In collaborate toolbar select the copy/ monitor tab and in the dropdown select the select link option
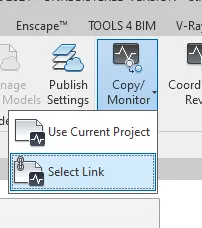
- Select the added architectural model and select the copy option in the ribbon
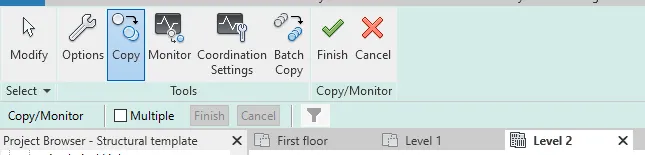
- select all the grids of the architectural model and click on the finish option.
RESULT:
The grids are copied to the structural model by using copy monitor tab is done
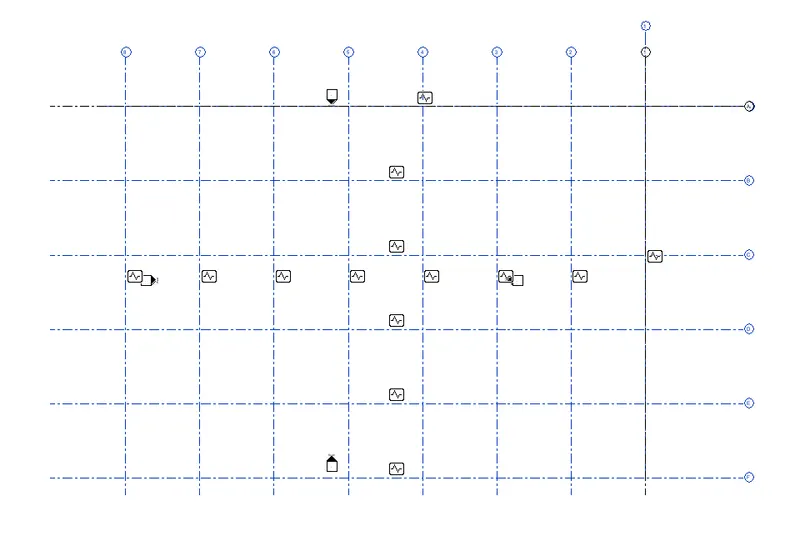
8) Create another new file with a construction template. Save the new file as a central model. This file will include both architectural and structural model. Under the manage tab, Click manage links to link both architectural and structural files. Save the file and close all the files.
AIM: To create a new file with a construction template that includes both architectural and structural model.
PROCEDURE:
STEP 1: Creating construction template
- Open Revit
- Select new and select the imperial-construction template
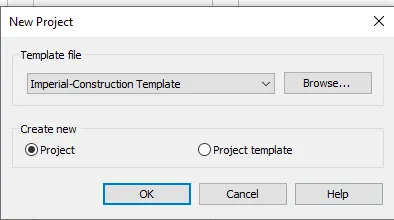
- Save the file as a combined file
STEP 2: Saving as a central file
- In collaborate toolbar select the collaborate tab and save as within your network and click ok
- save the file and select the yes
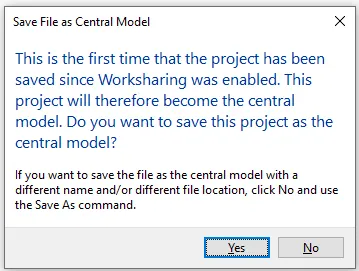
- In collaborate toolbar select the synchronize to save as central model.
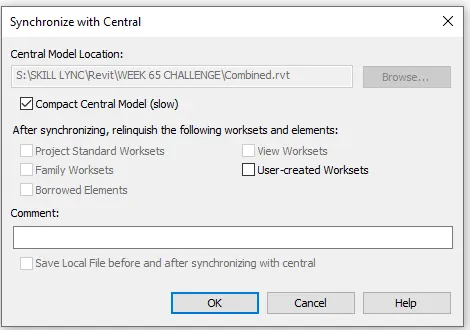
STEP 3: Adding Architectural and Structural models to the combined file
- In manage toolbar select manage links and add the saved structural and Architectural models click ok
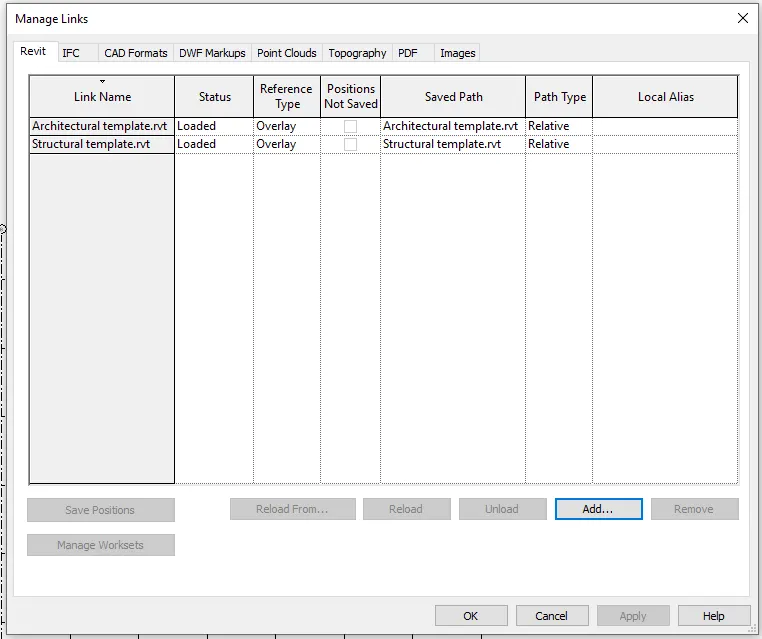
RESULT:
The end result of adding both architectural and Structural models to the combined model is done
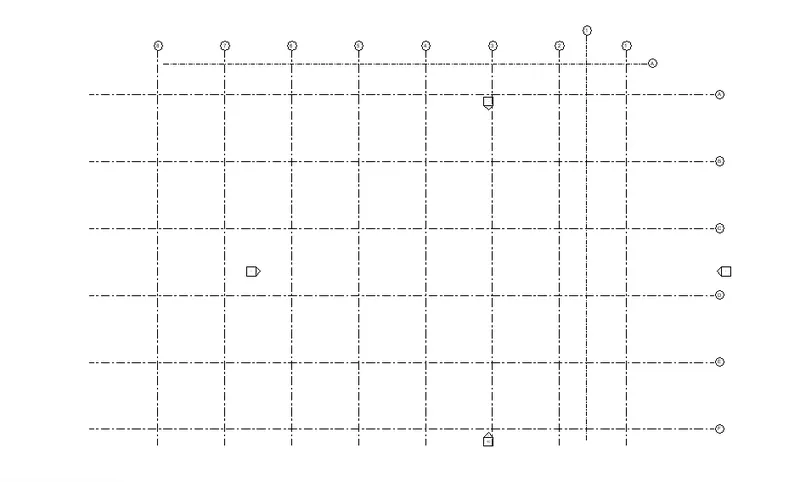
9) Are the grids from structural and architectural model matching in the construction template created? If yes the model is set up for project 2. If not work on the shared parameters and linking options under Manage links
( Hint: origin to origin, by shared coordinates or by project base point to base point ) to link the models in an appropriate manner
AIM: To adjust the grids of structural and architectural in the construction model
PROCEDURE:
Step 1: Open the file
- Open Revit
- Open the saved construction file
STEP 2: Checking and adjusting
- Check the grids are sharing, in my construction model grids are not sharing
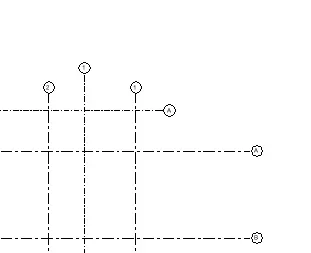
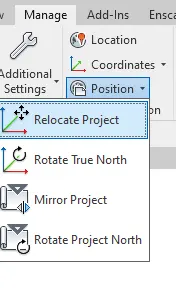
- In manage toolbar select the position tab and in the dropdown select the relocate project option and adjust the grids
RESULT:
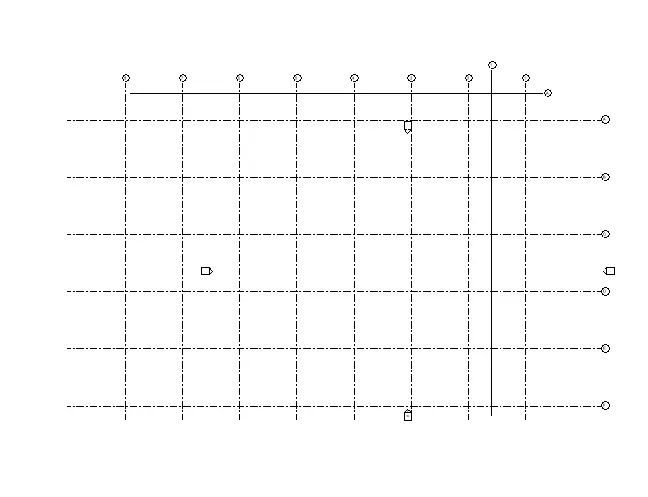
The end model after adjusting the grids
10) List a flow chart of a project tree set up in terms of Construction model, Architecture & Structure model, in this exercise and understand how many people can work on the same project using Revit simultaneously
ANSWER:-
The flow chart of a project tree setup in terms of construction model, Architecture & Structural model is as follows
Construction model
Architectural model Structural model
a. Modelling columns
b. Modelling of beam
c. Modelling of Footings
d. Modelling structural floors
e. Modelling Stress systems
f. Modelling Connections
and ceilings
g. Structural model, in general, develops
| a. Modelling walls |
| b. Modelling windows |
| c. Modelling doors |
| d. Assign materials |
| e. Modelling architectural floorings |
| f. Modelling architectural roofings |
| g. Enables to provide the geographic conditions |
| h. Modelling staircase |
| i. Create openings |
|
j. An architectural model is overall contributing to the aesthetic beauty of a building |
the entire framework of a structure
Use work-sharing to allow multiple users to work on different parts of one Revit project and it allows simultaneous access to a shared model through the use of a central model. use work-sharing when you working with a single model that will have multiple team members working on it.