Usage of Collaborate tool in REVIT
Name: Allan Bryan Jayson Cruz
Course: Master’s Certification Program in High-Rise Building Design & Analysis
Date: January 23, 2022
Challenge 6_Usage of Collaborate tool in REVIT
********************************************************
1 Aim & Introduction
***************
Aim
This challenge aims to introduce the collaboration tool of the Revit software. It gives the student an experience in using the collaboration tool of revit so that he/she will be familiar with the hows and whys of these tools.
It also give the knowledge of the different tools needed in providing efficient work during collaboration work with different disciplines.
Introduction
Revit is a building information modelling software that allows the user to create and design a 3D model building structure. It is an architectural, structural, and mechanical software where the user can provide 3D illustration of the building as well as its design.
********************************************************
2 Detail Procedure
***************
1) Open an architectural template. Using the Manage tab set project base point and project shared coordinates for the project
PROCEDURE:
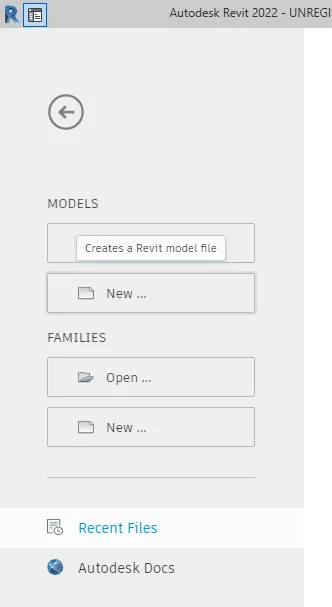
- Open the Revit software and select new on the homepage shown.
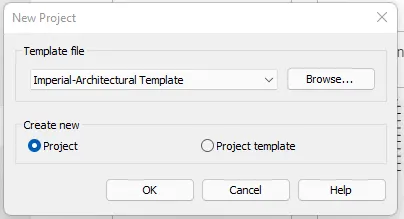
- Select the Architectural template of desired units and select ok.
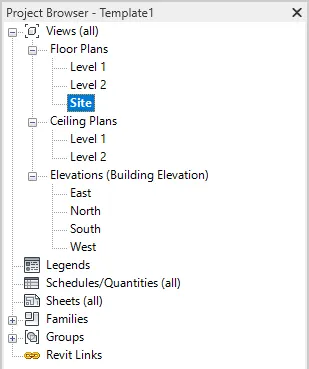
- Open the Site interface on the properties tab to show the current project base point.
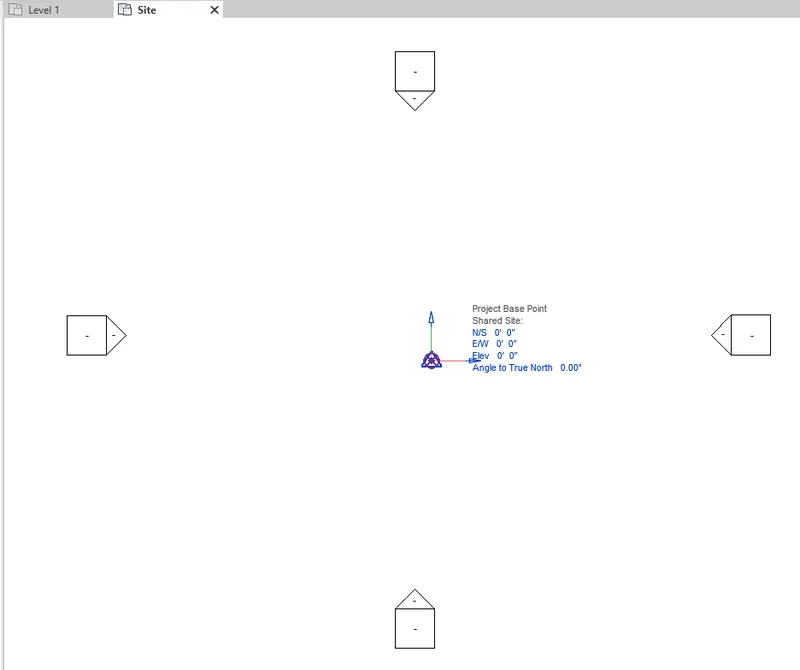
- The point default project base point and shared coordinate is shown as 0.
- On the manage tab select the following and set the desired project location, base point and shared coordintes.
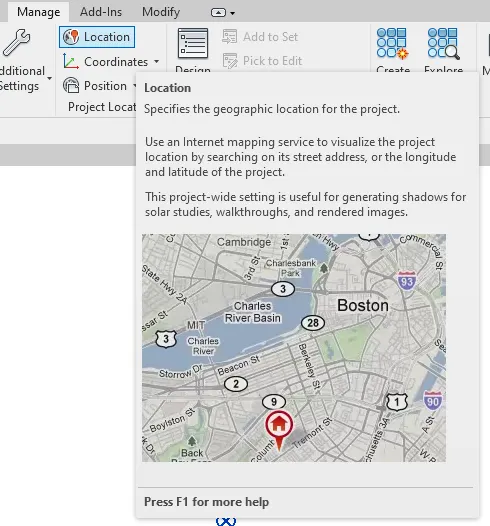
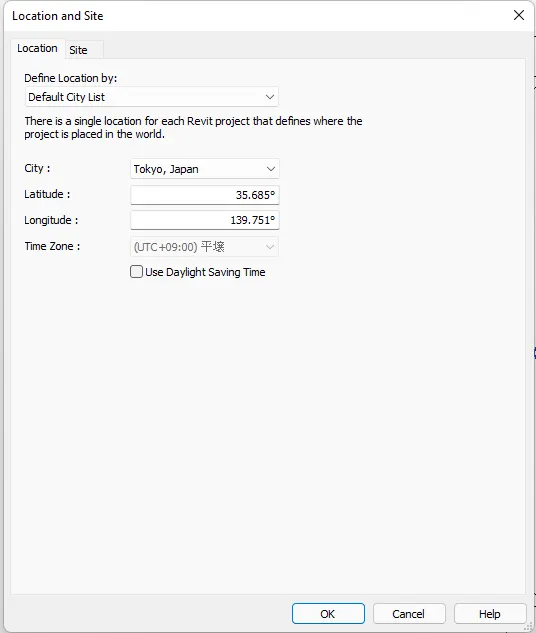
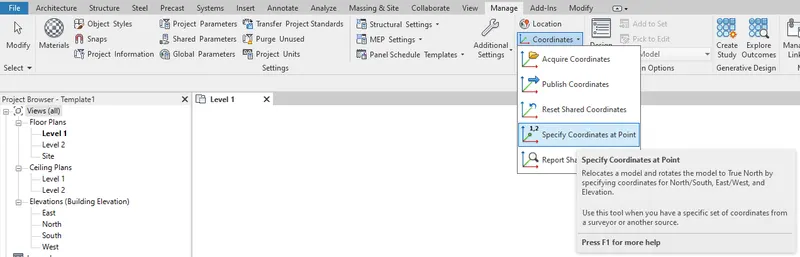
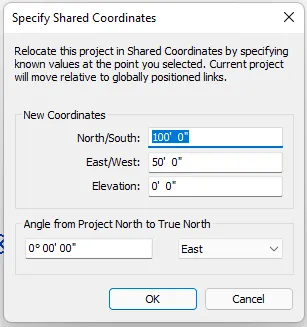
- Press ok and the project base point will be changed accordingly.
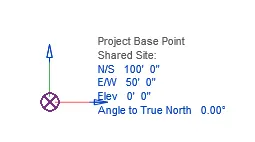
- Save the file with appropriate name.
***************
2) Open another new file but with a structural template. Using the manage tab set project parameters the same as the architectural model. Copy the parameters from the architectural model to the structural template or enter the parameters manually into the structural model.
PROCEDURE:
- Use the same procedure above to open a new project. But this time, select a structural template with desired units.
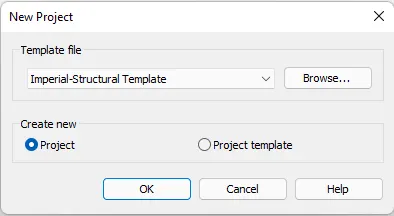
- Enter the same parameters given in question 1.
- Press ok and the project base point will be changed accordingly.
- Save the file with appropriate name.
***************
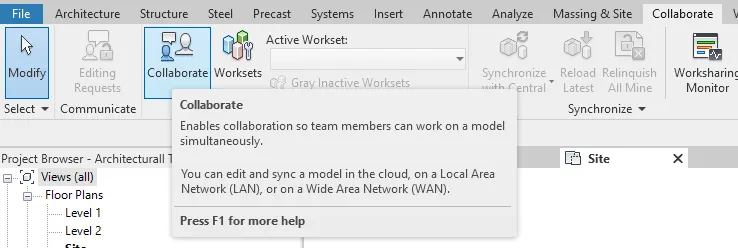
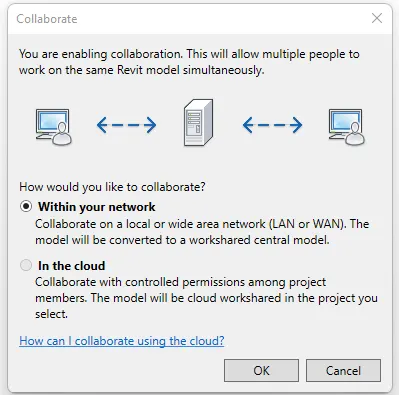
3) Re-open the architectural model. Using the tools under the Collaborate tab make the architectural model a central model (enabling simultaneous working on the model)
PROCEDURE:
- To open the architectural model, select open under the file menu.
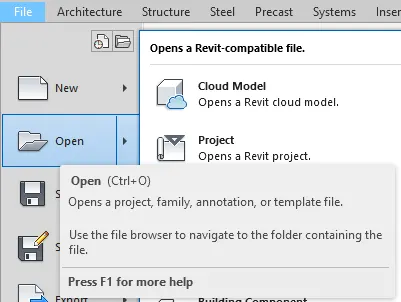
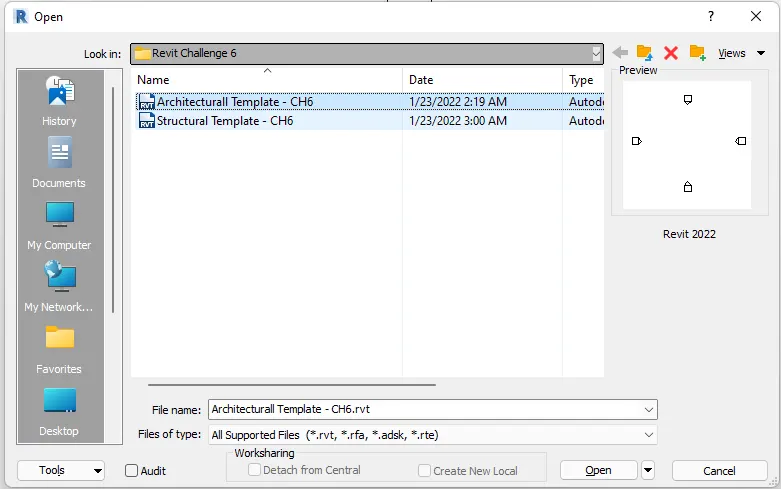
- Once opened, go to collaborate tab and set the architectural model as central model.
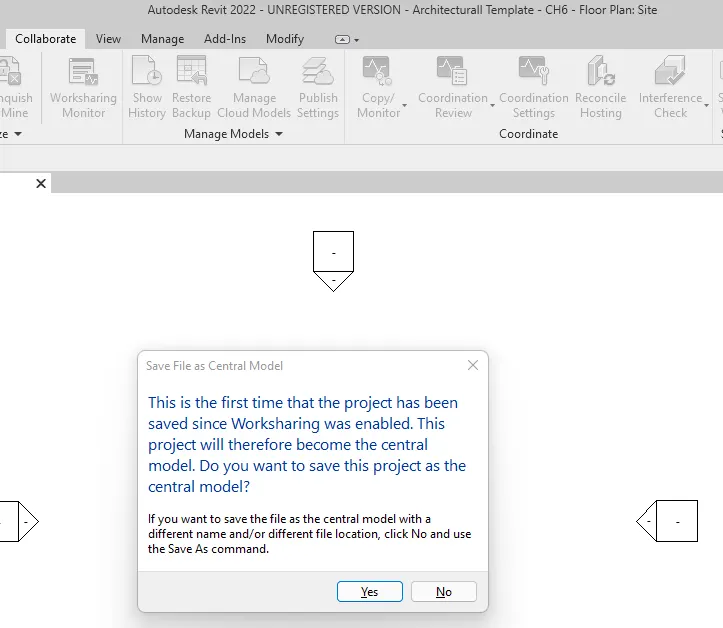
- Save the project to set the current model as central file.
***************
4) Create the Grids Longitudinal and Transverse pattern for the project similar to the task done in Week 2
PROCEDURE:
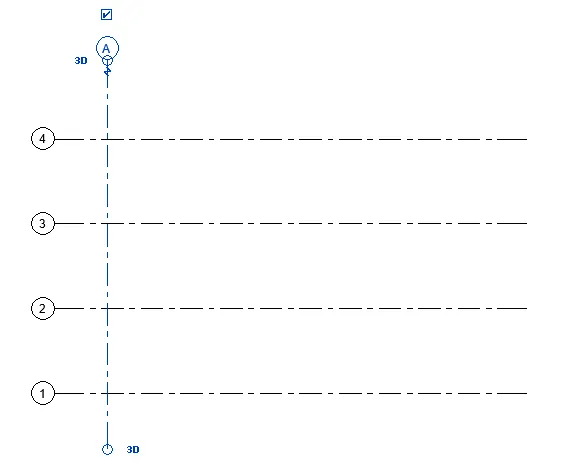
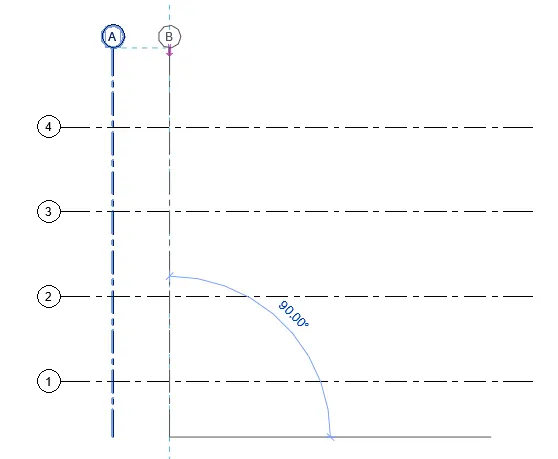
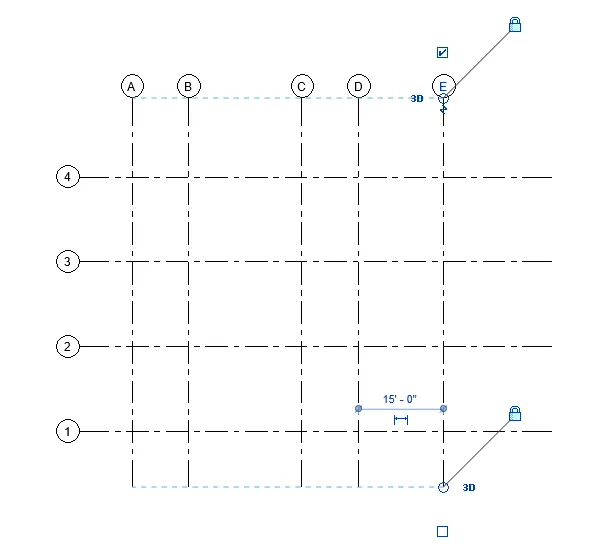
- To create the grid lines, go to Architecture tab and select the Grid tool. Draw the lines on the interface under selected level and decide the Grid dimensions.
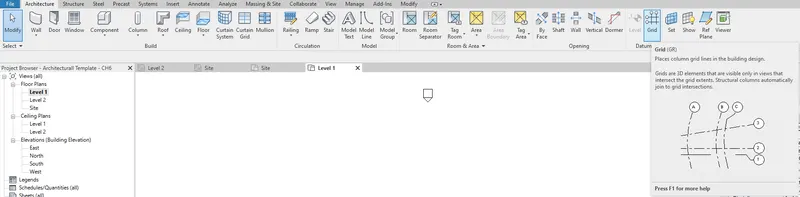
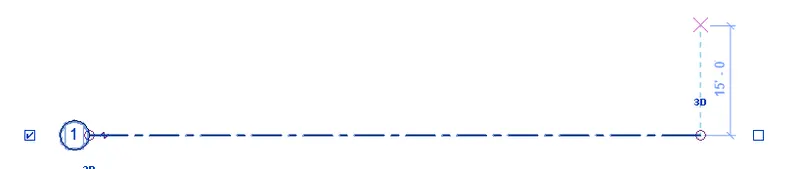
- Create horizantal and vertical Grids. Change the vertical grid symbols into alphabet texts to distinguish the two.
***************
5) Synchronize the changes from the local copy to the central file of the architectural model.
PROCEDURE:
- To synchronize the changes of the local model to the central file, go to Collaborate tab and select "Synchronize with Central".
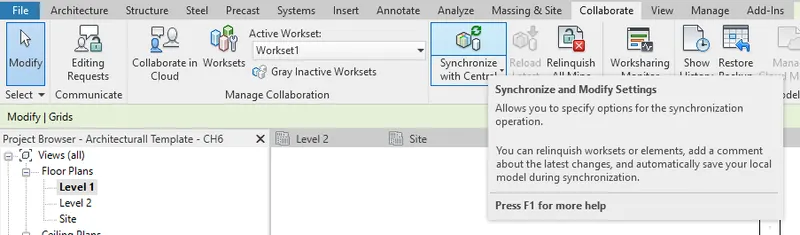
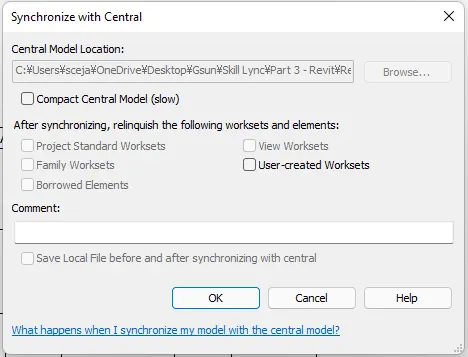
- These changes will be reflected into the central model and can be viewed by other persons working in the model.
***************
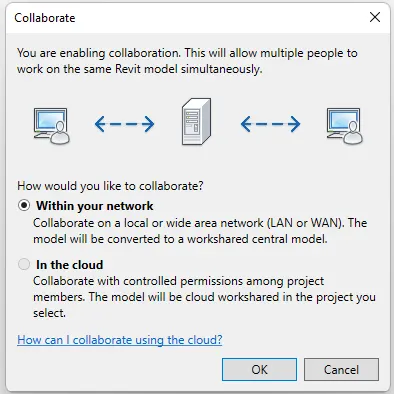
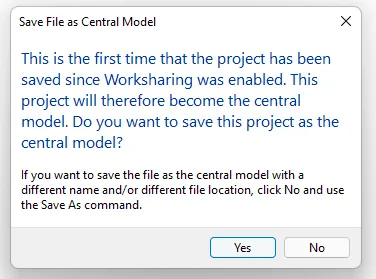
6) Open the structural model and use the collaborate tools to save the model as a central file.
PROCEDURE:
- Open the structural model using the method in question 3.
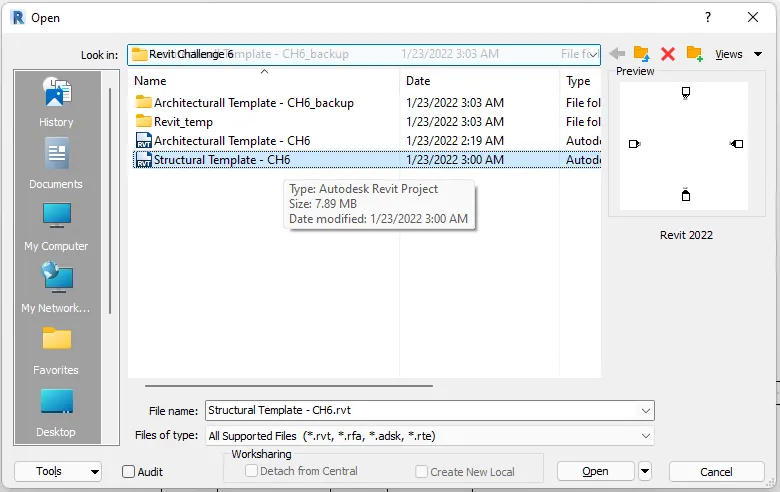
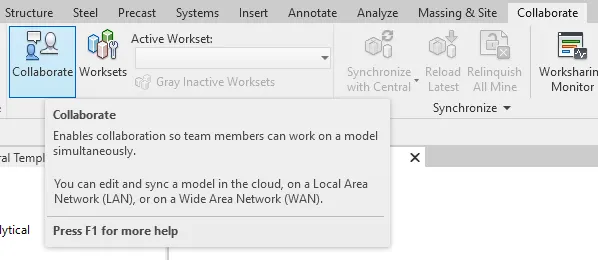
- Go to collaborate tab and save as central model.
***************
7) Under the Collaborate tab, select the grids and levels from the architectural model, and using Copy Monitor try to copy the grids to the structural model. See what happens when the copy monitored grid is moved around in the structural model
PROCEDURE:
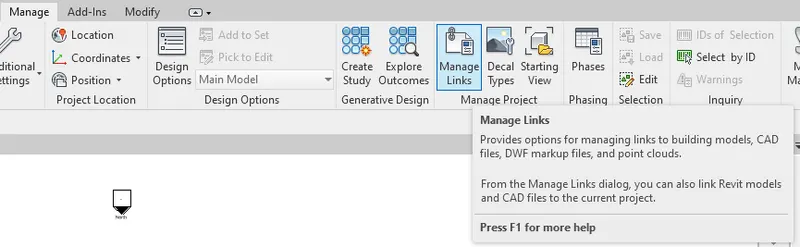
- To collaborate the two models, you need to link first the architectural model to the structural model. Go to Manage tab and select Manage Links.
- The Manage Links window will appear. Select Add and select the architectural Revit file.
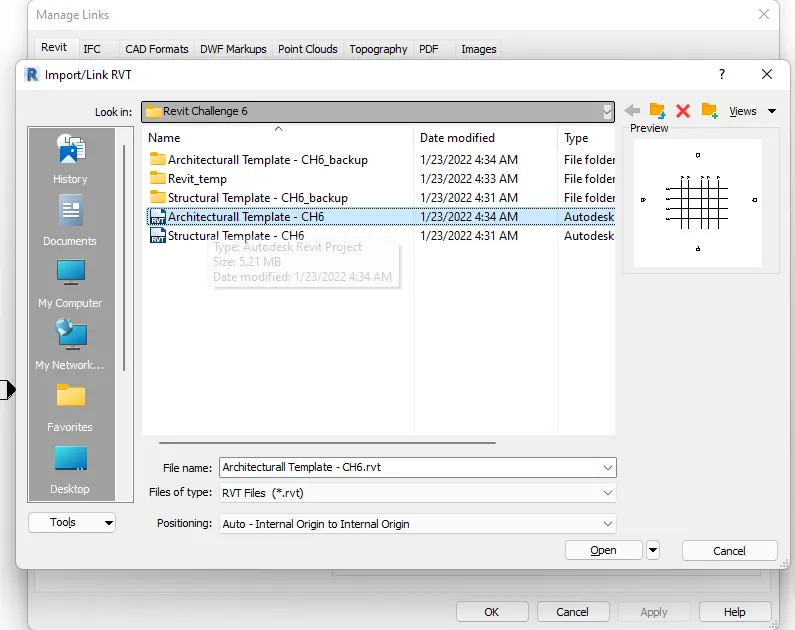
- Notice that the link will be reflected to the interface.
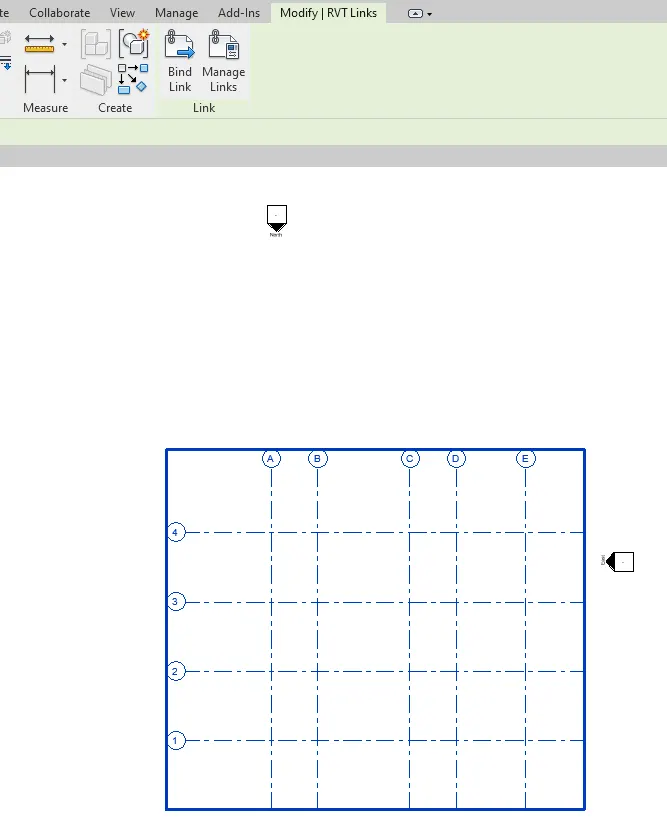
- Now the copy monitor is used so that these elements can be edited in the model. Under the collaborate tab, select the Copy Monitor tool.
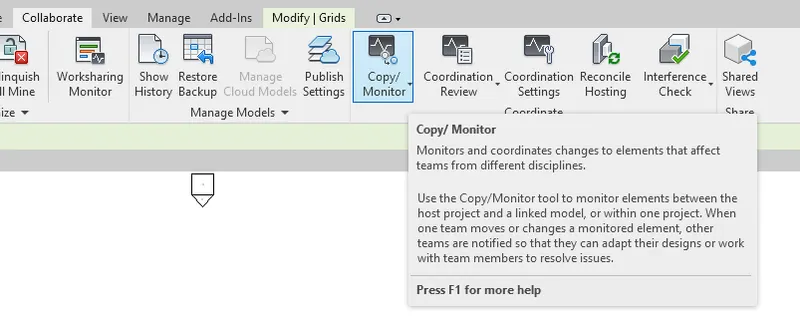
- Drag down and select "Select Link".
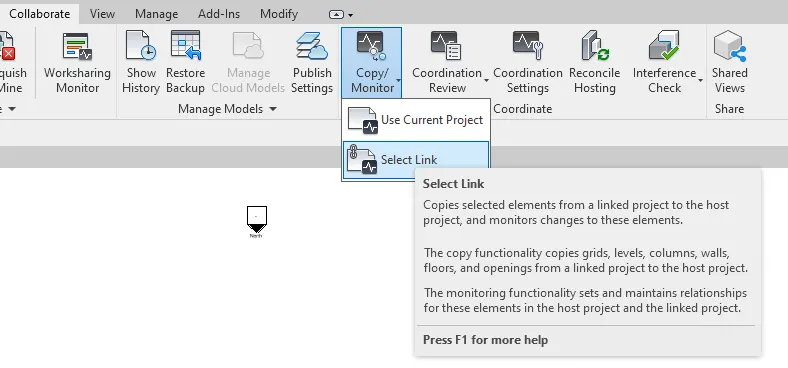
- Hover down and select the link.
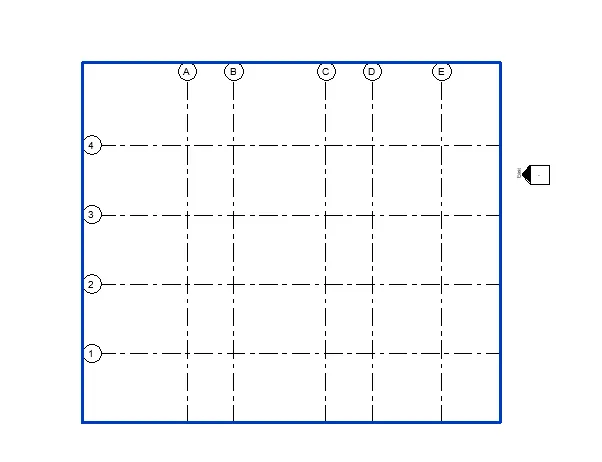
- The Copy monitor tab will appear.
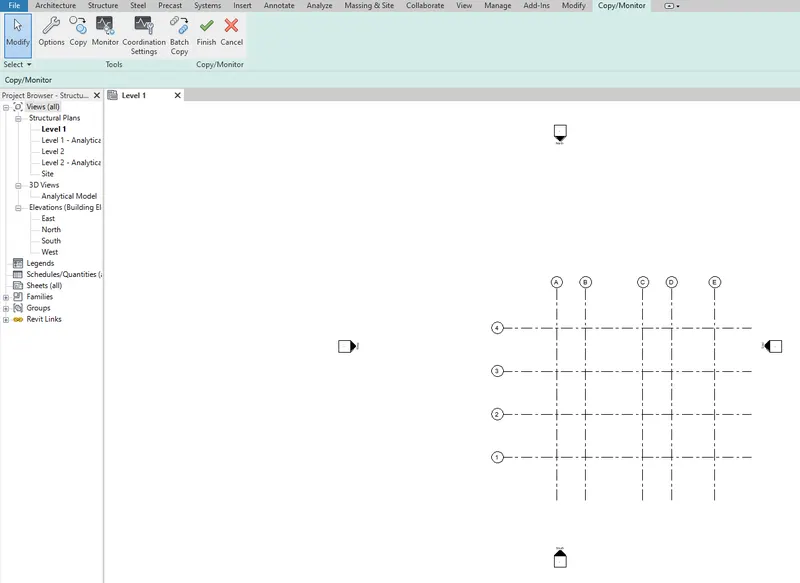
- Select the copy tool. Click the multiple under the tool and select all the grids.
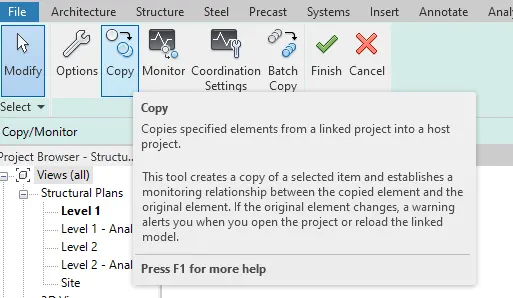
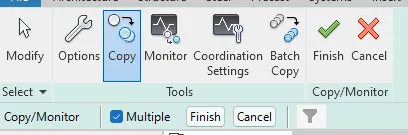
- Press Ctrl during selection to make a square select.
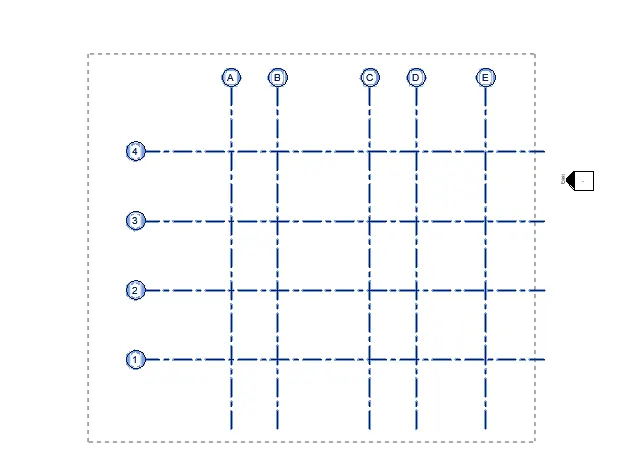
- Select finish under the copy tool.
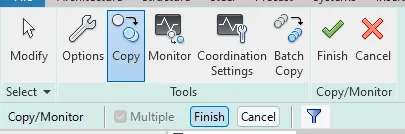
- Then go back to the Copy/Monitor tab and select Finish.
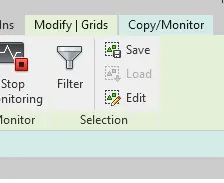
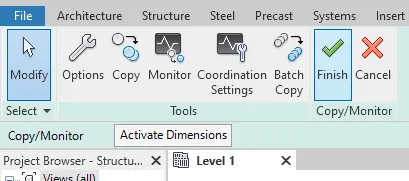
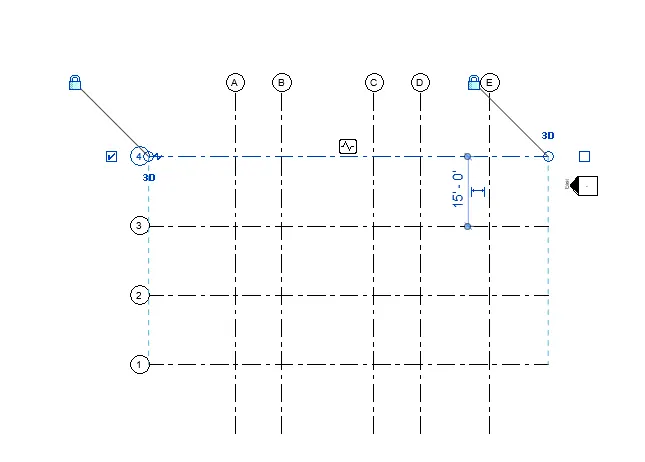
- Now you have full control of the elements.
***************
8) Create another new file with a construction template. Save the new file as a central model. This file will include both architectural and structural model. Under the manage tab, Click manage links to link both architectural and structural files. Save the file and close all the files.
PROCEDURE:
- Open a new file and select the construction template.
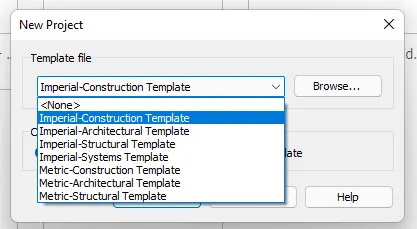
- Go to manage tab and select manage links.
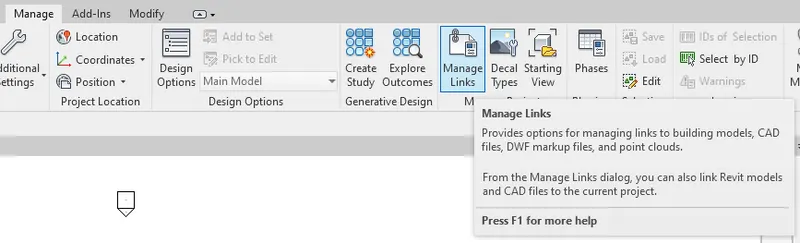
- Once the window appears, click the add button and select the models to link with the project.
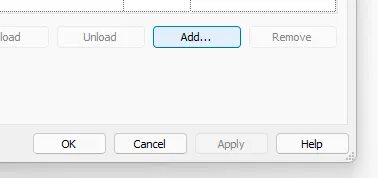
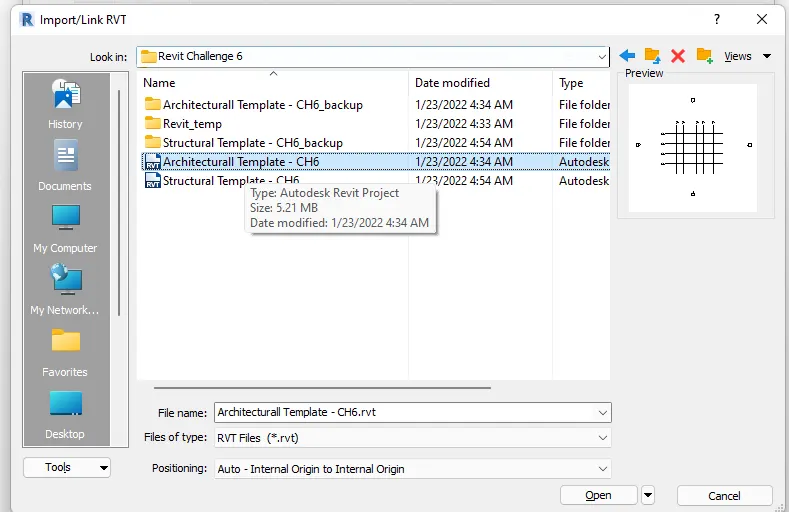
- Make sure that the links are added appropriately.
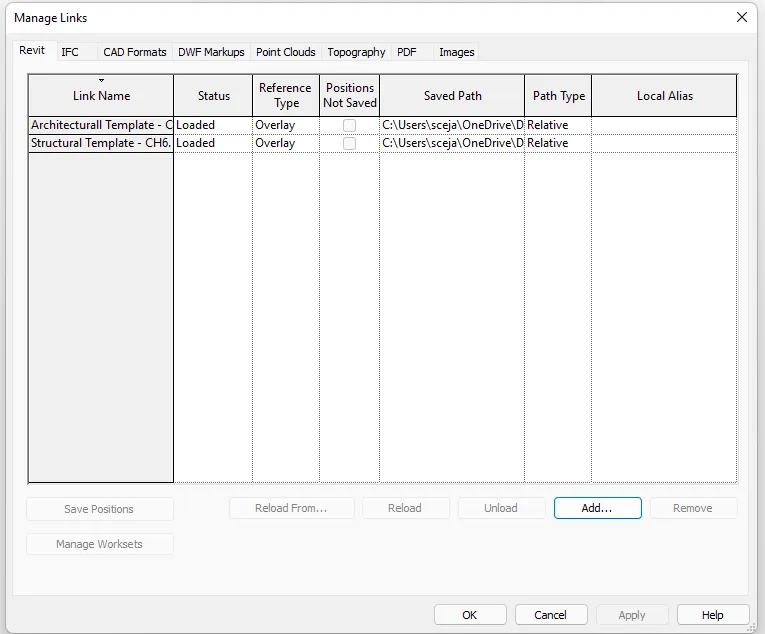
- Save and name accordingly.

***************
9) Are the grids from structural and architectural model matching in the construction template created? If yes the model is set up for project 2. If not work on the shared parameters and linking options under Manage links
( Hint: origin to origin, by shared coordinates or by project base point to base point ) to link the models in an appropriate manner
*******
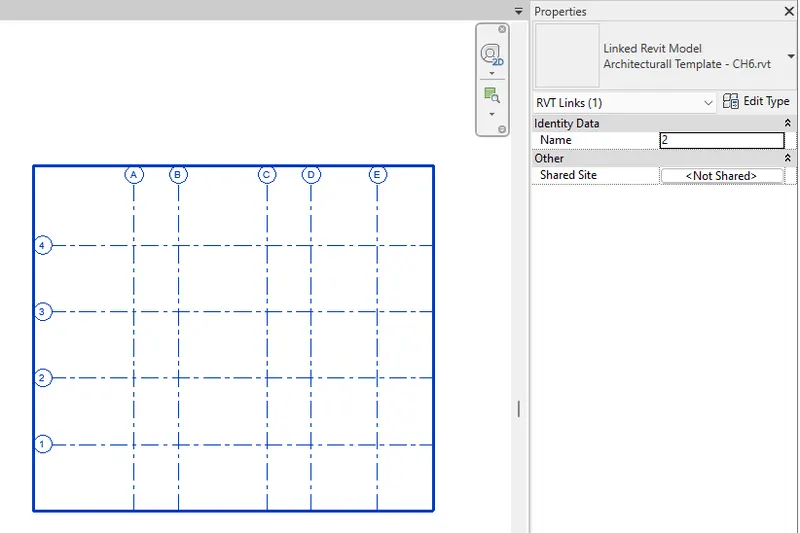
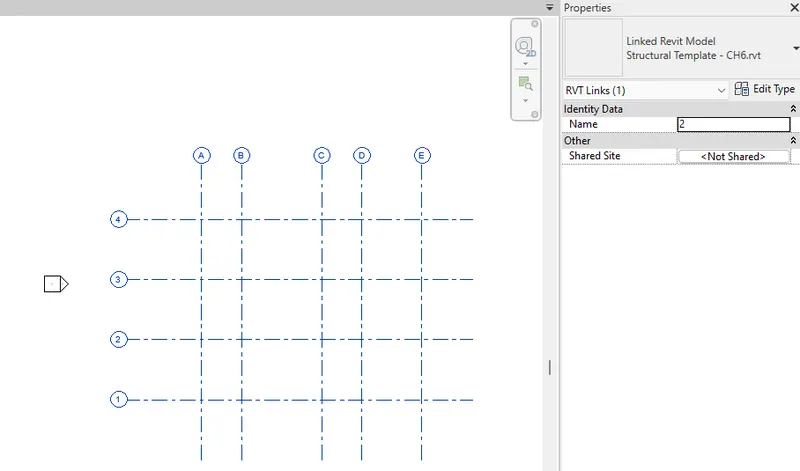
Yes they are modeled together. Since I used the copy moitor to add the Grid lines from Architectural Model to the Structural Model, the position and coordinates of the grid lines are the same.
- Selected Architectural Template
- Selected Structural Template
***************
10) List a flow chart of a project tree set up in terms of Construction model, Architecture & Structure model, in this exercise and understand how many people can work on the same project using Revit simultaneously
Construction Flow Chart
| - | CONSTRUCTION MODEL | - |
| *ARCHITECTURAL MODEL | <-----l-----> | *STRUCTURAL MODEL |
| **Wall modeling and material specification | - | **Foundation Modeling |
| **Door modeling and material specification | - | **Ground Elements Modeling (Tie Beams and Slabs) |
| **Window modeling and material specification | - | **Structural Column Modeling |
| **Floor material specification and application | - | **Structural Beam Modeling |
| **Roof modeling and material specification | - | **Structural Floor Modeling (Per Level) |
| **Access specifications like stairs and openings | - | **Truss Modeling |
| **Aesthetic specifications including landscaping | - | **Modeling of Structural Connections |
| **Architectural Element modeling and locations | - | **Structural Brace Modeling |
The flow chart explains the responsibilies taken under each model. The Construction Model will be collaborated by the two disciplines while the Architectural and Structural Model concentrates on their part while considering other aspects.
The Architectural model consists of the architectural parts which contributes to the buildings exterior/interior design and aesthetics while the Structural model consists of the parts of the building that contributes to strength, design, and stability.
In a revit project, multiple persons can work simultaneously depending on the scale of the project and requirement of work. Using the Collaboration tab and links that is included in the Revit software, people of different disciplines can work together under one revit model. An example is when a structural engineer, an architect, an electrical engineer, a geodethic engineer and plumbing/sanitary engineer works together in a certain part of the building. In this way, multiple layouts can be seen throughout the model simultaneously.
********************************************************
3 Conclusion
***************
The Revit softwares allow the collaboration of multiple disciplines to create a precise model which contains all the aspects seen inside a building. A building requires the cooperation of each discipline to finish. The revit software does not only make this happen but also gives the option of working together simultaneosly. In working in a BIM tool, real time changes can be seen so accurate modeling can be achieved. By collaboration of each disciplines, minimal errors and mistakes will be made.
Aside from giving the method of cooperation, Revit also allows the fast and easy communication between disciplines which is one of the most important aspect in construction. This creates a smooth work environment among the personels incharge in the project.