Usage of Collaborate tool in REVIT
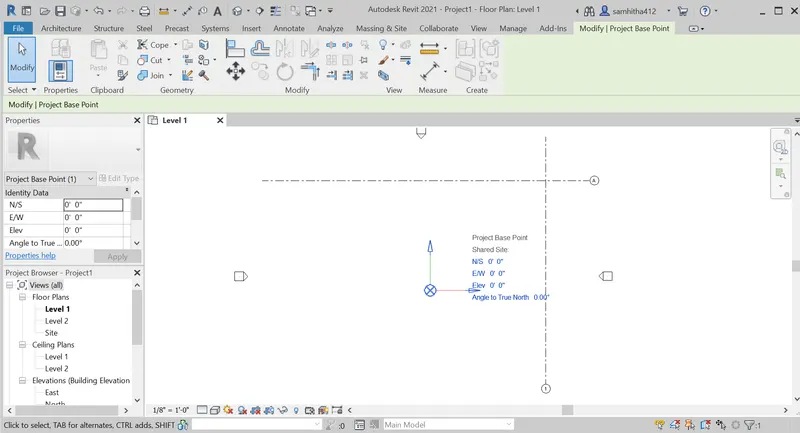
1) Open an architectural template. Using the Manage tab set project base point and project shared coordinates for the project
AIM:To set project base point and project shared coordinates for the project by using manage tab.
TOOLS USED:
- Architectural tab
- Grids
- Manage
- Coordinate
- Specify coordinate at a point
- Collaborate
PROCEDURE:
1-Open revit and create new architectural template.
2-Click on Architectural tab
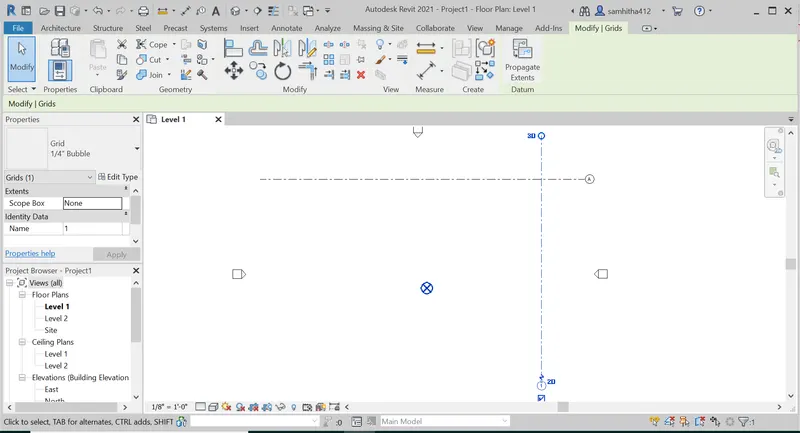
3-Select grid from datum and then draw them accordingly.
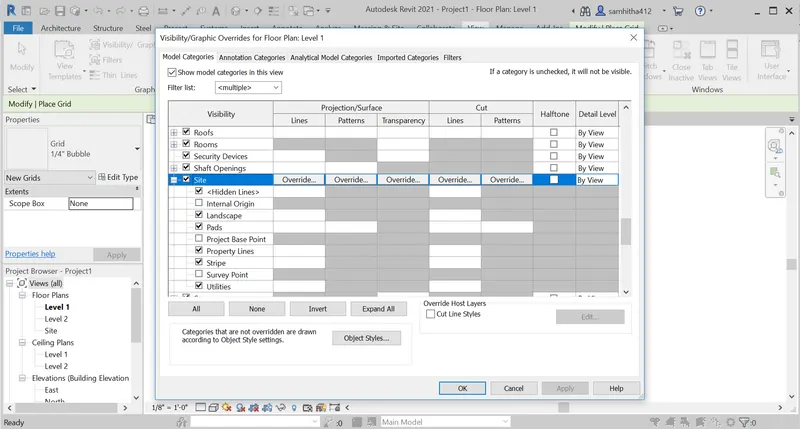
4-Then select project base point from site in visibility/graphics which is in view tab.
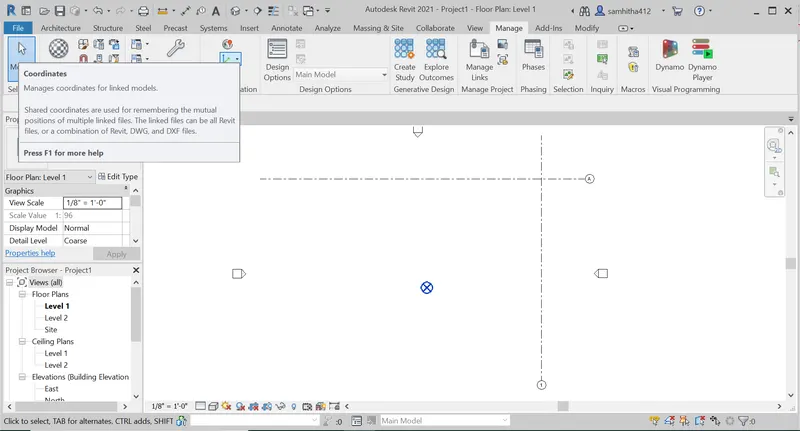
4-Click on manage tab.
5-Then click on coordinate from project Location.
6-Select specify coordinate at point option.
7-Then place them accordingly to grids
8-Then save approximate name
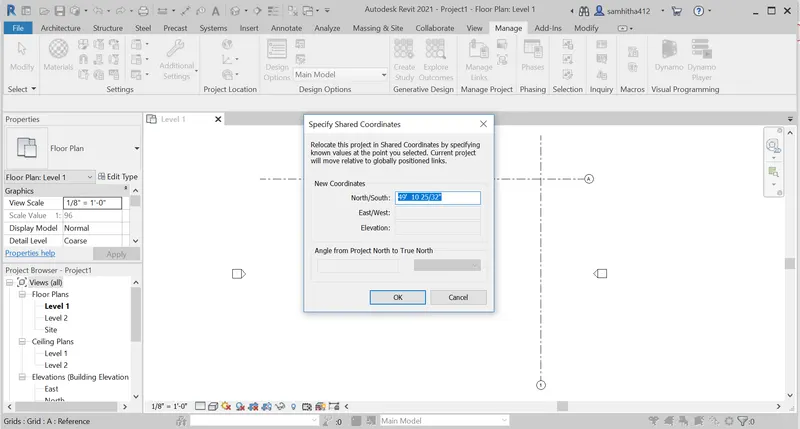
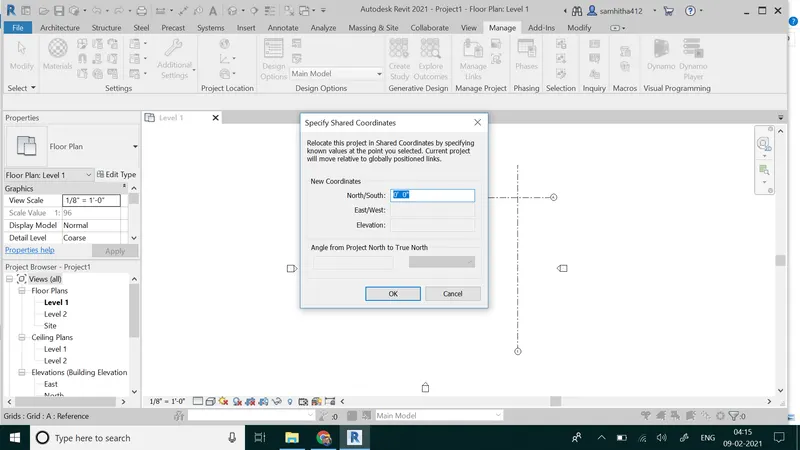
RESULT:The Required set project base point and project shared coordinates for the project is successfully placed.
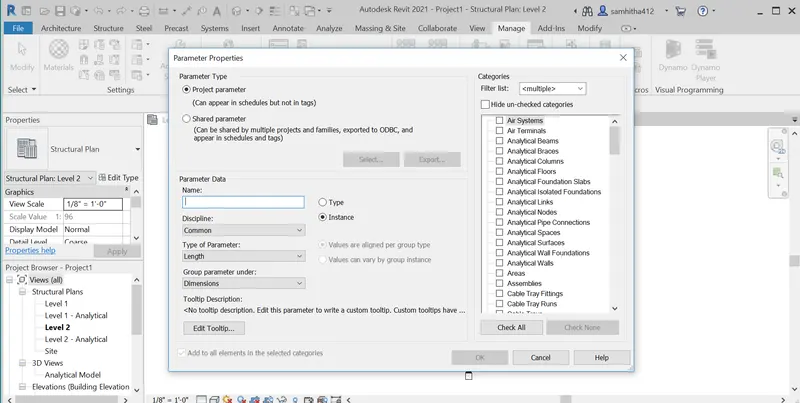
2) Open another new file but with a structural template. Using the manage tab set project parameters the same as the architectural model. Copy the parameters from the architectural model to the structural template or enter the parameters manually into the structural model
AIM:To set project parameters the same as the architectural model. Copy the parameters from the architectural model to the structural template or enter the parameters manually into the structural model using manage tab.
TOOLS:
- Structural template.
- Architectural tab
- Grids
- Manage tab
- Project parameter.
- coordinates
- Specify coordinate at point
- Collaborate
PROCEDURE:
1-Open revit software.
2-Click on NEW and select structural template.
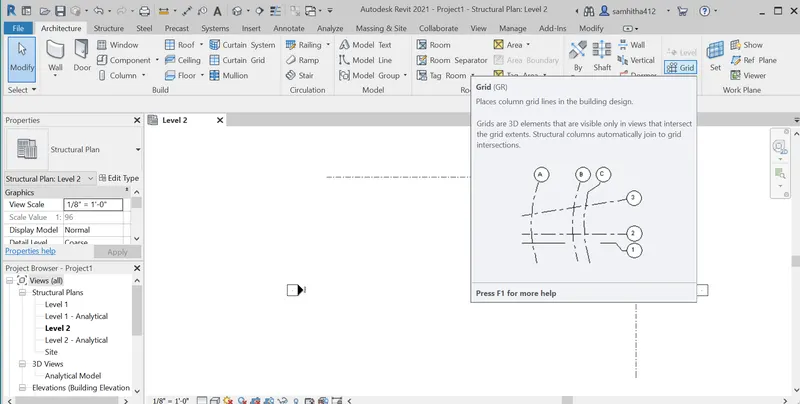
3-Then click on Architectural tab .
4-Select Grids from datum.
5-Then draw horizontal and vertical grid lines.
6- Rename them accordingly in alphabets and numbers.
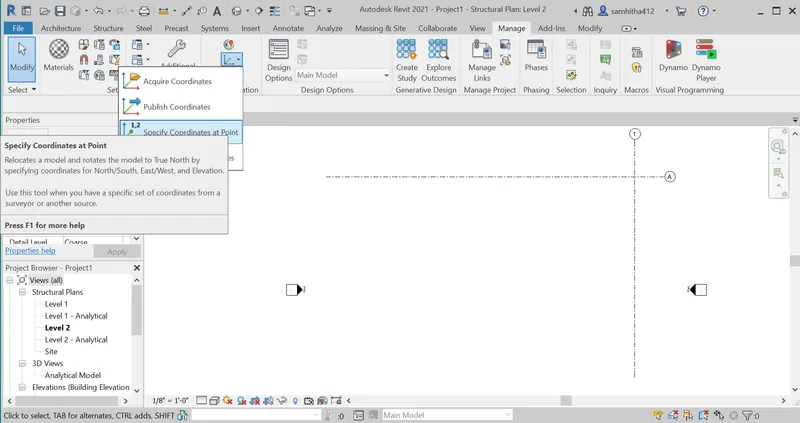
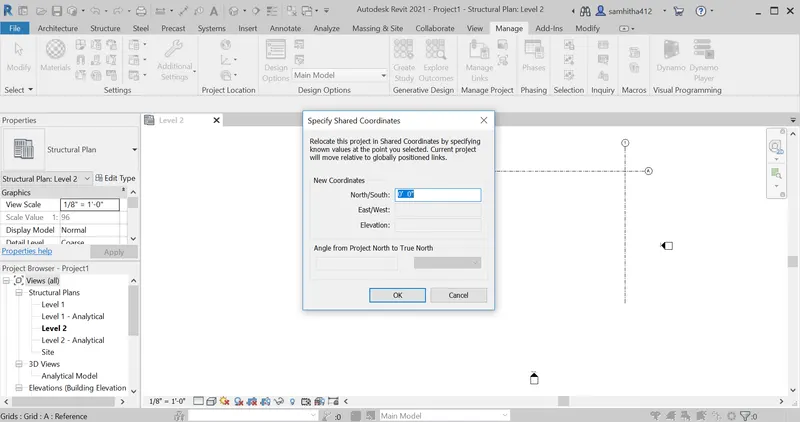
7-Go to manage tab and then click on coordinate.
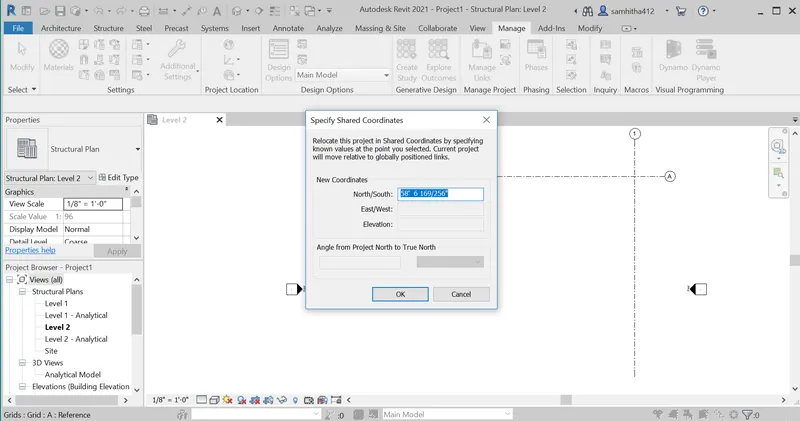
8- Click specify coordinate at point tools from there.
9-Select grid lines and set there coordinates as 0'-0''. After that save that structural model.
RESULT:The project parameters the same as the architectural model are set and entered the parameters manually into the structural model using manage tab.
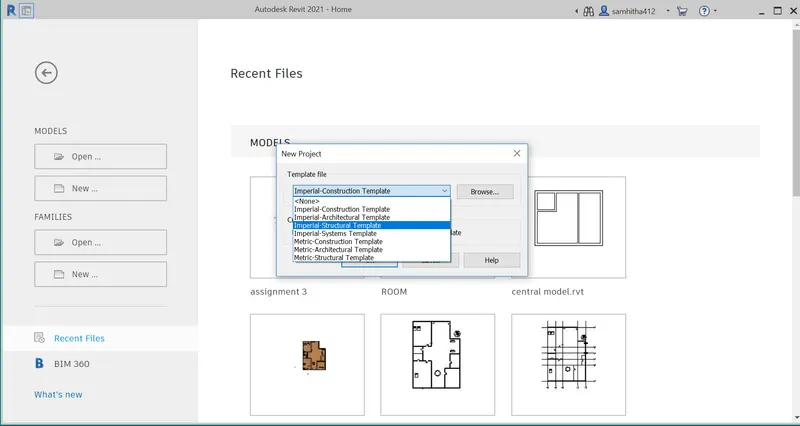
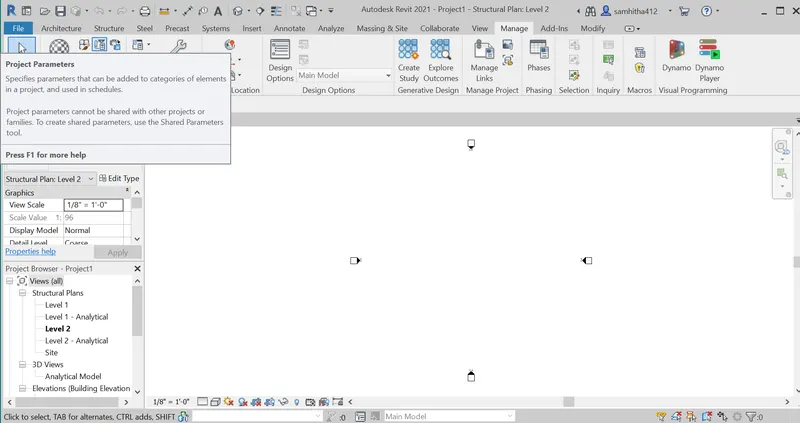
3) Re-open the architectural model. Using the tools under the Collaborate tab make the architectural model a central model (enabling simultaneous working on the model)
AIM:To make the architectural model a central model (enabling simultaneous working on the model) by using the tools under the Collaborate tab .
TOOLS USED:
- Open
- File
- Collaborate
PROCEDURE:
1-Open architectural Template from already saved and done from file.
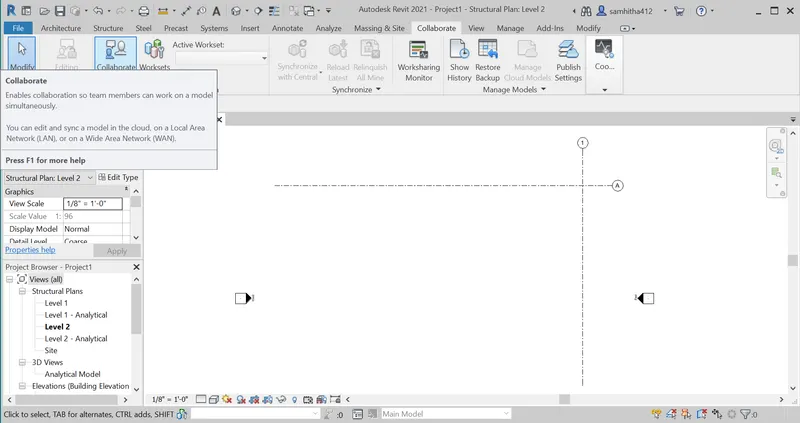
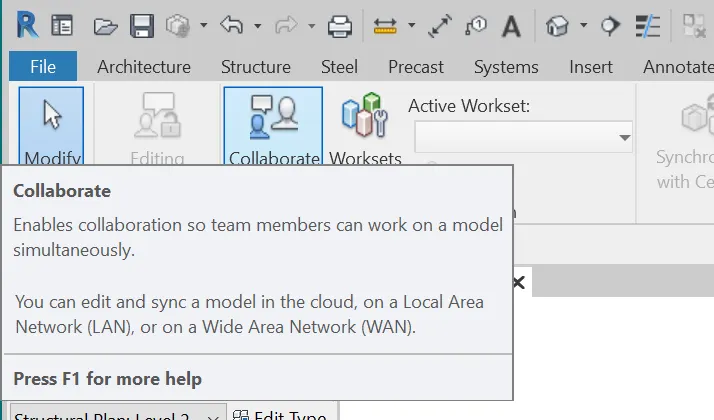
2-Click on collaborate tab.
3-There select collaborate option from there.
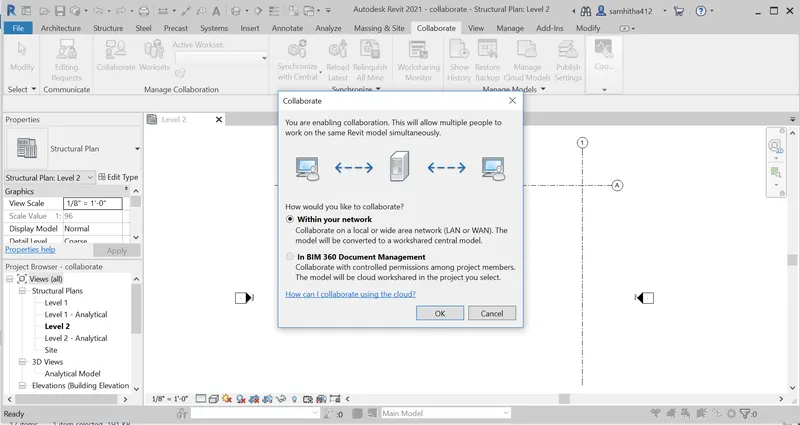
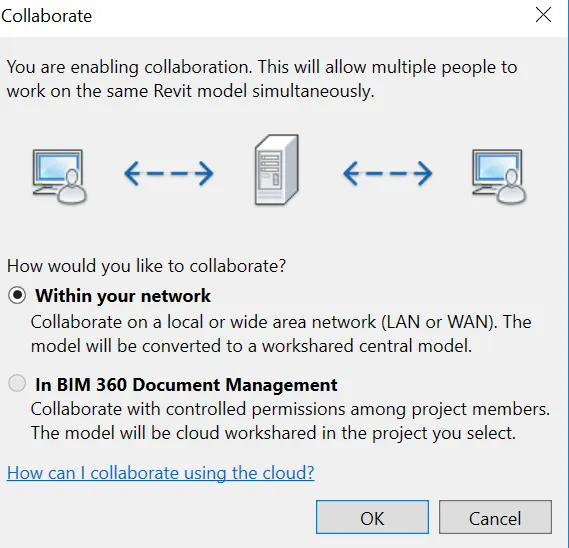
4-A dialog box appears.There select WITHIN YOUR NETWORK and click on ok option.
5-Then there appears a dialog box appears as SAVE AS CENTRAL FILE there click ok.
RESULT:The required architectural model is successfully created as central file.
4) Create the Grids Longitudinal and Transverse pattern for the project similar to the task done in Week 2
AIM:To create the Grids Longitudinal and Transverse pattern for the project similar to the task done in Week 2
TOOLS USED:
- Architectural tab
- Grids
PROCEDURE:
1-Open revit software.
2-Choose Architectural template required.
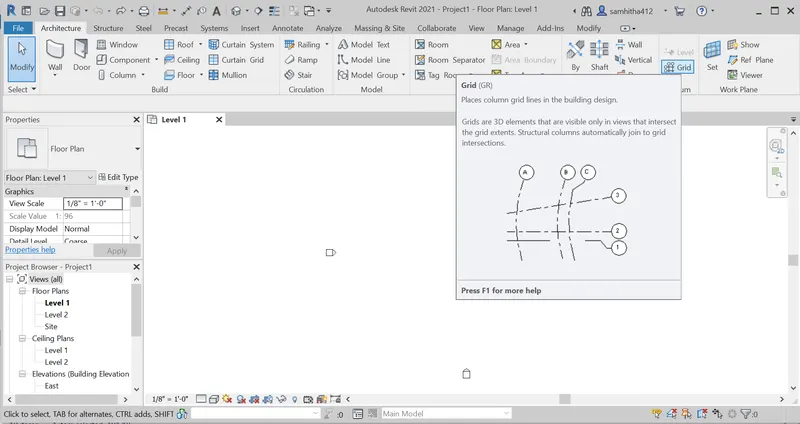
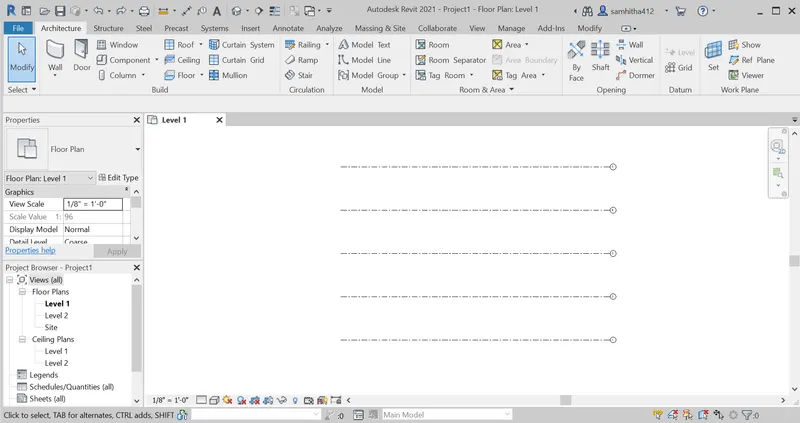
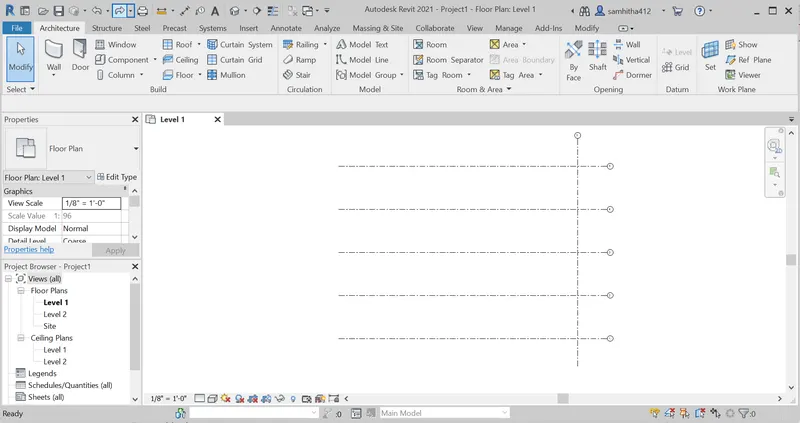
3-Then click on architectural tab there select grids from datum.
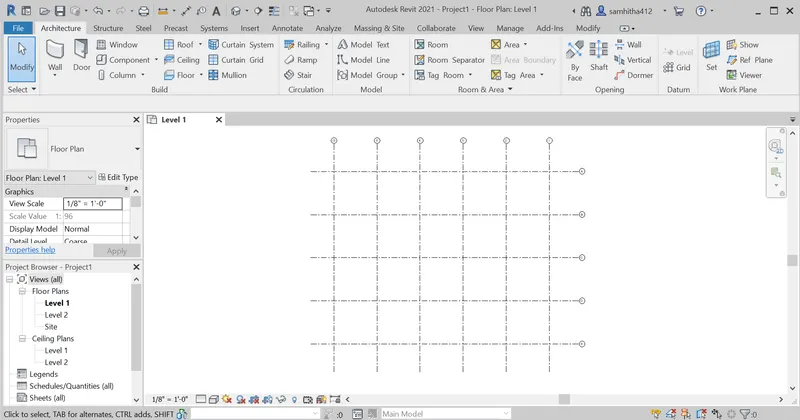
4-Draw the horizontal grids with equal spacing of 30".
5-Similarly draw the verticle grids with equal spacing of 30".
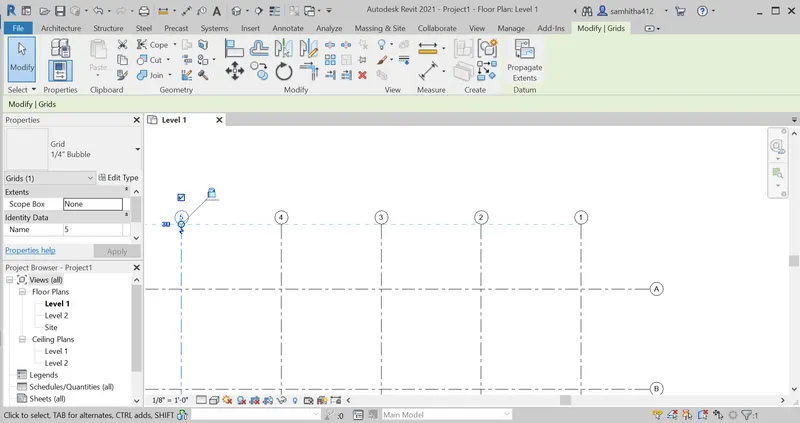
6-Rename the horizontal grids with alphabets top to bottom and vertical grids with numbers from left to right .
RESULT:The grids Longitudinal and Transverse pattern for the project similar to the task done in Week 2 are successfully created.
5) Synchronize the changes from the local copy to the central file of the architectural model.
AIM:To synchronize the changes from the local copy to the central file of the architectural model.
TOOLS REQUIRED:
- Collaborate
- Manage tab
- Synchronize
- synchronize with modify settings
PROCEDURE:
1-Open revit software.
2-Click on collaborate tab select collaborate option there
3-Then a dialog box appears there select within your network and click ok.
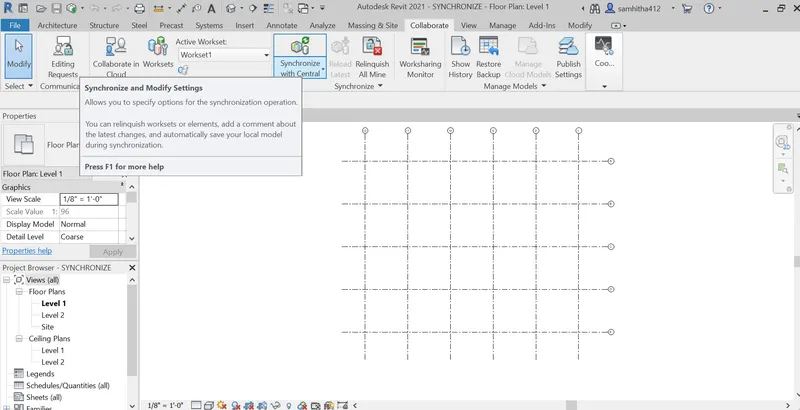
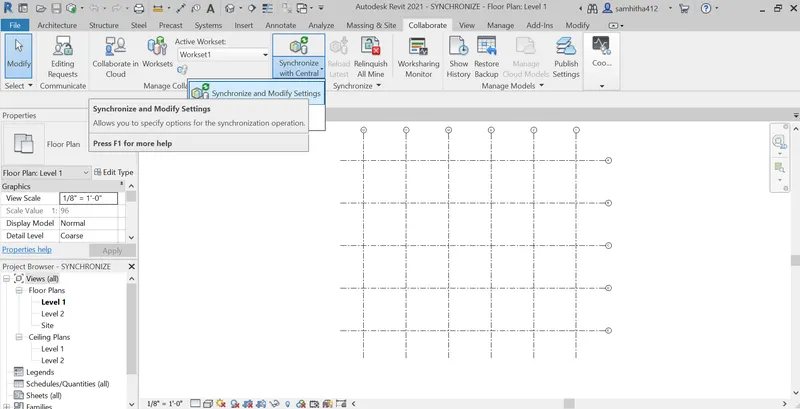
4-After it is saved then select synchronize with central option from collaborate tab.
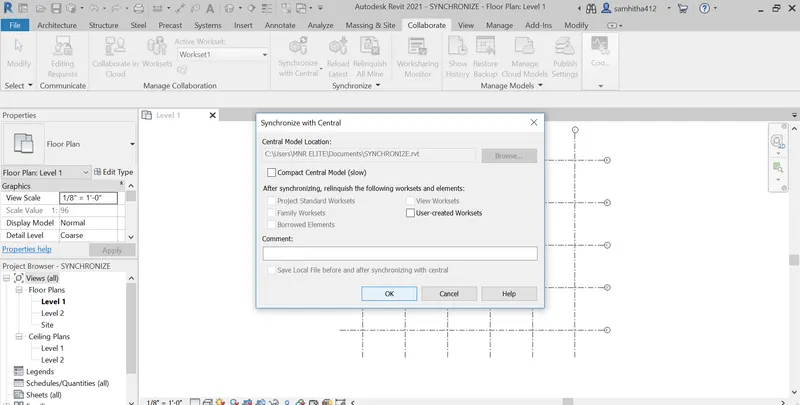
5-Then select synchronize and modify settings option from there.
6-Then a dialog box appears there if required you can change some of changes and tgen click on ok.
RESULT: To synchronize the changes from the local copy to the central file of the architectural model.
6) Open the structural model and use the collaborate tools to save the model as a central file.
AIM:To open the structural model and use the collaborate tools to save the model as a central file.
TOOLS USED:
- Open
- File
- Structural model
- Collaborate
- Within your network
PROCEDURE:
1-Open the structural model which is already saved from file.
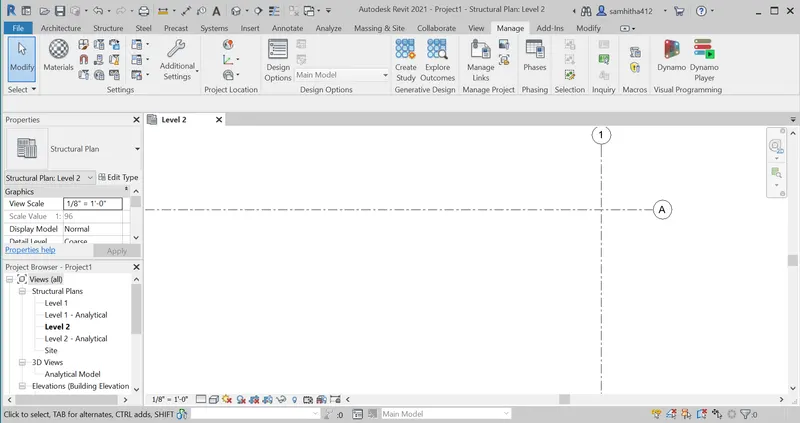
2-Select collaborate tab and there choose collaborate option.
3-A dialog box appears there select within your network option and click ok.
RESULT:The collaborate tools are used to save the model as a central file successfully.
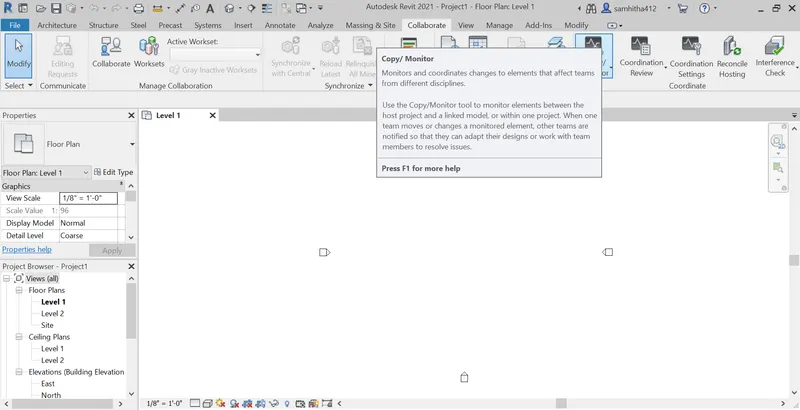
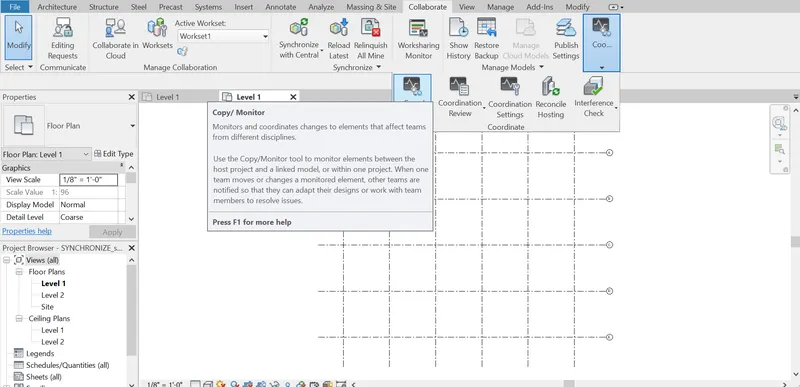
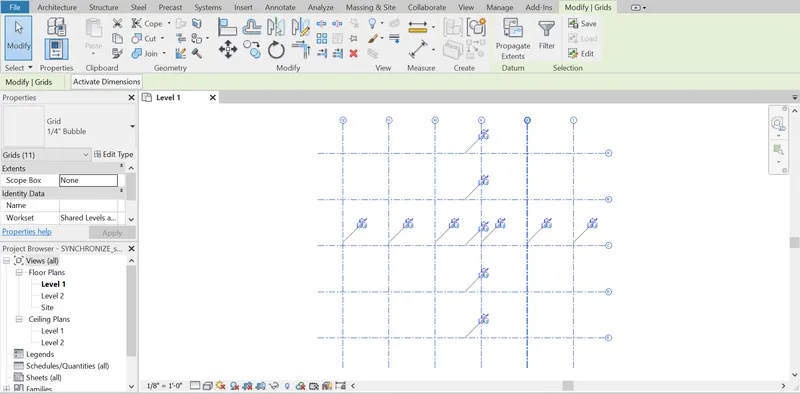
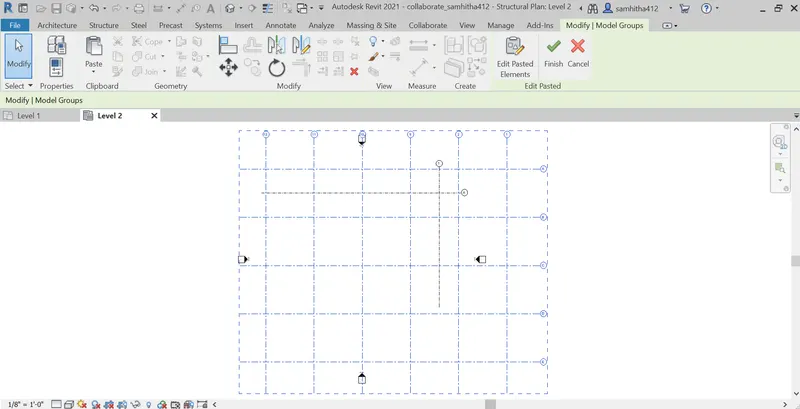
7) Under the Collaborate tab, select the grids and levels from the architectural model, and using Copy Monitor try to copy the grids to the structural model. See what happens when the copy monitored grid is moved around in the structural model
AIM:To select the grids and levels from the architectural model, and using Copy Monitor try to copy the grids to the structural model from collaborate.
TOOLS USED:
- Open
- Collaborate
- Copy/Monitor
- Select link
- Copy
- Paste from clipboard
PROCEDURE:
1-First we need to open Architectural tab.
2-Click on collaborate tab
3-There select copy monitor option from manage models.
4-Then choose SELECT LINK .By doing this we can link a architectural model to structural model
5-Select all grids drawn and copy them.
6-Then paste it from paste from clipboard for required model to another model.
RESULT:The selected grids and levels from the architectural model by using copy/ Monitor the grids are copied to the structural model from collaborate tab.
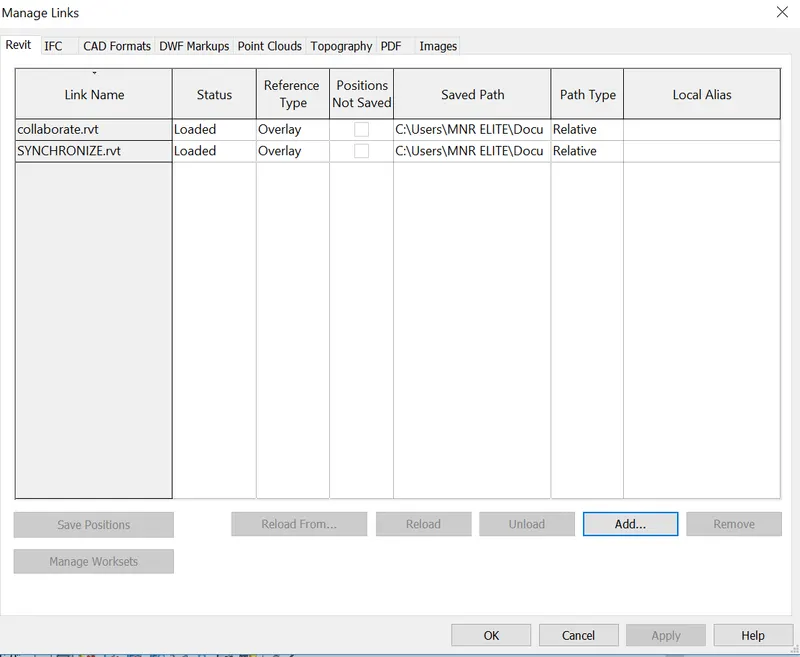
8) Create another new file with a construction template. Save the new file as a central model. This file will include both architectural and structural model. Under the manage tab, Click manage links to link both architectural and structural files. Save the file and close all the files.
AIM:To create another new file with a construction template. Save the new file as a central model. This file will include both architectural and structural model. Under the manage tab, Click manage links to link both architectural and structural files. Save the file and close all the files.
TOOLS USED:
- Open
- Collaboration tab
- Collaboration
- Manage
- Manage links
- File
- Save
PROCEDURE:
1-Open construction template.
2-Click on collaboration tab .
3-Select collaborate option there to make the file as central file.
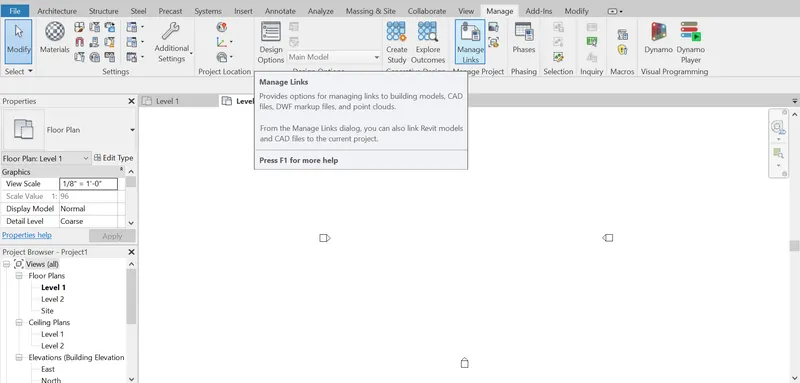
4-Then click on Manage tab.
5-There choose manage links from manage project.
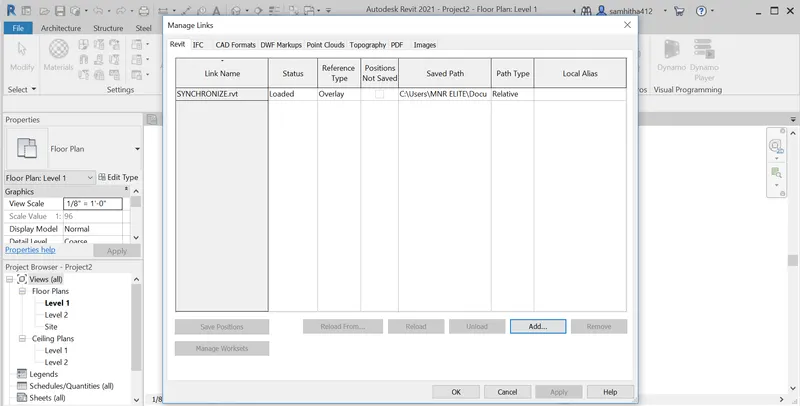
6-Then a dialog box appears there click on add.
7- Then add the require architectural and structural templates and click ok.
RESULT:The new file with a construction template is created and saved the new file as a central model and this file includes both architectural and structural model. By using manage taband clicking manage links we linked both architectural and structural files.
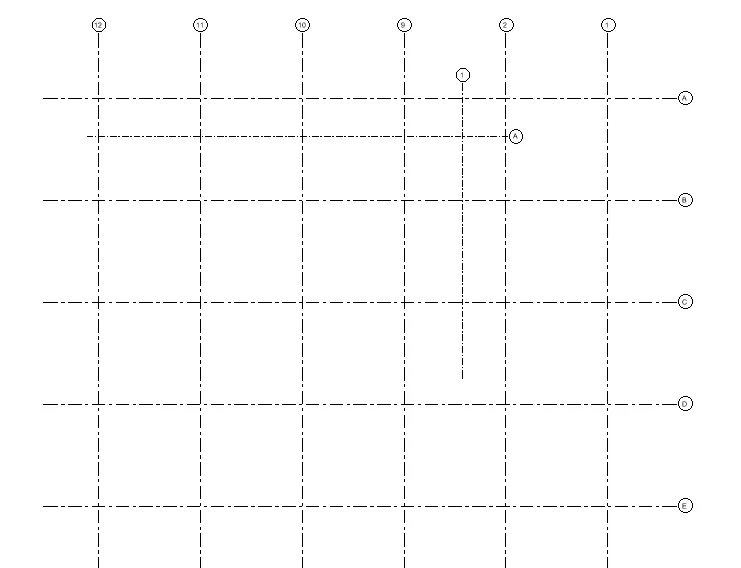
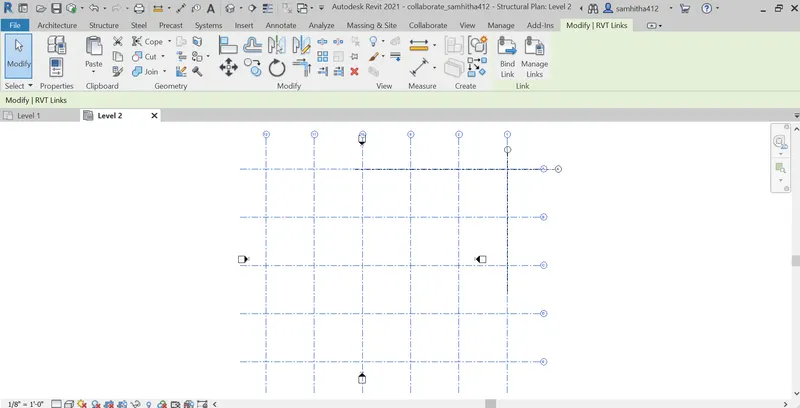
9) Are the grids from structural and architectural model matching in the construction template created? If yes the model is set up for project 2. If not work on the shared parameters and linking options under Manage links
( Hint: origin to origin, by shared coordinates or by project base point to base point ) to link the models in an appropriate manner
AIM:To find out the grids from structural and architectural model matching in the construction template created? If yes the model is set up for project 2. If not work on the shared parameters and linking options under Manage links.
ANSWER FOR THIS :The grids are not matching but we set the matching by using manage tab.
TOOLS USED:
- File
- Manage
- Manage links
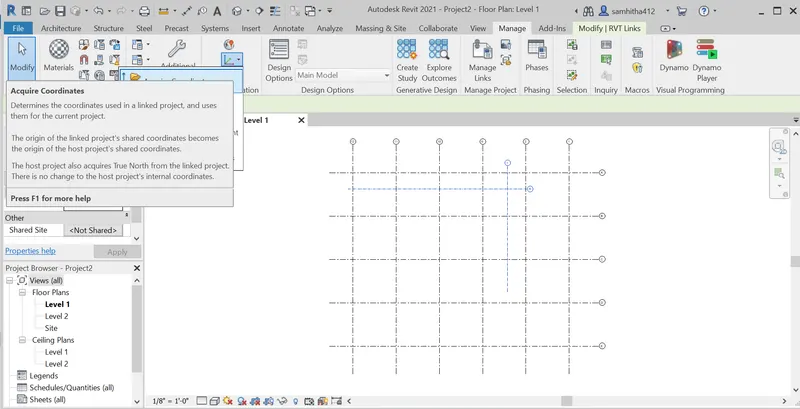
- Acquired coordinates
- Position
- Relocate
- Save
PROCEDURE:
1-Open the architectural template.
2-Click on manage tab.
3-There select MANAGE LINKS.
4-Then select required models to linked when a dialog box appears.
5-Then we are able to view both the grids created by us without matching.
6-Select the architectural grids then click on acquired coordinates.
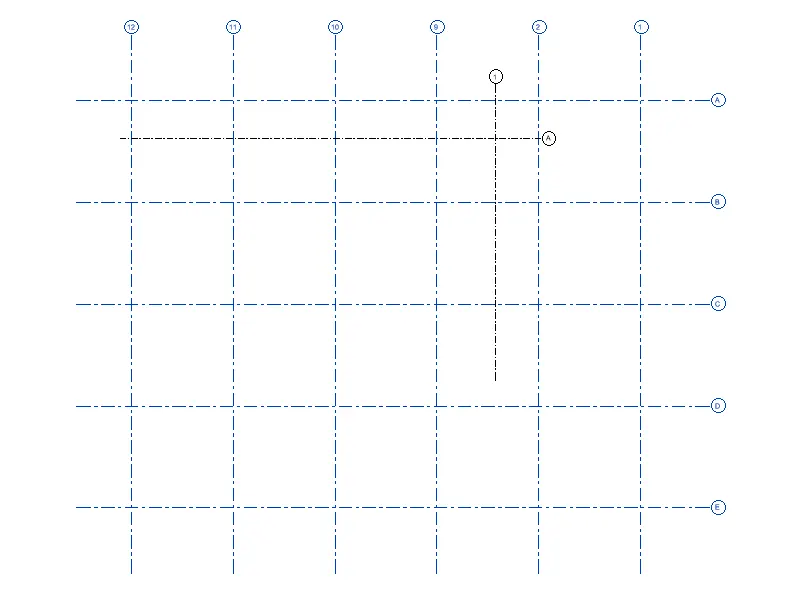
7-We have to relocate the position for coinciding both of them.
RESULT:By following this we can match both architectural and structural grids.
10) List a flow chart of a project tree set up in terms of Construction model, Architecture & Structure model, in this exercise and understand how many people can work on the same project using Revit simultaneously
AIM : To list a flow chart of a project tree set up in terms of Construction model, Architecture & Structure model, in this exercise and understand how many people can work on the same project using Revit simultaneously
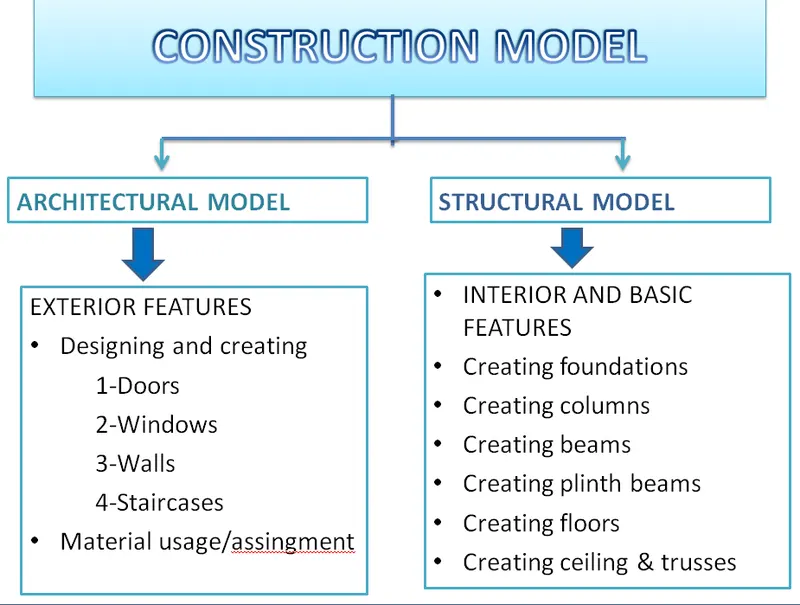
Mainly three persons can work simultaneously with each other accordingly with
-Architectural model
-Structural model
-Constructional model