Usage of Collaborate tool in REVIT
Challenge 6
1.
Aim: To set project base point and project shared coordinates for the project using manage tab in the Architectural template
Procedure:
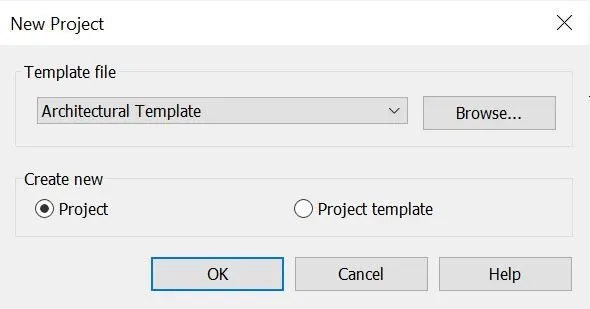
- Open the REVIT software and create a project using the architectural template
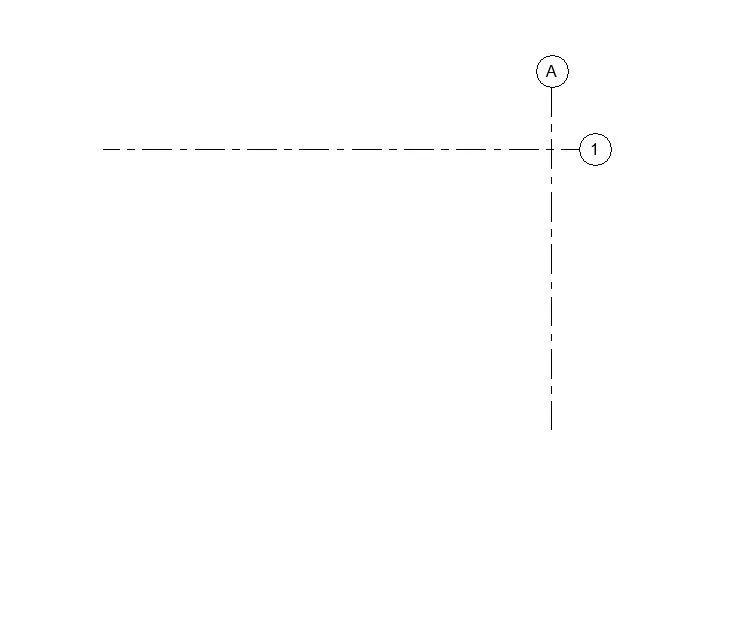
- Now draw horizontal and vertical grids intersecting each other.
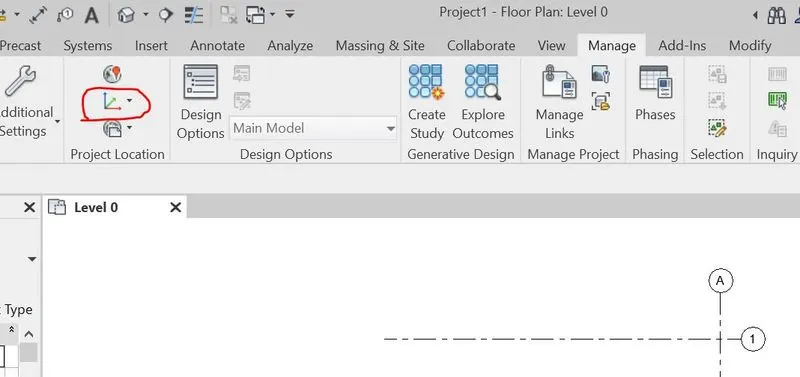
- Now we coordinates option in the manage tab and select the specify the coordinates at point option and click on the horizontal grid
- Now select the horizontal grid and specify the shared coordinates tab will appear
- Now in the specify shared coordinate tab, enter the coordinates for north-south as 0'0"
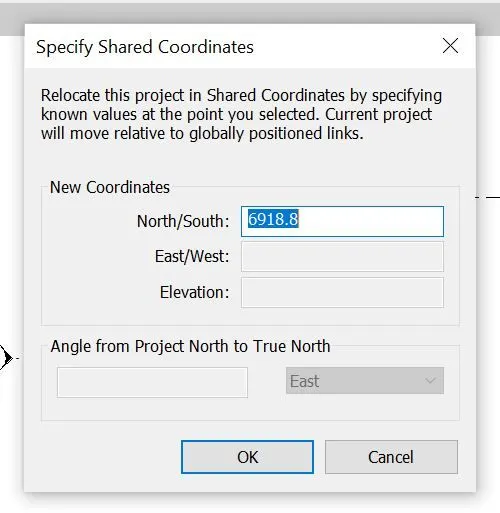
- Now we coordinates option in the manage tab and select the specify the coordinates at point option and click on the vertical grid
- Now select the vertical grid and specify the shared coordinates tab will appear
- Now in the specify shared coordinate tab, enter the coordinates for east-west as 0'0
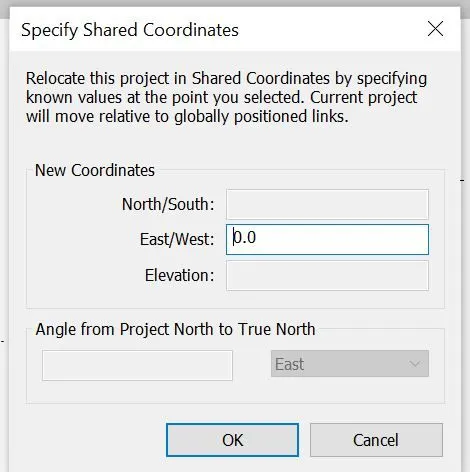
- Now save the project with appropriate name
RESULT: Using Manage tab, the project base point and project shared coordinates have been setup in the architectural template
2.
Aim: To set project base point and project shared coordinates for the project using manage tab in the structural template
Procedure:
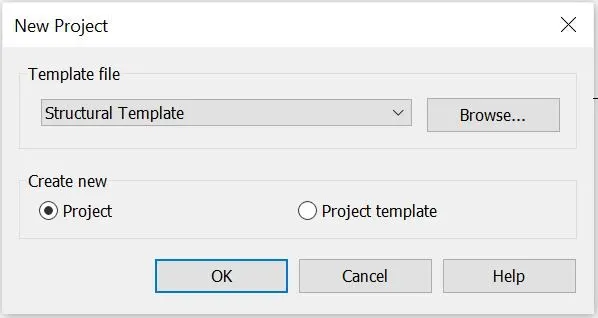
- Open revit software and create a new project using structural template
- Now draw the horizontal and vertical grid, intersecting each other
- Now we coordinates option in the manage tab and select the specify coordinates at point option and click on the horizontal grid, select and specify shared coordinates tab appears and enter the coordinates for north-south as 0.0
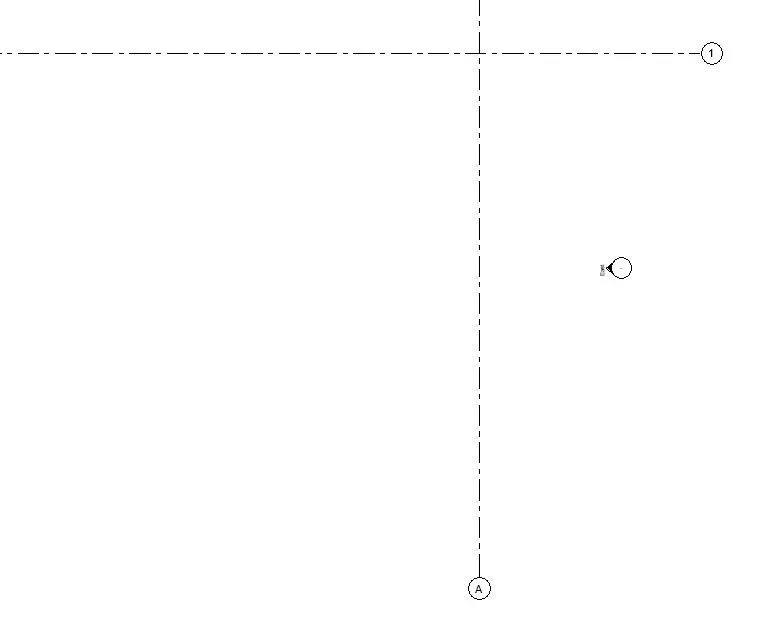
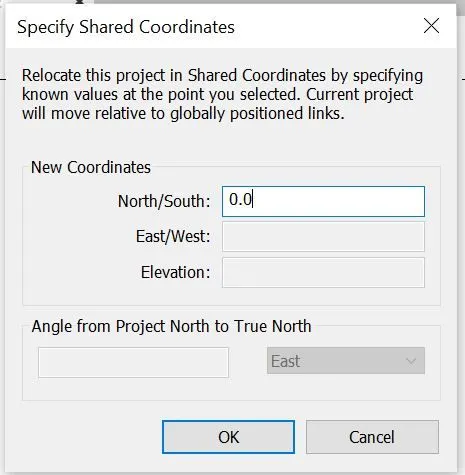
- Now we coordinates option in the manage tab and select the specify coordinates at point option and click on the vertical grid, select and specify shared coordinates tab appears and enter the coordinates for east-west as 0.0
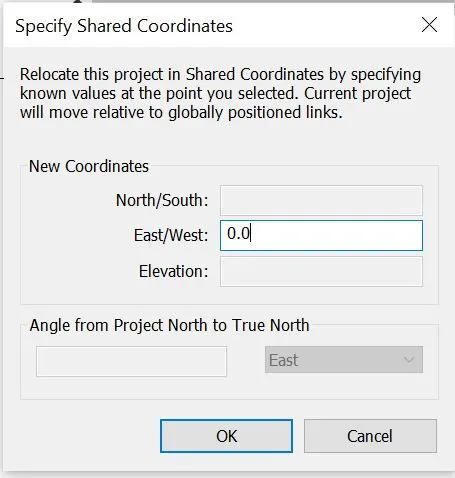
- Now save the project with appropriate name.
RESULT: Created the project base point and project shared coordinates in the structural template
3.
Aim: To make the architectural model as a central model using the collaborate tab
Procedure:
- Open the Revit software, draw the grids horizontally and vertically
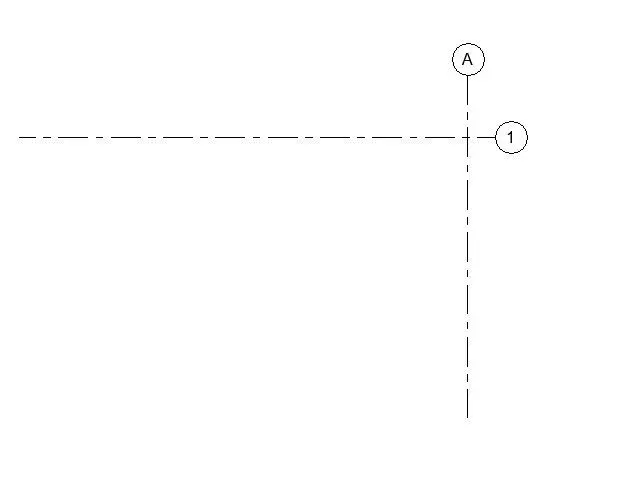
- Now click on the collaborate tab and then new tab appears, and click ok
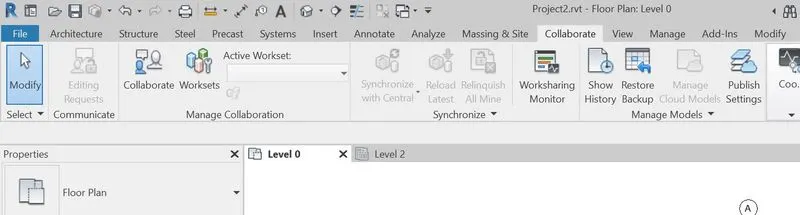
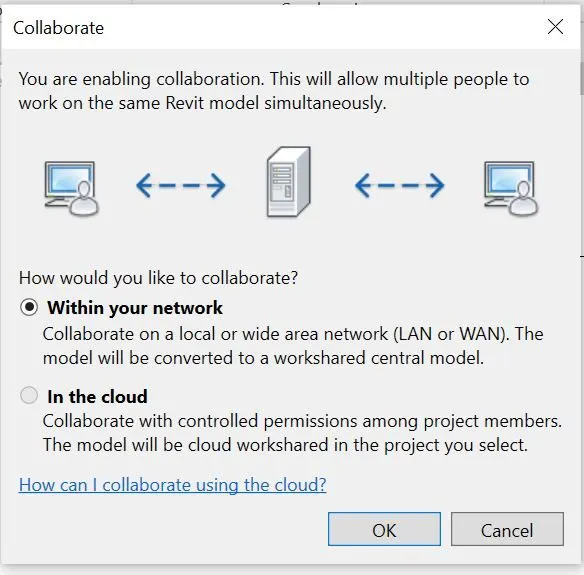
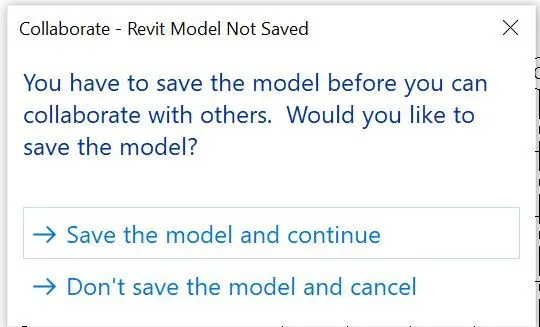
- Now save the project file as a central model
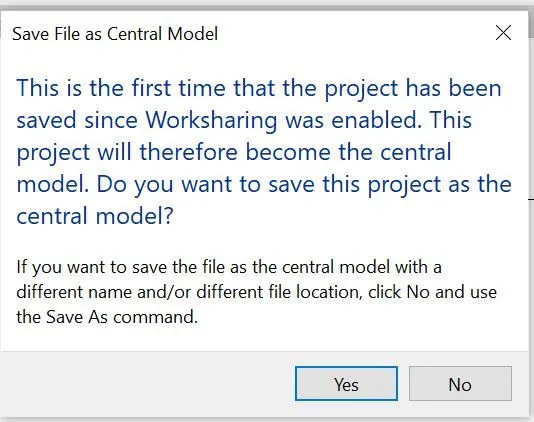
RESULT: An architectural model as a central model using the collaborate tab is created
4.
Aim: To create the grids longitudinal and transverse pattern for the project similar to the task done Week 2
Procedure:
- Create the vertical gridswith equal space
- Create horizontal grids with equal space
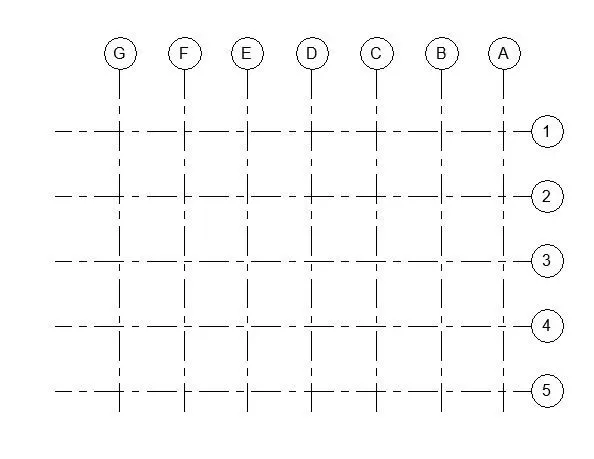
RESULT: Grids longitudinal and transverse pattern is created
5.
Aim: To synchronize the changes from the local copy to central file of the architectural model
Procedure:
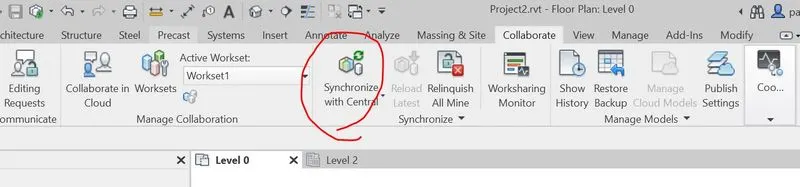
- Firstly, we need to collaborate using the collaborate toolbar
- Save the project as central model, and synchronize option appears
- Now a new tab appears, click ok
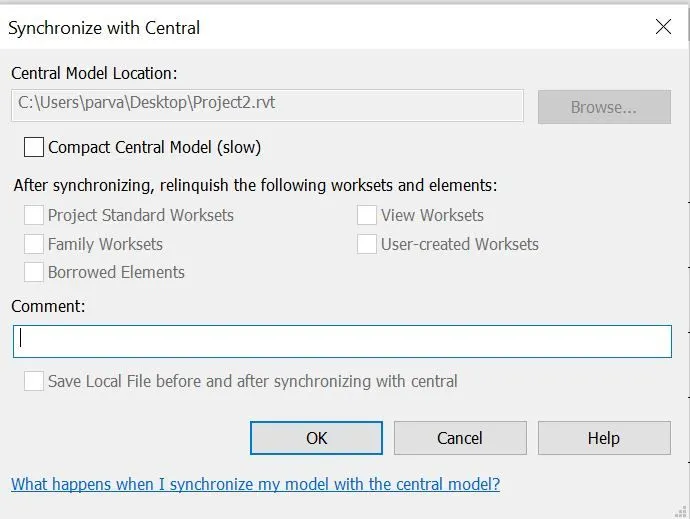
RESULT: Synchronized the changes from the local copy to the central file of the architectural model
6.
Aim: To save the model as a central file using the collaborate tool in the structural model
Procedure:
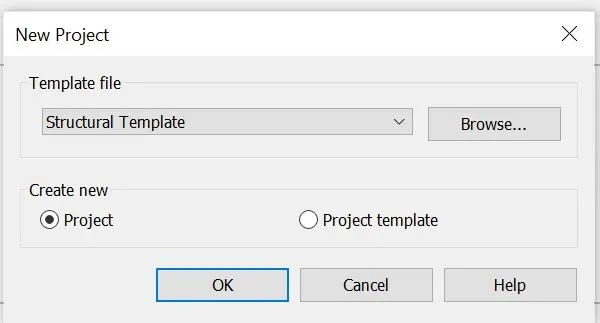
- Select the structural template, create a new project
- Click on the collaborate tab and new tab appears and click ok
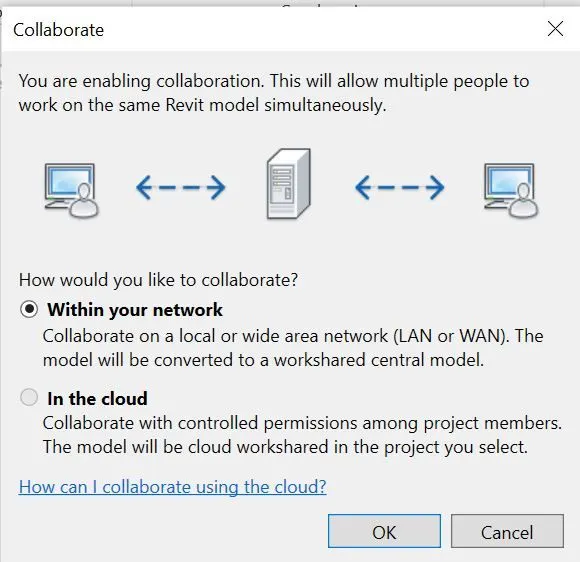
- Now save the project file as a central model
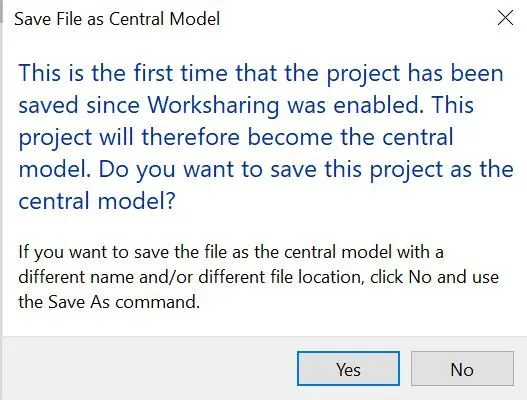
RESULT: The model as a central file using the collaborate tool in the structural model is saved
7.
Aim: To copy the grids from the architectural model to the structural model using Copy Monitor option
Procedure:
- Create the longitudinal grids and transverse grids
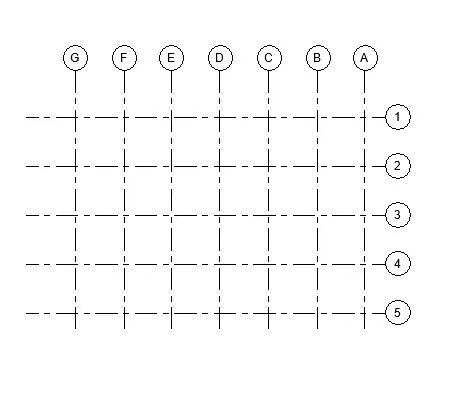
- Now select the Copy Monitor tool and click on SELECT LINK option
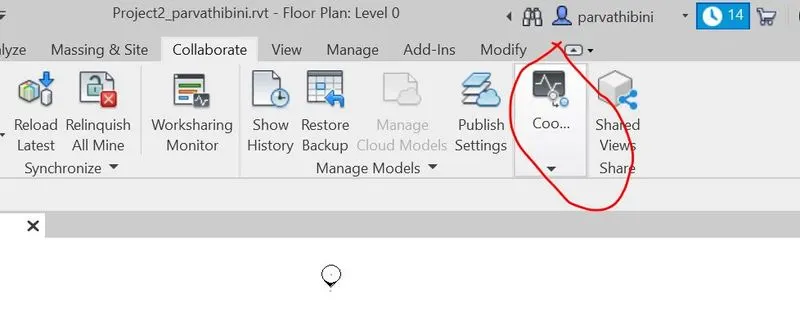
- After selecting the Copy Monitor option, select the coy option and select the grids which we need to copy and press enter
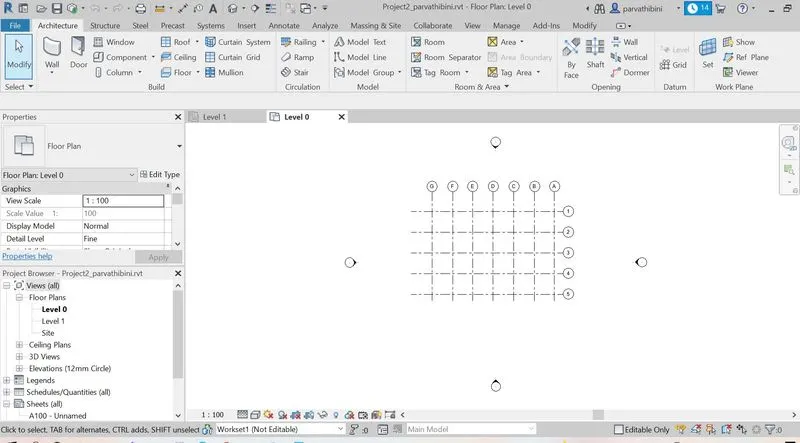
- Copied the grids from the architectural model to the structural model using Copy Monitor tool
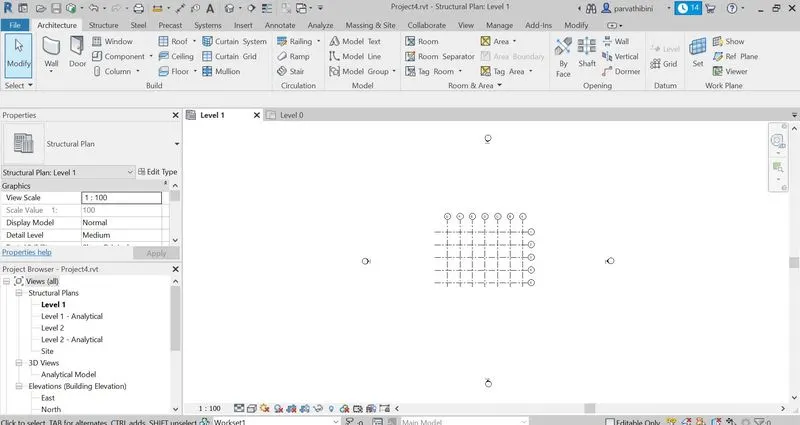
RESULT: Copied the grids from the architectural model to the structural model using Copy Monitor tool
8.
Aim:
- To create a new file with construction template and to save the new file as central model.
- To link both architectural and structural files in a single project using the manage link tool
Procedure:
- Open a new project using the construction template
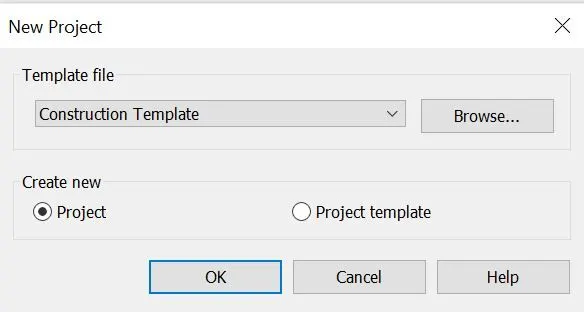
- Now a project tab will be opened and now select the collaborate option from the collaborate tool bar
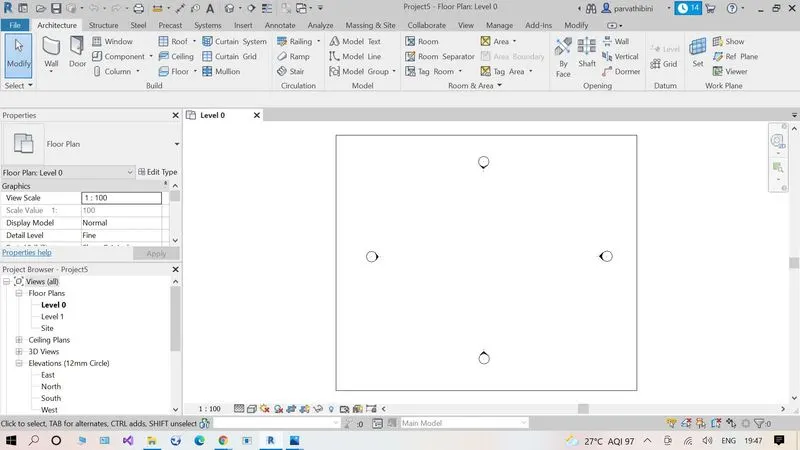
- A new tab appears, and click ok
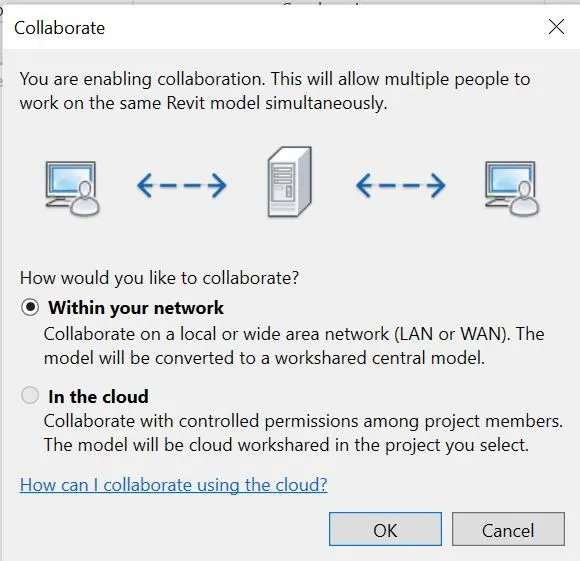
- Now save the project file as a central model
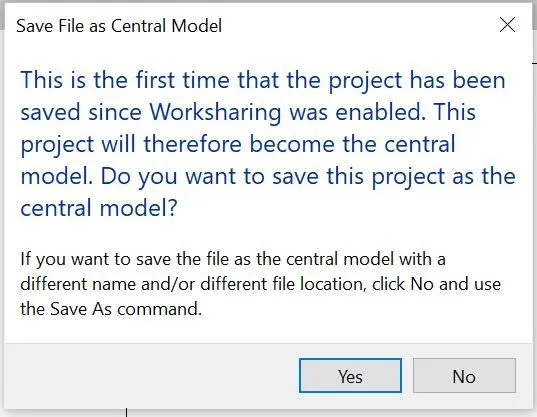
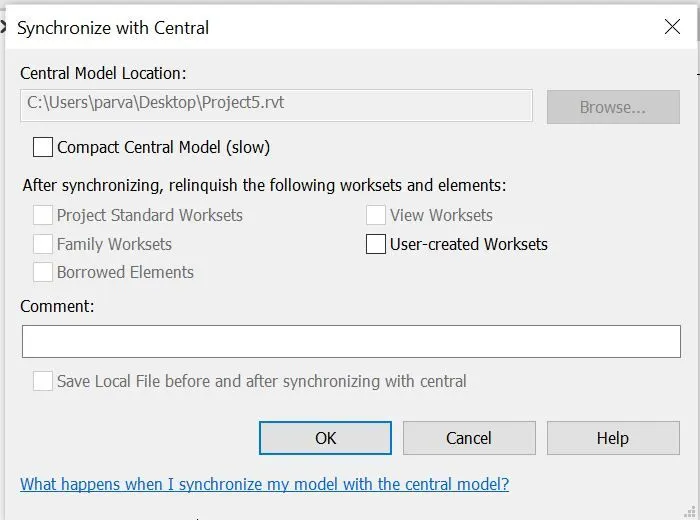
- Now select the synchronize option
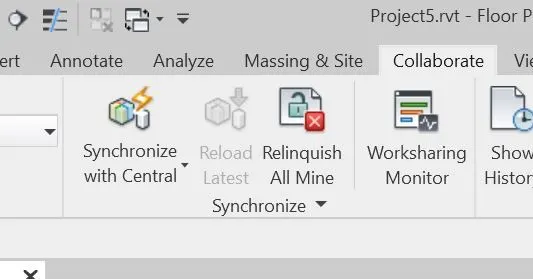
- Click ok in the new tab appeared
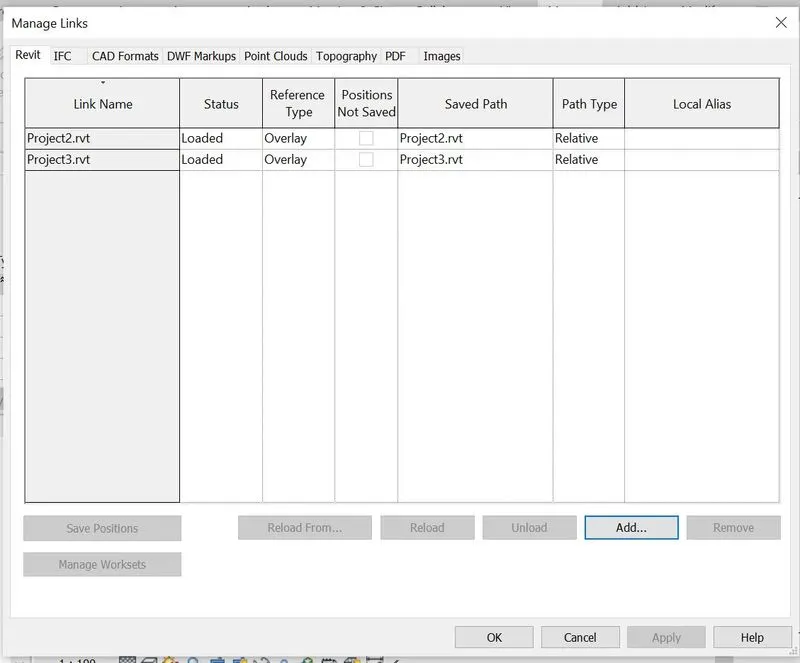
- Now click the manage link and link the structural and architectural model
- After clicking the ok button in the manage link, then the grids will be resulted
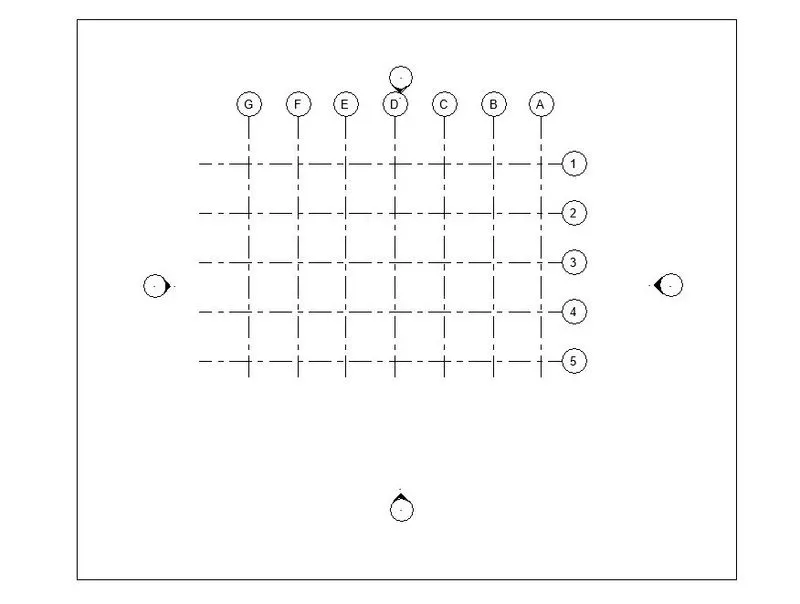
- Now click the acquire coordinates and select the models and press enter
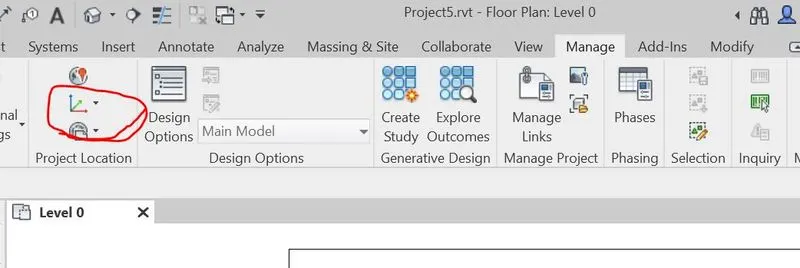
- Click on the relocate project option and select the points of both the architectural and structural model visible on the screen
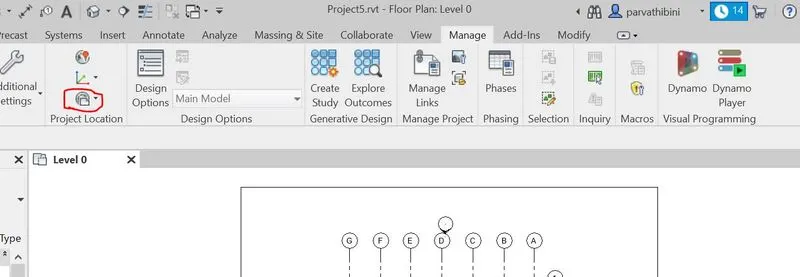
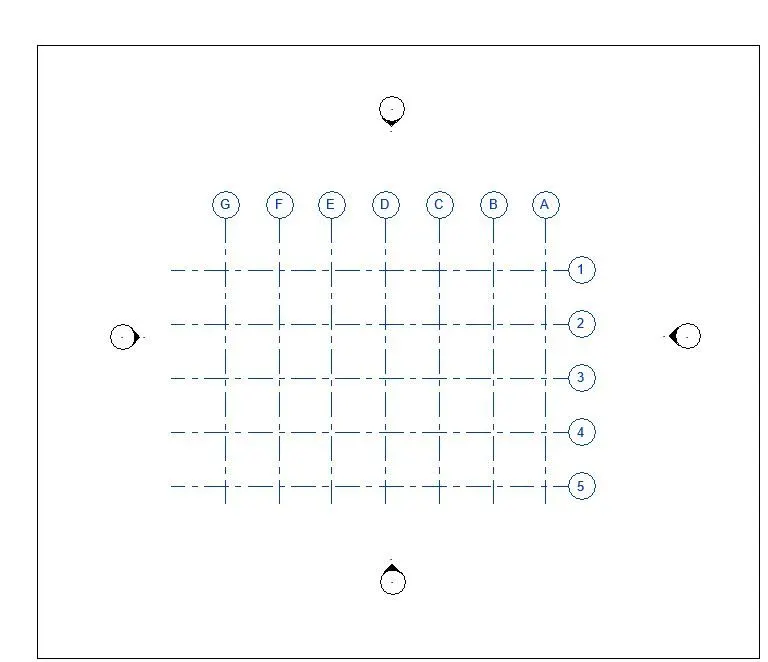
- Now both the structural model and architectural models are linked
- Now save the project as Project 5 and close all the files
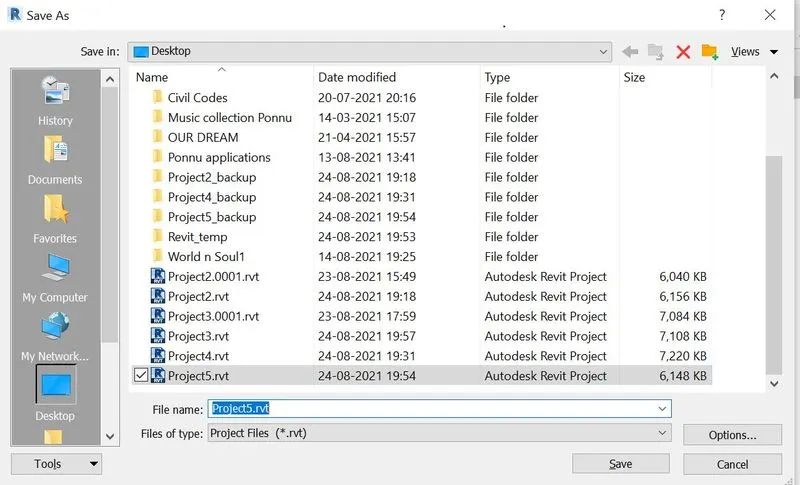
RESULT:
- Created a new file with construction template and to save the new file as central model.
- Linked both architectural and structural files in a single project using the manage link too
9. Yes, the grids from the Structural and Architectural model matching in the construction template created successfully and the model is set up for Project 2
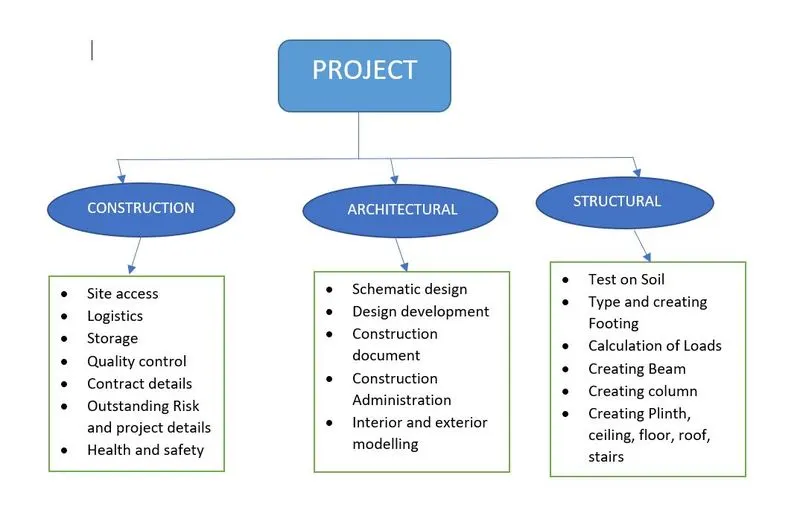
10. Flow chart of project tree set up in terms of construction model, architecture and structure model