Usage of Collaborate tool in REVIT
Aim:- To understand the concept of collaborate in revit and how to create central file and how to use shared coordinates for linking a file.
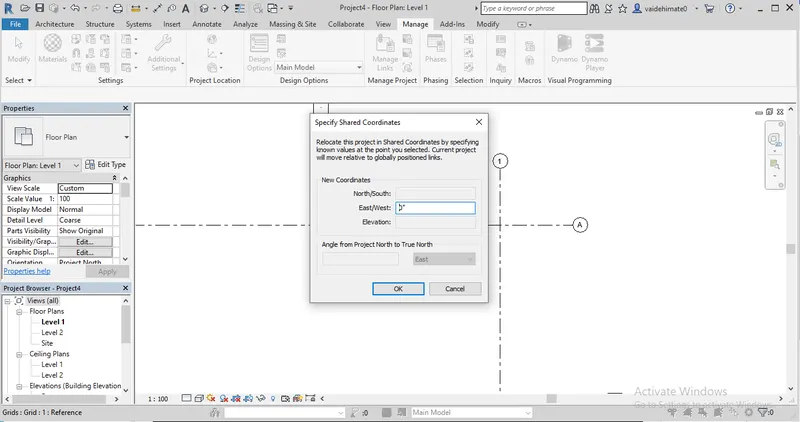
Procedure:- Step1- Opened a architectural template and saved that file as Building_architecture. Then created two grids vertical and horizontal and named as 1 and A respectively. Then from Manage toolbar clicked on Coordinates tool and selected Specify Coordinates at a point and clicked on the grid line then set the North/South coordinates to 0' and again repeated the procedure to set East/West coordinates as 0'.
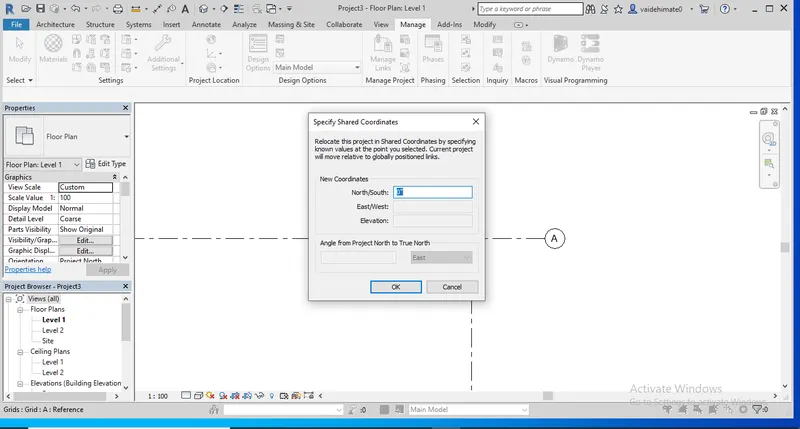
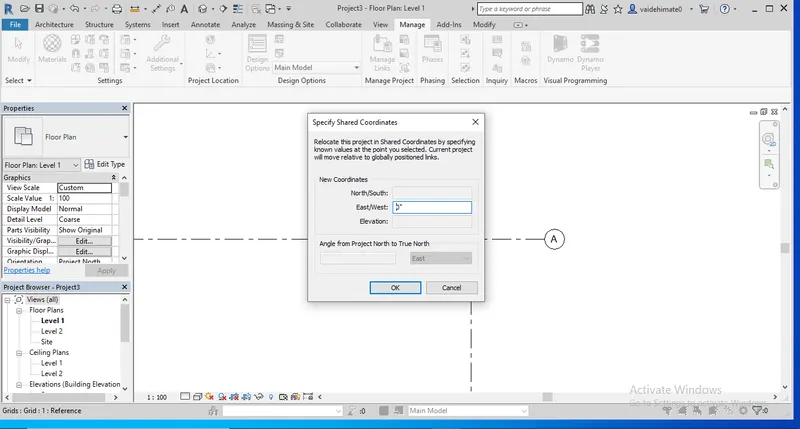
Step 2:- Opened a new file with structural template and saved the file as Building_Structure and repeated the procedure from step 1 to set project coordinates.
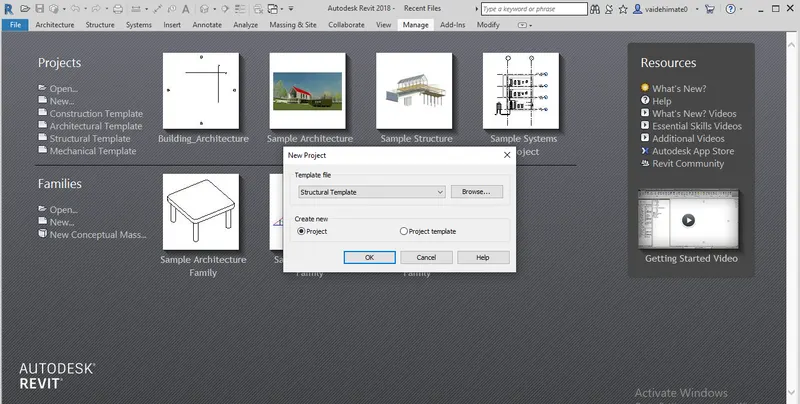
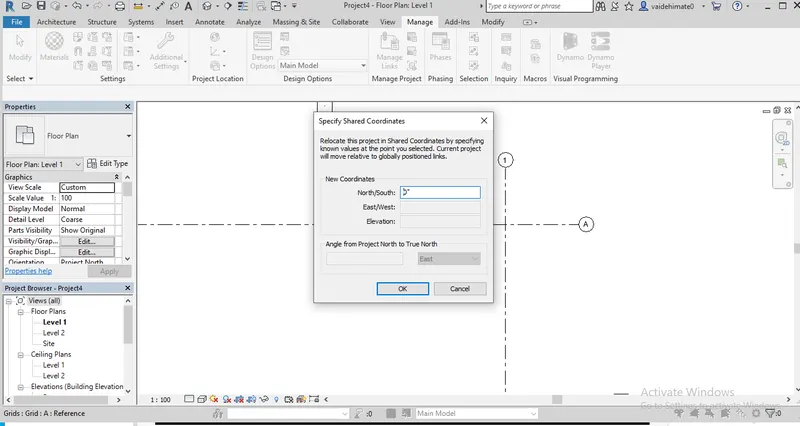
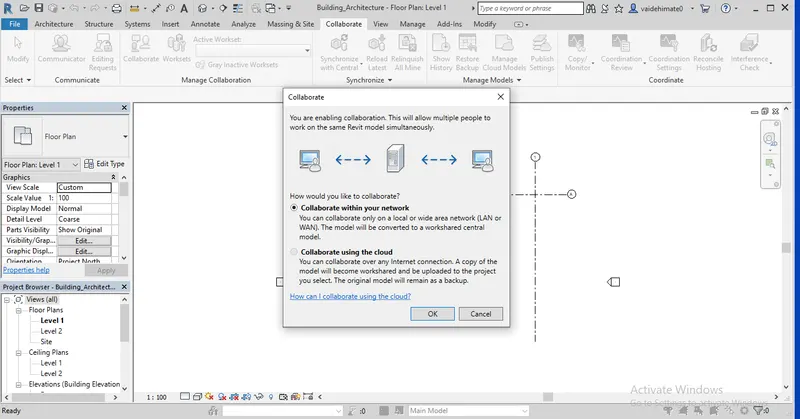
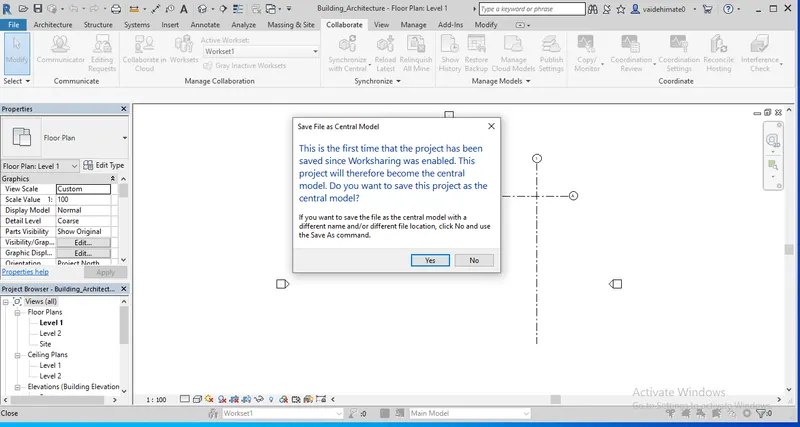
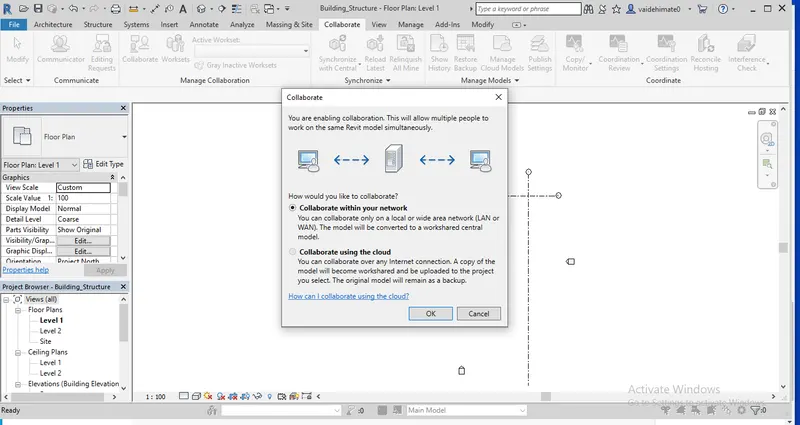
Step 3:- Now again opened the architectural model and from the collaborate tab clicked on collaborate and selected collaborate within your network and clicked ok. Now this file is saved as my Central file.
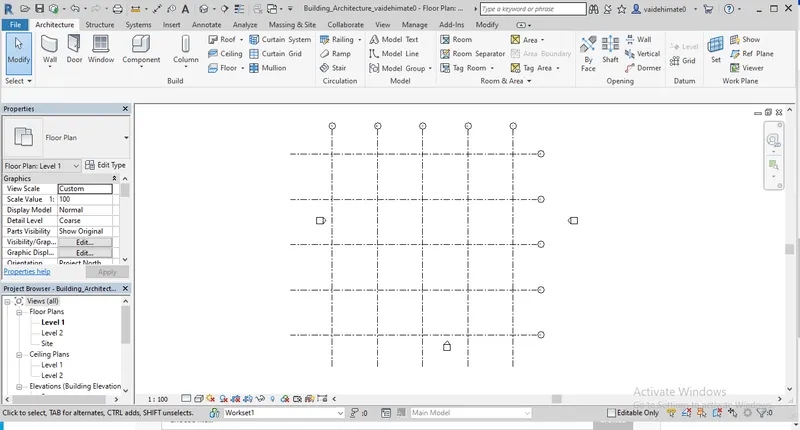
Step 4:- Now created transverse and longitudinal grids in architectural model and named as 1,2,3..and A,B,C..
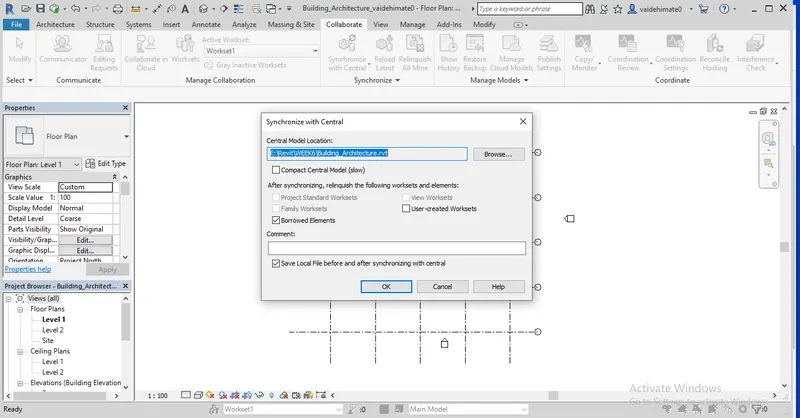
Step 5:- Now used the tool Synchronize with central and the following dialog box appeared and clicked ok and synchronized the changes in this local copy to the central file of the architectural model.
Step 6:- Now as mentioned again opened the structural model and under the collaborate tab clicked in collaborate tool and saved this file as a central file.
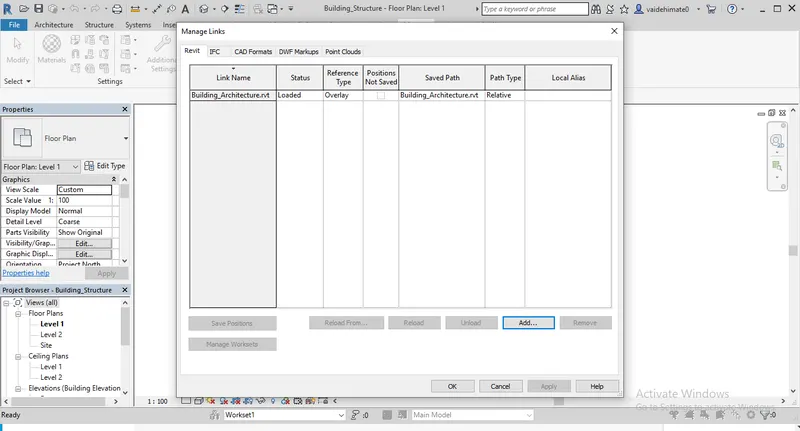
Step 7:- Now from manage tab clicked on Manage Links and linked the architectural model to structural model.
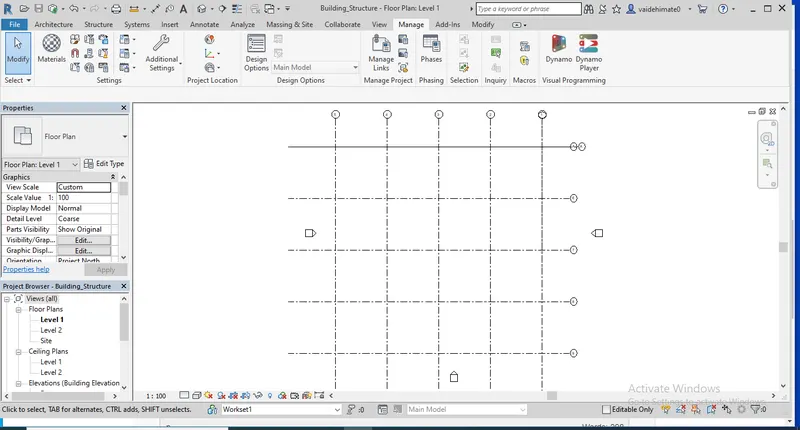
Now after linking the architecture model as coordinates are different so the point of intersection is not same for oth the models. So for this in the Manage tab selected the Acquire Coordinates from the Coordinates tool and selected the linked model. After this in the Position tool selected the option as Relocate the project and moved the coordinates of structure model to the architecture model and matched the coordinates.
Now from the Collaborate tab clicked on Copy/Monitor and selected the option Select link and then selected the link and clicked on copy and selected the grids that needed to be copied and clicked on finish.
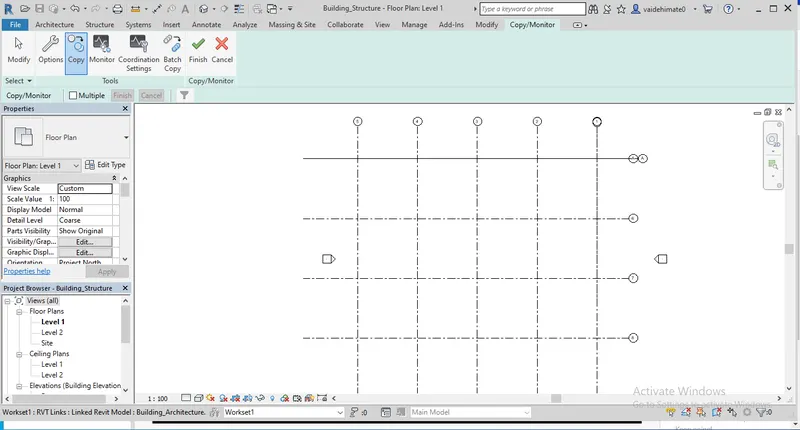
Now to see whether the grids are copied or not changed the visibility settings. Clicked on VG and then Revit Links and changed the Display settings as Custom.
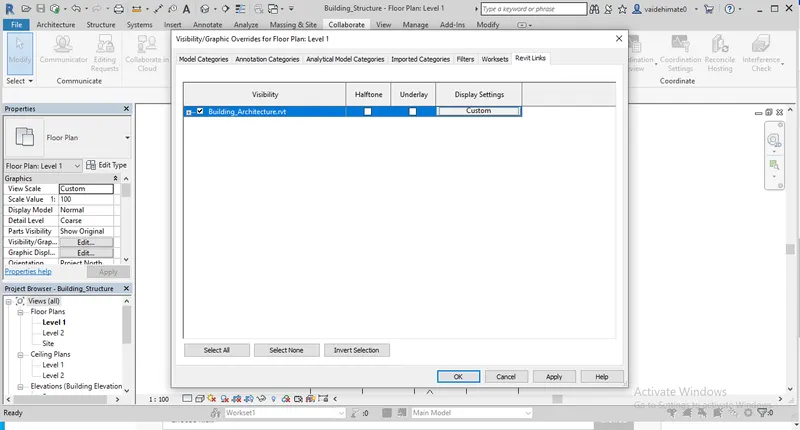
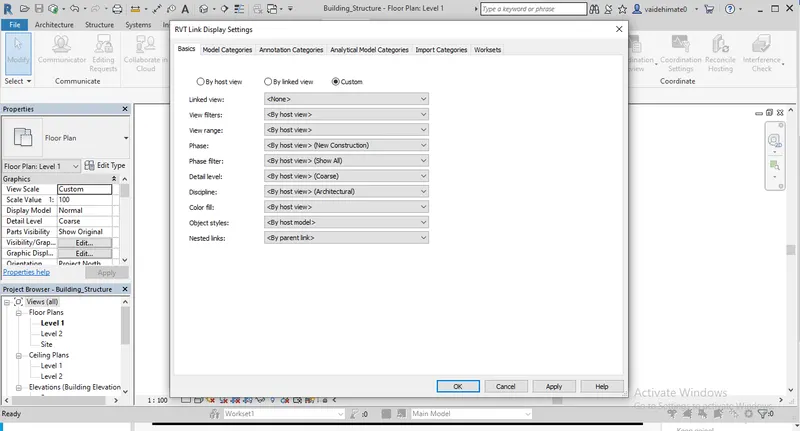
Then in the Basics menu selected Custom .
Then in the annotation catagory deselected grids option so that grids are not visible of the linked model.
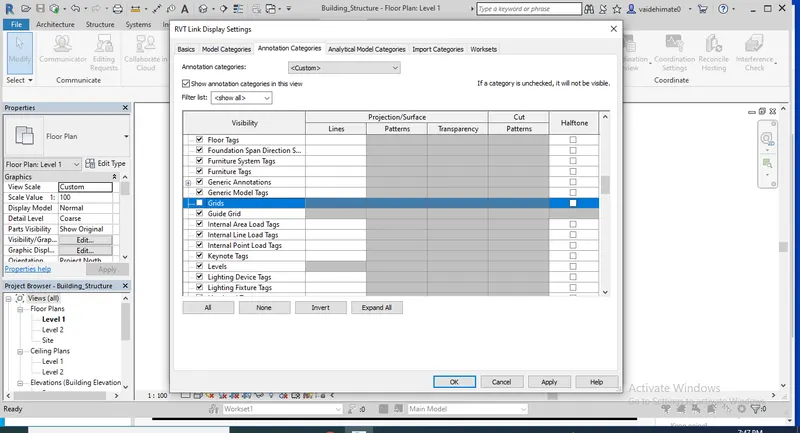
After deselecting the grids option grids are not visible of linked model so it means that grids are successfully copied from the linked model.
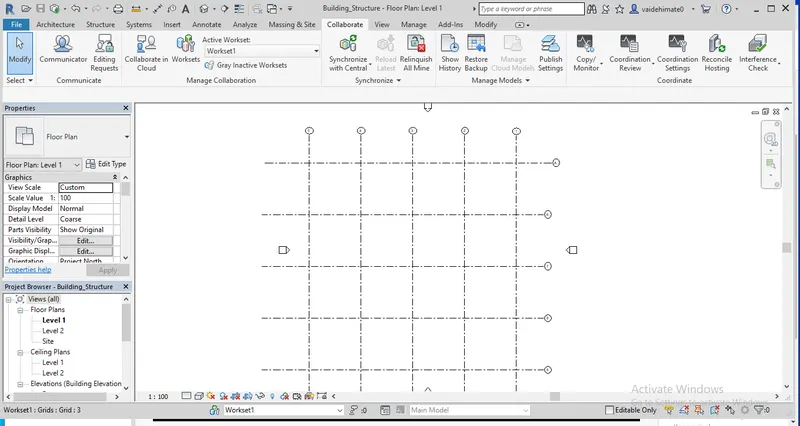
Step 8:- Now created a new file with the construction template.
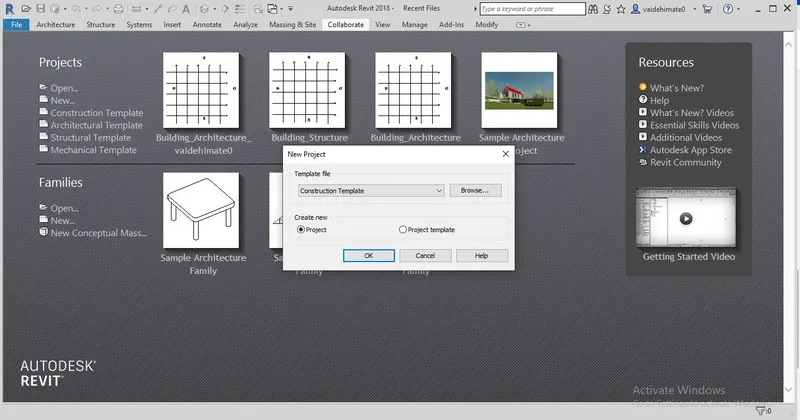
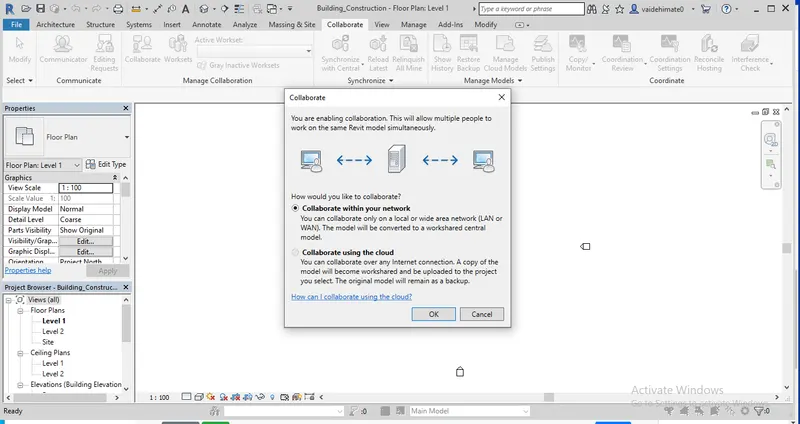
Saved this new file as a central file with Collaborate within your network.
Now from the Manage tab and Manage links tool linked both Architecture model and structure model to the Construction Template Model.
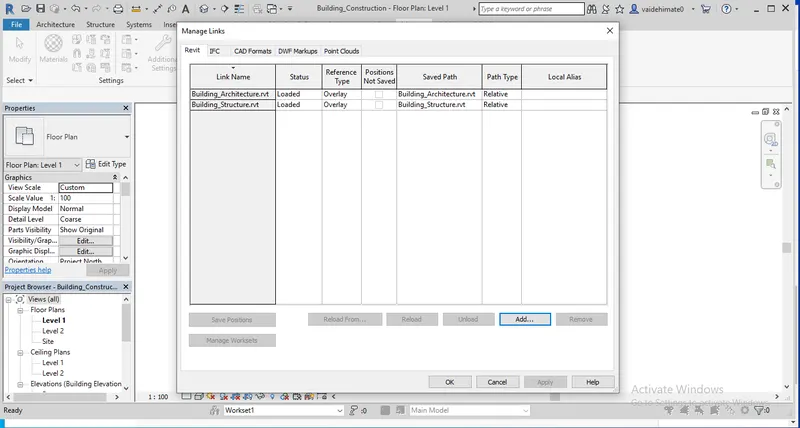
After linking both files the grids are not matching in the construction template.
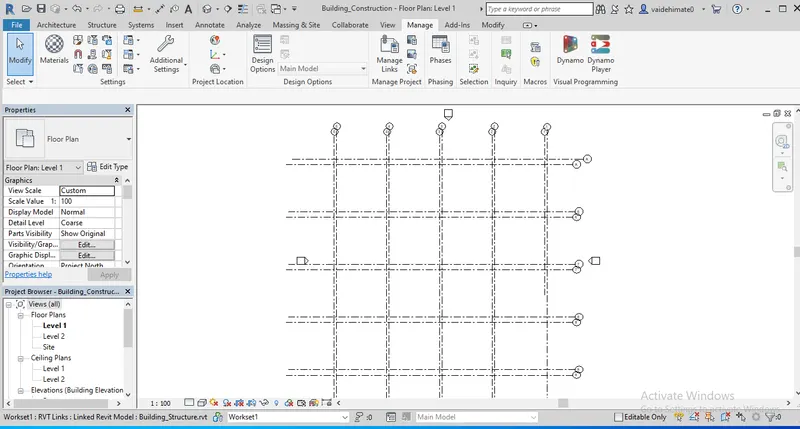
So from the Manage Tab selected Acquire Coordinates once again and from the position selected Relocate the project and joined the points.
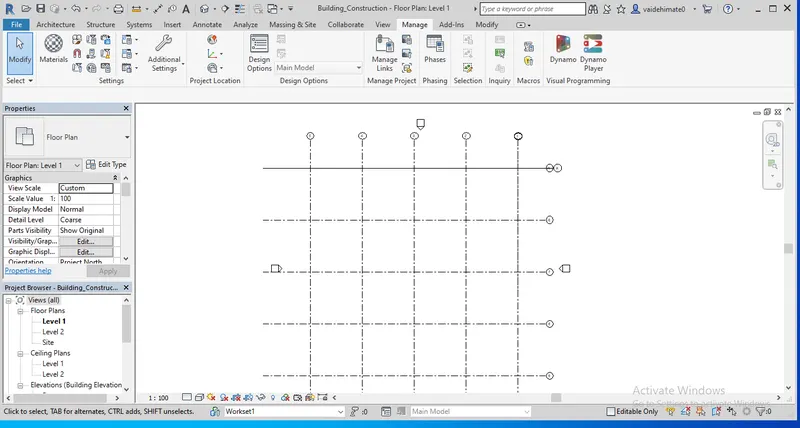
Step 10:- So now we created a model in Construction Template and linked two models as Architectural model and Construction model and how to match the coordinates.
Simultaneously 6-7 people can work on Revit simultaneously by collaborate and can also communicate within it.
Result:- Successfully created three models using revit as structural, Architectural and Construction model with project coordinates and linking various models to project with shared coordinates and how to make use of Copy/Monitor Tool in linked project and how to create central file and Collaborate.