Usage of Collaborate tool in REVIT
1) Open an architectural template. Using the Manage tab set project base point and project shared coordinates for the project
Aim:
To set project base point and project shared coordinates for the project in Revit software
Introduction:
Open an architectural template. Using the Manage tab set project base point and project shared coordinates for the project
Procedure:
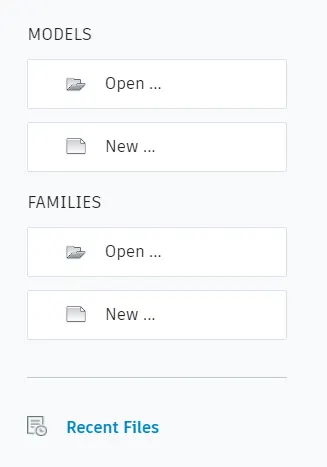
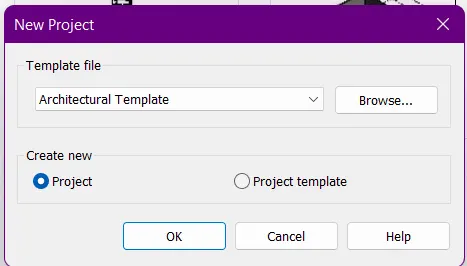
- After open the software, click New model option and choose Architecture Template template file and then click OK
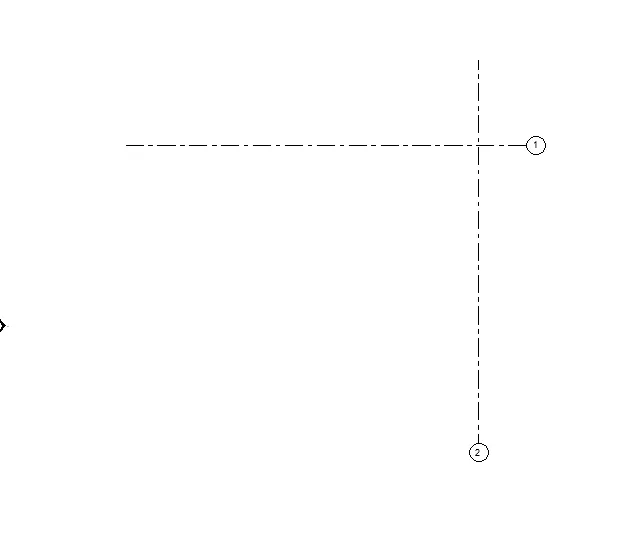
- Then create grid lines using Grid option in under the Architecture tab
- The grid lines are as shown in below figure

- After that select Coordinate option in the Manage tab
- And select Specify Coordinates at Points option

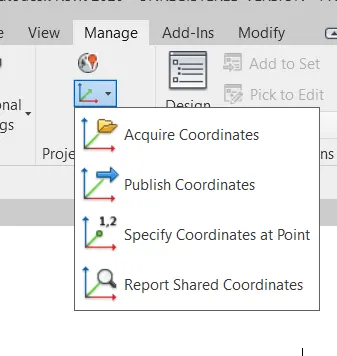
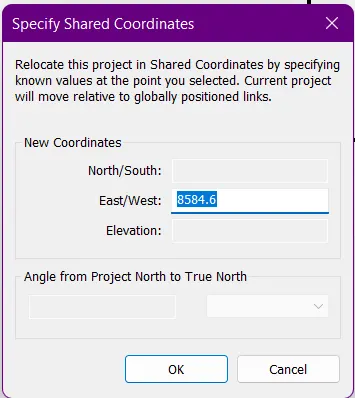
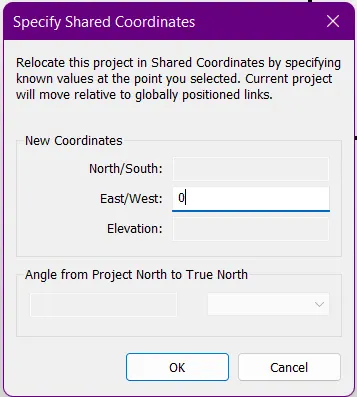
- Then change the Shared coordinate 0 in East/West in the New Coordinate click OK button
- The below dialogue box will appear shows like that
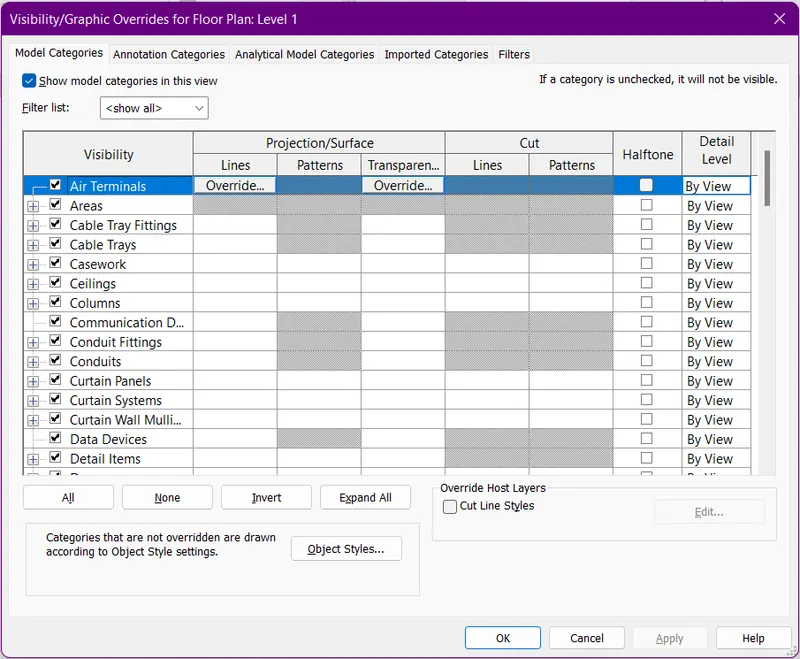
- And type VG command for show the Visibility/Graphic dialogue box
- Then selet the Site option
- And select Project Base Point option
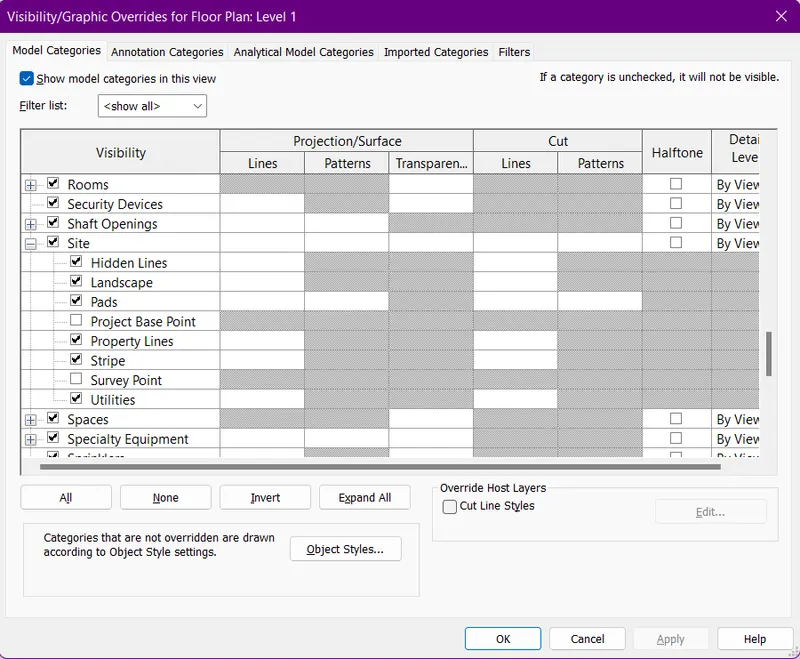
- After that the coordinate is show in the workspace as shown in below figure
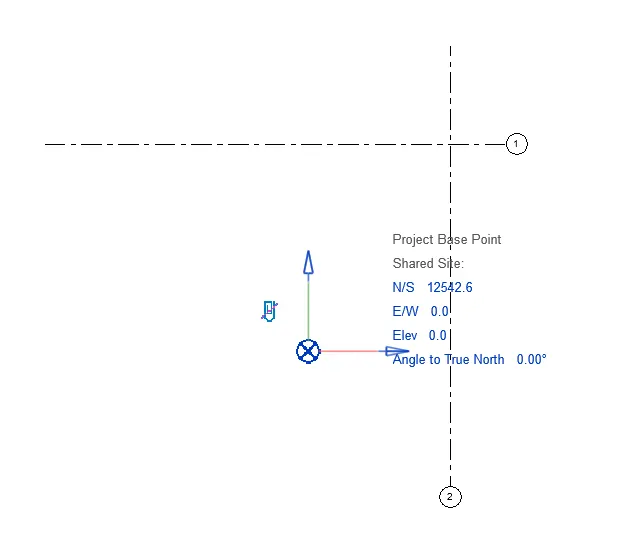
- Take the screenshots where I want, using Snipping tool option in the window
- The shortcut is Windows key+Shift+S
- And upload the figures where I want to upload it
Result:
The set project base point and project shared coordinates for the project in Revit software is done successfully
2) Open another new file but with a structural template. Using the manage tab set project parameters the same as the architectural model. Copy the parameters from the architectural model to the structural template or enter the parameters manually into the structural model
Aim:
To open new file as structural template and set the parameters as same in the architectural template model in the Revit software
Introduction:
Open another new file but with a structural template. Using the manage tab set project parameters the same as the architectural model. Copy the parameters from the architectural model to the structural template or enter the parameters manually into the structural model
Procedure:
- First of all selec the New file option in the File menu bar and select the Project
- Then select the structural template and click OK button
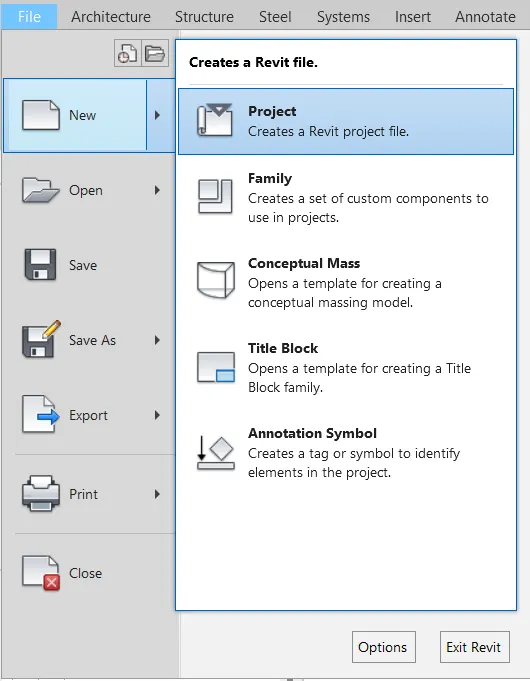
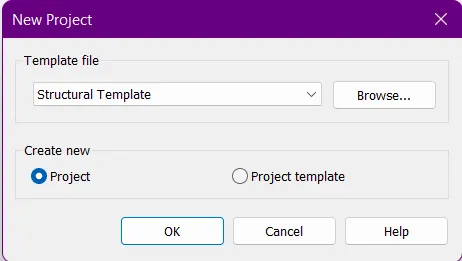
- Select the Grid option in under the Architecture tab
- And then draw the grids as in the architectural model
- After that select Coordinate option in the Manage tab
- And select Specify Coordinates at Points option
- Then change the Shared coordinate 0 in East/West in the New Coordinate click OK button
- The below dialogue box will appear shows like that
- And type VG command for show the Visibility/Graphic dialogue box
- Then selet the Site option
- And select Project Base Point option
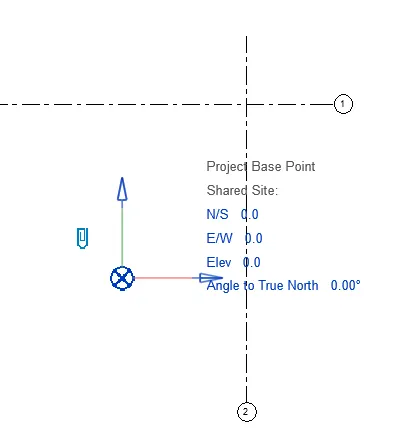
- After that the coordinate is show in the workspace as shown in below figure
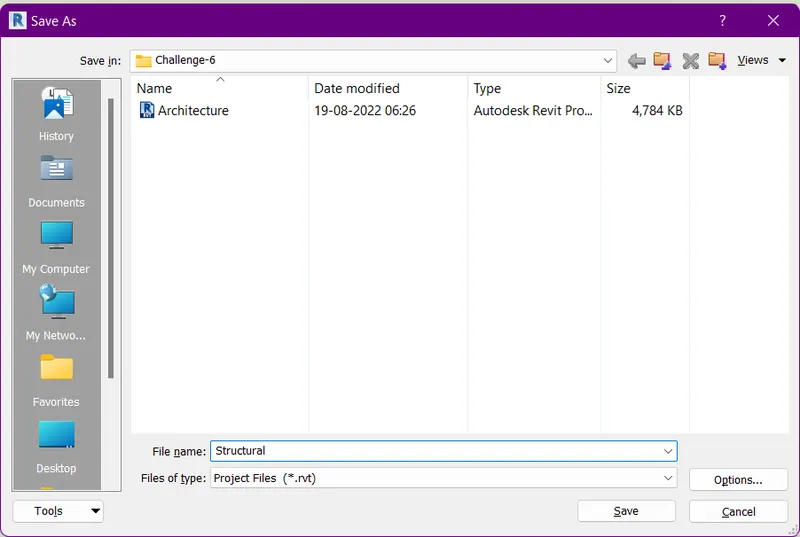
- At last save the file name as Structural then click Save button
- Take the screenshots where I want, using Snipping tool option in the window
- The shortcut is Windows key+Shift+S
- And upload the figures where I want to upload it
Result:
The process of open new file as structural template and set the parameters as same in the architectural template model in the Revit software is done successfully
3) Re-open the architectural model. Using the tools under the Collaborate tab make the architectural model a central model (enabling simultaneous working on the model)
Aim:
To Re-open the architectural model and using the tools under the Collaborate tab make the architectural model a central model in Revit software
Introduction:
Re-open the architectural model. Using the tools under the Collaborate tab make the architectural model a central model (enabling simultaneous working on the model)
Procedure:
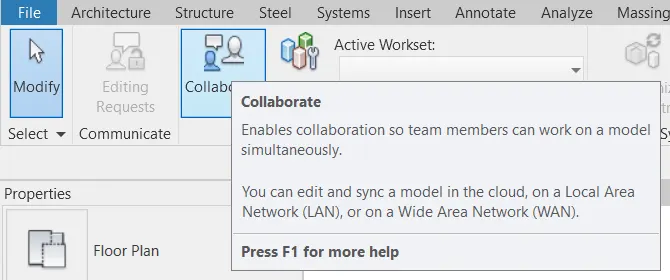
- Open the Collaborate tab and select the Collaborate option
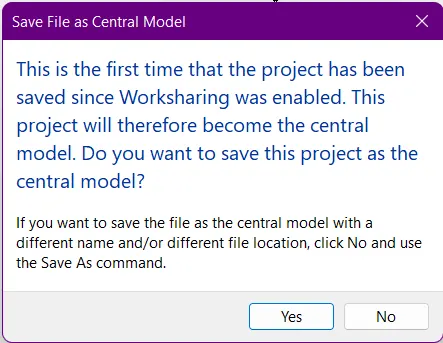
- Then Collaboration will run to make the model normal to central model

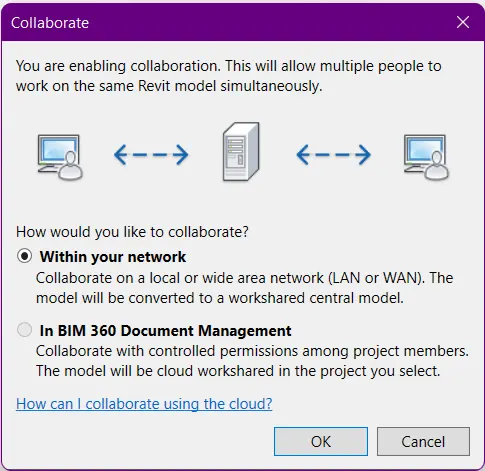
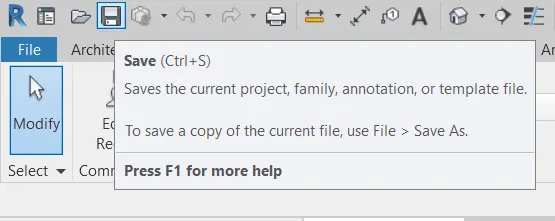
- And then Save this file using Save option
- Then the model is changed to Central model as I want and click Yes button
- The save option is shown in below figure
- Take the screenshots where I want, using Snipping tool option in the window
- The shortcut is Windows key+Shift+S
- And upload the figures where I want to upload it
Result:
The Re-open the architectural model and using the tools under the Collaborate tab make the architectural model a central model in Revit software is completed successfully
4) Create the Grids Longitudinal and Transverse pattern for the project similar to the task done in Week 2
Aim:
To create the Grids Longitudinal and Transverse pattern for the project similar to the task done in Week 2 in using Revit software
Introduction:
Create the Grids Longitudinal and Transverse pattern for the project similar to the task done in Week 2
Procedure:
- Here, create the Grids Longitudinal and Transverse pattern using the Grid option in under the Architecture tab
- And select the Grid option then draw a grid lines in both direction
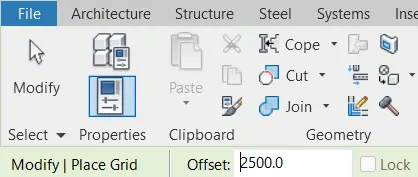
- And then select the Pick line option and give the offest of 2500
- Select the line and drag and click
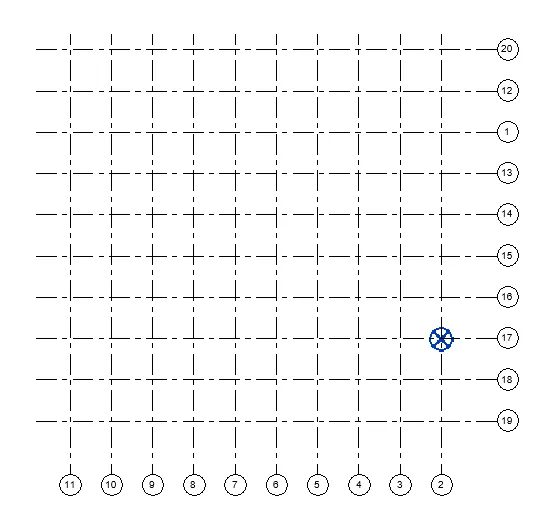
- The grid lines are created successfully
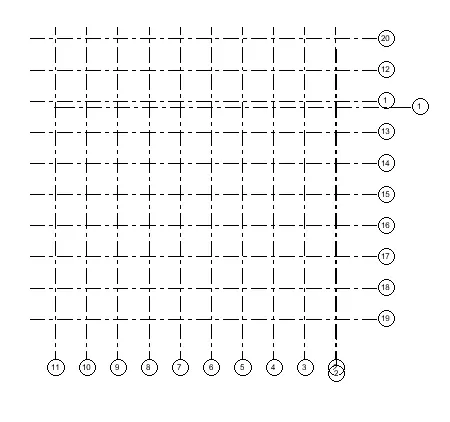
- The grid was created as shown in below figure

- Take the screenshots where I want, using Snipping tool option in the window
- The shortcut is Windows key+Shift+S
- And upload the figures where I want to upload it
Result:
The Longitudinal and Transverse pattern grids for the project similar to the task done in Week 2 is done successfully using Revit software
5) Synchronize the changes from the local copy to the central file of the architectural model.
Aim:
To synchronize the changes from the local copy to the central file of the architectural model in the Revit software
Introduction:
Synchronize the changes from the local copy to the central file of the architectural model
Procedure:
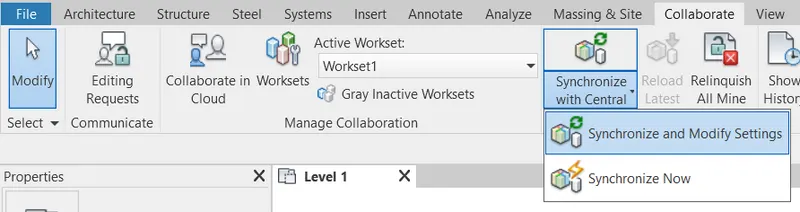
- First go to Collaborate tab and select synchronize with Central option
- And under that option select the synchronize and Modify settings
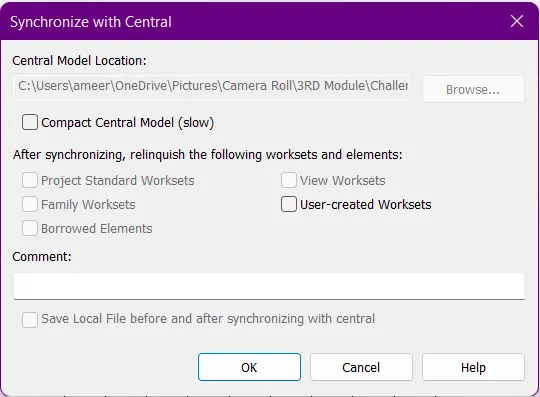
- Then the synchronize with Central dialogue box shows like given below figure
- And finally select OK button
- The synchronize process is finished
- Take the screenshots where I want, using Snipping tool option in the window
- The shortcut is Windows key+Shift+S
- And upload the figures where I want to upload it
Result:
The synchronize the changes from the local copy to the central file of the architectural model is done in the Revit software successfully
6) Open the structural model and use the collaborate tools to save the model as a central file.
Aim:
To open the structural model and use the collaborate tools to save the model as a central file in Revit software
Introduction:
Open the structural model and use the collaborate tools to save the model as a central file
Procedure:
- Open the Collaborate tab and select the Collaborate option
- Then Collaboration will run to make the model normal to central model
- And then Save this file using Save option
- Then the model is changed to Central model as I want and click Yes button
- The save option is shown in below figure
- Take the screenshots where I want, using Snipping tool option in the window
- The shortcut is Windows key+Shift+S
- And upload the figures where I want to upload it
Result:
The open the structural model and use the collaborate tools to save the model as a central file is done successfully in Revit software
7) Under the Collaborate tab, select the grids and levels from the architectural model, and using Copy Monitor try to copy the grids to the structural model. See what happens when the copy monitored grid is moved around in the structural model
Aim:
To select the grids and levels from the architectural model, and using Copy Monitor try to copy the grids to the structural model. See what happens when the copy monitored grid is moved around in the structural model in Revit software
Introduction:
Under the Collaborate tab, select the grids and levels from the architectural model, and using Copy Monitor try to copy the grids to the structural model. See what happens when the copy monitored grid is moved around in the structural model
Procedure:
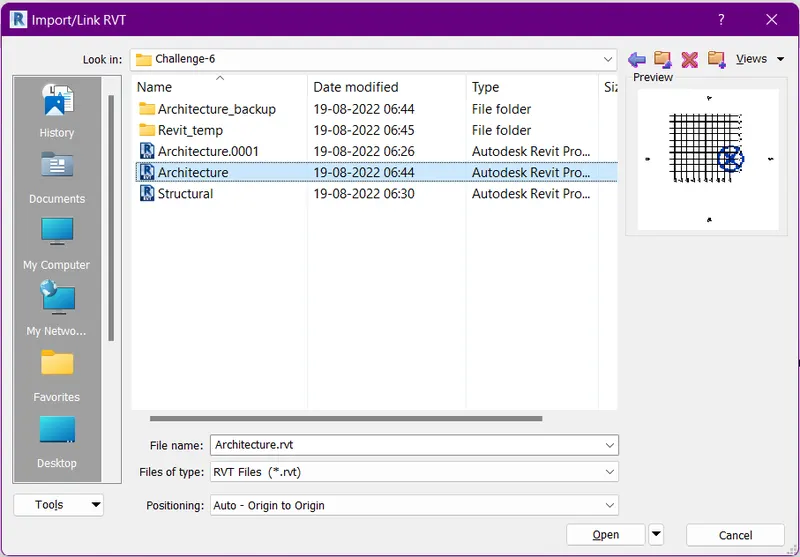
- Open the Insert tab and select Link Revit option for inser the Architectural model to Structural model workspace
- And select the Architecture model drawing file, then click Open button

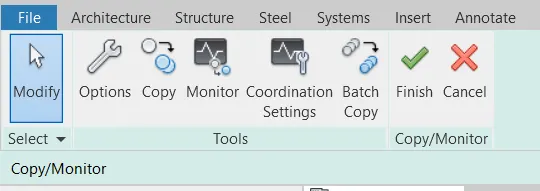
- And go to Collaborate tab and select the Copy/Monitor option
- Then click select link option
- Select the inserted file, then go to Modify tab

- Select Copy option for copy the inserted file drawing
- And click multiple and select Finish option
- The popup message will appeare in screen, select OK
- And again select Finish option, the drawing is inserted to the Structural file
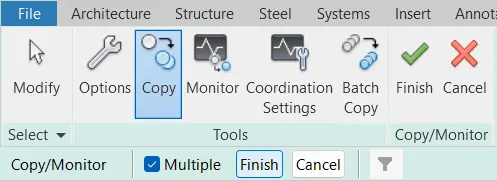
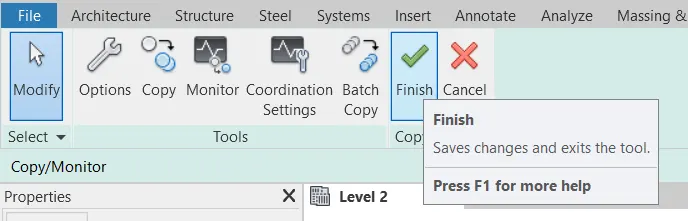
- Take the screenshots where I want, using Snipping tool option in the window
- The shortcut is Windows key+Shift+S
- And upload the figures where I want to upload it
Result:
The selection of grids and levels from the architectural model, and using Copy Monitor try to copy the grids to the structural model. See what happens when the copy monitored grid is moved around in the structural model is finished successfully in using Revit software
8) Create another new file with a construction template. Save the new file as a central model. This file will include both architectural and structural model. Under the manage tab, Click manage links to link both architectural and structural files. Save the file and close all the files.
Aim:
To create another new file with a construction template, Save the new file as a central model and this file will include both architectural and structural model in using Revit software
Introduction:
Create another new file with a construction template. Save the new file as a central model. This file will include both architectural and structural model. Under the manage tab, Click manage links to link both architectural and structural files. Save the file and close all the files.
Procedure:
- First create a new project, that named as Construction template
- And select OK button
- Then insert the architectural and structural files to this file
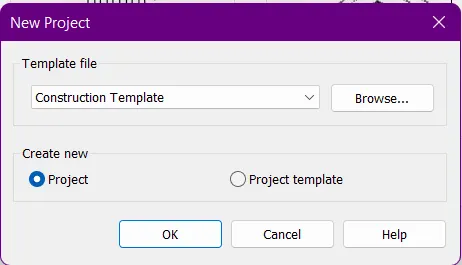
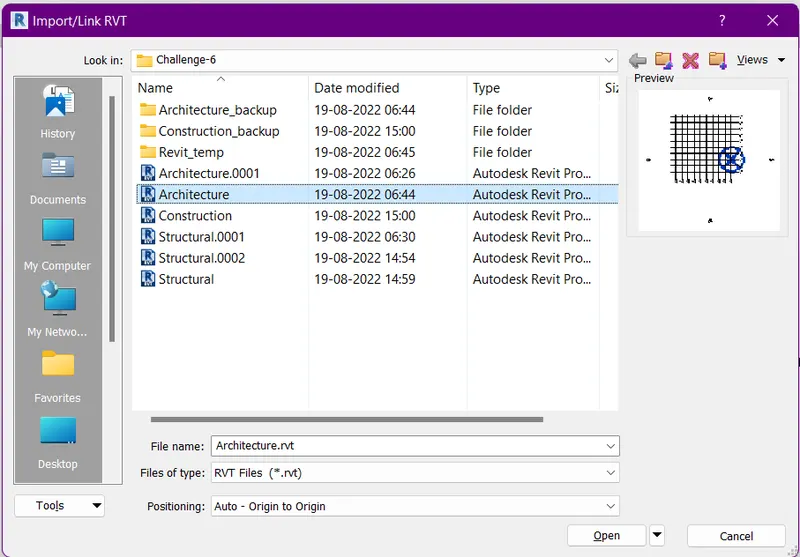
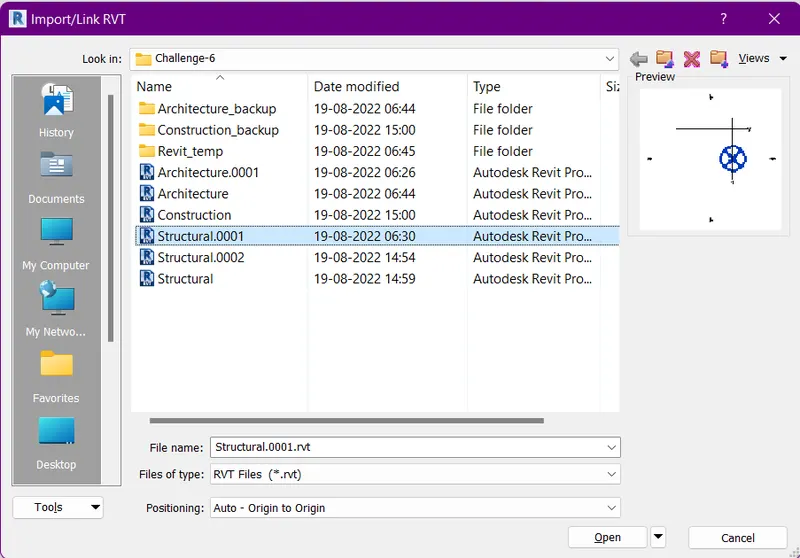
- Open the Collaborate tab and select the Collaborate option
- Then Collaboration will run to make the model normal to central model
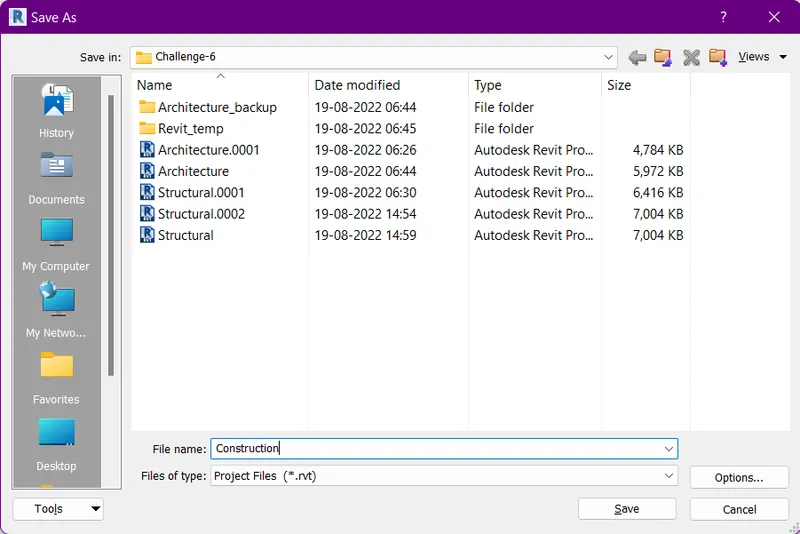
- And then Save this file using Save option
- Then the model is changed to Central model as I want and click Yes button
- The save option is shown in below figure
- Take the screenshots where I want, using Snipping tool option in the window
- The shortcut is Windows key+Shift+S
- And upload the figures where I want to upload it
Result:
The creation of another new file with a construction template, Save the new file as a central model and this file will include both architectural and structural model is done in using Revit software
9) Are the grids from structural and architectural model matching in the construction template created? If yes the model is set up for project 2. If not work on the shared parameters and linking options under Manage links
( Hint: origin to origin, by shared coordinates or by project base point to base point ) to link the models in an appropriate manner
Ans: Yes, the project base point to base point is matching with each other. The file set up for project 2
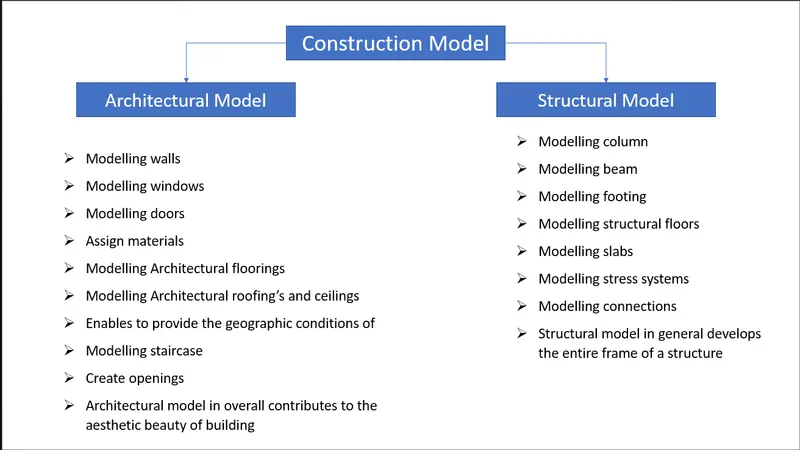
10) List a flow chart of a project tree set up in terms of Construction model, Architecture & Structure model, in this exercise and understand how many people can work on the same project using Revit simultaneously
The below peoples can work on the same project using revit simultaneously