Usage of Collaborate tool in REVIT
1. Aim: To open and Architectural template using manage tab and set the project base point and project shared coordinates for the project.
Introduction: To open and Architectural template using manage tab and set the project base point and project shared coordinates for the project.
Procedure:
- First we need to open the revit software and select for the Architectural template.
- Then click on the Open tab and select the template.
-
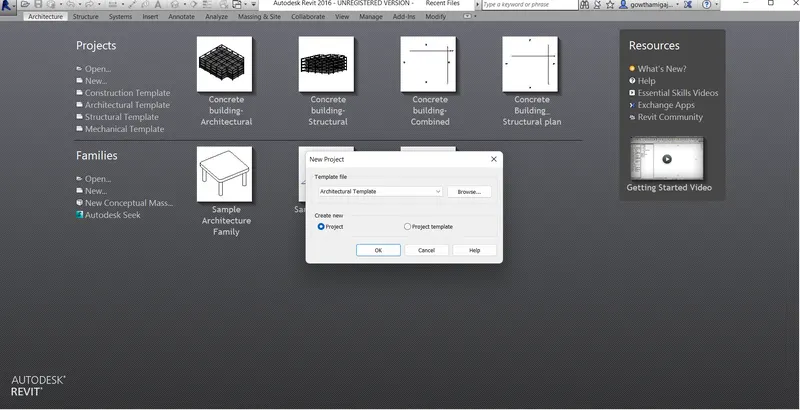
- Then the architectural template will open.
- And then go to the Architecture tab and select Grid command.
-
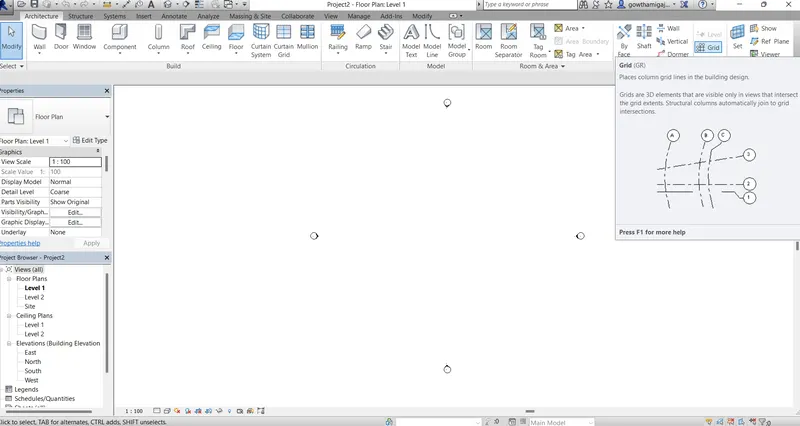
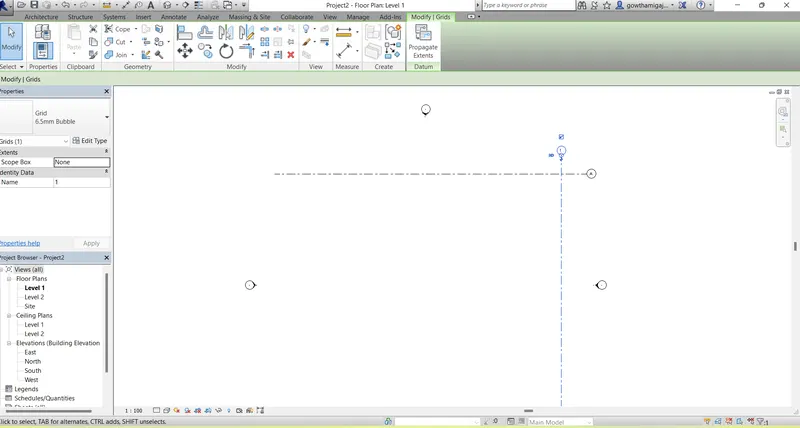
- Then draw the grid in the longitudinal direction as vertically and transverse direction as horizantally.
-
- Then go to Manage tab and select the coordinates command.
- Select the option as Specify coordinates at point option.
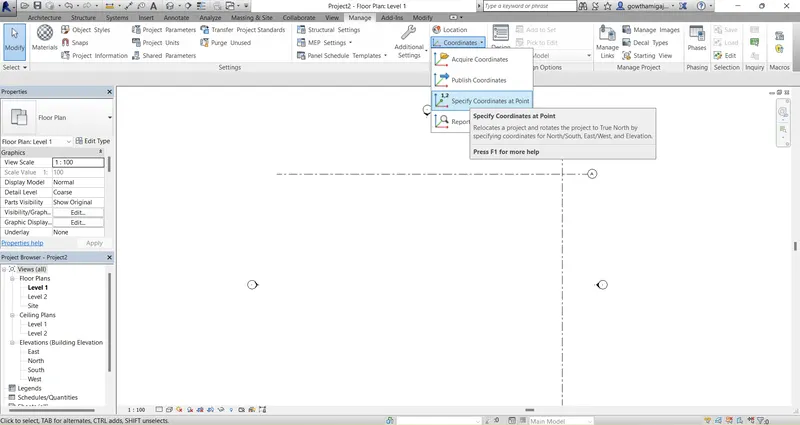
- Then the dialogue box will get open.
- Then give the cordinates for North South direction and select the the grid line.
- In the same way give the coordinates for both longitudinal and transverse grid lines.
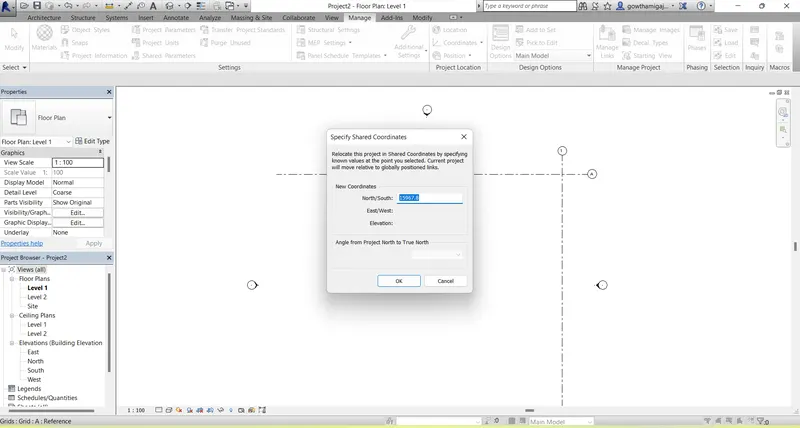
- Now type VG command and then dialogue box will get open.
- In that select site and click on the project command.
- Then click OK.
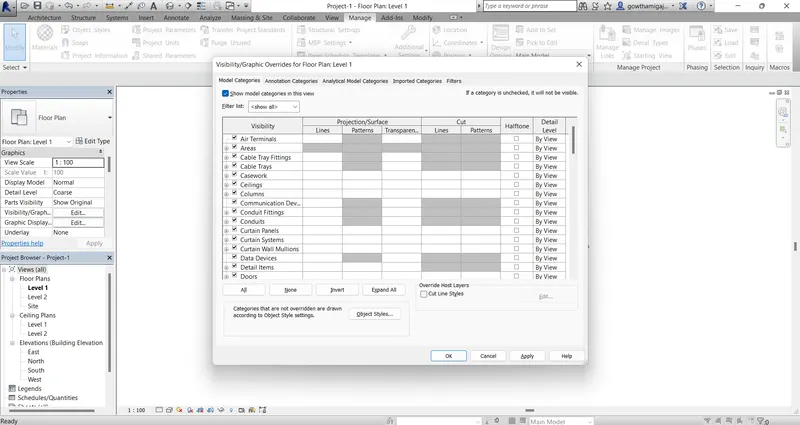
- Then one point will get appear on the screen.
-
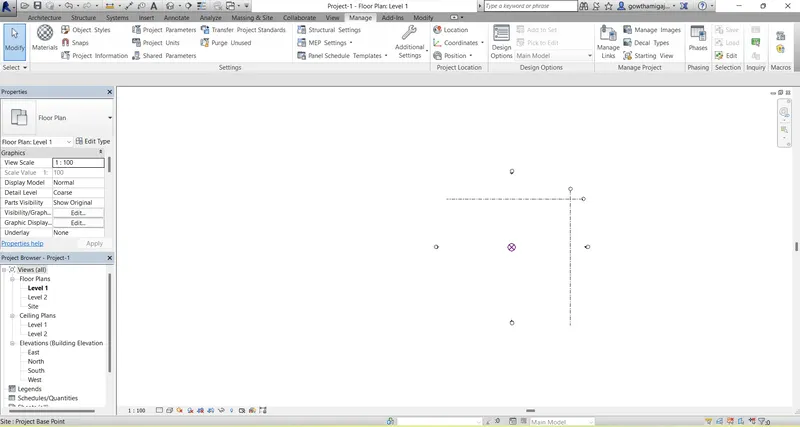
- Now click on that point, and you will get the some information.
- You will get the north South coordinate points.
- Double click and give the coordinate points.
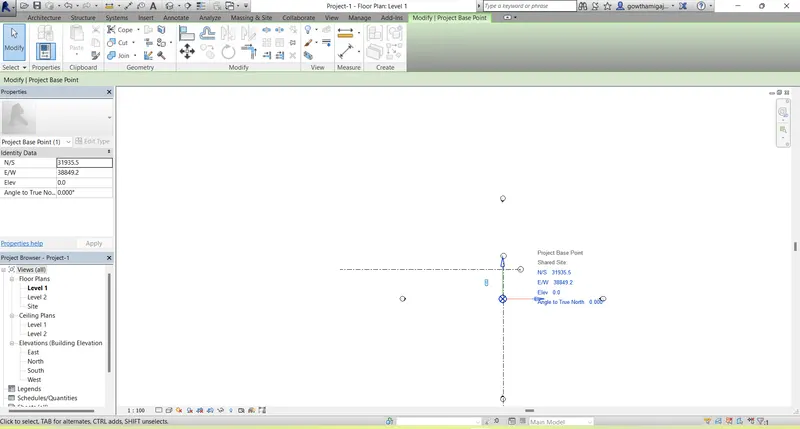
Result:
2. Aim: To open the new file with a structural template using the manage tab to set the parameters the same as the architectural.
Introduction: To open the new file with a structural template using the manage tab to set the parameters the same as the architectural.
Procedure:
- Open the revit software and click on new file
- Then you will get a dialogue box.
- From that select structural template.
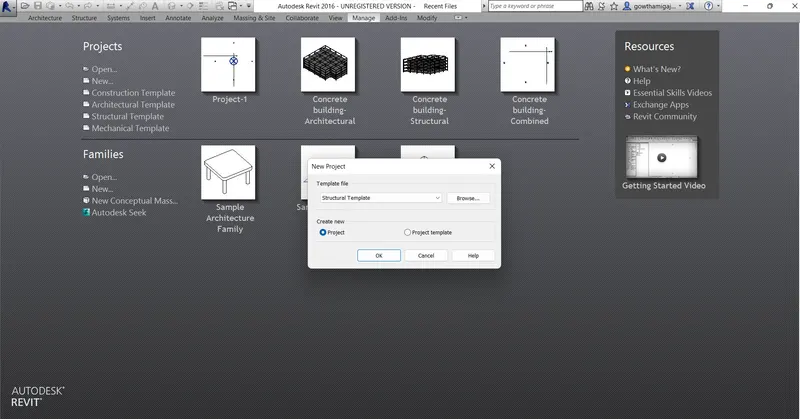
- Now the structural template file is opened.
- Now go to the Architectural tab and select grid command.
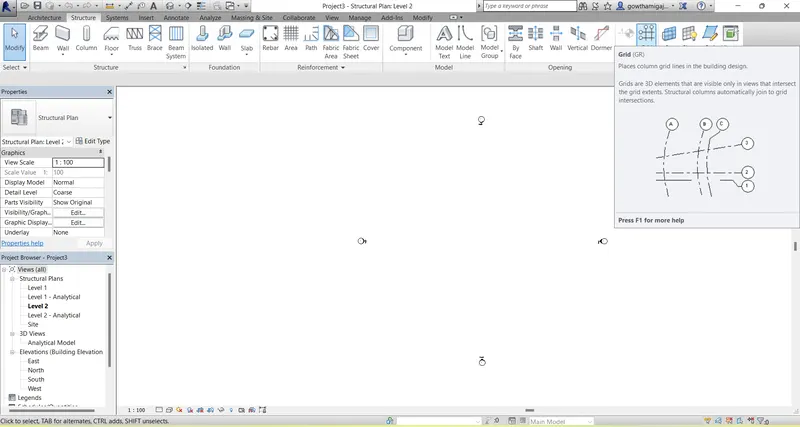
- Then draw the grid in the longitudinal direction as vertically and transverse direction as horizantally.
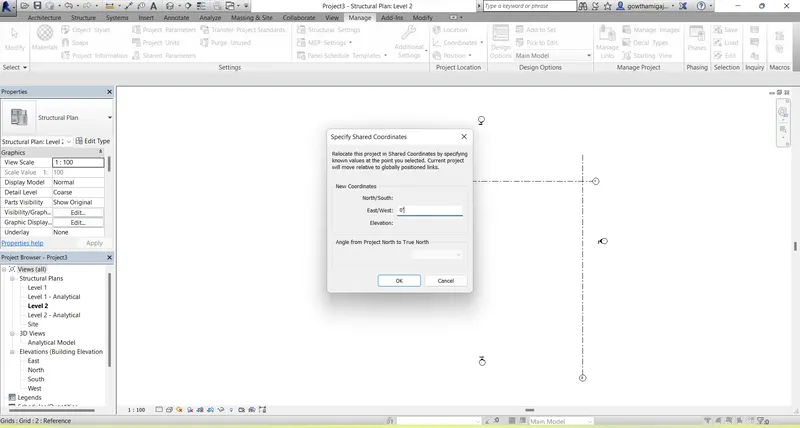
- Then go to Manage tab and select the coordinates command.
- Select the option as Specify coordinates at point option.
- Then the dialogue box will get open.
- Then give the cordinates for North South direction and select the the grid line.
- In the same way give the coordinates for both longitudinal and transverse grid lines.
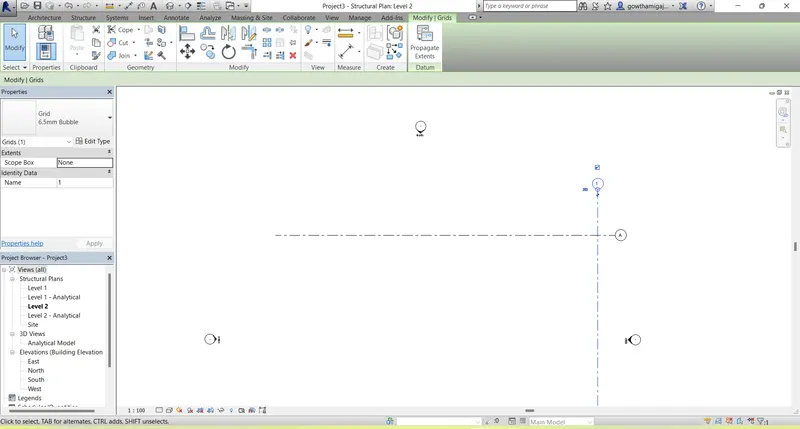
- Now type VG command and then dialogue box will get open.
- In that select site and click on the project command.
- Then click OK.
-
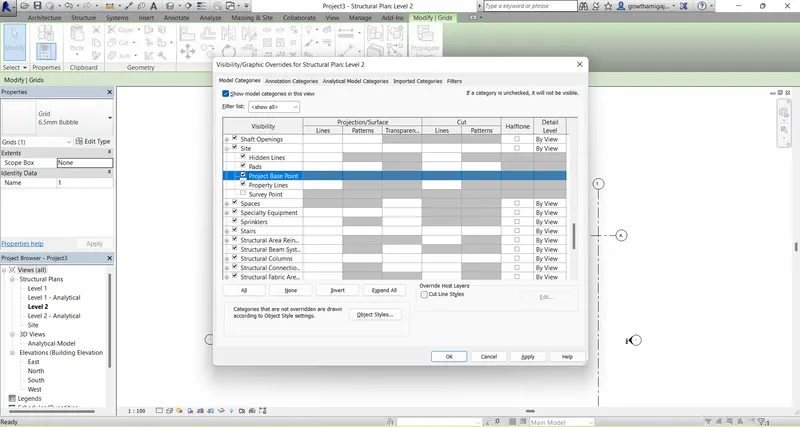
- Then one point will get appear on the screen.
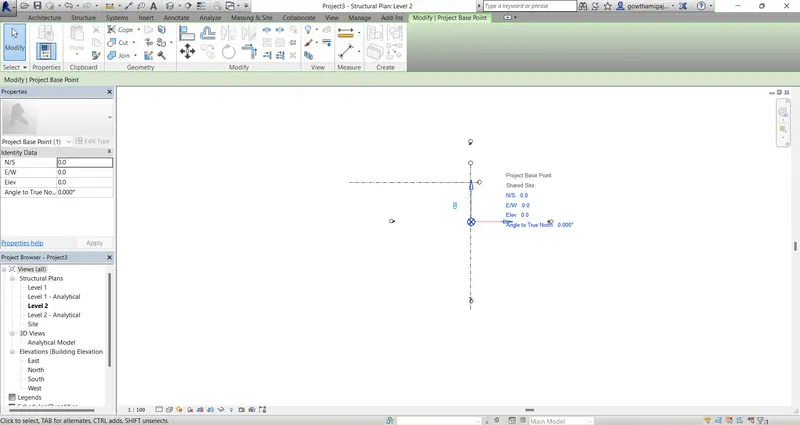
- Now click on that point, and you will get the some information.
- You will get the north South coordinate points.
- Double click and give the coordinate points.
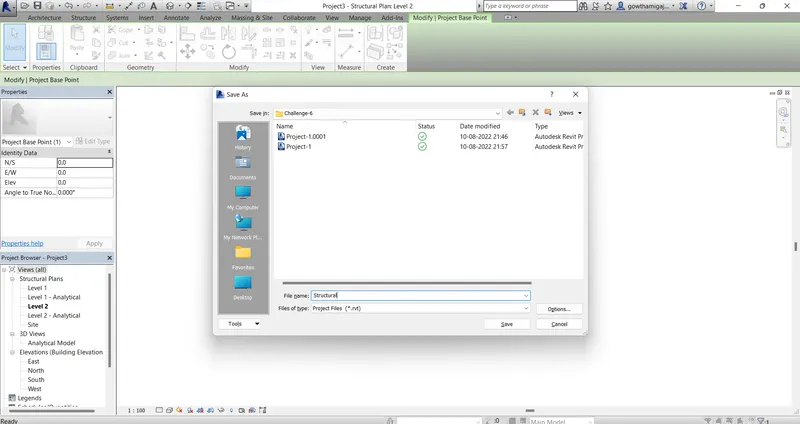
- Now save the file with the name as Structural for further use of work.
Result:
3. Aim: To Re-open the architectural model using the tools under collaborate tab make the architectural model a central model.
Introduction: To Re-open the architectural model using the tools under collaborate tab make the architectural model a central model.
Procedure:
- In this we need to open existing architectural file.
- For that, Open the revit software and select the template.
- Then click on the open tool bar and select the file from where it is saved.
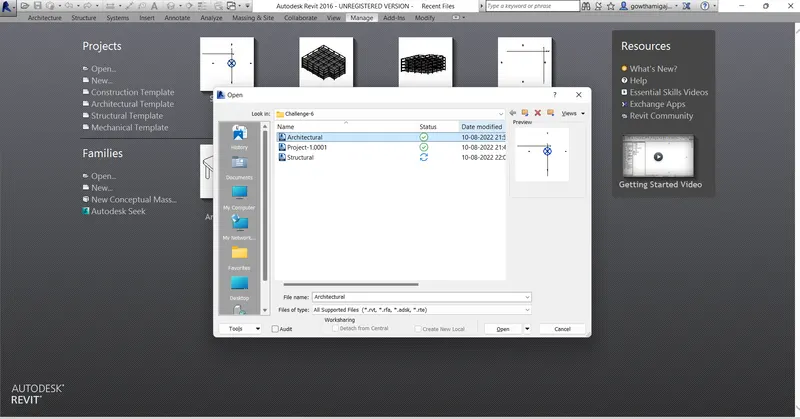
- Now go to collaborate tab.
- Select the collaborate model and save the file.
- Now make the file as collaborate file .
- Then save the file in the central model and you will get a dialogue box regarding saving the file in the central file.
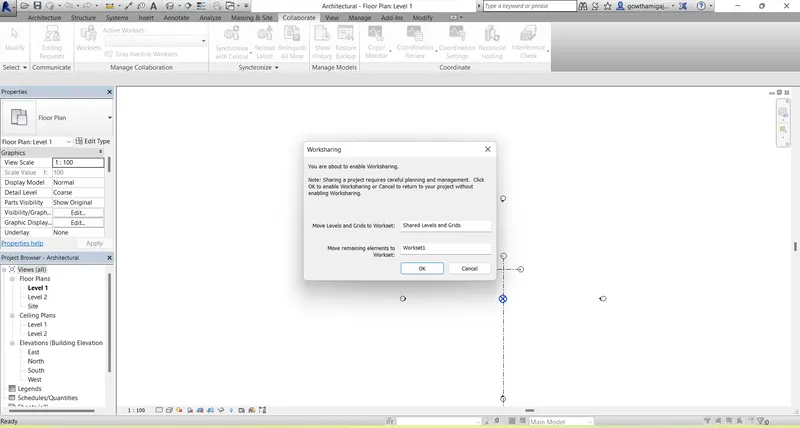
- After the dialogue box, click Ok
- Then the file is saved in Central model.
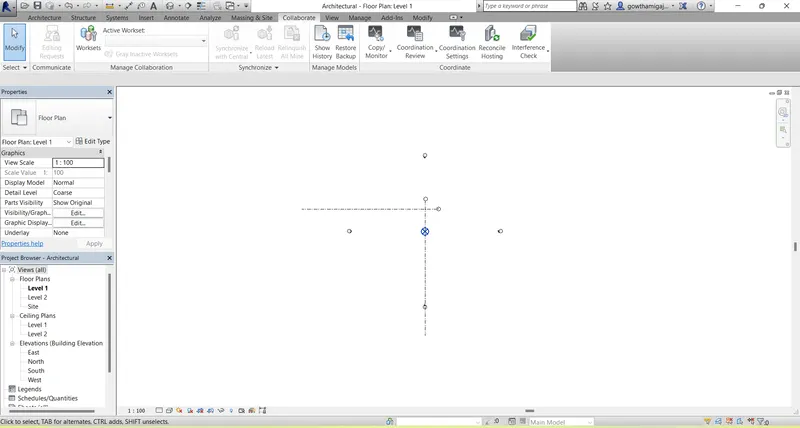
Result:
4. Aim: To create the grids longitudinal and transverse pattern for the project similar to task done in week 2.
Introduction: To create the grids longitudinal and transverse pattern for the project similar to task done in week 2.
Procedure:
- Open the revit software and open the drawing using the template.
- Then go to the architecture tab and select the grid command.
-
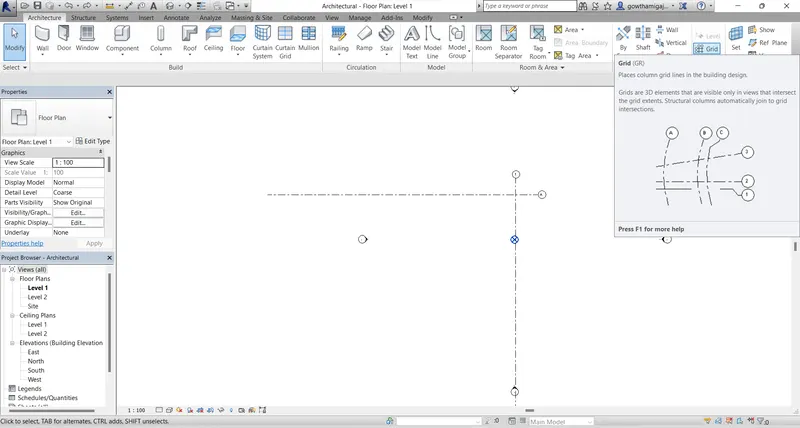
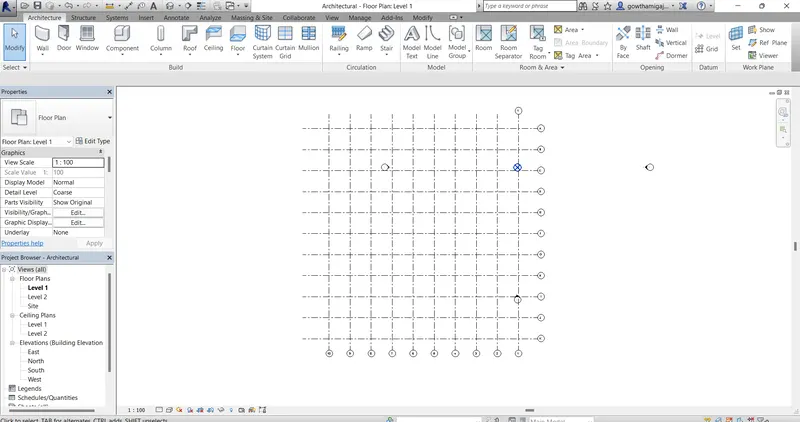
- Then draw the grid lines longitudinnally from the strating grid.
- Select the grid command and select the line or pick line option.
- Then go to offset option.
- And give the offset distance and select the line in which side to the grid line.
- Now the longitudinal grid lines are appear on the screen.
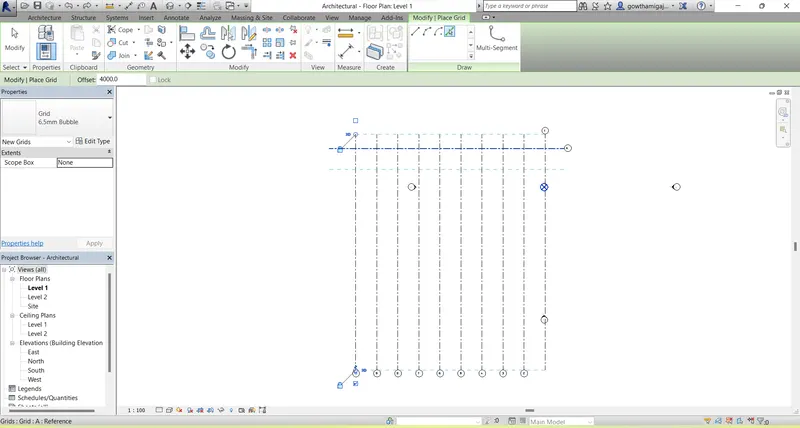
- In the same way as longitudinal grid lines, we have to do transverse grid lines also.
- By selecting the offset distance and draw the grid lines.
- Now the grid lines are ready in longitudinal and transverse direction.
Result:
5. Aim: To synchronize the changes from local copy to the central file of the architectural model.
Introduction: To synchronize the changes from local copy to the central file of the architectural model.
Procedure:
- In this we need to open existing architectural file.
- For that, Open the revit software and select the template.
- Then click on the open tool bar and select the file from where it is saved.
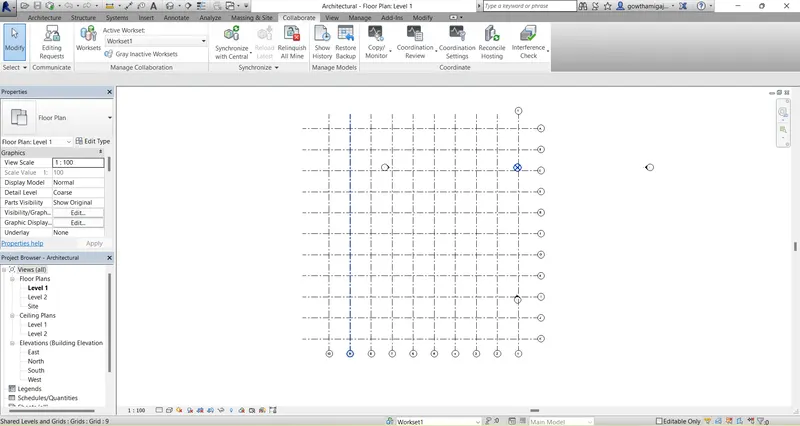
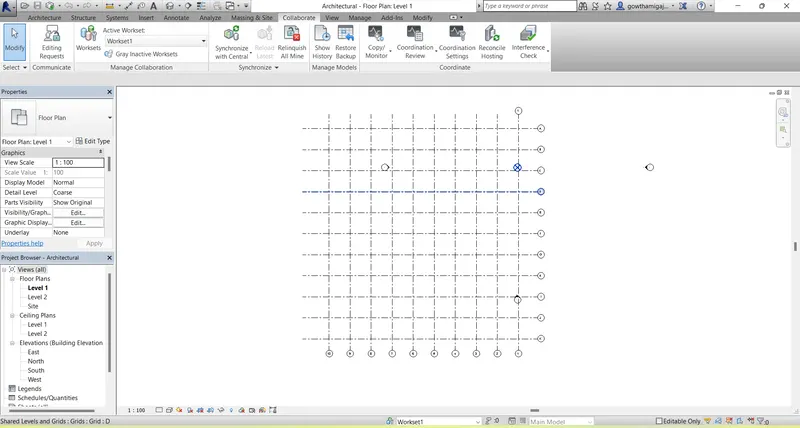
- Then go to the collaborate tab.
- And select the Synchronize option for the drawing.
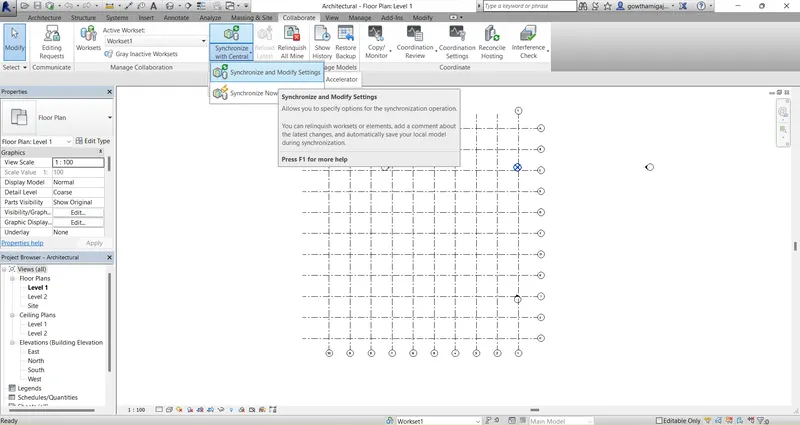
- Now save the file.
- Then a dialogue box will appear on the screen.
- Then click OK.
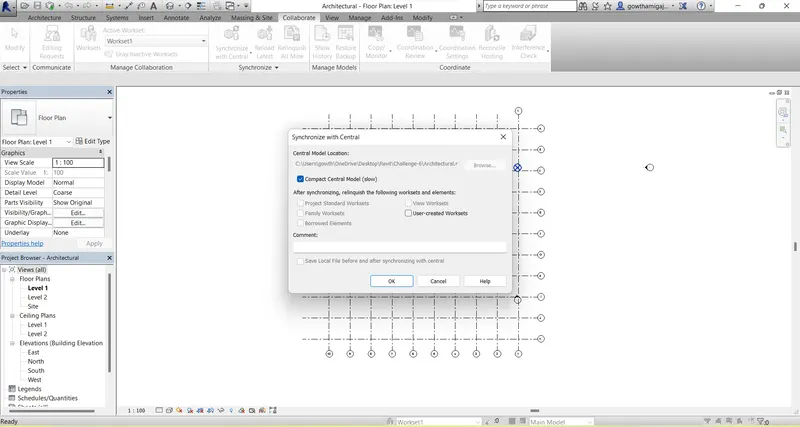
- Then the file is save in the from the central file to synchronize file.
Result:
6. Aim: To open the structural model and use the collaborate tools to save the model as a central file.
Introduction: To open the structural model and use the collaborate tools to save the model as a central file.
Procedure:
- In this we need to open existing Structural file.
- For that, Open the revit software and select the template.
- Then click on the open tool bar and select the file from where it is saved.
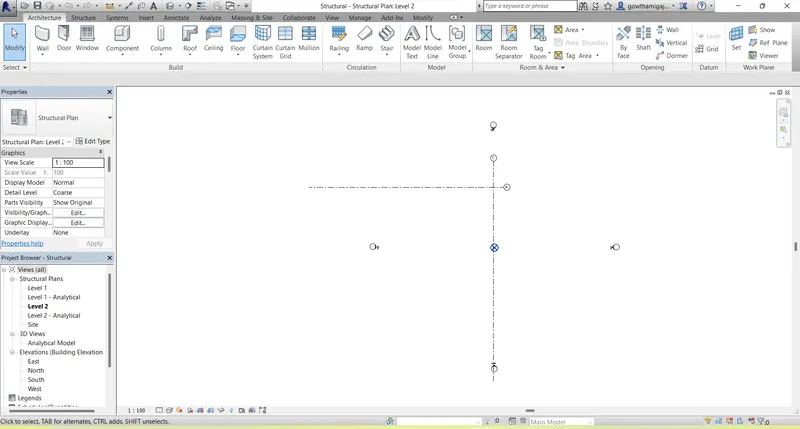
- Then go to the collaborate tab.
- And select the Synchronize option for the drawing.
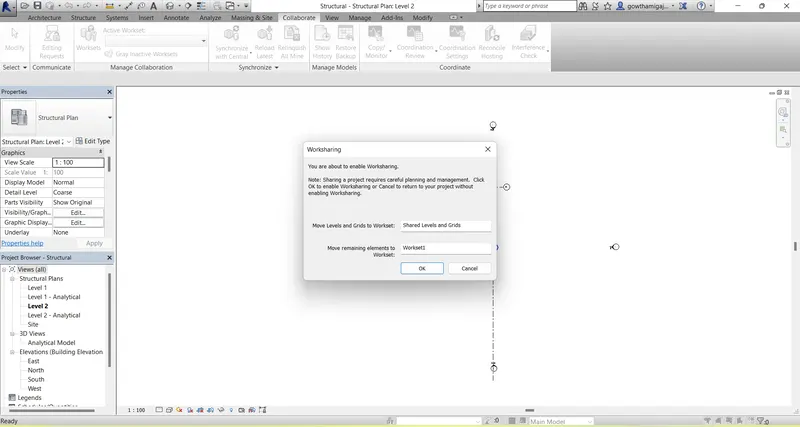
- Now save the file.
- Then a dialogue box will appear on the screen.
- Then click OK.
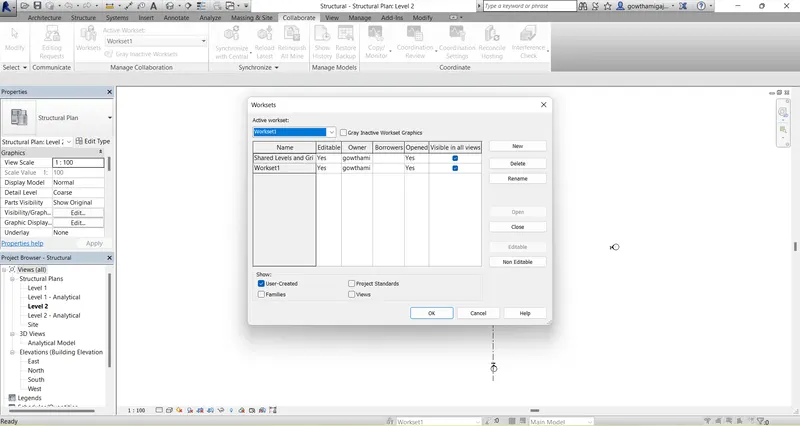
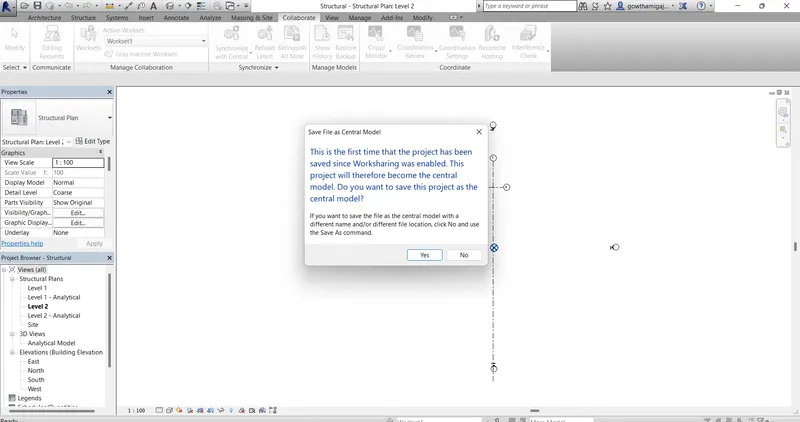
- Now we will get a dialogue box asking regarding about to save the file in the central file.
- Then click on Yes.
Result:
7. Aim: To create the selected grids and levels from the architectural model, and using copy monitor try to copy the grids to the structural model.
Introduction: To create the selected grids and levels from the architectural model, and using copy monitor try to copy the grids to the structural model.
Procedure:
- In this we need to open existing Structural file.
- For that, Open the revit software and select the template.
- Then click on the open tool bar and select the file from where it is saved.
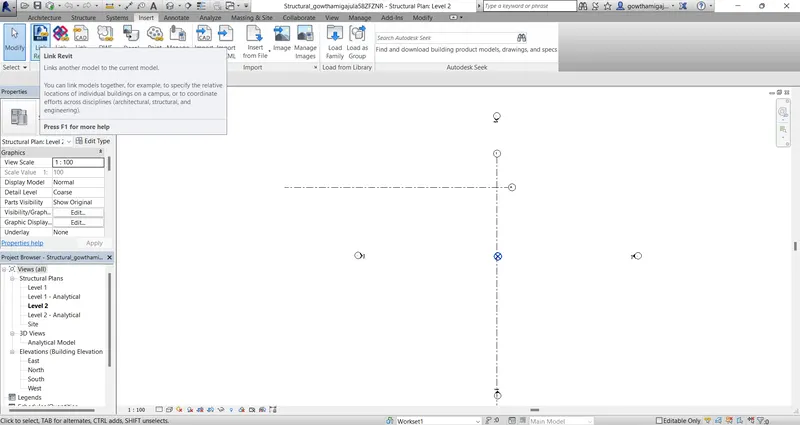
- Then go to the insert option.
- Now select the link revit option.
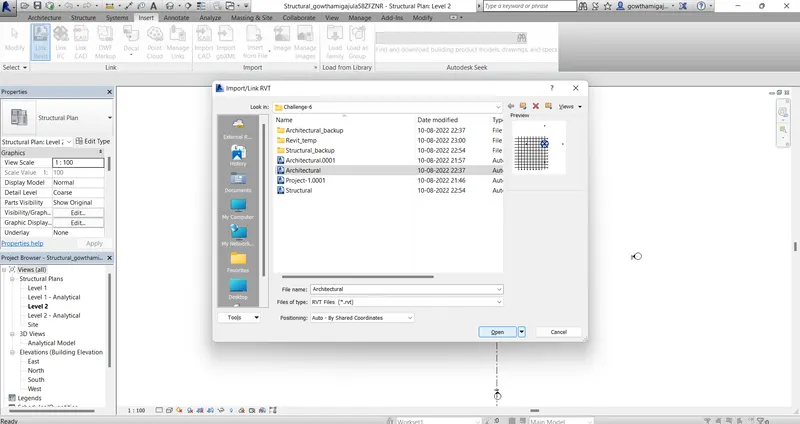
- Then it will ask to select the file to open.
- Now select the Architecture file to open.
- And also select the structural drawing file also to open in the same way.
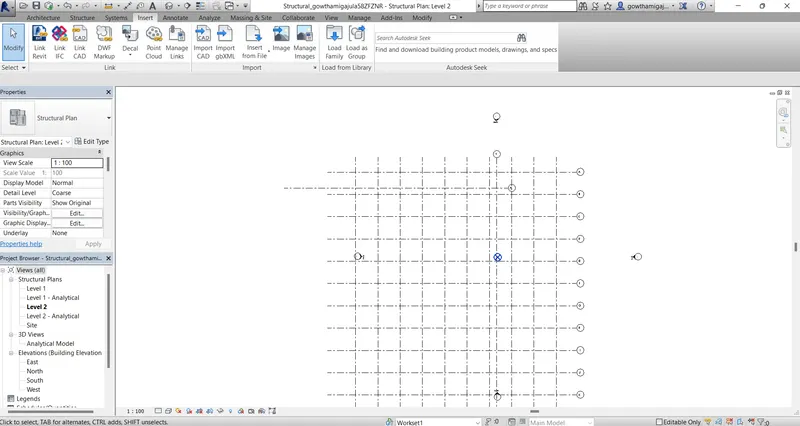
- Now there are 2 opened files in the drawing.
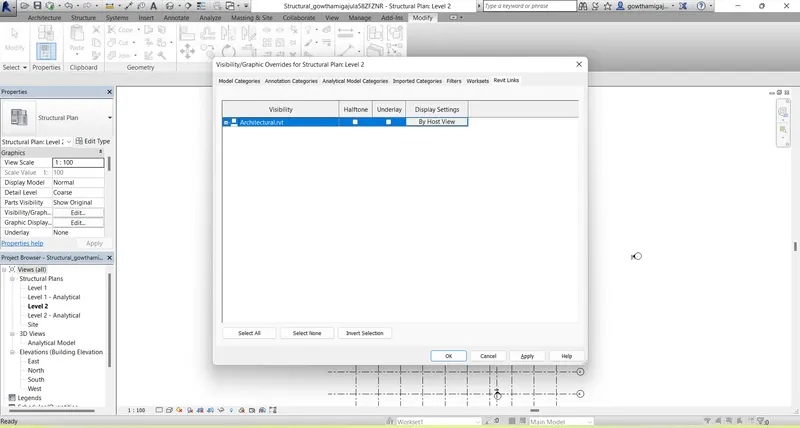
- Now, Click Vg then visibility graphics page will get opened.
- Select Revit links.
- Click on Architectural rvt box and then click OK.
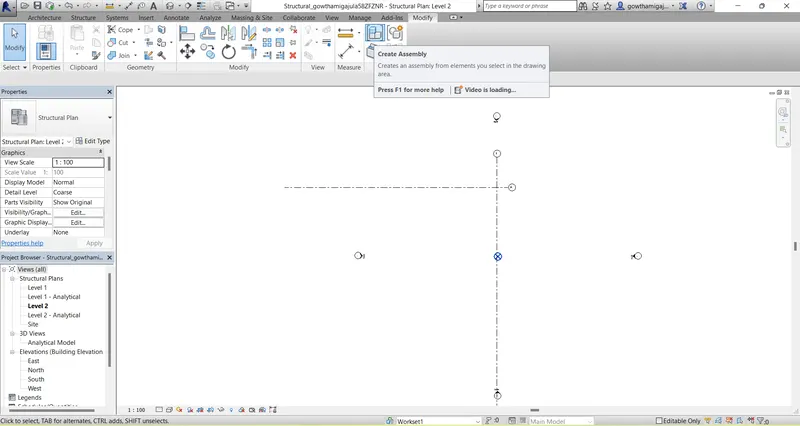
- Now we will not able to see Arcitectural drawing.
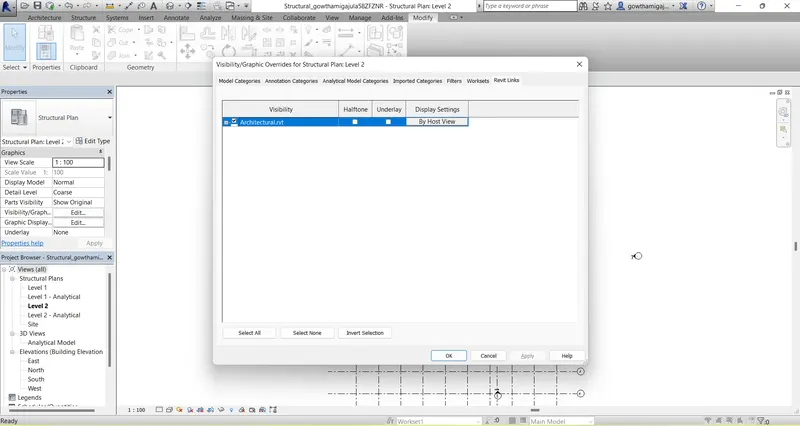
- Now again in the VG command, select revit links
- And click on Architectural drawing and select the box.
- Now after opening the drawing files, we can see two drawings are in separate coordinates.
- Go to Collaborate tab and select the copy/Monitor option.
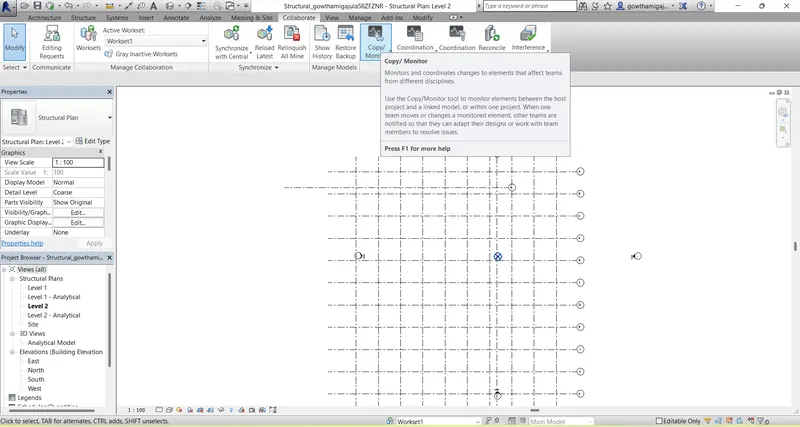
- Then it will get direct to the draw command bar.
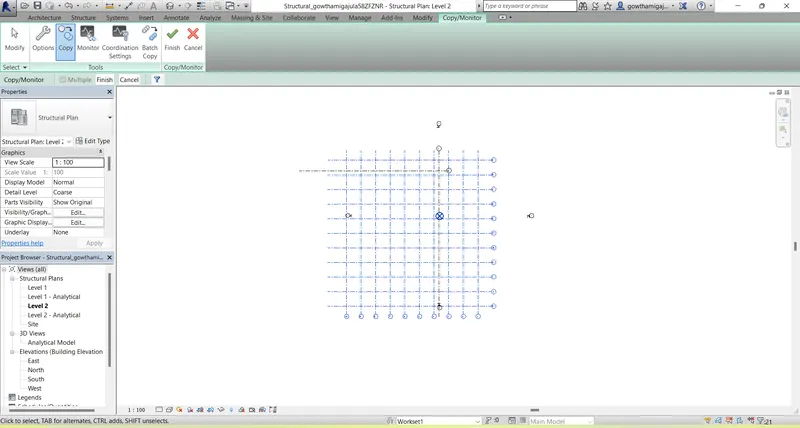
- Then select copy option.
- Then click on Multiple option.
- Now select the architectural or structural drawing grid lines.
- Now click on Finish option in the modify bar.
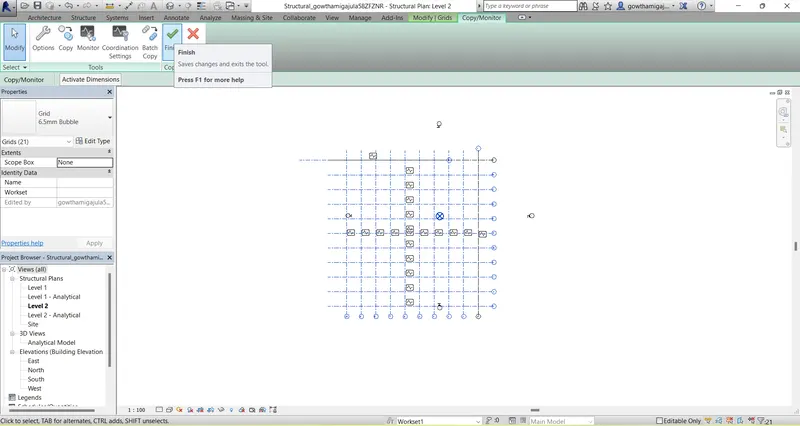
- Then we can see the drawing position has been changed.
- Now both architectural and structural drawings are in same coordinate points.
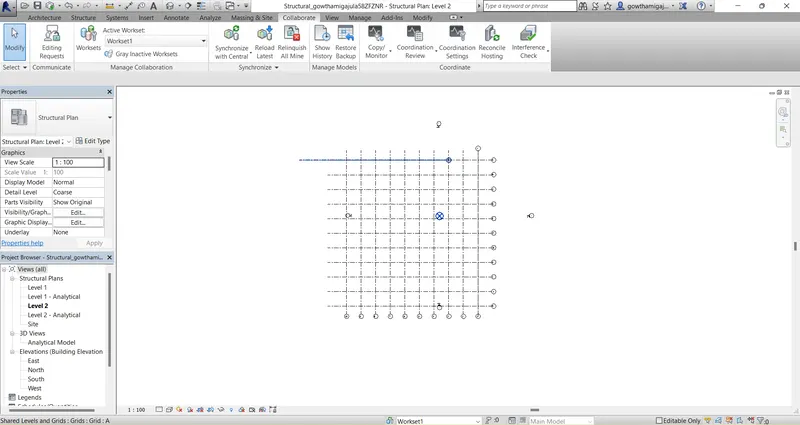
- Now again type VG and select Architectural revit unbox the tick mark.
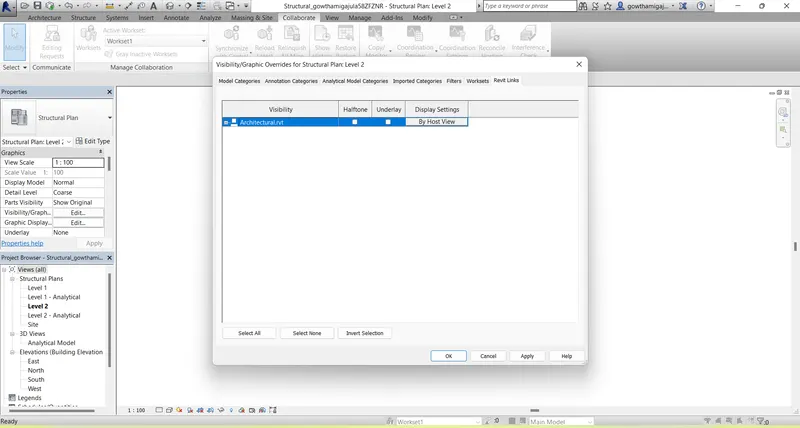
- Now we can see both drawings are there and architectural drawing is not closed.
- Because architectural drawing is linked with structural drawing.
Result:
8. Aim: To create new file with a construction template and save the new file as a central model and this file include both architectural and structural model and under the manage tab, click manage links to link both architectural and structural files.
Introduction: To create new file with a construction template and save the new file as a central model and this file include both architectural and structural model and under the manage tab, click manage links to link both architectural and structural files.
Procedure:
- Open the revit software and open the drawing by using template.
- Now in this drawing we have to take construction template.
- And click OK.
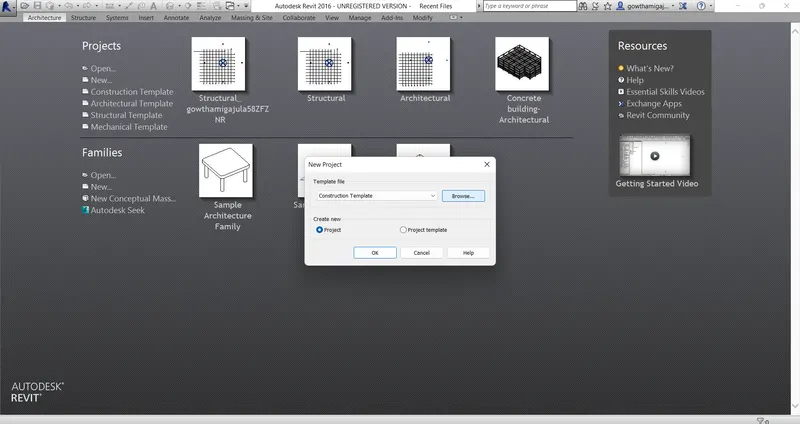
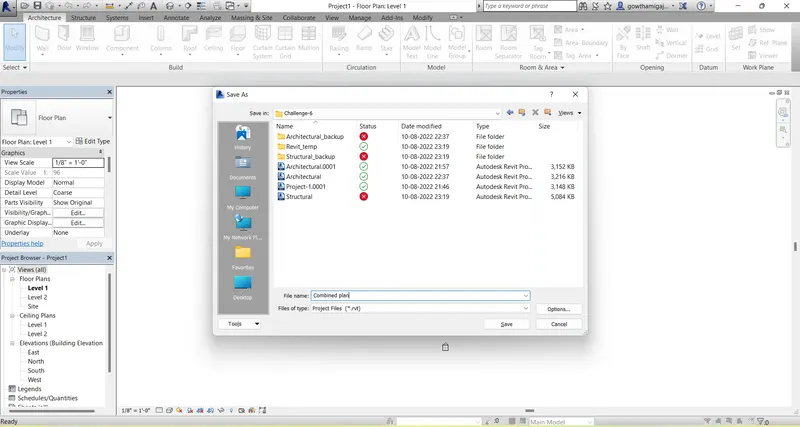
- After opening the construction template file, now save the file as a combined plan.
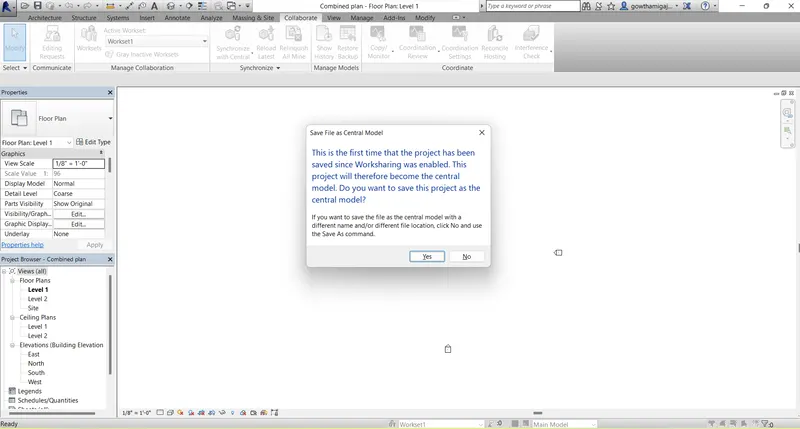
- Now click yes to save the file in the collaborate central model.
- Now open the Architectural file which we have worked previously.
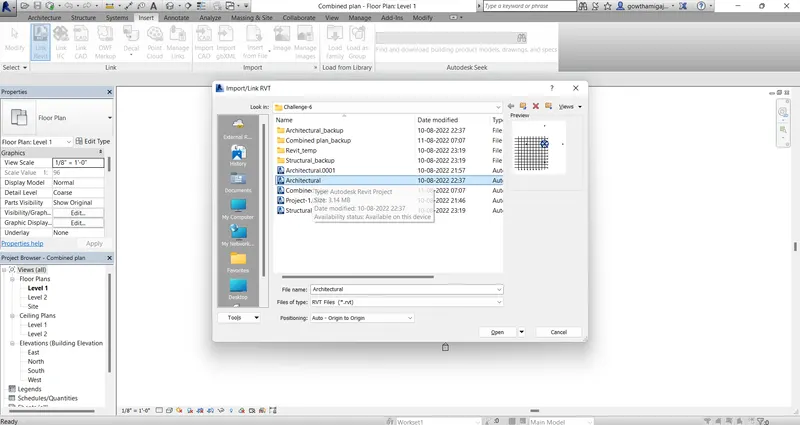
- And also open the structural file in which we have worked previously.
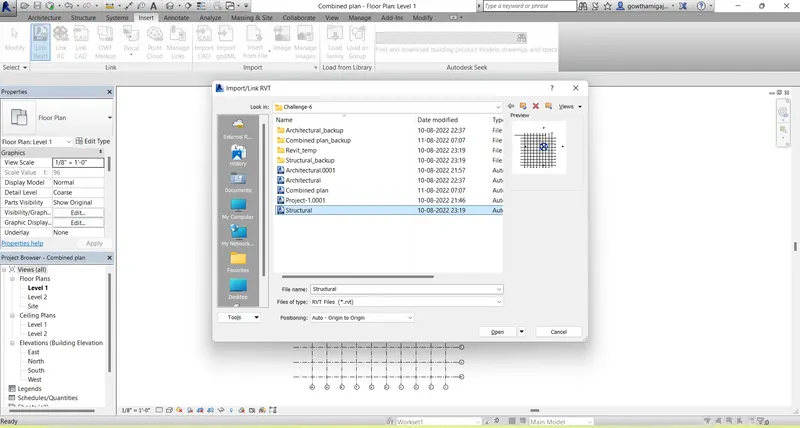
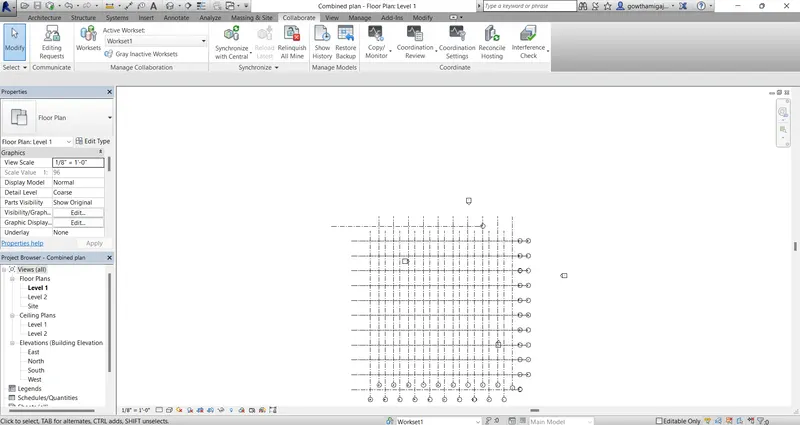
- Now we can see the both architectural and structural drawings which we have worked previously.
Result:
9. Aim: To the grids from structural and architectural model matching in the construction template created? if yes, the model is set up for project 2. If not, work on the shared parameters and linking options under manage links.
Introduction: To the grids from structural and architectural model matching in the construction template created? if yes, the model is set up for project 2. If not, work on the shared parameters and linking options under manage links.
Procedure:
- From the previous one, after selecting the architectural and structural drawings, we have to check the drawing coordinates.
- Now we have to check whether the coordinates are in same parameters or not.
- It is not in same parameters so we have to adjust them in same parameters.
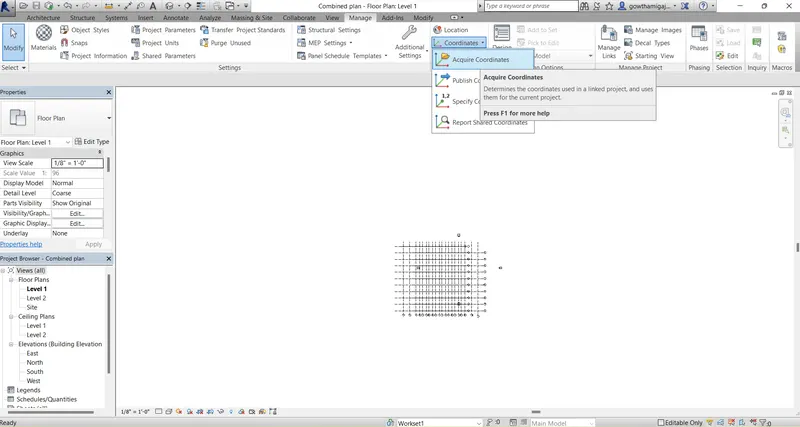
- Select the manage tab and click on the cordinates.
- Select Acquire coordinates option.
- Then give the coordinates t the drawings.
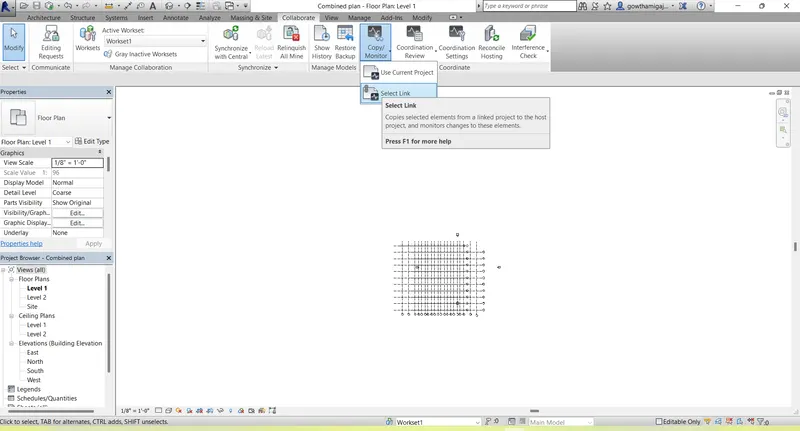
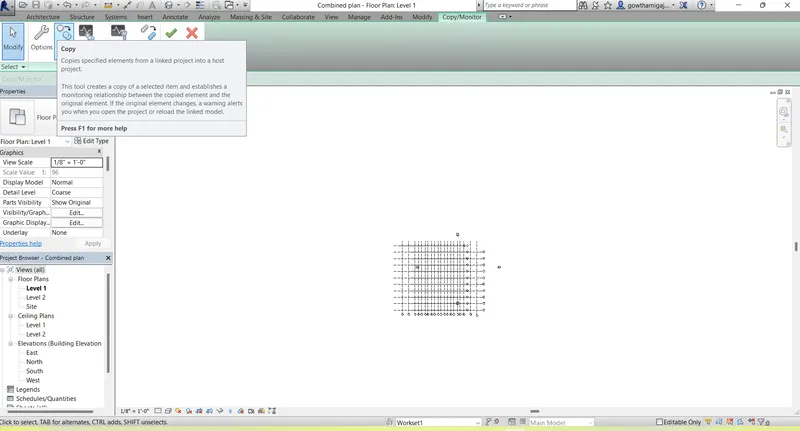
- Now go to collaborate tab and select copy/monitor option.
- Now select the link in the drawing.
- Now again select the copy option from the draw menu bar.
- And select the grid lines.
- Select multiple option.
- Click on finish in modify bar.
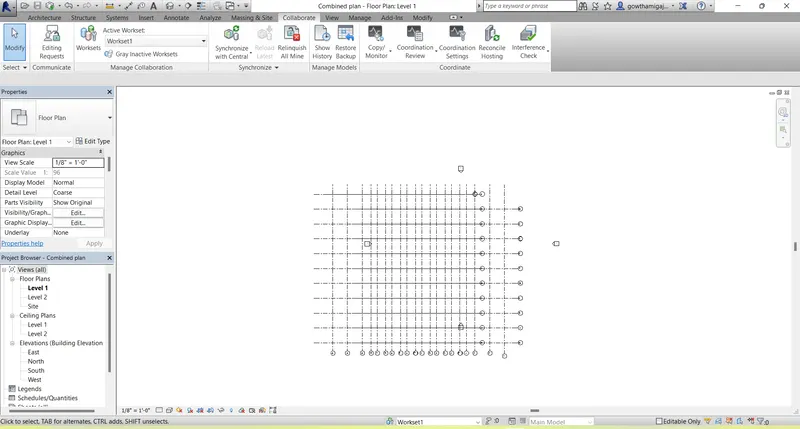
- Then select all the grid lines and move to the source point.
- Then again go to the modify bar and click on finish.
- Now the drawing is in same parameters.
Result:
10. Aim: To list a flow chart of a project tree set up in terms of construction model, Architecture & Structure model, in this exercise and understand how many people can work on the same project using revit simultaneously.
Introduction: To list a flow chart of a project tree set up in terms of construction model, Architecture & Structure model, in this exercise and understand how many people can work on the same project using revit simultaneously.
Procedure:
- Construction model is a combination of both Architectural and Structural model.
- In the Architectural model the people can do the work together are listed below.
- Modelling Walls.
- Modelling windows.
- Modelling doors.
- Assign materials.
- Modelling architectural floorings.
- Modelling architectural Roofing's & ceiling's.
- Enables to provide the geographic conditions of
- Modelling staircase.
- Creates Openings
- Architectural model in overall contributes to the aesthetic beauty of a building.
- In the same way in the Structural model people can do the work together are listed below.
- Modelling Columns
- Modelling beams
- Modelling Footings
- Modelling structura floors.
- Modelling labs.
- Modelling tress systemns
- modelling connections.
- Structural model in general develops the entire framework of a structure.
- The number of people that can work on the same project using revit simultaneously allows multiple people to work on 1 revit project.
- This can be simultaneously work through work sharing.
- Using linked elements project elements are separated into individually managed models that can be linked together.
- Membres from various disciplines can work together in revir projects like Architectural people, Mechanical people, Plumbing people, etc.,
- The number of people working together in revit project depends upon tthe type of work being done.