Usage of Collaborate tool in REVIT
USAGE OF COLLABARATIVE TOOL IN REVIT
- INTRODUCTION
- Revit propvides several diffrent ways to collborate with team members who are using the software
- Several multiple model can be linked together allowing team member to work in a context
- Through work sharing users on some local area network can work together in the same revit model
- When collabopration needs to occur among users who are not in same geographic location revit cloud worksharing can be used
- Revit connect officers who share a network but are not in the same geographic location
- Revit cloud worksharing is a cloud based service that allows any revit user inside or outside a network to collaborate on a revit model
- When there is a need to combine multiple models and files in a single propject shared copordinate can be used to established the position of the files in relation top each other
- To established a common coordinate position and then share that postition of the files in relation top each other
- To established a commopn coordinate and then share that position between files acquire cooprdinate tool can be used
- AIM: To set project base point and project shared cooprdinate for the project
- PROCEDURE: To set the project shared coordinate
- Open the revit software and open the architecture template
- Now,open the manage tab of the ribbon and go to coorinate option in the project location
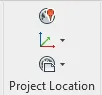
- Now select project coordination and in that choose specify coordinate at a point
- Now,select ewithewr walls one by one
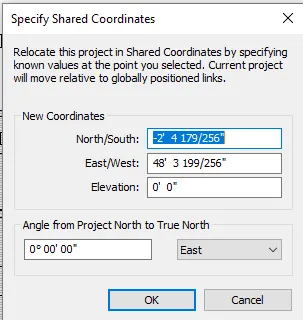
- Make north south and east west values of coordinate 0 and then click ok
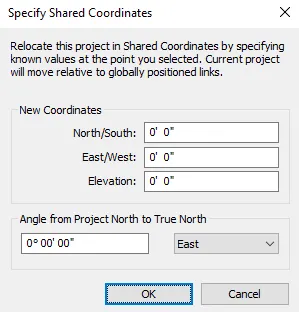
- Hence project shared coordinate are set
- To set project base point
- For this , go to archiitectural tab
- In datum panel choose
- Then draw the base grid
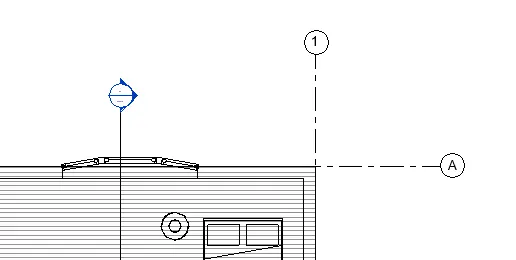
- Hence,base grid have been developed
- AIM:
- To open a new file with a structural template and using tab set project parameter the same as the architectural model and copy the parameter manually into the structural model
- PROCEDURE
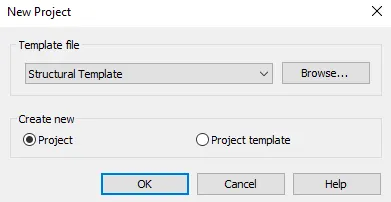
- Open a new file with structural template
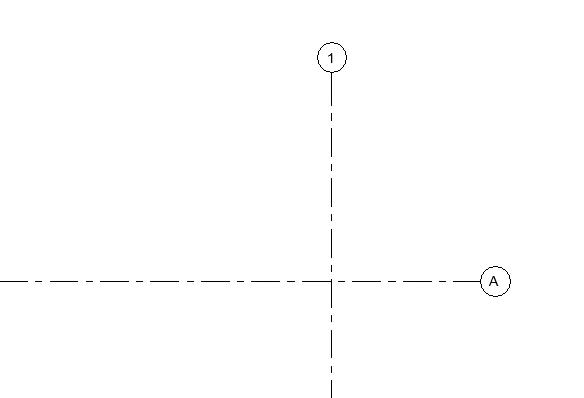
- Now,go to architecture tab and in the datum panel choose grid and draw the base grid as done in the architectural model
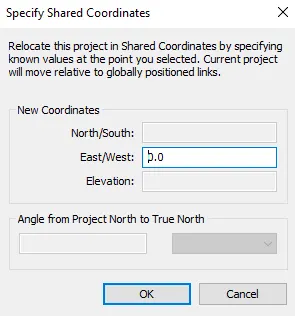
- Go to manage tab of the ribbon and select project coordination and then set the shared cooprdinate same as the architectural model
- Make both east west and north south coordinate
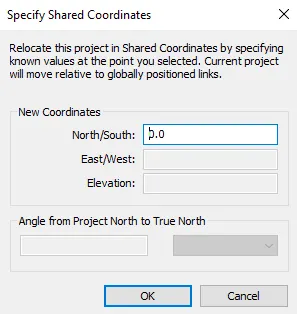
- Hence ,project parameter are created in the structural model
- AIM:To use the tools under the collaborate tab to make the architectural model a certain model
- PROCEDURE:
- Open the architectural model
- Go to collaborate tab of the riboon

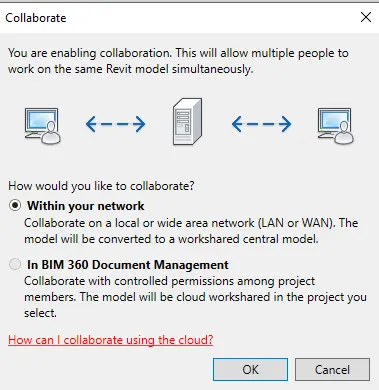
- Choose collabarate option
- Then select within your network
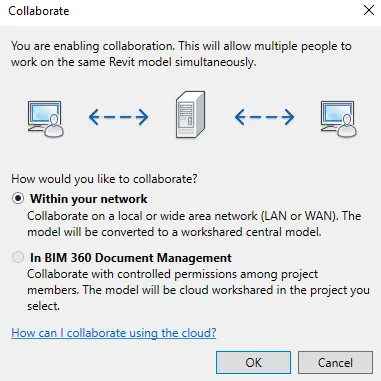
- Now,save within your network
- Now,save all the file as a central model
- AIM: To create the grids in longiotudnal and transverse pattern for the projec
- PROCEDURE:
- Go to architectural tab of the ribbon
- Select grids in the datum panel
- Then draw the longitudnal and transverse grids and name it accordingly (i.e.For longitudnal grids 1-10 grid starting from roght side similarly for transverse grid A-B starting point
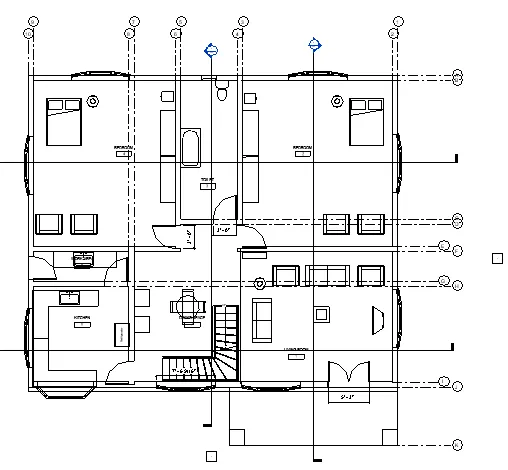
- Hence all grids have been created
- AIM: To synchronize the changes from the local copy to the central file of the architectural model
- PROCEDURE:
- Go to collobarate tab of the ribbon
- Choose synchronize with central option in the synchronize panel
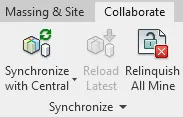
- Then,select synchronize and modify settings and then click ok
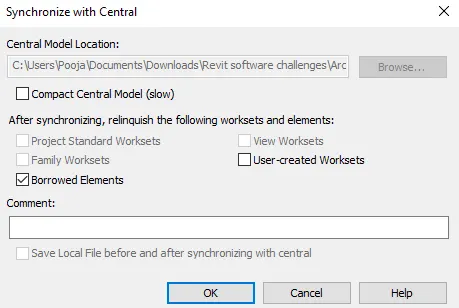
- Hence it is synchronized
- Aim: To open the structural model and to use the collaborate tools to save the model as a central file
- Procedure:
- Open the structural model
- Now,go to colloborate tab of the ribbon
- Choose the colloborate option
- Hence saved as central file
- AIM: To select the grids and levels from the architectural model and using copy monitor copy the grids to the structural model
- PROCEDURE: Initially go to architectural model which is not the central member
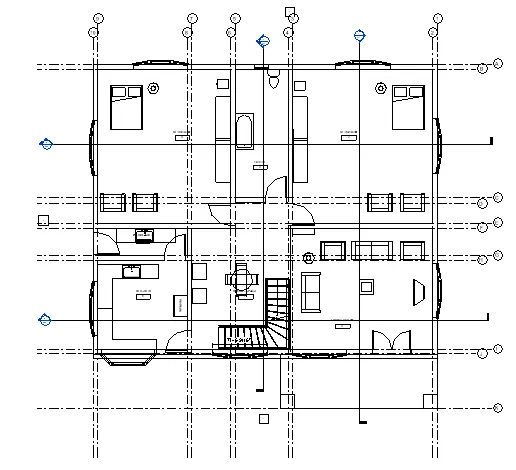
- Now open the structural model and gop to insert
- Choose the revit link
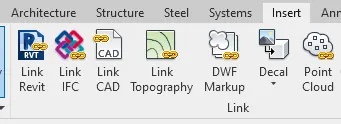
- Or through manage links option in insert also we can add the revit link
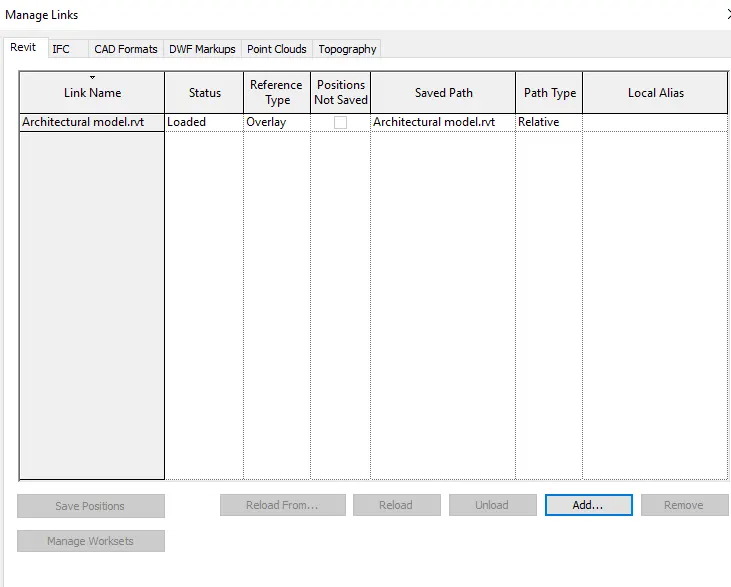
- Then the link we choose will be inserted i.e. thew architectural model link
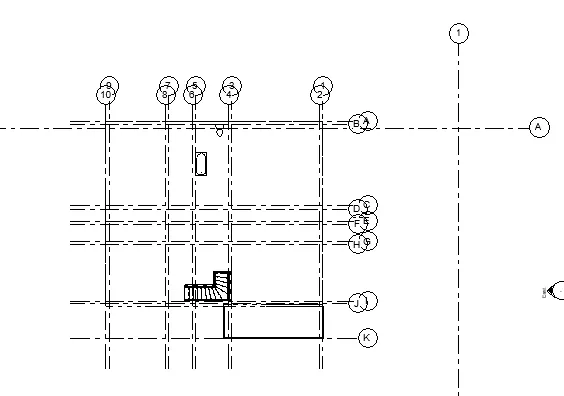
- Presently this link is just added this can be checked by going to visibility graphics
- Now,we have to copy this element to the structural template
- For this go to colloborate tab of the ribbon and go to copy monitor choose the link option
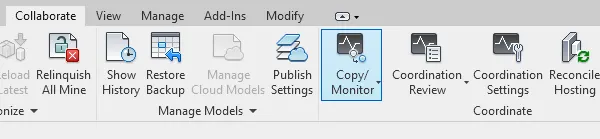
- Now,select the link in the screen and then click copy and check multiple
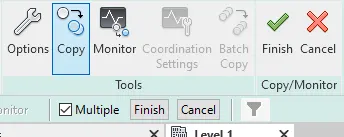
- Now, select the link in the screen and then click copy and then check multiple
- Then click finish provided at the bottom and after that again click in copy tab
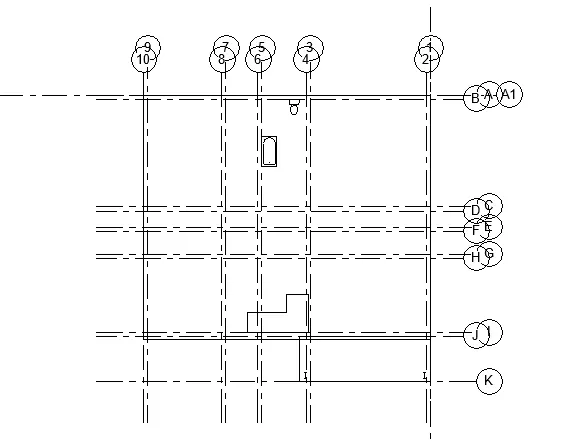
- Hence the link is copied completely
- AIM: To create another new file with a construction template and save the new file as a central model.This file will include both architectural and structural model and link both the files
- PROCEDURE:
- Initially open the revit software
- go to new tab and open a new construction template
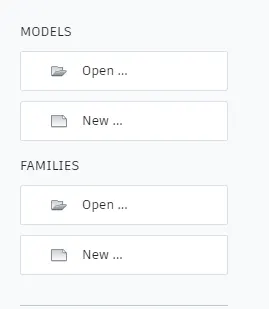
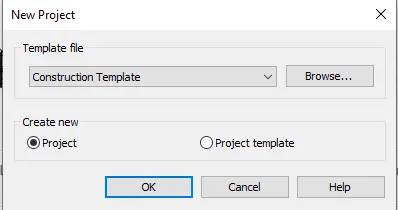
- Now,go to collobarate tab------>colloborate ----->To save it as central model
- Now,go to manage tab ----> manage links ----->Add both architectural and structutral links
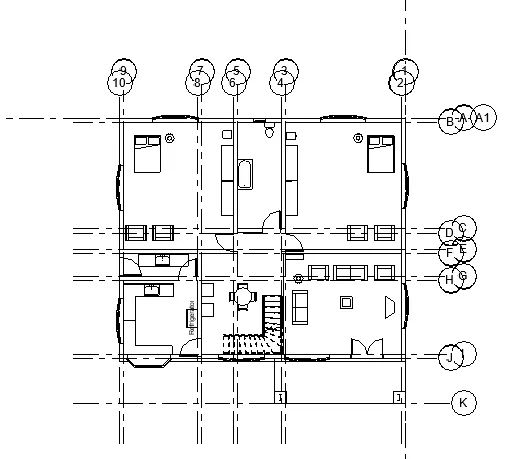
- Now,both these links have been just added to the construction model
- Now,we have to copy this model to this template
- For this,go to copy/monitor in the colloborative lab
- Choose select link in the drop down and select the both the links visible in the scream individually
- Then copy both the links to construction template
- Select the elements and click finish
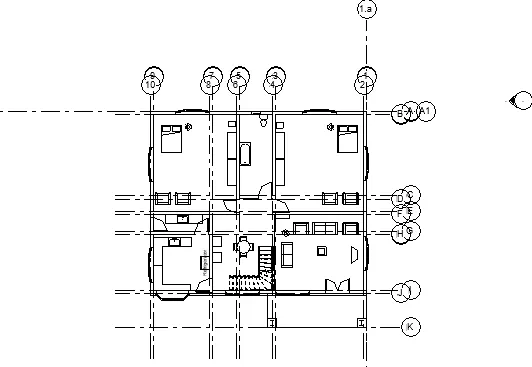
10. Flow chart of a project tree set uip in terms of construction model,Architecture and structure model
- Construction model is combinationof both architectural model and structural model
- Flow chart is given below as follows
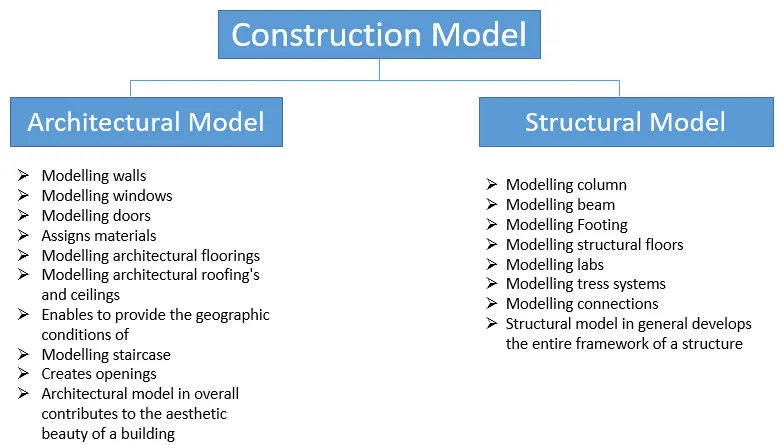
- Number of people that can work on the same project using revit simultaneously
Revit allows multiple users to work simultaneously on one project this can be achieved through worksharing using linked elements project elements are separatted into individually m,anagewd models that can be linked together member from various