Usage of Collaborate tool in REVIT
1) Open an architectural template. Using the Manage tab set project base point and project shared coordinates for the project
Aim:-Creating an architectural template and under the manage tab set project base point and project shared coordinates for the project.
Procedure:-
- Creating a new file with an architectural template and save the file with an appropriate name as Project_1_Architectural.
- In the architecture tab create grid linesin longitudnal and transverse direction for the refrence points for project shared coordinates for the project.
- Now, Specify the project coordinates for the purpose of sharing it with the other files.
- Go to manage tab ⮕under project location panel choose coordinates⮕specify coordinates at point⮕select a grid line specify the coordinate as 0'0'' for the both grid lines From north to south or east to west.
- Find the base of the project ⮕Make it visible from the visibility graphics option under site and set the coordinates of the base point as 0'0'',0'0'' to align the base point to our grid.
Results:- The snaps of the procedure followed above are as follows:-
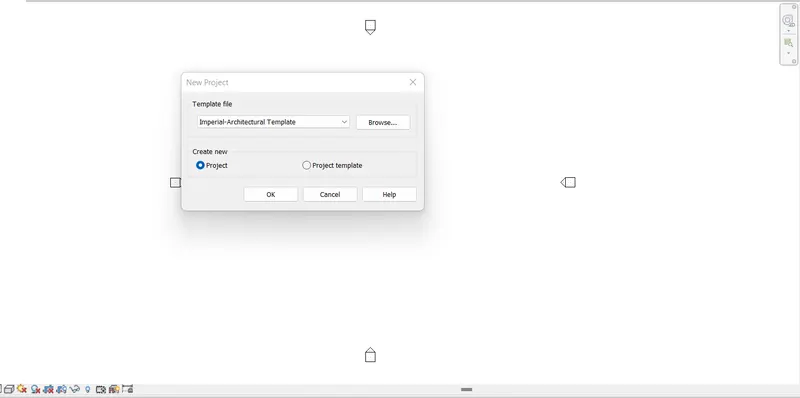
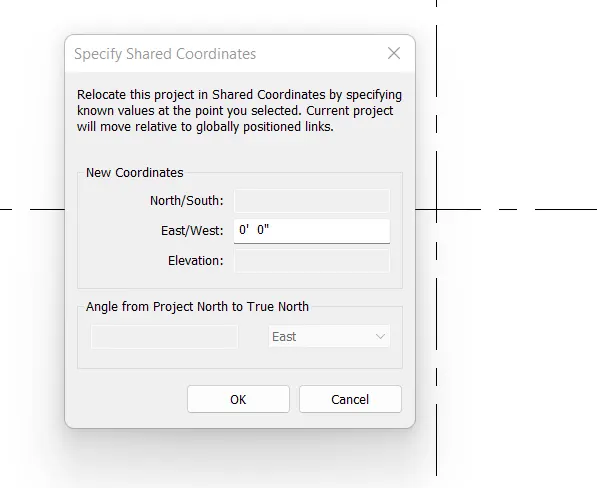
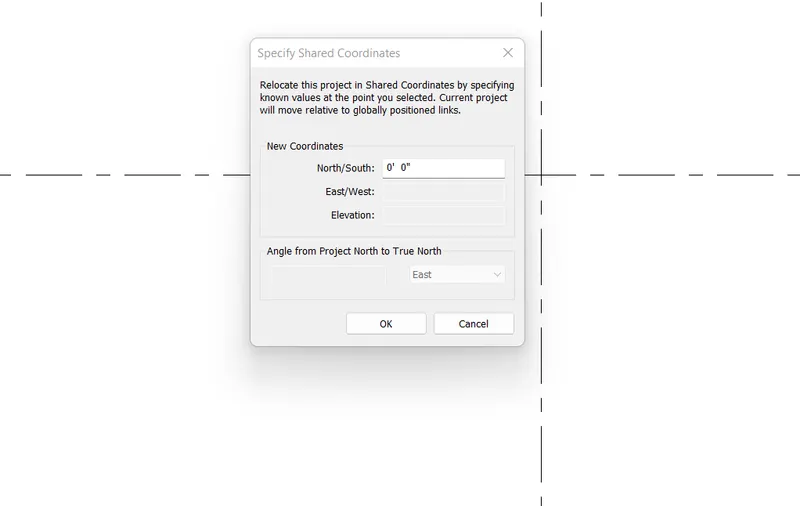
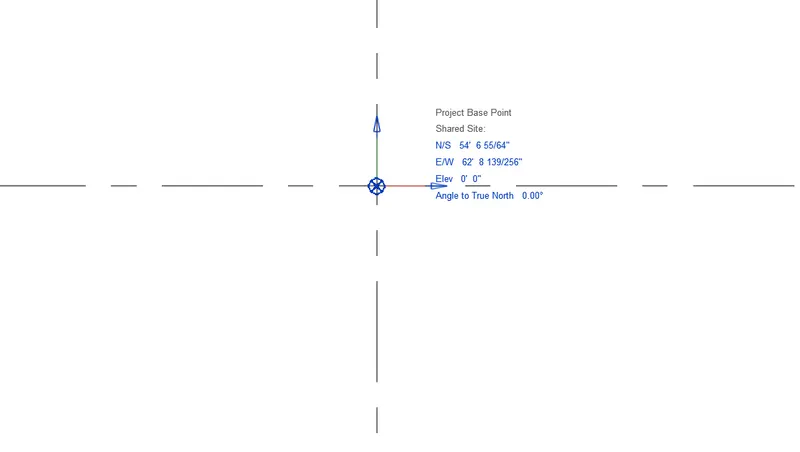
- 2) Open another new file but with a structural template. Using the manage tab set project parameters the same as the architectural model. Copy the parameters from the architectural model to the structural template or enter the parameters manually into the structural model
Aim:-Creating a structural template and under the manage tab set project base point and project shared coordinates for the project.
Procedure:-
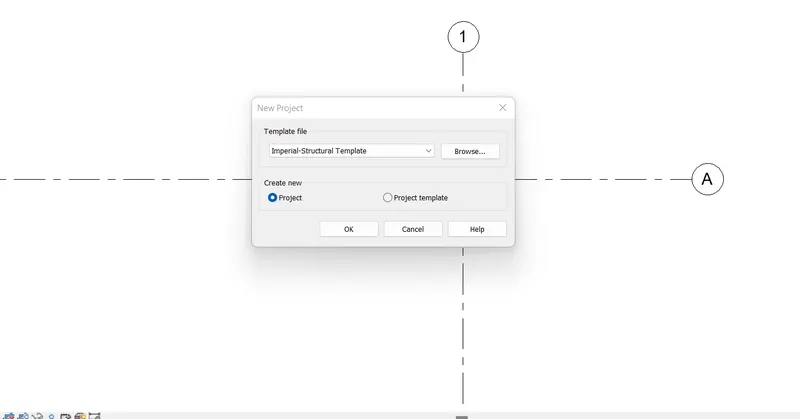
- Creating a new file with a structural template and save the file with an appropriate name as Project_1_Structural.
- In the sstructure tab create grid linesin longitudnal and transverse direction for the refrence points for project shared coordinates for the project.
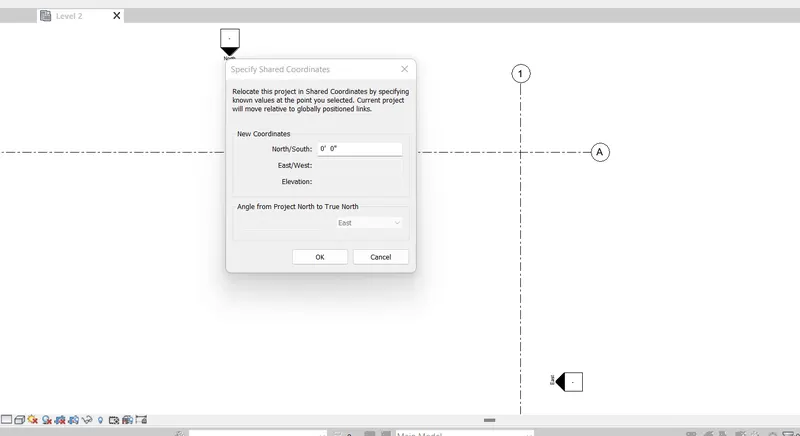
- Now, Specify the project coordinates for the purpose of sharing it with the other files.
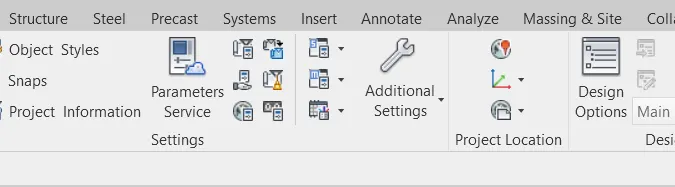
- Go to manage tab ⮕under project location panel choose coordinates⮕specify coordinates at point⮕select a grid line specify the coordinate as 0'0'' for the both grid lines From north to south or east to west.
- Find the base of the project
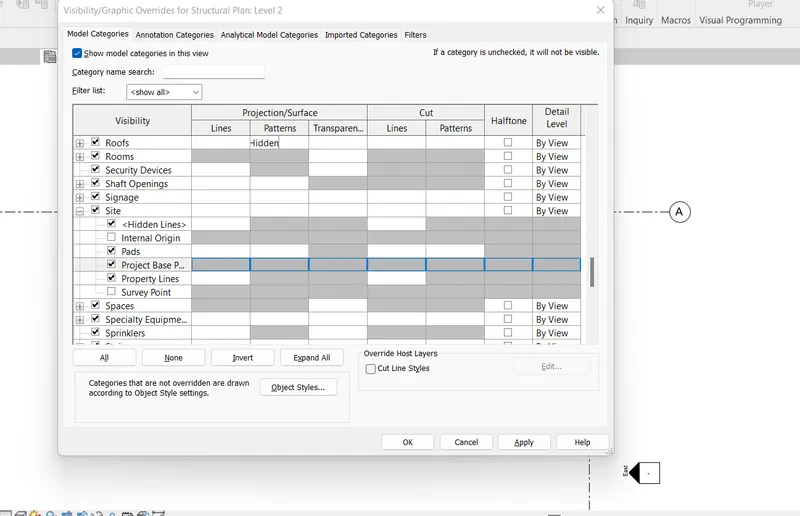
- Type Vg ⮕ a dialouge box will get open under visibility column check for the site option and expand the site option uner which check for the base point.
- The base point with its default coordinates will get appears on the screen.
- Make all the coordinate values of the base point as 0,0.
- Automatically by doing so, the base pointed shifted to our grid line intersection and the base point is aligned to the reference coordinates.
- If you want to make invisible the base point icon on the model space then,it can be turned of by checking back the base point from site visibility graphics option as well.
Results:- The snaps of the procedure followed above are as follows:-
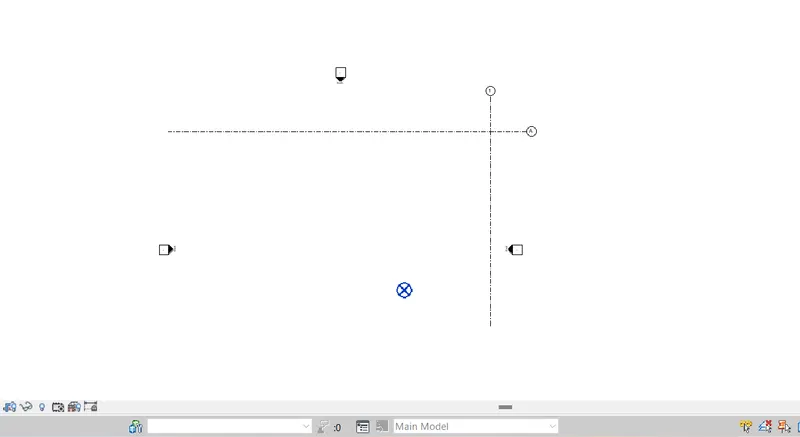
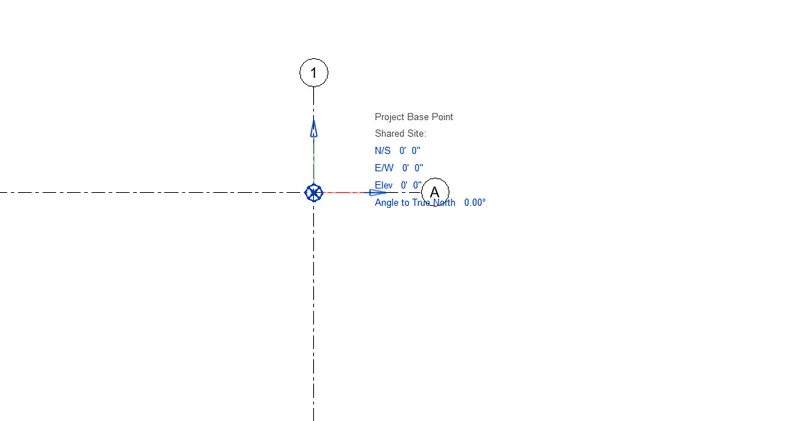
3) Re-open the architectural model. Using the tools under the Collaborate tab make the architectural model a central model (enabling simultaneous working on the model).
Aim:- To make the Architectural model created before a central model so that simulataneously other peoples can also work on the same project.
Procedure:-
- Get open with the revit file of the project_1_Architectural.
- Go to collaborate tab and click over the collaborate tab under manage collaboration panel.
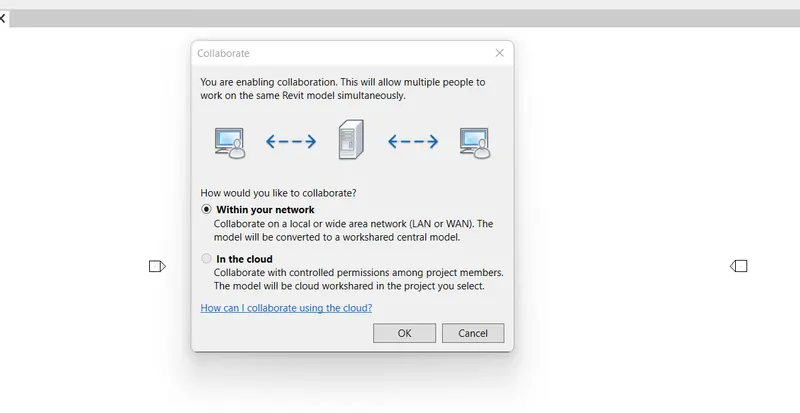
- Now, it will have two options either to collaborate within lan network or in the cloud⮕Here,we are intrested to collaborate our project within Local area network so press ok.
- Enabling worksharing will get updated⮕once it is collaborated save the file.
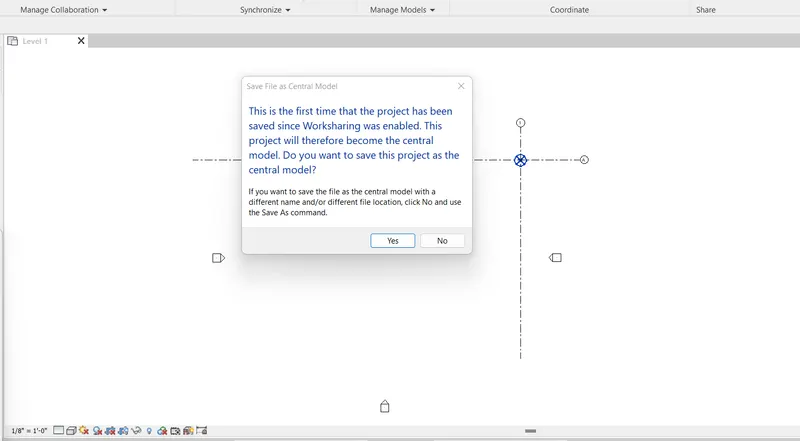
- Before saving it will ask that after enabling worksharing the first time file is saving and do you want to save this as a central model file⮕press yes
- The central model file has been created.
Results:- The snaps of the procedure followed above are as follows:-
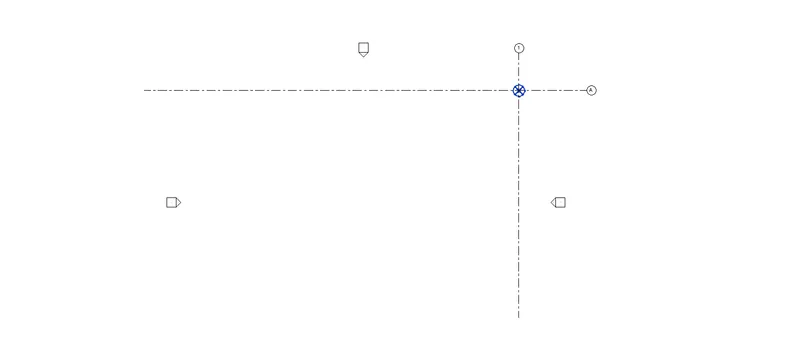

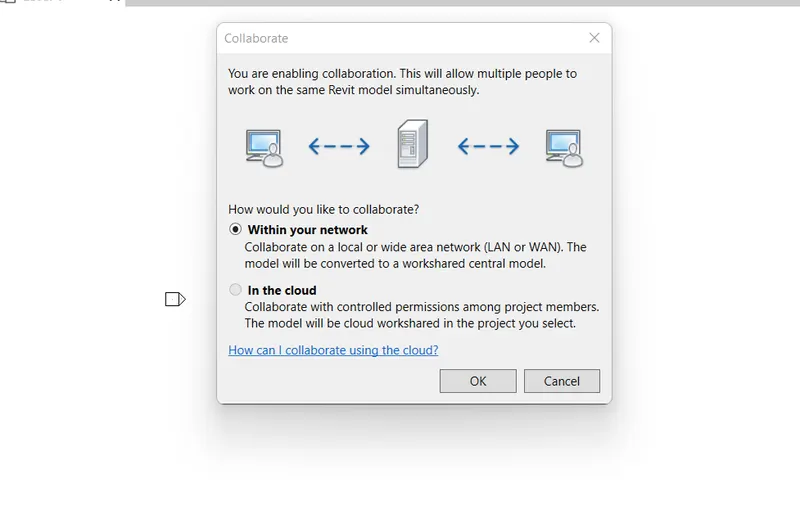
4) Create the Grids Longitudinal and Transverse pattern for the project similar to the task done in Week 2.
Aim:- To create the Grids Longitudinal and Transverse pattern as similarly it is done before in the Week 2 project.
Procedure:-
- Open up with the Architectural template file saved.
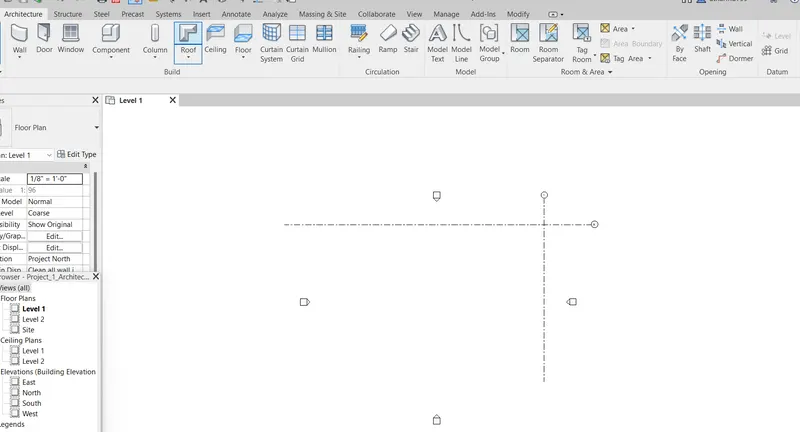
- Under the Architecture tab itself pick grid from the datum panel
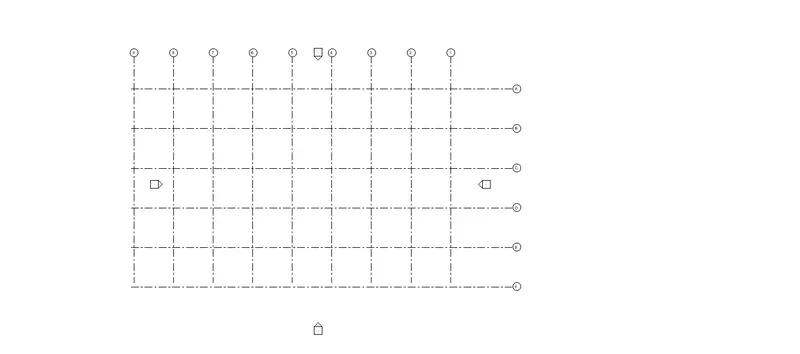
- Give an offset as 20',and choose pick line option to draw the grids.
- Drawing the Grids in Longitudinal and Transverse pattern at an offset of 20'
- Name the grids appropriately.
Results:- The snaps of the procedure followed above are as follows:-
5) Synchronize the changes from the local copy to the central file of the architectural model.
Aim:- To Synchronize the changes from the local copy to the central file of the architectural model.
Procedure:-
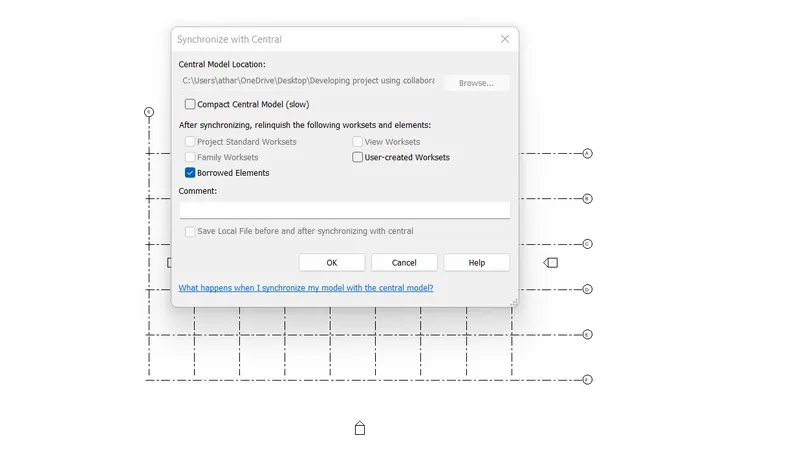
- Go to collaborate tab and choose Synchronize with central under Synchronize panel⮕ in dropdown choose Synchronize and modify settings.
- A dialouge box will get open as central model location path is predefined Check for the compact central model(slow) and press ok.
- Now, the changes is Synchronized with the central model file.
Results:- The snaps of the procedure followed above are as follows:-
6) Open the structural model and use the collaborate tools to save the model as a central file.
Aim:- To open the structural model and use the collaborate tools to save the model as a central file.
Procedure:-
- Get open with the revit file of the project_1_Structural.
- Go to collaborate tab and click over the collaborate tab under manage collaboration panel.
- Now, it will have two options either to collaborate within lan network or in the cloud⮕Here,we are intrested to collaborate our project within Local area network so press ok.
- Enabling worksharing will get updated⮕once it is collaborated save the file.
- Before saving it will ask that after enabling worksharing the first time file is saving and do you want to save this as a central model file⮕press yes
- The central model file has been created.
Results:- The snaps of the procedure followed above are as follows:-
7) Under the Collaborate tab, select the grids and levels from the architectural model, and using Copy Monitor try to copy the grids to the structural model. See what happens when the copy monitored grid is moved around in the structural model
Aim:- To select the grids and levels from the architectural model, and using Copy Monitor try to copy the grids to the structural model.
Procedure:-
- Before copy/monitor from Architectural model to structural model link the Revit Architectural to the structural model.
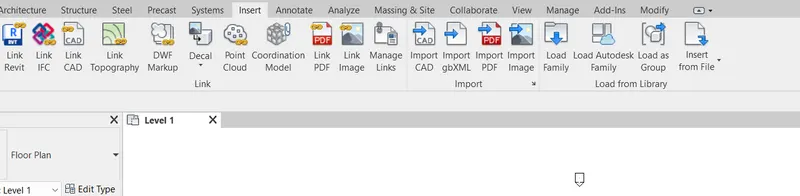
- For linking Go to insert tab and under link panel choose link revit Select the architectural model to be linked.
- After doing so,we can see that the grids from architectural model appeared on the Structural model space.
- But,this is just linked not copied.
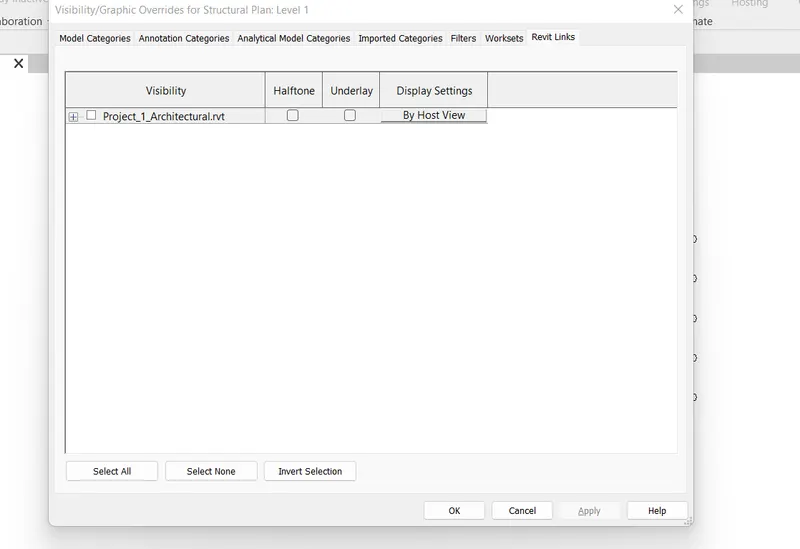
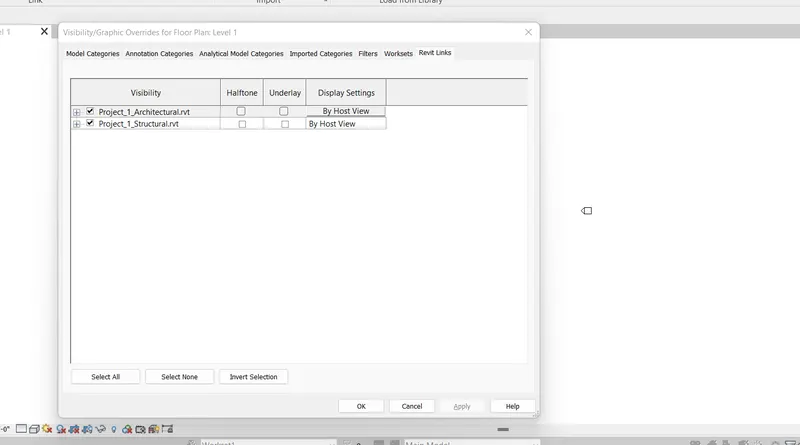
- Type VG. Go to revit links and uncheck for the Architectural file then the grids or elements from architectural project file get disappeared so it is important to copy/monitor the links.
- To perform copy/monitor first make the visibility of the linked file from visibility graphics.
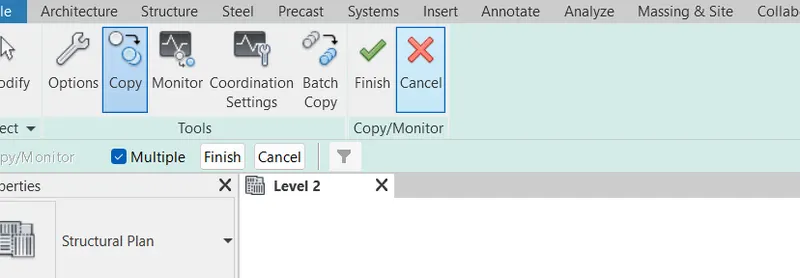
- To perform copy/monitor Go to Collaborate tab and under coordinate panel option for copy/monitor can be selected
- In drop down select link⮕selecting the link⮕then choose copy fro the right corner and check for multiple then,select the elements from the Archtectural template that is visible in the structural template model space⮕finish
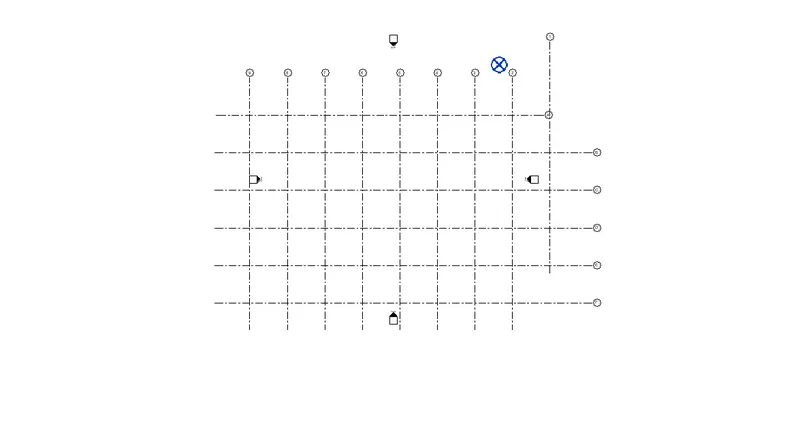
- Type VG and check that it cpoied or the link elements are only showing.
- If it is still visible with the overlapped grids of the structure template then its done.
Results:- The snaps of the procedure followed above are as follows:-
8) Create another new file with a construction template. Save the new file as a central model. This file will include both architectural and structural model. Under the manage tab, Click manage links to link both architectural and structural files. Save the file and close all the files.
Aim:-To create a construction template and save it as a central model file then link the structural and architectural model file into the construction template file.
Procedure:-
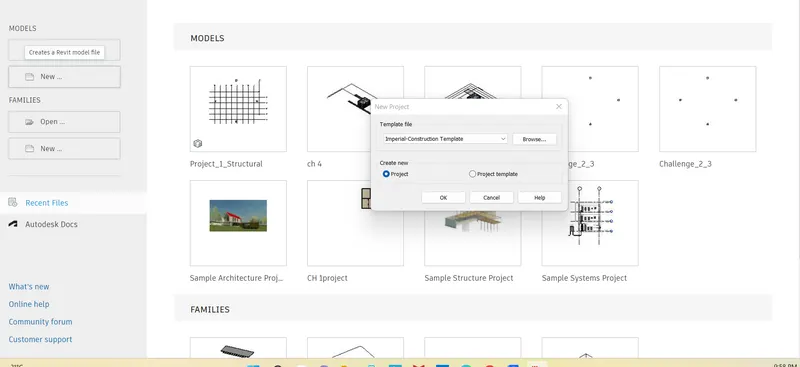
- From the file menu bar create a new file in the construction template and saving it with an appropriate name as Project_1_Construction.
- Go to collaborate tab and click over the collaborate tab under manage collaboration panel.
- Now, it will have two options either to collaborate within lan network or in the cloud⮕Here,we are intrested to collaborate our project within Local area network so press ok.
- Enabling worksharing will get updated⮕once it is collaborated save the file.
- Before saving it will ask that after enabling worksharing the first time file is saving and do you want to save this as a central model file⮕press yes
- The central model file has been created in the construction template.
- Now, go to insert tab for linking⮕Choose link revit under link panel⮕then select the files you want to link.
- By crosschecking through Visibility graphics we can ensure that the files got linked or not.
Results:- The snaps of the procedure followed above are as follows:-
9) Are the grids from structural and architectural model matching in the construction template created? If yes the model is set up for project 2. If not work on the shared parameters and linking options under Manage links
( Hint: origin to origin, by shared coordinates or by project base point to base point ) to link the models in an appropriate manner
Aim:- To verify that the grids from structural and architectural model matching in the construction template created or not if it is matching then the model is set up for project 2. If not work on the shared parameters and linking options under Manage links.
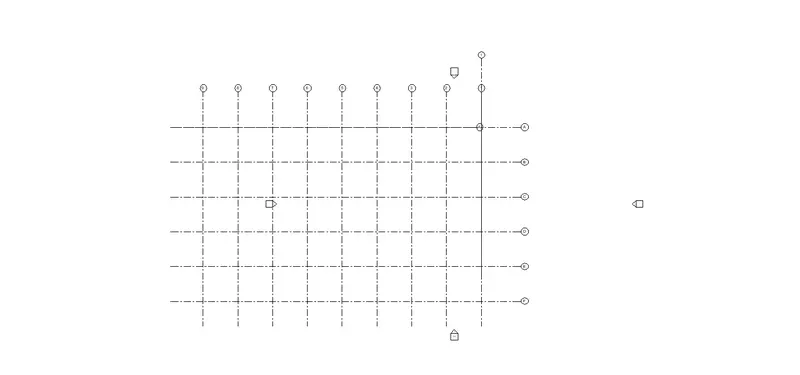
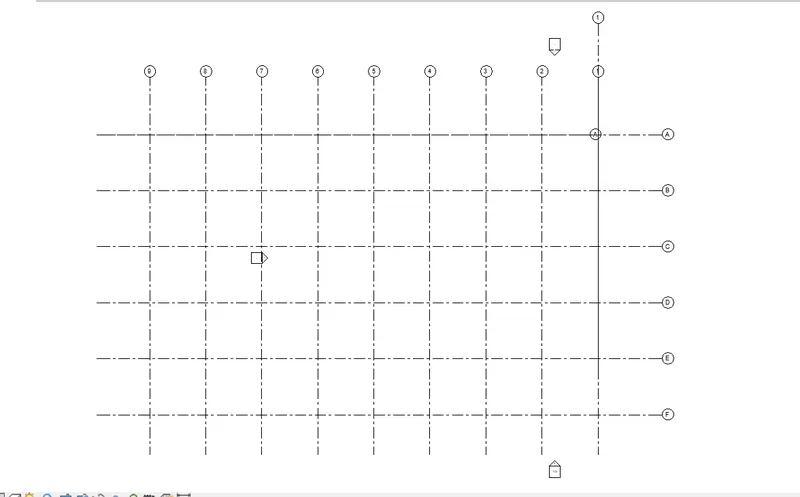
- By looking onto the model space we can say that in our project created the structural and architectural model matching in the construction template so,this file can be set for project 2.
- In the snap below it can be clearly seen that the Grids from the Architectural template overlapping with the structural template.
10) List a flow chart of a project tree set up in terms of Construction model, Architecture & Structure model, in this exercise and understand how many people can work on the same project using Revit simultaneously.
Answer:-
In the construction template project file there are a lot number of people can work on the same project using revit irrespective of their disciplines.
The flow Chart could be as follows in which Architectural and structural templates falls under construction template.
Construction template.
Architectural templates-The type of people work in Architectural template may be as follows,
Architects
Surveyor
Draftsman
photoshop Specialists
Electrical Engineers
Plumbing Specialists
Interior designers
3D modeller
2D Modeller
Structural templates-The type of people work in Architectural template may be as follows,
Structural Engineers
Architects
Civil Engineers
BBS Specialists
Draftsman
photoshop Specialists
Steel connection specialists.