Usage of Collaborate tool in REVIT
TASK 1:
AIM:
To open an architectural template, Set project base point and project shared coordinates for the project.
PROCEDURE:
- Open the Revit File - Click New Project - Open the Default Architectural Template - Click OK.
- Now Architectural Template has been opened.
- In the Ribbon Tool bar in the Architectural tab under Datum option Click Grids.
- Draw the Grids Transversely and Longitudinally.
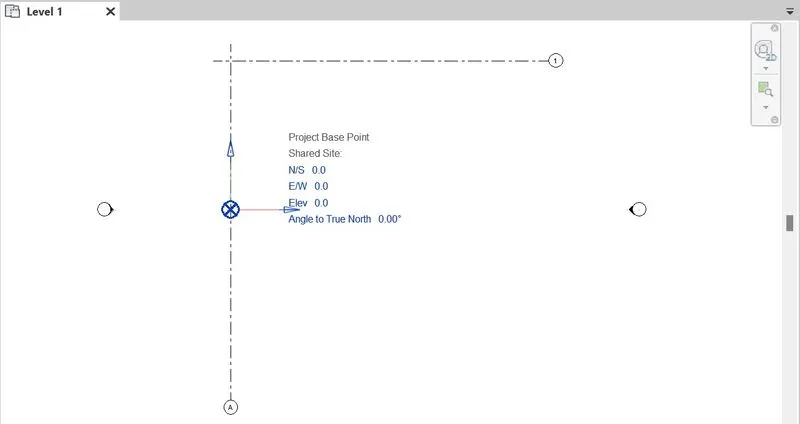
- Click the Manage Tab in the Ribbon Tool Bar, Click the coordinates under the Location option.
- Now Click the intersection of the Grids to fix the shared Coordinates. And Specify the East Coordinates to be 0.0
- After fixing the Coordinates, In the Visibility Graphics, under the Model Categories Select the Site in that Check for the Project Base point. and Click apply and ok
- Now Click and drag and Place it on the same place of the Shared coordinates and fix the North to 0.0.
- Thus the Setting of Project Base Point and Project Shared Coordinates is fixed for the Architectural Template.
TASK 2:
AIM:
To open an Structural template, Set project base point and project shared coordinates for the project.
PROCEDURE:
- Open the Revit File - Click New Project - Open the Default Structural Template - Click OK.
- Now Structural Template has been opened.
- In the Ribbon Tool bar in the Architectural tab under Datum option Click Grids.
- Draw the Grids Transversely and Longitudinally.
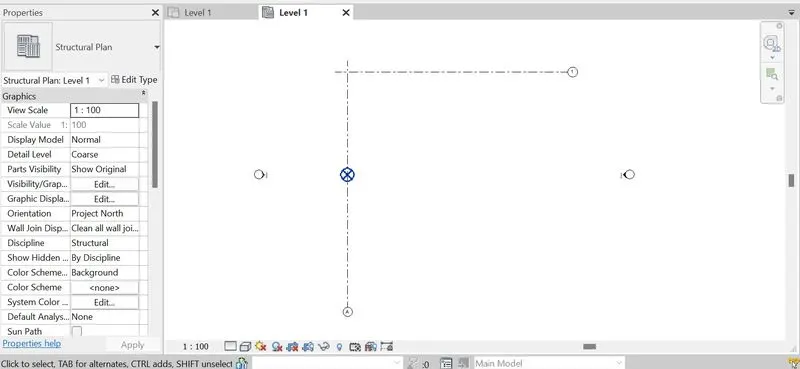
- Click the Manage Tab in the Ribbon Tool Bar, Click the coordinates under the Location option.
- Now Click the intersection of the Grids to fix the shared Coordinates. And Specify the East Coordinates to be 0.0
- After fixing the Coordinates, In the Visibility Graphics, under the Model Categories Select the Site in that Check for the Project Base point. And Click apply and OK.
- Now Click and drag and Place it on the same place of the Shared coordinates and fix the North to 0.0. Like we did for the Architectural Template.
- Thus the Setting of Project Base Point and Project Shared Coordinates is fixed for the Structural Template.
TASK 3:
AIM:
To make the Architectural model a central model.
PROCEDURE:
PROCEDURE:
- Open the Archictural Project File.
- Click the Collaborate tab in the ribbon tool bar.
- In the collaboration Tab under the Manage Collaboration, Click the Collaborate option.
- Collaborate Dialouge box will be opened. It that box select Within your Network.
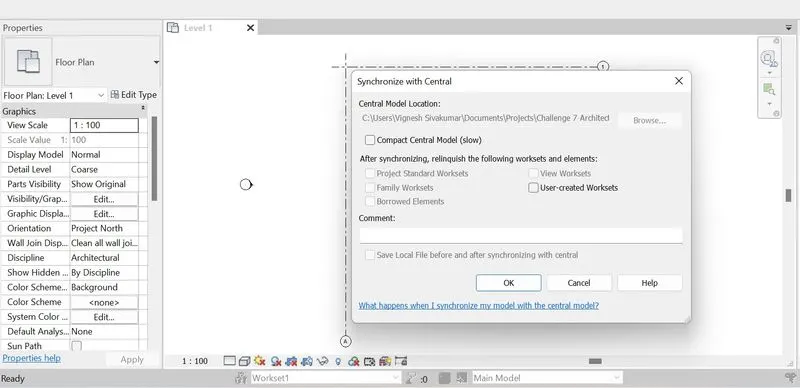
- After Selecting Click OK. Now Save the File to make it as Central File.
- After Saving the Project in the Collaboration tab Click Synchornize. To save the Project as Architectural File.
TASK 4:
AIM:
To create the Grids Longitudinal and Transverse pattern for the project similar to the task done in Week 2.
PROCEDURE:
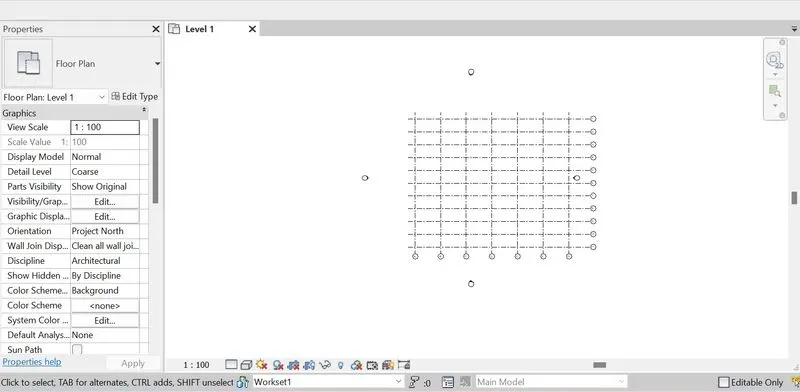
- Open the Archictural Project File.
- In the Ribbon Tool bar in the Architectural tab under Datum option Click Grids.
- Draw the Grids Transversely and Longitudinally one by one Using the Draw tool or Pick lines.
- Now change the Grid names in Alpha Numeric values in Transverse and Longitudinal directions.
TASK 5:
AIM:
To Synchronize the changes from the local copy to the central file of the architectural model.
PROCEDURE:
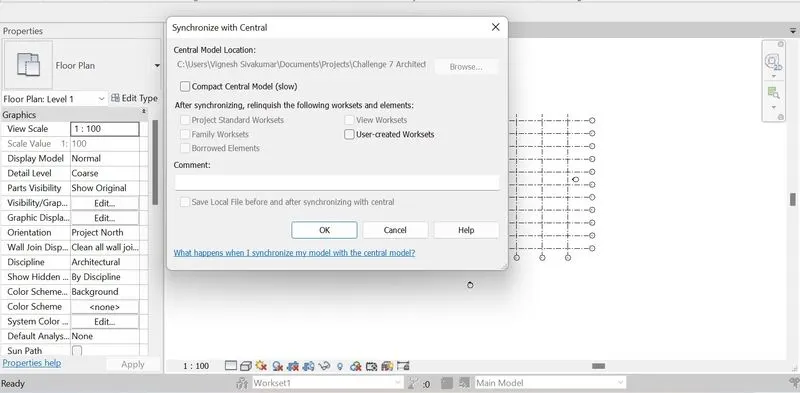
- In the Same project Where the Grids Longitudinal and Transverse pattern are created.
- Click the Collaborate tab in the ribbon tool bar.
- In the Collaboration tab Click Synchornize. To save the Project as an Architectural File.
TASK 6:
AIM:
To make the Structural model a central model.
PROCEDURE:
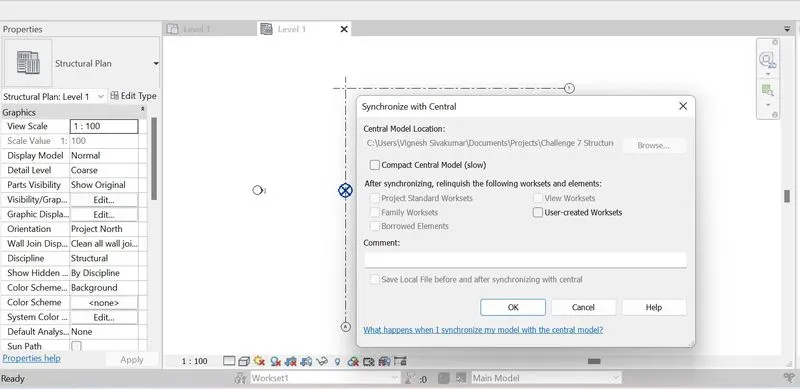
- Open the Structural Project File.
- Click the Collaborate tab in the ribbon tool bar.
- In the collaboration Tab under the Manage Collaboration, Click the Collaborate option.
- Collaborate Dialouge box will be opened. It that box select Within your Network.
- After Selecting Click OK. Now Save the File to make it as Central File.
- After Saving the Project in the Collaboration tab Click Synchornize. To save the Project as Structural File.
TASK 7:
AIM:
To use Copy Monitor try to copy the grids to the structural model.
PROCEDURE:
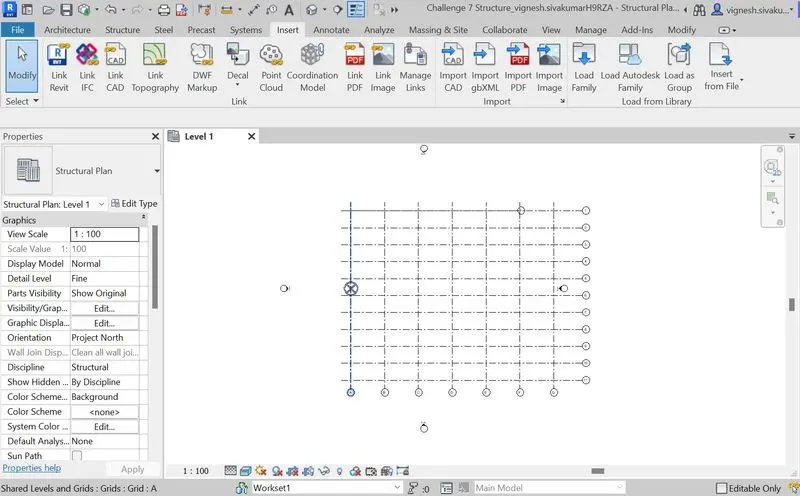
- In the Structural Project File, Link the Architectural Project File. By using the Insert tab.
- In the Insert Tab, Click Revit Links - Select the Architectural Project File. After Selecting the File, Select the Project Positioning to Auto - Shared coordinates, Click OK.
- Now we can see the Architecture Project viewed on the Structural Project.
- In the Collaborate tab in the ribbon tool bar, Click Copy/Monitor under the Coordinate option.
- After clicking Copy/Monitor, Click Select Link, and Click the Architectural Project File.
- In the Copy/Monitor option Click Copy option and select the Grids, Click the Finish option which is under the Ribbon tool bar.
- After that in the Ribbon tool bar Click Finish Option.
- Thus the Architecture File is linked to the Structural Project File, and Saved as Central Model by Synchronizing the Project.
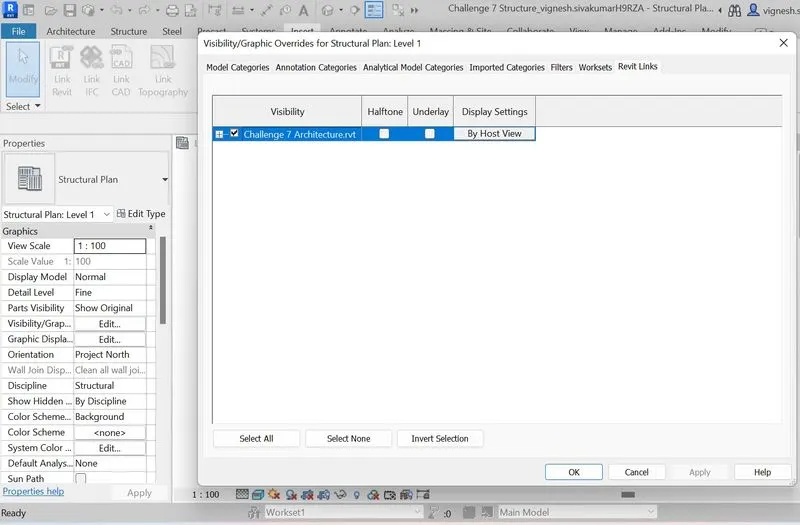
- We can check the Linked Architecture File by clicking the Visibility Graphics.
- In the Visibility Graphics Click the Revit Links.
- Finally the Project is Linked and Saved to Central Model.
TASK 1:
AIM:
To open a construction template and Link both the Architectural and Structural Project Files and save the project as Central Model.
PROCEDURE:
- Open the Revit File - Click New Project - Open the Construction Template - Click OK.
- Now Construction Template has been opened.
- In the Insert Tab, Click Revit Links - Select the Architectural and Structural Project Files. After Selecting the Files, Select the Project Positioning to Auto - Shared coordinates, Click OK.
- Now we can see both the Architecture and Structural Projects, Veiwed on the Consrtuction Project file.
- In the Collaborate tab in the ribbon tool bar, Click Copy/Monitor under the Coordinate option.
- After clicking Copy/Monitor, Click Select Link, and Click the Architectural and Structural Project File.
- In the Copy/Monitor option Click Copy option and select the Grids, Click the Finish option which is under the Ribbon tool bar.
- After that in the Ribbon tool bar Click Finish Option.
- Thus the Architecture and Structural Files is linked to the Construction Project File, and Saved as Central Model by Synchronizing the Project.
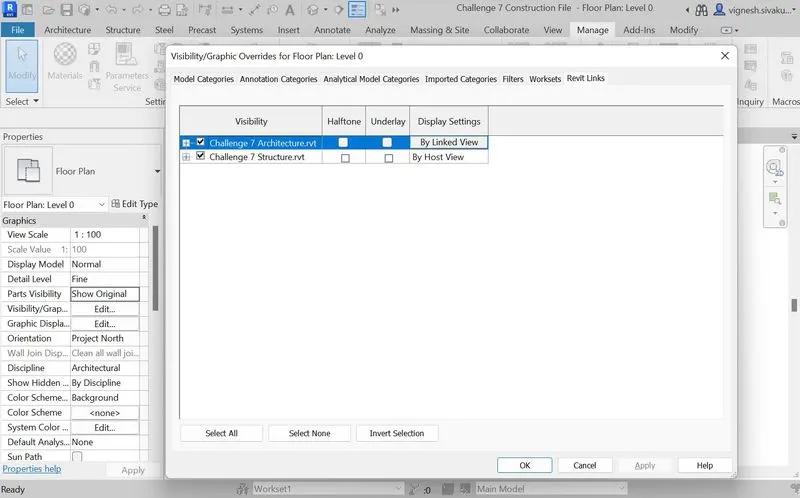
- We can check the Linked Architecture and Structural Files by clicking the Visibility Graphics.
- In the Visibility Graphics Click the Revit Links.
- Finally the Projects is Linked and Saved to Central Model.
- Thus both the Architectural and Structural Project Files are linked to the construction Project and saved the project as Central Model.
Question 9:
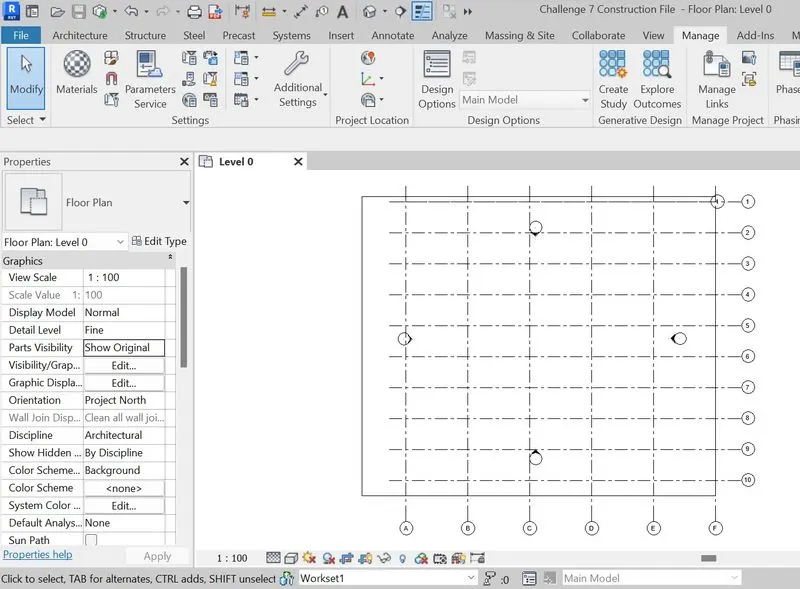
To Check the grids from structural and architectural model matching in the construction template created?
Answer:
Yes the grids from structural and architectural model matching in the construction template Which was created. and File is set for Project 2.
Question 10:
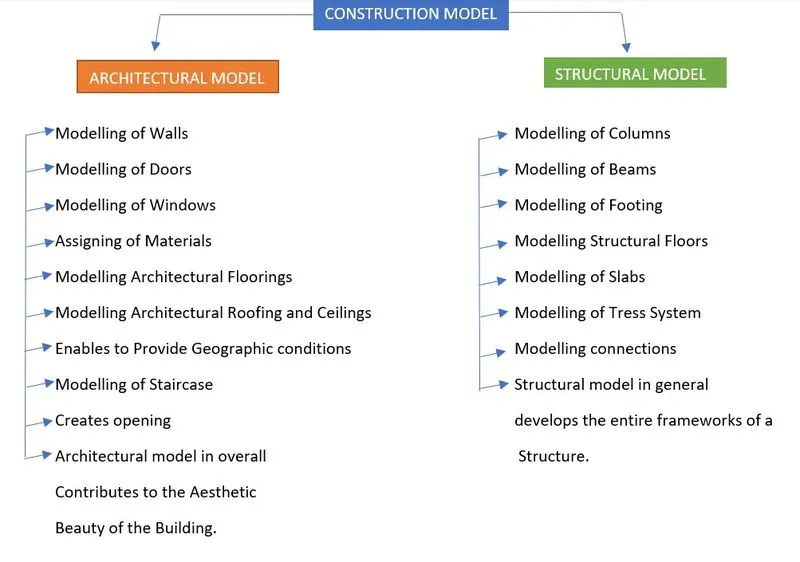
List a flow chart of a project tree set up in terms of Construction model, Architecture & Structure model, in this exercise and understand how many people can work on the same project using Revit simultaneously.
Answer: