Usage of Collaborate tool in REVIT
Q1. Open an architectural template. Using the Manage tab set project base point and project shared coordinates for the project
Ans: The step by step procedure is given below:
- Open Revit software and click 'New'
- Select 'Architectural Template' as the template file on 'New Project' and click 'OK'
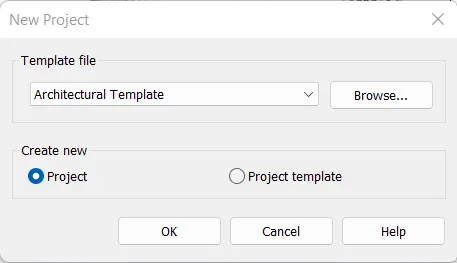
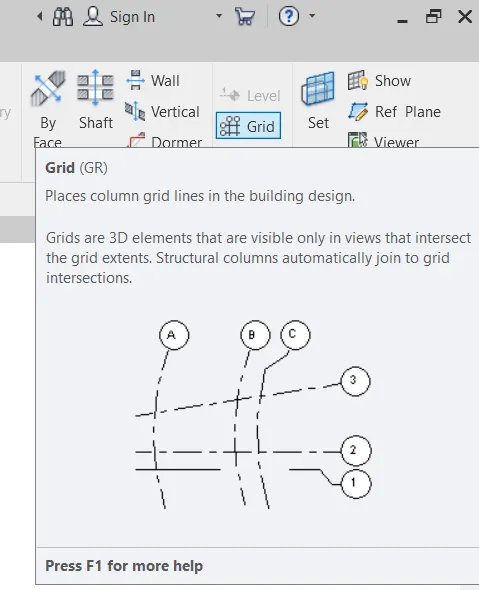
- Click 'Grids' in the 'Architecture' tab
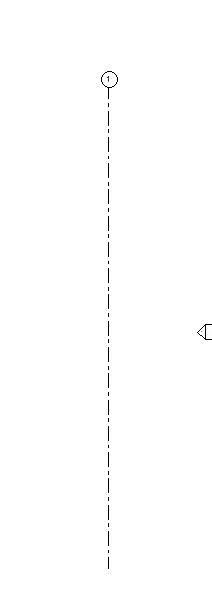
- Draw a longitudinal grid 1
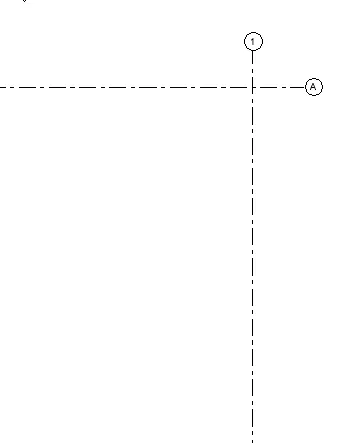
- Draw a transverse grids A
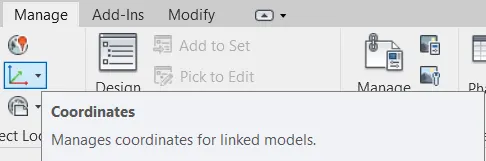
- Click 'Coordinates' in the 'Manage' tab
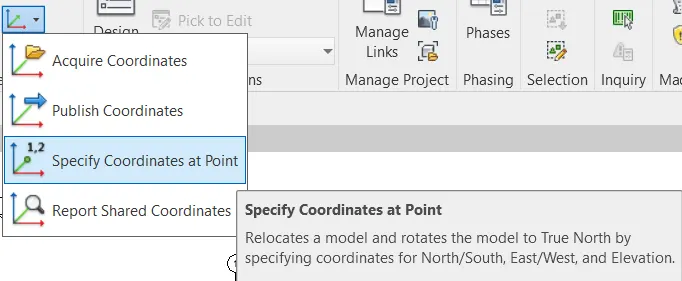
- Click 'Specify Coordinates at Point' under 'Coordinates'
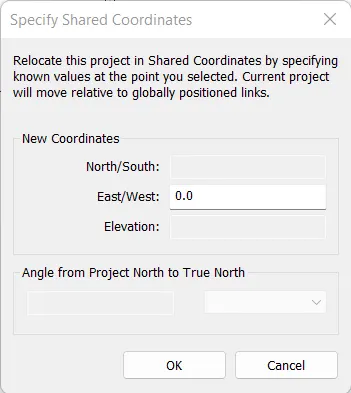
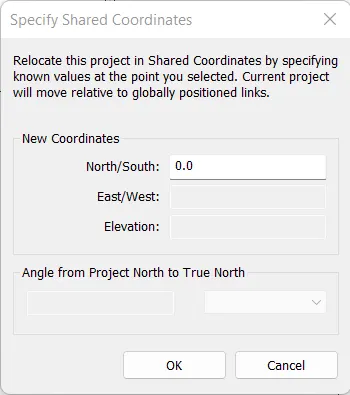
- Click on the grids and set 'East/West: 0.0' and 'North/South: 0.0' in 'New Coordinates' under 'Specify Shared Coordinates'
- Type 'VG' to open Visibility/Graphics
- Enable 'Project Base Point' under 'Site', click 'Apply' and then 'OK'
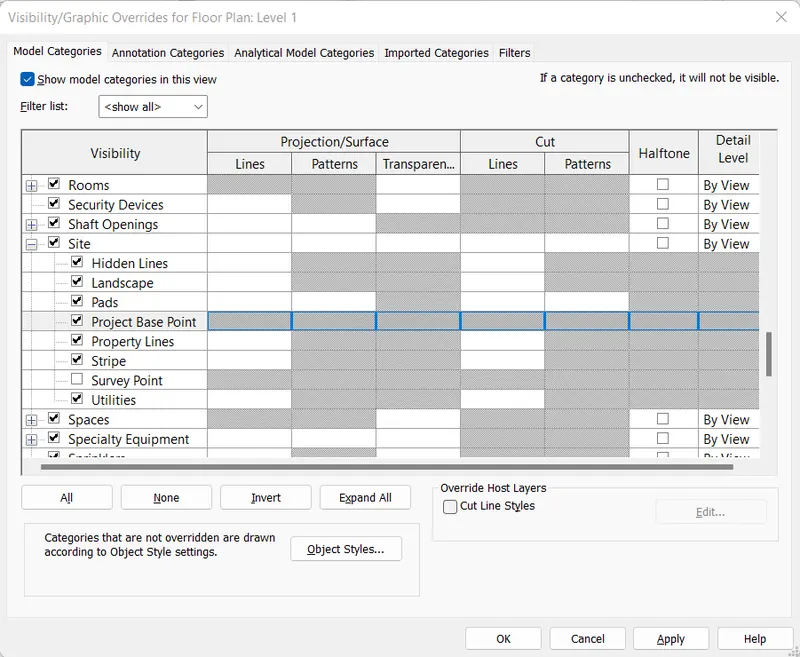
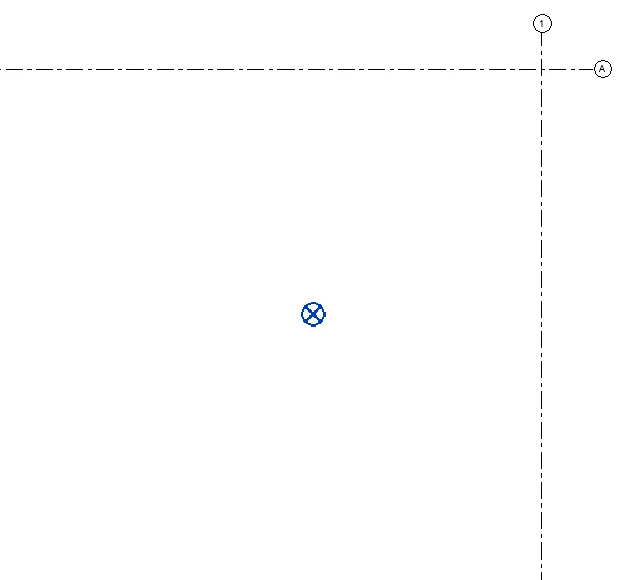
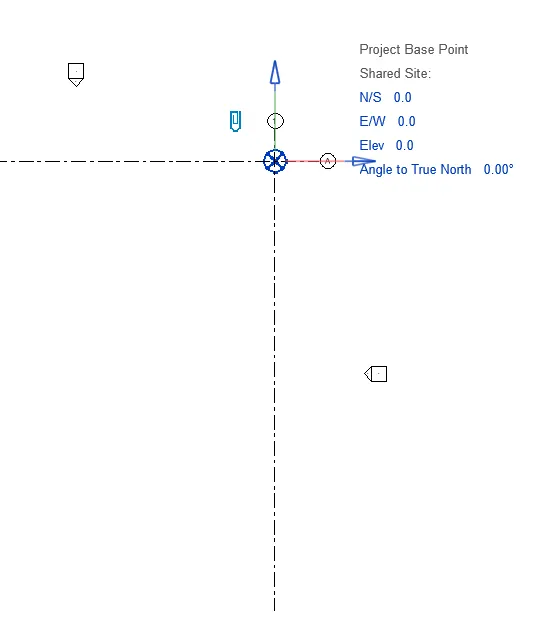
- Click the 'Project Base Point', move it and place it in the new cordinates (N/S: 0.0, E/W: 0.0) created
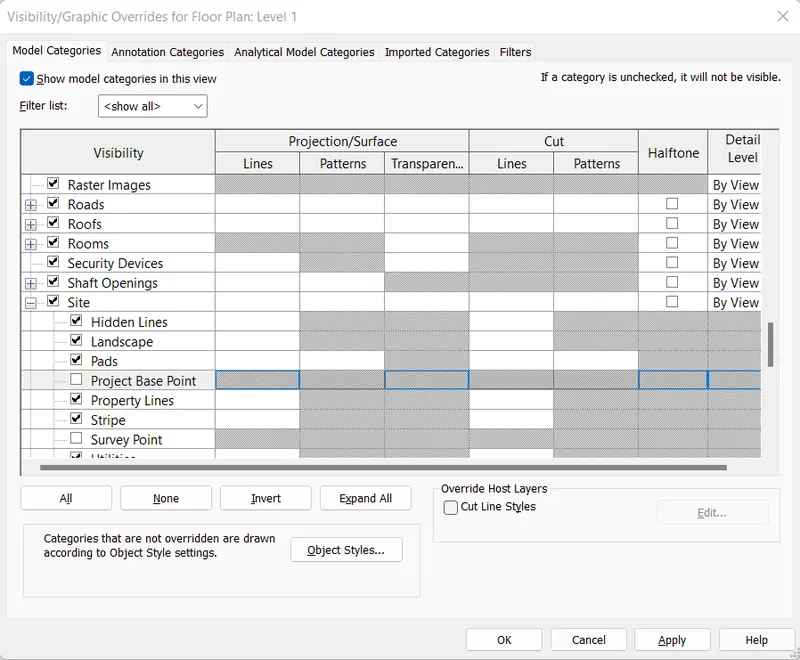
- Type 'VG' to open Visibility/Graphics
- Disable 'Project Base Point' under 'Site', click 'Apply' and then 'OK'
- Save the project file as 'Challenge 6 Architectural'
Q2. Open another new file but with a structural template. Using the manage tab set project parameters the same as the architectural model. Copy the parameters from the architectural model to the structural template or enter the parameters manually into the structural model
Ans: The step by step procedure is given below:
- Open Revit software and click 'New'
- Select 'Structural Template' as the template file on 'New Project' and click 'OK'
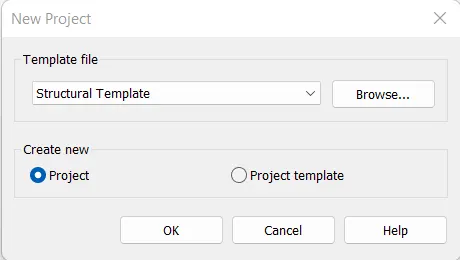
- Click 'Grids' in the 'Architecture' tab
- Draw a longitudinal grid 1
- Draw a transverse grids A
- Click 'Coordinates' in the 'Manage' tab
- Click 'Specify Coordinates at Point' under 'Coordinates'
- Click on the grids and set 'East/West: 0.0' and 'North/South: 0.0' in 'New Coordinates' under 'Specify Shared Coordinates'
- Type 'VG' to open Visibility/Graphics
- Enable 'Project Base Point' under 'Site', click 'Apply' and then 'OK'
- Click the 'Project Base Point', move it and place it in the new cordinates (N/S: 0.0, E/W: 0.0) created
- Type 'VG' to open Visibility/Graphics
- Disable 'Project Base Point' under 'Site', click 'Apply' and then 'OK'
- Save the project file as 'Challenge 6 Structural'
Q3. Re-open the architectural model. Using the tools under the Collaborate tab make the architectural model a central model (enabling simultaneous working on the model)
Ans: The step by step procedure is given below:
- Open Revit software and open existing 'Architectural' project file
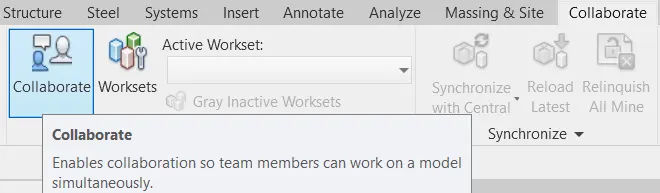
- Click 'Collaborate' in the 'Collaborate' tab
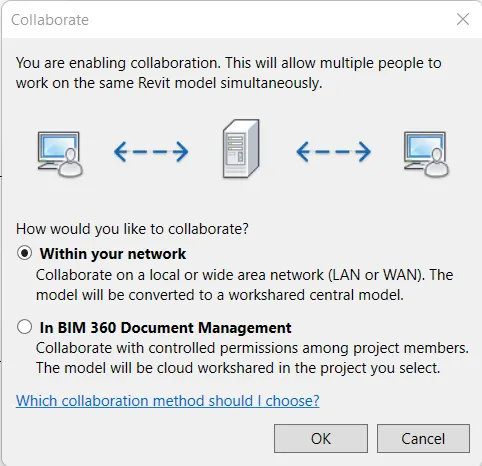
- Select 'Within your network' and click 'OK'
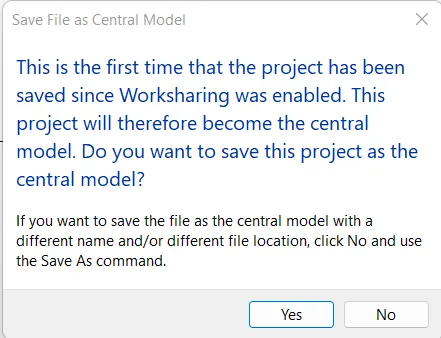
- Click 'Save' to open 'Save File as Central Model' dialogue box
- Click 'Yes'
Q4. Create the Grids Longitudinal and Transverse pattern for the project similar to the task done in Week 2
Ans: The step by step procedure is given below:
- Open Revit software and open existing 'Architectural' project file
- Click 'Grids' in the 'Architecture' tab
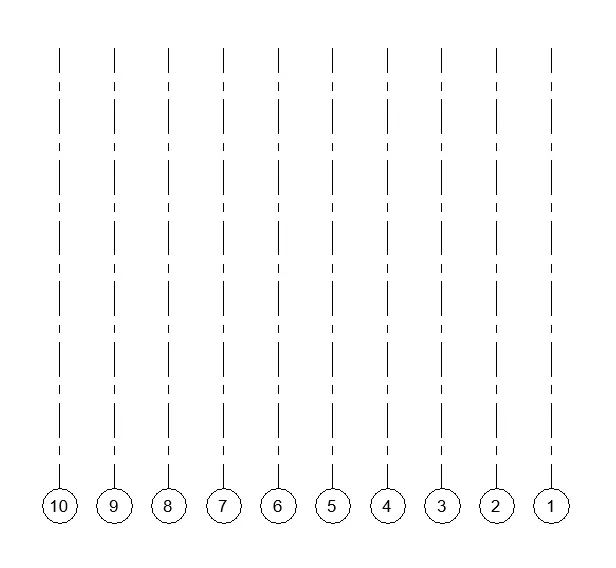
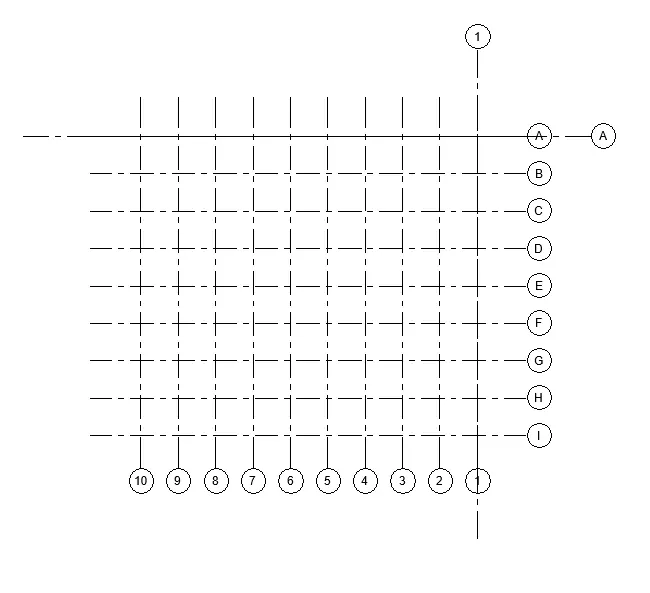
- Draw longitudinal grids 2 to 10 @ 2000mm spacing
- Select the grid 1 and 'COPY' 9 times with 2000 spacing
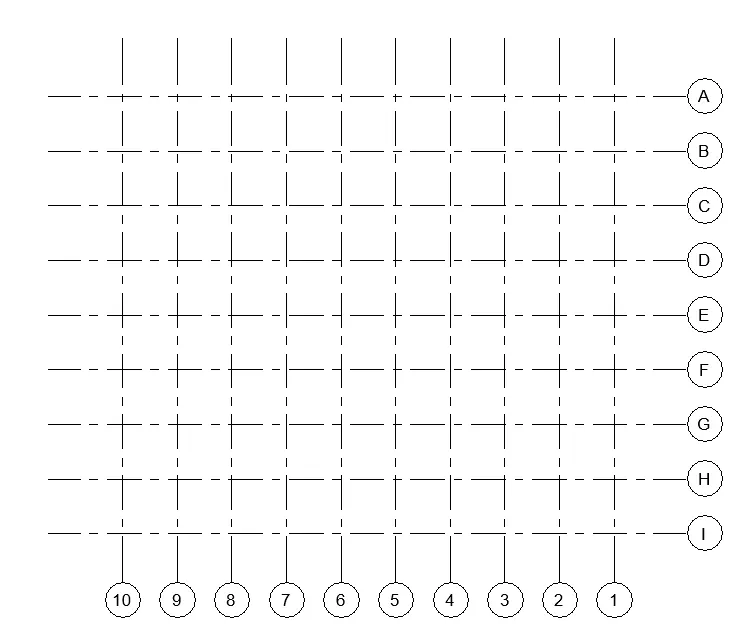
- Draw transverse grids A, B, C, D, E, F, G, H, I @ 2000mm spacing
- Select the grid A and 'COPY' 8 times with 2000mm spacing
Q5. Synchronize the changes from the local copy to the central file of the architectural model.
Ans: The step by step procedure is given below:
- Open Revit software and open existing 'Architectural' project file
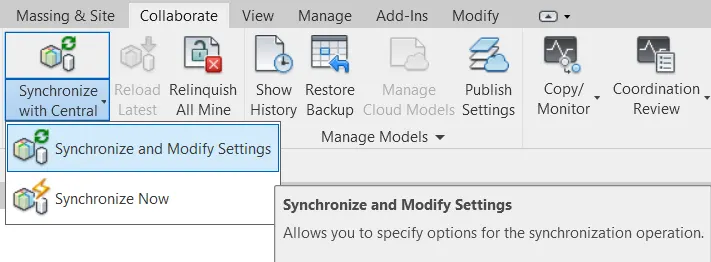
- Click 'Synchronize and Modify Settings' in the 'Synchronize with Central' under the 'Collaborate' tab
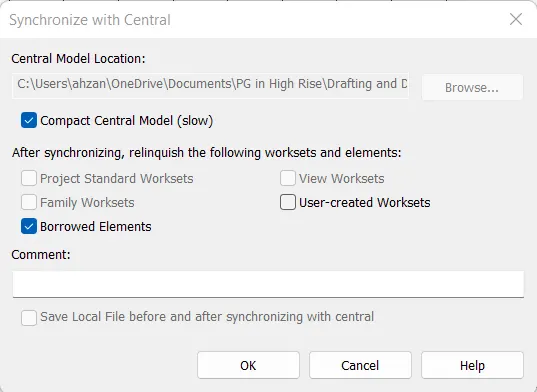
- Enable 'Compact Central Model' in the 'Synchronize with Central' and click 'OK'
Q6. Open the structural model and use the collaborate tools to save the model as a central file.
Ans: The step by step procedure is given below:
- Open Revit software and open existing 'Structural' project file
- Click 'Collaborate' in the 'Collaborate' tab
- Select 'Within your network' and click 'OK'
- Click 'Save' to open 'Save File as Central Model' dialogue box
- Click 'Yes'
Q7. Under the Collaborate tab, select the grids and levels from the architectural model, and using Copy Monitor try to copy the grids to the structural model. See what happens when the copy monitored grid is moved around in the structural model
Ans: The step by step procedure is given below:
- Open Revit software and open existing 'Structural' project file
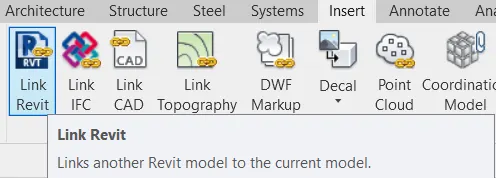
- Click 'Link Revit' in the 'Insert' tab
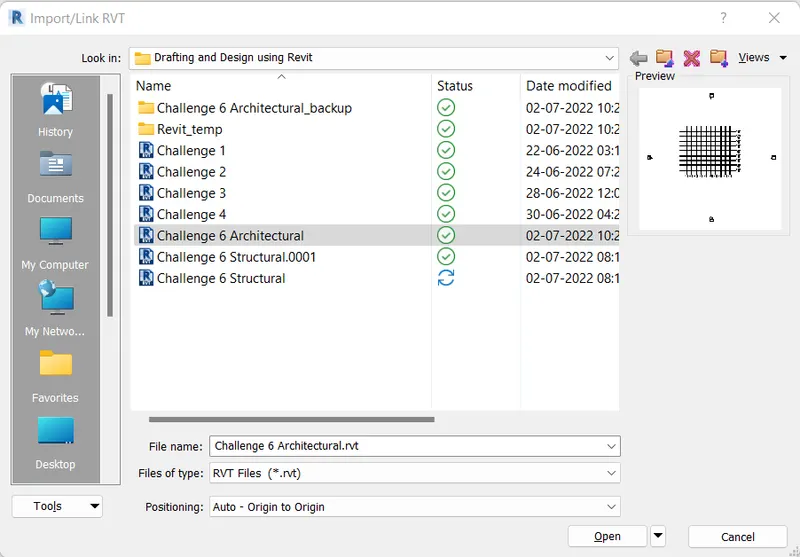
- Select 'Challenge 6 Architectural' and click 'Open'
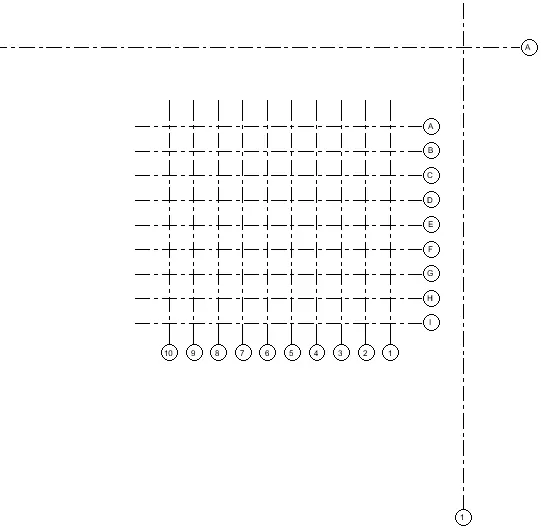
- Click 'Select Link' in the 'Copy/Monitor' under 'Collaborate' tab
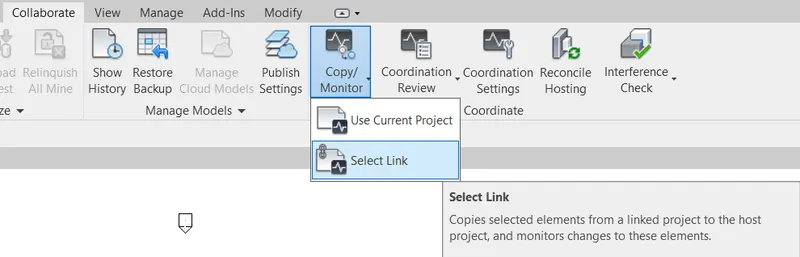
- Select the link
- Click 'Copy' under the 'Copy/Monitor'
- Enable 'Multiple' option and select all the grids in the link
- Click 'Finish' option near the 'Multiple'
- Click 'Finish' under the 'Copy/Monitor'

Q8. Create another new file with a construction template. Save the new file as a central model. This file will include both architectural and structural model. Under the manage tab, Click manage links to link both architectural and structural files. Save the file and close all the files.
Ans: The step by step procedure is given below:
- Open Revit software and click 'New'
- Select 'Construction Template' as the template file on 'New Project' and click 'OK'
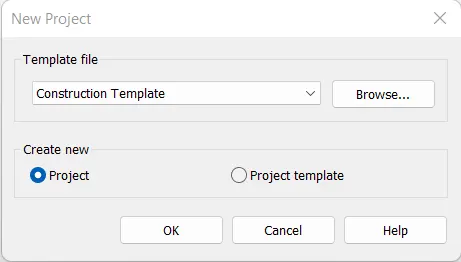
- Save the project file as 'Challenge 6 Construction'
- Click 'Collaborate' in the 'Collaborate' tab
- Select 'Within your network' and click 'OK'
- Click 'Save' to open 'Save File as Central Model' dialogue box
- Click 'Yes'
- Click 'Link Revit' in the 'Insert' tab
- Select 'Challenge 6 Architectural' and click 'Open'
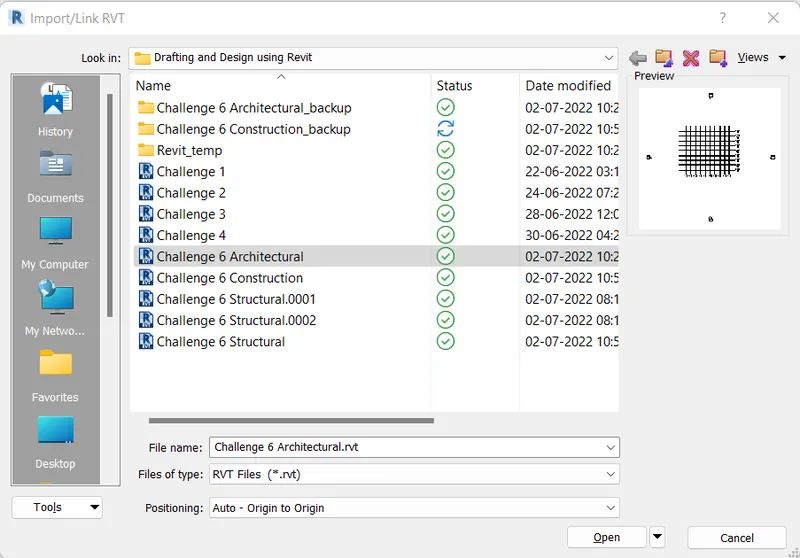
- Click 'Link Revit' in the 'Insert' tab
- Select 'Challenge 6 Structural' and click 'Open'
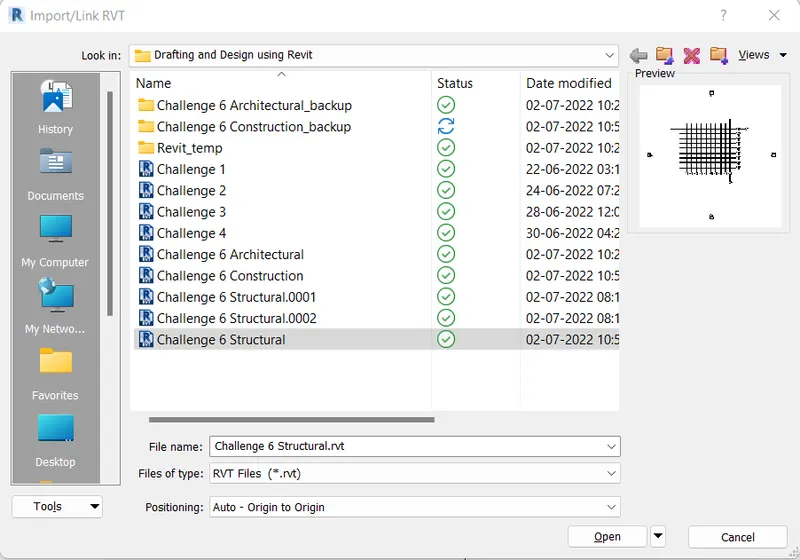
Q9. Are the grids from structural and architectural model matching in the construction template created? If yes the model is set up for project 2. If not work on the shared parameters and linking options under Manage links
( Hint: origin to origin, by shared coordinates or by project base point to base point ) to link the models in an appropriate manner
Ans: The grids from structural and architectural model is matching in the construction template created.
Q10. List a flow chart of a project tree set up in terms of Construction model, Architecture & Structure model, in this exercise and understand how many people can work on the same project using Revit simultaneously
Ans: The flow chart of a project tree set up in terms of Architecture and Structure model under Construction model is given below:
CONSTRUCTION MODEL
- Architectural Model
- Modelling walls
- Modelling windows
- Modelling doors
- Assigns materials
- Modelling architectural floorings
- Modelling architectural roofs and ceilings
- Enables to provide the geographic conditions
- Modelling staircase
- Creates openings
- Architectural model in overall contributes to the aesthetic beauty of a building
- Structural Model
- Modelling column
- Modelling beam
- Modelling Footing
- Modelling structural floors
- Modelling labs
- Modelling truss systems
- Modelling connections
- Structural model in general develops the entire framework of a structure
Revit allows multiple users to work simultaneously on a project, this can be acheived through the work sharing. Using linked elements project elements are seperated into individually managed models that can be linked together. Members from various disciplines can work together in a revit project like Architect people, Structural people, Mechanical people, Plumbing people, etc... The number of people working simultaneously may depond on the type of the project being done. So, there can be many people work in a single project simultaneously using collaborate option.