Usage of Collaborate tool in REVIT
AIM:
Open an architectural template. Using the Manage tab set project base point and project shared coordinates for the project
INTRODUCTION:
About the Project Base Point
The project base point can be used to establish a reference for measuring distances and positioning objects in relation to the model. When you start a Revit model, specify the location of the project base point to establish a reference for measuring distances and positioning objects within the context of the model.
Project shared coordinates:
When we combine multiple models and files in a single project, use shared coordinates to establish the positions of the files in relation to each other.
A Revit project has internal coordinates for all the elements that compose the model in a project. Those coordinates are known to this project only. This is sufficient if you have a standalone model whose position is not relevant to other models or to a site. However, if you want the position of the model to be known to other linked models, you need to share coordinates.
Use the Shared Coordinate tools to establish the relative positions of the different files and ensure that those relationships are maintained.
PROCEDURE:
STEP 1:
To create project shared coordinates
Open architectural template
Open manage tab
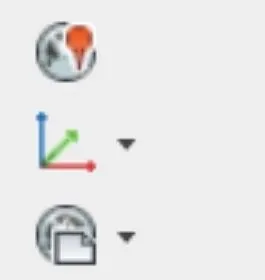
Click on project coordinates> specific shared coordinates.
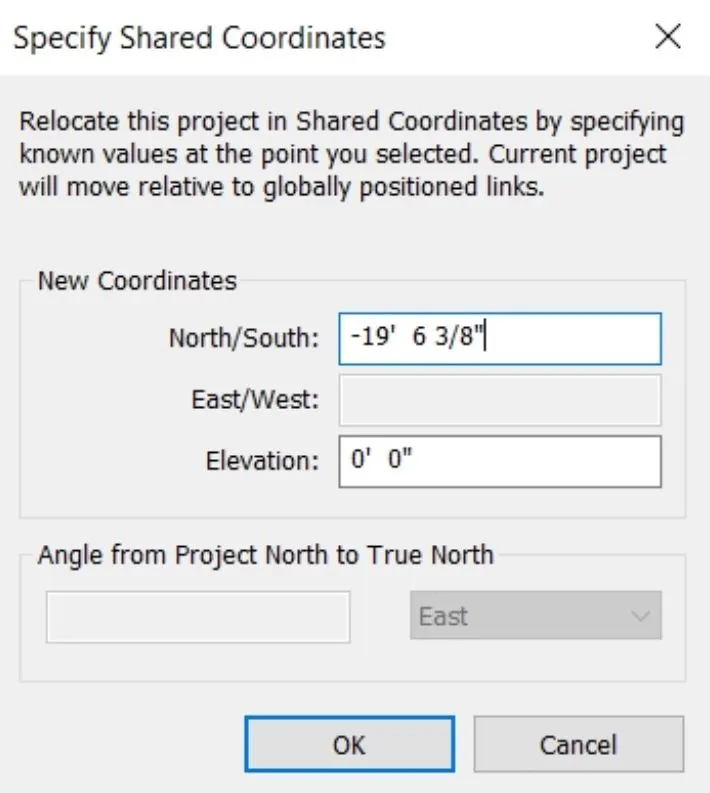
In north/ south type 0'-0"
In east/ west type 0'-0"
STEP 2:
To create project base point
Go to architectural tab> datum tab> grids> draw the base grids
Type VG to show the project base point option
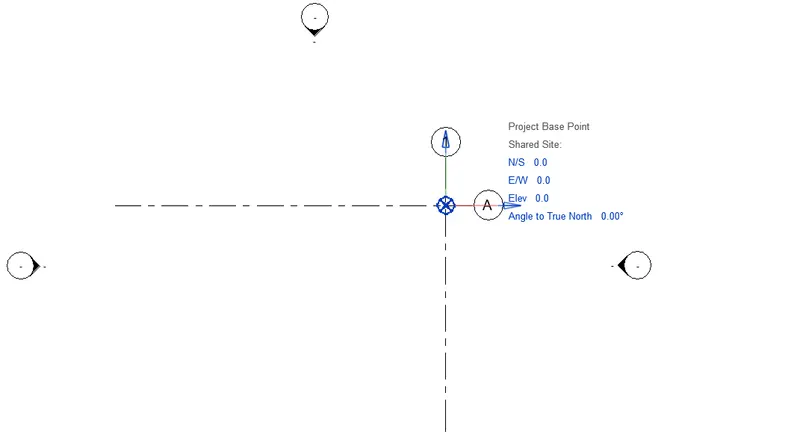
RESULT:
The project base point and shared coordinates are created
2) Open another new file but with a structural template. Using the manage tab set project parameters the same as the architectural model. Copy the parameters from the architectural model to the structural template or enter the parameters manually into the structural model
AIM:
To create structural template with the same parameters as architectural project template
INTRODUCTION:
About the Project Base Point
The project base point can be used to establish a reference for measuring distances and positioning objects in relation to the model. When you start a Revit model, specify the location of the project base point to establish a reference for measuring distances and positioning objects within the context of the model.
Project shared coordinates:
When we combine multiple models and files in a single project, use shared coordinates to establish the positions of the files in relation to each other.
A Revit project has internal coordinates for all the elements that compose the model in a project. Those coordinates are known to this project only. This is sufficient if you have a standalone model whose position is not relevant to other models or to a site. However, if you want the position of the model to be known to other linked models, you need to share coordinates.
Use the Shared Coordinate tools to establish the relative positions of the different files and ensure that those relationships are maintained.
PROCEDURE:
STEP 1:
To create project shared coordinates
Open structural template
Open manage tab
Click on project coordinates> specific shared coordinates.
In north/ south type 0'-0"
In east/ west type 0'-0"
STEP 2:
To create project base point
Go to structural tab> datum tab> grids> draw the base grids
Type VG to show the project base point option
RESULT:
The project base point and shared coordinates are created
3) Re-open the architectural model. Using the tools under the Collaborate tab make the architectural model a central model (enabling simultaneous working on the model)
INTRODUCTION:
Collaboration is the foundation of all successful designs and “working together in a joint intellectual effort” is exactly what architects, engineers, contractors, and supply chain partners do to successfully take a project from design through to construction. Revit provides several different ways to collaborate with team members who are also using the software.
- We can link multiple Revit models together, allowing team members to work in context.
- Through worksharing, users on the same local area network (LAN) can work together in the same Revit model.
- When collaboration needs to occur among users who are not in the same geographic location, use Revit Server or Revit Cloud Worksharing.
- Revit Server connects offices who share a network but are not in the same geographic location.
- Revit Cloud Worksharing is a cloud-based service that allows any Revit users inside or outside a network to collaborate on a Revit model.
AIM:
To create architectural tab as a central model
PROCEDURE:
Go to colloborate tab> colloborate
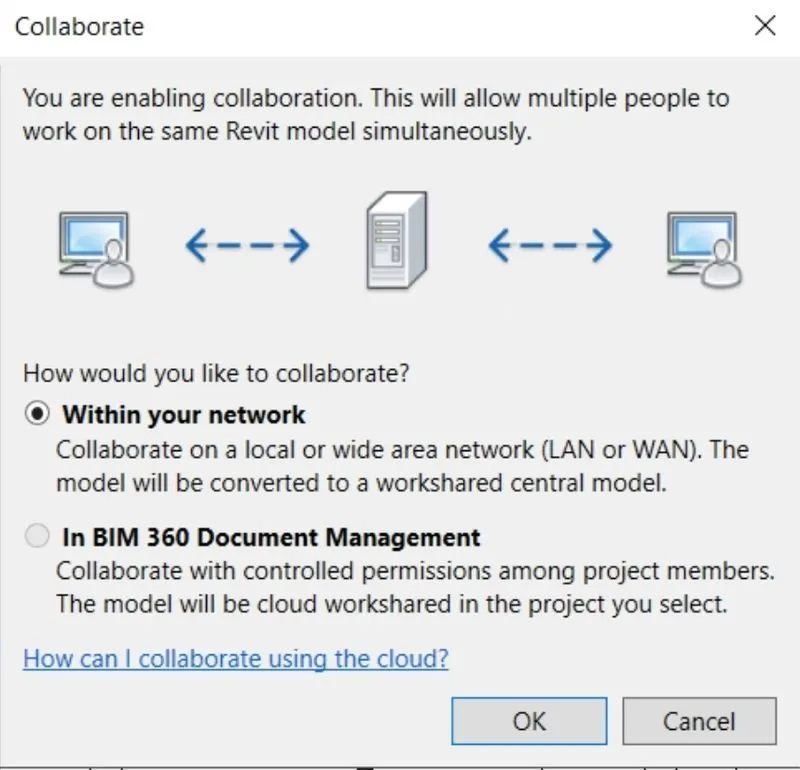
Save the file
RESULT:
Colloborate of an architectural model is done
4) Create the Grids Longitudinal and Transverse pattern for the project similar to the task done in Week 2
INTRODUCTION:
Grids are annotation elements that help organize your design.
Revit automatically numbers each grid. To change the grid number, click the number, enter the new value, and press ENTER. You can use letters for grid line values. If you change the first grid number to a letter, all subsequent grid lines update appropriately.
As we draw grid lines, the heads and tails of the lines can align to one another. If grid lines are aligned and you select a line, a lock appears to indicate the alignment. If you move the grid extents, all aligned grid lines move with it.
AIM:
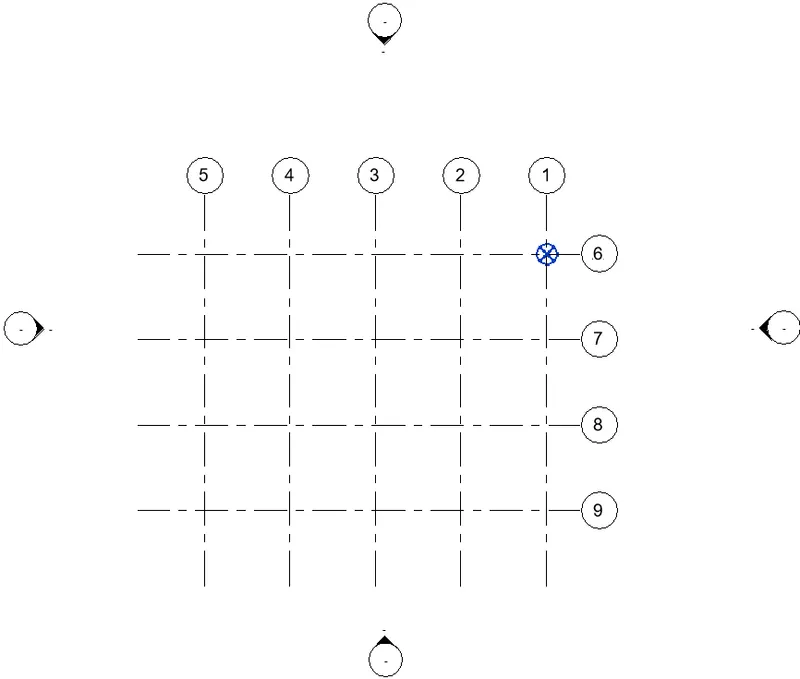
To create grids longitudnal and transverse pattern
PROCEDURE:
Go to the architecture tab > datum tab > grids
Make grids horizontally and vertically
RESULT:
5) Synchronize the changes from the local copy to the central file of the architectural model.
AIM:
To synchronize the changes from the local copy to the central file of the architectural model.
INTRODUCTION
When working on a workshared project,we use the Synchronize with Central tool to save your local changes to the central model.
To Synchronize with Central:
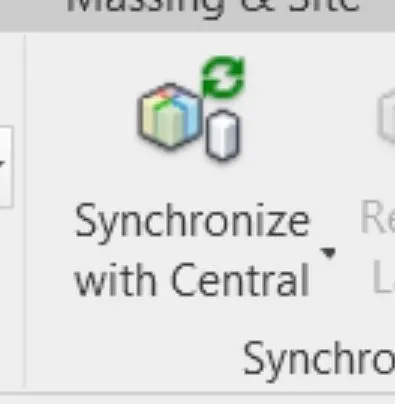
Click Collaborate tab>Synchronize panel>Synchronize with Central drop-down>Synchronize Now
To modify the Synchronize with Central settings before we synchronize with central:
Click Collaborate tab>Synchronize panel >Synchronize with Central drop-down>Synchronize and Modify Settings
The Synchronize with Central dialog displays.
PROCEDURE:
Open architectural model
Go to colloborate tab > synchronize with central > synchronize and modify setting
Save the synchronization
RESULT:
The synchronization is done
6) Open the structural model and use the collaborate tools to save the model as a central file.
AIM:
To open the structural model and use the collaborate tools to save the model as a central file.
INTRODUCTION:
Collaboration is the foundation of all successful designs and “working together in a joint intellectual effort” is exactly what architects, engineers, contractors, and supply chain partners do to successfully take a project from design through to construction. Revit provides several different ways to collaborate with team members who are also using the software.
- We can link multiple Revit models together, allowing team members to work in context.
- Through worksharing, users on the same local area network (LAN) can work together in the same Revit model.
- When collaboration needs to occur among users who are not in the same geographic location, use Revit Server or Revit Cloud Worksharing.
- Revit Server connects offices who share a network but are not in the same geographic location.
- Revit Cloud Worksharing is a cloud-based service that allows any Revit users inside or outside a network to collaborate on a Revit model.
PROCEDURE:
Open structural model
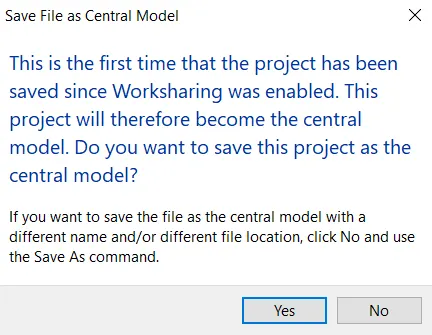
Go to colloborate tab > colloborate > save file> synchronize with central
save the file
RESULT:
The synchronization is done
7) Under the Collaborate tab, select the grids and levels from the architectural model, and using Copy Monitor try to copy the grids to the structural model. See what happens when the copy monitored grid is moved around in the structural model
INTRODUCTION:
The Collaborate tab contains the Coordinate panel and there are several tools that help in the collaboration between different disciplinary models.
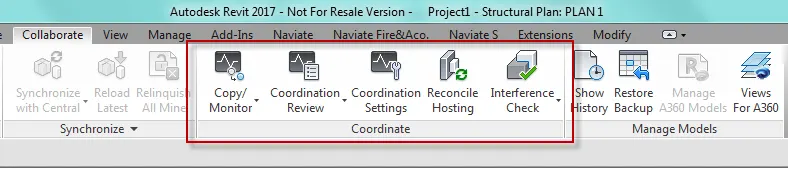
Copy/Monitor is used primarily to copy information from one model to another. This can for example be used by a structural designer at the beginning of their project to transfer all levels, grids and walls from an Architecture model to Structural model.
Coordination Review is used to see if changes have been made to objects monitored using Monitor.
AIM:
Go to architectural model> collaborate tab
Select the grids abd levels
Go to colloborate tab > copy monitor in structural model > add the link
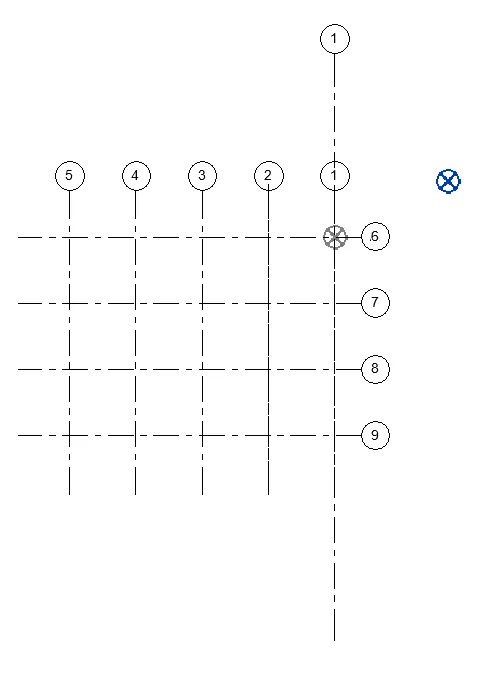
RESULT
Copy monitored grid is moved around in the structural model is done
8) Create another new file with a construction template. Save the new file as a central model. This file will include both architectural and structural model. Under the manage tab, Click manage links to link both architectural and structural files. Save the file and close all the files.
AIM:
To create another new file with a construction template. Save the new file as a central model. This file will include both architectural and structural model. Under the manage tab, Click manage links to link both architectural and structural files. Save the file and close all the files.
INTRODUCTION:
Collaboration is the foundation of all successful designs and “working together in a joint intellectual effort” is exactly what architects, engineers, contractors, and supply chain partners do to successfully take a project from design through to construction. Revit provides several different ways to collaborate with team members who are also using the software.
- We can link multiple Revit models together, allowing team members to work in context.
- Through worksharing, users on the same local area network (LAN) can work together in the same Revit model.
- When collaboration needs to occur among users who are not in the same geographic location, use Revit Server or Revit Cloud Worksharing.
- Revit Server connects offices who share a network but are not in the same geographic location.
- Revit Cloud Worksharing is a cloud-based service that allows any Revit users inside or outside a network to collaborate on a Revit model.
PROCEDURE:
Close all the previous files
Open a new file with construction as new template
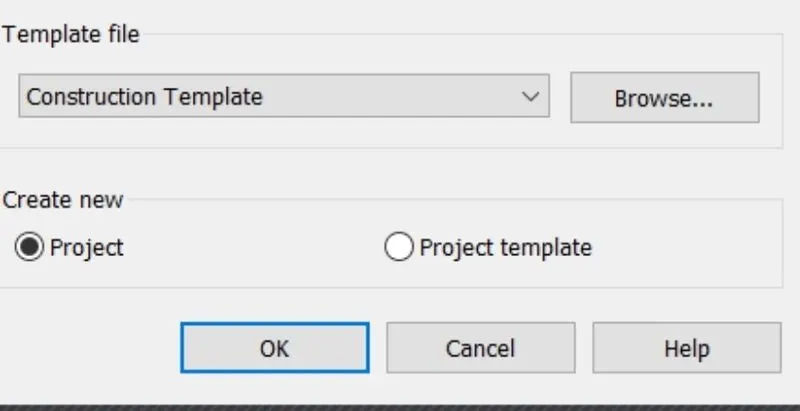
Go to colloborate tab > collaborate
Click on synchronize it as central model
Go to manage tab
Go to manage link> add
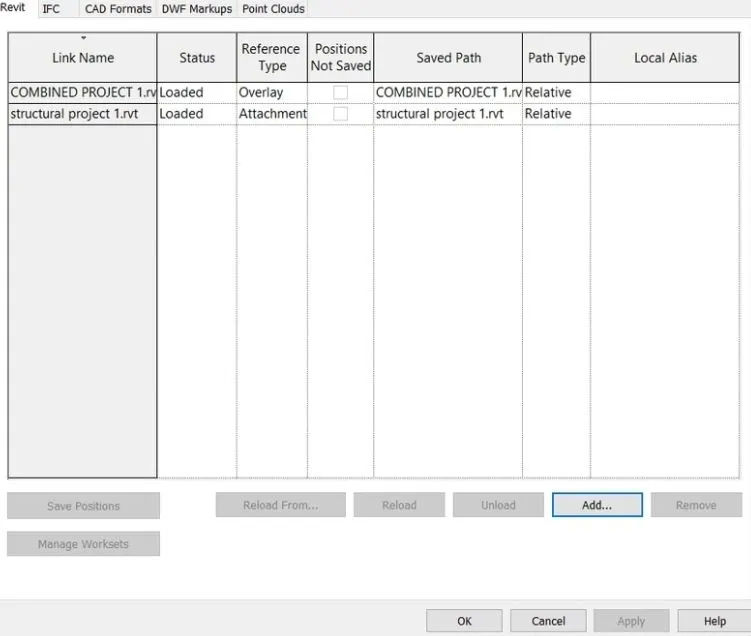
Click ok
RESULT:
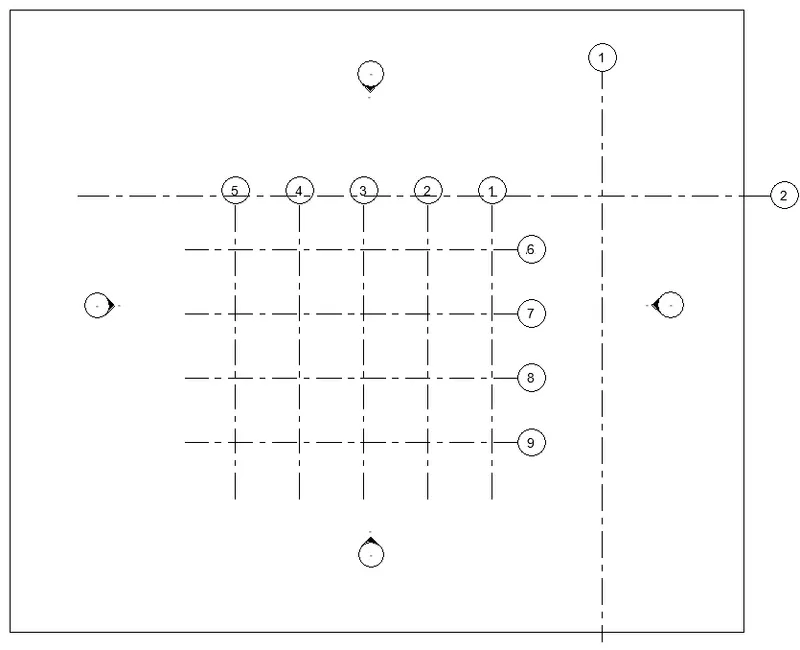
9) Are the grids from structural and architectural model matching in the construction template created? If yes the model is set up for project 2. If not work on the shared parameters and linking options under Manage links
( Hint: origin to origin, by shared coordinates or by project base point to base point ) to link the models in an appropriate manner
Yes, my structural and architectural model are matching in the construction template created. Therefore my week 6 challange is set up for project 2
10) List a flow chart of a project tree set up in terms of Construction model, Architecture & Structure model, in this exercise and understand how many people can work on the same project using Revit simultaneously
For construction model:
Site access
Logistics and storage
Quality control
Outstanding contract details
Outstanding design related challanges
Health and safety
For architectural model
Schematic design
Design development
Construction Administration
For structural model:
The primary objective of structural analysis and design is to produce a structure capable of resting all applied loads without failure during its intended life. If improperly designed , elements of a structure would fail causing serious consequences such as large expenses or ultimately losses in lives which cannot be compared with any cost
Once the architectural engineer sets the function and layout of the structure, the role of the structural engineer begins which can be summarized in the following steps to develop a safe, functional and economic structures .