Usage of Collaborate tool in REVIT
Q.1 Ans
AIM: Use The manage tab set the project base point and project shared co-ordinates.
Procedure:
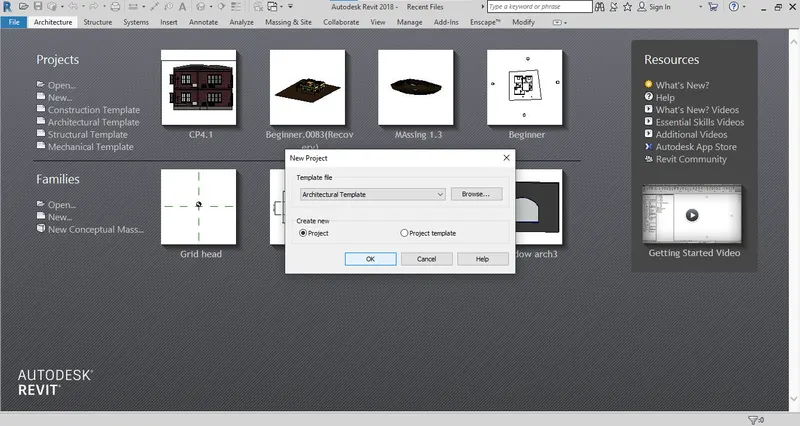
Step 1: Create a new file with architectural template.
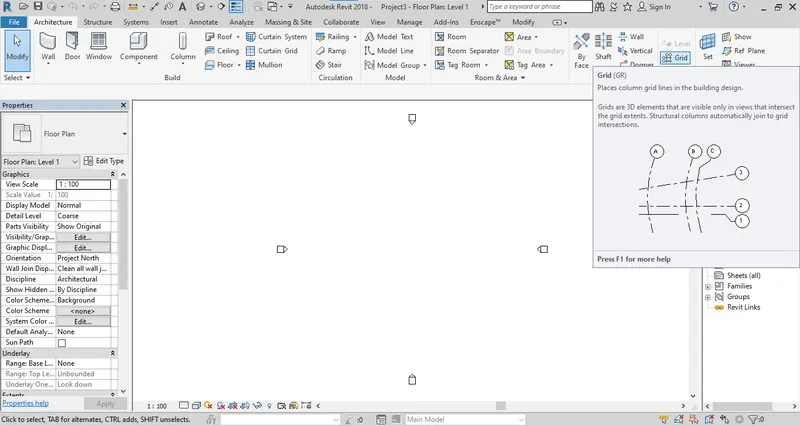
Step 2: Go to Architectural Tab -> Datum Panel -> Select the Grid Command.
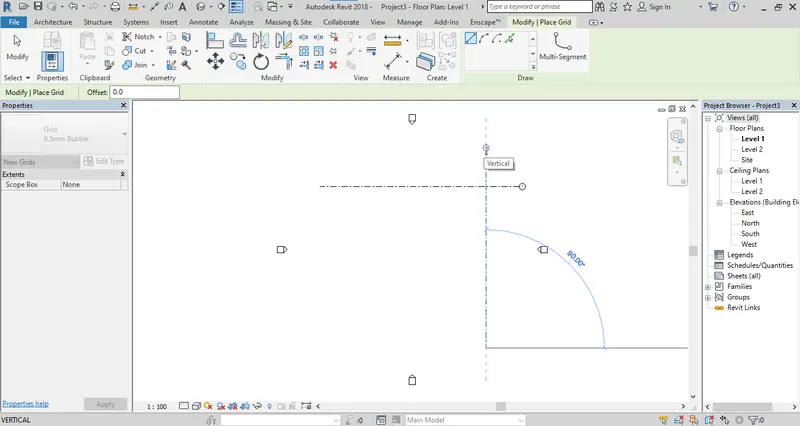
Step 3: Add two grids verical and horizontal direction.
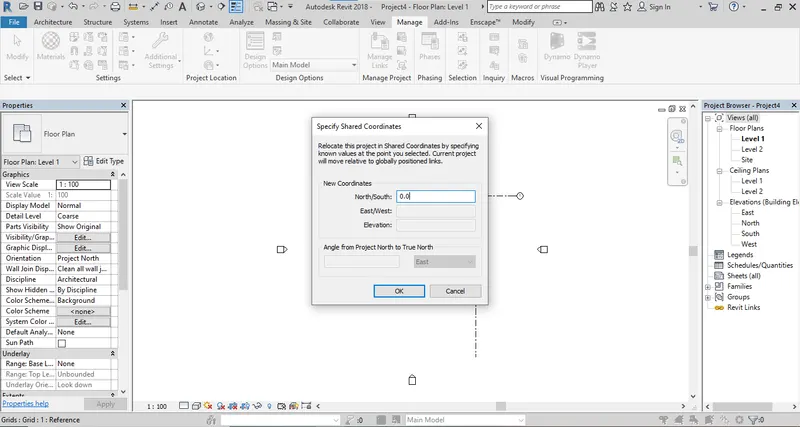
Step 4: Go to Manage Tab -> Go to Project Location panel -> Select the Project Co-ordinate command.
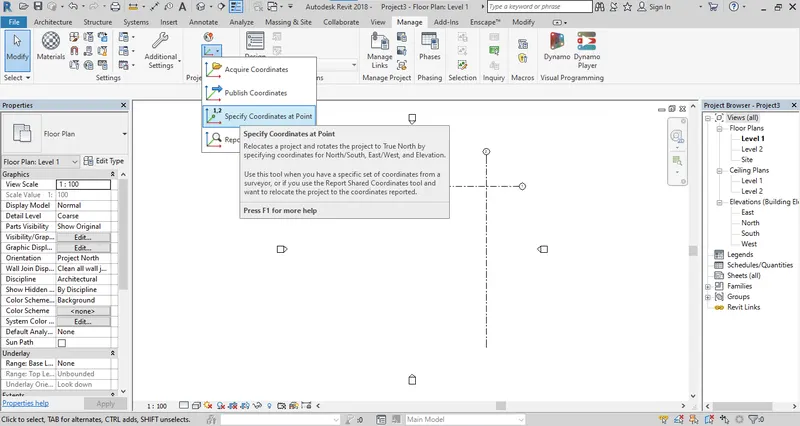
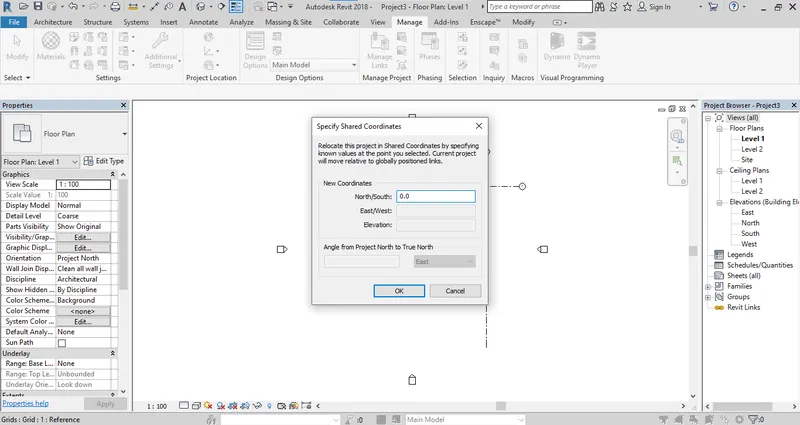
Step 5: Select the any of the grid and Specify the select co-ordinates as "0.0"
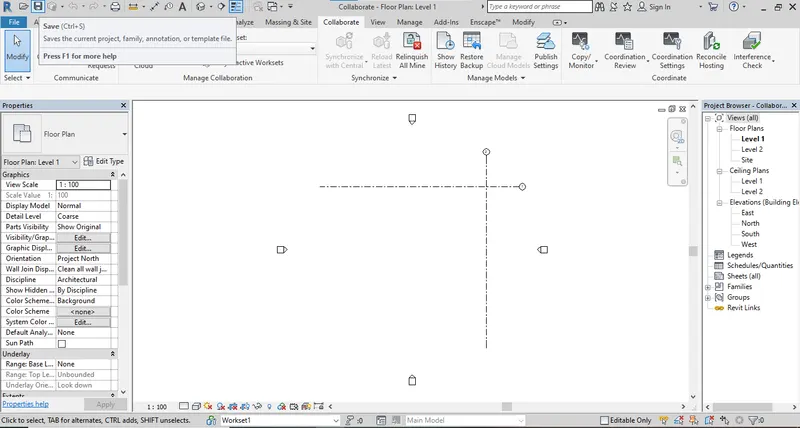
Step 6: Go to Quick access toolbar and SAVE the file.
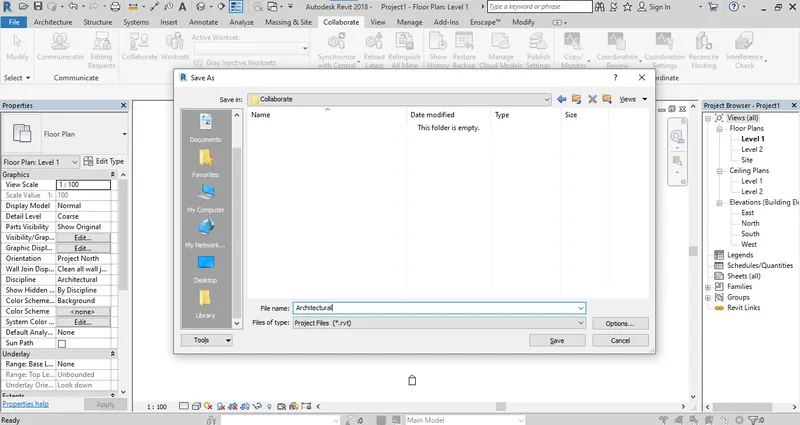
RESULT: The file is save and renames as "Architectural".
Q.2 ANS
AIM: Create a Structural file and Add the Project base point and Project shared co-ordinates in Structural Template.
Procedure:
Step 1: Create a new file with structural template.
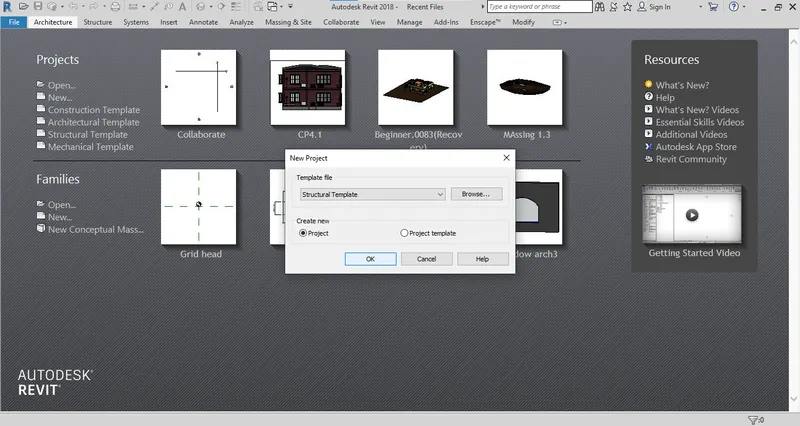
Step 2: Go to Architecture Tab -> Datum Panel -> Select Grid Command.
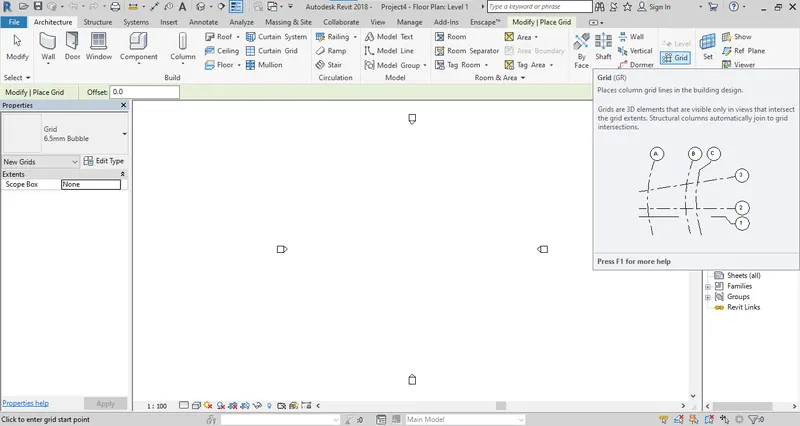
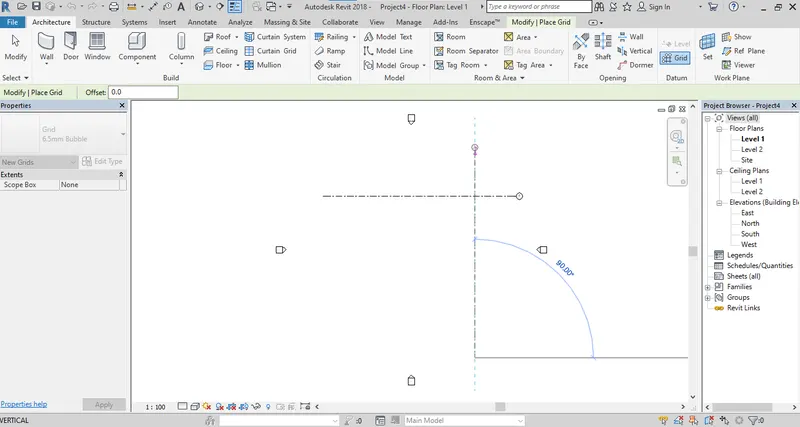
Step 3: Add two Grids in Vertical and Horizontal Direction.
Step 4: Go to Manage Tab -> Specify the Cordinate Point.
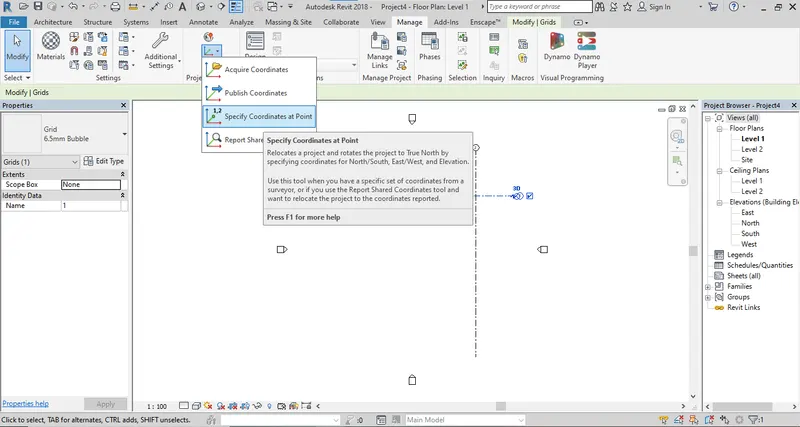
Step 5: Select the Grid and Specify the point for Co-ordinate as "0.0"
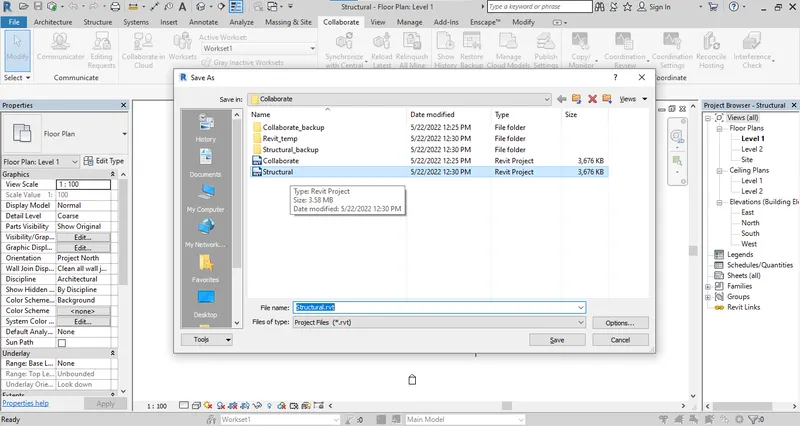
Result: Save this file and rename as "Structural".
Q.3 Ans
AIM: Create the existing architectural file as central model file.
Procedure:
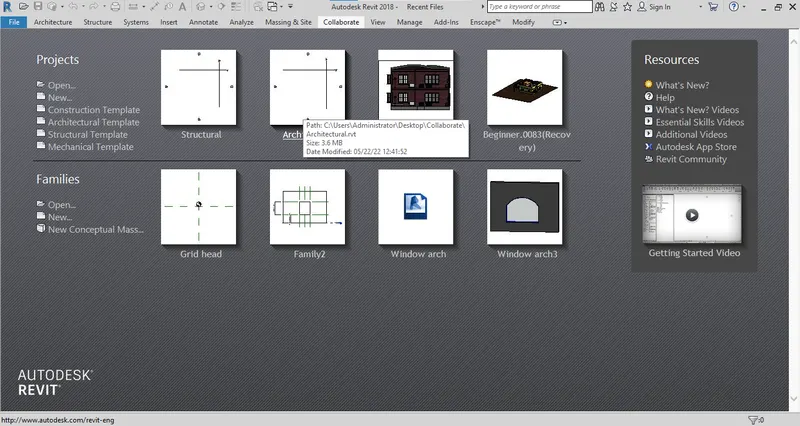
Step 1: Open the created architectural file.
Step 2: Go to Collaborate Tab -> Manage collaborate panel -> Select the collaborate command.
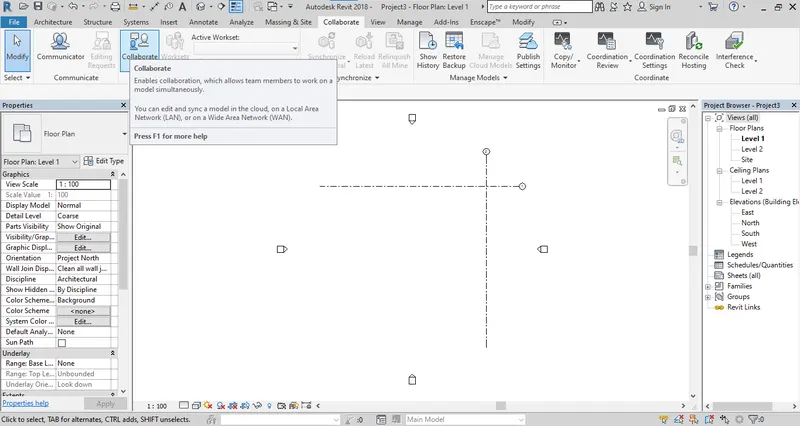
Step 3: Select the Collaborate within the network.
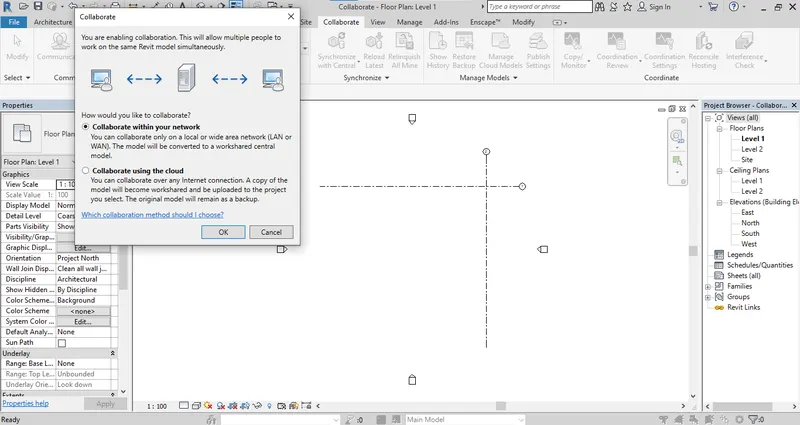
Step 4: Select the Save from Quick access toolbar. It will ask to save the file as "Central Model File". Click Yes.
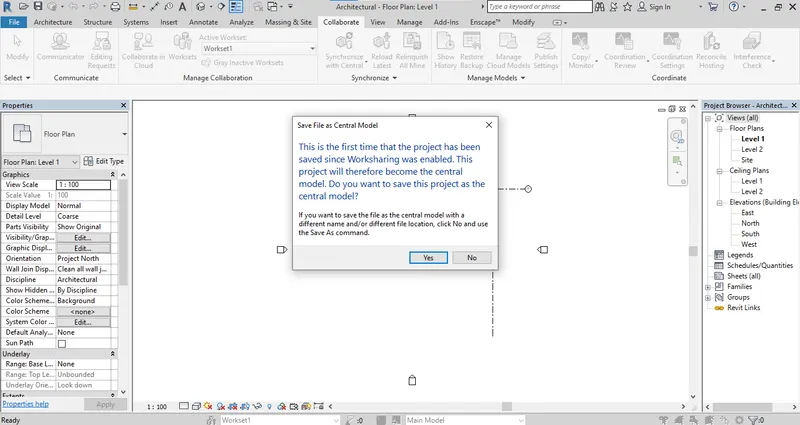
Result: The file is saved as a central model file.
Q.4 ANS
AIM : Create more Grid in Architectural File.
Procedure:
Step 1: Open the Architectural Central model File and Select the grid command.
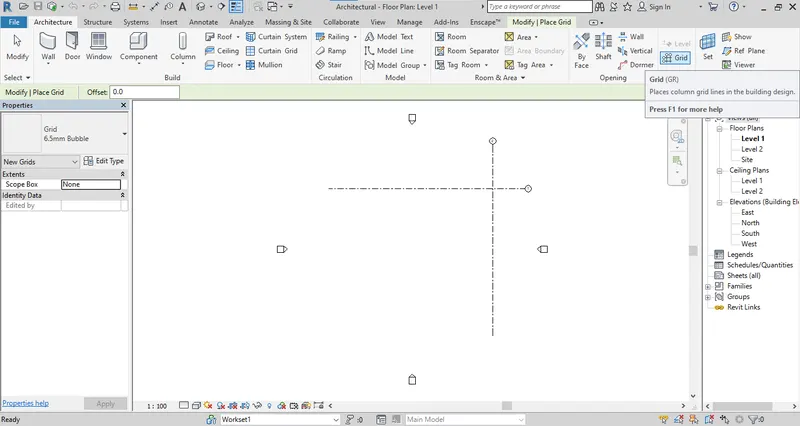
Step 2: Select a pick a line command from draw panel.
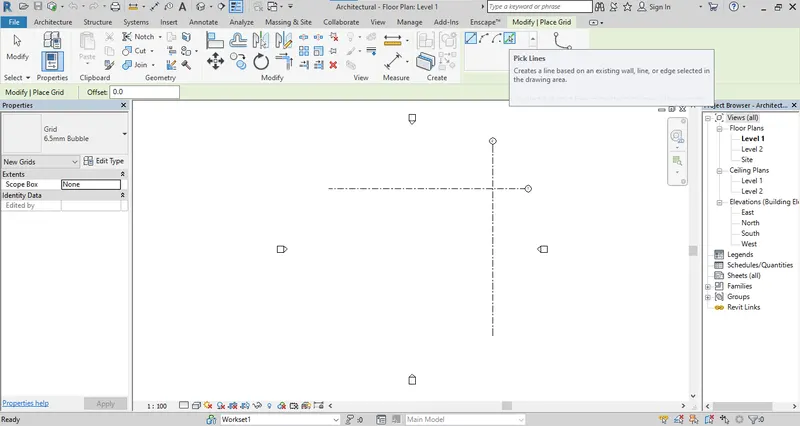
Step 3: Add the offset distance. I am taking as 5000.
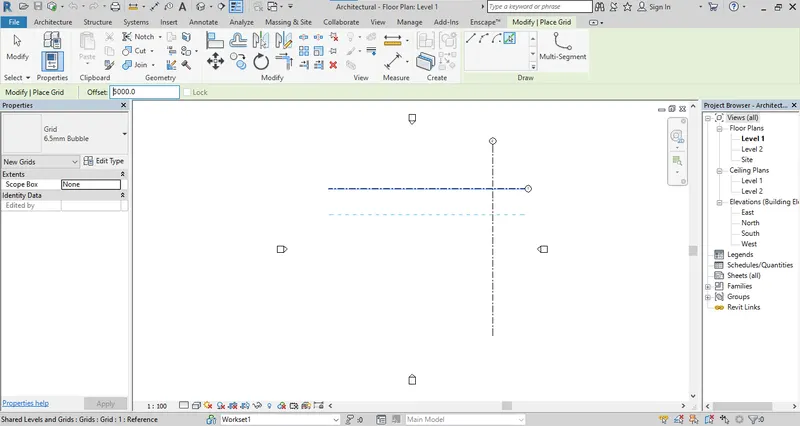
Step 4: Select line and provide the offset and draw the horizontal grids.
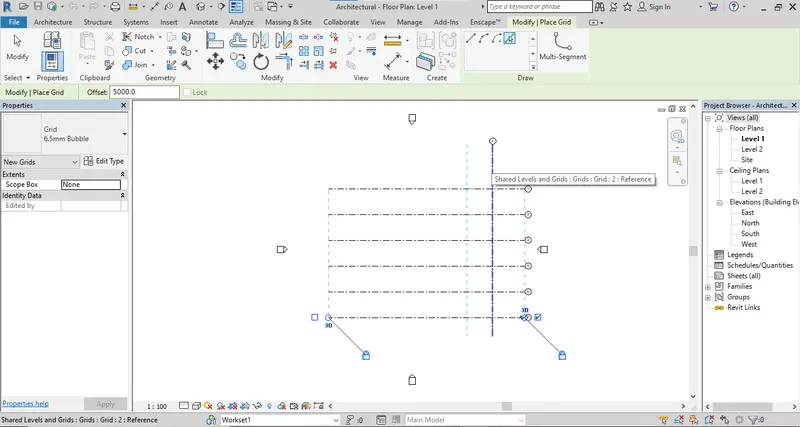
Step 5: Repeat the process for vetical grids and add the grids.
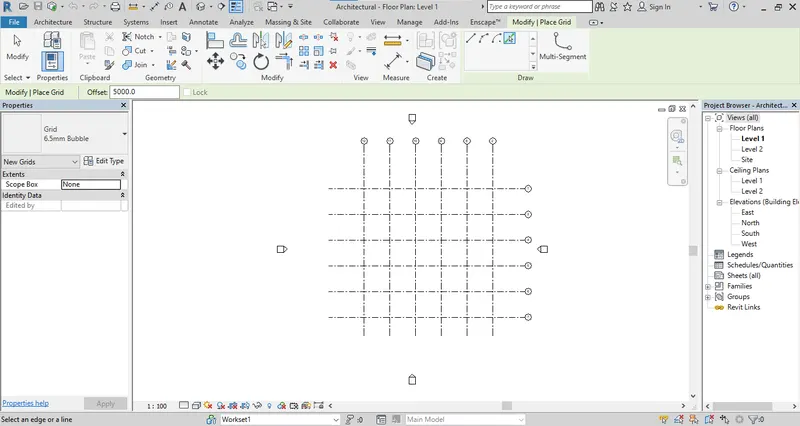
Result : The grid will be added in Transeverse and longitudinal direction.
Q.5 Ans
AIM : Syncronize the changes from local file to central model file.
Procedure:
Step 1: Go to Collaborate -> Synchronize -> Select the synchronize with central.
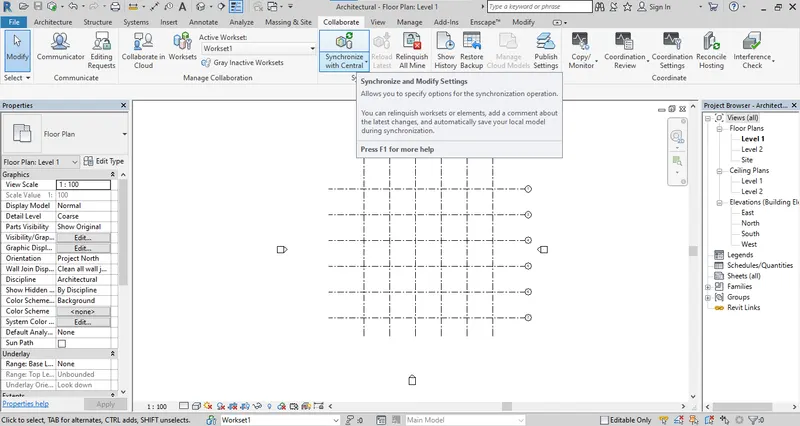
Step 2: There is another method to synchrinze the file. Go to Quick access toolbar -> Select the synchronize.
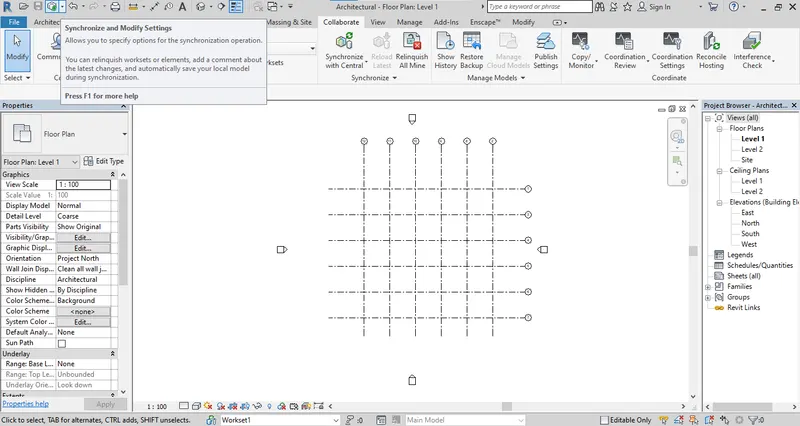
Step 3: Choose one of these method and use the dropdown menu.
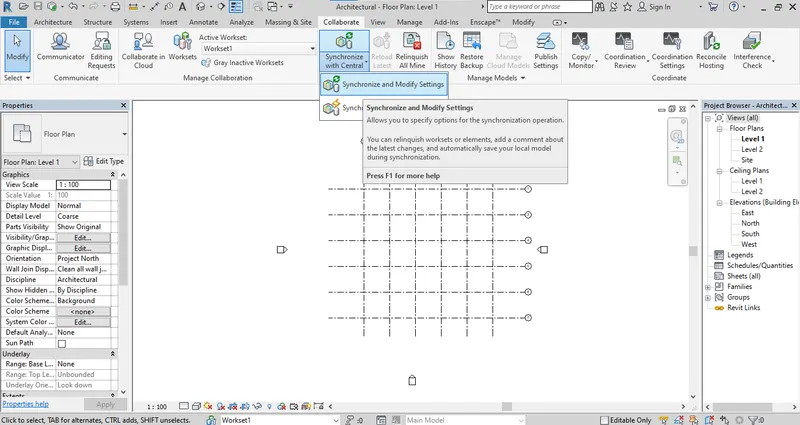
Step 4: Select the synchronize and modify setting and click ok.
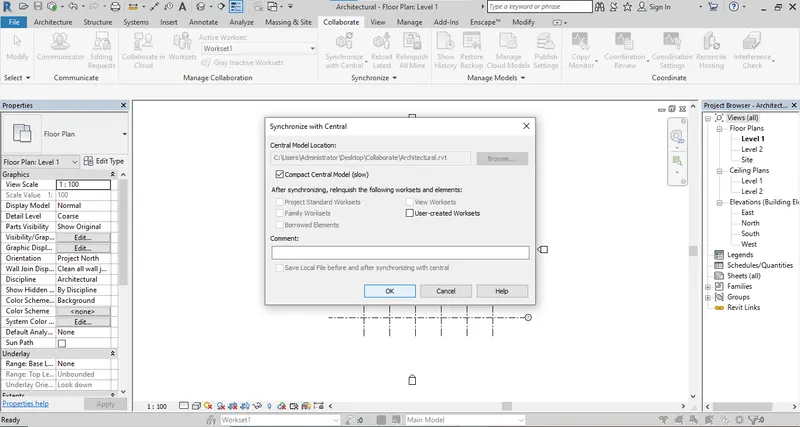
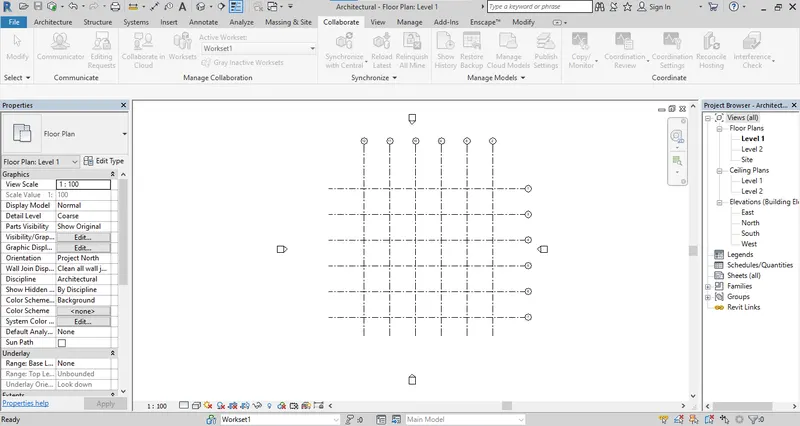
Result : The file is synchronize with the central model.
Q.6 Ans
AIM: Open The Structural model file and use the collaborate tool to save the model as central model file.
Procedure:
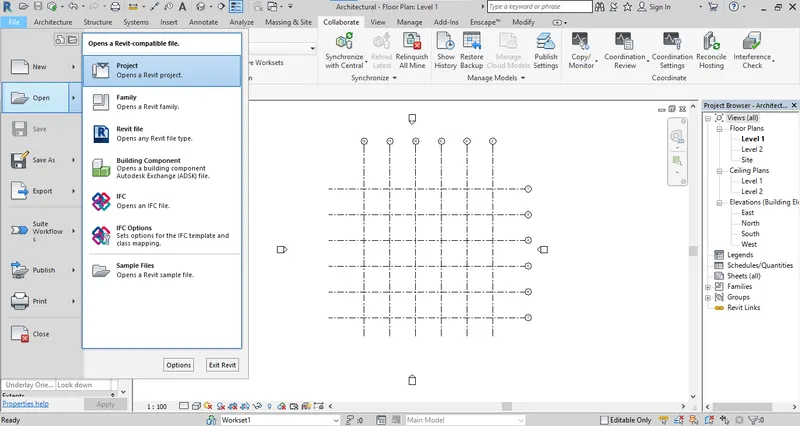
Step 1: Go to File menu and Open the structural model file.
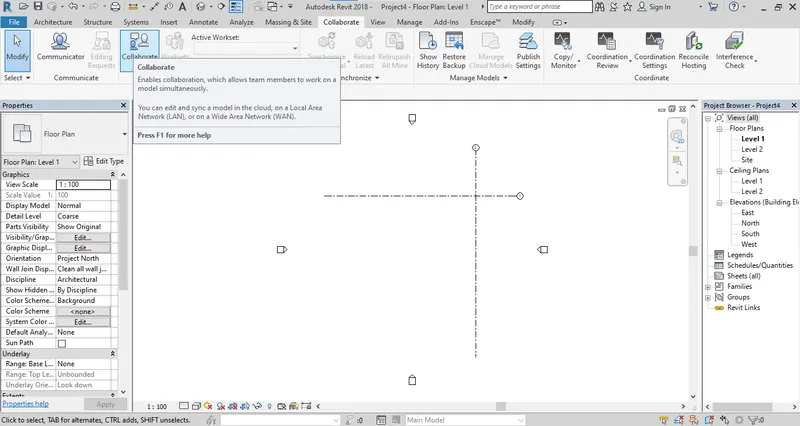
Step 2: Go to collaborate tab -> Collaborate command.
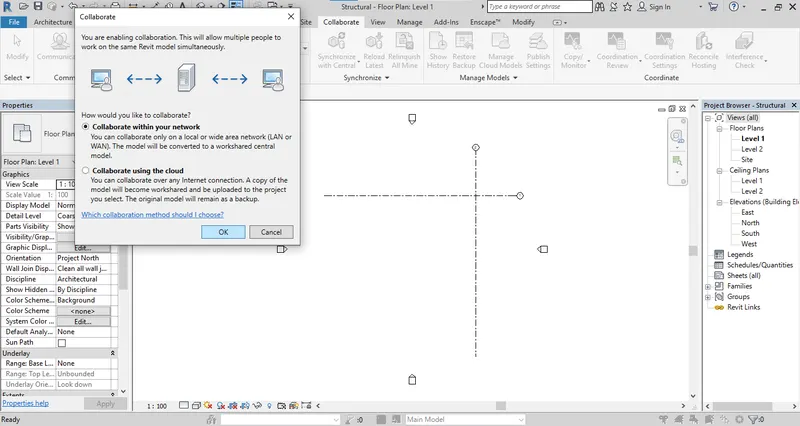
Step 3: Select the Collaborate within your network.
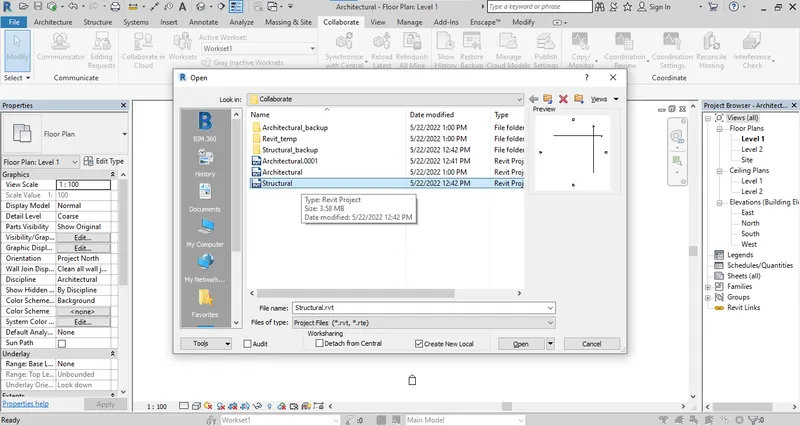
Step 4: Use the save command and save the file as a Structural Central model file.
Result: The file is now saved as Structural central model file.
Q.7 Ans
AIM: Copy the levels and grids from Architectural Project file to Structural Project file. Use the copy monitor command to copy the file.
Procedure:
Step 1: To copy the file we have to link the file. Go to Insert tab -> select the Link Revit.
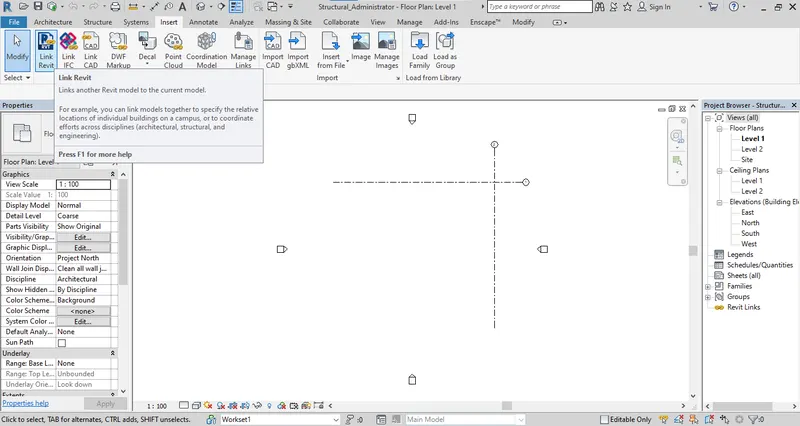
Step 2: Select the architectural file from saved folder.
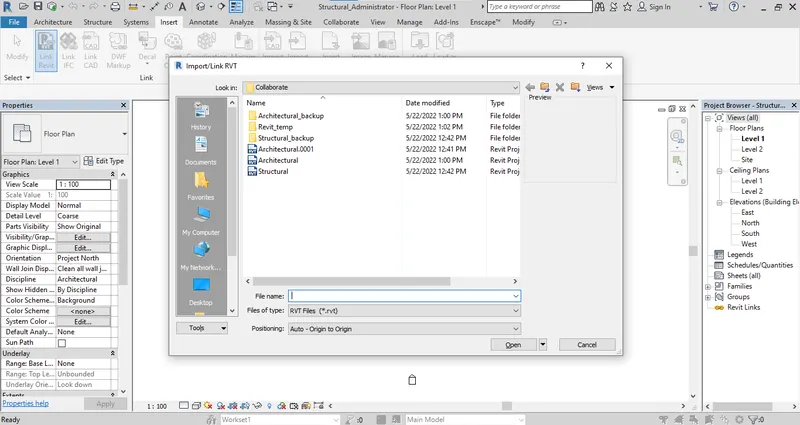
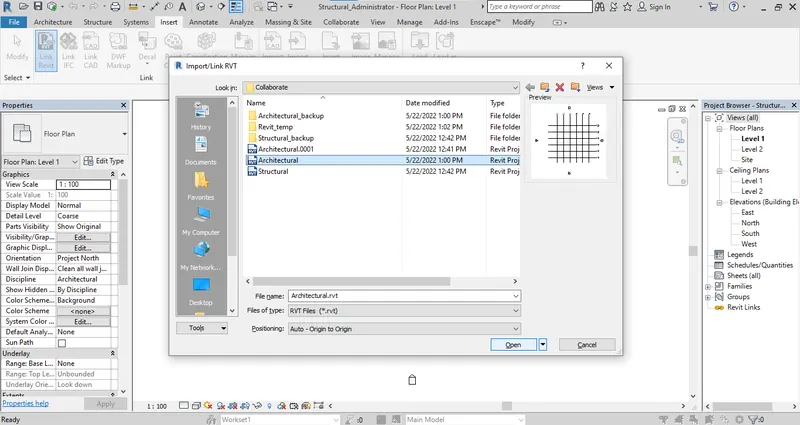
Step 3: Select the file and click open file.
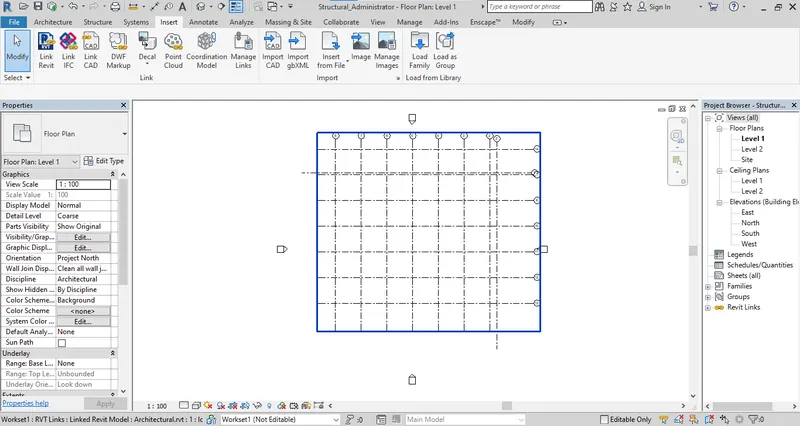
Step 4: File will be open in the structural file.
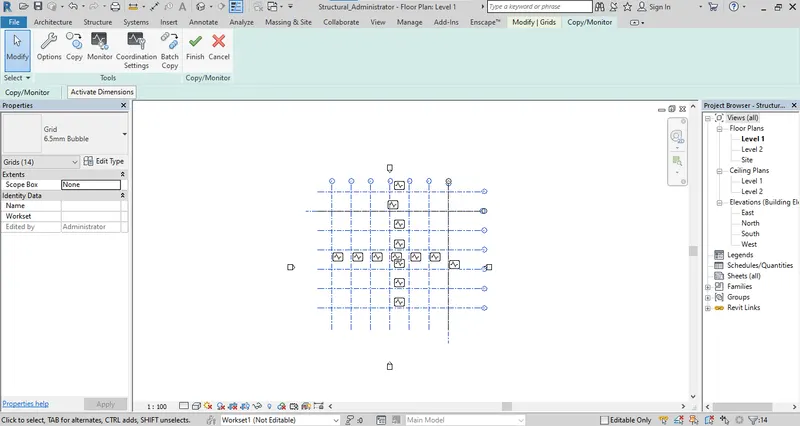
Step 5: Then Go to Copy/Monitor command from collaborate tab.
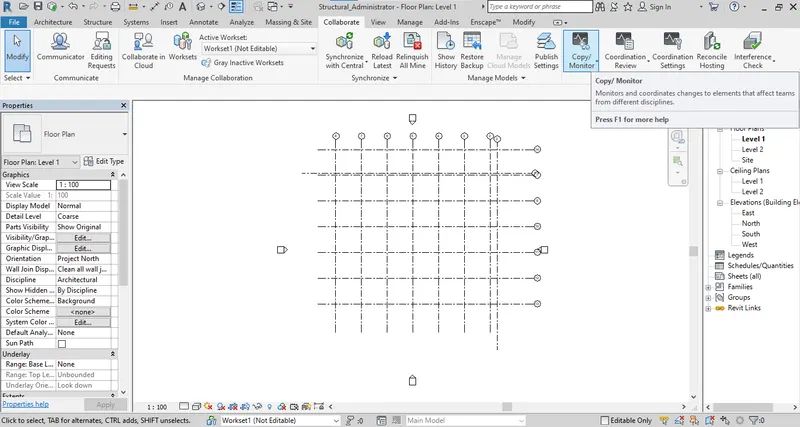
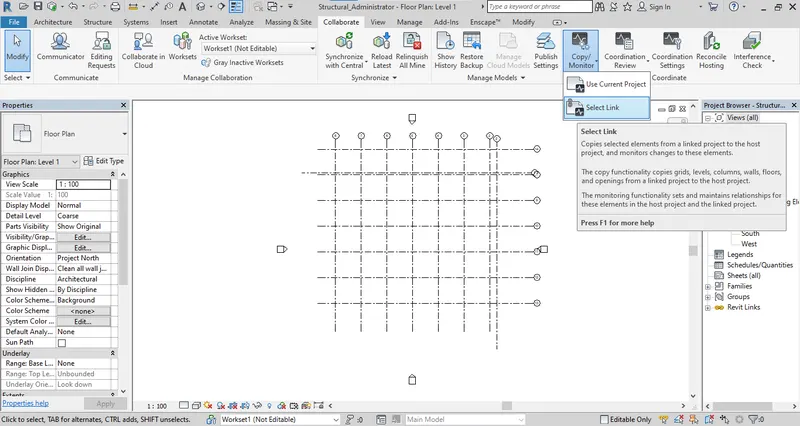
Step 6: Use the dropdown menu and choose the select link option.
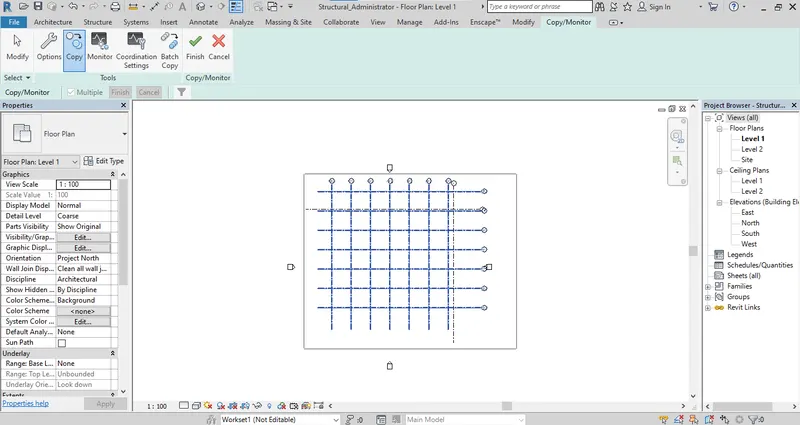
Step 7: Select the copy command and select all the grids of architectural file.
Step 8: Finish selection of architectural linked file.
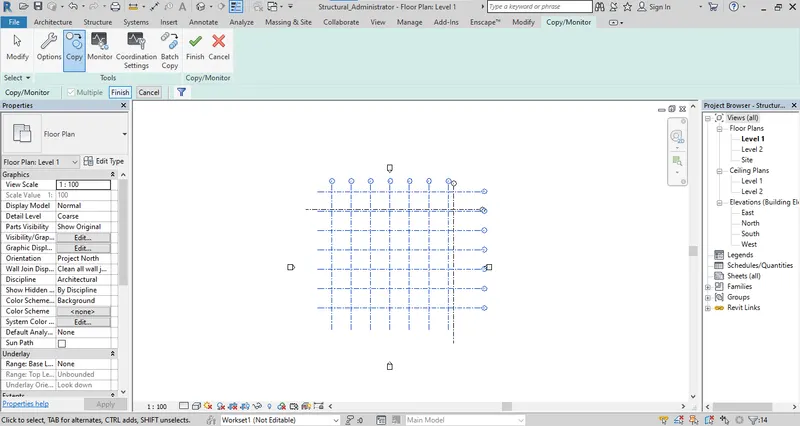
Step 9: Finish copy all the grid will be copied from architectural to structural file.
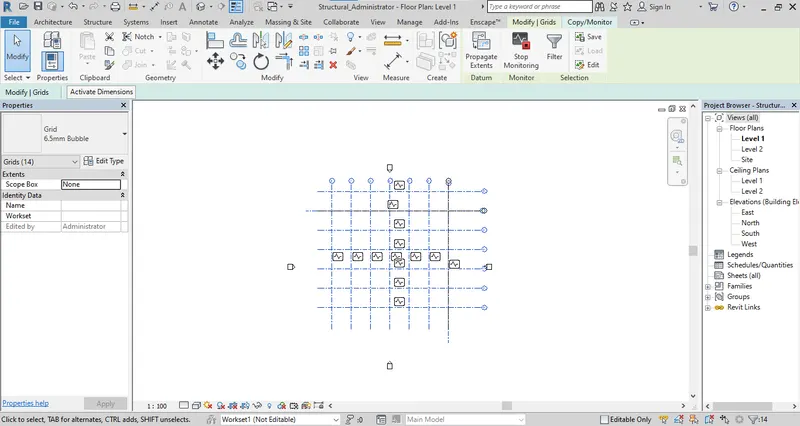
Result : All the Files are copied from architectural to structural file.
Q.8 Ans
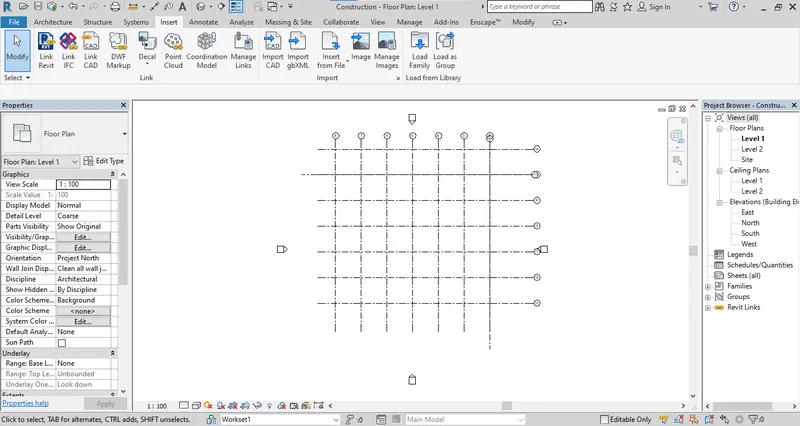
AIM: Create a Construction template file as central model file and Link the architectural and structural file.
Procedure:
Step 1: OPen the new file with construction template.
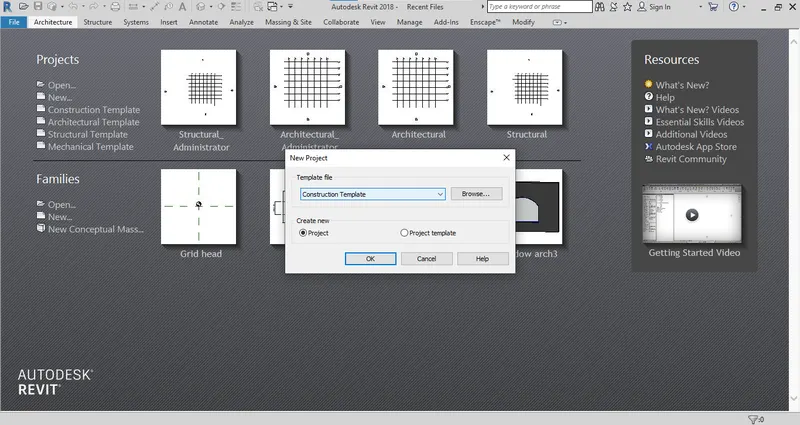
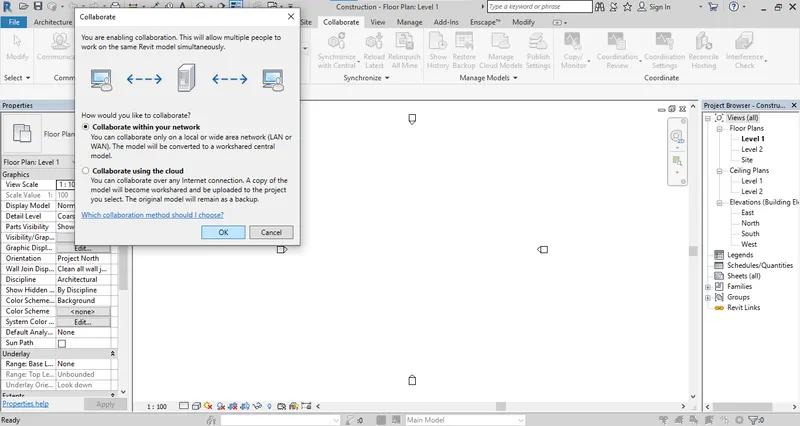
Step 2: Go to collaborate Tab -> Collaborate the file.
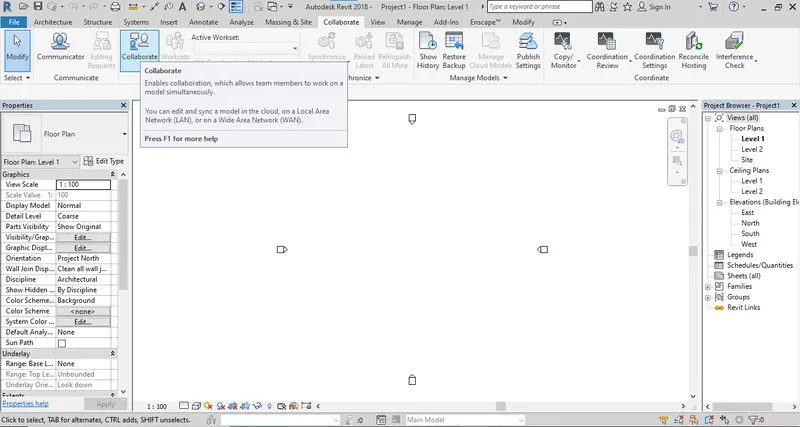
Step 3: Save the file in the same folder.
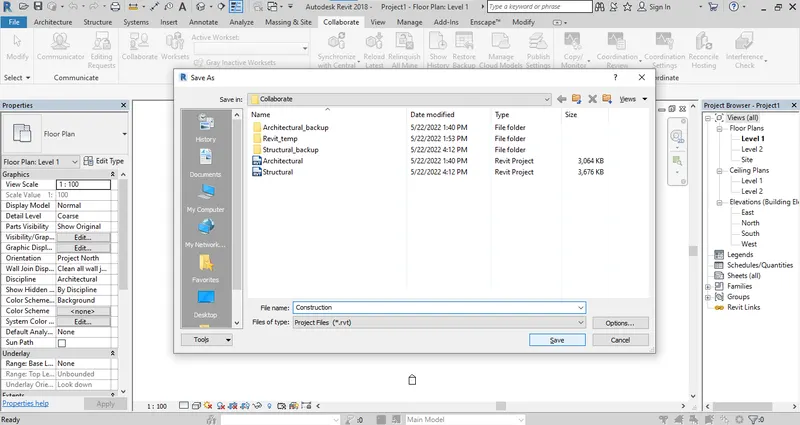
Step 4: Select the collaborate within your network.
Step 5: Save the file as central model file.
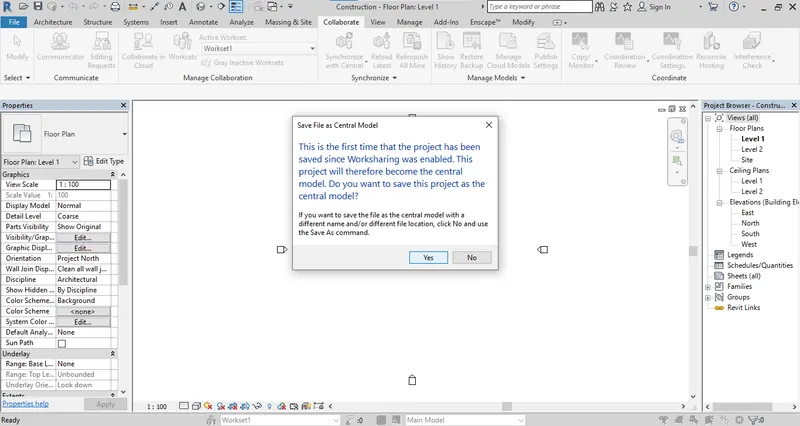
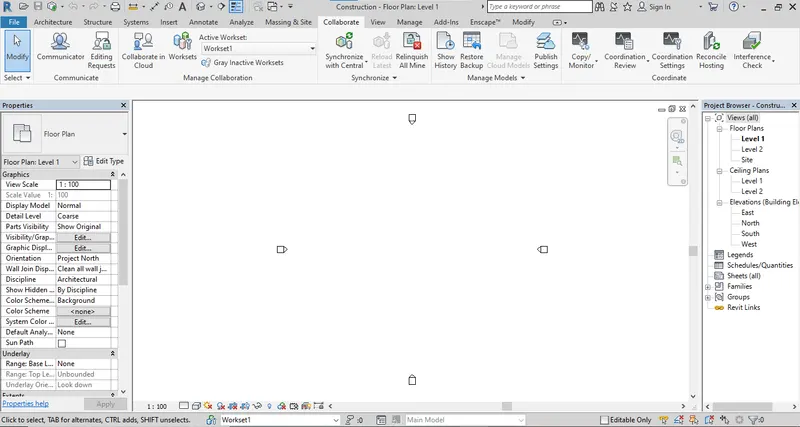
Result 1: The construction file will be save as central model file.
Step 6: Go to Insert -> Rivet Link to link the architectural and structural file.
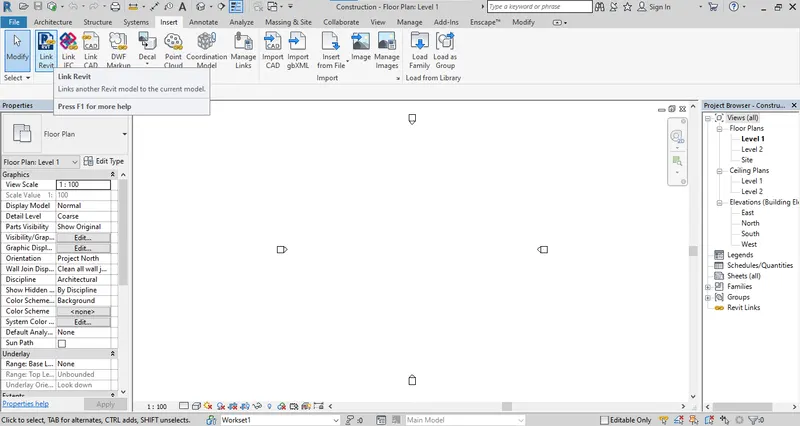
Step 7: Select the architectural file and open it.
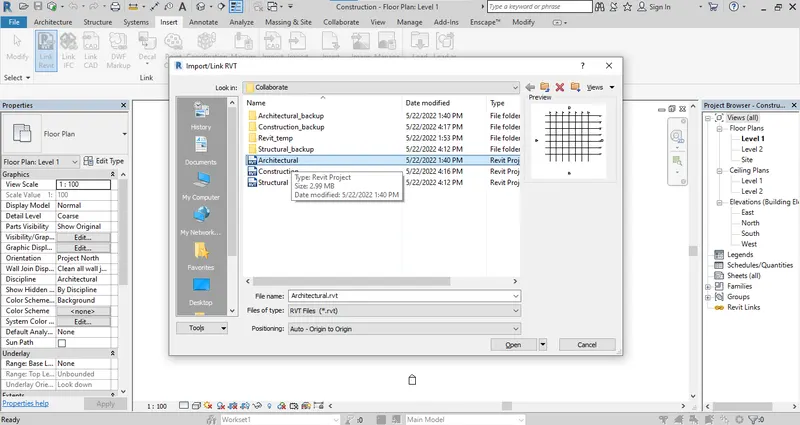
Step 8: The architectural file is linked with the constuction file.
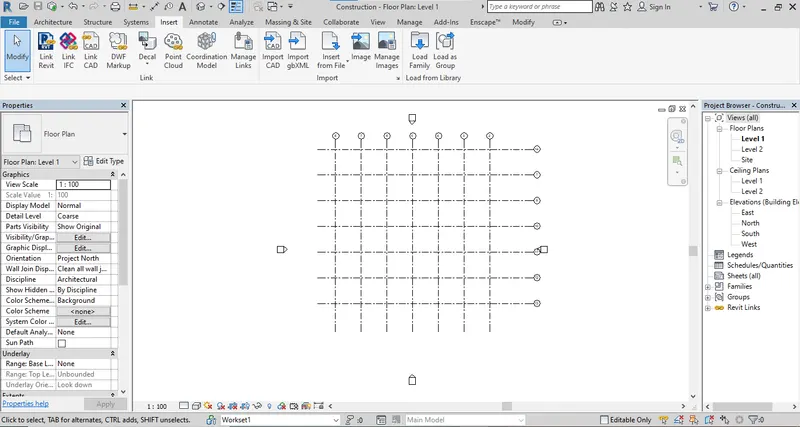
Step 9: Repeat the same process for structural file and link the structural file to construction file.
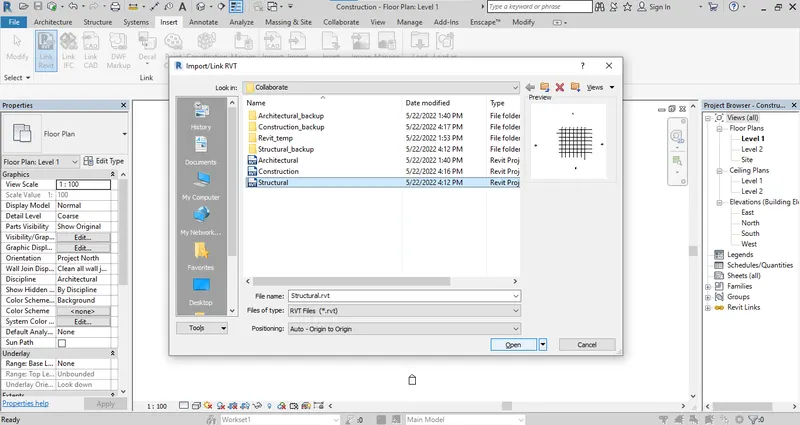
Result 2: The archiitectural and Structural file is linked with the construction file.
Q.9 Ans
AIM : Match the Grid of architectural and structural templates in construction file.
Procedure:
Yes the model is set up for the project.
Result:
Q.10 Ans
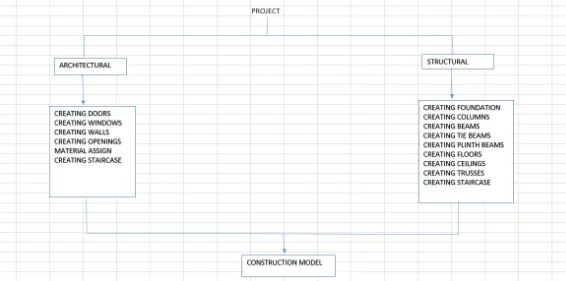
AIM : List a flow chart of project tree set up in terms of Contruction , Architectural and structural model.
Procedure: Create a flow chart in excel file.
Result: