Usage of Collaborate tool in REVIT
1.
Aim
To create a new architectural template and by using base point create base point in that template.
Procedure
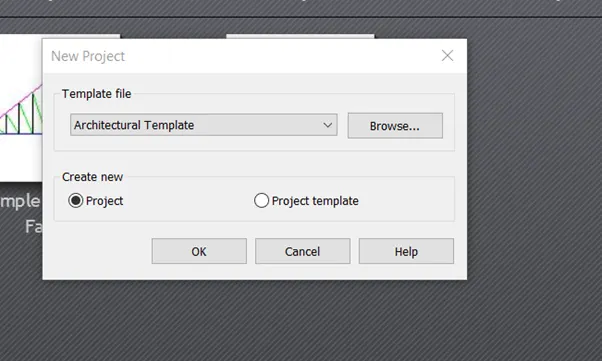
- Open a new architectural template
- Go to architectural tab and create grits in horizontal and in vertical directions.
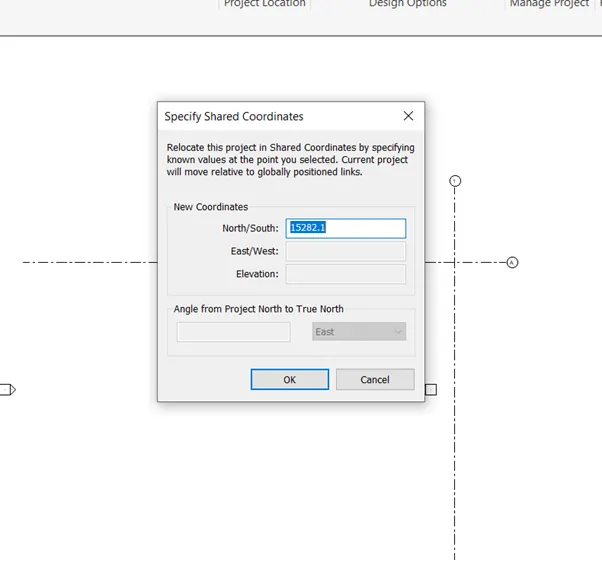
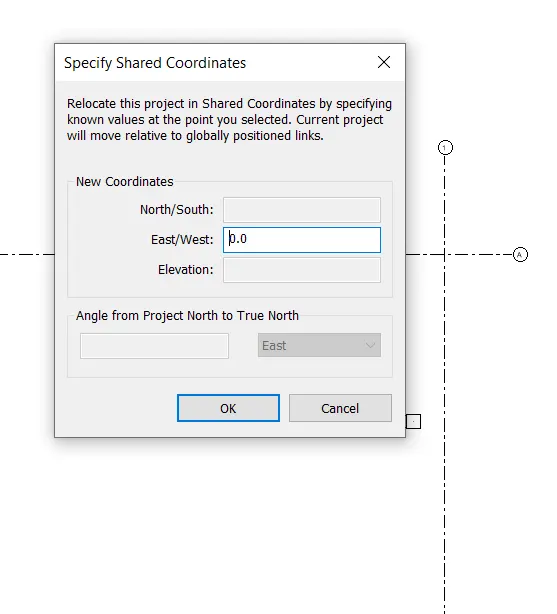
- Then go to manage tab there is a option called Coordinates click on it and click specify coordinates at point.
- Click on the horizontal grit a dialogue box will appear enter 0 in it.
- The click on the vertical grit and enter 0.
- Thus the coordinated are created.
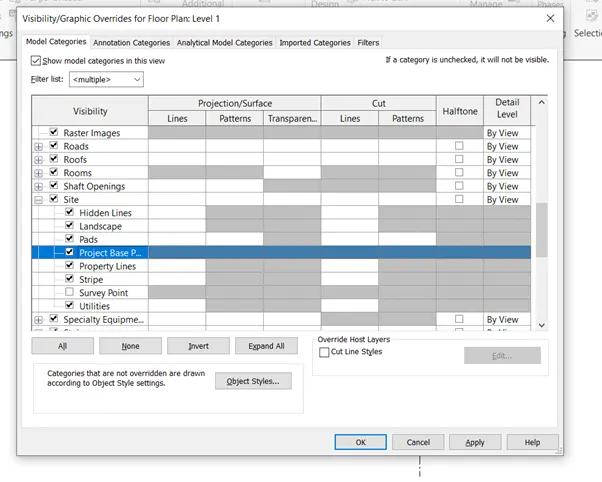
- Go to visibility graphics enable project base point by click in the VG Site option.
- Then click ok the project base point will appear in the screen. Drag this point and move it the junction of the grit lines.
- Thus the project base point is created.
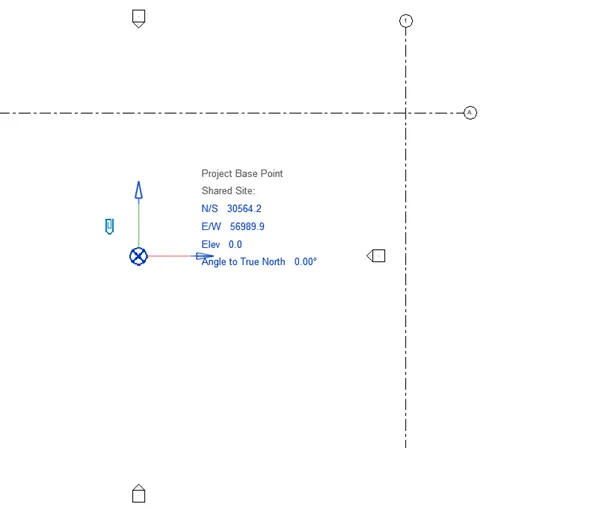
Result
Thus the base point and shared coordinates are created.
2.
Aim
To create a new Structural template and by using base point create base point in that template.
Procedure
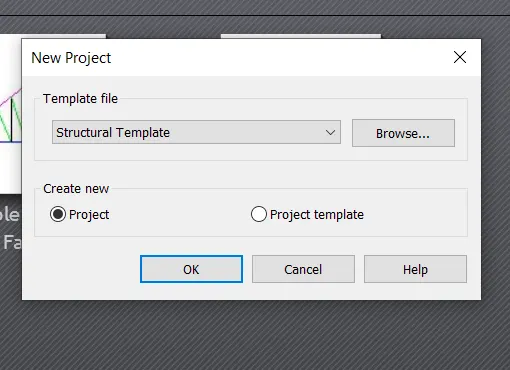
- Open a new structural template
- Go to Structural tab and create grits in horizontal and in vertical directions.
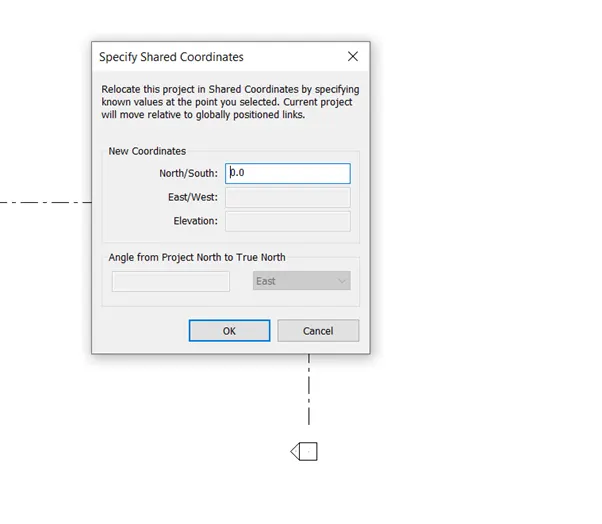
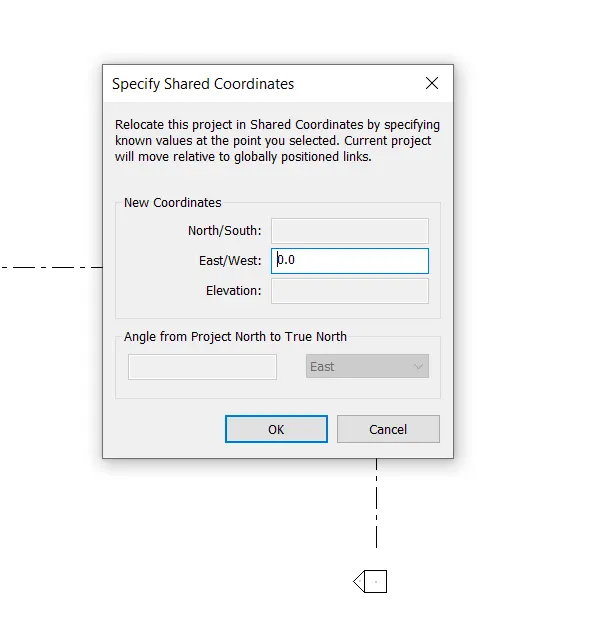
- Then go to manage tab there is an option called Coordinates click on it and click specify coordinates at point.
- Click on the horizontal grit a dialogue box will appear enter 0 in it.
- The click on the vertical grit and enter 0.
- Thus the coordinated are created.
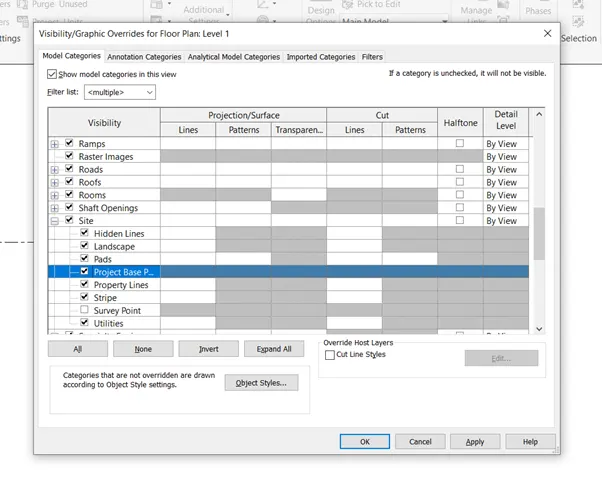
- Go to visibility graphics enable project base point by click in the VG Site option.
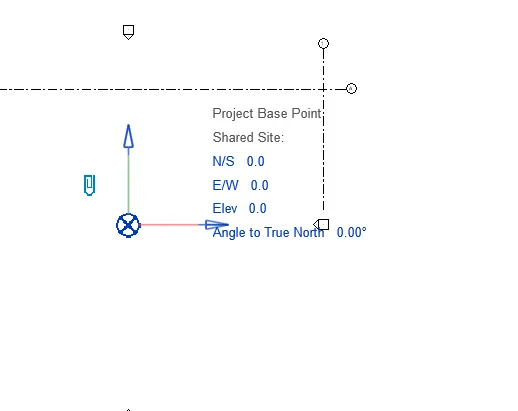
- Then click ok the project base point will appear in the screen. Drag this point and move it the junction of the grit lines.
- Thus the project base point is created.
Result
Thus the base point and shared coordinates are created.
3.
Aim
To create the Central model file by opening the architectural model.
Procedure
- Open the Architectural model
- Go to collaborate tab
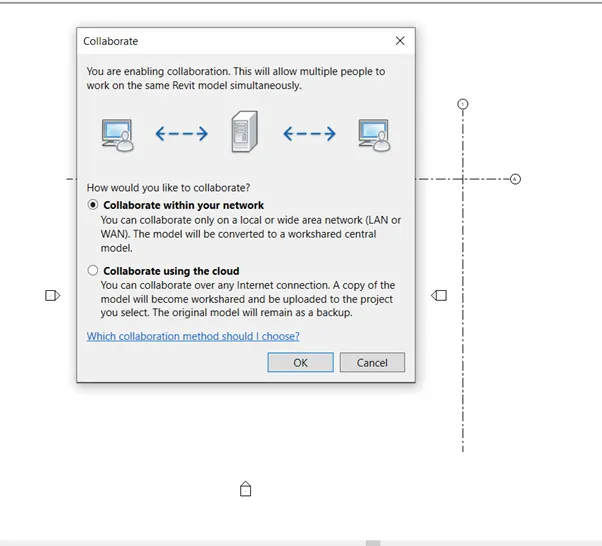
- Click on collaborate
- A dialogue box will appear regarding saving option
- Within the network or in the cloud
- Click on within the network option.
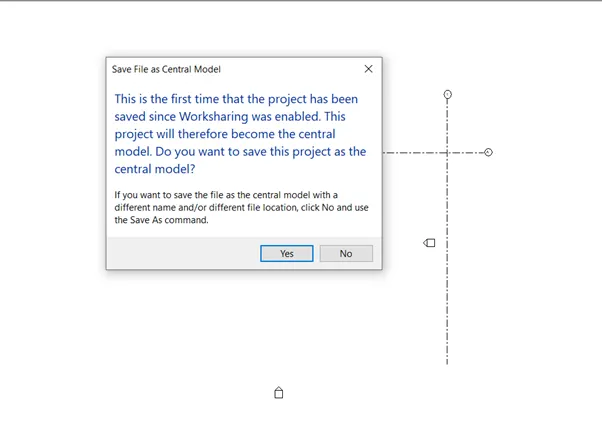
- Work sharing will be enabled. Click on save the dialogue box will appear saying that the model was saved for the first time after work sharing option is enabled.
- The project will become as central model. Click on ok so that the project will be saved as central model
Result
Thus the central model file has been created and saved.
4.
Aim
To create grits in longitudinal and transverse direction.
Procedure
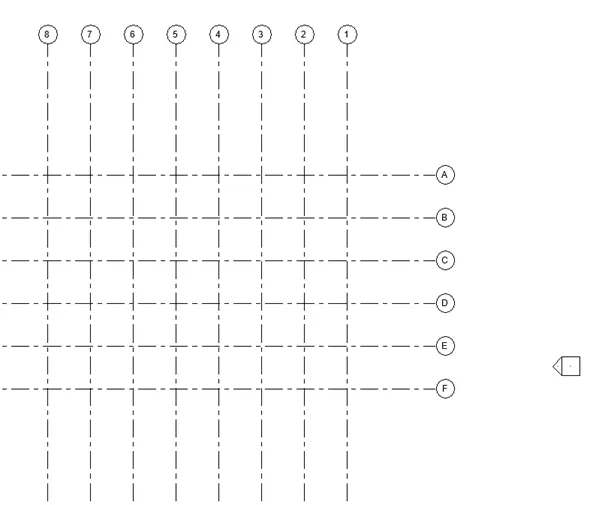
- Go to architectural template central model file.
- Already there is one longitudinal and transverse grit.
- Add some more grits in that itself in longitudinal and in transverse direction.
Result
Thus the grits are created.
5.
Aim
To synchronize the changes from local copy to the central model file.
Procedure
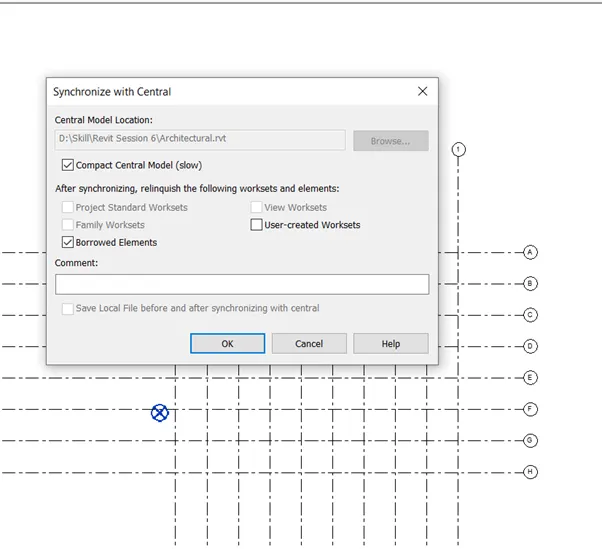
- Open the local file in which grits are created.
- Go to collaborate tab there is an option called synchronize click on it
- And click synchronize and modify. Then select the central model file and click save.
- The changes made in the local file are reflected in the central model file as well.
Result
Thus the model has been synchronized with the central model file.
6.
Aim
To save the structural model as central model file.
Procedure
- Open the Structural model
- Go to collaborate tab
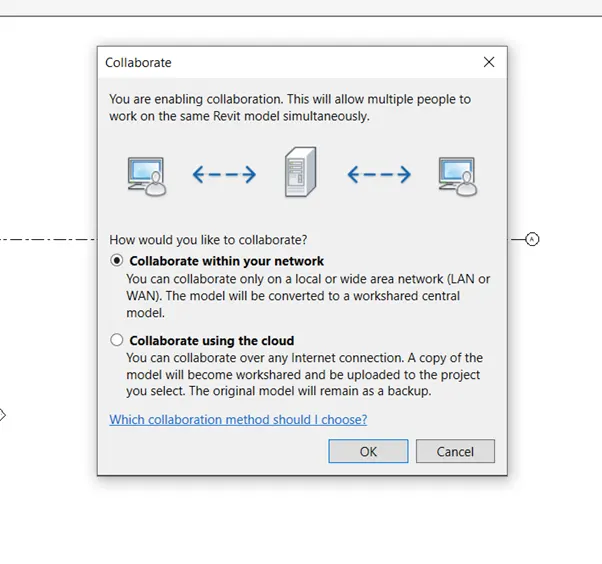
- Click on collaborate
- A dialogue box will appear regarding saving option
- Within the network or in the cloud
- Click on within the network option.
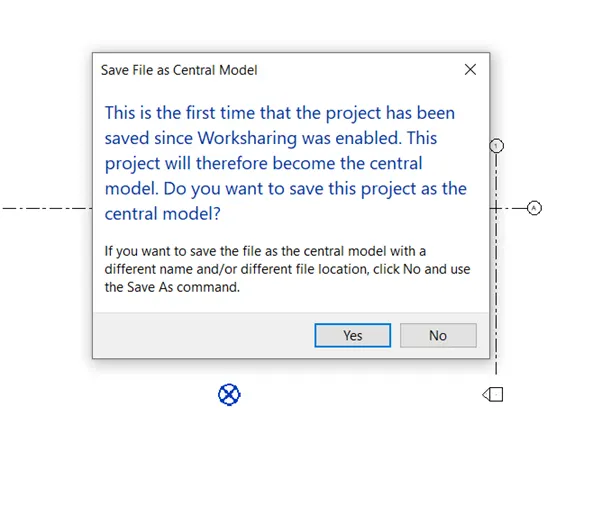
- Work sharing will be enabled. Click on save the dialogue box will appear saying that the model was saved for the first time after work sharing option is enabled.
- The project will become as central model. Click on ok so that the project will be saved as central model
Result
Thus the structural file has been saved as central model file.
7.
Aim
To copy grits and levels from architectural template to structural template by using copy monitor tool.
Procedure
- Open the structural template.
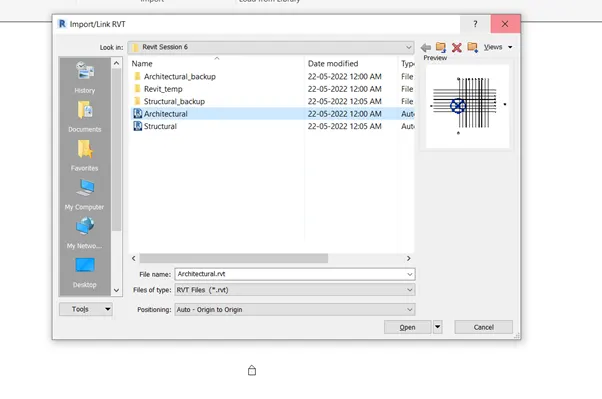
- Go to insert tab and click link Revit and select the architectural file
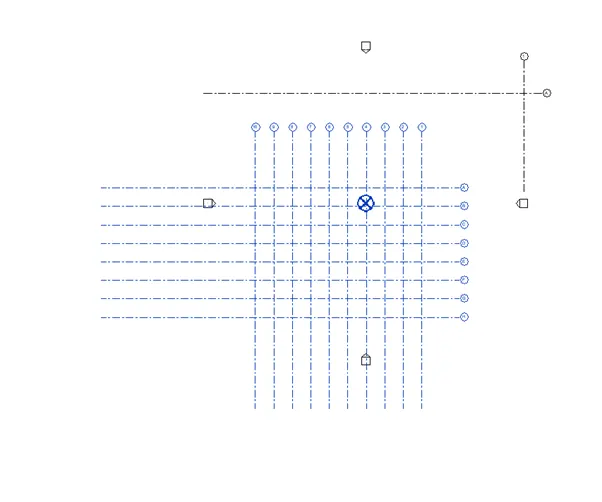
- Thus the architectural template has been placed in the structural template.
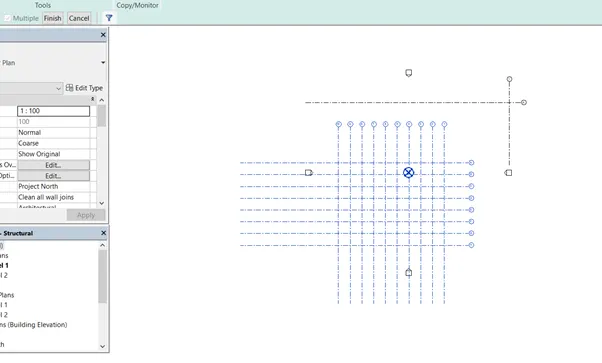
- Go to copy monitor tool in the Revit and click select link and select the architectural template link and click copy option and choose multiple and select all the grits.
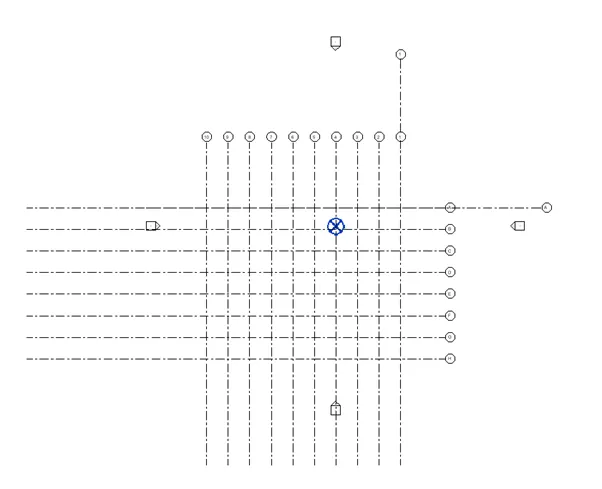
- Then click finish and then go to copy monitor and click final tick mark.
- Thus the architectural template has been copied to the structural template.
Result
Thus the architectural template has been copied to the structural template by using copy monitor tool.
8.
Aim
To create the new construction template and save as central model file with structural and architectural template.
Procedure
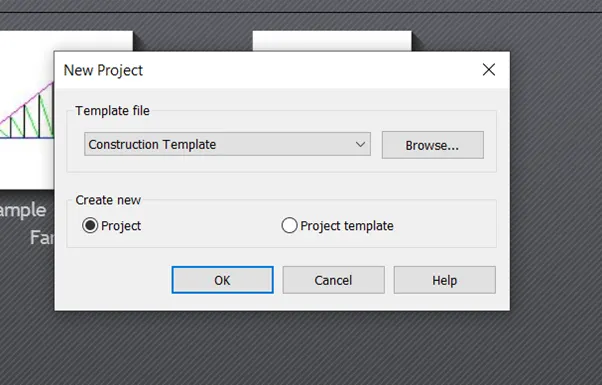
- Open Revit software and open construction template.
- Go to collaborate tab
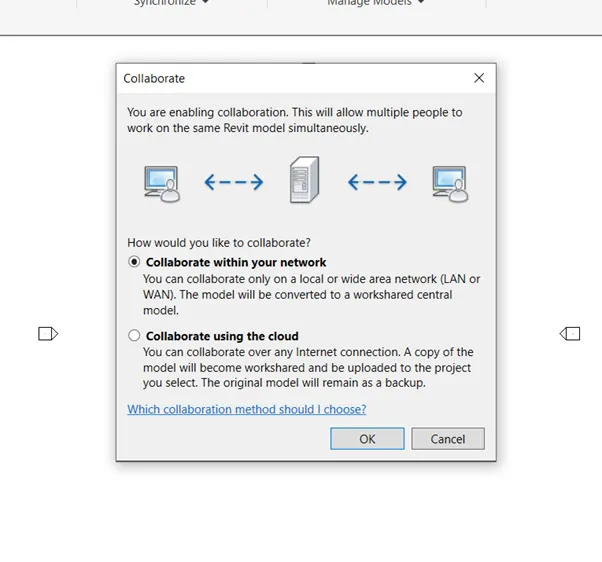
- Click on collaborate
- A dialogue box will appear regarding saving option
- Within the network or in the cloud
- Click on within the network option.
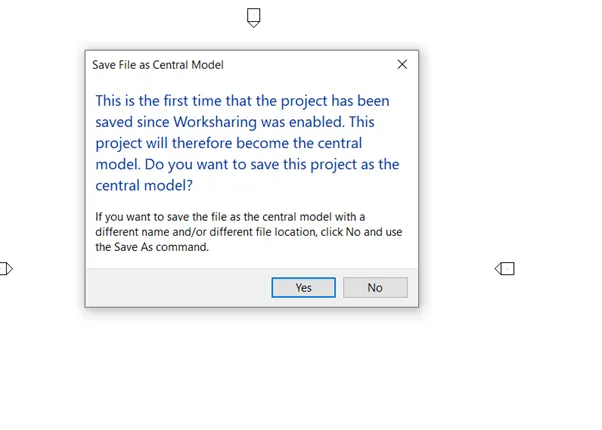
- Work sharing will be enabled. Click on save the dialogue box will appear saying that the model was saved for the first time after work sharing option is enabled.
- The project will become as central model. Click on ok so that the project will be saved as central model
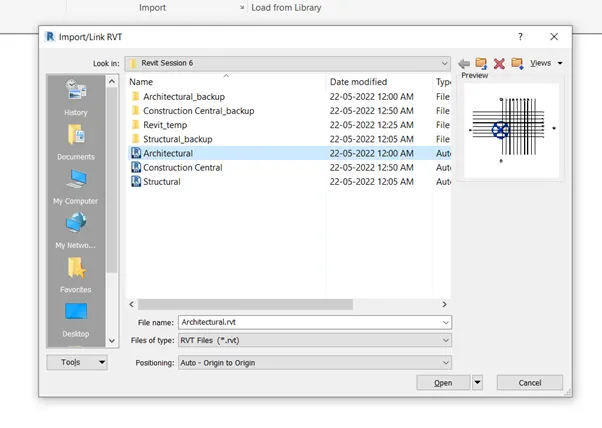
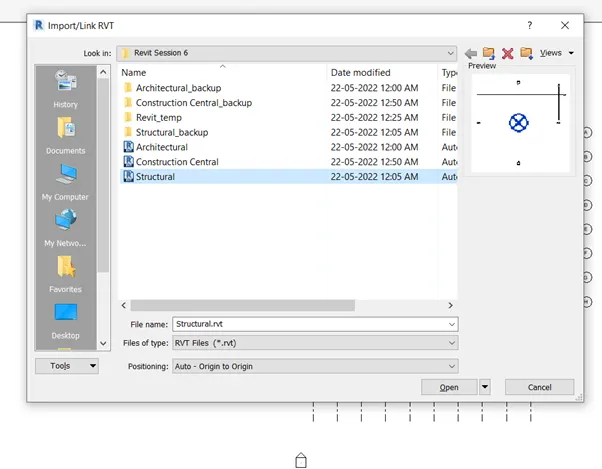
- Go to insert tab and click link Revit and select architectural.
- Then go to insert tab and select link Revit and select structural
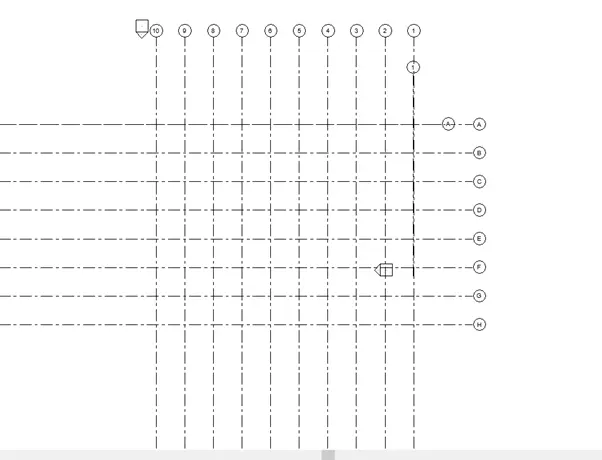
- Thus the Architectural and structural template are linked to construction template.
Result
Thus the architectural and structural templates are inserted in the construction template.
9.
Aim
To check whether the architectural and structural template collide each other.
Procedure
- Once the construction template has been created with architectural and structural templet. Check weather both templates collide each other or not.
- If yes, then save the project for further reference.
- If not, then check the base point and shared coordinates and make it collide each other.
In my model the Architectural and structural template collide each other.
Result
Thus the Construction template has been created and checked for collision.
10.
Aim
To create a flow chart of work and capacity of people to work simultaneously.
Procedure
Construction project involves both Architectural and structural works.
Architectural Template.
- Modelling of Walls
- Modelling of Doors
- Modelling of Windows
- Modelling of Celling’s
- Modelling of Architectural flooring
- Modelling of Architectural Roof
- Assigning Materials to the components
- Creating openings
- Overall aesthetic appearance of building
Structural Template.
- Modelling Beams
- Modelling Columns
- Modelling Floors
- Modelling Roofs
- Modelling Slabs
- Modelling Staircase
- Modelling Footings
- Modelling Connections
- Revit allows multiple peoples to work in same project.
- People who are all involved in the construction are Architect, Structural, Mechanical, Electrical, Plumbing, Fire and Safety etc.
- By using collaborate option multiple number of people can work in same project at same time.
Result
Thus the flow chart has been created and detailed outlook of project has been given.