Usage of Collaborate tool in REVIT
INTRODUCTION: The main aim of this whole challenge is to get the students to familiarize themselves with the whole functionality of the collaboration tool given in the Revit software. This whole challenge is wholly and solely dedicated to the collaboration tool. This challenge teaches the students how to create a central file and local files. The ways of synchronizing the different files to the central file. This tool is also useful when more than 1 person is working on creating different aspects of the model. Please have a look at the below aims, brief procedure, and results obtained at the end of the procedure for more clarity. The snips of each aim are attached after the result section of the aim.
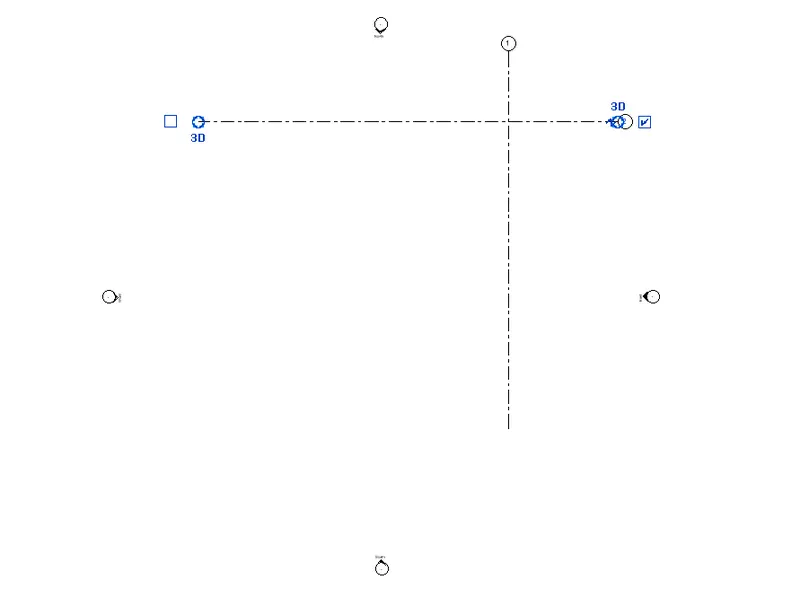
AIM_1: Open an architectural template. Using the Manage tab set the project base point and project shared coordinates for the project
PROCEDURE:
- Open Revit software.
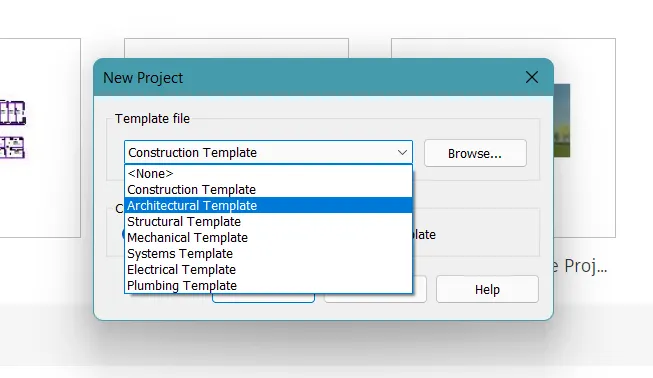
- Create a new architectural template for your desired unit.
- Here I have chosen the imperial template.
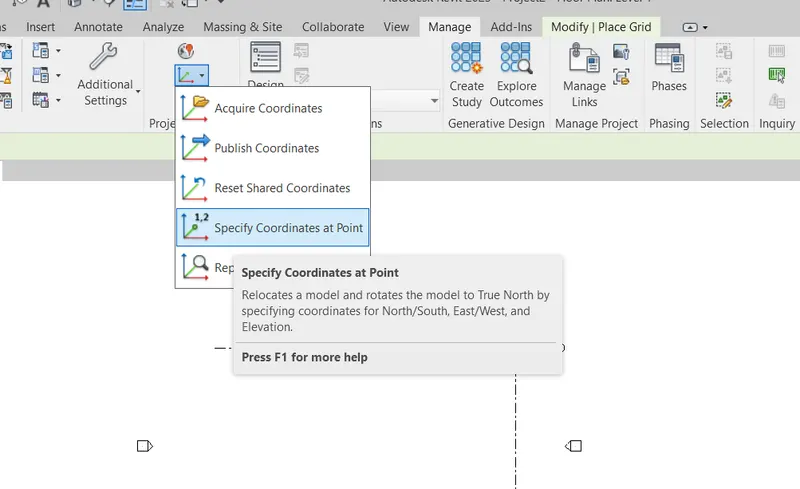
- Now once the template is created, go to the Manage tab and click on the co-ordinates option.
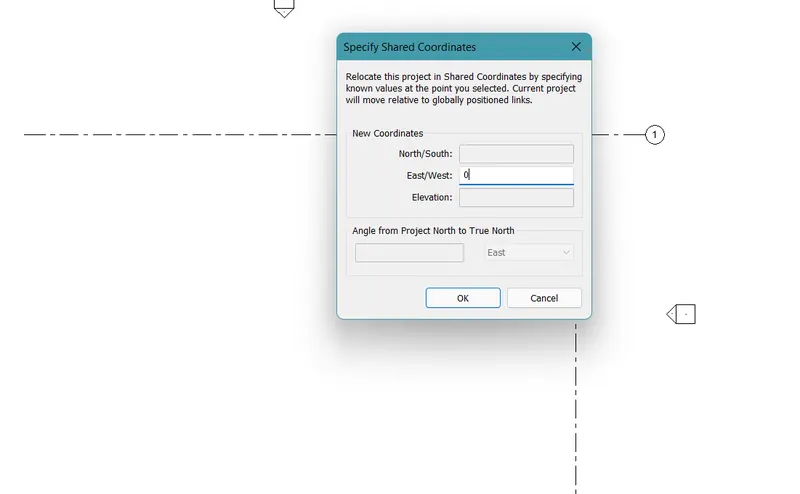
- In the drop-down list, select specify the co-ordinates option and then assign the value of zero for both N/S & E/W co-ordinates.
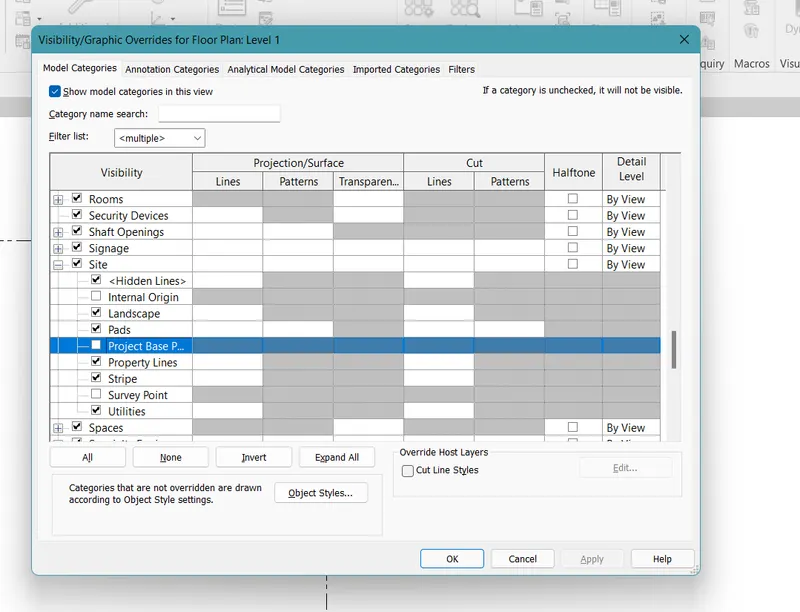
- Now type VG on the keyboard, and a dialog box appears.
- In the site option, enable the project base point.
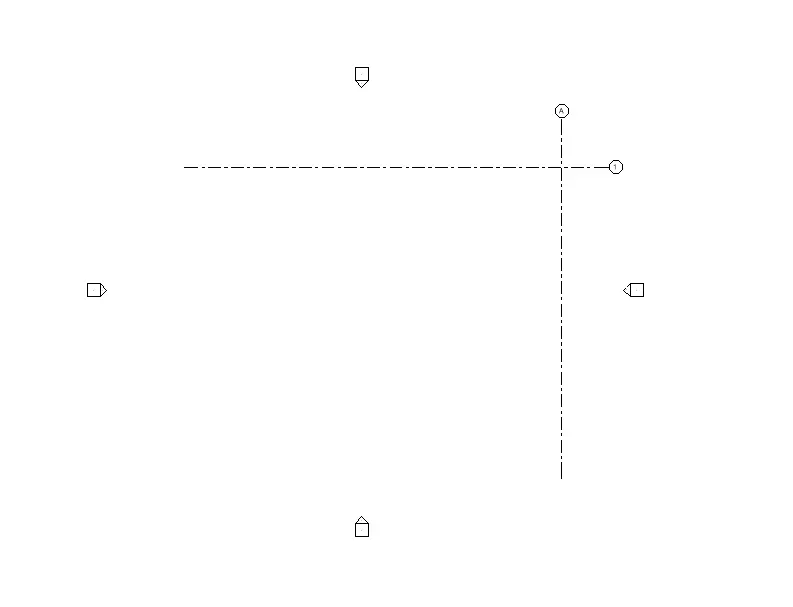
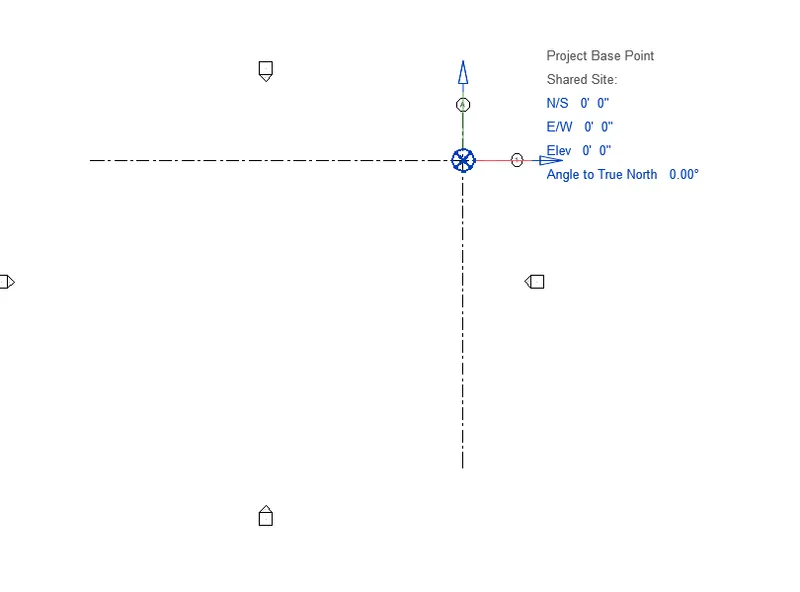
- Now the project base point is visible.
- Arrange the project base point wherever required.
- Please have a look at the below snips for more clarity.
RESULTS: An architectural file with a project base point is created.
SNIPS:
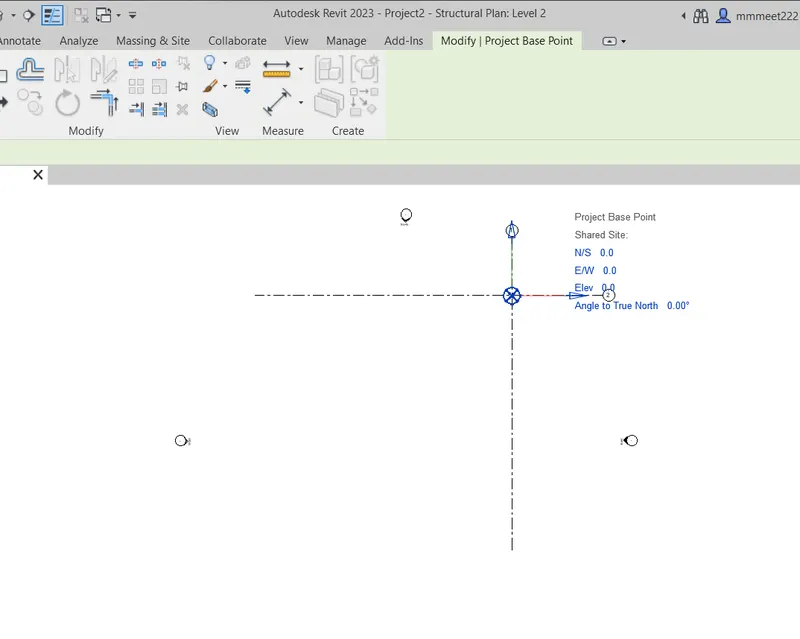
AIM_2: Open another new file but with a structural template. Using the manage tab set project parameters the same as the architectural model. Copy the parameters from the architectural model to the structural template or enter the parameters manually into the structural model
PROCEDURE:
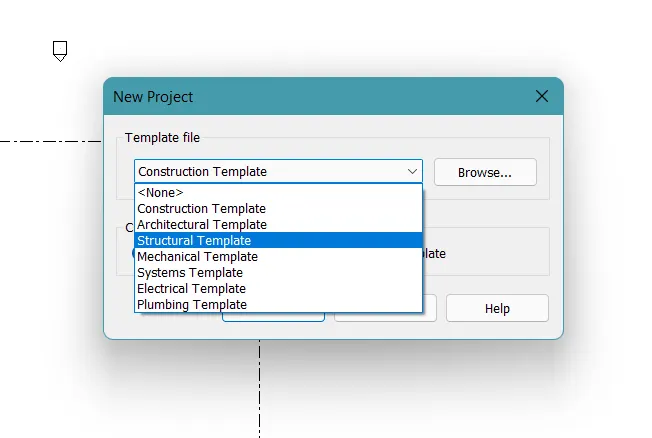
- Now, once the architectural file is created, go to the File tab and create a new file with the same units, but now in the structural template.
- Once this file is created, now go to the manage tab and set the project parameters.
- In the project base point, give the same base point as that of the architectural template.
- Copy the base point coordinates from the architectural file to the structural file.
- Thus set the parameters of the structural file as the same as the architectural file.
- Please have a look at the below snips for more clarity.
RESULTS: A structural file with the same base point as that of the architectural one is created.
SNIPS:
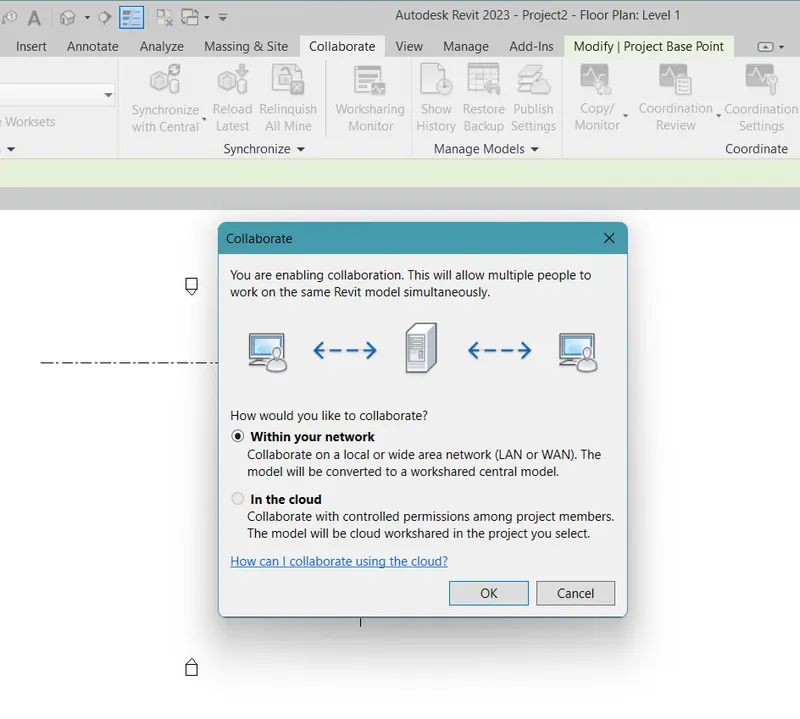
AIM_3: Re-open the architectural model. Using the tools under the Collaborate tab makes the architectural model a central model (enabling simultaneous working on the model)
PROCEDURE:
- Now again open the architectural model.
- Go to the Manage tab and click on the collaborate tool.
- Once you click on it a dialog box appears.
- In the dialog box select the first option and select ok.
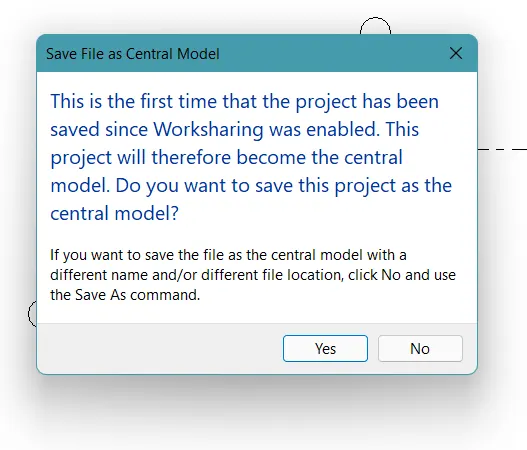
- Then save the file, and a dialog box appears.
- Save the file as a central file.
- Please have a look at the below snips for more clarity.
RESULTS: The architectural file has now collaborated.
SNIPS:
AIM_4: Create the Grids Longitudinal and Transverse pattern for the project similar to the task done in Week 2
PROCEDURE:
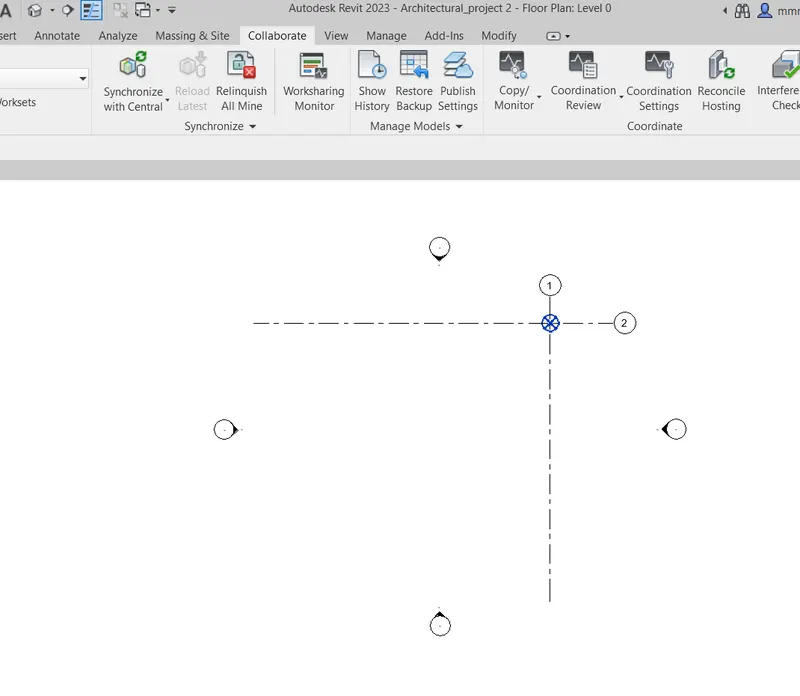
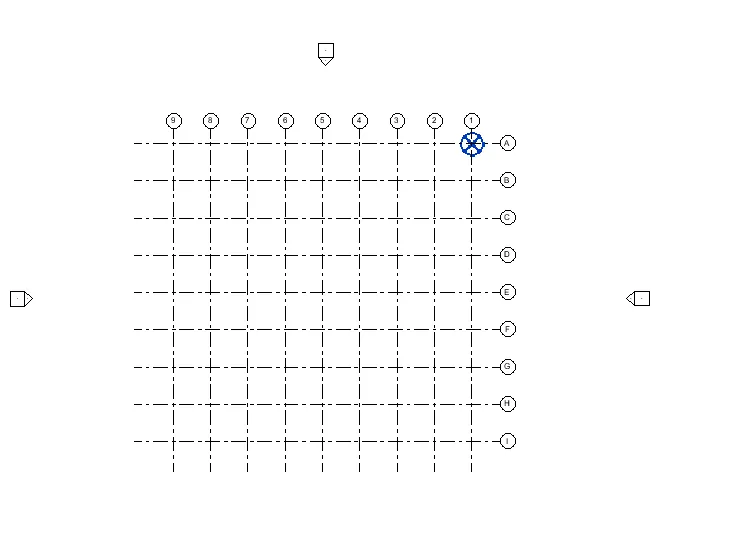
- Now, in the architectural file itself create more grids.
- Here I have created the grids at an offset of 10'.\
- Now save the file.
- Please have a look at the below snips for more clarity.
RESULTS: Grids were added to the architectural file.
SNIPS:
AIM_5: Synchronize the changes from the local copy to the central file of the architectural model.
PROCEDURE:
- When we opened the architectural file, it created a local copy.
- We had created grids for it.
- As we save it a new local copy is saved.
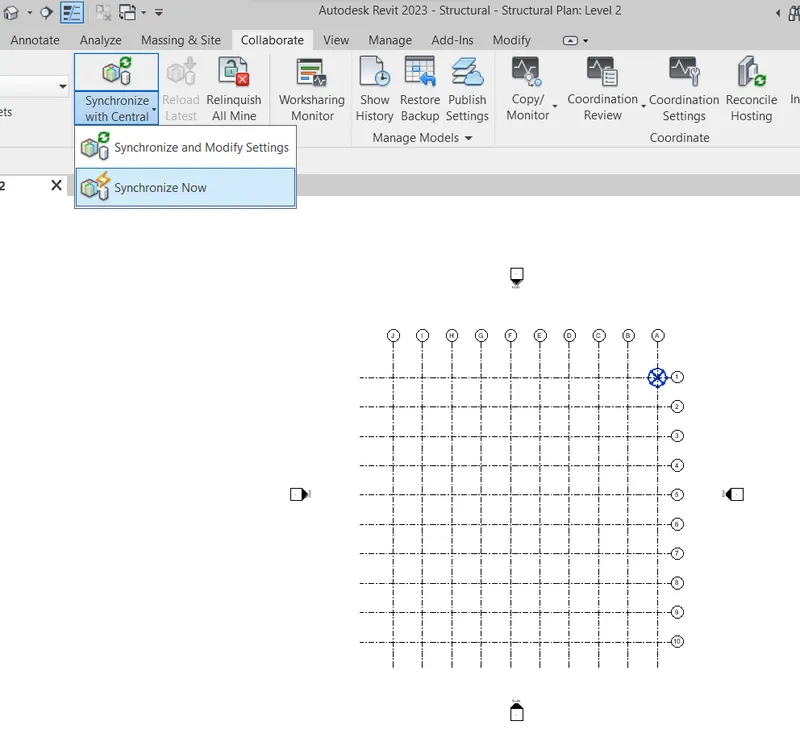
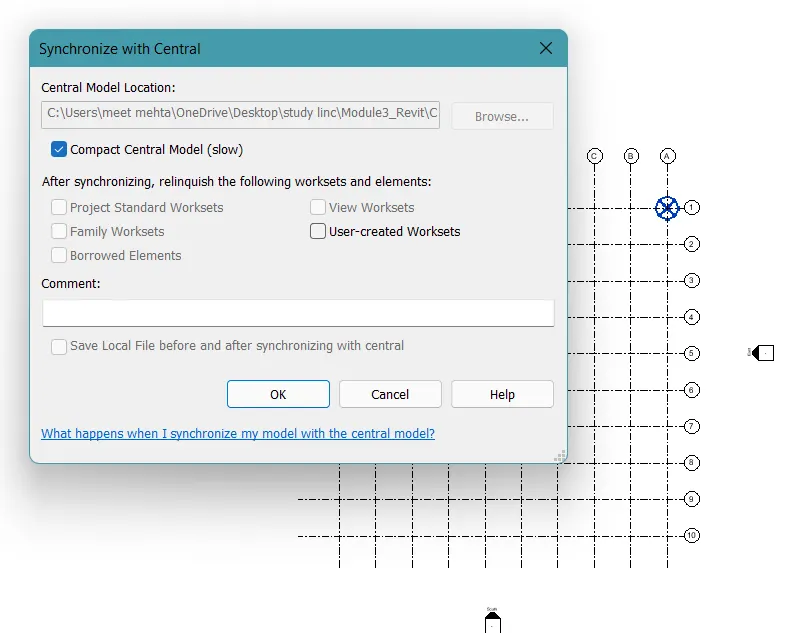
- To synchronize the changes made in the local copy to the central copy, just click on the synchronize with central icon in the collaborate tab.
- Please have a look at the below snips for more clarity.
RESULTS: The architectural local copy is now synchronized to the central copy.
SNIPS:
AIM_6: Open the structural model and use the collaboration tools to save the model as a central file.
PROCEDURE:
- Now open the structural file again.
- Go to collaborate tab and collaborate the file.
- Select the first option in the dialog box and then save the file as a central file.
- Please have a look at the below snips for more clarity.
RESULTS: Central file for the structural file is created.
SNIPS:
AIM_7: Under the Collaborate tab, select the grids and levels from the architectural model, and using Copy Monitor try to copy the grids to the structural model. See what happens when the copy monitored grid is moved around in the structural model
PROCEDURE:
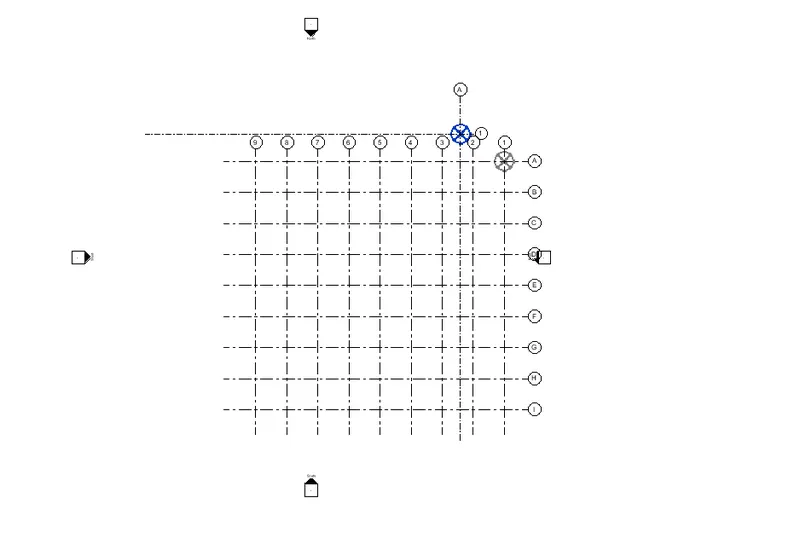
- Now once both the central files are created, we will copy the architectural file to the structural file.
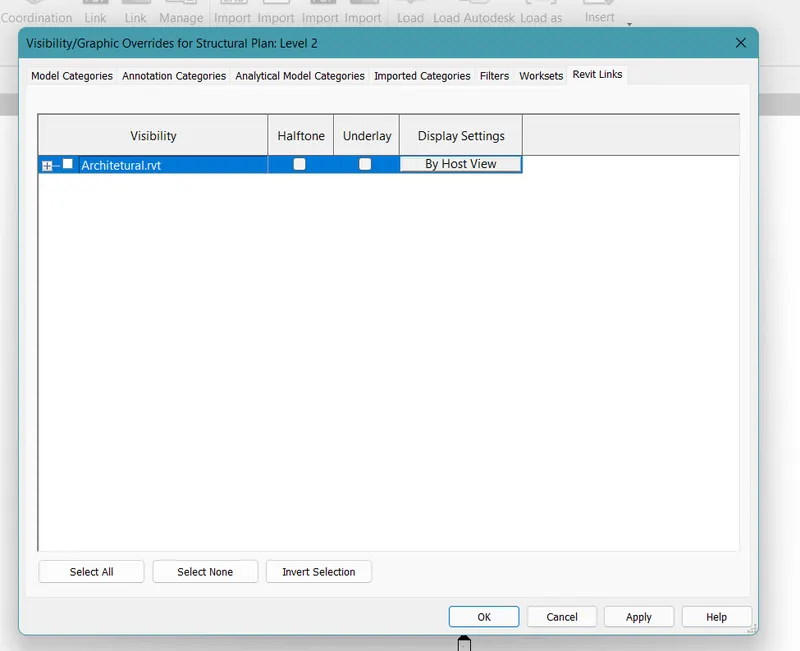
- Go to the insert tab and click on insert Revit links.
- Now insert the architectural file.
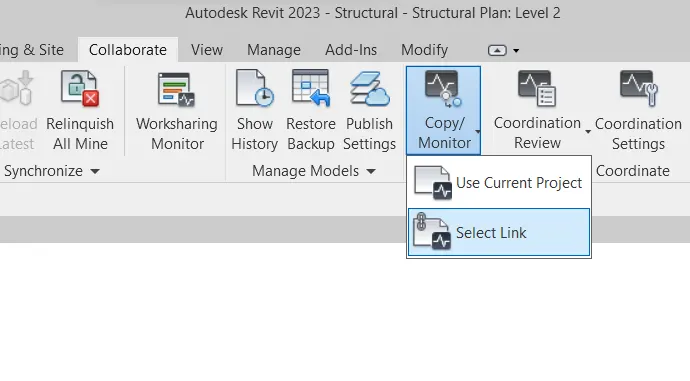
- Now, go to the collaborate tab.
- Click on the copy/monitor option.
- Select the option of selecting a link.
- Then select the architectural link.
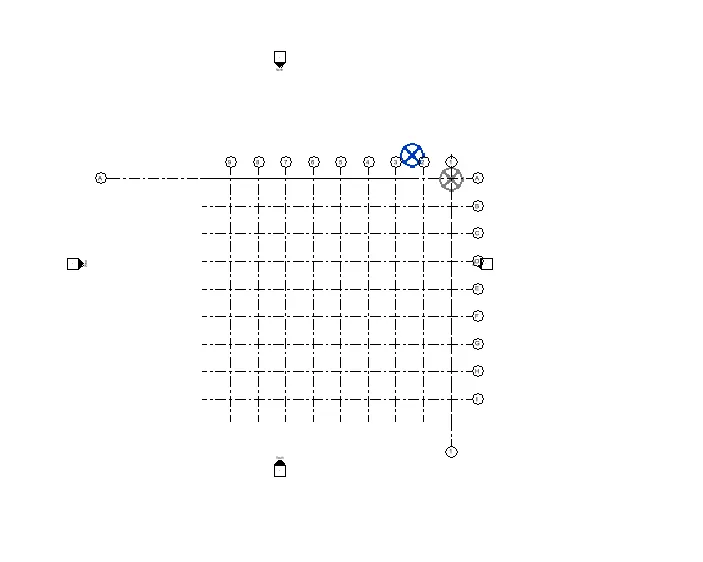
- Now select the copy option and then select multiple.
- Now select the whole architectural file.
- And then press finish.
- Thus the whole link is now copy/monitored to the structural file.
- Please have a look at the below links for more clarity.
RESULTS: The architectural link is now monitored to the structural file.
SNIPS:

AIM_8: Create another new file with a construction template. Save the new file as a central model. This file will include both architectural and structural models. Click manage links under the manage tab to link both architectural and structural files. Save the file and close all the files.
PROCEDURE:
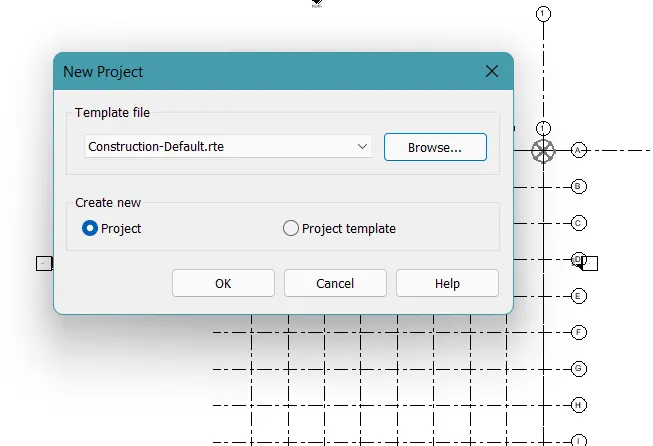
- Once both the structural and architectural files are created now create a new construction template.
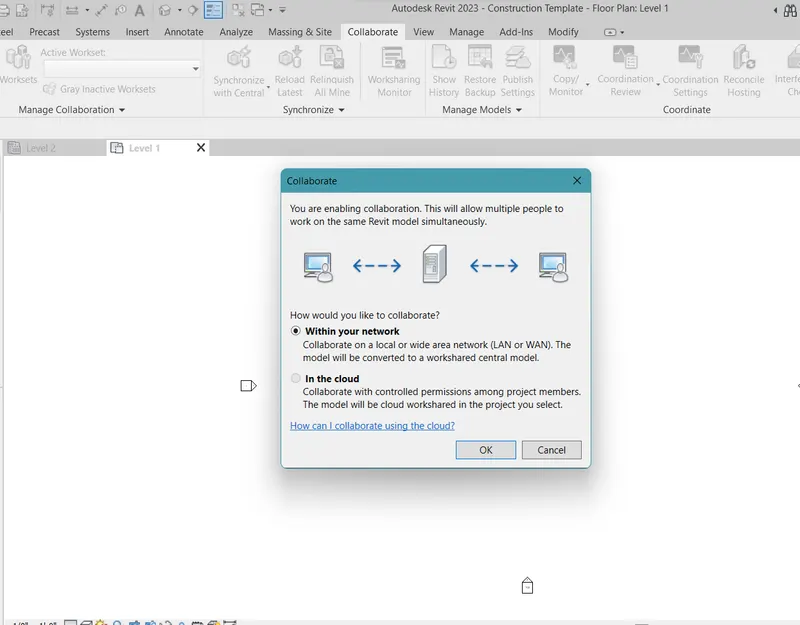
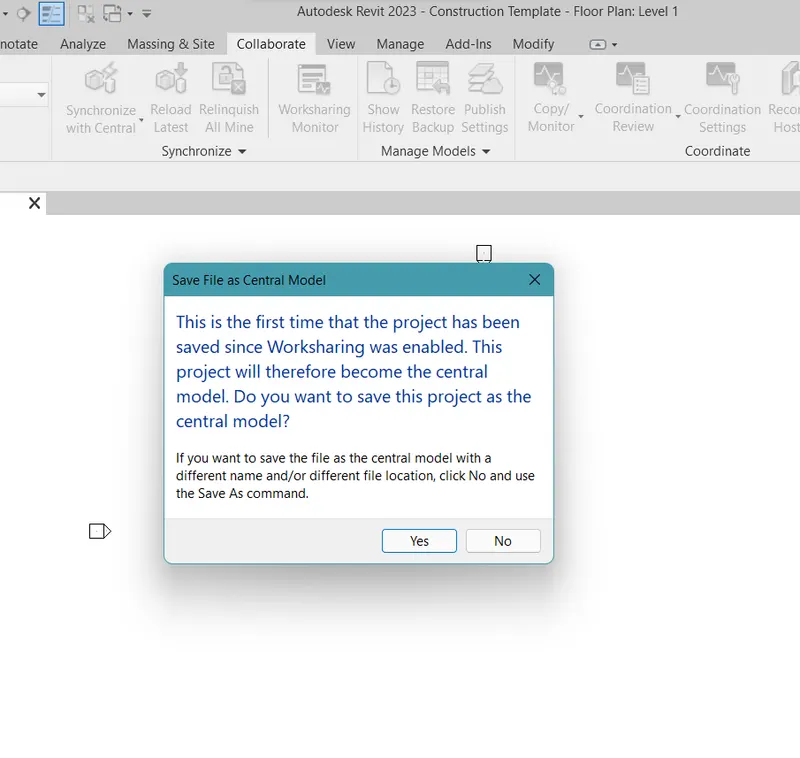
- Collaborate the file and save it as a central file.
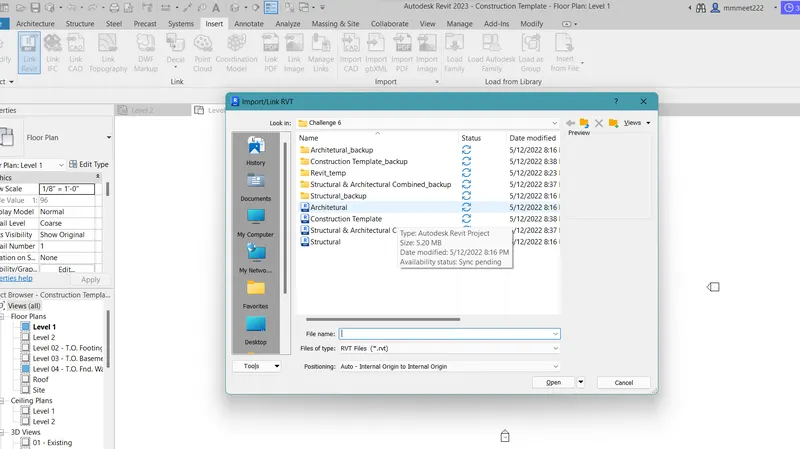
- Now using insert links, insert architectural and structural files.
- Once inserted copy/monitor both the file and see if the project center or say the base point of the project co-inside.
- Please have a look at the below snips for more clarity.
RESULTS: A new construction file is created having both structural and architectural files linked to it.
SNIPS:
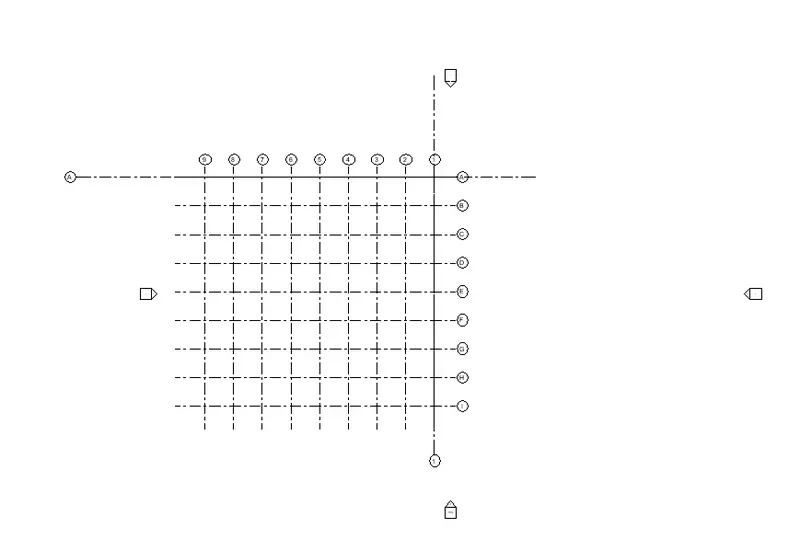
AIM_9: Are the grids from the structural and architectural models matching in the construction template created? If yes the model is set up for project 2. If not work on the shared parameters and linking options under Manage links
( Hint: origin to origin, by shared coordinates, or by project base point to base point ) to link the models in an appropriate manner
ANSWER: Yes, the grids of both the models are matching in the construction template.
Please have a look at the below snip for more clarity.
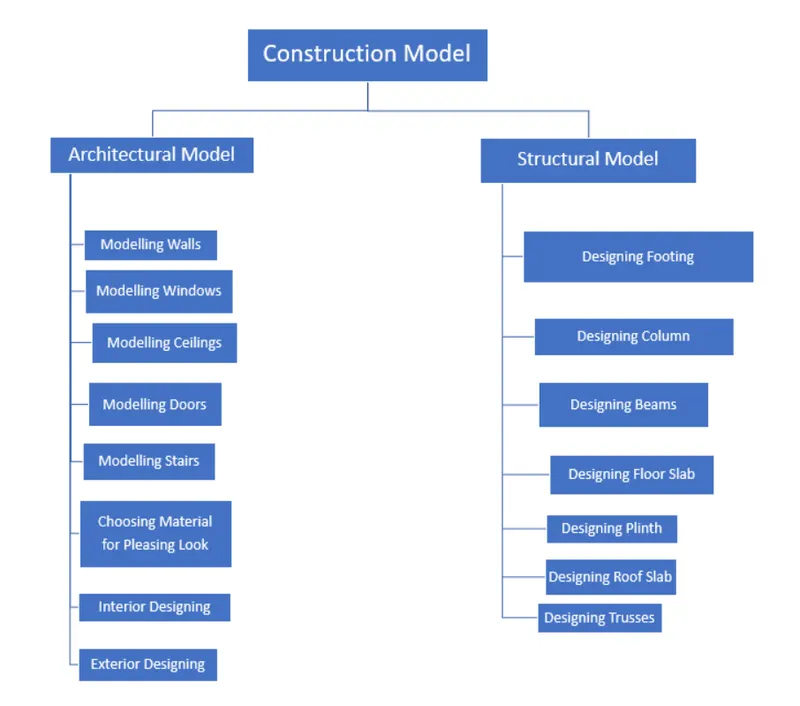
AIM_10: List a flow chart of a project tree set up in terms of the Construction model, Architecture & Structure model, in this exercise and understand how many people can work on the same project using Revit simultaneously
ANSWER: