Usage of Collaborate tool in REVIT
AIM & INTRODUCTION :
AIM :
To create Architectural and Structural template, then link both the templates into a singel construction template and make it as a central file by collaboration tab.
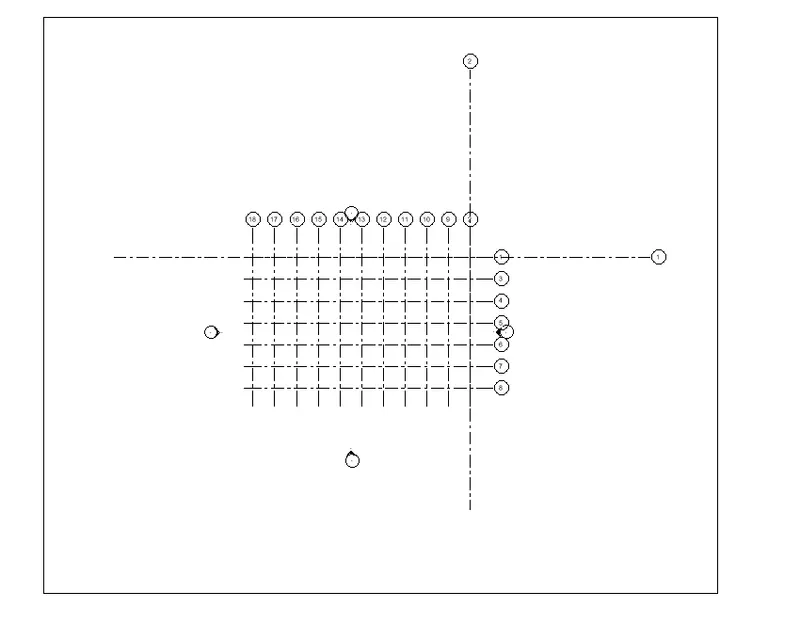
INTRODUCTION :
- Here in revit we can create template as architectural, structural and construction templates.
- The architectural template includes walls. floors, roofs, doors, windows etc.
- The structural template includes Columns, beams, footings, structural floors etc.
- The construction template includes both the architectural and structural elements in it by linking both the templates.
- The collabaration option helps here to make a created file into a central file.
PROCEDURE :
1. ARCHITECTURAL TEMPLATE :
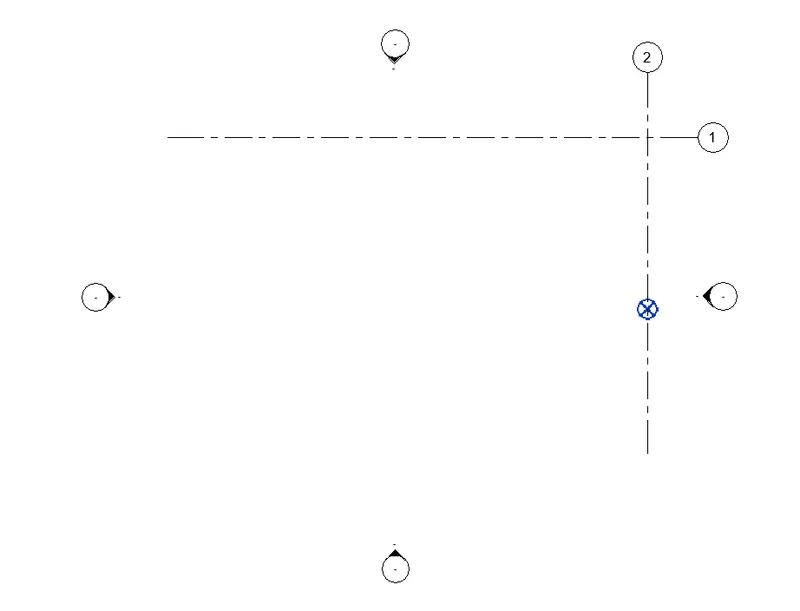
- Open a new Architectural template from the file tab < new < project.
- Select grids from the architecture tab and draw two grids by intersecting each other.
- From the manage tab select the option Co-ordinate < Specify Co-ordinates at point.
- Then select the point of intersection of the grids and make all the points into 0.
- To evoke the project base point, type VG < site < Project base point.
- Then set the project base point value as 0.
- Here, we created a Architectural template and the project base point and the co-ordinates are set.
2. STRUCTURAL TEMPLATE :
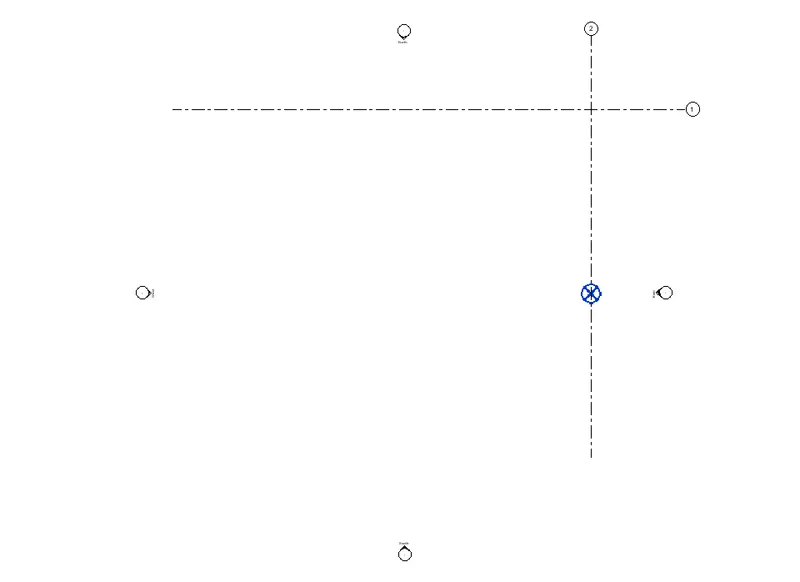
- Open a new Structural template from the file tab < new < project.
- Select grids from the Structural tab and draw two grids by intersecting each other.
- From the manage tab select the option Co-ordinate < Specify Co-ordinates at point.
- Then select the point of intersection of the grids and make all the points into 0.
- To evoke the project base point, type VG < site < Project base point.
- Then set the project base point value as 0.
- Here, we created a Structural template and the project base point and the co-ordinates are set.
3. COLLABORATED CENTRAL ARCHITECTUARAL MODEL :
- Likewise, Open a new Architectural template from the file tab < new < project.
- Select grids from the architecture tab and draw two grids by intersecting each other.
- From the manage tab select the option Co-ordinate < Specify Co-ordinates at point.
- Then select the point of intersection of the grids and make all the points into 0.
- To evoke the project base point, type VG < site < Project base point.
- Then set the project base point value as 0.
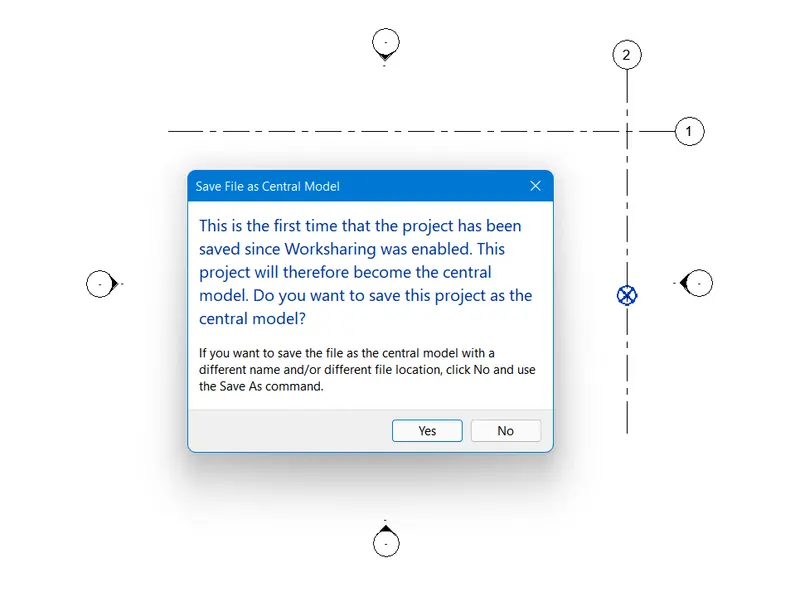
- Then the created Architectural file will be made as central file.
- It should be done by collaborating the created Architectural file by the Collaborate tab < collaborate .
- After collaborating, the file should be saved from the save icon.
- Here, we collaborated the created file and made it as the central file.
4. Longitudinal and Transverse pattern for the project :
- Likewise, Open a new Architectural template from the file tab < new < project.
- Select grids from the architecture tab and draw two grids by intersecting each other.
- From the manage tab select the option Co-ordinate < Specify Co-ordinates at point.
- Then select the point of intersection of the grids and make all the points into 0.
- To evoke the project base point, type VG < site < Project base point.
- Set the project base point value as 0.
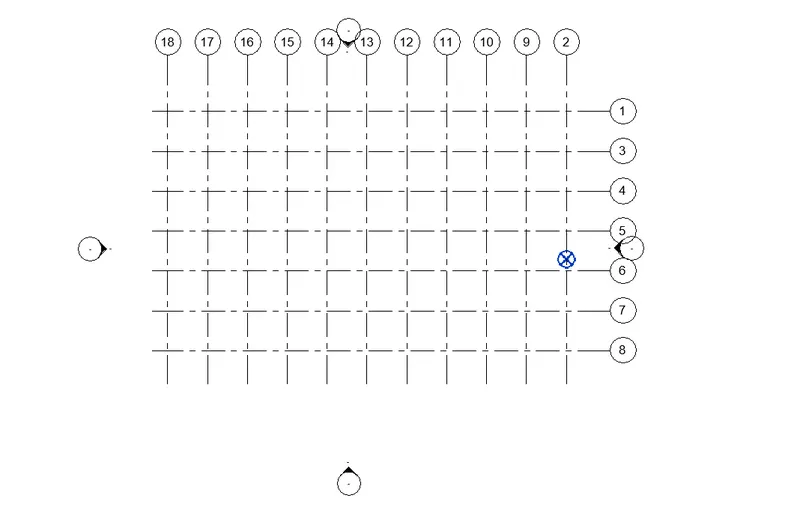
- Then Select grids from the architecture tab and draw grids on both Longitudinally and Transversely.
- Those grids should be created by selecting the pick line option from the gridline.
- And pick the appropriate gridline to make a gridline at both transverse and longitudinal.
- Before picking the gridllines, add the offset values for the gridlines.
- Here, we created a grids on both Longitudinally and Transversely.
5. SYNCHRONIZING THE ARCHITECTURAL MODEL :
- Likewie, Open a new Architectural template from the file tab < new < project.
- Select grids from the architecture tab and draw two grids by intersecting each other.
- From the manage tab select the option Co-ordinate < Specify Co-ordinates at point.
- Then select the point of intersection of the grids and make all the points into 0.
- To evoke the project base point, type VG < site < Project base point.
- Set the project base point value as 0.
- Then Select grids from the architecture tab and draw grids on both Longitudinally and Transversely.
- Those grids should be created by selecting the pick line option from the gridline.
- And pick the appropriate gridline to make a gridline at both transverse and longitudinal.
- Before picking the gridllines, add the offset values for the gridlines.
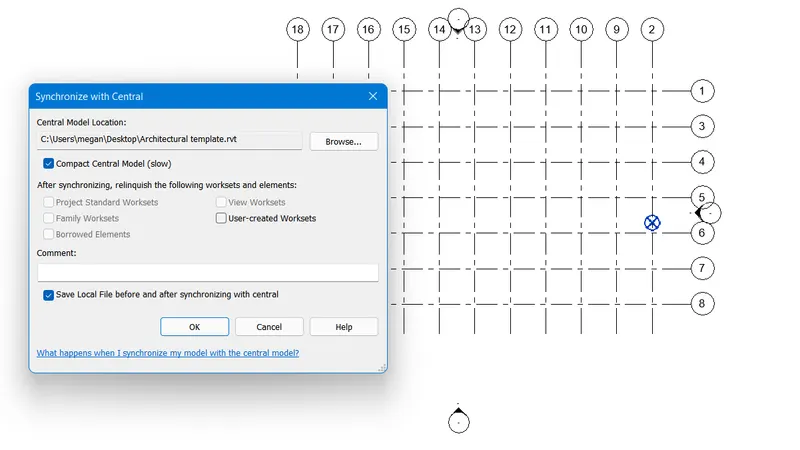
- Then Synchronize the created file into the central file.
- It should be done by selecting Collaborate tab < synchronize with the central < synchronize and modify setting or synchronize now.
- Here, we synchronized the file into the central file.
6. COLLABORATED CENTRAL STRUCTURAL MODEL :
- Open a new Structual template from the file tab < new < project.
- Select grids from the Structural tab and draw two grids by intersecting each other.
- From the manage tab select the option Co-ordinate < Specify Co-ordinates at point.
- Then select the point of intersection of the grids and make all the points into 0.
- To evoke the project base point, type VG < site < Project base point.
- Then set the project base point value as 0.
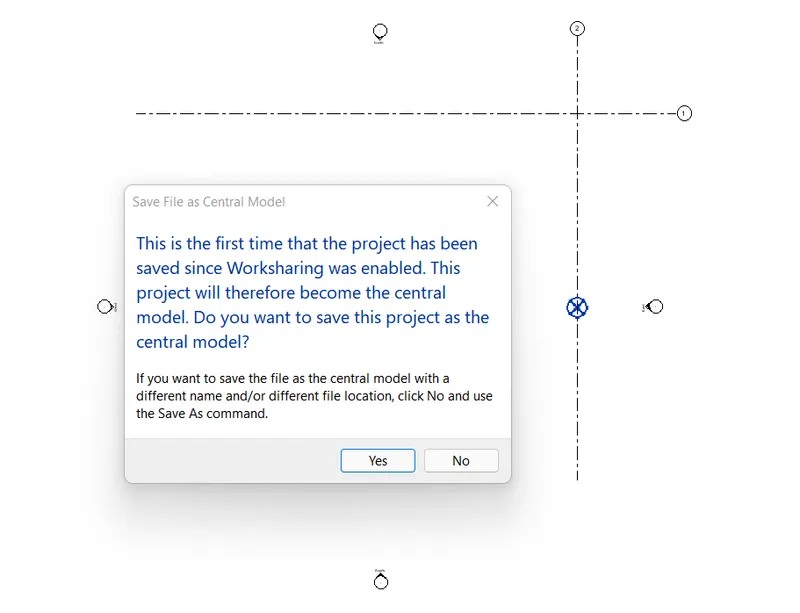
- Then the created Structural file will be made as central file.
- It should be done by collaborating the created Structural file by the Collaborate tab < collaborate .
- After collaborating, the file should be saved from the save icon.
- Here, we collaborated the created structural file and made it as the central file.
7. Using Copy Monitor, copied the grids of the architectural model to the structural model file :
- Open a new Architectural template from the file tab < new < project.
- Select grids from the architecture tab and draw two grids by intersecting each other.
- From the manage tab select the option Co-ordinate < Specify Co-ordinates at point.
- Then select the point of intersection of the grids and make all the points into 0.
- To evoke the project base point, type VG < site < Project base point.
- Then set the project base point value as 0.
- And save it separately as appropriate name such as Architectural template.
- Likewise, Open a new Structural template from the file tab < new < project.
- Select grids from the Structural tab and draw two grids by intersecting each other.
- From the manage tab select the option Co-ordinate < Specify Co-ordinates at point.
- Then select the point of intersection of the grids and make all the points into 0.
- To evoke the project base point, type VG < site < Project base point.
- Then set the project base point value as 0.
- And save it separately as appropriate name such as Structural template.
- Here in structural template link the previously created Architectural template.
- It is linked by selecting Insert tab < link revit < Architectural template.
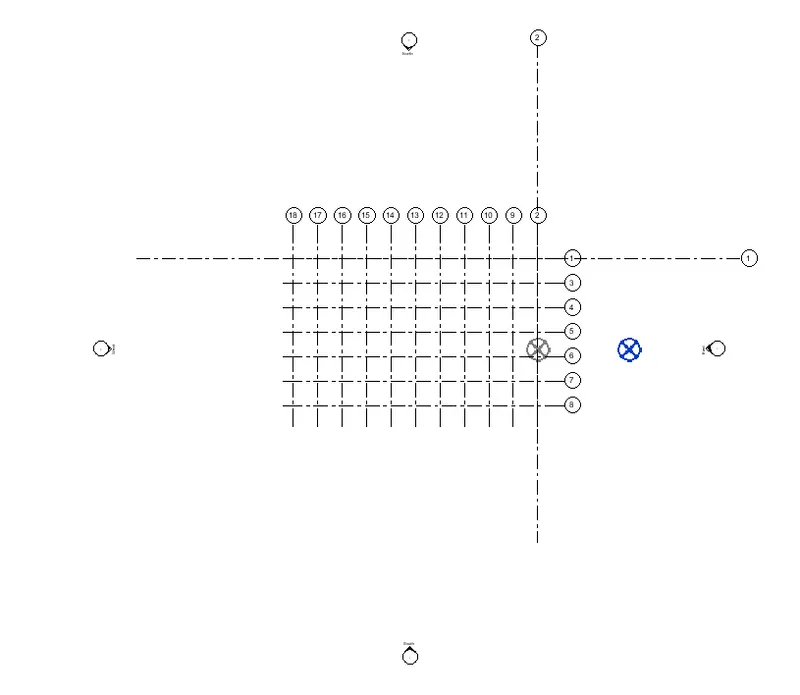
- Now, copy the linked file to the Structural template by the copymonitor option.
- This copymonitor is evoked from the Collaborate tab < Copy monitor < Select link.
- And select the Architectural file which has been linked in to the structural template.
- After selecting the appropriate file, select copy < multiple < select file < finish.
- Here, we can see that the Architectural file is copied into the structural template.
8. Construction template as a central model and it include both architectural and structural model :
- Open a new Architectural template from the file tab < new < project.
- Select grids from the architecture tab and draw two grids by intersecting each other.
- From the manage tab select the option Co-ordinate < Specify Co-ordinates at point.
- Then select the point of intersection of the grids and make all the points into 0.
- To evoke the project base point, type VG < site < Project base point.
- Then set the project base point value as 0.
- And save it separately as appropriate name such as Architectural template.
- Likewise, Open a new Structural template from the file tab < new < project.
- Select grids from the Structural tab and draw two grids by intersecting each other.
- From the manage tab select the option Co-ordinate < Specify Co-ordinates at point.
- Then select the point of intersection of the grids and make all the points into 0.
- To evoke the project base point, type VG < site < Project base point.
- Set the project base point value as 0.
- And save it separately as appropriate name such as Structural template.
- Then Open a new construction template from the file tab < new < project.
- Link both the Architectural and Structural template into the created Construction template.
- Linking of the both templates are done by selecting Insert < Link revit < selecting Both Architectural and Structural template one by one individually.
- Then it should be collaborated by selecting Collaborate tab < collaborate .
- After collaborating, the file should be saved from the save icon.
- Here, we collaborated the created structural file and made it as the central file.
9. Matching structural and architectural model in the construction template created :
- Likewise, Open a new Architectural template from the file tab < new < project.
- Select grids from the architecture tab and draw two grids by intersecting each other.
- From the manage tab select the option Co-ordinate < Specify Co-ordinates at point.
- Then select the point of intersection of the grids and make all the points into 0.
- To evoke the project base point, type VG < site < Project base point.
- Then set the project base point value as 0.
- And save it separately as appropriate name such as Architectural template.
- Likewise, Open a new Structural template from the file tab < new < project.
- Select grids from the Structural tab and draw two grids by intersecting each other.
- From the manage tab select the option Co-ordinate < Specify Co-ordinates at point.
- Then select the point of intersection of the grids and make all the points into 0.
- To evoke the project base point, type VG < site < Project base point.
- Set the project base point value as 0.
- And save it separately as appropriate name such as Structural template.
- Then Open a new construction template from the file tab < new < project.
- Link both the Architectural and Structural template into the created Construction template.
- Linking of the both templates are done by selecting Insert < Link revit < selecting Both Architectural and Structural template one by one individually.
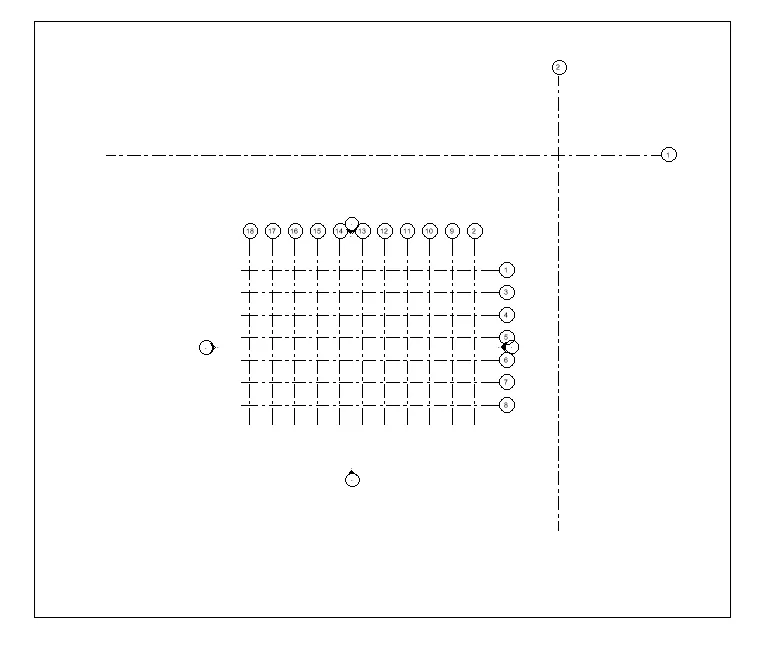
- After linking both the templates into the construction template, it should be matched appropriately.
- The matching of both the templates are done by copymonitor option from the Collaborate Tab.
- Now, copy and match the linked file architectural file to the Structural template by the copymonitor option.
- This copymonitor is evoked from the Collaborate tab < Copy monitor < Select link.
- And select the Architectural file which has to be matched with the structural template.
- After selecting the appropriate file, select copy < multiple < select file < finish.
- Here, we can see that the Architectural file is copied and matched with the structural template.
- Then it should be collaborated by selecting Collaborate tab < collaborate .
- After collaborating, the file should be saved from the save icon.
- Here, we collaborated the created structural file and made it as the central file.
RESULT :
1. ARCHITECTURAL TEMPLATE :
2. STRUCTURAL TEMPLATE :
3. COLLABORATED CENTRAL ARCHITECTUARAL MODEL :
4. Longitudinal and Transverse pattern for the project :
5. SYNCHRONIZING THE ARCHITECTURAL MODEL :
6. COLLABORATED CENTRAL STRUCTURAL MODEL :
7. Using Copy Monitor,, copied the grids of the architectural model to the structural model file :
8. Construction template as a central model and it include both architectural and structural model :
9. Matching structural and architectural model in the construction template created :
10. FLOW CHART OF A PROJECT TREE :
CONSTRUCTION MODEL
ARCHITECTURAL MODEL STRUCTURAL MODEL
- Modelling walls Modelling columns
- Modelling windows Modelling beams
- Modelling doors Modelling footings
- Assigns materials Modelling structural floors
- Modelling architectural floorings Modelling labs
- Modelling architectural roofings and ceilings Modelling truss systems
- Enables to provide the geographic conditions Modelling connections
- Modelling staircase Structural model in general develops the entire framework of a structure
- Creates openings
- Architectural model in overall contributes to the aesthetic beauty of a building.