Usage of Collaborate tool in REVIT
AIM:
1)To set project base point and project shared coordinates for the project in architectural template.
2)To set project parameters the same as the architectural model. Either by copying or setting it manually in structural template.
3)To make the architectural model a central model (enabling simultaneous working on the model).
4)To Create the Grids Longitudinal and Transverse pattern for the project similar to the task done in Week 2.
5)To Synchronize the changes from the local copy to the central file of the architectural model.
6)To use the collaborate tools to save the model as a central file in structural file.
7)select the grids and levels from the architectural model, and using Copy Monitor try to copy the grids to the structural model.
8)To create another new file with a construction template. Save the new file as a central model. This file will include both architectural and structural model. Under the manage tab, Click manage links to link both architectural and structural files. Save the file and close all the files.
9) Match the grids of structural and architectural model in the new construction template. If not matching work on the shared parameters and linking options from manage links.
10)To list a flow chart of a project tree set up in terms of Construction model, Architecture & Structure model, in this exercise and understand how many people can work on the same project using Revit simultaneously.
PROCEDURE:
1) Open a architectural template. Then go to architecture tab and creaete random grids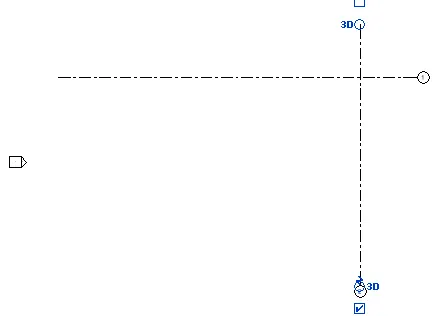 then go to manage tab and select coordinate option
  and select specify coordinates
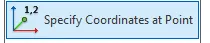 and then select the intersection of those two grids and place it thereand give value
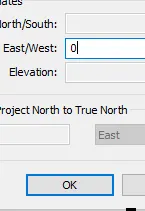 0.
0.
Now to set the project base point type vg or go to visibility /graphics in view tab  and go to site option and explode it and select
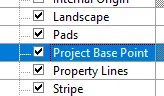 and apply this
 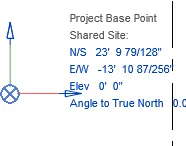 appears now give every value as 0 by double clicking on it and editing.
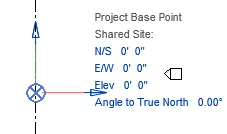 .
.
2) Open a Structural template. Then go to architecture tab and creaete random grids then go to manage tab and select coordinate option and select specify coordinatesand then select the intersection of those two grids and place it thereand give value0.
Now to set the project base point type vg or go to visibility /graphics in view tab and go to site option and explode it and selectand apply this appears now give every value as 0 by double clicking on it and editing.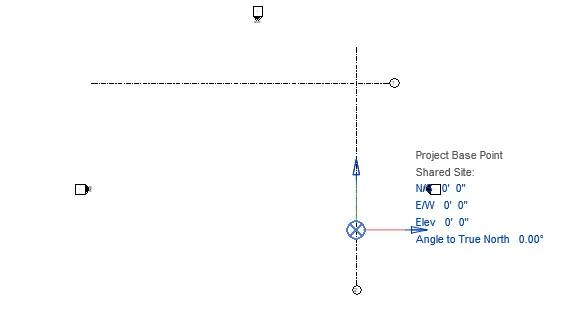
3) Open the architectural file 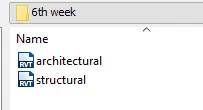 and go to collaborate tab and select option collaborate
 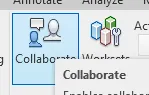 a dialog box appears asking to save within network or in cloud select within network and press ok
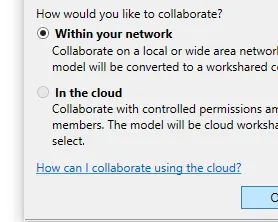 then save the file and again a dialog box apppears
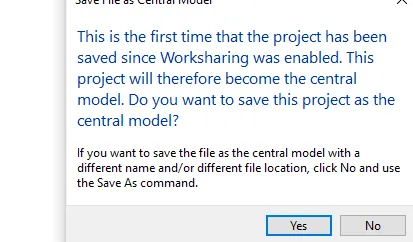 click yes and the file is created as a central model.
4) In the architecture tab go to the grid option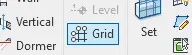 and select pick line option
 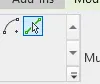 and give offset as 10'
 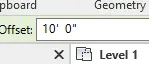 and select the existing grids and offset it vertically to random no. and horizontally also to a vertical no.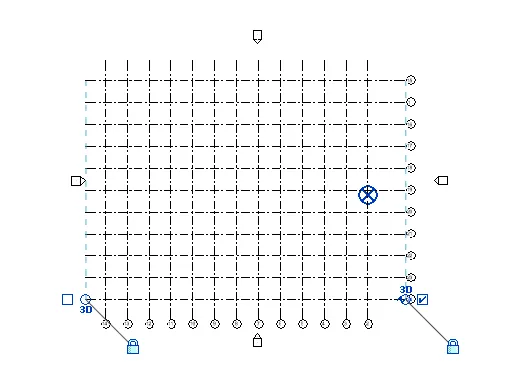
5) Go to the collaborate tab and select option synchronize with central  then select
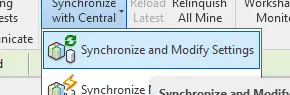 and then select
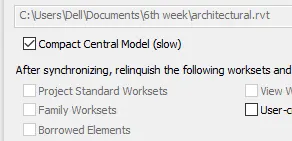 and press okay now the locsl copy is synchronized with central model.
6) Open the structural file and go to collaborate tab and select option collaborate a dialog box appears asking to save within network or in cloud select within network and press okthen save the file and again a dialog box apppearsclick yes and the file is created as a central model.
7) In the structural file go to insert oprtion and select link revit option  and select architectural file
 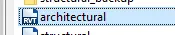 and click open
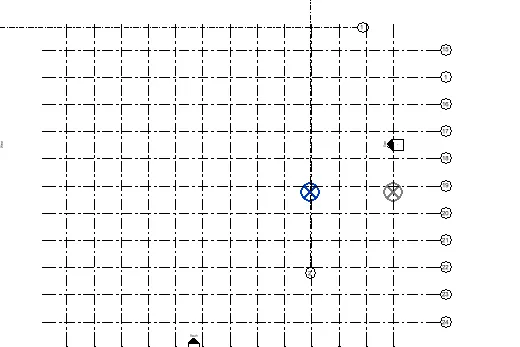 . Then go to collaborate tab and select copy monitor option
 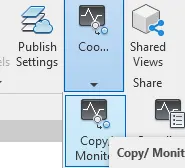 and select link
 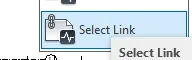 then select the the link and then choose copy option
  and select multiple
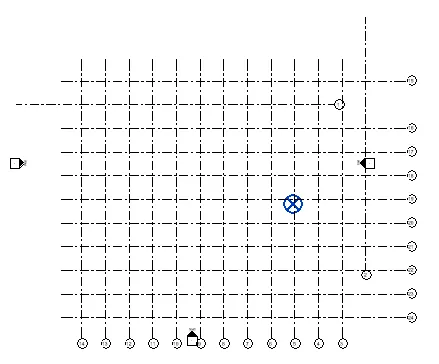
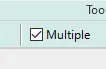 and select all the architectural grid lines.
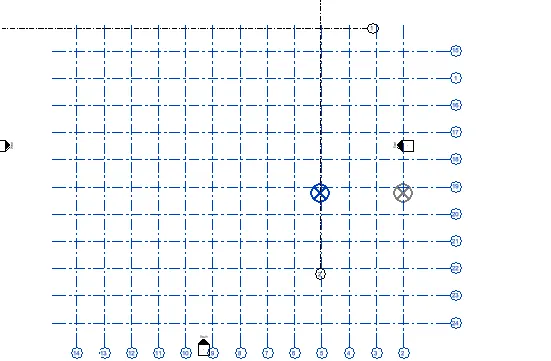 and finsh and then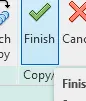
8) create a new prioject construction template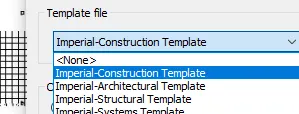 . and then go to collaborate tab and select option collaborate a dialog box appears asking to save within network or in cloud select within network and press okthen save the file and again a dialog box apppearsclick yes and the file is created as a central model.
Then go to manage tab and select manage link options and then add architectural and sructural one by one .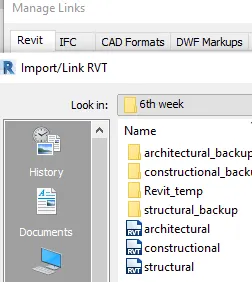
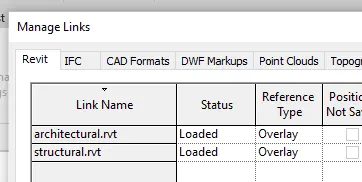 and then press ok
 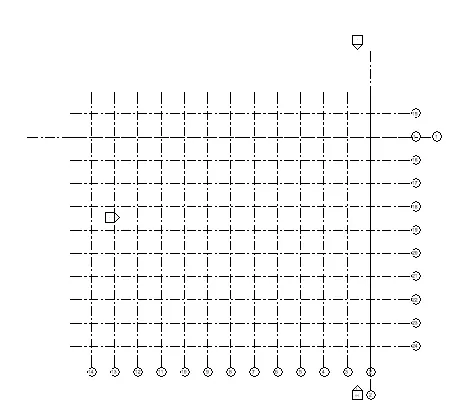 then save the file and close all the file.
9) Open construction template to check whether the grids from structural and architectural template are matching or not .
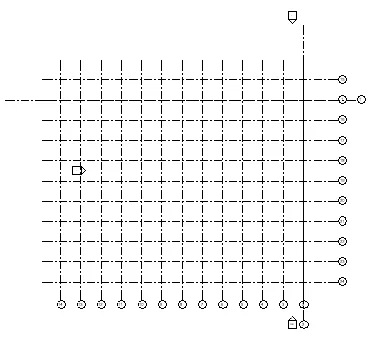 the grids are matching , hence it is ready for project 2.
10) Flow chart of a revit tree set up in terms of constructional model.
Construction model :
Architectural model: Structural model:
(1)Modelling walls (1)Modelling column
(2)Modelling windows (2)Modelling beam
(3)Modelling doors (3)Modelling footing
(4)Assign materials (4)Modelling structural floors
(5)Modelling architectural floorings (5)Modelling labs
(6)Modelling ceilings and roofings (6)Modelling truss system
(7)Enables to provide the geographic conditions (7)Modelling connections
(8)Modelling staircase (8)Structural model in general develops the entire framework
(9)Creates openings of the model.
(10)Architectural model in overall contributes to
the aesthetic view of the building.
Many people can work simultaneously on the same project using collaborate tool by creating a copy of the central model and then reflecting the changes made in the model by using synchronize with central option under collaborate tab.
RESULT:
1)
2)
3)
4)
5)
6)
7)
8)
9)
10)
Construction model :
Architectural model: Structural model:
(1)Modelling walls (1)Modelling column
(2)Modelling windows (2)Modelling beam
(3)Modelling doors (3)Modelling footing
(4)Assign materials (4)Modelling structural floors
(5)Modelling architectural floorings (5)Modelling labs
(6)Modelling ceilings and roofings (6)Modelling truss system
(7)Enables to provide the geographic conditions (7)Modelling connections
(8)Modelling staircase (8)Structural model in general develops the entire framework
(9)Creates openings of the model.
(10)Architectural model in overall contributes to
the aesthetic view of the building.