Underbody Coating
Under Body Coating for an Automotive vehicle
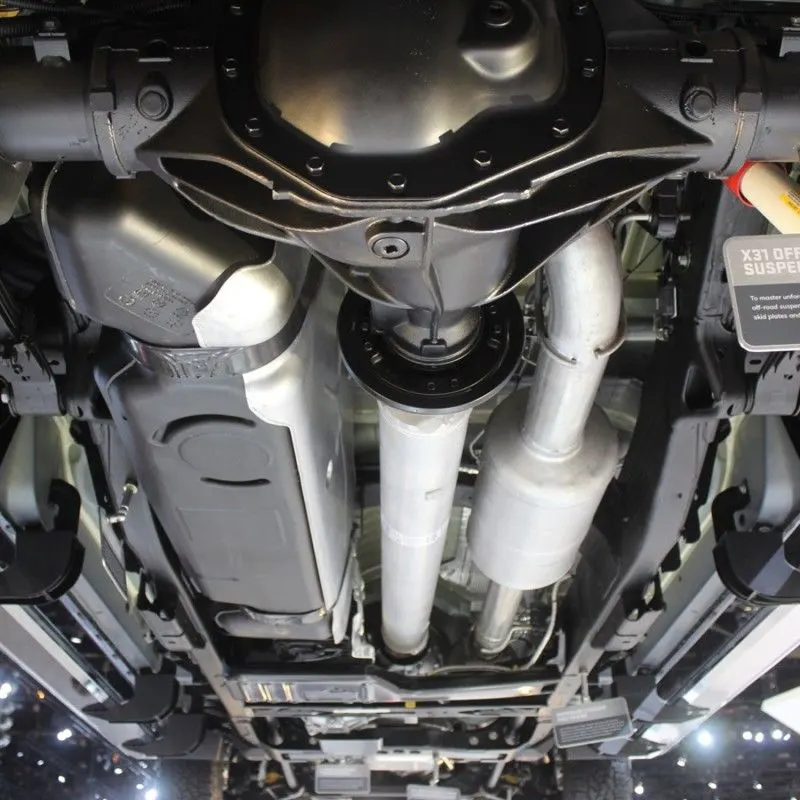
Purpose:
- Underbody coating is usually a dense cladding applied uniformly to the undercarriage of the automobile. It is normally sprayed or painted on when the car is just out of the dealership and is clean.
- The main purpose of undercoating is to check rust especially in the body components like frame rails along with other exposed metal parts. Underbody coating can also reduce wear and tear.
Types:
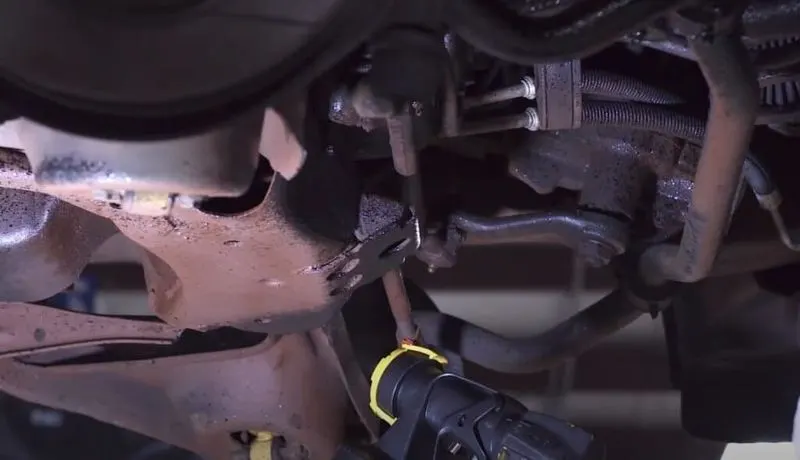
- Spray-On “Rubberized” Undercoatings
- The most common method of undercoating a vehicle, is via the use of a “rubberized” spray-on product. Utilizing a tar-like substance that has been infused with solvents and protectants, spray-on undercoatings stick to whatever they touch.
- Once cured they act as a barrier against salt, moisture, oxygen, and any other foreign substance that may lead to rust and corrosion.
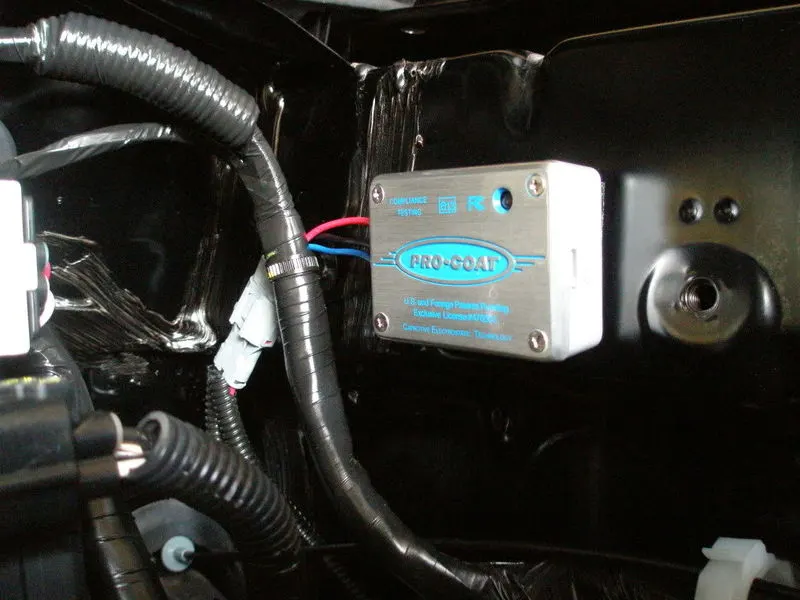
- Electronic Rust Inhibitors
- Electronic rust inhibitors are marketed as a permanent, discreet, easy to install solution to corrosion. It may sound crazy, but this is actually a brilliant idea, if you are able to get it to work.
- Lanolin Wax/Wool Grease
- On automobiles, lanolin fills in all of the nooks and crannies of the chassis with a sticky, wax-like substance that’s been derived directly from sheep glands.
- On the downside, curing times will vary depending upon air temperature and how heavy of a coating has been applied. So be ready for some downtime between car rides after this stuff has been sprayed.
- Dripless Oil Spray
- The final common undercoating option is dripless oil spray. Once allowed to harden on a surface, this wax-like, colorless substance boasts the ability to repel moisture and corrosion for years on end.
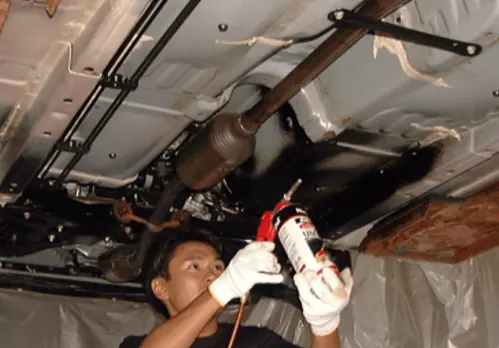
- It may be noted that dripless undercoating oil sprays typically require holes to be drilled into the body of the vehicle at specific points in order for the product to penetrate areas that are prone to rusting-out.
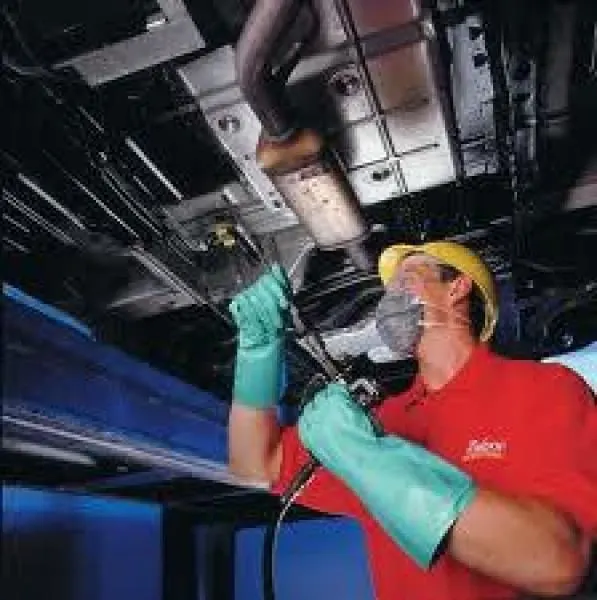
Materials Needed to Undercoat a Car
- Degreaser products
- A disc grinder and replacement pads in varying levels of abrasion
- Power tool with wire brush
- Air hose
- Eye, nose, and hand protection
- Sandpaper (200, 300, and 400 grit)
- Sharp metal scraper
- Undercoating and any required application tools/products
- Car lift
Process:
- Clean
- Prior to applying a rust-repelling undercoating, you will need to remove as much corrosion build-up, caked-on road grime, and any other form of contaminant from the underside of the vehicle.
- Blast- Spray the entire underside of the vehicle with either a pressure washer, or a garden hose that has been outfitted with a heavy-duty spray nozzle.
- Degrease - Rinse complete, and undercarriage allowed to dry, it’s time to use a commercial-grade degreaser to remove any grime or oil lurking beneath the vehicle.
- Grind - The next step is to grind any large chunks of rust or hardened contaminants, starting with a mild grinding pad, and gradually moving to more abrasive pads as necessary.
- Sand - Corroded crap and contaminants blasted and scraped away, break out the sandpaper and get to hand scrubbing that underbelly. Start with a 200 grit sheet, and after each pass move a milder grit of sandpaper. This will not only remove any stubborn rust patches, but it will smooth out the scratches left behind by the coarser forms of scouring media.
- IPA Time- Here use an isopropyl alcohol (IPA) blend and dry rags to wipe-down what will be getting undercoated. This final prep process helps ensure that the entire undercarriage is devoid of dust and other gunk.
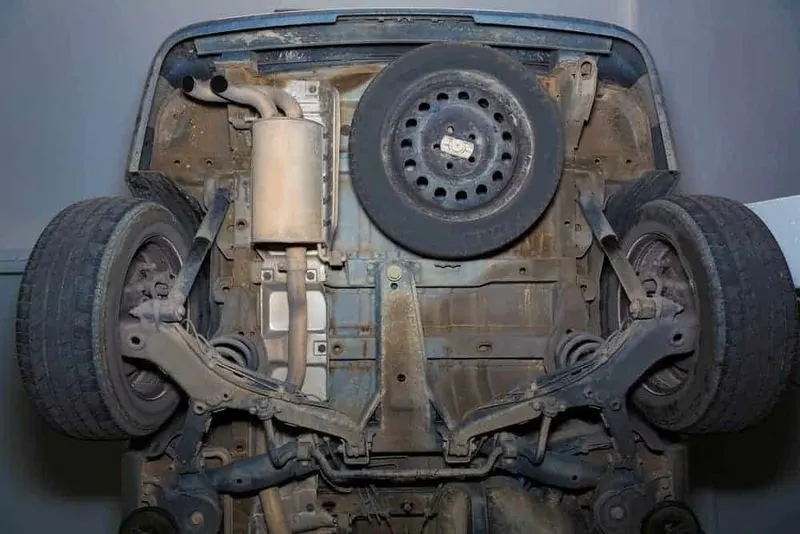
- Prime Time
- Spraying a primer is a crucial step in the undercoating process.
- It serve as a basecoat. The best primers are those with high zinc levels, as this provides an additional corrosion resistance.
- Just be sure to follow the manufacturer’s instructions, for many primers have their own unique prep requirements and curing times.
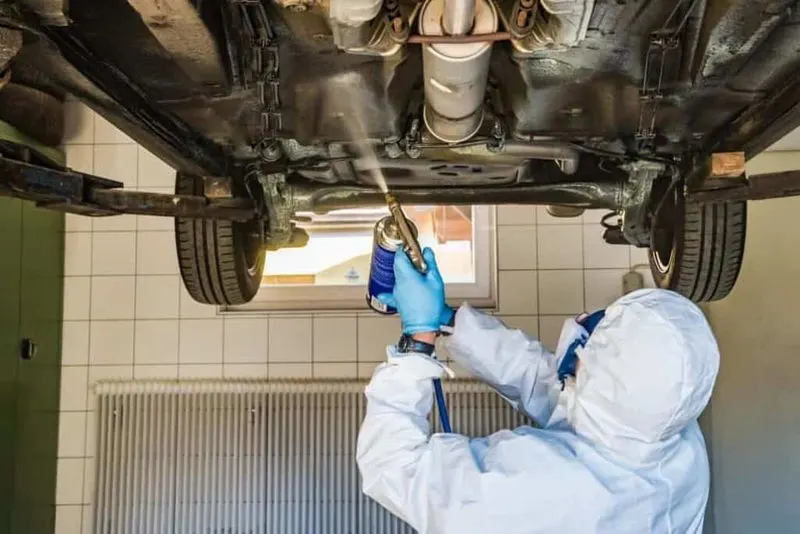
- Undercoat
- The final step in the undercoating process is the application of the undercoating itself. Most of products involve a two-stage or dual-layer spray-on procedure.
- While the first round of undercoating should be relatively thin, know that it is to serve as a basecoat for the thicker outer coating.
- An hour or two of downtime on a warm day should provide ample cure time for this first layer. Once it becomes tacky to the touch, it’s time to move on to the final outer coating.
- These final layers should be applied liberally, and in smooth, slow movements. Rushing will only cause uneven coverage and drips to form, so take time.
- Once fully coated, it’s time to wait and let undercoating cure, which depending upon temperatures and the product used, may take anywhere from a few hours to a few days.
Pros:
- It plays an important role in keeping corrosion at bay.
- The undercoating is often made up of rubber it absorbs some of the road noises up to a certain extent.
- Using another coating on top of original underbody coating, it will offer additional reinforcement, protecting the underbody from water, road debris.
- Good undercoating helps with less rusting coupled & slower wear and tear can surely add years to the lifespan of the vehicle.
- Besides these, the coating provides a bit of thermal insulation making travelling by road easier even during summers.
Cons:
- Like many chemical-rich products, the average undercoating is a gateway to organ failure, cancer, infertility, and genetic defects.
- Lanolin wax repulsive aroma is even more notable when it is exposed to warmer temperatures too.
- The High Price of Vehicle Undercoatings.