Underbody Coating
UNDERBODY COATING:
Underbody coating are the protective thick coating applied on the section of a vehicle that is underneath the main cabin of the vehicle i.e; chasis. Underbody coating provides long term protection from corrosion to car’s underbody by providing an additional layer of protection. It covers most of the car’s underside, including floorboards, pans, gas tanks, wheel wells, frame and suspension parts, mufflers, exhaust pipes and other inner cavities that are not physically accessible but are prone to corrosion. Doing this, may in fact help extend your car’s life and utility
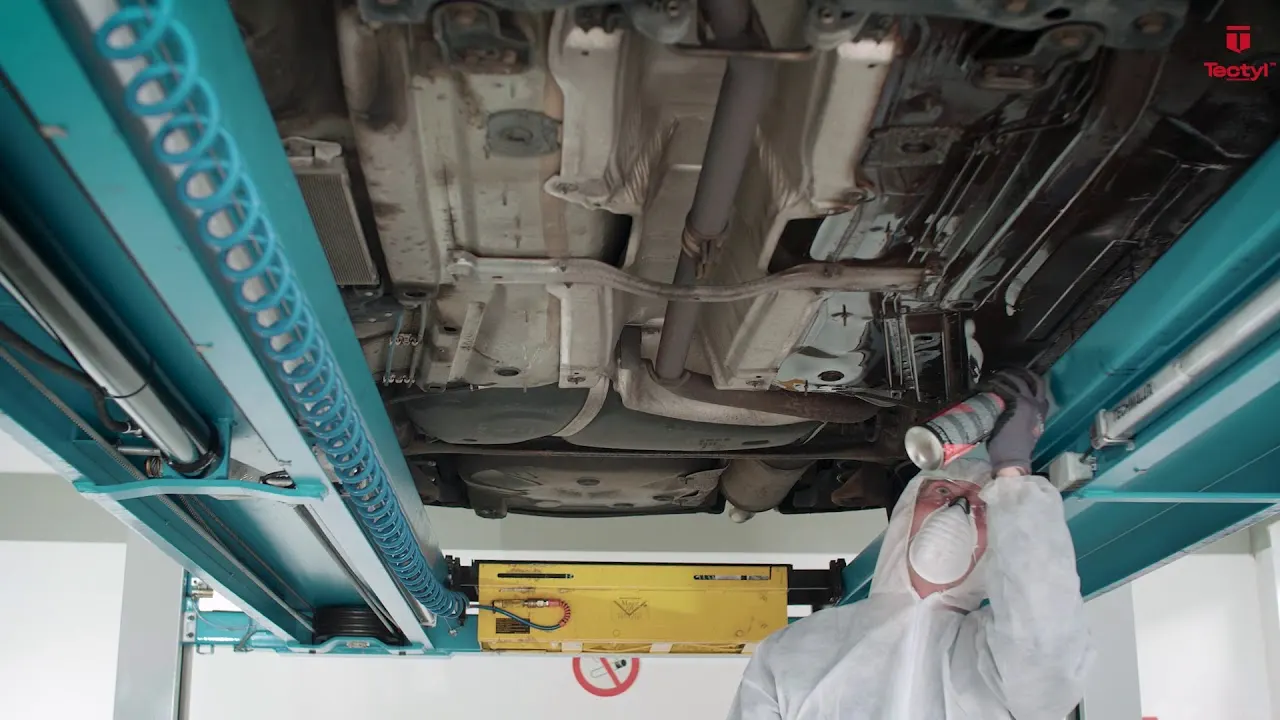
INGREDIENTS USED IN UNDERCOATING:
Ingredients used in car undercoating include fiberglass, ceramics, rubber, silicone, asphalt, or petroleum. Each ingredient has different properties in terms of heat resistance, but all do offer the same level of protection against the elements of rust and corrosion.
WHY ?
-
What if you live in coastal areas, then 👇👇
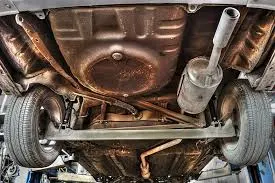
Vehicles in the coastal areas are much more prone to corrosion than in any other region. The content of salt in the water floating around during the monsoon season is way too high. Adding to this is the humidity in such areas and these elements further speed up the process of corrosion. Hence getting your car done right with a nice underbody coat job is of utmost importance for people living that beach life.
-
What if you live near un-paved/muddy roads, then 👇👇
If you live in areas having large sections of unpaved roads, then the monsoon is just going to make things worse. The sand is going to mix with the water and all that muck will get stuck to your car’s belly while you tread over such a course. This makes your car’s underbody more vulnerable to damage and a nice and thick coating will surely help.
-
What about your car resale value, If 👇👇
All that damage due to corrosion, if left unattended could lead to some permanent damage, which will cost you in terms of rapid depreciation in your car’s resale value. This will make it almost impossible for your car to pass a strict inspection when you put it up for sale. Hence, regular check of your car’s underbody condition are the key to maintaining its value.
TYPES OF UNDERCOATING
- Rubberized Underbody Coating
- Wax Based Underbody Coating
- Asphalt Based Automotive Coating
- Polyurethane Underbody Coating
1. RUBBERIZED UNDERBODY COATING
This is widely considered to be the best underbody coating for your car. It protects the underbody from scratches and keeps it properly. In addition to your undercarriage, rubberized undercoating is also safe to use on wheel wells and quarter panels, and dries to a soft rubbery finish that prevents further rust, damage, or moisture seeps.
The coating can be painted over and, if necessary for bodywork, can be easily removed with an undercoating removal spray. This can be done at the authorized service center or by the local repair shop at a reasonable price. Rubberized coating is ideal if you want to keep the road noise to a minimum and rust and corrosion away.
2. WAX BASED UNDERBODY COATING
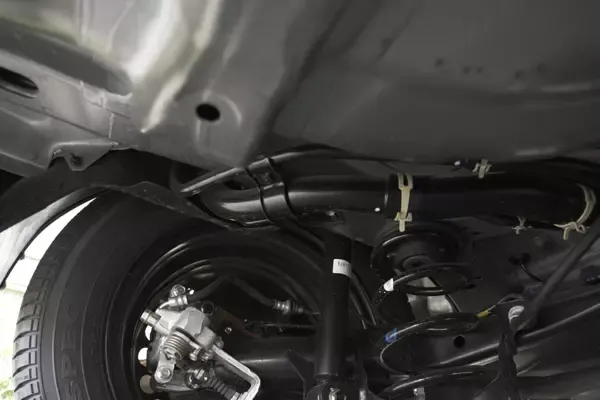
This transitory undercoating will, on the whole, fade away after a few months. On the plus side, wax-based undercoating is resistant to dampness. It is also the most cost-effective alternative. Wax-based undercoatings never truly harden. During application, they drip or flow into seams and cracks to provide protective properties.
They are usually available in a spray gun canister or in an aerosol can and offer at least a base protection in moderately humid climates.
3. ASPHALT BASED AUTOMOTIVE COATING
Suitable for lorries, trucks, and other heavy vehicles. In comparison to rubber-based coatings, this gives a higher level of protection. Asphalt-based coatings, on the other hand, incorporate a small quantity of rubber for sound insulation.
Generally sold in five gallon containers, this type of undercoating also needs more cure time than the other three, and is NOT paintable, making it best to use only for undercarriages.
4. POLYURETHANE UNDERBODY COATING
This covering seals breaks and fractures in the vehicle’s underbody. It provides strong corrosion resistance and also binds to the metal. Unlike an asphalt-based coating, the polyurethane coating may be painted over. This type of vehicle undercoating is a little bit quicker and easier to apply.
Oftentimes, polyurethane undercoating will come in canisters ready to preload into an application gun. This type of sealant works by seeping into all cracks and seams, displacing salt and moisture and oozing around rusty areas to bond with and protect unoxidized metal. It also sands quickly in case you'll need to perform bodywork and can be painted over.
On the flipside, this type of car undercoating generally requires a little bit more surface prep work before applying -- sanding and applying an etching primer to bare metals before using are generally recommended.
ADVANTAGES OF UNDERCOATING
- Prevents rusting & corrosion.
- Protects vital car components.
- Prevents and absorbs all noise created by the contact of the surface of the road and the car.
- Prevents paint from chipping.
- It insulates the interior of the car from extreme temperatures from beneath the vehicle providing a comfortable cabin experience.
- Proongs car's life.
DISADVANTAGES OF UNDERCOATING
- Not helpful if corrosion is already present.
- It works best on new cars.
- A third party undercoating service might void yourvehicle's warranty.
- It adds weight to the vehicle.
- An undercoating is not impervious to damage.
- It must be reapplied every 3 to 5 years for the best results.
How to Undercoat a Car
Materials You’ll Need:
- Hydraulic jack & car blocks
- Degreaser agent
- Grinder
- Sandpaper (metal)
- Towel
- Primer & paint
- Paintbrush
- Undercoating
First Step: Lifting the Car
Use the hydraulic car jack to lift the car, then set it on the blocks. Make sure you secure them under the chassis frame. Moreover, remember to work in a properly ventilated room. You will be dealing with paint, so you need to ensure that you can breathe adequately inside the room.
Second Step: Cleaning the Undercarriage
Use the degreaser to clean the entire underside of your vehicle. Once you’ve done that, use the grinder to get rid of all the rust spots. Wipe away all the dust, and if there are smaller rusted areas remove them by using the metal sandpaper.
Third Step: Priming and Painting
After removing the rust and cleaning the area thoroughly, you can now apply the primer. Let it dry, then cover the area with black automotive paint. Let the paint dry, then move on to the next step.
Fourth Step: Applying Undercoating
Take the paintbrush then apply the car undercoating. Remember to apply the product liberally, covering every part of the car’s undercarriage. Make sure that every area exposed to the road has undercoating. After applying the first coat, wait for an hour for it to dry. Apply the second coating, then leave it overnight to dry. Ensure that the undercoating has dried completely before you drive your vehicle.
Apart from underbody coating, we also have to see the coating of BIW that is done in the paint process in the fatory
Following are the steps for painting:
Phosphates & Electro-deposition Polymer (ELPO)
This part of the process is used to clean the vehicle body and deposit a rustproof layer on it prior to painting. This system, which sometimes is not part of the Paint Mods, is important because an inadequate job here will cause the final product to look poor and be susceptible to oxidation (rust). A brief discussion of ELPO that covers only the main parts of this process is given here.
Pre-Treatment
Before applying the phosphate and anti-corrosive painting to the vehicle body, the body must be cleaned. This is accomplished by a series of spray washers, oleum (a degassing soap) application, and dipping the body in a cleaning tank and then a rinsing tank. This cleaning step is necessary to remove the thin coating of oil that is important for a few different reasons. During the stamping process, it prevents tearing of the metal. After the stamping process, during shipping and storage, it prevents corrosion on the metal.
Phosphate process
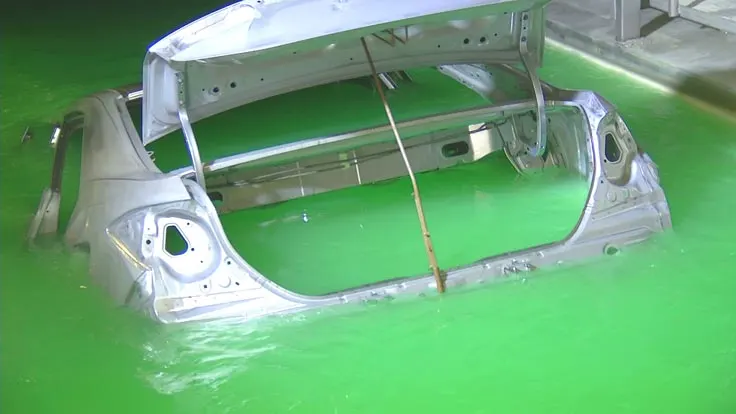
In the phosphate tank, a zinc phosphate crystal coating is formed as the substrate (building block) for the electro-deposition process of coating. The body is dipped into the tank to ensure that the phosphate coating is formed on the internal surfaces also. Once out of the phosphate dip tank, the body is rinsed by spary and dipping to wash off any extra phosphate that may be on the vehicle body. The body is then sent through an air blow off and accumulator system to dry it. The vehicle body must be completely dry prior to electro-deposition painting to allow the formation of a uniform paint layer.
Electro-Deposition Painting
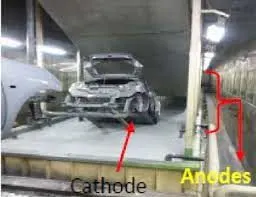
In the electro-deposition stage, the primary anti-corrosive coating is applied using an electro-chemical process similar to electroplating. Essentially, the vehicle bodies are given a strong negative electrical charge and immersed in a dip tank of positively charged paint. Plates placed along the sides and the bottom of the tank charge the paint. These plates connected to the positive side of a large DC power supply. The vehicle body and the carrier cradle are connected to the negative side of the power supply by wipers mounted on the cradle and a bus bar suspended over the electro-deposition tank.
This process is called cathodic electro deposition because the paint is deposited on the negatively charged body called the cathode. Without getting into the chemical particulars, the cathodic method is superior to the anodic method (where the body is positively charged) for several reasons. They are,
- Superior corrosion resistance
- Lower film thickness
- Lower electric current requirement
- Better ability to reach highly recessed areas without overcoming the easily reached areas.
Once out of the electro-deposition dip tank, the vehicle body is rinsed with several sprays of re-circulated, filtered electro-deposition paint. It is also rinsed by fresh and recirculated deionized water. The rinsing removes any gragout (non-film layer paint) still on the body.
ELPO Oven
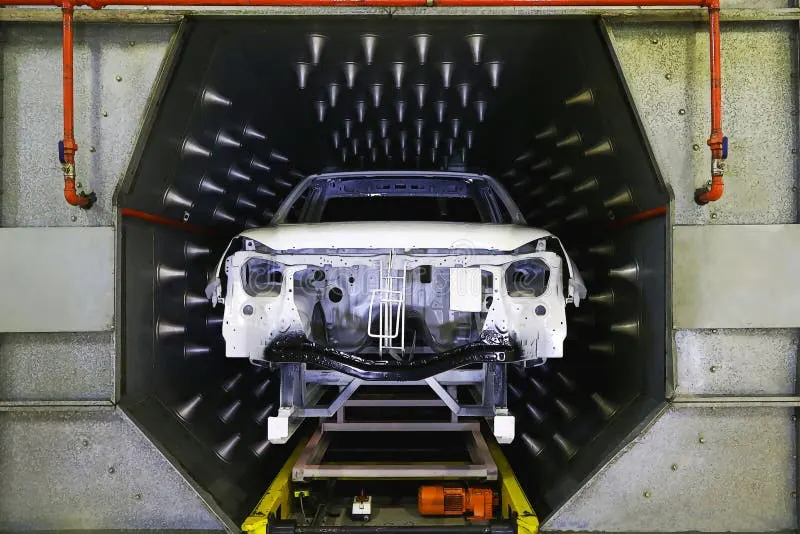
The oven will complete the electro-deposition paint process by curing. During oven curing, the individual paint molecules become cross-linked with the adjacent paint molecules. The paint becomes chemically intertwined to form a single, uniform surface.
Sealing
The next step in the Paint Shop process is to apply the sealing compound. This provides additional protection against corrosion for selected areas of the vehicle body. The seal deck consists of various robots that are used to apply the sealing compound to the body. Sometimes these robots have a vision system. This system is a series of cameras, which identify particular body areas for sealant application. Following the robotic sealers are the manual stations. Here the workers check the sealants sprayed by robots are ill-equipped to reach.
Anti-Chip
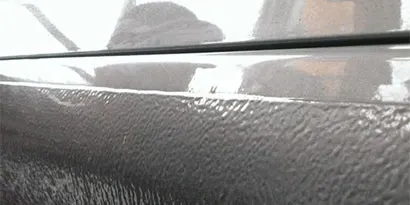
In this part of the Paint Shop, the vehicle bodies are coated, on the front and underside and lower body panels, with a urethane anti-chip layer. This coating is used as a stone-guard to prevent damage to the metal from road debris kicked-up by the road wheels.
The anti-chip booth consists of application stations around one line. These application stations are stationary, automated paint machones that use an electrostatic, bell shaped applicator to apply the coating. As the carrier moves through the booth, the bells are automatically triggered (by carrier position) and spray the anti-chip coating onto the vehicle body.
Electromagnetic generator is used to minimize waste of the coating. The anti-chip coating is charged to a very large negative potential and the vehicle body is grounded (through the carrier). This difference in potential causes the coating to spread toward the vehicle body. An over-spray is drawn back to the body by the electric charge. This effect of reducing over-spray is often called the "wrap-aroung" effect.
Immediately following the automatic application stations there is an observation area. Here, the spray job by the bells is examined and touched-up. If needed.
Anti-chip Oven
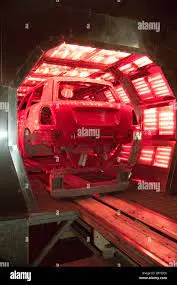
After the sealant and anti-chip coatings have been applied, they need to be cured. The anti-chip oven bakes the sealant and the antichiointo place on the vehicle body. While baking, the sealant flows into the cracks and crevices, forming a water tight barrier to reduce corrosion. Baking the anti-chip coating causes it to become a single, long molecular chain (the same effect as baking the electro-deposition paint).
Preparation
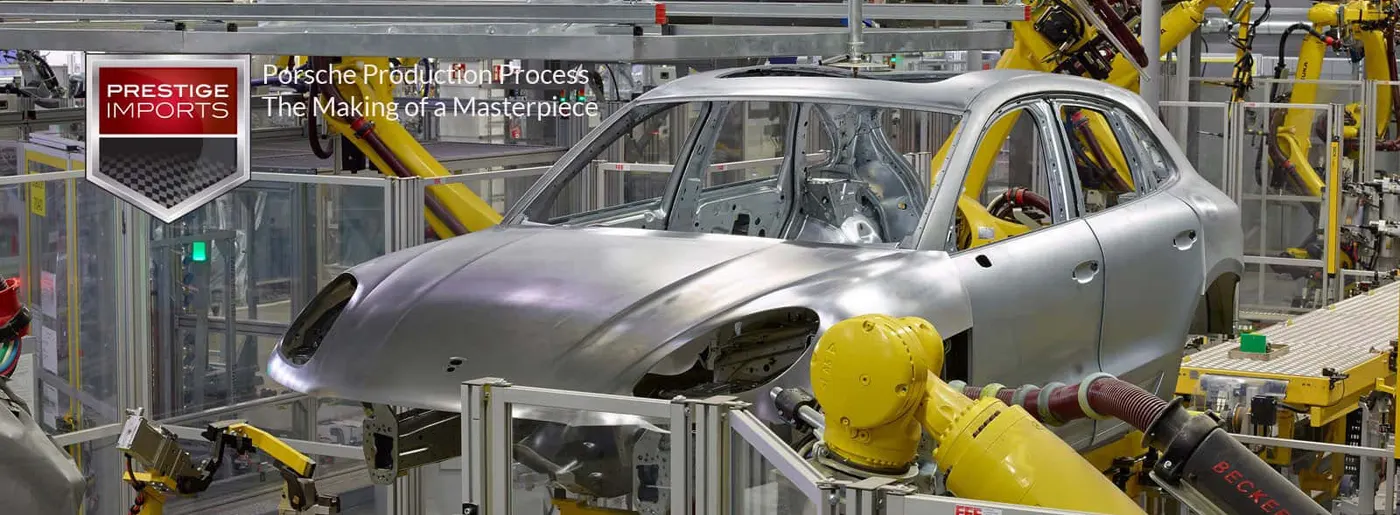 After baking, the vehicle bodies are allowed to cool down (by the path they travel) before entering the next Paint Shop area. This area is called Preparation and is used to remove any remaining dust from the vehicle body prior to entering the Clean Room.
As the vehicle body enters the booth, it is dusted by four rolls of ostrich features. Air suction (vacuum) lines whisk any particles away. At the same time, air jets are used to dust off the vehicle body. The body also passes through an arch of air nozzles for further cleaning.
Clean room
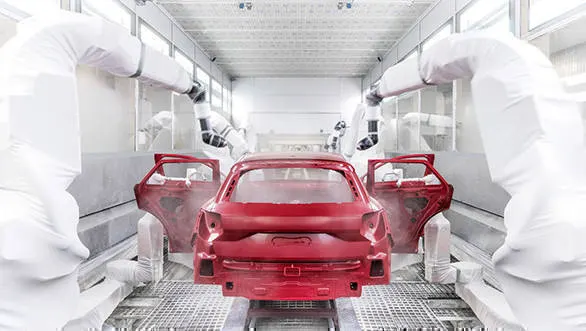
Clean area, usually covering almost half the Paint Shop area, is by far largest single part of the Paint Shop. The Clean Room contains the Robotic Electrostatic Modular Paint Booths (commonly referred to as Paint Mods) and controls, the switching system controllers, the fire suppression systems, and the Partial Bake oven controllers.
The clean room itself is a dust free, temperature controlled area surrounding the Paint Mods. This area is kept clean to reduce the possibility of contamination to the vehicle body prior to painting.