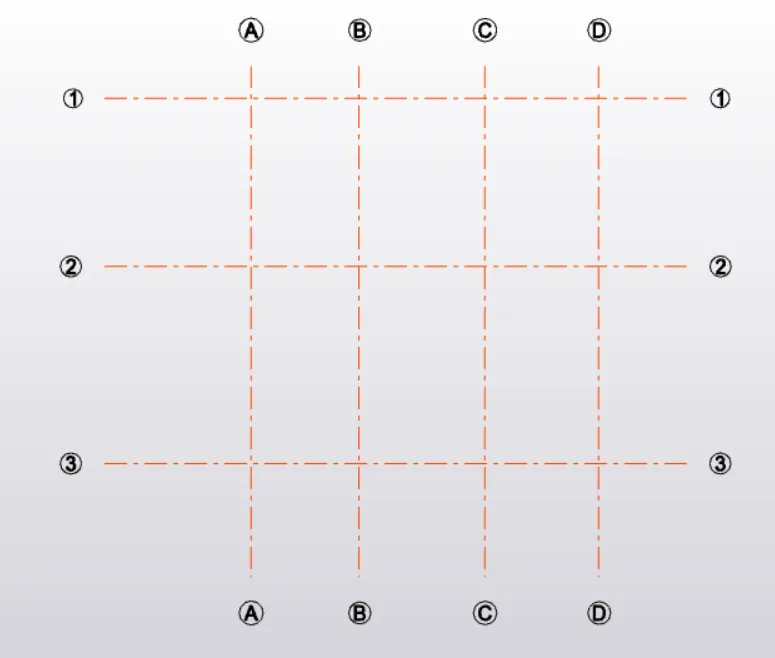
To plan a structural layout and to create grids using TSD
Q1
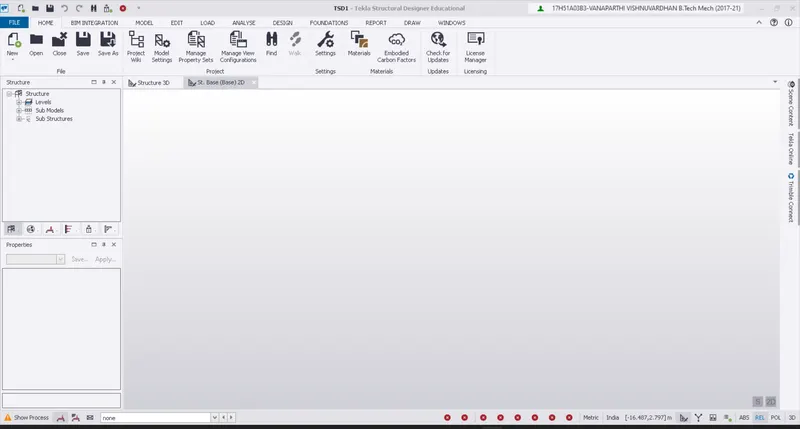
Aim:- to summarise the user interface with the tekla structural design
Access and usage of the project workspace
- open tekla structural designer
- click on new >open template
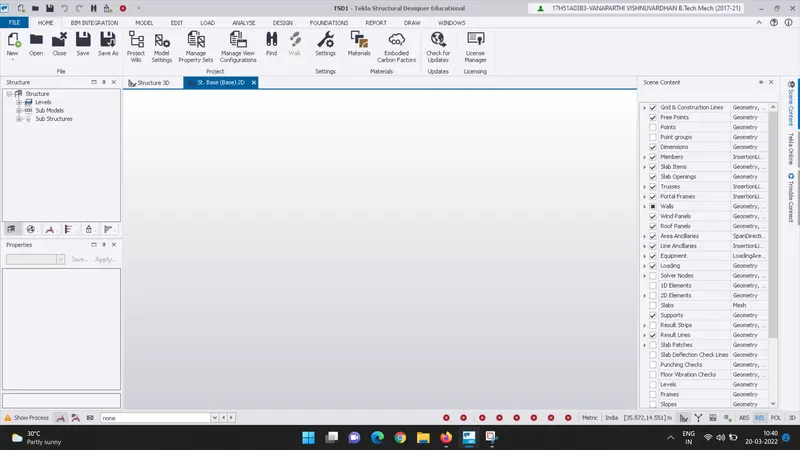
To demonstrate the use of scene content
- The elements and different levels of the structure are associated with lot of information
- so, scene content helps to control the information displayed in each scene view by turning on/off catgories provided in the scene content dialogue box
- we can select different caterogies to be displayed in each scene view
- each scene content created are saved independently
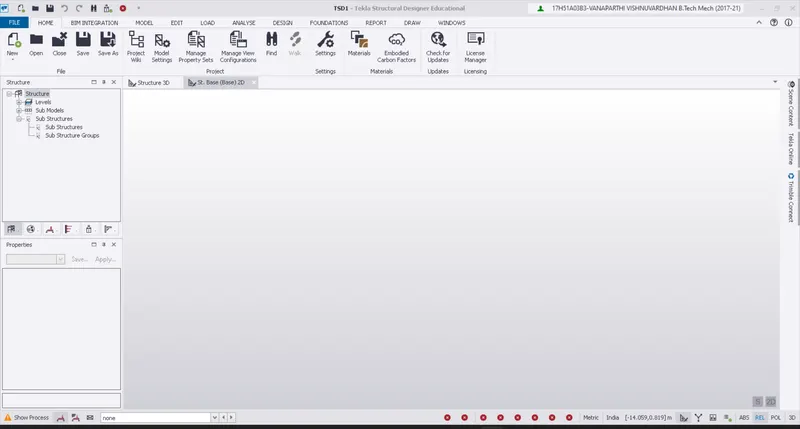
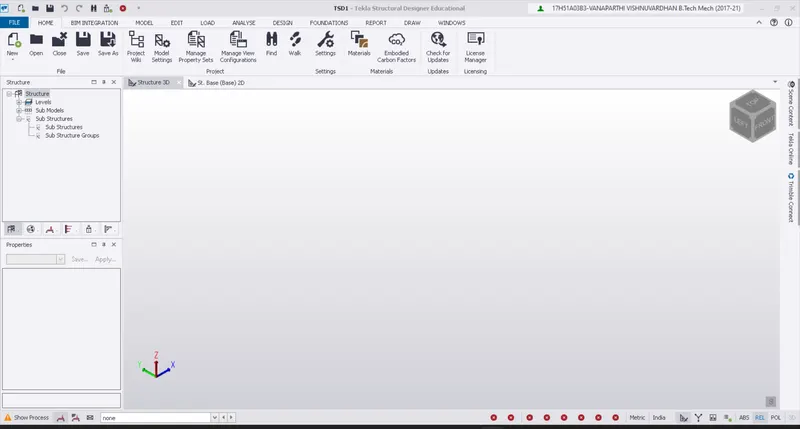
To create two scene views
- click on the sub structure from the structure dialogue box
- we can toggle between 2D and 3D view
To access the loading drop list
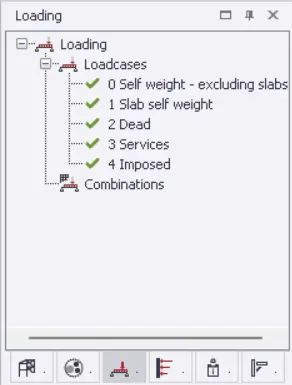
- at the bottom of the structure dialogue box click on the loading
- we can view all the load cases and load combinations
To access the property window
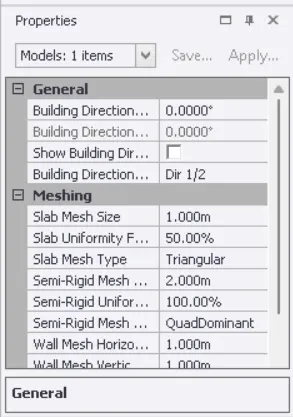
- on the left bottom corner of the interface there is a properties dialogue box
- we can view the properties of different elements of the structure
Q2
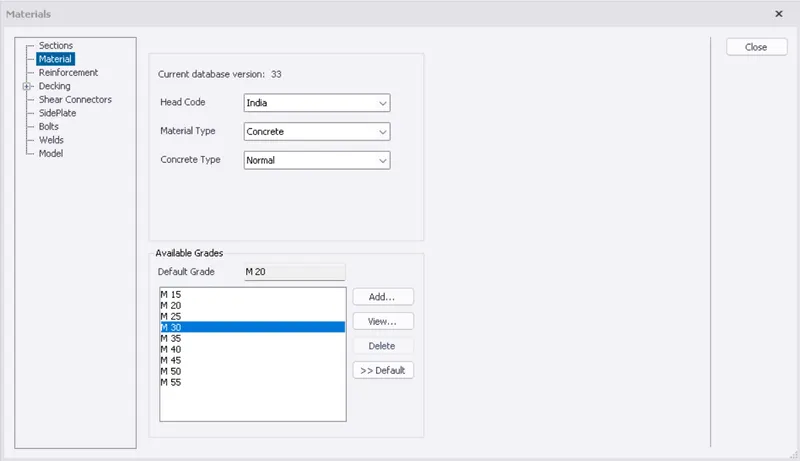
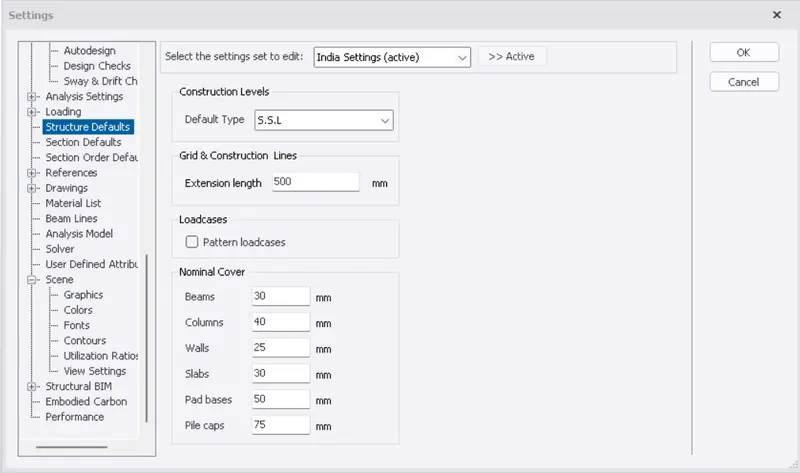
Aim:- to add material property of steel and concrete and modify cover of reinforcement for the structue elements
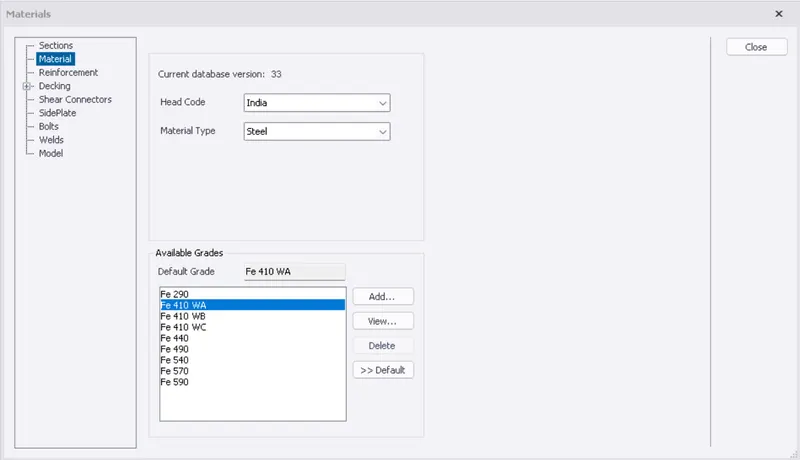
- go to material ibbon from the menu bar
- select the design codes as india
- select the grade of the concrete as M30
- grade of the steel as Fe410
- go to settings
- click on loading> structural defaults
- then modify the nominal cover of the structure elements
Q3
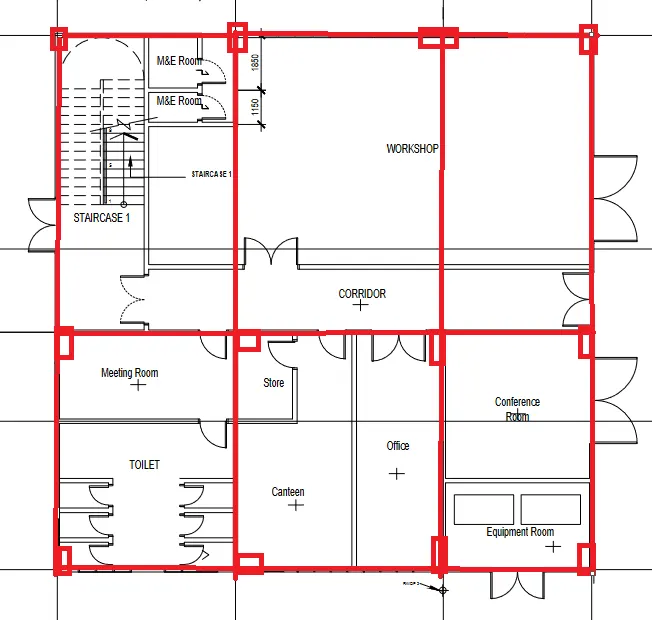
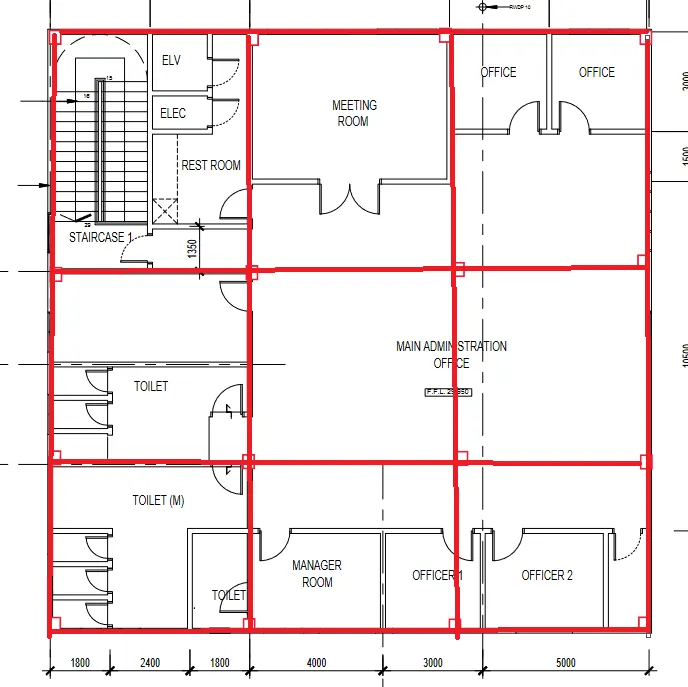
Aim:-to position the columns and beams for the drawings provided
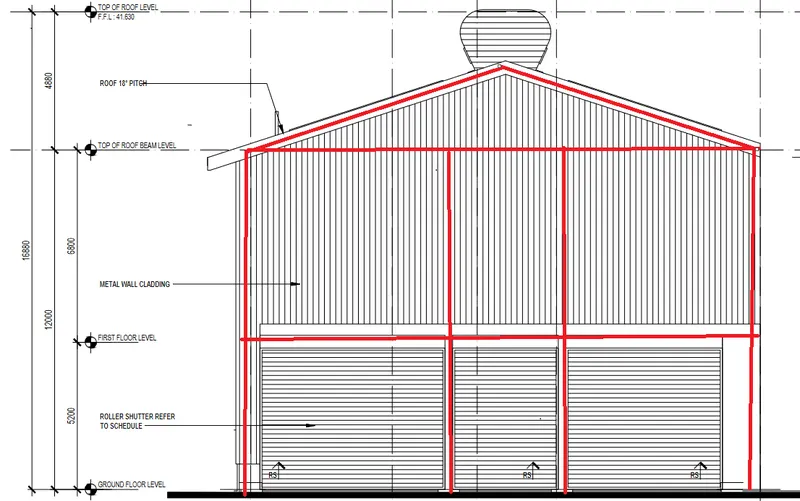
position of beams and columns for the attachment 1 provided
position of beams and columns for the attachment 1.1 provided
position of beams and columns for the attachment 1.2 provided
Q4
aim:- To model construction levels and grid lines
- go to model from menu bar
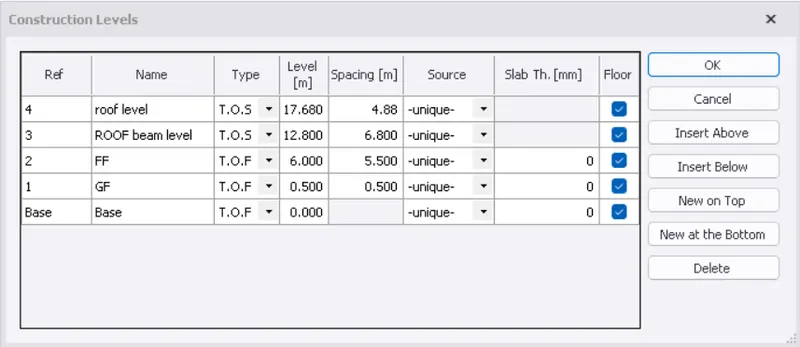
- click on the construction levels
- add the no of floors and click on ok
Construction levels for the drawing 1.2 is shown below
- go to model from menu bar
- click on the grid lines
- add the grid lines as per the spacing given