Simulink model of a Doorbell using a solenoid block
Q.1 Make a Simulink model of a Doorbell using a solenoid block.
Aim:
Make a Simulink model of a Doorbell using a solenoid block and create a situation where the switch is closed for 2 seconds and then released. And observe the physical movement of the plunger.
Principle of Doorbell using Solenoid:
The working principle of a doorbell using a solenoid is based on the electrical properties of a solenoid. A solenoid is a coil of wire that generates a magnetic field when an electric current is passed through it.
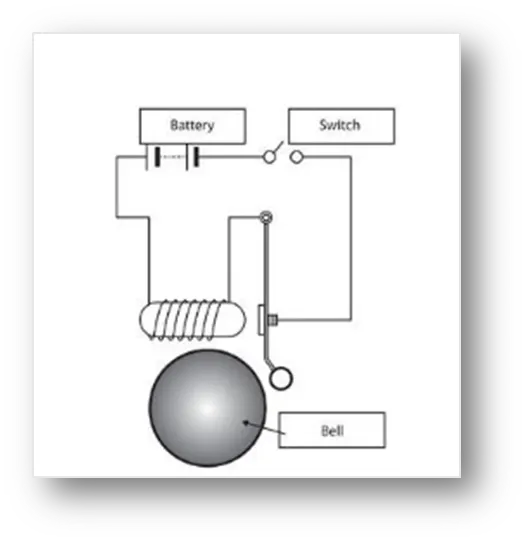
When the doorbell button is pressed, an electric current flows through the solenoid coil, creating a magnetic field. This magnetic field attracts a metal rod (called the armature) that is located inside the solenoid. As the armature is attracted toward the center of the coil, it moves, striking a mechanical chime, which produces a sound.
So, when a visitor presses the doorbell button, an electric current flows through the solenoid, creating a magnetic field that attracts the armature and strikes the chime, producing the doorbell sound.
Simulink and Simscape block that we using in this model:
Pulse Generator Block:
The Pulse Generator block in Simulink is a block that generates a pulse signal with a specified amplitude, period, and duty cycle.
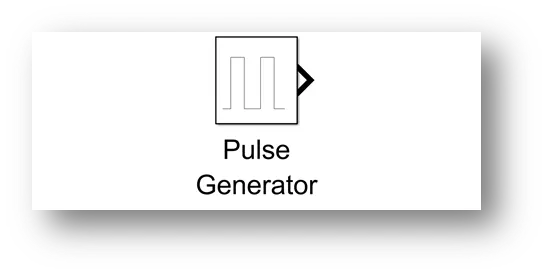
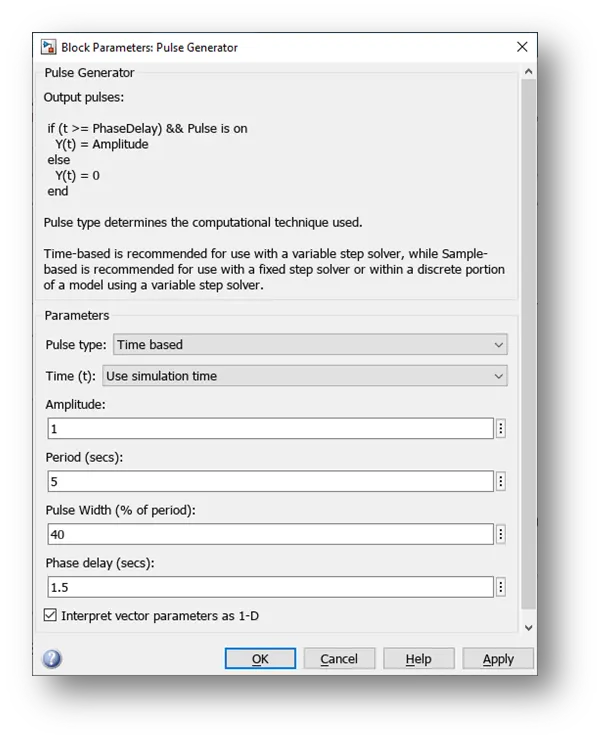
The Pulse Generator block has the following parameters:
- Amplitude: This is the maximum value of the pulse signal and in this problem, its value is set to be 1
- Period: This is the time it takes for the pulse signal to complete one cycle and its value is set to be 5sec.
- Pulse width: This is the time during which the pulse signal is ON condition in one cycle and in this problem its value is set to be 40. So that we archive 2sec time in which the switch is closed.
- Phase delay: The time delay between the start of the simulation and the start of the pulse signal and here we put this parameter value as 1.5sec.
The pulse signal can be used to simulate a button press or a trigger signal for other blocks in the model.
Solenoid Block:
The Solenoid block in Simulink is a block that models the behavior of a solenoid. A solenoid is an electromechanical device that converts electrical energy into linear motion.
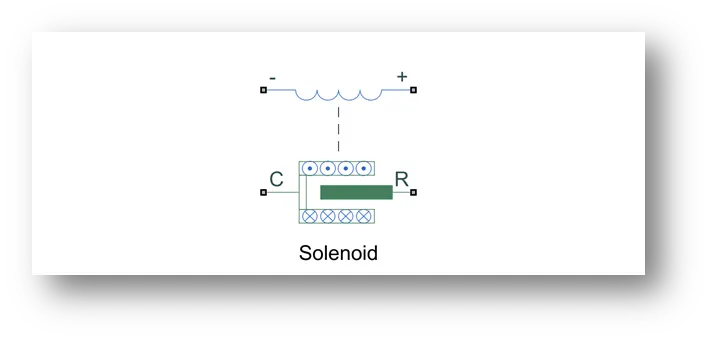
It consists of a coil of wire that generates a magnetic field when an electric current is passed through it.
Battery Block:
The battery block represents a voltage source that can supply or absorb power depending on the state of charge and the current flowing through the terminals.
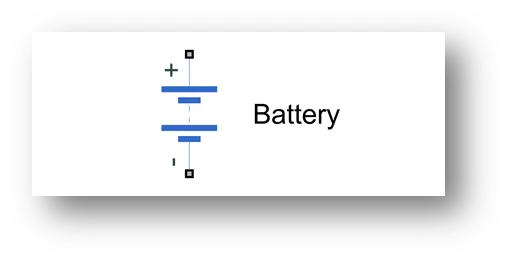
The battery block can be connected to other electrical components in a Simscape Electrical model, such as resistors, capacitors, and inductors, to create a complete electrical circuit.
Ideal Translational Motion Sensor Block:
A translational motion sensor is a device that measures the linear displacement of an object, such as a linear potentiometer, LVDT (Linear Variable Differential Transformer), or a linear encoder.
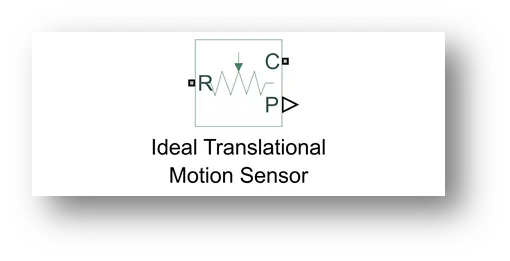
It can be connected to other electrical components in a Simscape Electrical model, such as a solenoid, to create a complete electrical circuit. The sensor can be used to measure the position of the solenoid or to control the position of the solenoid.
Switch Block:
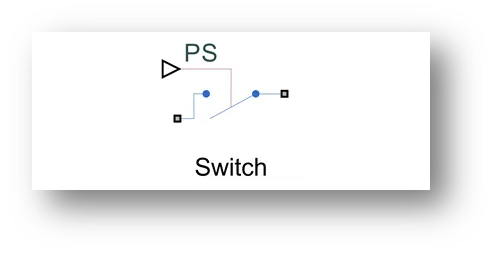
The Switch block in Simulink is a block that allows you to create a switch in your model that can be used to control the flow of signals.
Electrical Reference and Mechanical Translational Reference Block:
The Electrical Reference block and Mechanical Translational Reference block in Simscape Electrical library are blocks that define the electrical and mechanical reference frames for a Simscape Electrical model.
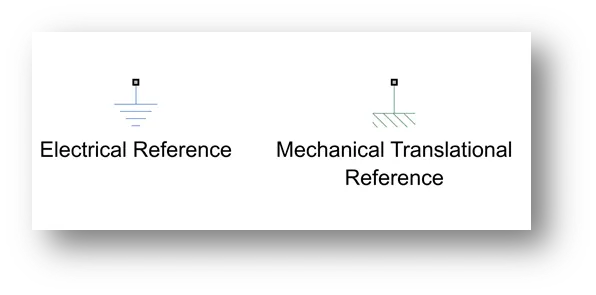
Both the Electrical Reference block and Mechanical Translational Reference block are zero-pin blocks, which means they don't have any input or output terminals. They are just used to define the reference frames for the signals in the model.
PS-Simulink Converter and Simulink-PS Converter Block:
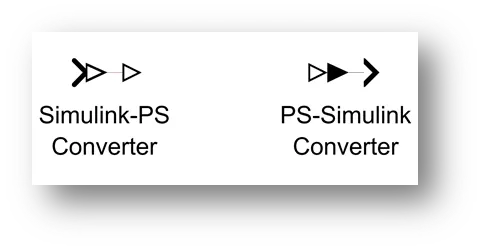
The PS-Simulink Converter block converts signals from the physical signal domain and the Simulink-PS Converter block converts signals from the standard Simulink signal domain to the physical signal domain.
Solver Configuration Block:
The Solver Configuration block in Simulink is a block that allows you to configure the solver options for a Simulink model.
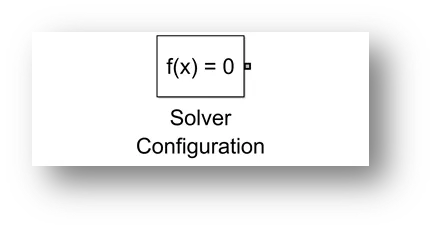
The solver is a software component that computes the solution of the model at each time step.
Scope and Display Block:
The Scope and Display blocks in Simulink are blocks that allow you to visualize and analyze the signals in a Simulink model.
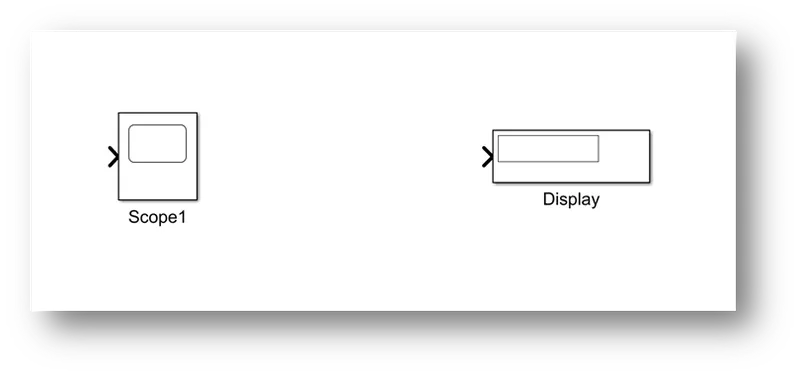
The Scope block is used to display the signals in a graphical format, such as a time-domain or frequency-domain plot. And the Display block is used to display the values of the signals in a numerical format, such as a table or a digital display.
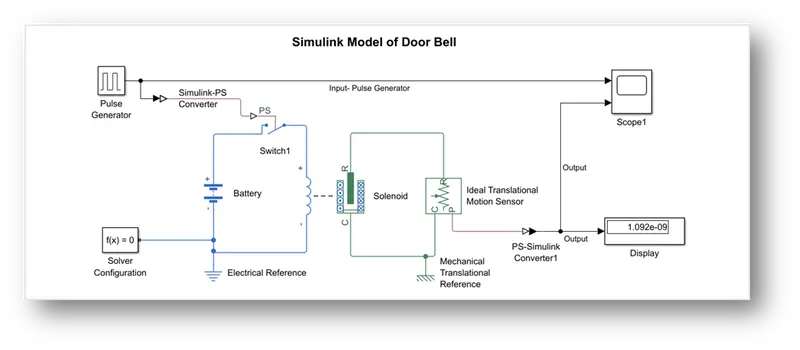
Simulink Model of Doorbell:
Result:
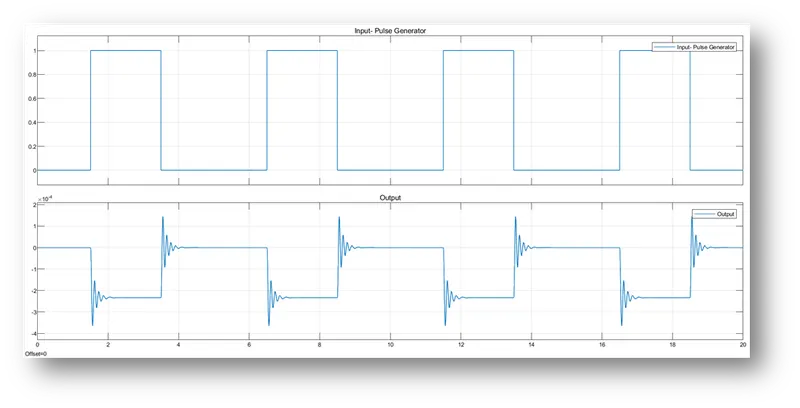
Simulation for 20s
Observation:
After running a simulation with stop time t= 20sec, we observe that the plunger will move when the switch is closed and the constant block is set to 1, the solenoid will get activated and the plunger will move inwards. After 2 seconds the switch will open and the current will stop flowing, the plunger will come back to the initial position.
Q.2 Use a thermistor to sense the temperature of a heater & turn on or turn off the fan as per the below conditions:
Temperature source: 20 °C from 0 to 10 seconds, 27 °C from 10 to 30 seconds, 23 °C from 30 to 50 seconds
Fan conditions: ON if the temperature is above 25 °C, OFF otherwise.
Aim: Simulate the model of a virtual thermistor to sense the temperature of a heater & turn on or turn off the fan as per the condition given in the problem.
Theory: A thermistor is a type of resistor whose resistance changes with temperature. Thermistors are commonly used as temperature sensors in a wide range of applications, including HVAC systems, automotive systems, and industrial controls.
Thermistors typically have a negative temperature coefficient, meaning that their resistance decreases as temperature increases. This makes them useful for measuring temperatures in the range of (-50 to 150) degrees Celsius.
There are two types of thermistors:
- NTC (Negative Temperature Coefficient)
- PTC (Positive Temperature Coefficient)
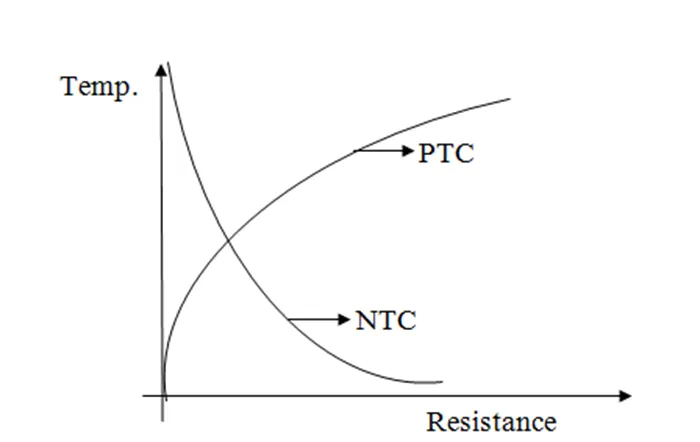
To use a thermistor as a temperature sensor, it must be connected to a circuit that can measure its resistance.
Simulink and Simscape block that we using in this model:
Thermistor Block:
It is a physical modeling tool in Simulink and represents a thermistor, which is a type of resistor that changes its resistance with temperature.
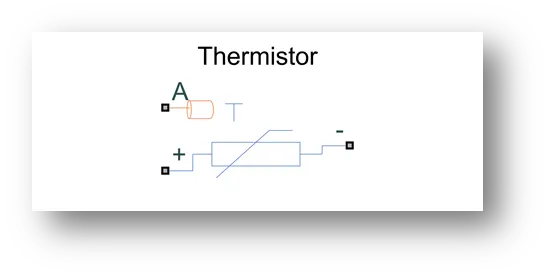
The block can be used to model the temperature-dependent resistance of a thermistor in a circuit or system.
Signal Builder Block:
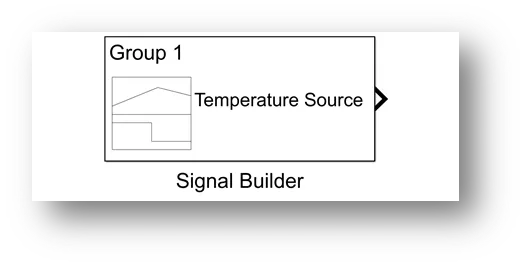
The Signal Builder block in Simulink is a block that allows you to generate, store, and organize multiple signal waveforms that can be used as input to a system or model. This block allows you to create and store multiple signal waveforms, which can be easily selected and used as input to a system or model.
We use this block to generate a temperature source input signal with given conditions which are shown below:
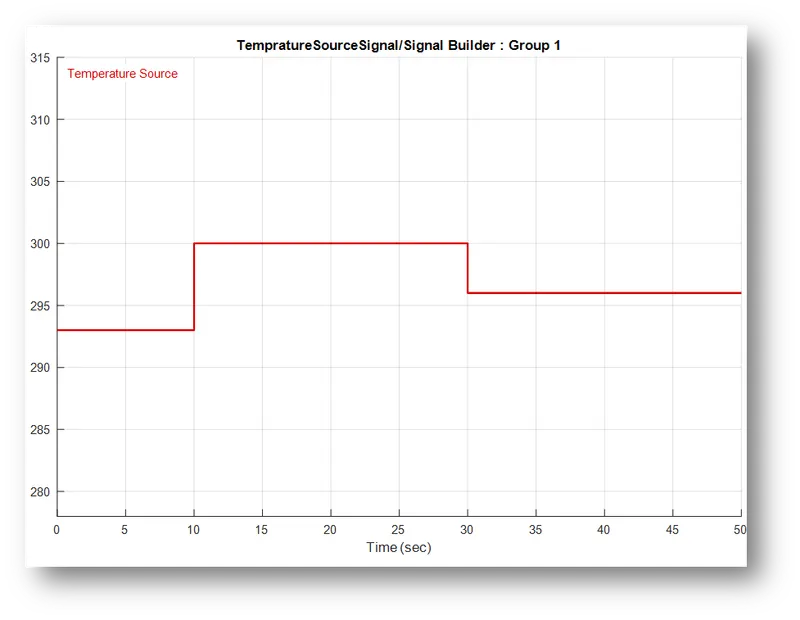
Fig. 01
- At point 1, Time=0 seconds, Temperature= 293 K
- At point 2, Time=10 seconds, Temperature= 293 K
- At point 3, Time=10 seconds, Temperature= 300 K
- At point 4, Time=30 seconds, Temperature= 300 K
- At point 5, Time=30 seconds, Temperature= 296 K
- At point 6, Time=50 seconds, Temperature= 296 K
Controlled Temperature Source Block:
The Controlled Temperature Source block in Simscape is a block that represents a temperature source that can be controlled by a signal or input.
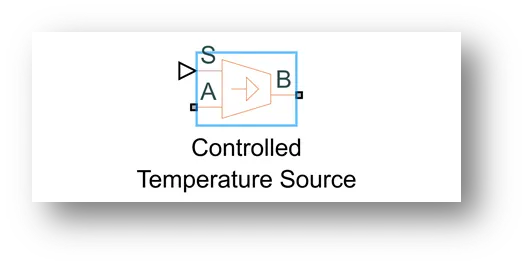
This block can be used to model a system or component that generates heat and can be used to represent the temperature output of a heater or the temperature of a fluid in a system. The block is defined by a temperature signal, which can be a constant value, an input signal, or an expression.
Resistor Block:
The Resistor block model a linear resistor, describe with the following equation:
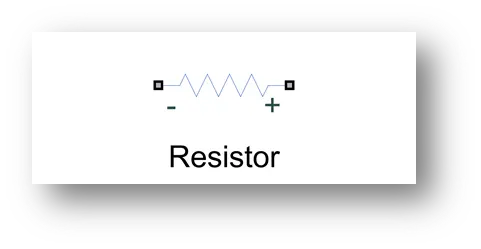
V = I.R
Where, V = Voltage.
I = Current.
R = Resistance.
Voltage Sensor Block:
The Voltage Sensor block in Simscape is a block that represents a voltage sensor in a physical system or model.
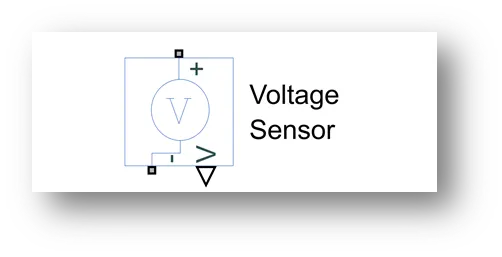
It can be used to measure the voltage across a component, such as a resistor, or across a system, such as an electrical circuit.
Switch Block:
The Switch block in Simulink is a block that allows you to switch between multiple input signals based on a control signal. The block has multiple input ports, each corresponding to a different input signal, and one output port.
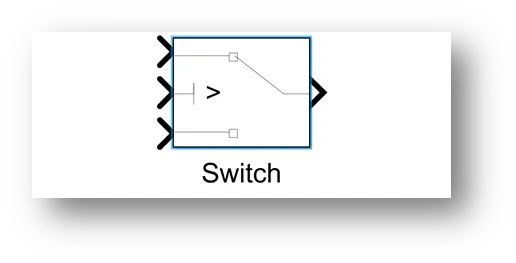
The control signal, which is a scalar, binary-valued signal, selects which input port to pass through to the output port. When the control signal is "on" or 1, the input signal connected to the "On" port is passed through to the output, and when the control signal is "off" or 0, the input signal connected to the "Off" port is passed through to the output.
Constant Block:
The Constant block in Simulink is a block that outputs a constant value, specified by the user, at all times.
The block can be used to provide a constant input to a system or model, or to initialize a variable or signal to a specific value.
Thermal Reference & Electrical Reference:
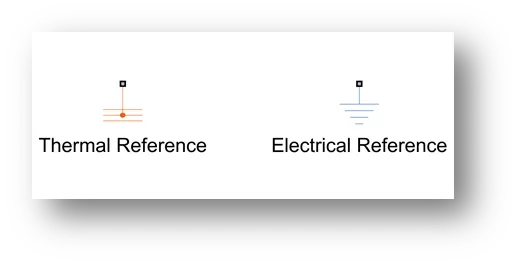
Thermal Reference & Electrical Reference blocks are used in Simscape to define a reference point for temperature and voltage measurements, respectively, against which the temperatures and voltages of other components in the system are measured, making it easier to interpret the results of the simulation.
Steps required for modeling of Problem:
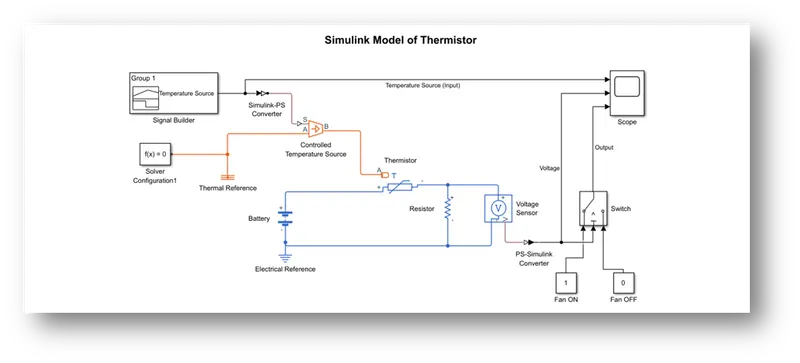
- First to represent a Thermistor, a “Thermistor Block” is taken and placed in the model. Now to represent Battery, a “Battery Block” is taken and the positive terminal of this block is connected to the positive port of the “Thermistor Block”.
- Now to represent a Resistor, a “Resistor Block” is taken from the Simscape Library browser, and its positive port is connected to the negative port of the “Thermistor Block”. The negative port of “Resistor Block” is connected to the negative port of the “Battery Block”. Now an “Electrical Reference Block” is connected near the negative terminal of the “Battery Block” which represents the Earthing of the real-time circuit.
- Now to represent a Voltmeter a “Voltage Sensor Block” is connected parallel to the “Resistor Block” because to measure the voltage across a component, the voltmeter should always be connected parallel to that component.
- Thus, we have completed our simple circuit Model, but we need some Physical Quantities as signals for Thermistor to work.
- In this case, we need the Fan to get ON and OFF at different temperatures. So to provide temperature, we have used a “Controlled Temperature Source Block” which will give a specified temperature as output even though heat flow is more.
- Now to give different temperatures to this “Controlled Temperature Source Block” we need to send Temperature signals. To send these signals we have used a “Signal Builder Block” which allows us to send any type of signal as inputs.
- We can see in Fig.-01 how different temperatures are given at different times. So, thus we have created our Signals and before connecting them to the “Controlled Temperature Source Block” we have to convert these Signals into Physical Values. So, to do this we have used a “Simulink-PS Converter Block”.
- So now port “B” of the “Controlled Temperature Source Block” is connected to port ‘A’ of the “Thermistor Block” and port ‘A’ of the “Controlled Temperature Source Block” is connected to the “Thermal Reference Block”. In “Controlled Temperature Source Block” a positive temperature difference causes the temperature at port ‘B’ to be greater than the temperature at port ‘A’.
- Now the output of the “Voltage Sensor Block” is connected to the “Scope Block” but before connecting to the “Scope Block” a “PS-Simulink Converter” is used to convert Physical values to Simulink values.
- From the Voltage plot, we can see how voltage is changing with the change in temperature. Using this information, we can set conditions for Fans to ON & OFF.
- If we observe the Voltage graph, we notice that from time (0-10)seconds when the temperature is 293K, Voltage is between 0.0095 and 0.01, and from time (10-30)seconds when the temperature is 300K, Voltage is between 0.0125 and 0.013 and from time (30-50)seconds when the temperature is 296K, Voltage is nearly 0.011.
- As mentioned in the problem, the Fan should be ON when the temperature is more than 25 degree Celsius i.e. 298.15K, from the above graph when the voltage is more than 0.011 the Fan should get ON and when the Voltage is below 0.011, the Fan should get OFF.
- This above logic is used to ON and OFF the Fan. To do this we have used a “Switch Block” that routes the Signal according to the conditions provided.
- The center port of the “Switch Block” is connected to the output of the “PS-Simulink Converter” which gives the Voltage values. The top part of the “Switch Block” is connected to a “Constant Block” which is named “Fan ON” of value ‘1’ and the bottom port of the “Switch Block” is connected to another “Constant Block” which is named as “Fan OFF” of value ‘0’.
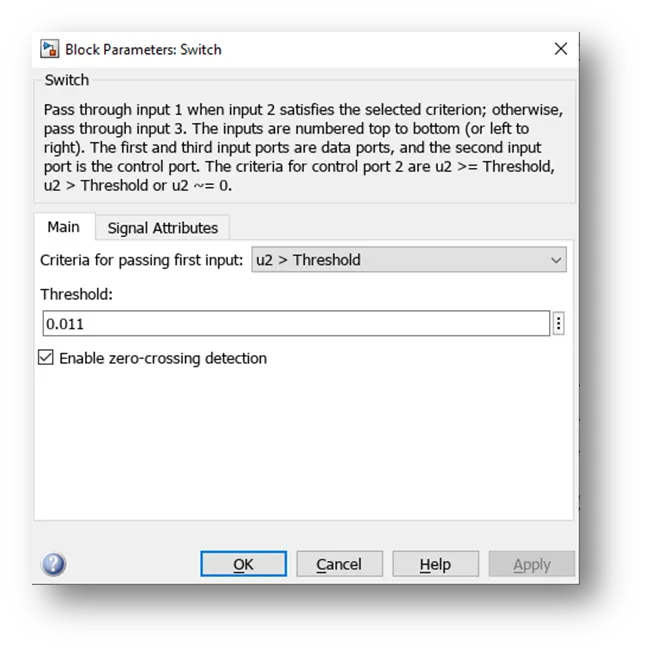
- To set the “Threshold value” of the “Switch Block”, we have to Double click on the “Switch Block” and then we can change the value of the Threshold. Since we want to be ON only when the temperature is 300K so the Threshold value is given as (0.011). so when the Voltage gets more than “0.011” the Switch will give value ‘1’ as output which means Fan will be ON and when the Voltage gets less than 0.011 the Switch will give value ‘0’ as output which certainly means Fan will get OFF.
Simulink Model of Thermistor:
Result:
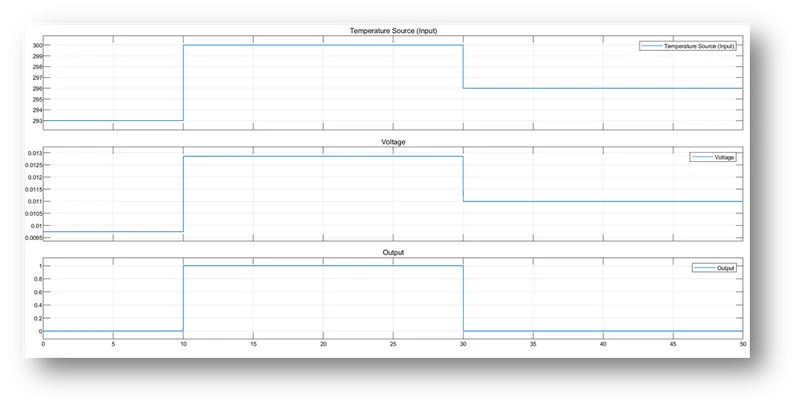
Simulation time 50s
Observation:
Hence, from the output of a switch block, we observe that for (0-10) seconds fan is in OFF condition because the temperature is 293K which is below the threshold of 298K. After 10 seconds temperature goes to 300K then the switch will be in ON condition as the temperature exceeds 298K. After 30 seconds fan will turn OFF as the temperature comes down to 296K which is below the threshold temperature of 298K.