Roof Design
Report:
- Initially, Class A roof surface is provided.
- Edges are taken, Sweeps and fillets are created.
- Holes are filled using Fill Command.
- Fills are joined with the surface.
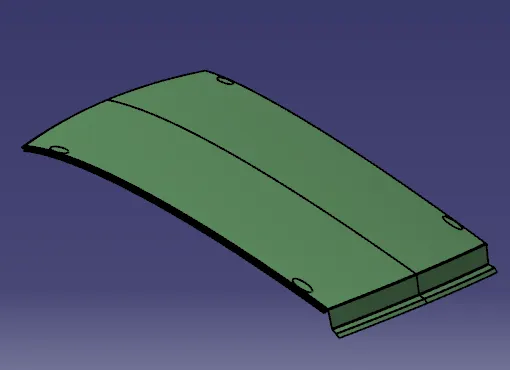
- Thicken command is used to make it a Part body.
- The following image is the Roof Part body.
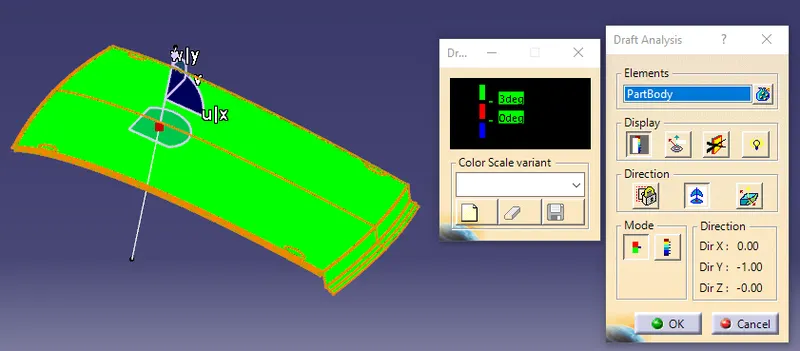
- Draft Analysis is made on Roof Part body. It looks as follows.
- Now, the Front Roof rail is to be obtained.
- This procedure is to be done in a New Part file.
- The main Roof surface need to be splitted as per requirement.
- The Split needs to be Offset a bit.
- Step by Step Sweeps are made as per requirement.
- Sharp edges need to be filleted.
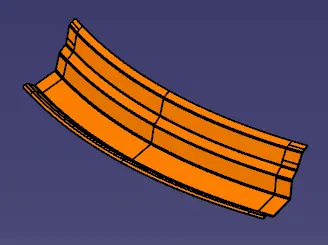
- Then this surface is thickened.
- The below image shows the obtained Front roof rail.
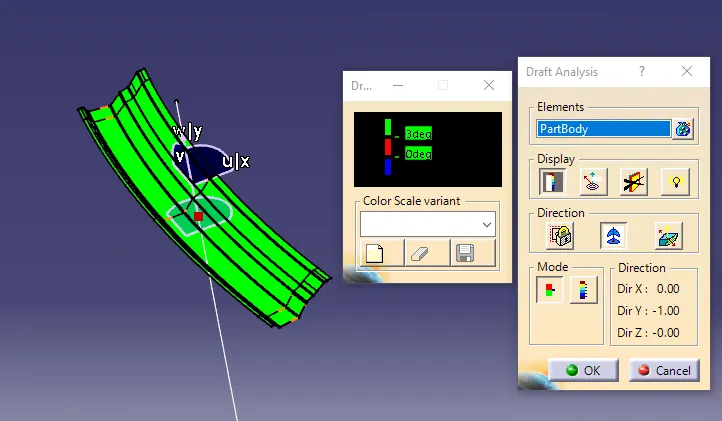
- Draft analyis is done on the above Part body. This looks like the bottom image.
- Then, Rear roof rail needs to be made.
- Like the Front roof rail is done, the main surface is splitted from rear end.
- As per given dimensions, back to back sweeps are done.
- The otained surface is thickened to form Part body.
- The bottom image shows Rear roof rail part body.
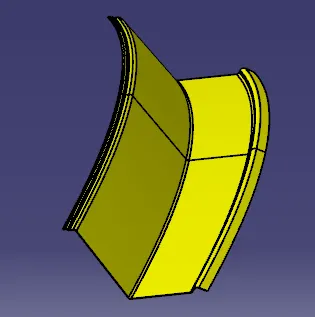
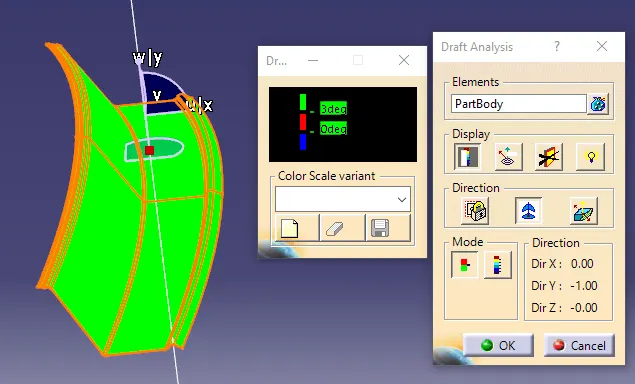
- Draft analysis is done to the above part body as well. It looks like there are no draft issues.
- Then, Front bow is to be obtained.
- Main surface should be splitted at a distance.
- Back to back sweeps are made.
- This surface is thickened.
- The below Front bow part body is obtained.
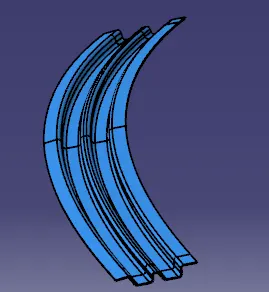
- Draft analysis of the above part looks like below.There are no issues.
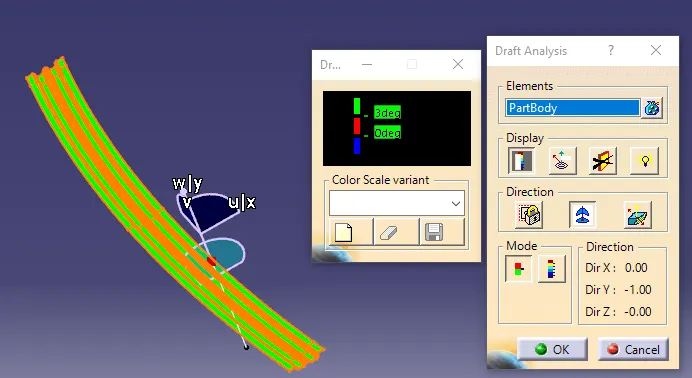
- The same process is repeated to obtain Centre bow.
- A line should be drawn right at the centre of main surface.
- Centre bow should be made either sides of this line.
- This surface also needs to be thickened.
- This below part body is formed.
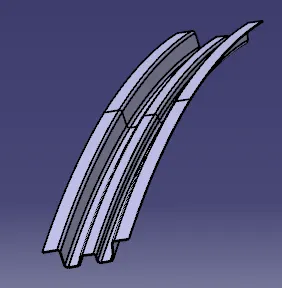
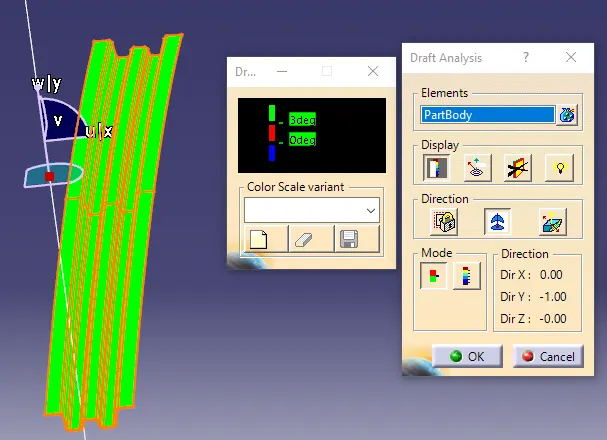
- The below image shows an errorless Draft analysis of Centre bow.
- Finally, all these parts are copied into a new Product file.
- Constraints are used to put them in required positions.
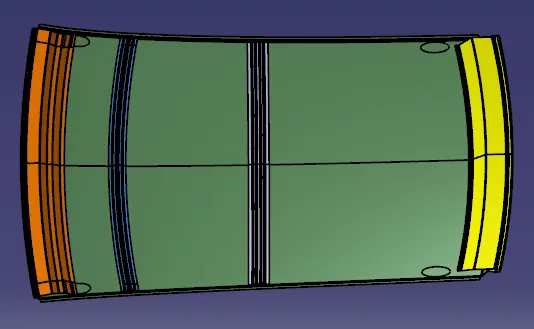
- This is the bottom view of Roof assembly comprising of all Part bodies.
- Hence, the required Roof assembly is formed.