REVIT_ Plan, 3D View & Structural Drawings_Project 2
1) Select the type of structure you want to build from one of the three below
a. Multi Unit Residential Apartment
b. Office Buildings
c. School
Ans: My project is on Multi Unit Residential Apartment
2) Assume reasonable assumptions for geographic and location details for your project modeling. Based on assumptions and type of structure selected identify the modeling requirements from NBC
Ans: My project is located at residential area, project is modeling as per NBC rules.
3)
AIM: To prepare structural model and add components to it.
TOOLS/COMMANDS USED:
Structural template
Structural tab
Gids
levels
Columns
PROCEDURE:
1: Open a file in structural template and save it with an appropriate name.
2: Select collaborate and do the collaboration and make is as a central file.
3: Select and draw horizontal and vertical grids in structural.
4: Now select and specify coordinates in the manage tab.
5: Specify the coordinates as 0’0”in both the grids.
6: Save it.
7: Now open a new file of architectural template.
8: Save it with an appropriate name.
9: Select collaborate and do the collaboration and make it as a central file.
10: Select and draw horizontal and vertical grids.
11: Select and specify coordinates in the manage tab.
12: Specify the coordinates as 0’0” in both the grids.
13: Link the structural tab with the architectural in the manage link.
14: Now both the grids will appear under a single template.
15: Now acquire the coordinates for the linked grid.
16: Open the structural template.
17: Draw the grids at equal interval, say 12’.
18: Select the floor plan as per the drawing and copy it till roof.
19: Select the columns and change its properties of the column like size in properties tab.
20: Select footing and draw the selected footings at the columns.
21: Select the beam and draw beams connected to the columns and select the constraint to first floor as beans are at top of the floors.
22: For lift openings and staircase openings select shafts.
23: Now the structure is ready.
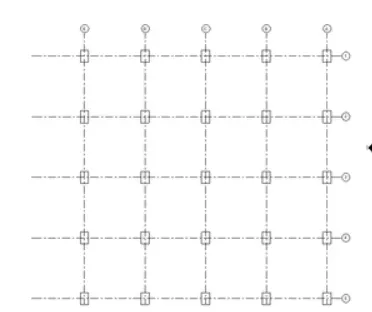
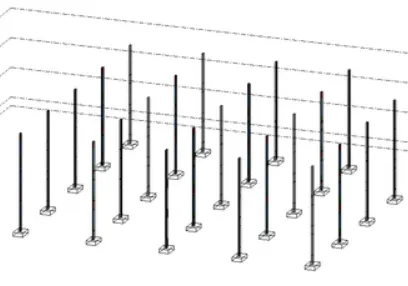
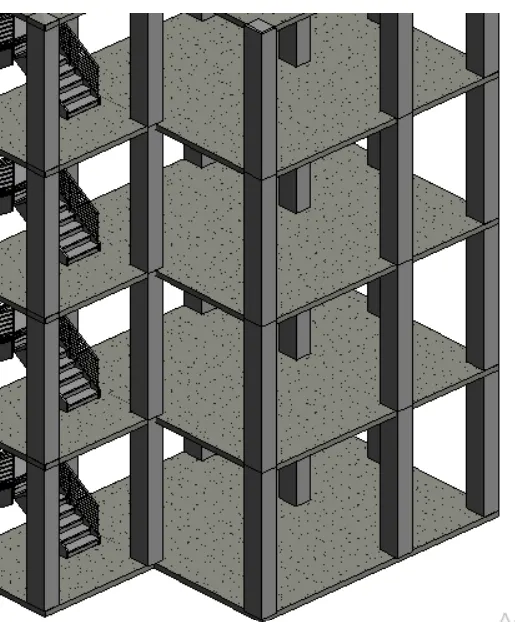
RESULT:
A structural model is successfully created and the components are added successfully.
4) Using the architectural model, include the following components based on the type of structure selected
a. Wall Layout with appropriate material and finishing
b. Exterior façade with fancy finish
c. Interior partition walls to size rooms
d. Components to add details to room (Desk, Chair, Lighting, Plumbing fixtures)
e. Add components such as stairs Elevators
f. Have at-least one side of building with curtain walls and glass panels
g. Include interior and exterior lighting fixtures
h. Place proper topographic components from outside (Trees, Parking, Plants) to add details to the model.
AIM: Using architectural template create walls, façade and other components of the building and gives a complete building look with all the components.
TOOLS/COMMANDS USED:
Walls
Materials
Partition walls
Components as chair, table, lights, fixings, etc.
Stair
Ceiling
Roof
Windows
Doors
Railings
PROCEDURE:
1: Open the previous architectural template in which we have the gids of structural template.
2: Use copy monitor tool and select copy and select the grids.
3: Now go to the visual graphics and select custom in annotation off the grids.
4: Now increase the number of levels through any elevation in the property browser.
5: Now draw the exterior walls on the ground floor by selecting walls at the ribbon.
6: Now go to the 3D view and select the top constraint of the roof.
7: Now draw the partition walls and draw rooms.
8: Now select the door and place it wherever needed.
9: Select the windows and place them as required by choosing in the property tab.
10: Copy the components till the selected levels.
11: Select ceiling in ground floor.
12: Now select the first floor and select railing at the required place.
13: Select the insert command and select the family and select the components as beds, tables, lights, plumbing and lighting fixtures, etc.
14: Now add the components at the appropriate place.
15: Select components for the exterior of the building like trees.
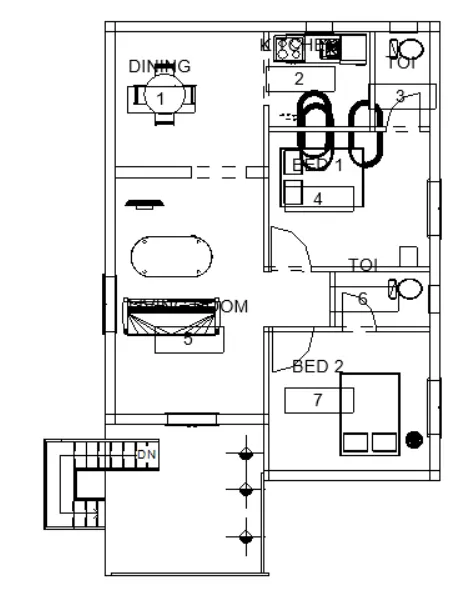
RESULT:
Walls, façade and other detailed components are created successfully using architectural template.
5) Provide set of drawings in architectural and structural model to list the following details with categories and appropriate sheet templates included
a. Floor Plans with Annotations
b. Elevations
c. Sections
AIM: To use proper sheet templates for the set of drawings.
TOOLS/COMMANDS USED:
Sheets
Edit sheets
PROCEDURE:
1: Select the view tab and select sheet and load it from the family.
2: Now edit the sheet and load it from the family.
3: Drag the plans, elevations, section in the sheet.
4: Now rename the sheet and drawing number and name as per the requirements.
5: Save it.
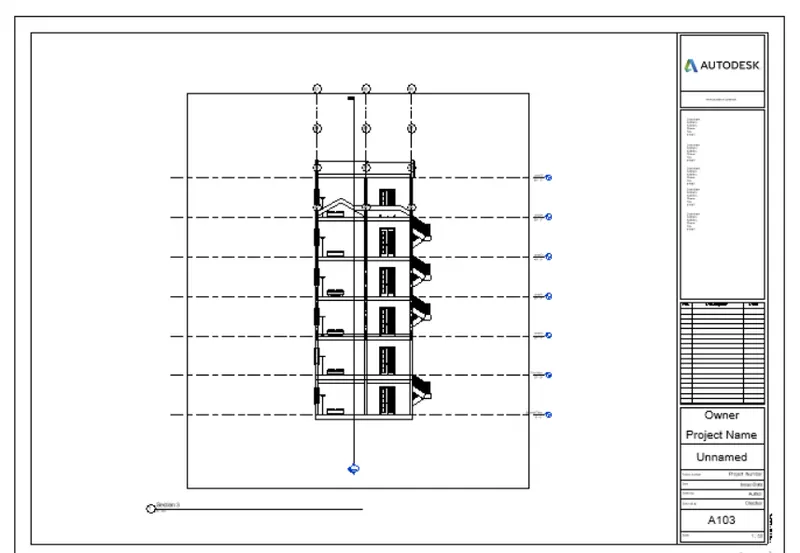
RESULT:
Sheet templates are included successfully.
6) Using the Rendering settings, render images of 3D model produced and include the rendered images to the drawing sheets
a. Rendering from interior rooms
b. Rendering from out showing topographic features
c. Rendering through structural framing
AIM: To render the images of 3D model produced and include the rendered images to the drawing sheets.
TOOLS/APPARATUS USED:
Render
PROCEDURE:
1: Select the 3D image of the interior rooms, exterior and structural framing.
2: Now select the render for the rendering.
3: Select the properties like exterior sun and artificial setting or clouds etc.
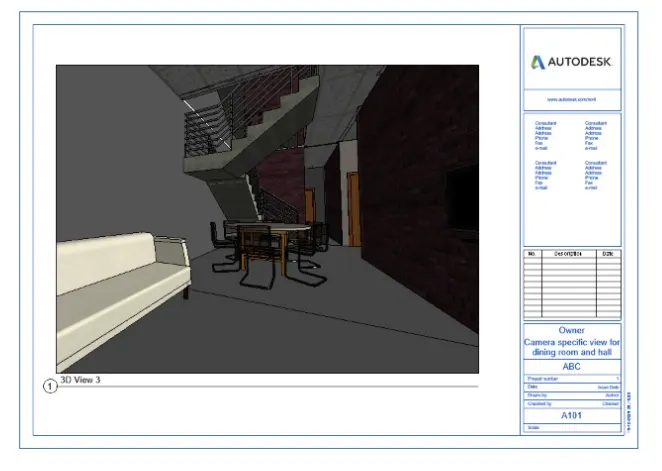
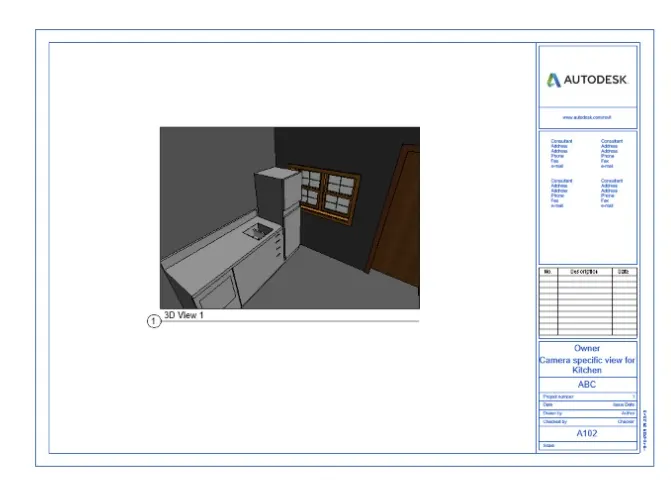
RESULT:
Rendering is done for the model successfully.
7) Print the set of drawing sheets created and submit the drawings from architecture and structure model
AIM: To print the set of drawing sheets created and submit the drawings from architectural and structural model.
TOOLS/COMMANDS USED:
View
Sheets
Insert
Load image
PROCEDURE:
1: Open the previous structural and architectural templates.
2: Now go to the view tab.
3: From the drop-down menu select the sheet option.
4: Now go to the insert menu and select image import.
5: Now load different types of images and attach them to sheets.
6: Now take the screenshots of the sheets.
RESULT:
The set of drawing sheets are created and the drawings from architectural and structural model are submitted.