REVIT_Introduction to REVIT_Week 1
1st ANSWER
AIM : To create a new project and name the project appropriately in revit.
PROCEDURE :
* create a new project:
- Open "Autodesk Revit-2019".
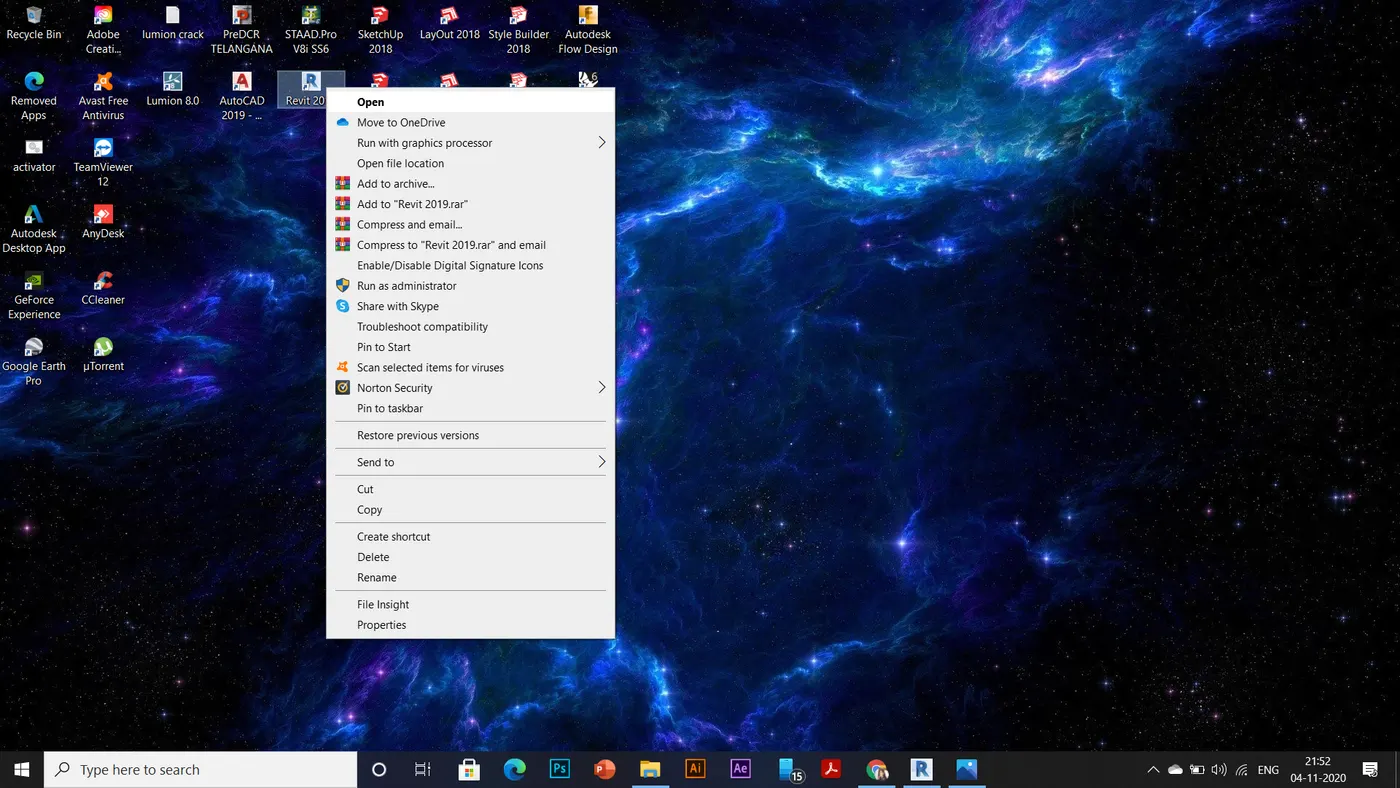
- Now click on the "file" menu on the top left corner .
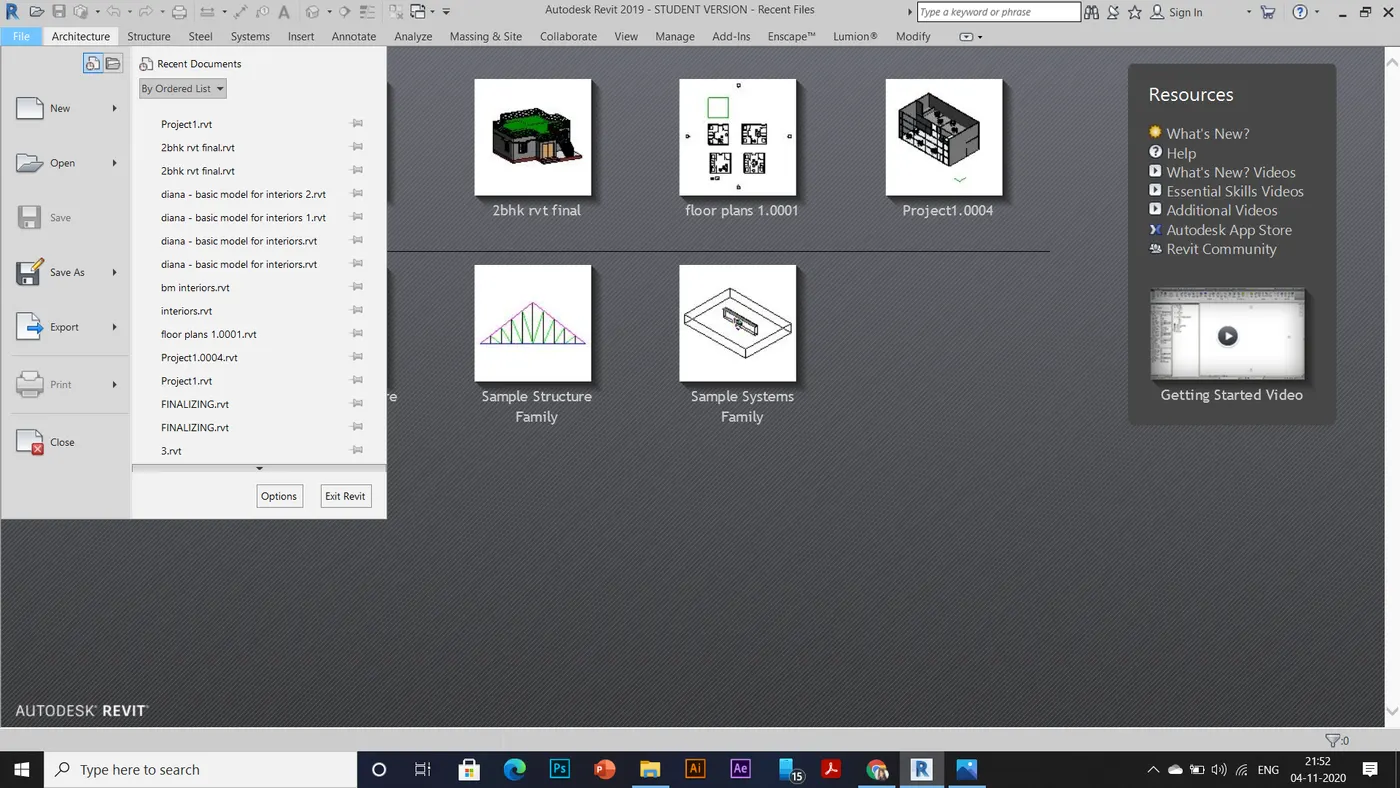
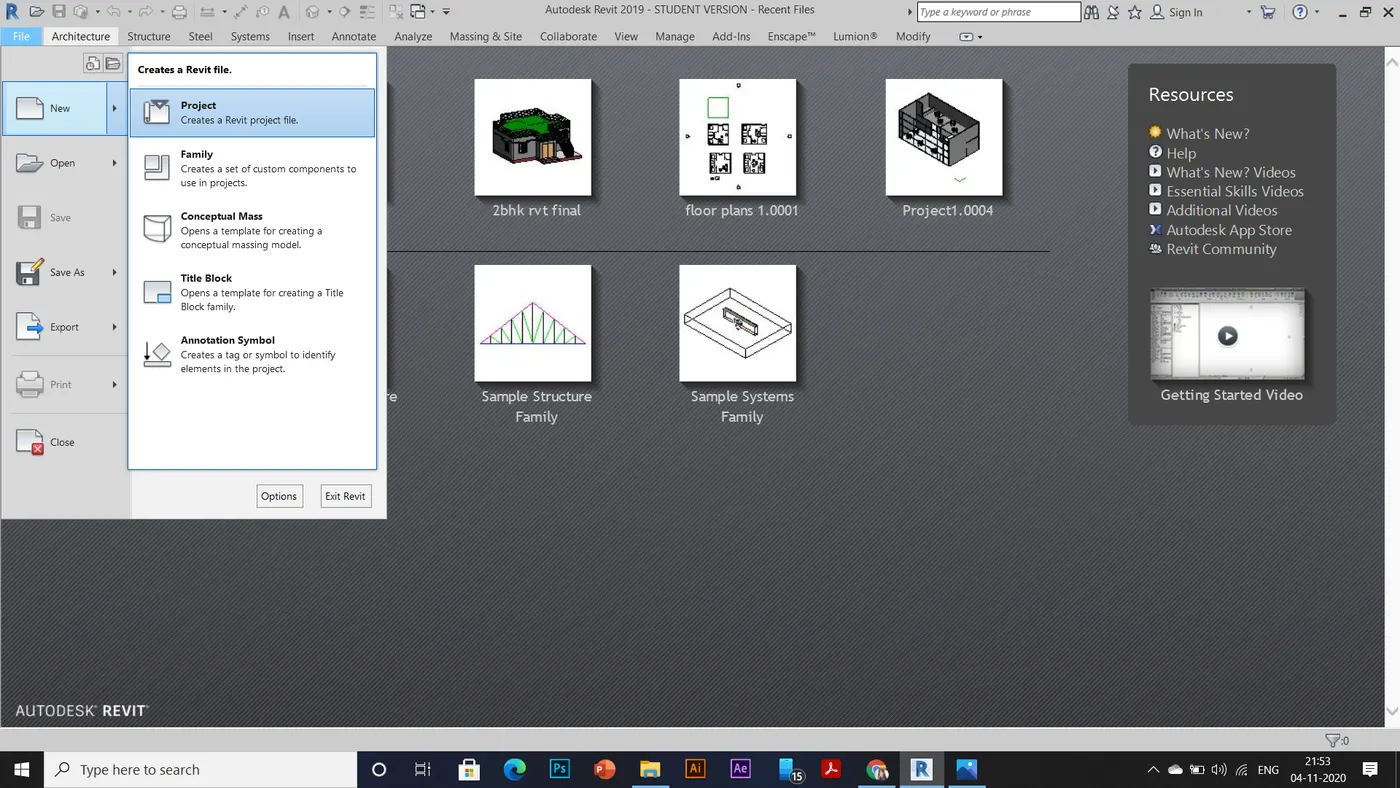
- Click on the "new" then select "project" .
- A new project menu appears, select the "template file" as required (Structural / Architectural / Construction template).
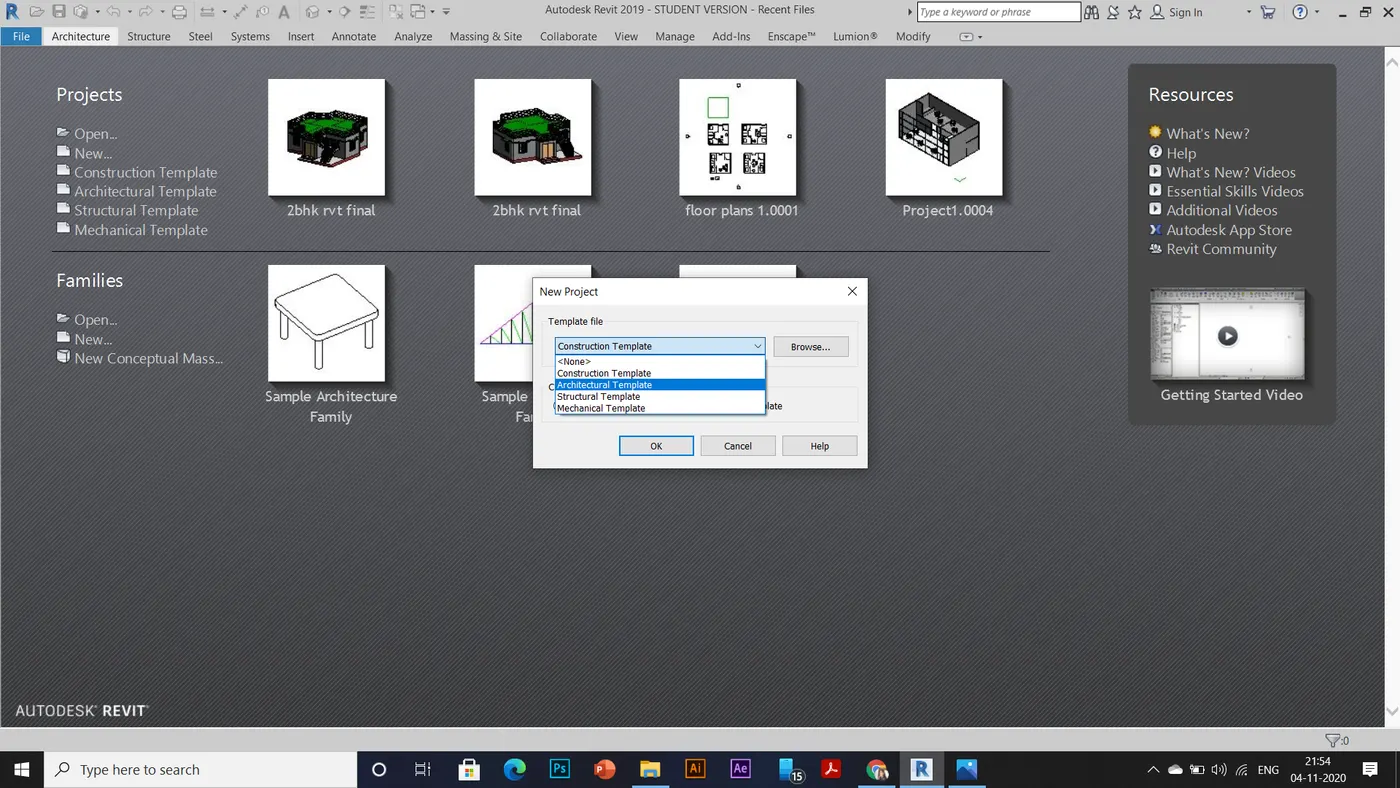
- Then click on "ok" . your "new project" is created.
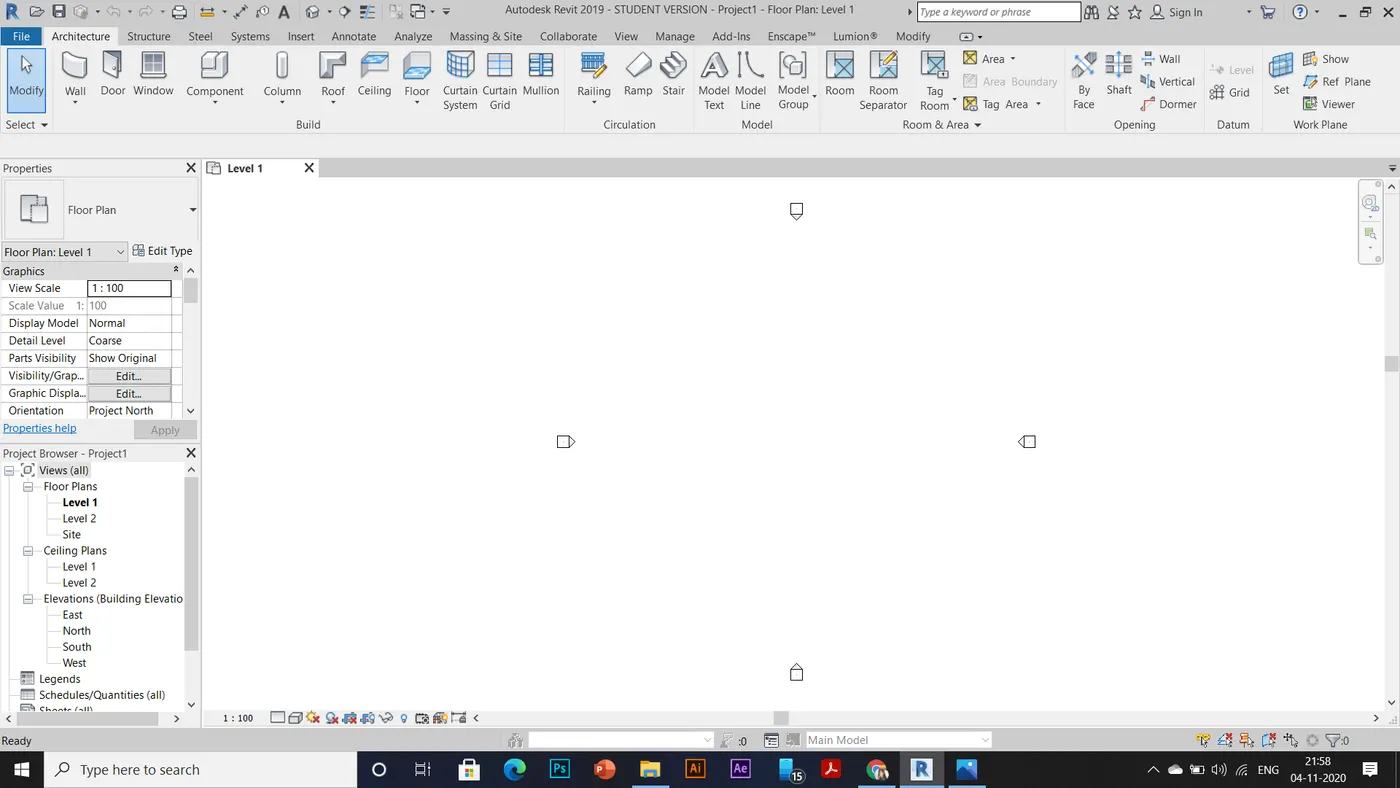
RESULT : Succesfully created a project .
2nd ANS
AIM : To save a new project file in revit.
PROCEDURE :
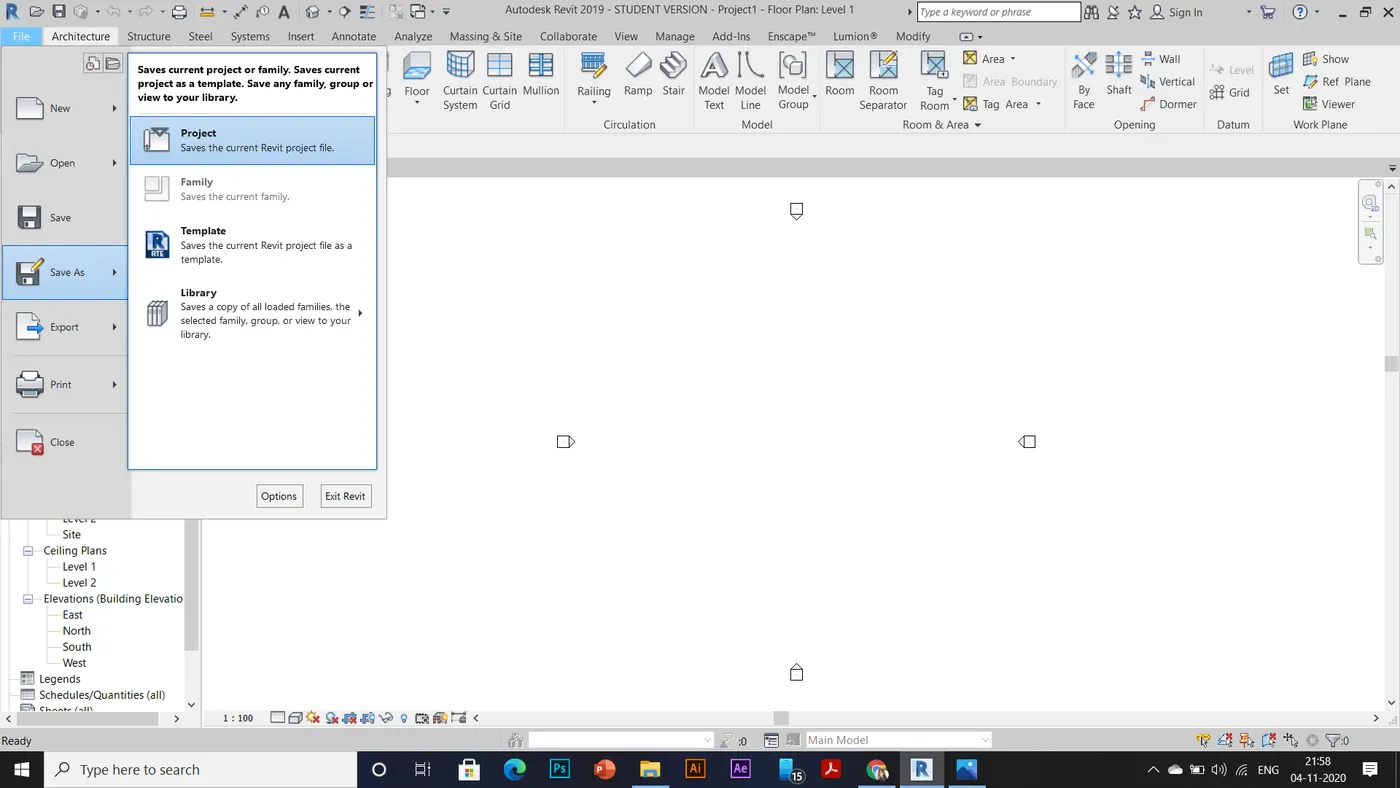
- Click on the "file", in your project then click on "save as" option(in it click on the "project").
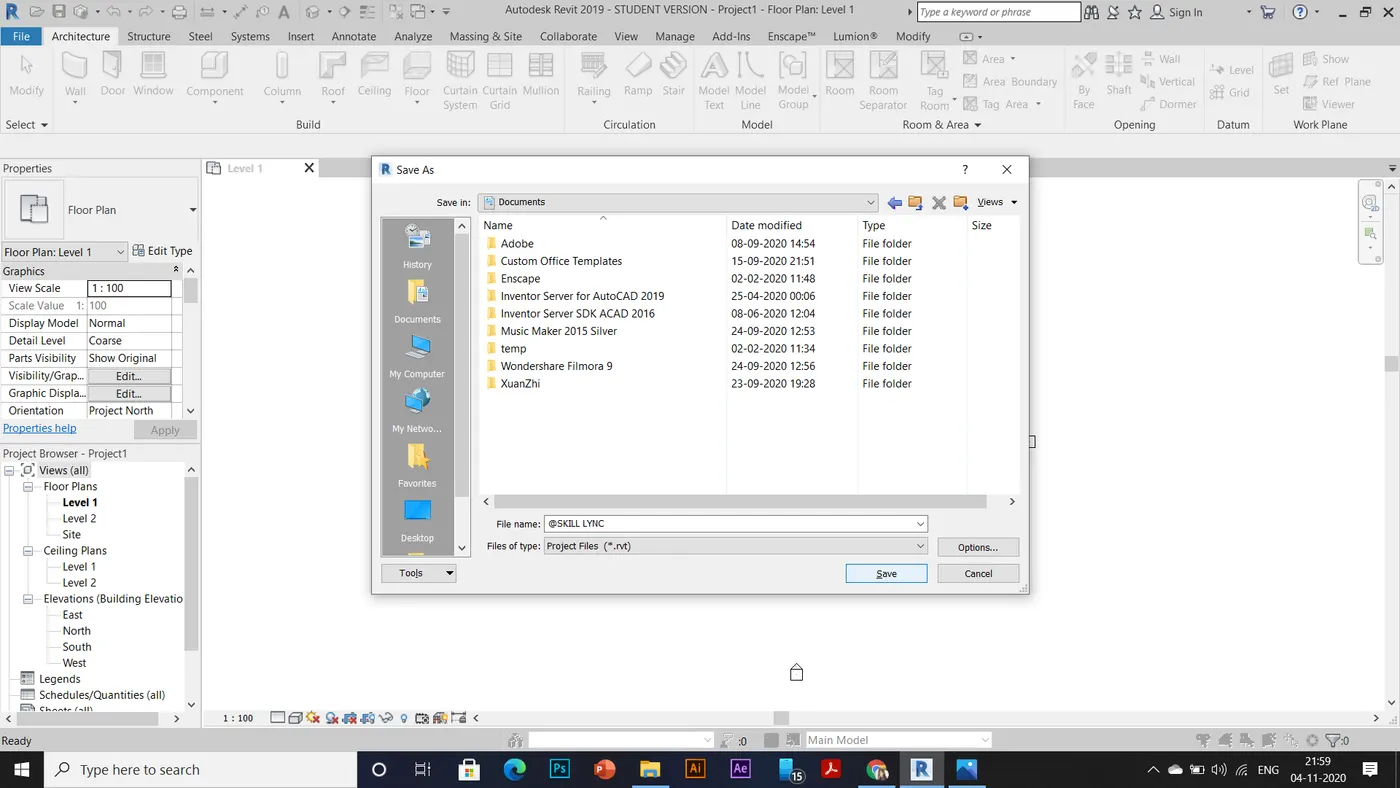
- A new save as menu appears, select the area to save your project in "save in",then name your project in "file name"(as required).
- finally click on save , your project is named and saved in the given location in your computer.
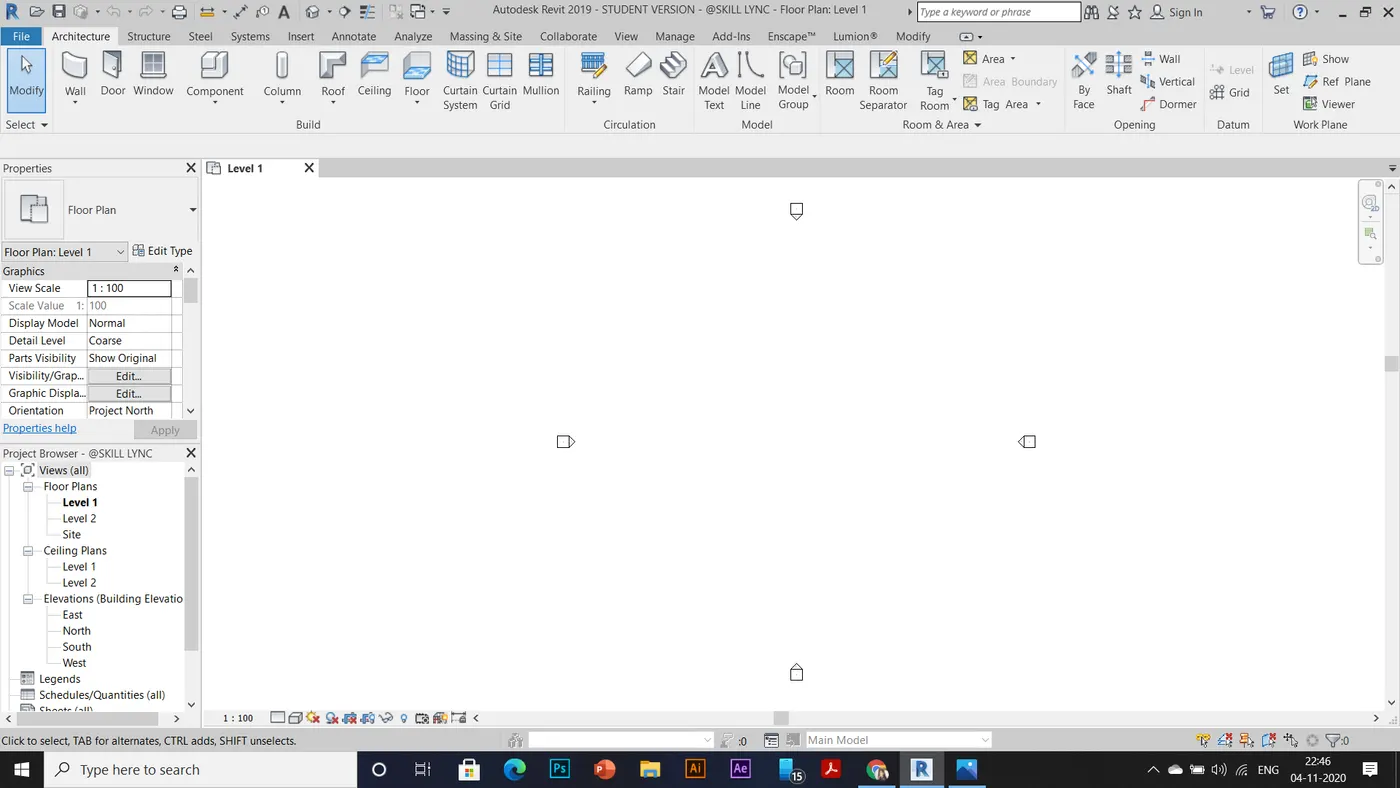
RESULT : the file is saved successfuilly .
3rd Ans
AIM : To create a rectangular layout of walls about 40'-0" X 35'-0"
TOOLS USED :
- Wall
- Line
- Rectangle
PROCEDURE :
- click the wall command on the architecture menu.
- then click on the rectangle tool.
- draw a rectangle, then give the dimentions to it (40'-0" X 35'-0")
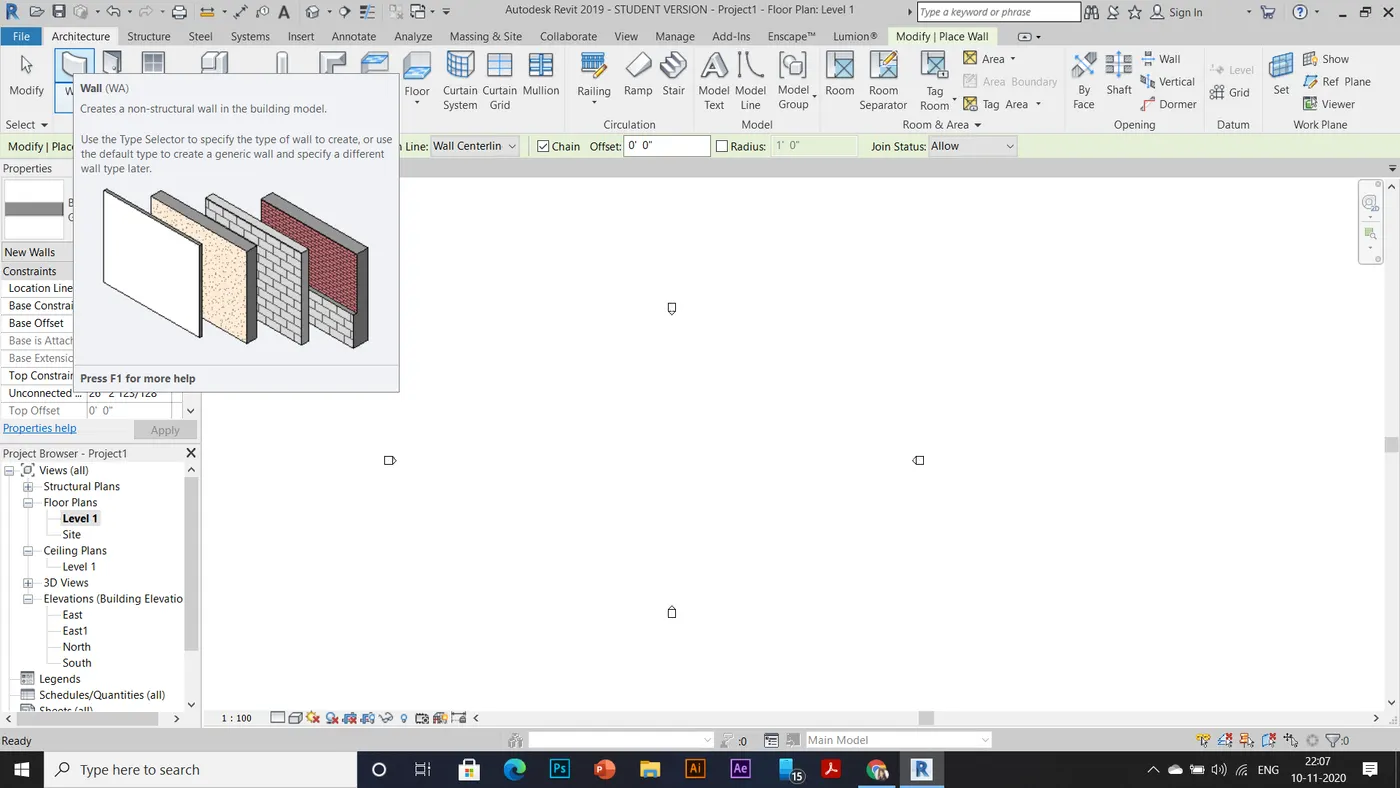
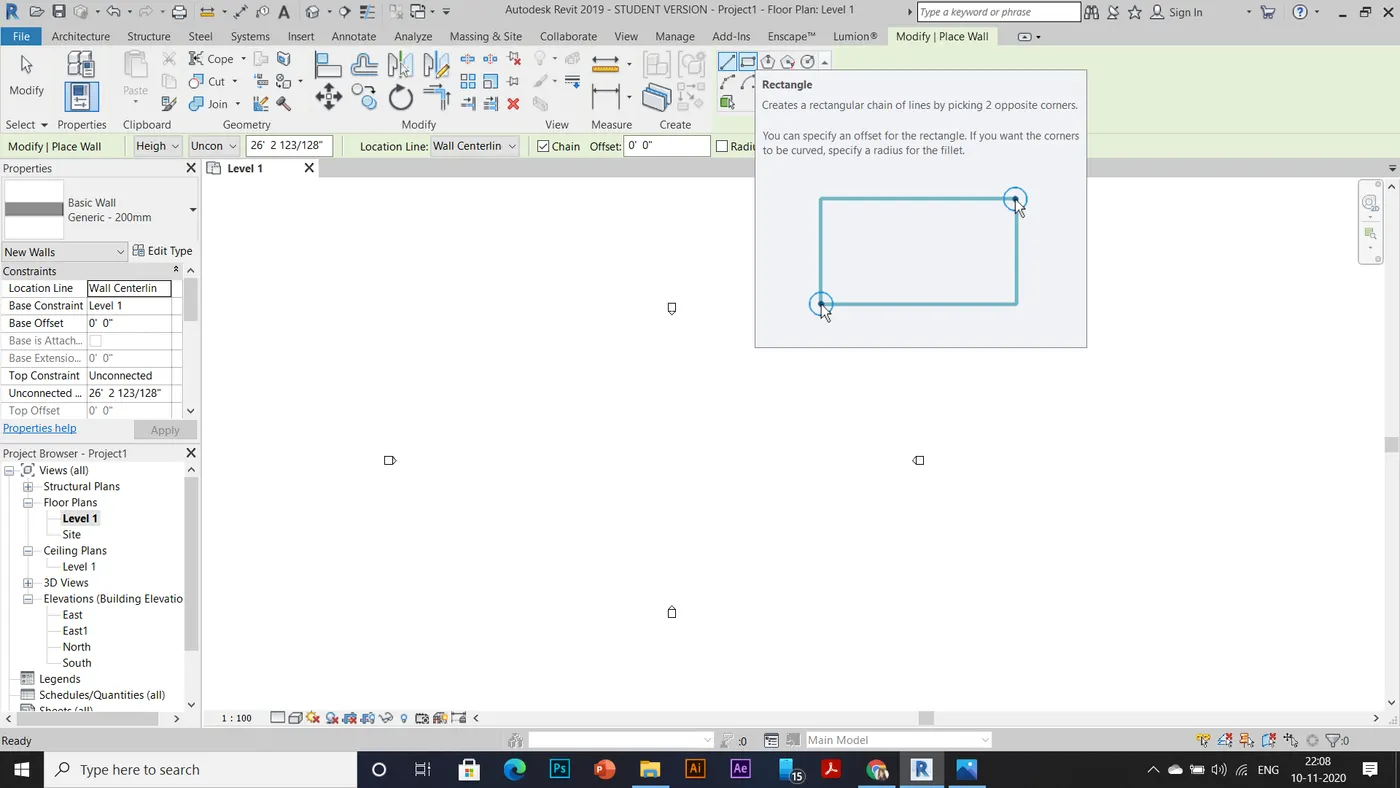
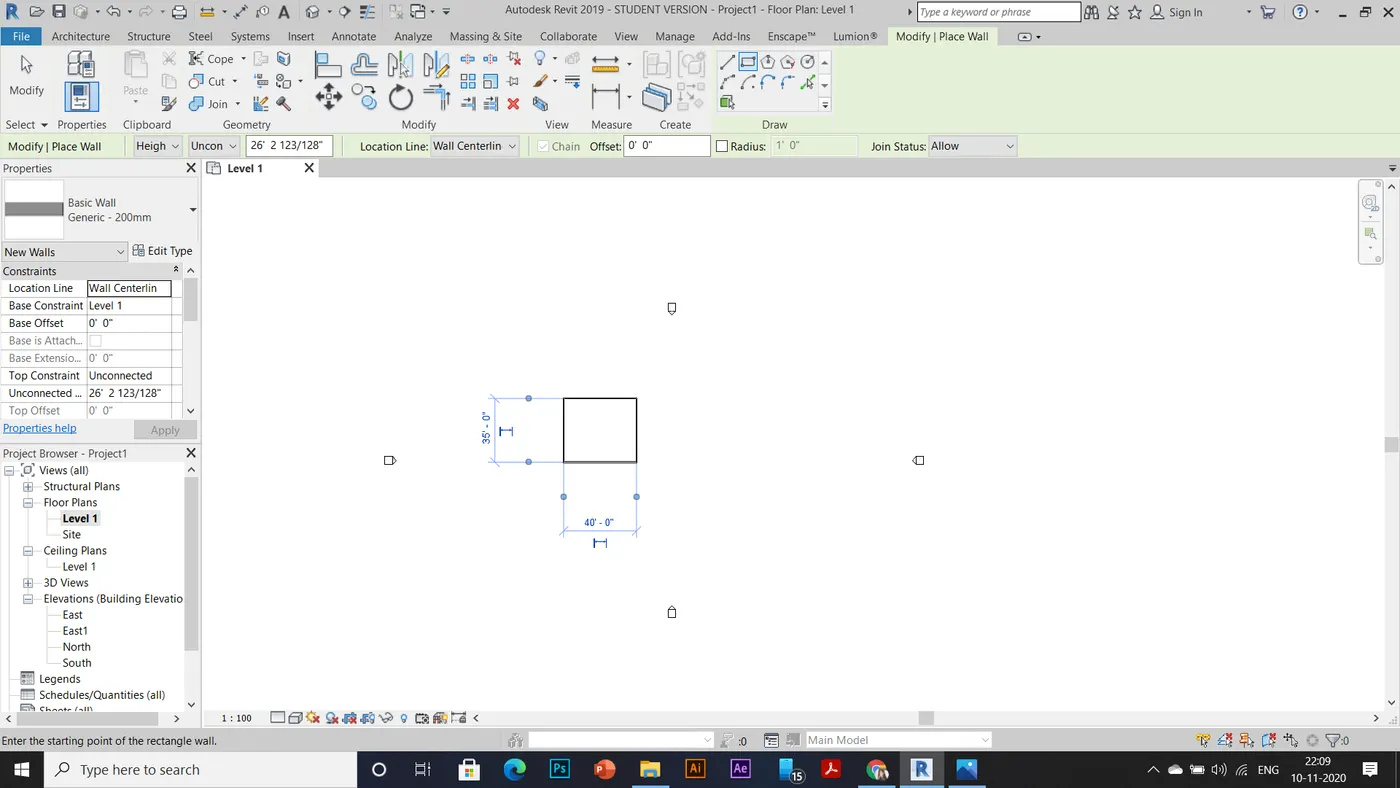
RESULT : Rectangular wall of dimensions 40'-0" X 35'-0" , drawn successfully.
4th Ans
AIM : By using Annotate tool bar to add dimensions to the layout
TOOLS USED : Annotate tool bar.
PROCEDURE :
- click on annotate bar
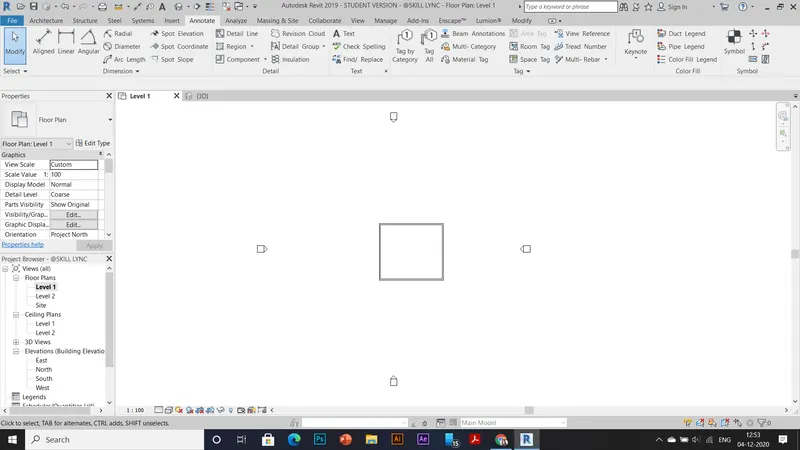
- click on aligned option
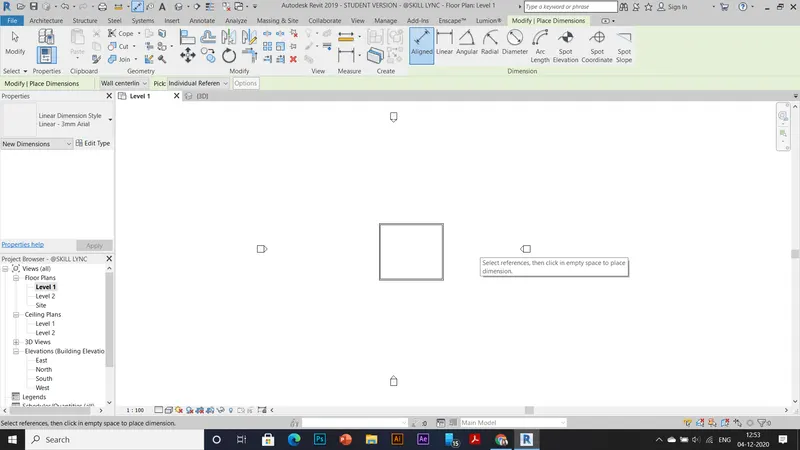
- add dimensions to the walls
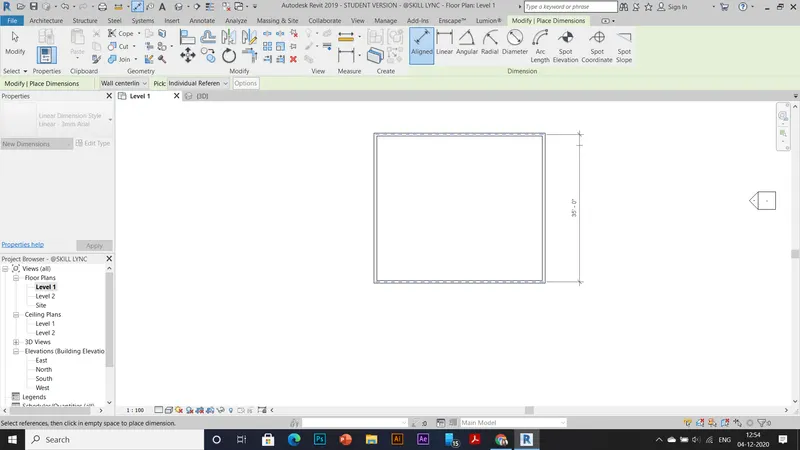
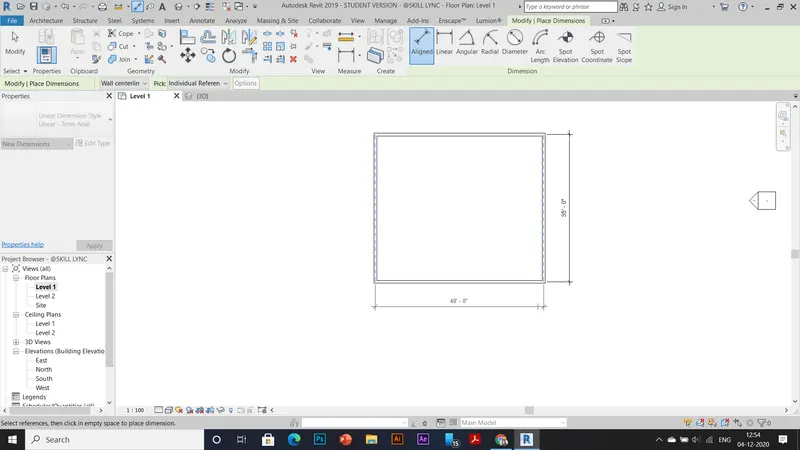
RESULT : From the Annotate toolbar use the aligned option to added dimensions to the layout successfully.
5th Ans
AIM : To use the properties browser to switch to different wall types.
TOOLS USED : Properties browser.
PROCEDURE :
- Click on the wall, then on the properties browser, choose different wall types
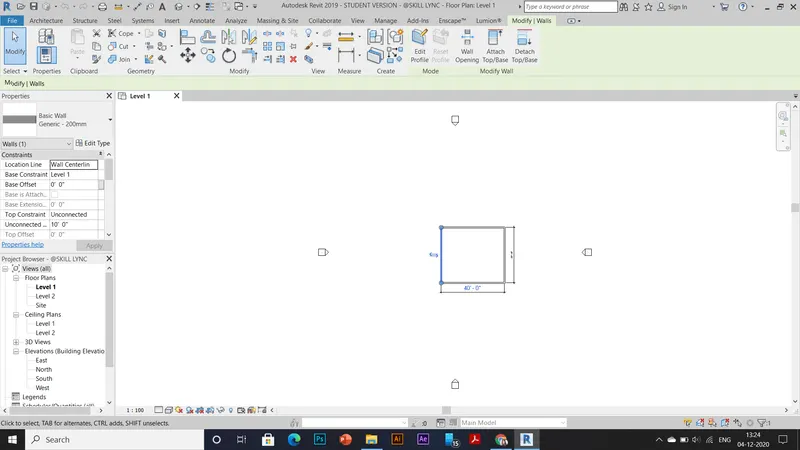
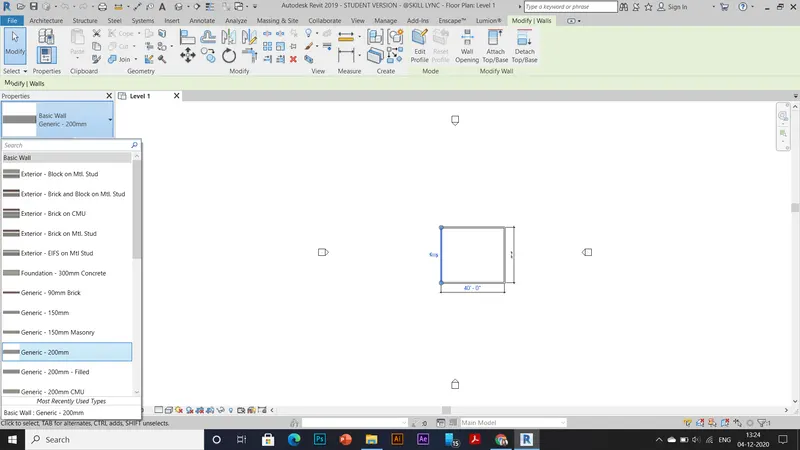
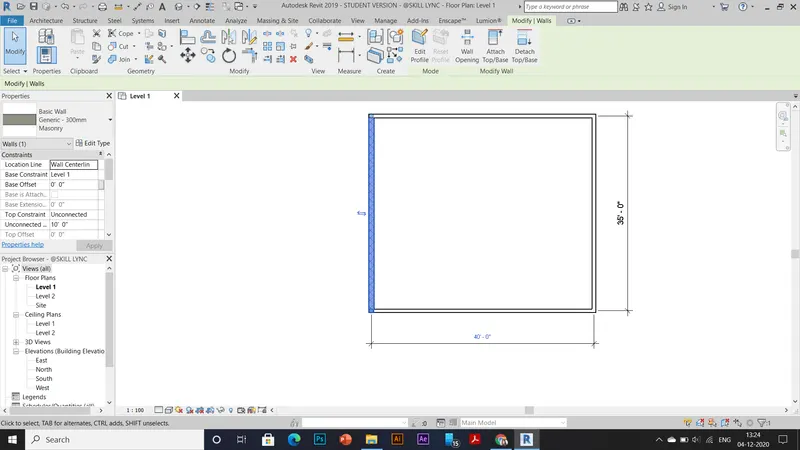
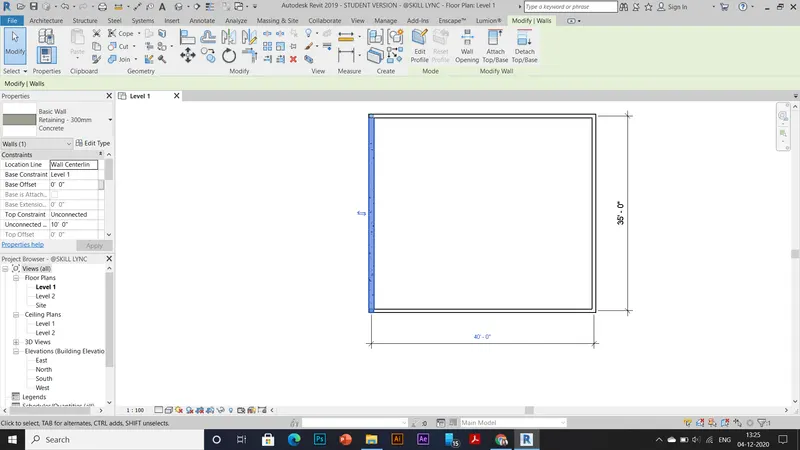
RESULT : From the properties browser, switched to different wall types successfully.
6th Ans
AIM : To create a 3D view from the view toolbar and save the view with the appropriate name.
TOOLS USED : View toolbar.
PROCEDURE :
- click on the view toolbar
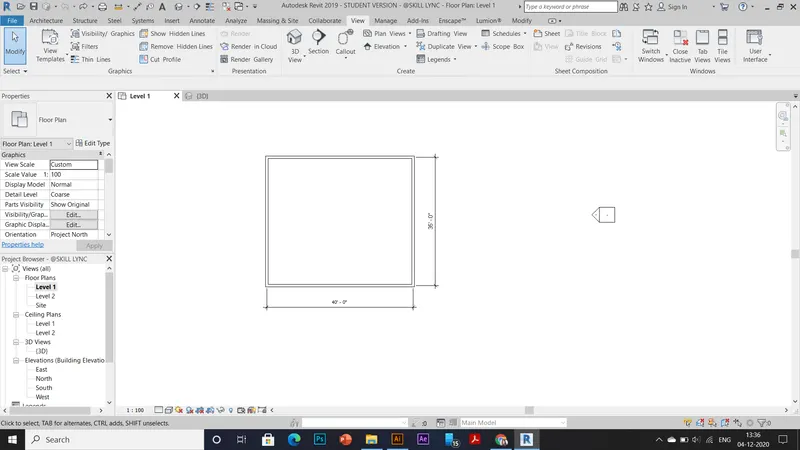
- click on 3d view
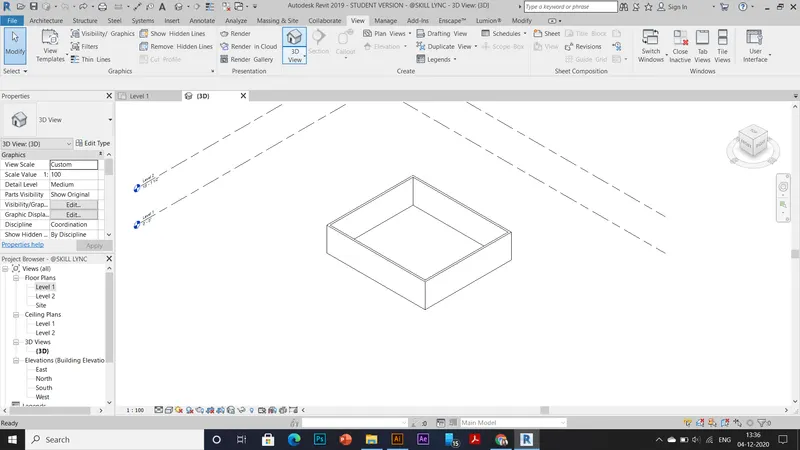
- edit the name of 3d view on the properties browser as - WALLS-VIEW 1
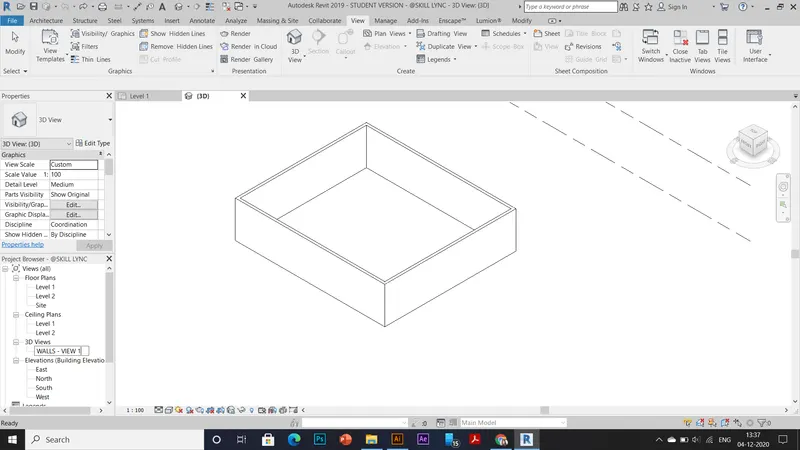
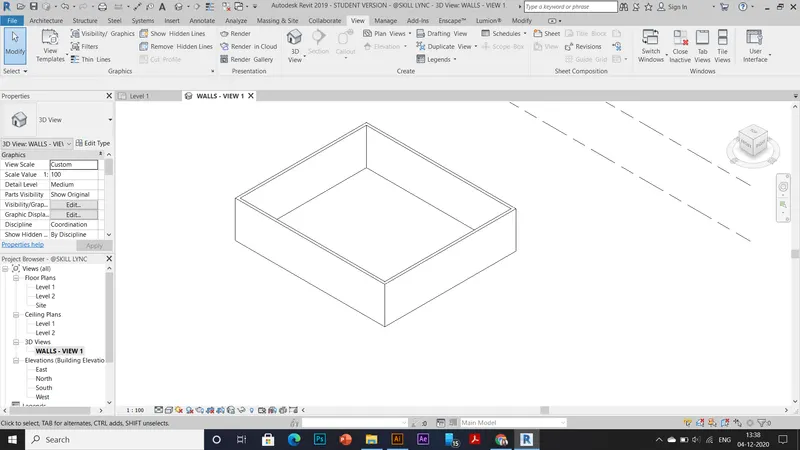
RESULT : Created a 3D view from the view toolbar and saved the view with the name - walls-view1 successfully.
7th Ans
AIM : To navigate through the 3D model using the view cube. Orbit/pan through the model layout created.
TOOLS USED : View cube.
PROCEDURE :
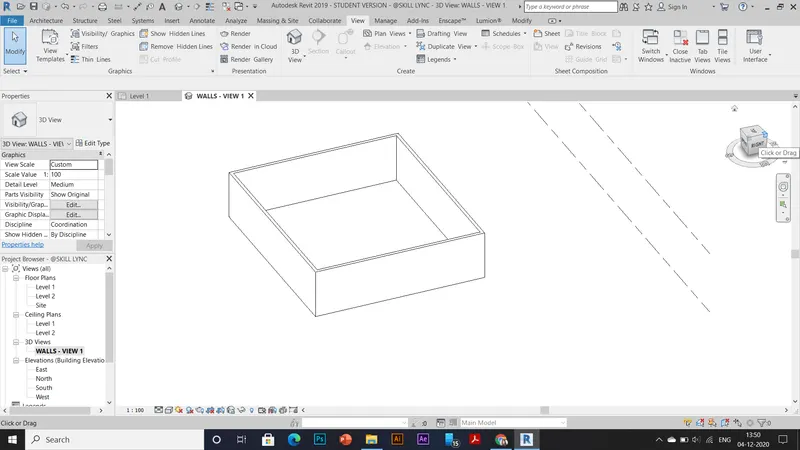
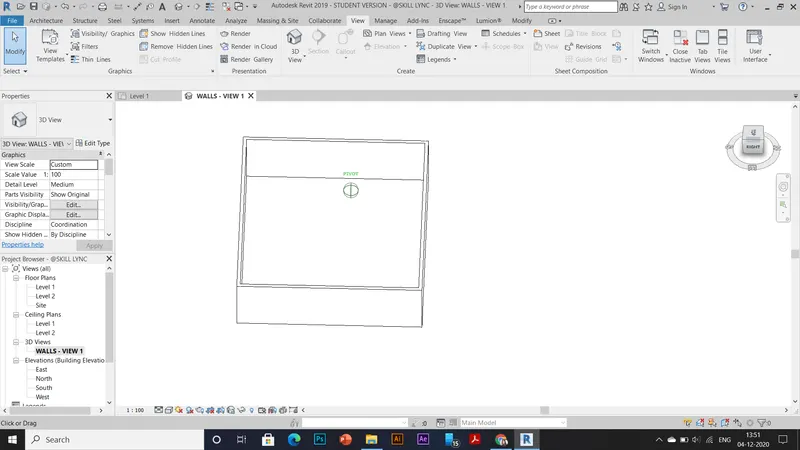
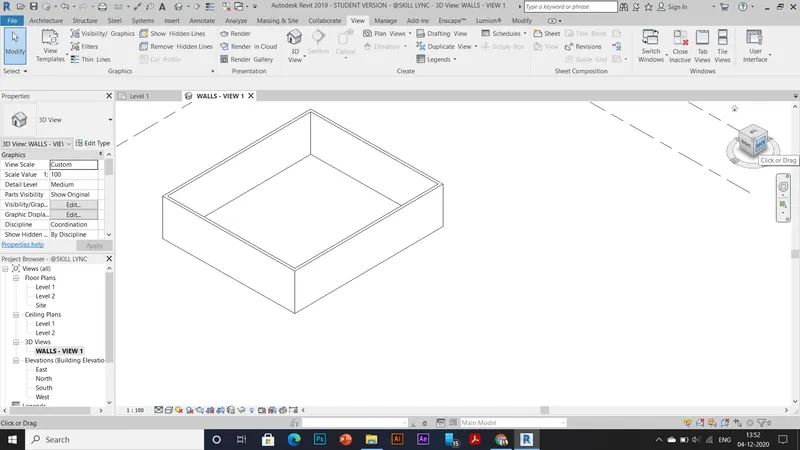
RESULT : navigated through the 3D model using the view cube. Orbit/pan through the model layout, done successfully.
8th Ans
AIM : To use the visibility settings option below to switch model to shaded, realistic, hidden lines options.
TOOLS USED : visibility settings.
PROCEDURE :
- click on visibility settings, click on shaded option
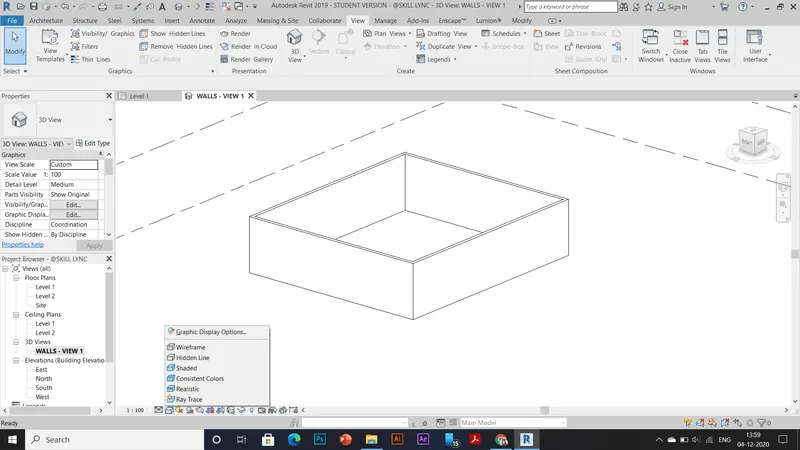
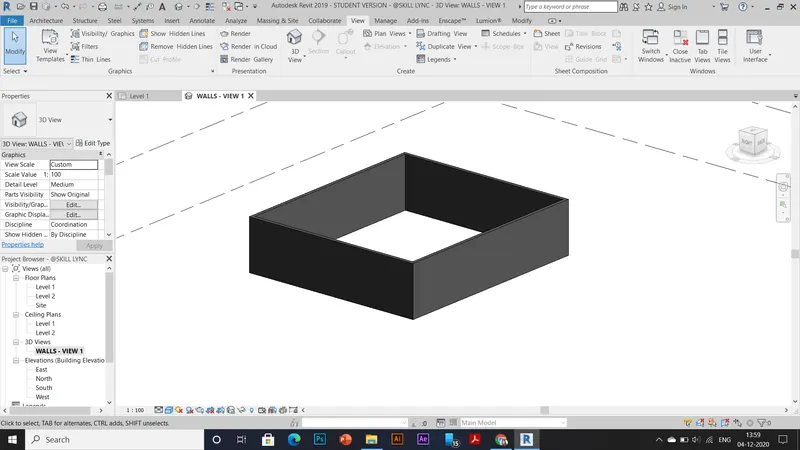
- click on realistic option
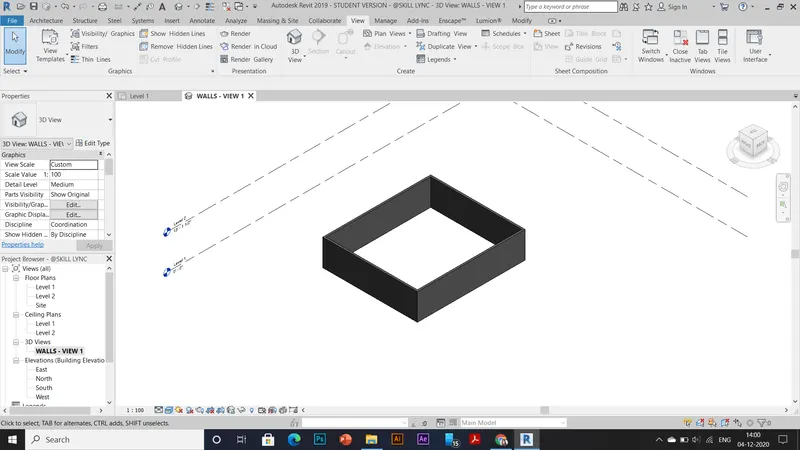
- click on hidden lines options
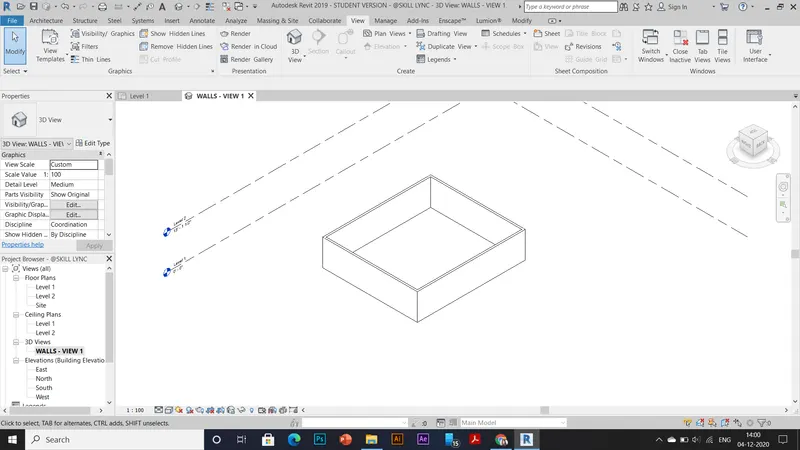
RESULT : Used the visibility settings option below to switch model to shaded, realistic, hidden lines options, done successfully.
9th Ans
AIM : To turn the sun path on and off to view shadings in the layout created.
TOOLS USED : sun path.
PROCEDURE :
- sun path turned on
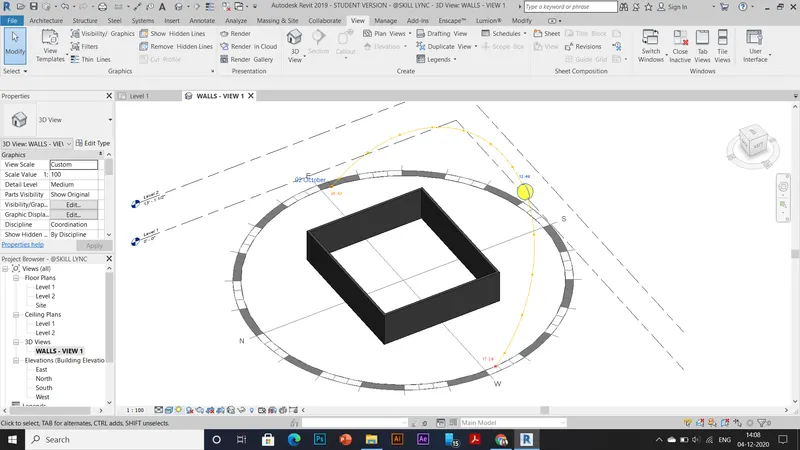
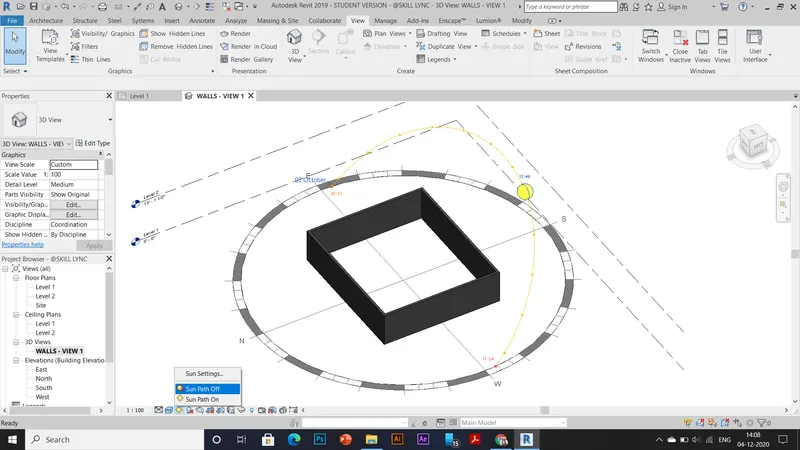
- sun path turned off
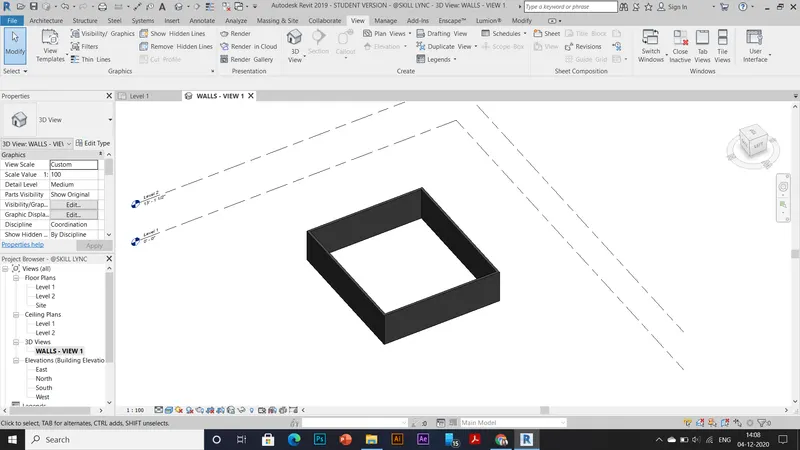
RESULT : Turned the sun path on and off in the layout created successfully.
10th Ans
AIM : To use the Manage toolbar to enter project settings, project name, and project issue date (choose according to your convenience).
TOOLS USED : Manage toolbar.
PROCEDURE :
- click on manage toolbar
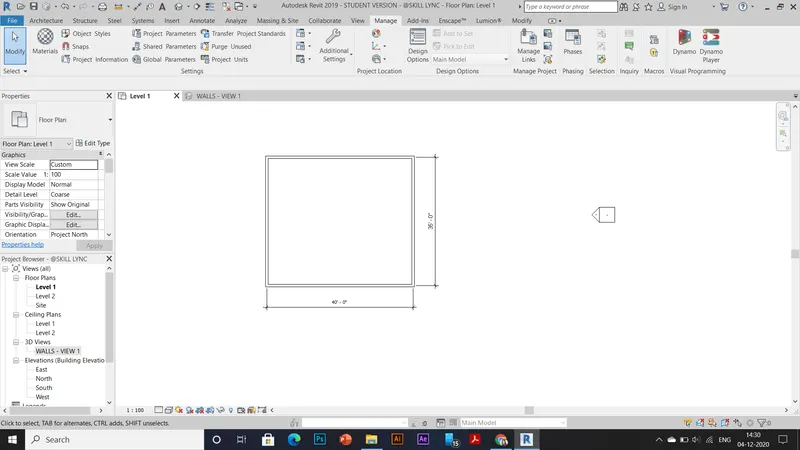
- open project properties and enter the project name, project issue date
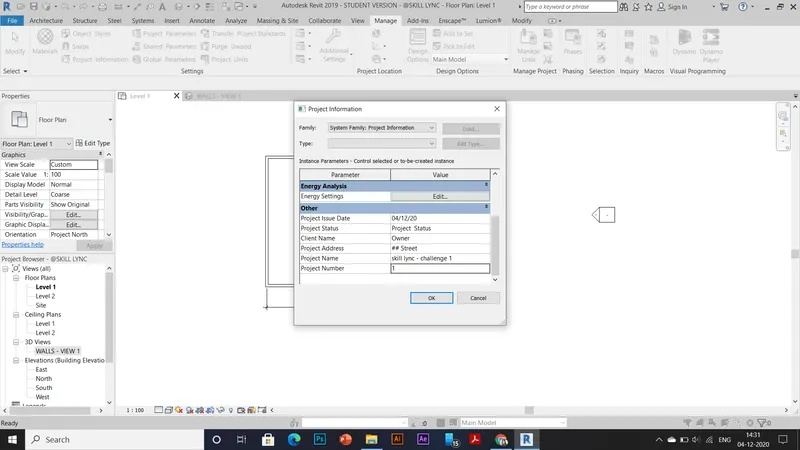
RESULT : Used the Manage toolbar to enter project settings, project name, and project issue date successfully.
11th Ans
Analyze toolbar in revit is used to create spaces in the model, to add boundary conditions, loads acting on the building, different type of spaces, ducts, pipes, heating and cooling loads, pressure loss reports, adjusting and resetting supports, creating panels and scheduling quantities.
It is beneficial for design and modelling as it provides different boundary conditions and spaces, and also in scheduling the quantities.
12th Ans
- Link revit
- Link CAD
- Link IFC
- Link PDF
- DWG markup
- Manage links
- Link image
- Point cloud
- Place decal &
- Coordination model.
13th Ans
Collaborate tab in revit is used to enable collaboration, so that teams members can work on the same model simultaneously.
It also helps in saving the history of the project and helps in controllinmg the work done by the team members.
And also provides reconcile hosting, coordination check, coordination settings etc.